Tired of Sad, Floppy Asters? Here’s How to Get Them Right.
I’ve been designing and working in gardens for a long, long time. So many people pour all their energy into having a knockout spring and summer garden, which is great! But honestly, a garden’s real soul comes out in the fall. Just as everything else starts to look a little tired, the asters step up and put on a spectacular show. They’ve become the absolute backbone of my autumn designs.
In this article
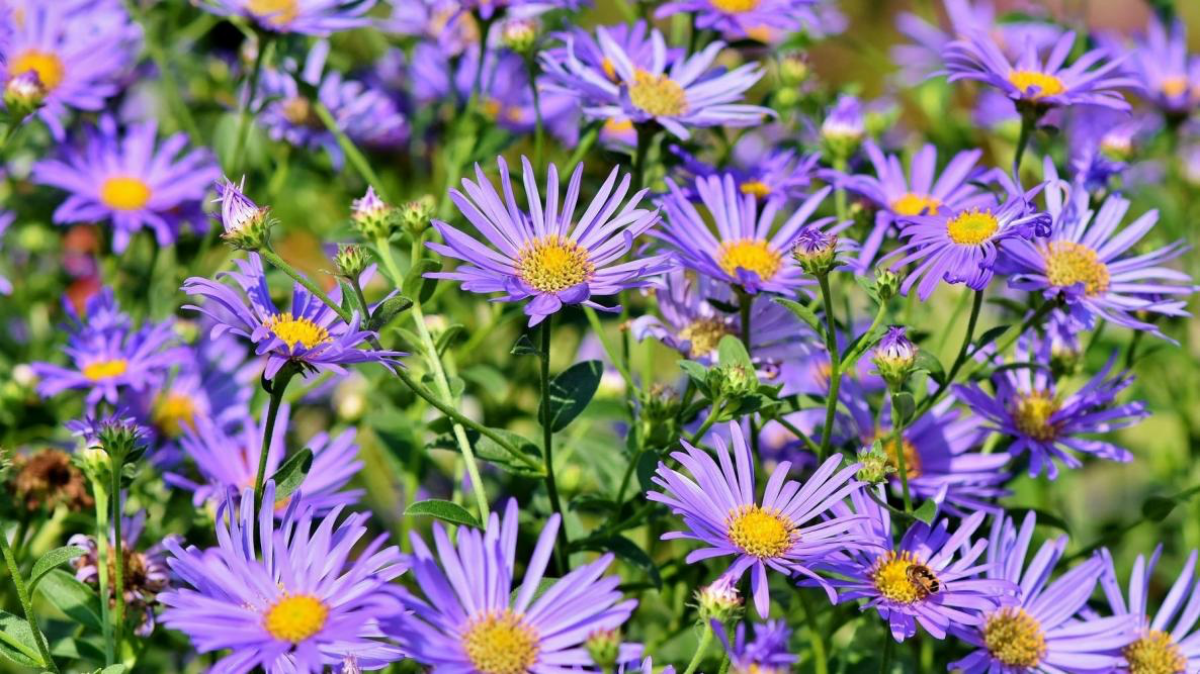
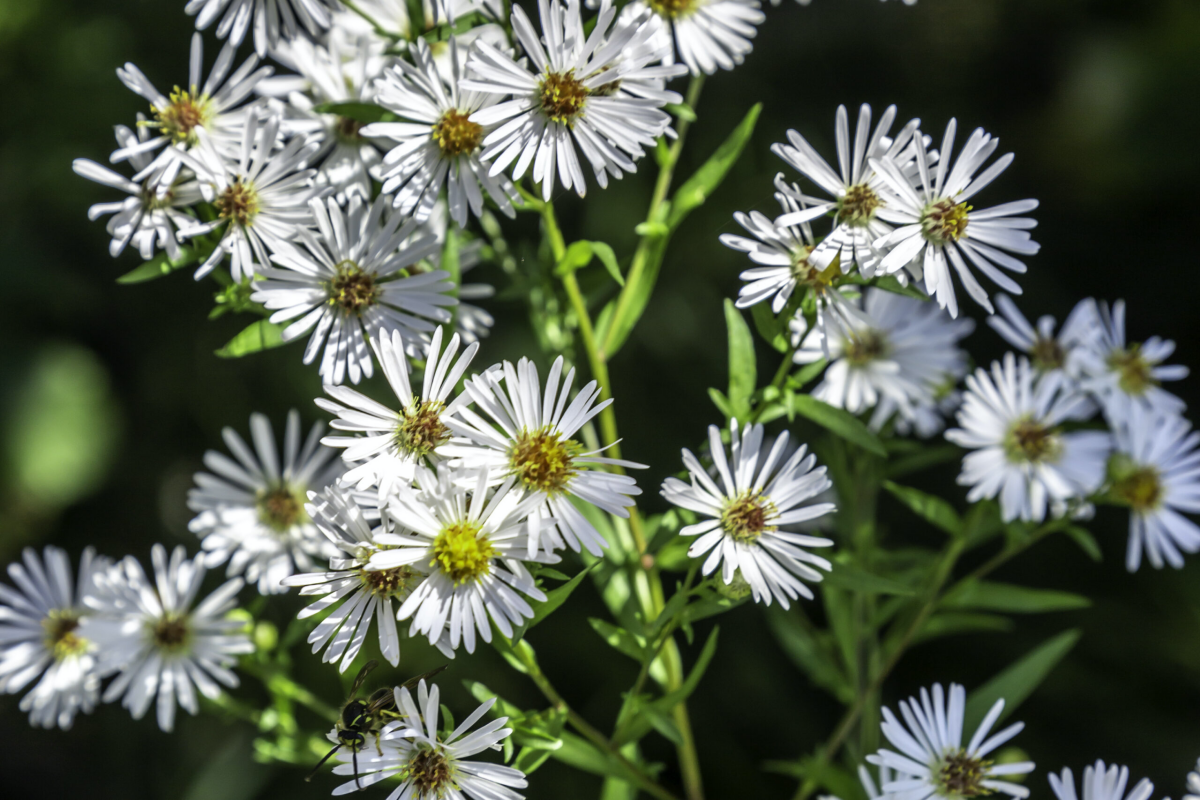
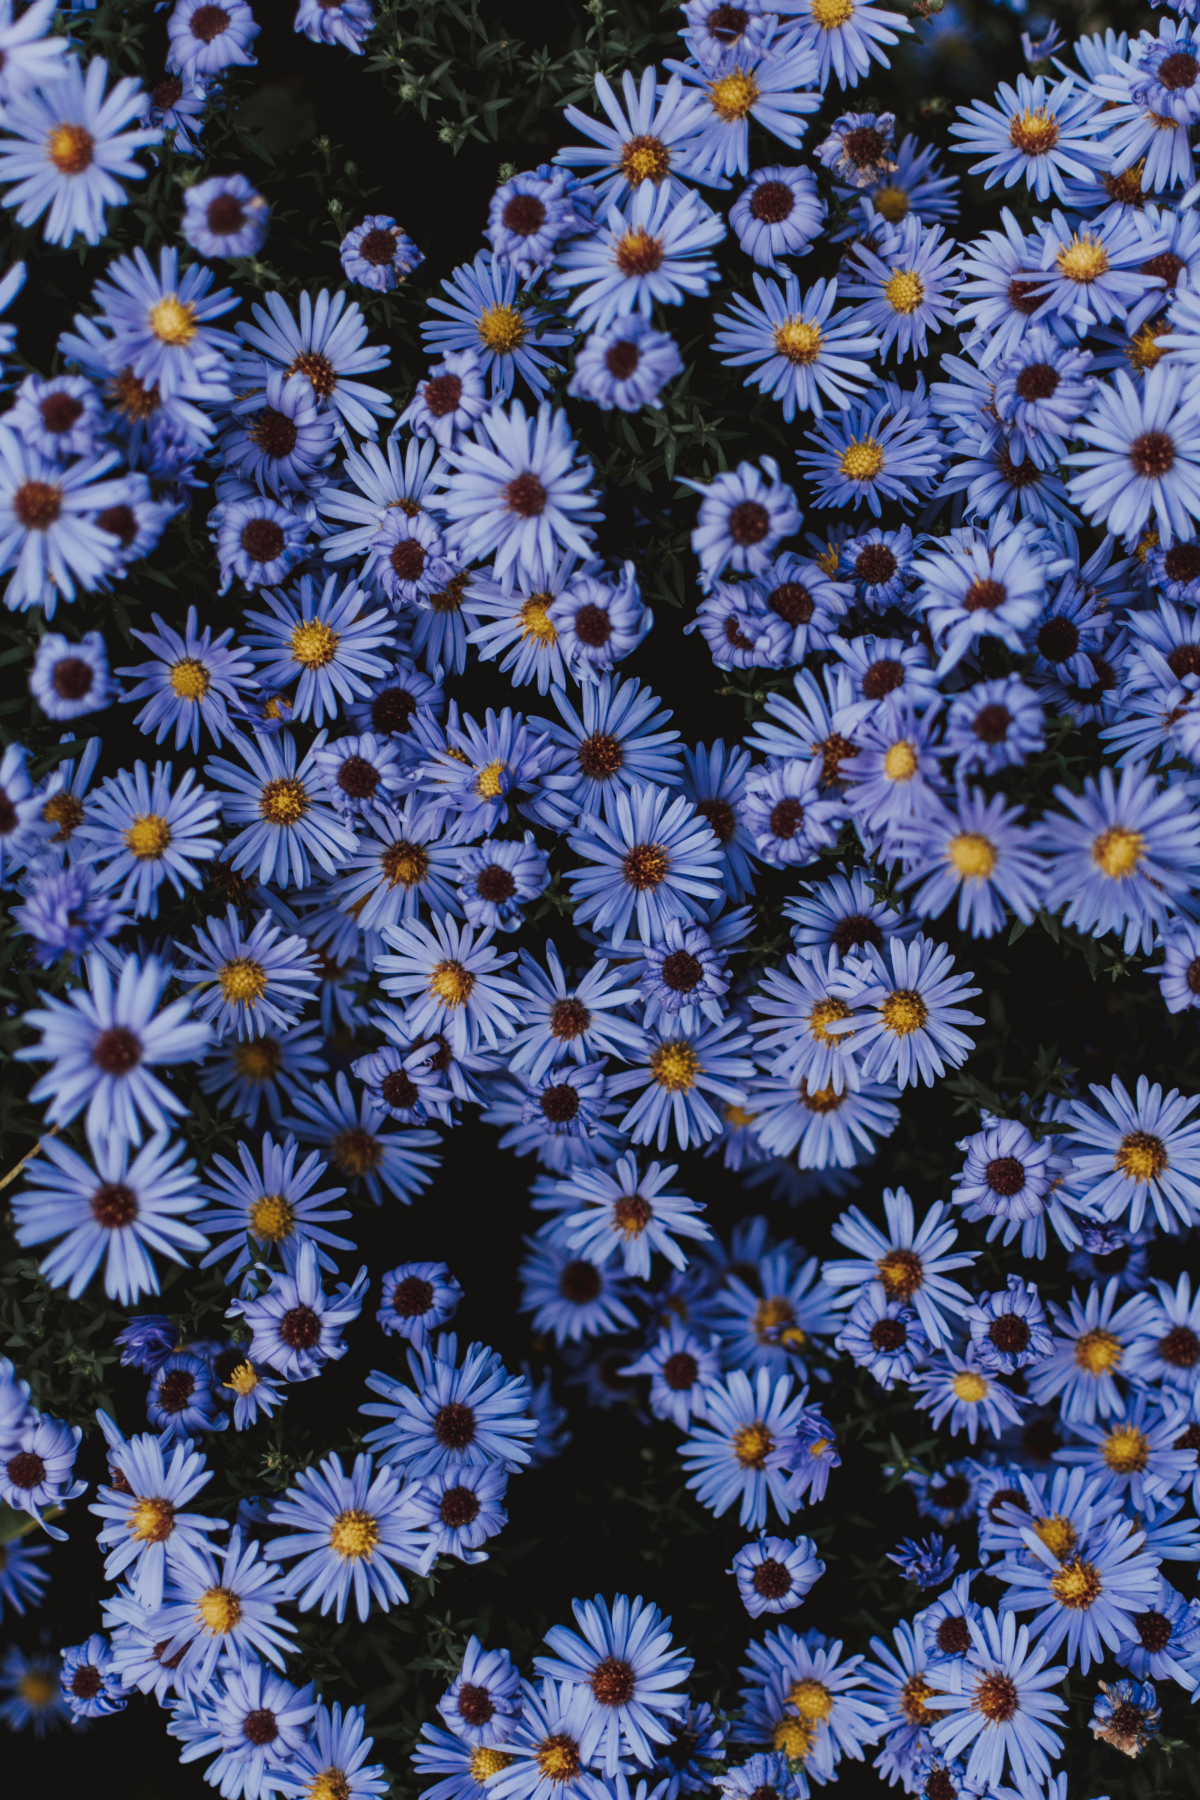
They bring this incredible burst of cool purples, blues, and pinks right when the sunlight gets that low, golden quality. Plus, and this is a big one, they provide a critical late-season buffet for bees and butterflies. But I’ll be the first to admit, I didn’t always get them right. My first attempts were a total disaster—we’re talking tall, lanky stems that flopped over in the first breeze, covered in a weird white dust. They just looked sick.
It took a lot of trial and error (and listening to gardeners who knew way more than I did) to finally crack the code. The good news? Asters aren’t actually difficult. They just have a few non-negotiable demands. This is the real-world advice I’ve picked up over the years to help you skip the frustration and get straight to the beautiful, sturdy, flower-covered plants you’re dreaming of.
So, What’s Their Secret?
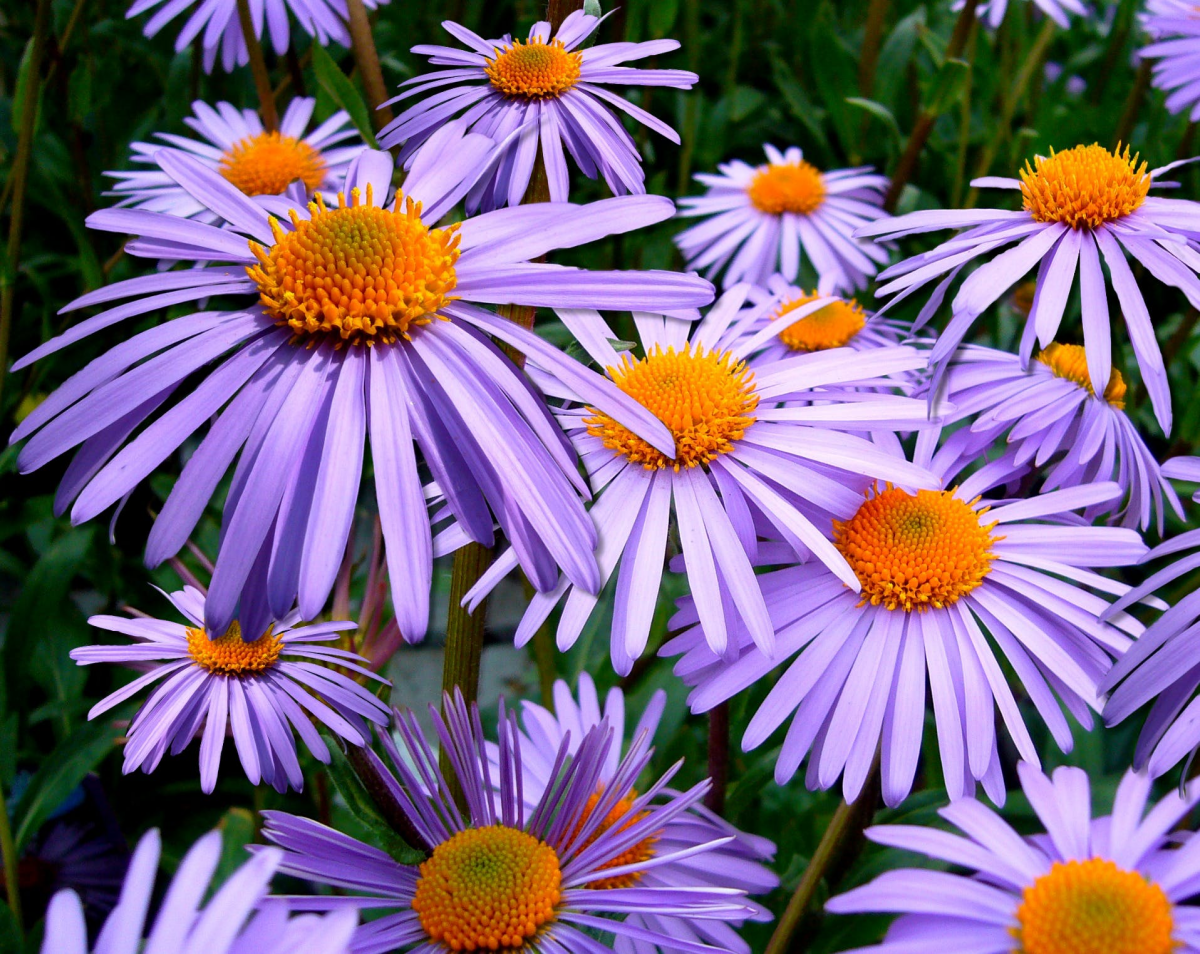
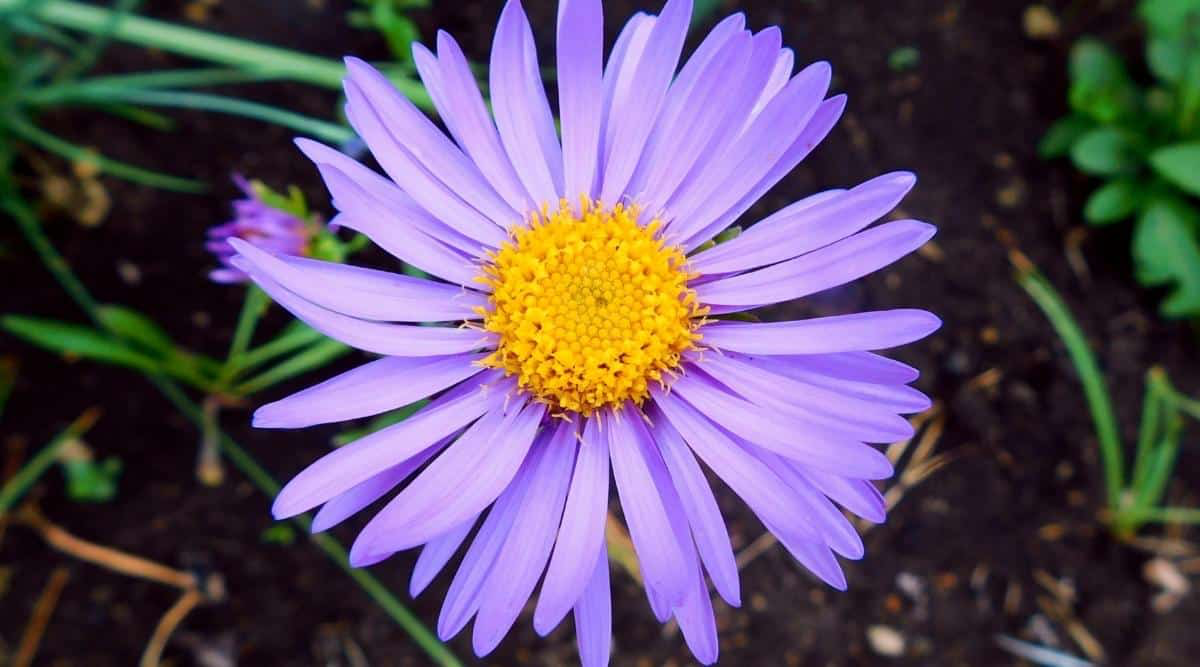
It helps to know a little about what makes these plants tick. Ever notice how asters look like tiny sunflowers or daisies? Well, they’re all in the same family. What looks like one single flower is actually a brilliant little collection of hundreds of tiny flowers. The colorful outer “petals” and the fuzzy central “button” are all individual florets working together. It’s a genius design that creates a big, welcoming landing pad for pollinators.
Here’s the other key thing to understand: their bloom time is hard-wired. They are triggered to flower by the lengthening nights of late summer and early fall. No amount of wishful thinking will make them bloom in June. Their internal clock is tied directly to the seasons, which is exactly why we love them for autumn color.
Choosing the Perfect Spot is Everything
You’ll always hear “full sun,” and that’s absolutely correct. But what does that really mean? For asters, it means a bare minimum of six hours of direct, unfiltered sunlight every day. This is non-negotiable. The sun gives them the fuel to build strong stems (no flopping!) and, of course, tons of flowers. Just as importantly, all that direct sun helps burn off morning dew, which is your number one defense against fungal diseases like powdery mildew.

However, “full sun” can mean different things depending on where you live. In cooler, northern climates, asters can happily bake in the sun all day long. But if you garden somewhere with truly scorching summers, that intense afternoon sun can be brutal. I’ve seen it stress the plants, making them wilt and causing the flower color to look washed out. The fix? Find a spot that gets great morning sun but has a little dappled shade during the hottest part of the afternoon (after 2 or 3 PM).
Oh, and don’t forget about air circulation! I once saw a beautiful row of asters planted right up against a solid stone wall. By August, they were a mildewy mess because the air just couldn’t move. We moved them to a more open spot the next year, and the problem completely disappeared. It’s a better fix than any chemical spray.
Getting the Foundation Right: Soil Prep
Asters are pretty adaptable, but they will not tolerate “wet feet.” Soggy, waterlogged soil is the fastest way to kill them, as their roots will simply rot. Before you even think about planting, do a quick drainage test. Dig a hole about a foot deep, fill it with water, and let it drain. Then fill it again. If that second batch of water is still sitting there 8 hours later, you’ve got a drainage issue.
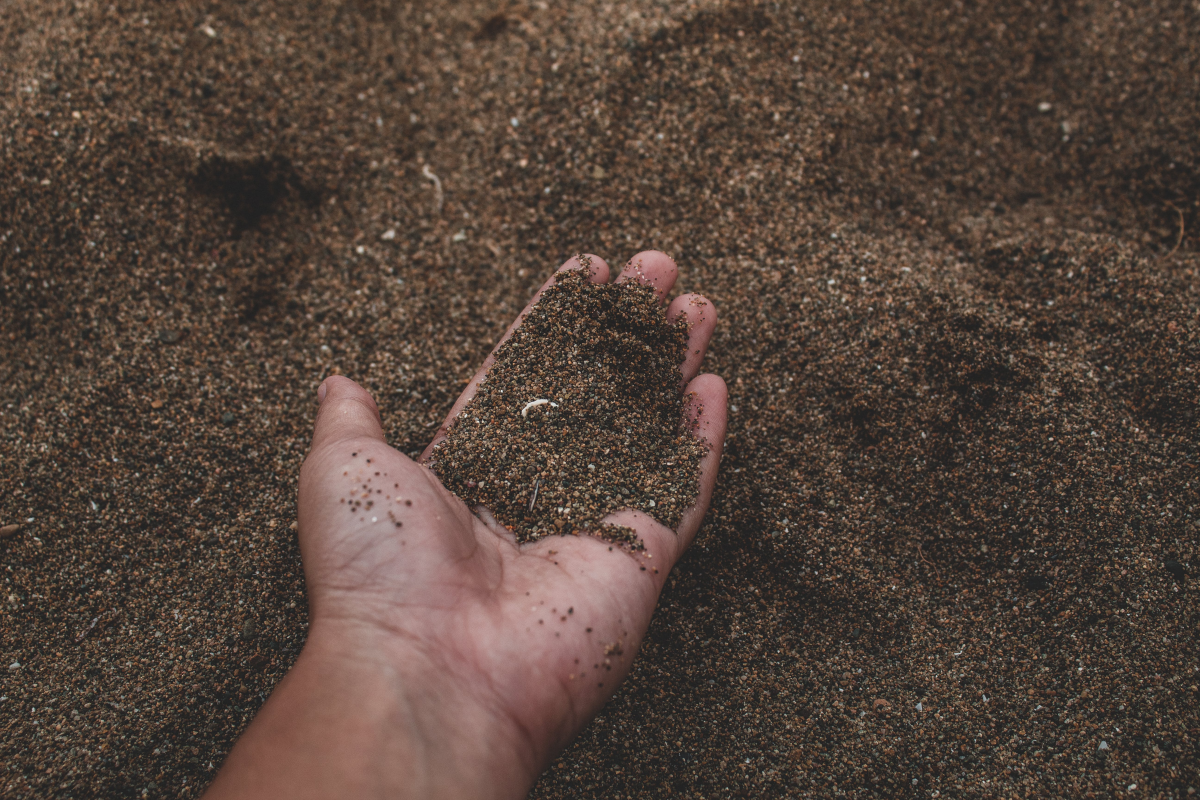
The best way to fix heavy, clay-like soil is to amend it with organic matter. Don’t just dump sand in there; that can create a substance weirdly like concrete. Instead, work in a 2- to 3-inch layer of good compost or well-rotted pine bark fines into the top 8-10 inches of soil. A good quality bag of compost will only set you back about $5-$10, and it’s the best money you’ll spend for your garden’s health.
A quick word on pH: asters prefer a slightly acidic to neutral soil, which is where most garden soils already are. Don’t stress about it unless your plants are showing signs of trouble, like yellowing leaves. If you’re concerned, a simple soil test kit from a garden center can give you peace of mind.
How to Plant Asters for Success
Before we dig in, let’s make sure you have what you need. It’s a pretty simple list.
- Your new aster plant(s)
- A bag of compost (like we just talked about)
- A good spade or garden fork
- Gardening gloves are always a good idea
Picking a Winner at the Nursery
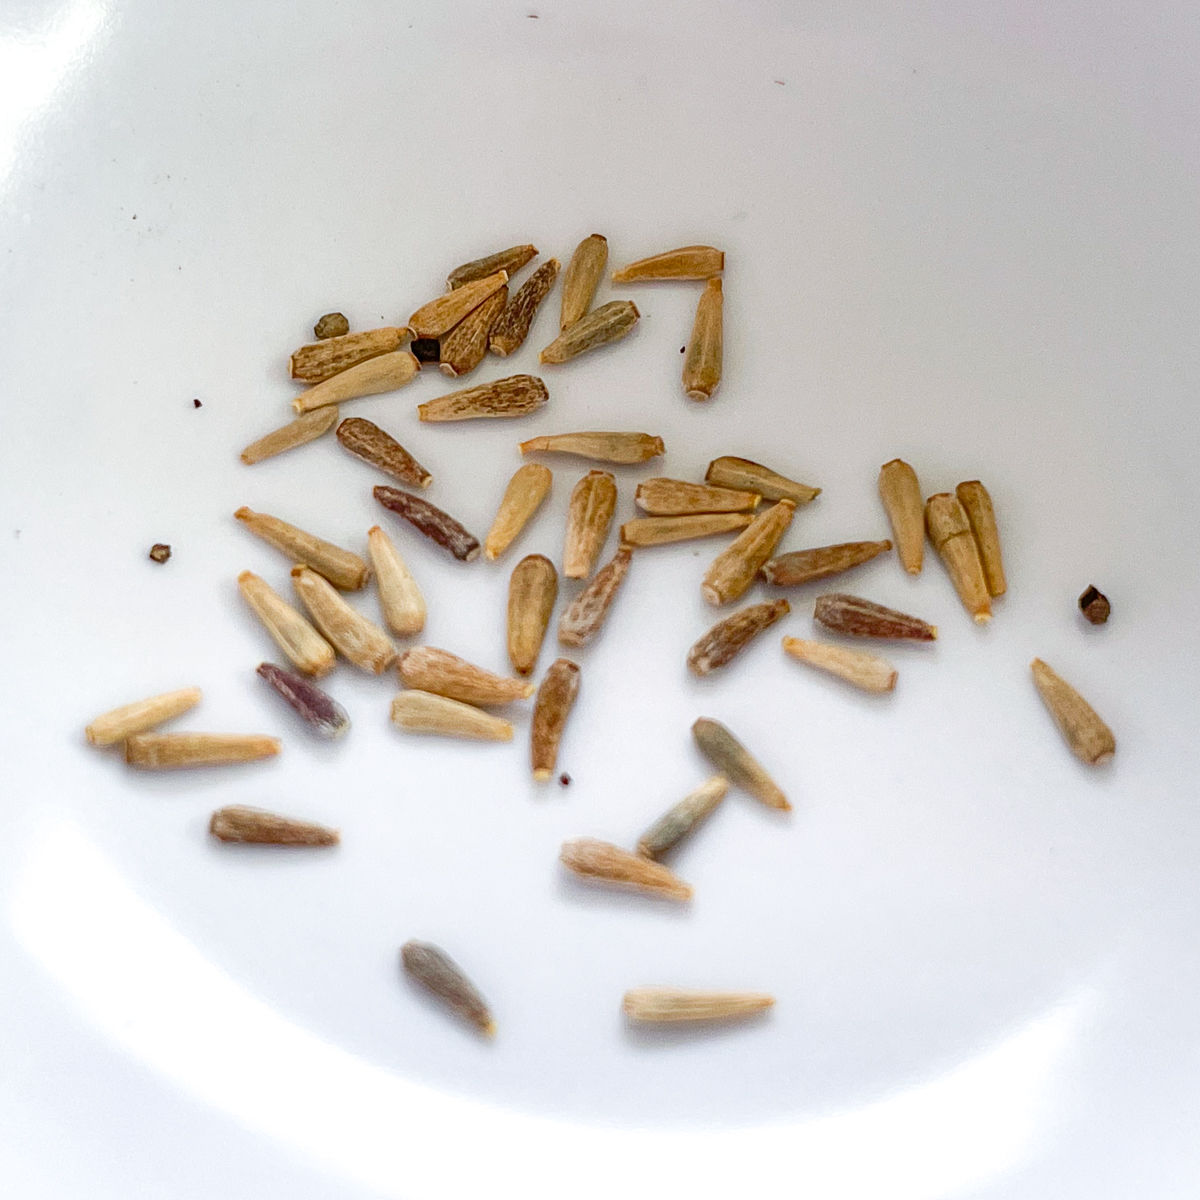
You can technically grow asters from seed, but for reliable results, I highly recommend buying nursery plants. You’ll get a beautiful plant this year instead of next, and it will be true to its type. When you’re at the garden center, look for plants with lush, deep green leaves and no signs of that white powdery mildew. A healthy one-gallon aster plant will typically run you between $10 and $20.
By the way, not all asters are created equal when it comes to disease. If you’re a beginner, I’d point you toward a couple of standouts. ‘Purple Dome’ is fantastic if you want something short, compact (about 18 inches tall), and tidy that covers itself in vibrant purple flowers. It has pretty good mildew resistance. On the other hand, if you want a taller, more elegant and airy look, ‘Raydon’s Favorite’ is an absolute knockout. It gets a bit taller, around 2-3 feet, with stunning blue-purple flowers and is known for being incredibly resistant to mildew.
Time to Plant
Got your plant? Great. The best time to plant is in the spring to give it a full season to get established, but early fall works too—just make sure it’s in the ground at least six weeks before your first hard frost is expected.
Dig a hole that’s twice as wide as the pot but no deeper. This is important! The plant needs to sit at the same level in the ground as it was in the pot. Planting it too deep can cause the crown to rot. Gently slide the plant out of its container and check the roots. If they’re a dense, coiled-up mess, you need to gently tease them apart with your fingers to encourage them to grow outwards into their new home. Pop it in the hole, backfill with your native soil, and give it a long, deep drink of water to settle everything in.
The Top 3 Aster Mistakes I See All the Time
Want to save yourself some grief? Avoid these common pitfalls.
- Planting Too Close: I get it, you want that instant full look. But asters need room to breathe. Crowding them is just asking for mildew. Check the plant tag! Taller types need 2-3 feet of space, while shorter ones need about 18 inches. It’ll look sparse at first, but trust me, they will fill in.
- Too Much Kindness (aka Fertilizer): I’ll never forget the year I gave my asters a big dose of high-nitrogen fertilizer, thinking I was helping. They shot up to five feet tall, all leaves and weak stems, and then flopped into a sad, green mess after the first rain. I learned my lesson! A little compost in the spring is all they need.
- Skimping on Sun: Planting asters in a spot that only gets 3-4 hours of sun might seem okay, but you’ll pay for it with fewer flowers and weaker, leggier stems that are more prone to disease. Give them the sun they crave.

A Pro-Level Trick: The “Chelsea Chop”
If you learn only one advanced technique, make it this one. It’s a game-changer for getting those perfectly domed, sturdy plants you see in professional gardens, and it’s super easy.
Sometime in late spring or early summer, you cut the entire plant back by about one-third to one-half. A good rule of thumb is to do it when the plant reaches about 12-18 inches in height—it’s much easier than remembering a specific date on the calendar. Use clean, sharp shears. Yes, it feels brutal. Your plant will look like a sad little stump for a week or two. But the magic that follows is worth it.
This single cut forces the plant to branch out, creating a much shorter, bushier, and sturdier plant that won’t need staking. And since every new branch will produce flowers, you’ll get a much more dramatic bloom display. It’s the secret weapon.
Dealing with Pests and Mildew
Healthy plants are your best defense, but sometimes problems happen. That white, dusty coating on the leaves is powdery mildew, the #1 complaint I hear about asters. It won’t kill the plant, but it looks awful. Prevention is key: good spacing, full sun, and always watering the soil at the base of the plant, not the leaves.
If you do see it, you can try an organic spray. A solution of one tablespoon of potassium bicarbonate (a safer alternative to baking soda) mixed in a gallon of water with a half-teaspoon of liquid soap can be effective if you catch it early. Another issue you might see is rust, which looks like orange-brown spots on the underside of leaves. For both issues, good fall cleanup is essential. Cut back all the old foliage after a hard frost and get rid of it—don’t compost diseased material.
How to Make More Asters (for Free!)
One of the best things about perennial gardening is making new plants for free, and asters are perfect for this. In fact, they need to be divided every 3-4 years to stay healthy and vigorous. It prevents the center of the clump from getting old and woody.
The best time to do this is in the spring, just as new growth is starting to poke through the ground. Simply dig up the whole clump with a sharp spade. You’ll see that the healthiest, most vigorous growth is around the edges. Use the spade or an old serrated knife to slice the clump into fist-sized sections, making sure each new piece has some roots and a few shoots. Discard the old, woody center and replant your new divisions. Just like that, you’ve turned one plant into three or five new ones!
Asters are so much more than just another flower. They’re a final gift to pollinators and a beautiful signal of the season’s change. Give them what they need, and they will reward you with a stunning performance, year after year.
Galerie d’inspiration

Asters are the stars of the autumn garden, but every star needs a strong supporting cast. To create a truly breathtaking fall scene, think about texture and color contrasts that make your asters pop.
- Sedum ‘Autumn Joy’: Its broad, fleshy heads transition from pink to a deep coppery red, providing a sturdy, architectural contrast to the delicate aster daisies.
- Switchgrass (Panicum virgatum): The airy, fine-textured plumes of this ornamental grass catch the low autumn light beautifully and sway in the breeze, adding movement alongside the static aster mounds.
- Goldenrod (Solidago): Don’t fear it! A well-behaved cultivar like ‘Fireworks’ offers arches of brilliant gold that perfectly complement the cool purples and blues of asters.
Ever wonder how professional gardeners achieve those perfectly compact, sturdy aster mounds that never flop?
The secret is a technique called the


