Philodendron Moonlight Care: Your Complete Guide to Getting That Glow
I’ve been around tropical plants for a good long while, both in huge commercial greenhouses and helping out private collectors. You see a lot of plants become the “it” thing for a year and then vanish. But some, like the Philodendron ‘Moonlight,’ just stick around. And for good reason.
In this article
- Your Quick-Start Guide (The Cheat Sheet)
- Why Your Moonlight Looks the Way It Does
- Setting Up the Perfect Environment (The Pro-Level Stuff)
- The Foundation: Soil and Repotting
- Keeping It Thriving: Food, Pruning, and More Plants!
- Troubleshooting Common Problems
- A Couple Final (But Important) Notes
- Galerie d’inspiration
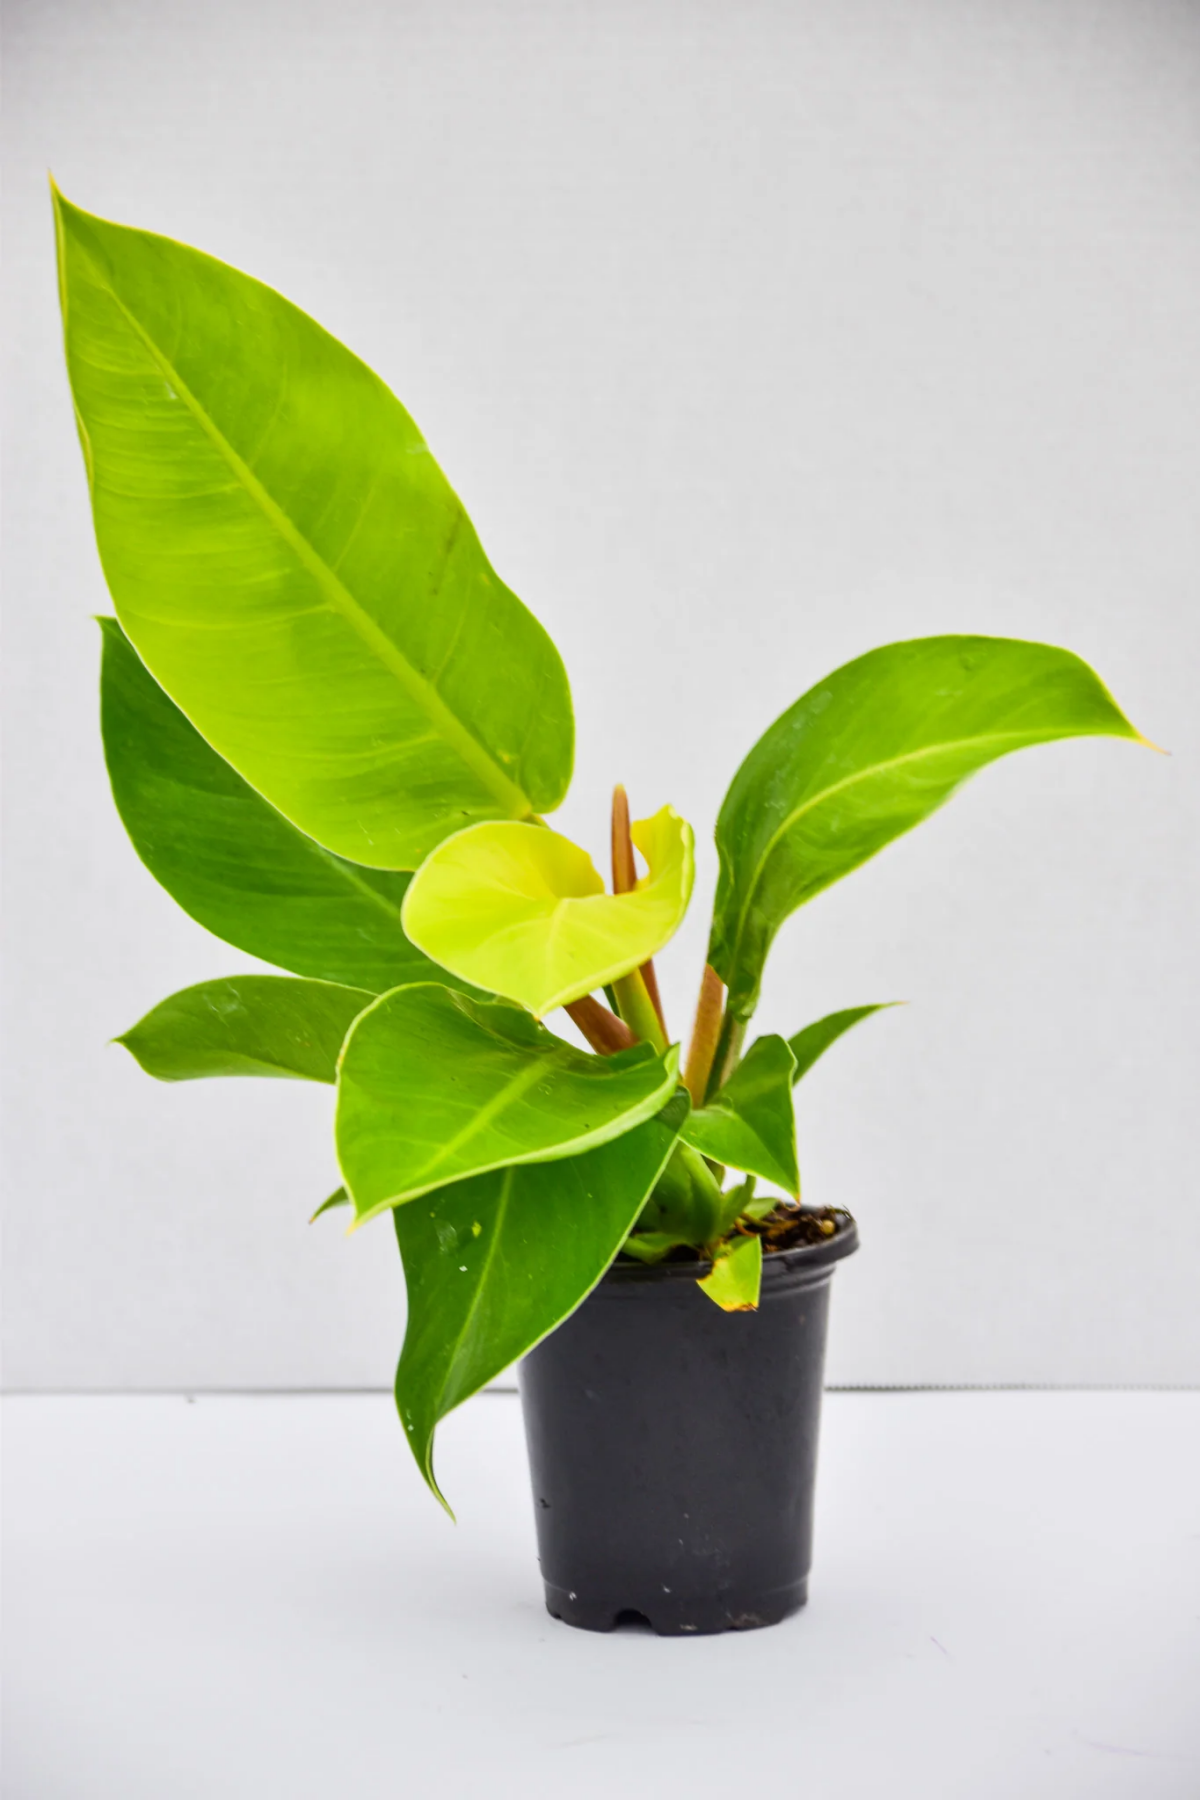
The first time I saw one, it wasn’t as a hobbyist, but as a pro trying to find the next big thing for the houseplant market. We needed something with knockout color that wasn’t as fussy as some of the high-maintenance collector plants. The ‘Moonlight’ was an instant standout. Seriously, its electric-lime leaves look like they’re plugged in. It was tough, grew in a nice, tight shape, and just screamed “I’m easy to care for!”
So this guide is everything I’ve learned, both from growing thousands of them and from having them in my own home. I want to get past the basic care tips and really explain why you’re doing what you’re doing. Once you get how this plant operates, taking care of it becomes second nature.
Your Quick-Start Guide (The Cheat Sheet)
In a hurry? Here are the absolute basics to keep your Moonlight happy. We’ll dive deeper into all of this, but this is your go-to reminder.
- Light: Bright, indirect light is king. Think near an east-facing window or a few feet from a south/west window. Never direct sun!
- Water: Water thoroughly when the top 2-3 inches of soil are dry. It hates soggy feet, so err on the side of slightly too dry rather than too wet.
- Soil: Use a chunky, airy, well-draining mix. A blend of orchid bark, perlite, and potting soil is perfect. Standard potting mix is usually too dense.
- Fertilizer: Feed with a balanced liquid fertilizer (diluted to half-strength) every 3-4 weeks during spring and summer. Ease up in the winter.
Why Your Moonlight Looks the Way It Does
To really get this plant, you have to know it was basically designed in a lab—in a good way! It’s a hybrid, meaning plant experts carefully cross-bred different philodendrons to create a superstar houseplant. This is why it’s so stunning and relatively easy-going.
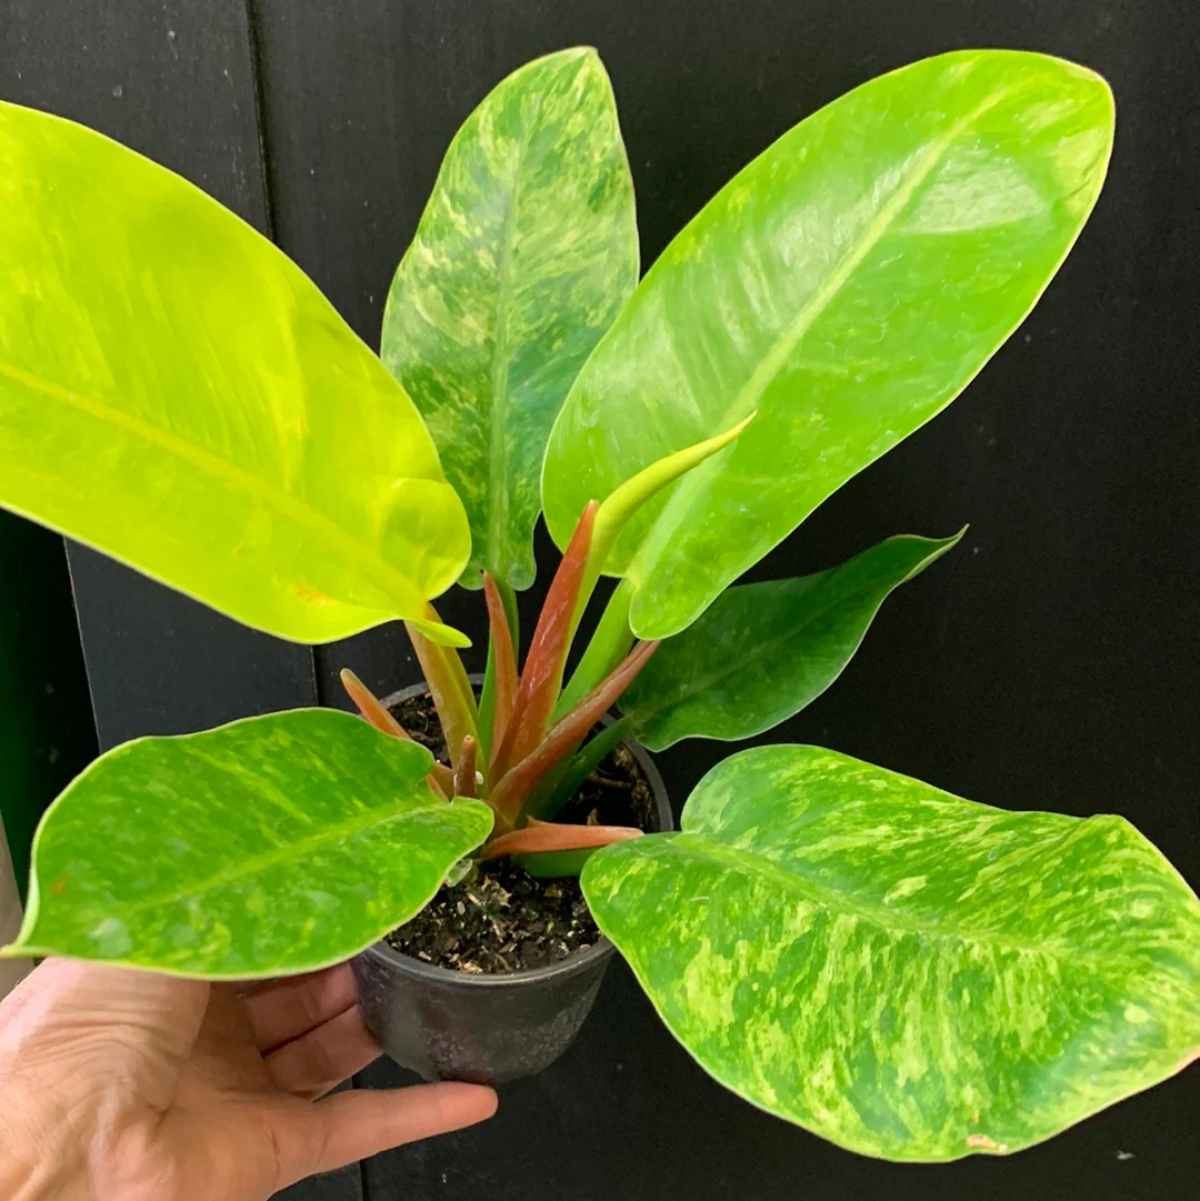
The Magic of Its Color-Changing Leaves
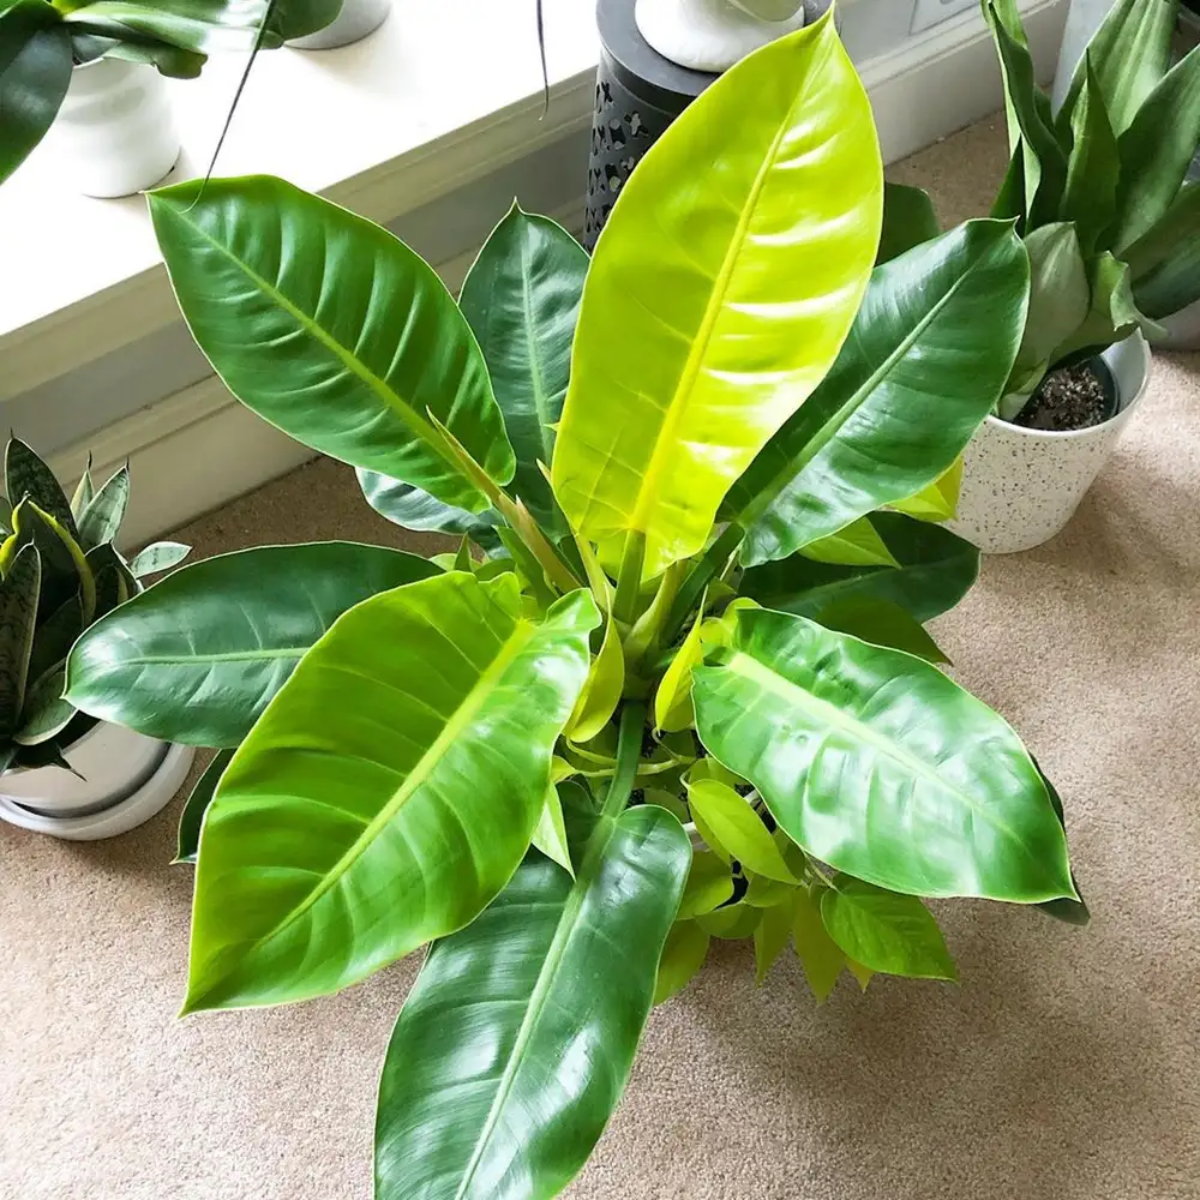
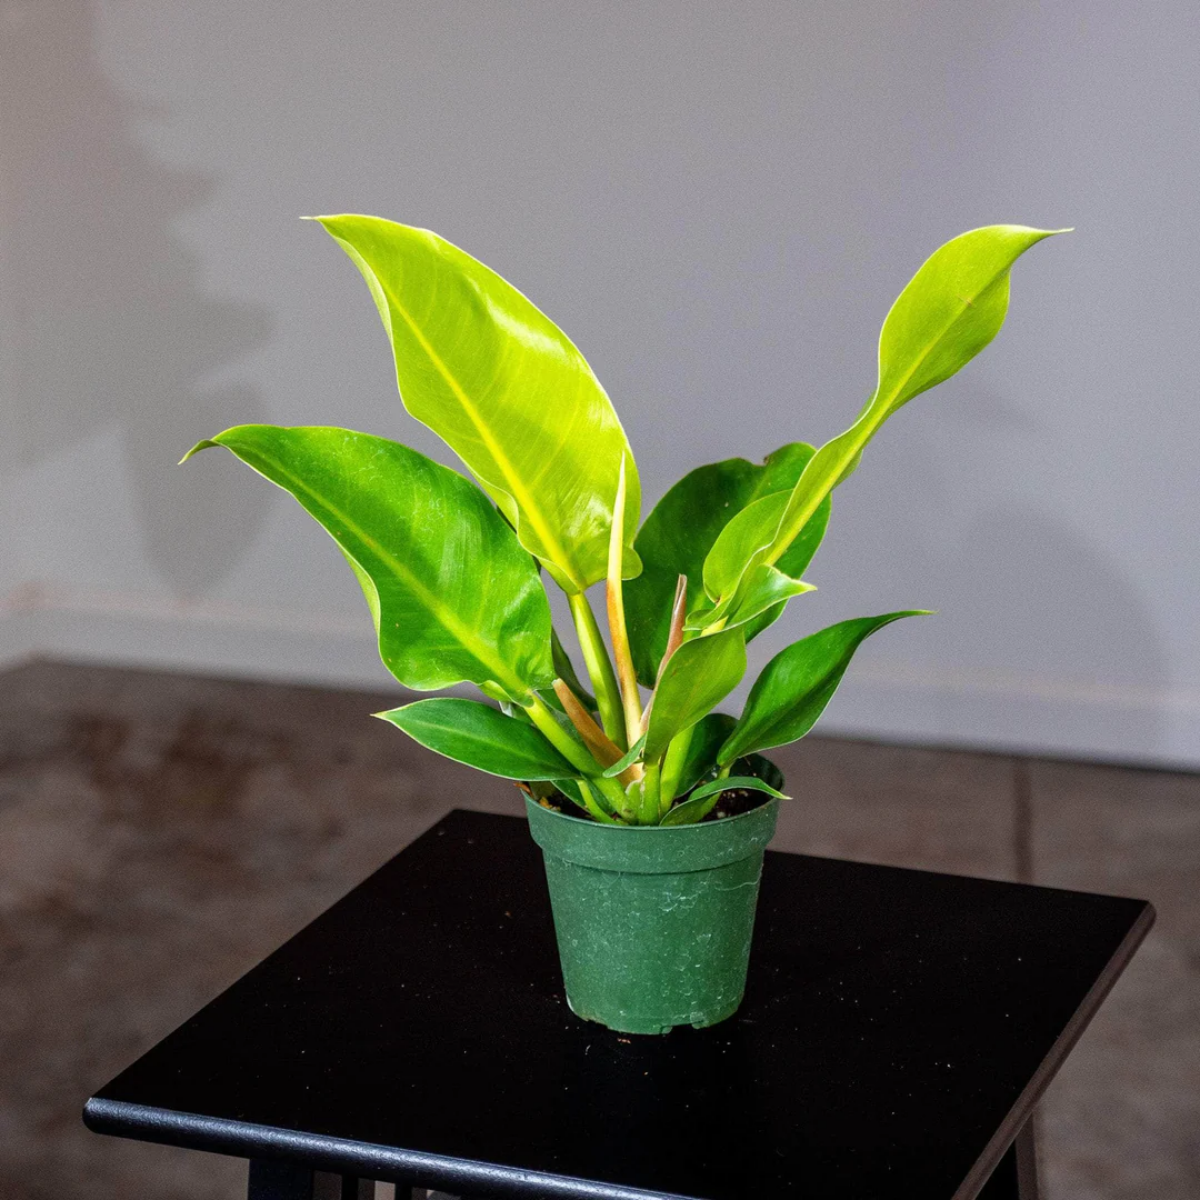
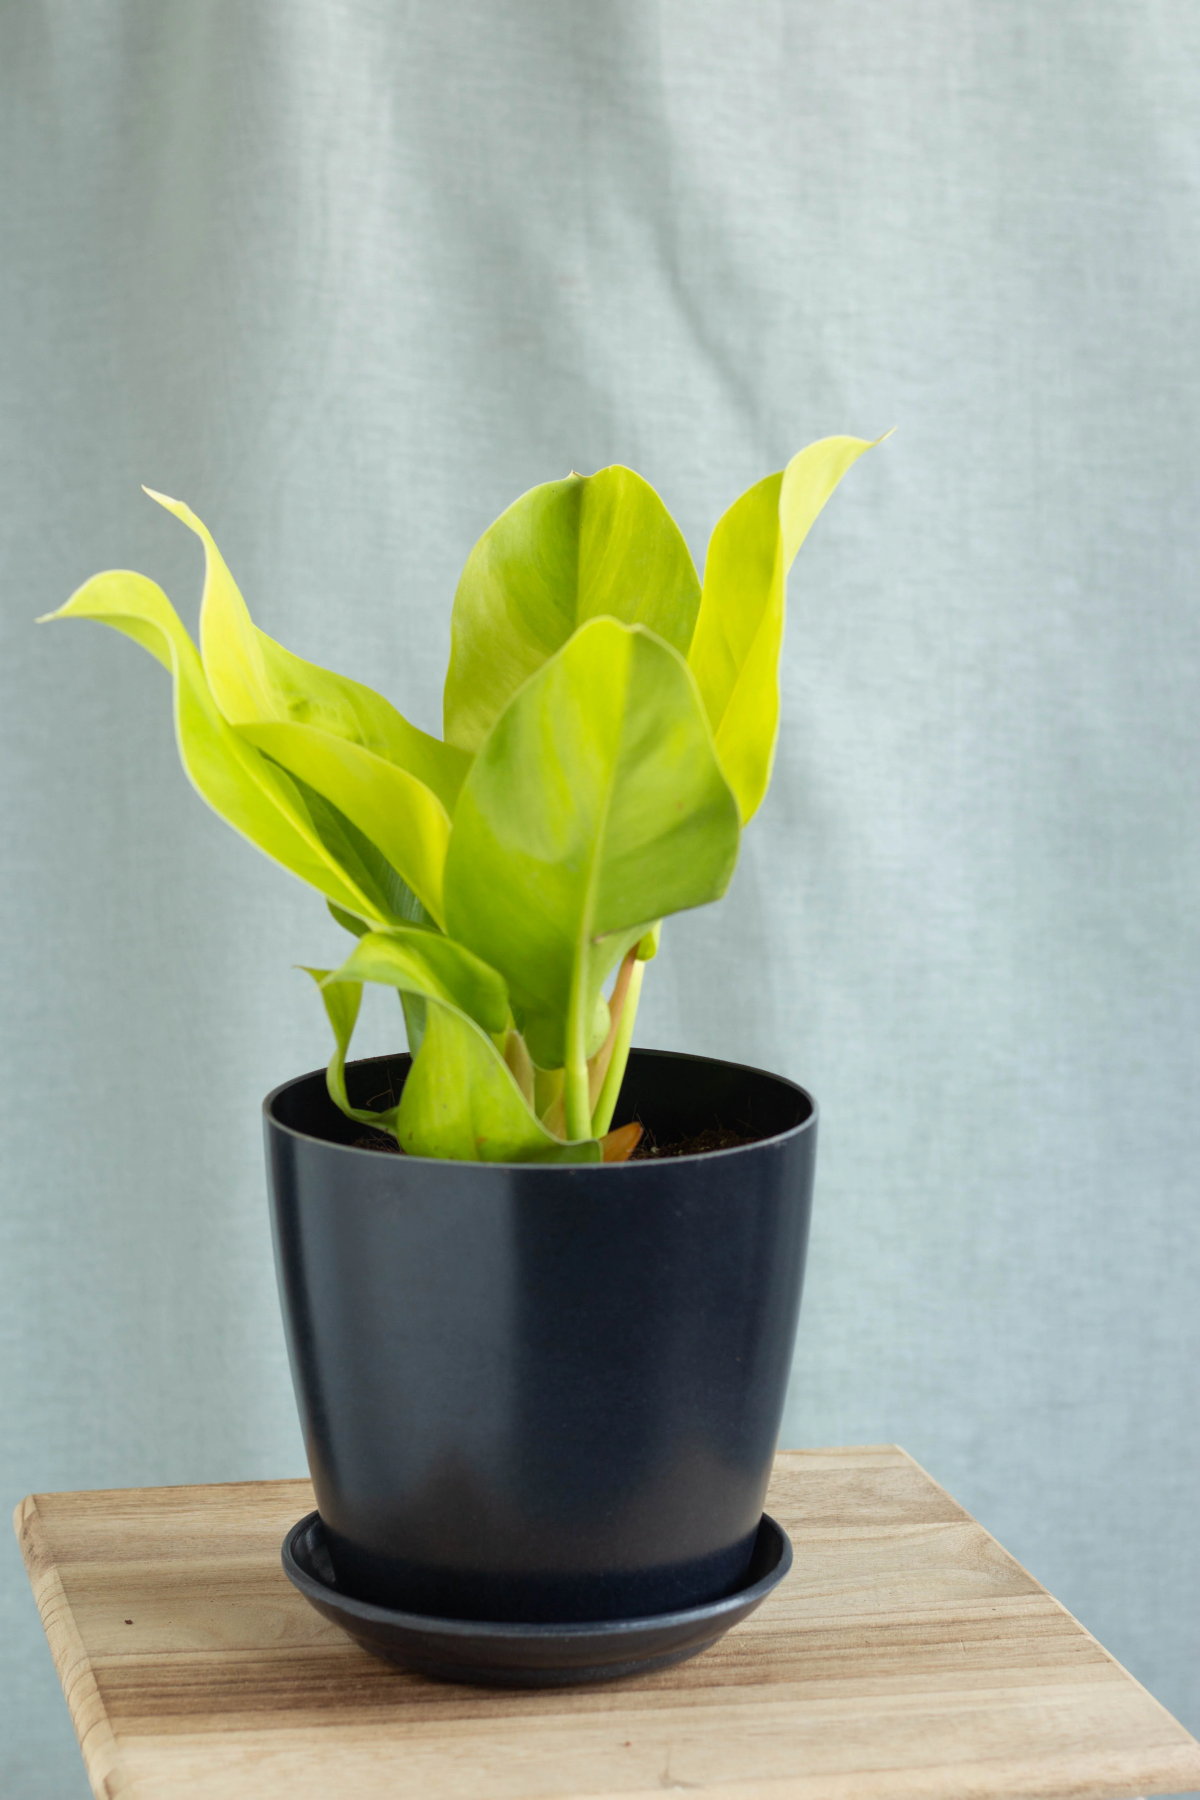
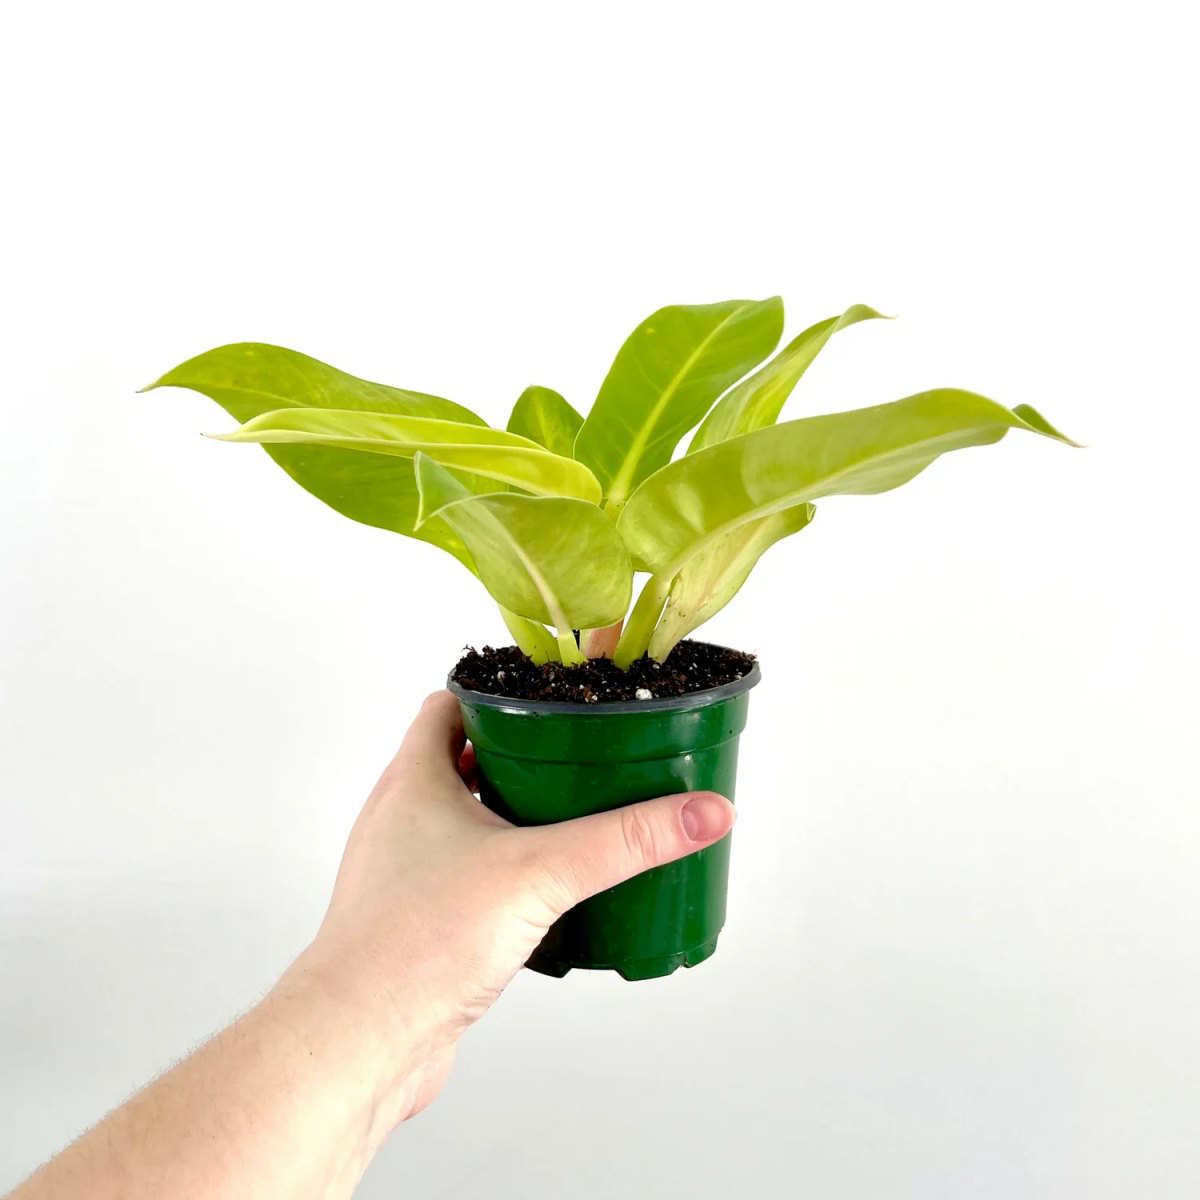
That incredible color is the main event. New leaves pop out a brilliant, almost neon chartreuse. Then, over a few weeks, they slowly transform into a deep, rich emerald green. This isn’t a sign of a problem; it’s a sign of a healthy, functioning plant!
Here’s the simple science: The bright new leaves have less chlorophyll (the green stuff for photosynthesis). This lets other yellow pigments shine through. As the leaf gets older and becomes a hardworking part of the plant, it produces way more chlorophyll to absorb more light. The result? It turns that darker, super-efficient green. A steady stream of bright new leaves means you’re doing a great job.
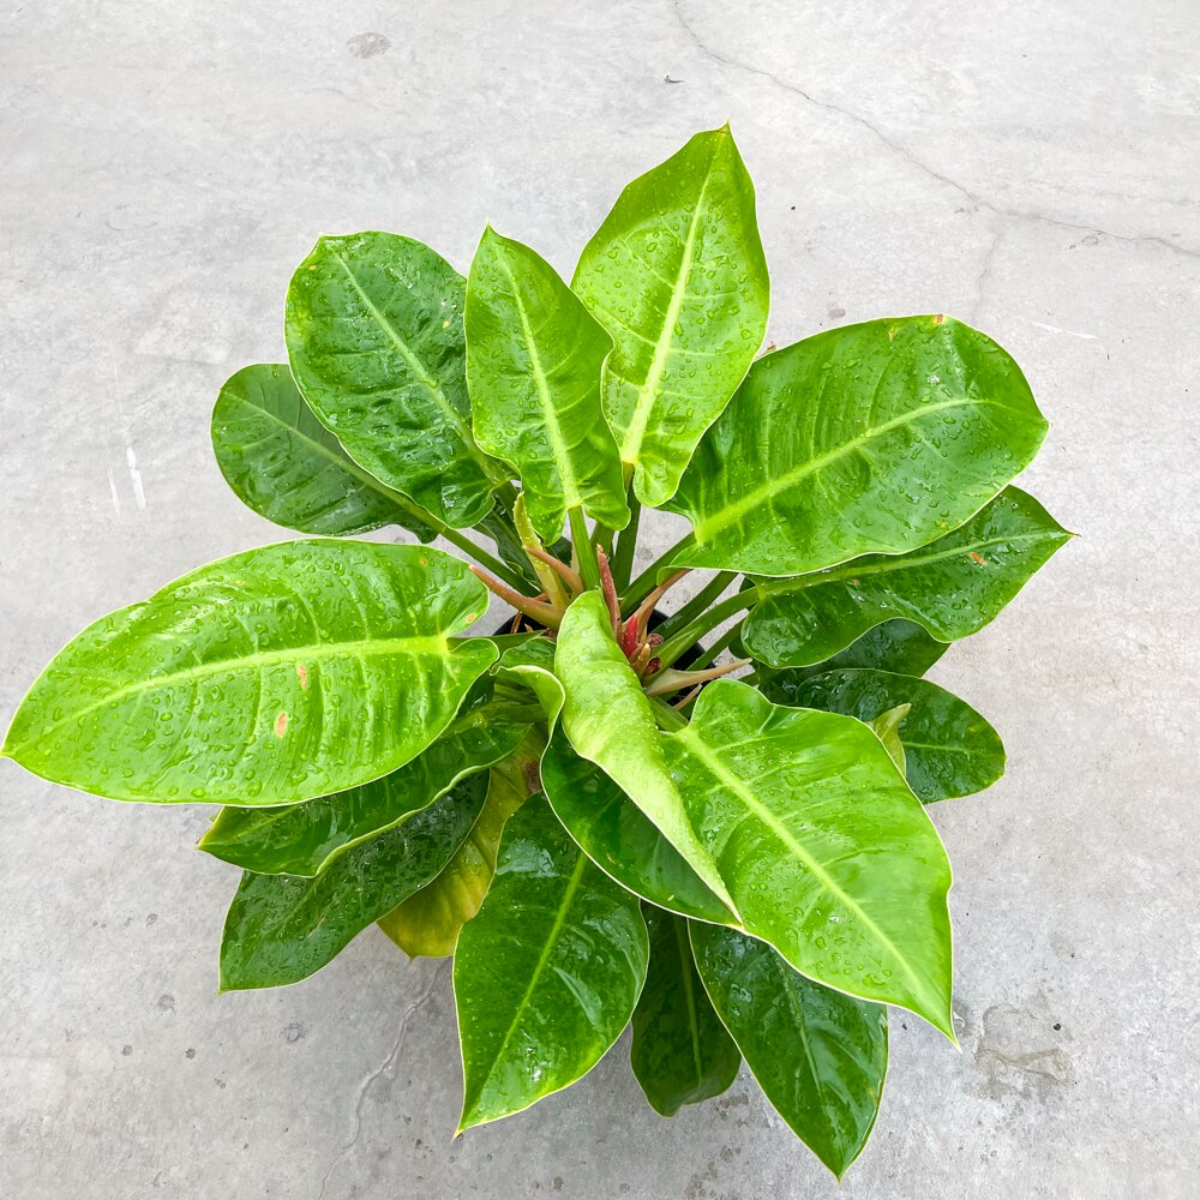
It’s a Clumper, Not a Climber
Another key trait is its growth style. The ‘Moonlight’ is “self-heading,” which is just a fancy way of saying it grows from a central base. It pushes out new leaves from the middle, getting wider and bushier over time, like a rosette. This is different from its vining cousins, like the classic Heartleaf Philodendron, that send out long runners. Knowing this helps you understand that you’ll be managing its bushiness, not trimming back long vines.
Setting Up the Perfect Environment (The Pro-Level Stuff)
In the greenhouse, we’re total control freaks about the environment. You can use the exact same principles at home to get incredible results. It’s all about stability.
Light: The Most Important Thing for Color
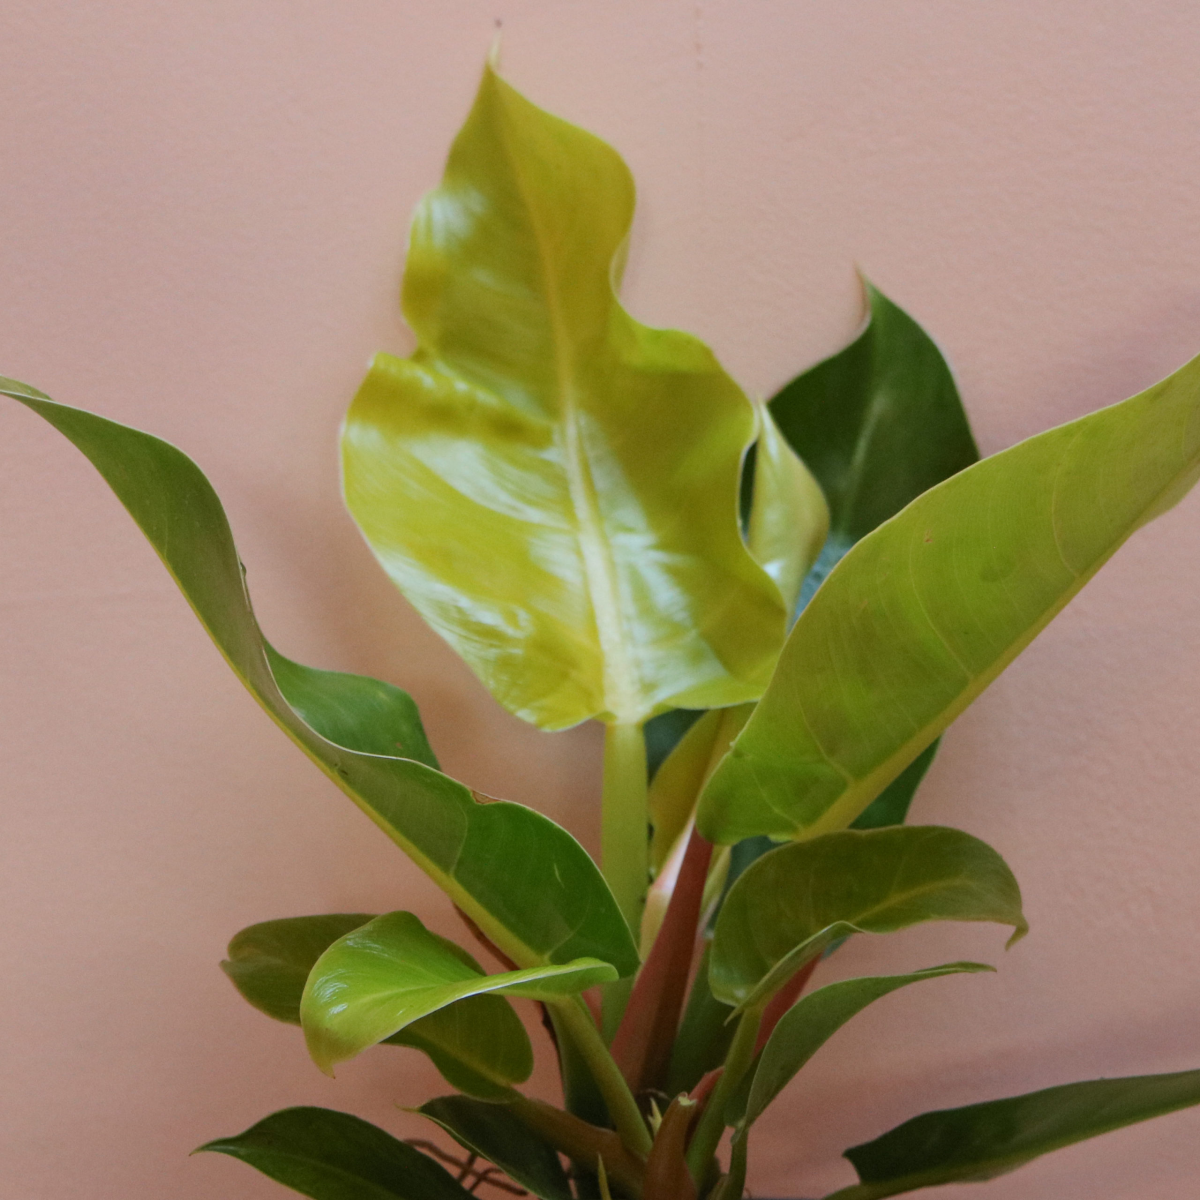
“Bright, indirect light” is the golden rule for a reason. You need enough light to power that neon color, but direct sunbeams will scorch the leaves, leaving ugly brown spots. Too much direct sun can also stress the plant out, making the leaves look pale and washed-out.
An east-facing window with gentle morning sun is the absolute sweet spot. A spot a few feet back from a sunny south or west-facing window works great, too, especially if you have a sheer curtain to diffuse the light.
A little case study from my own office: I tried keeping one in a dimmer corner for about six months. It survived, but the new leaves were smaller and a blah lime-green instead of that electric yellow. The whole plant just turned dark green. But after moving it right next to an east window? BAM. The next two leaves that came out had that signature, vibrant glow. It makes a HUGE difference.
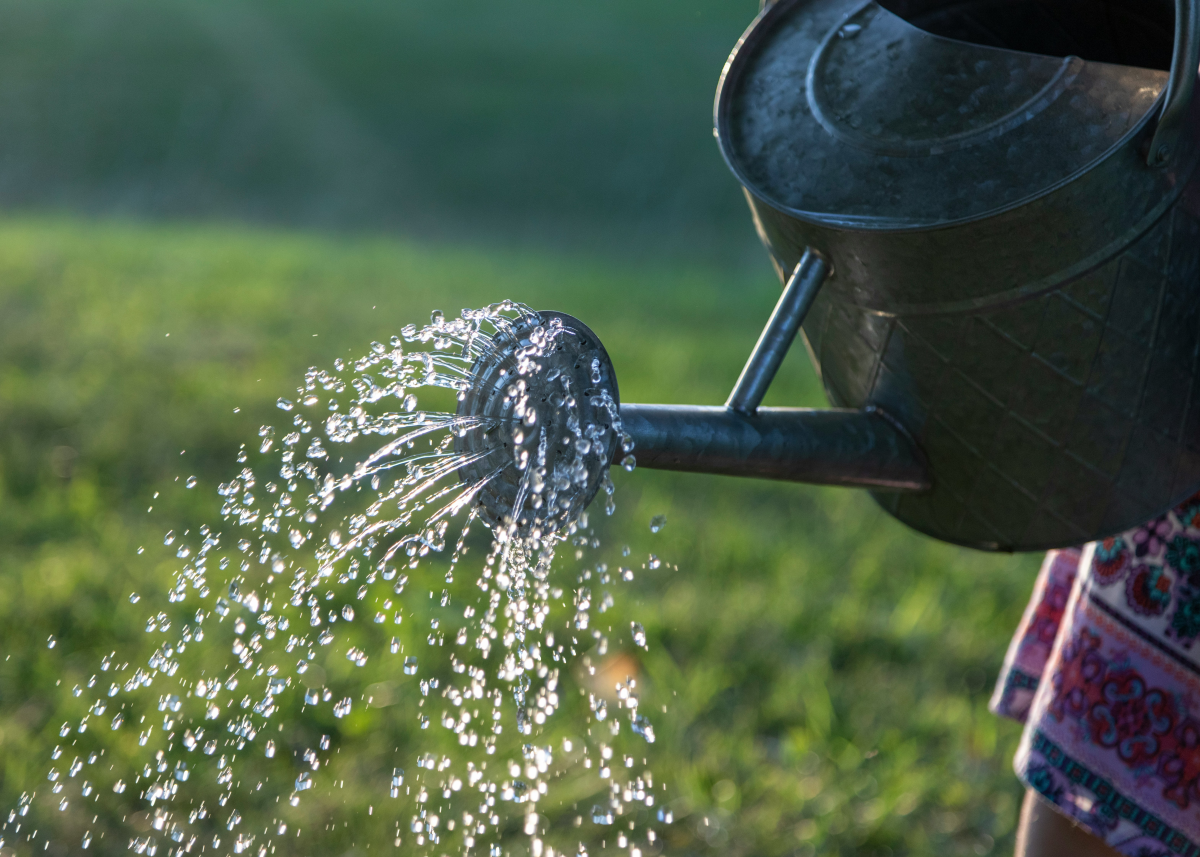
Watering: How to Get It Just Right
Honestly, more plants die from overwatering than anything else. For a ‘Moonlight,’ the goal is soil that’s consistently moist but never, ever soggy. The roots need oxygen, and waterlogged soil suffocates them, leading to root rot—which is incredibly hard to fix.
- Signs of Overwatering: Multiple leaves turning yellow at once, a mushy base, and soil that never seems to dry out.
- Signs of Underwatering: Droopy or wilting leaves that feel soft, curling leaf edges, and soil that’s pulling away from the sides of the pot. It will perk up quickly after a good drink!
The old “stick your finger in” trick works, but here are a couple of better methods I swear by:
- The Lift Test: This is my favorite. Pick up your plant right after you’ve given it a thorough watering. Feel how heavy it is. Now, pick it up every few days. You’ll be surprised how quickly you learn to feel the difference when it’s light and thirsty.
- The Chopstick Method: Grab a plain wooden chopstick or skewer and gently push it down into the soil. Leave it for a minute. If it comes out clean and dry, it’s time to water. If it has damp soil clinging to it, give it a few more days.
When you do water, take it to the sink and let water run through until it pours out the drainage holes. This soaks the entire root ball and flushes out any mineral buildup. Just make sure you let it drain completely and never leave it sitting in a saucer of water.
Humidity: A Little Spa Treatment
These plants are tropical at heart, so they love humidity. Your typical home, especially with the heat or AC running, is a bit like a desert. While the ‘Moonlight’ is pretty tough, you’ll prevent crispy brown leaf tips and get bigger leaves if you can boost the humidity to around 50-60%.
So, how do you do that? Misting is popular, but to be frank, its effects are gone in minutes. Grouping plants together is a better option, as they create a little humid microclimate for each other. A pebble tray (a tray with pebbles and water under the pot) works okay. But if you really want to make it happy, a small humidifier is the most effective solution by far. It’s a small investment for healthier, happier plants across the board.
For temperature, just keep it comfy. Anything between 65-80°F (18-27°C) is perfect. The main thing is to avoid drafts from windows, doors, or vents.

The Foundation: Soil and Repotting
You can’t build a great house on a bad foundation, and you can’t grow a great plant in bad soil. Most standard, bagged potting mixes are too dense and heavy for aroids like this. They hold too much water and don’t have enough air pockets. I always mix my own—it’s cheaper and the results are night and day.
DIY Aroid Soil: The Shopping List & Recipe
You can find these ingredients online or at most garden centers. A batch will last you for multiple plants and repottings!
- Orchid Bark: Creates air pockets for roots to breathe. (A small bag runs about $10-$15).
- Coarse Perlite: Super lightweight volcanic rock that prevents soil from getting waterlogged. (Around $8-$12 a bag).
- Good Potting Soil: Provides nutrients and substance. (Choose one without added moisture crystals, about $10 a bag).
- Coco Coir: A sustainable peat moss alternative that holds moisture well. (A compressed brick is about $10-$15 and expands a ton).
- Horticultural Charcoal: Optional, but I love it. It helps absorb impurities. (Around $10 a bag).
The Recipe: Just mix it all up! The goal is a light, chunky, airy blend.
2 parts orchid bark + 2 parts perlite + 1 part potting soil + 1 part coco coir + about a 1/2 part horticultural charcoal.
Repotting: Giving Your Plant New Shoes
A happy ‘Moonlight’ will need a new pot every 1-2 years. Don’t just repot on a schedule; look for the signs: roots poking out the bottom, the plant tipping over, or soil that dries out super fast.
Heads up! This is the most important part: only go up one pot size, about 1-2 inches wider in diameter. It’s a classic beginner mistake to put a small plant in a huge pot, thinking it’ll grow faster. It won’t. The massive amount of extra soil stays wet for too long, guaranteeing root rot. A snug pot is a happy pot.
Keeping It Thriving: Food, Pruning, and More Plants!
Fertilizing for Peak Glow
During spring and summer, your ‘Moonlight’ is growing and it’s hungry! A balanced, water-soluble fertilizer is perfect. But here’s the trick: always dilute it. It’s much safer to under-fertilize than to over-fertilize, which causes brown, crispy leaf edges.
Quick tip: If the instructions say “1 teaspoon per gallon,” you should only use 1/4 to 1/2 a teaspoon per gallon. Feed it with this weak solution every 3-4 weeks. And always water the plant normally before you fertilize to protect the roots.
Pruning and Cleaning
Pruning is mostly just cleanup. It’s totally normal for the oldest, bottom leaves to yellow and die off. I usually wait until they’re fully yellow and pull off easily. You can also snip them off with clean scissors. And every so often, wipe the big leaves with a damp cloth to get rid of dust. A clean leaf is an efficient leaf!
Propagation: How to Make Baby Moonlights
Because this plant grows in a clump, the easiest way to make more is by dividing it. Wait until you have a big, mature plant that’s starting to form obvious smaller clumps, or “pups,” at its base. The best time to do this is when you’re already repotting.

Gently remove the plant, and you’ll see where the pups are attached. Look for an offset that’s ready to go it alone—it should have at least 3-4 of its own leaves and a few roots that are an inch or two long. Sometimes they’ll pull apart easily; other times, you might need a clean knife to make a sharp cut. Pot each new division into its own small pot, and be patient while it recovers from the shock.
Troubleshooting Common Problems
Even the best of us run into issues. Here’s a quick diagnostic guide.
- Problem: Yellowing leaves.
If it’s just the very bottom leaf, that’s normal aging. If several leaves are yellowing, it’s almost certainly overwatering. Let the soil dry out more between waterings. - Problem: Brown, crispy leaf edges.
This is usually a cry for more humidity or a sign of mineral buildup from tap water. Try a humidifier, and next time you water, flush the pot with distilled or rainwater for a few minutes. - Problem: The plant lost its bright color.
This is a light issue, 99% of the time. It needs more bright, indirect light to fuel that color. Move it to a brighter spot. - Problem: Small, white cottony spots in nooks and crannies.
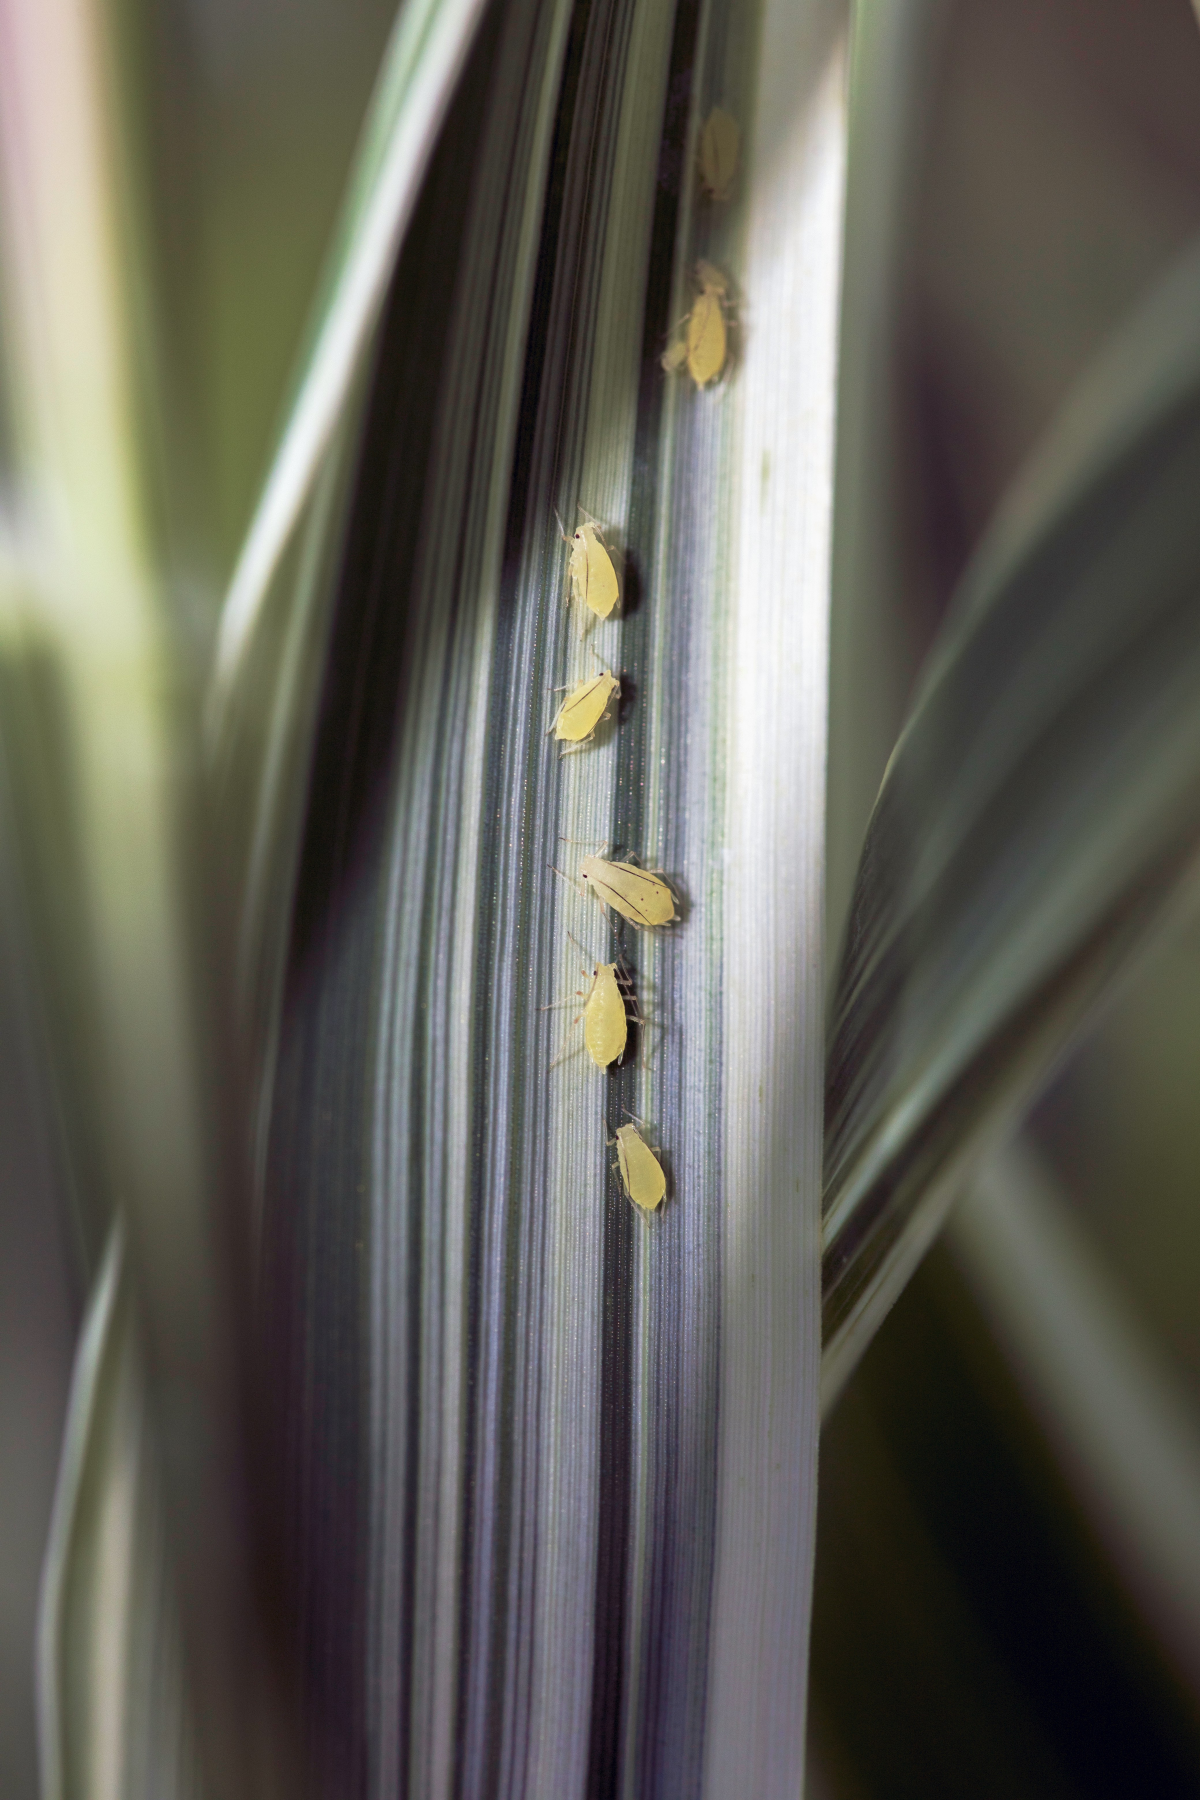
Ugh, mealybugs. Dab them with a cotton swab dipped in rubbing alcohol. For bigger issues, spray the whole plant with insecticidal soap or neem oil. - Problem: Fine webbing on the underside of leaves and tiny specks.
You’ve got spider mites. They thrive in dry conditions. First step is to blast the leaves (especially the undersides) in the shower. Then, treat with neem oil or insecticidal soap every 5-7 days for a few weeks. Upping the humidity will also help keep them away.
A Couple Final (But Important) Notes
Safety First: This is non-negotiable. Like all philodendrons, the ‘Moonlight’ is toxic if chewed or eaten by pets or people. It contains tiny crystals that cause immediate pain, swelling, and irritation in the mouth and throat. Please, please, please keep it well out of reach of curious cats, dogs, and kids.
A Note on Air Purification: You’ve probably heard that houseplants are great air purifiers. That’s based on a famous study done in a small, sealed lab chamber. In reality, you’d need a literal jungle in your living room to significantly clean the air. So, enjoy your ‘Moonlight’ for its stunning beauty and the joy it brings. Any tiny air-purifying benefit is just a small bonus.
All in all, the Philodendron ‘Moonlight’ is a fantastic plant that gives you a huge visual payoff for very reasonable effort. Give it the right light and a good foundation, and it will reward you with that incredible glow for years to come.
Galerie d’inspiration
The Pot Dilemma: Terracotta vs. Glazed Ceramic
Terracotta: The classic choice for a reason. Its porous nature allows soil to breathe and dry out evenly, significantly reducing the risk of root rot—a common Philodendron pitfall. The earthy, matte finish creates a beautiful, natural contrast with the Moonlight’s electric-lime foliage.
Glazed Ceramic: Perfect for a modern, sleek look. A high-gloss black or a deep cobalt blue pot can make the chartreuse leaves pop dramatically. Since glaze traps moisture, it’s a good option if you tend to underwater, but be extra cautious not to overdo it. Always ensure there’s a drainage hole!
Nearly 90% of houseplant problems, especially with easy-going varieties like the Philodendron Moonlight, stem from improper watering.
Before you panic about pests or diseases when a leaf looks sad, always check the soil first. Poke your finger two inches deep. Is it soggy? You’re likely overwatering. Is it bone dry? It’s thirsty. This simple tactile check solves most issues before they escalate, letting your plant focus on producing that signature glow.


