Your Ultimate Guide to Keeping Goldfish Plants Thriving
I’ve been working with tropical plants for a long time, and I’ve seen countless trends come and go. But some plants just have staying power. The Goldfish Plant is definitely one of them. I’ll never forget the first one I tried to grow—I nearly killed it in a month. Honestly, that experience taught me way more than any book ever could.
In this article
The big secret? These plants aren’t actually difficult, but they are specific. They have needs tied directly to how they grow in the wild, and understanding that is the key to making them happy in your home.
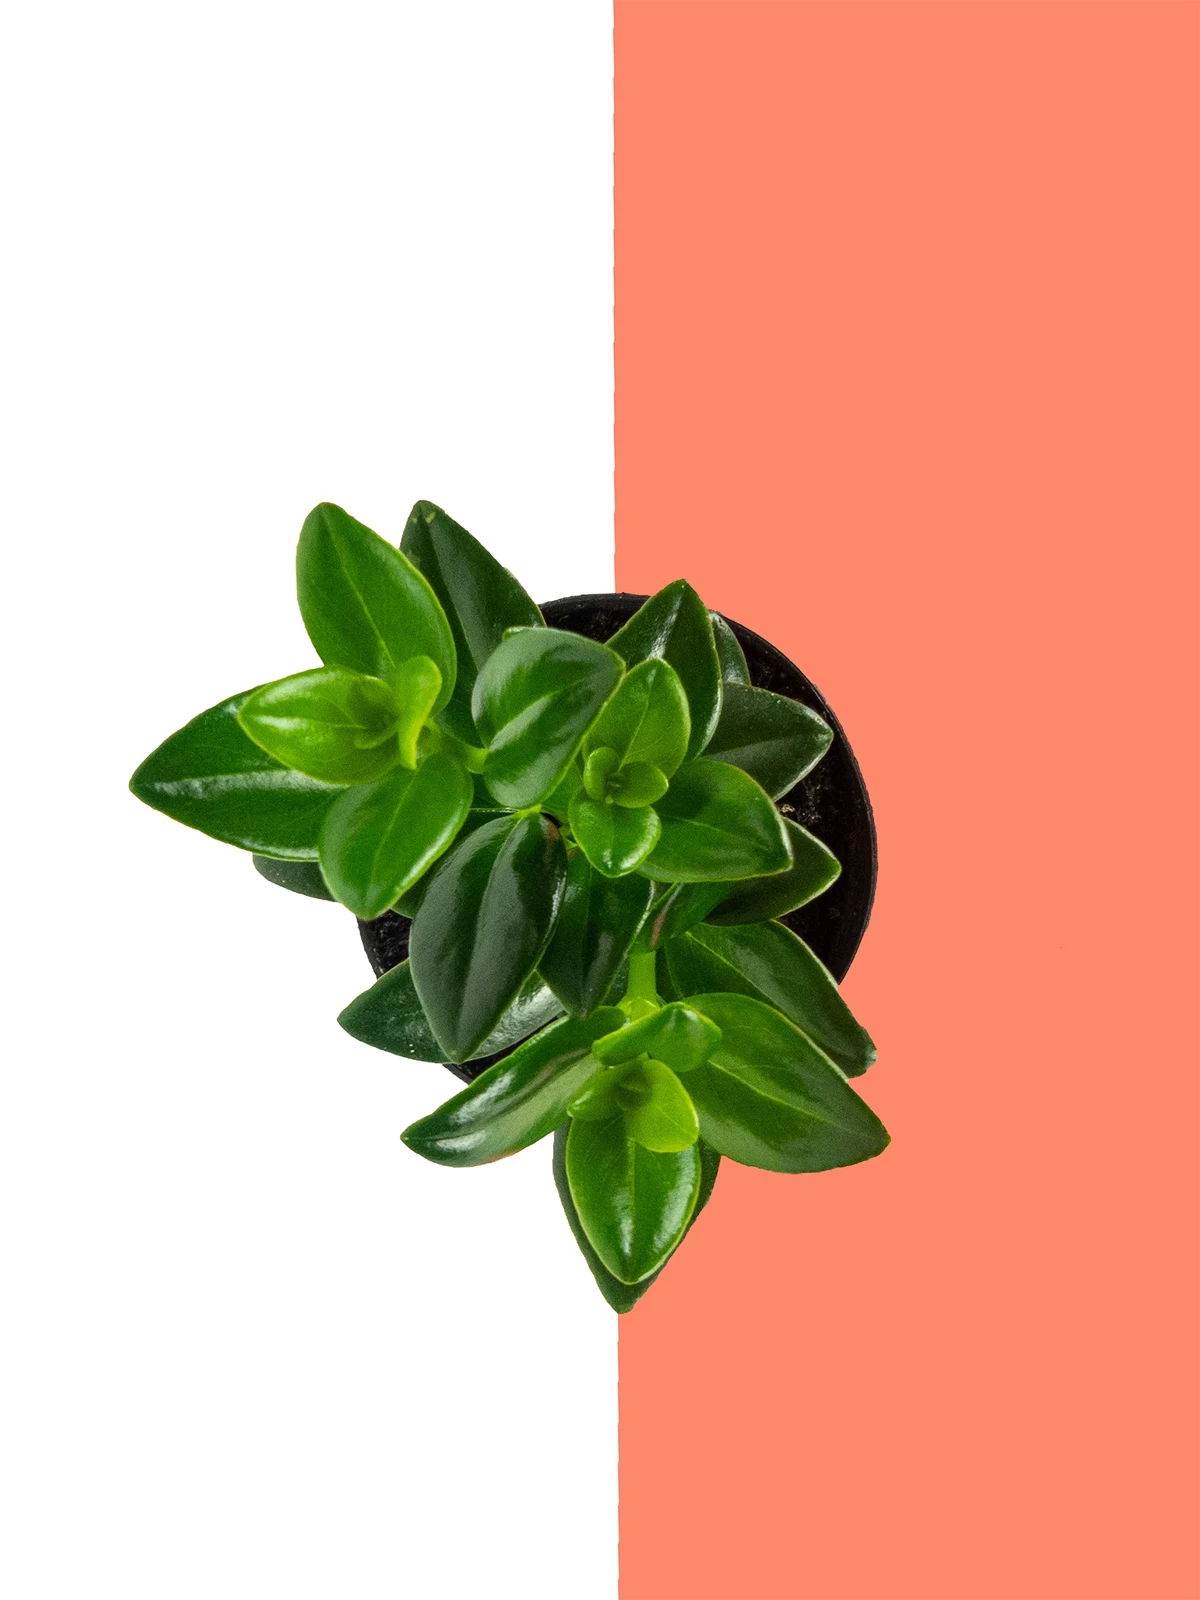
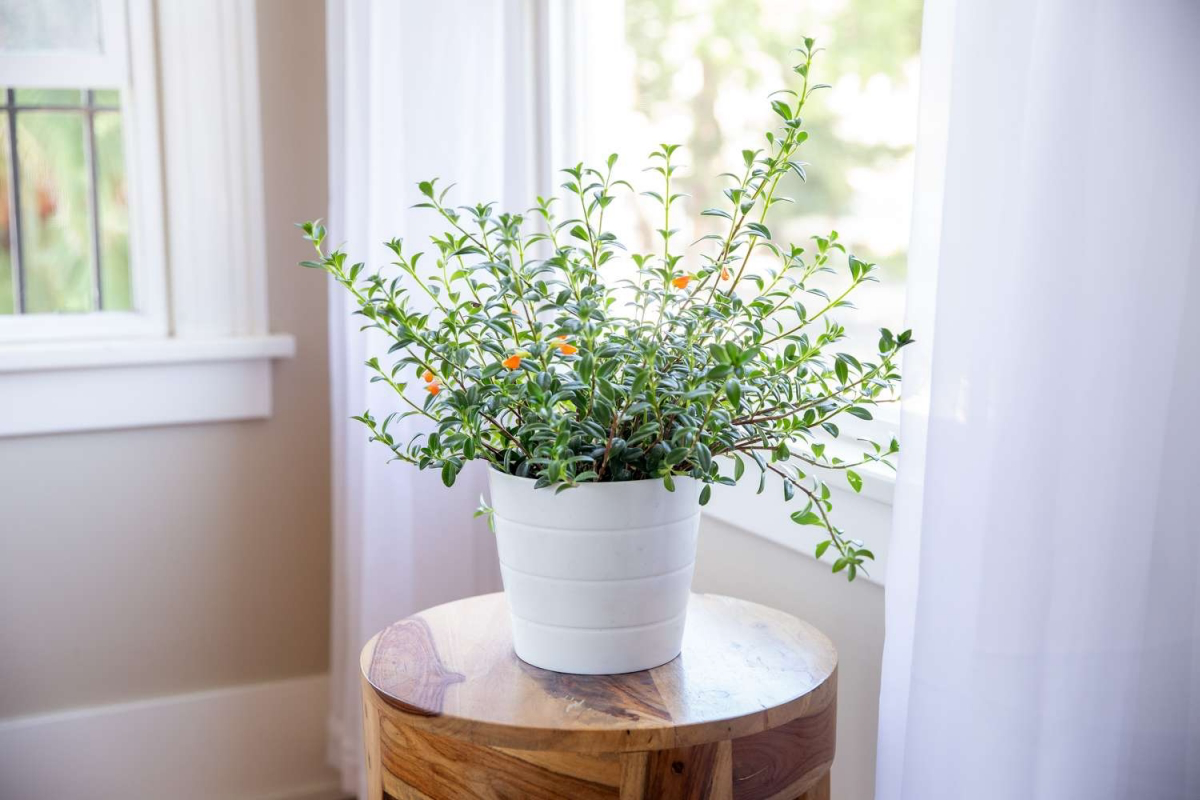
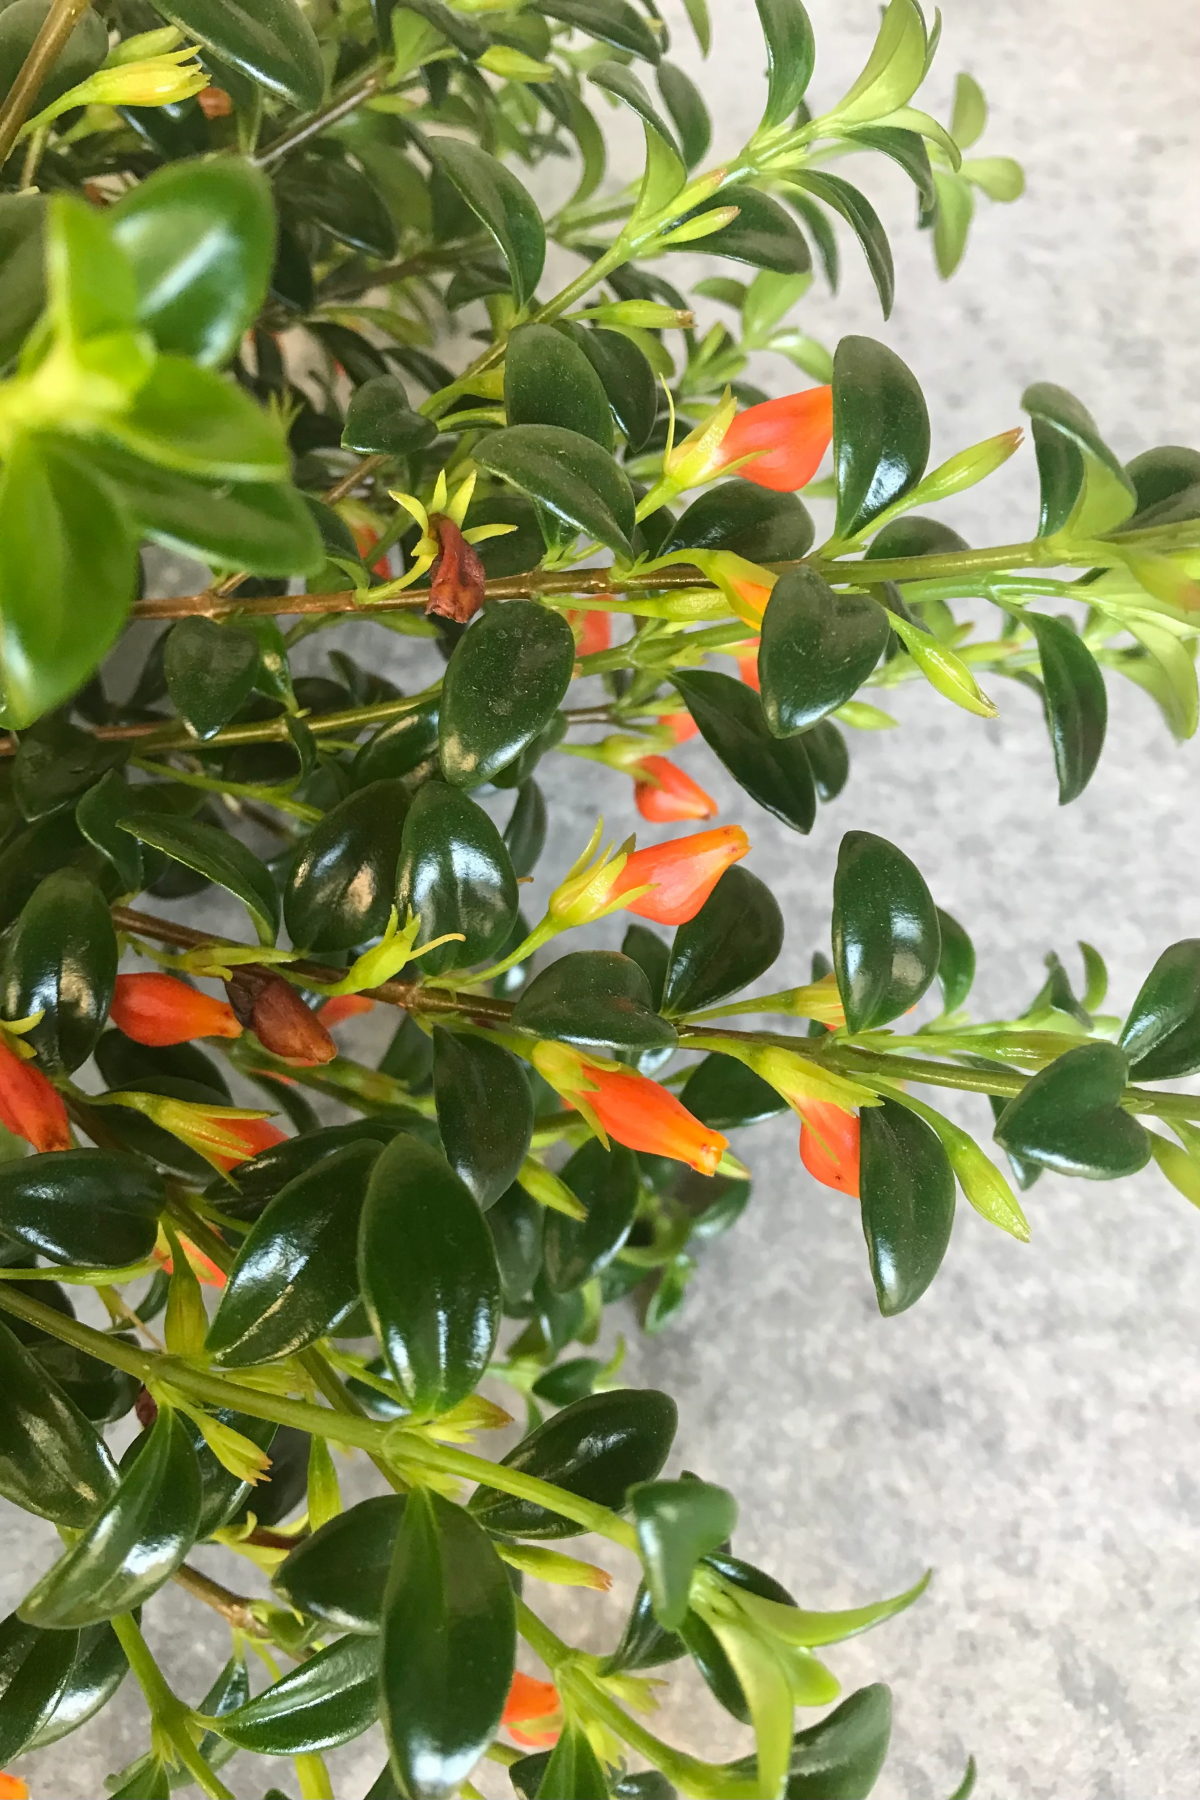
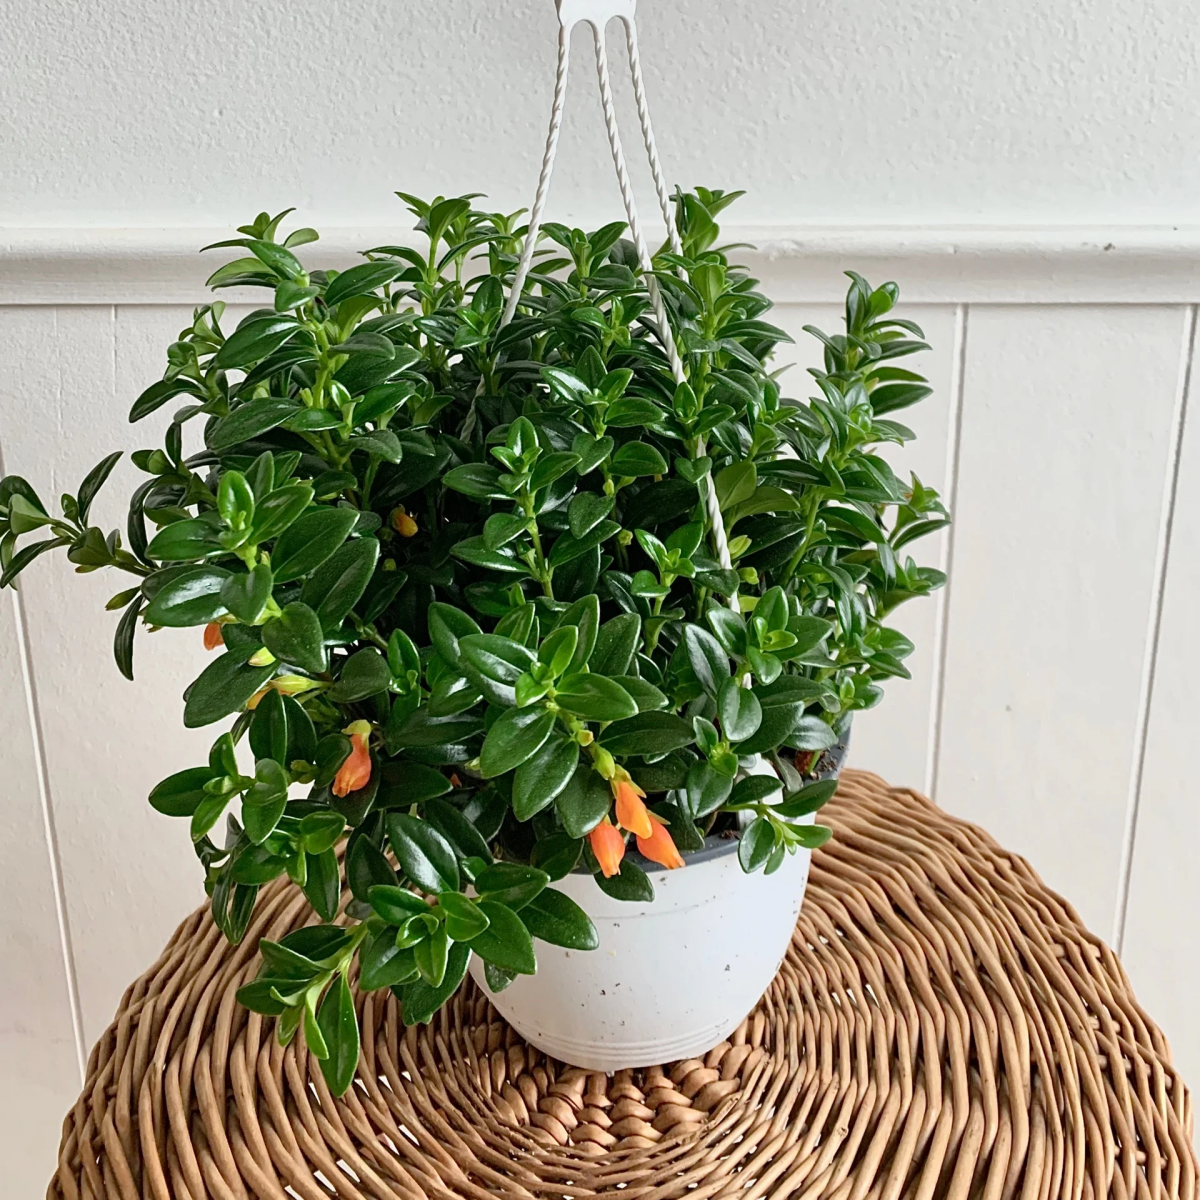
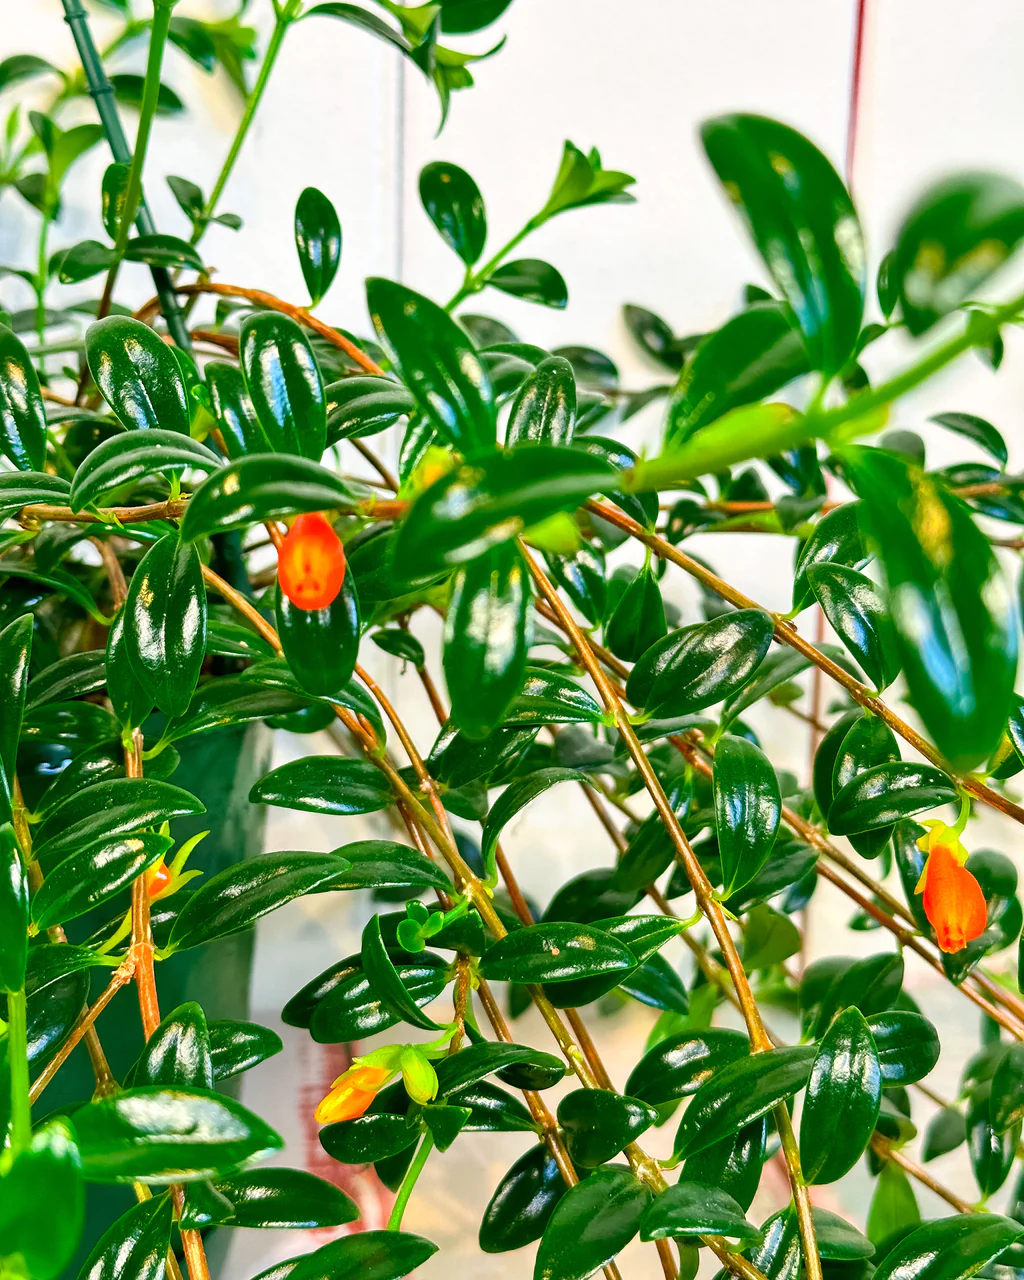
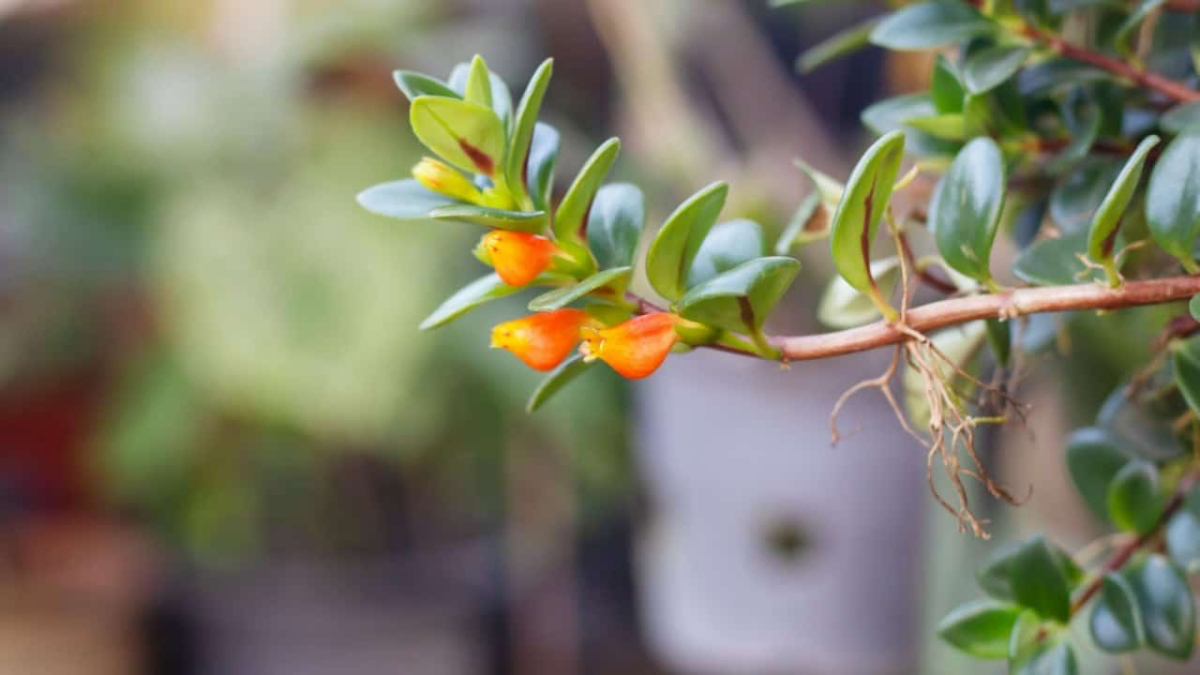
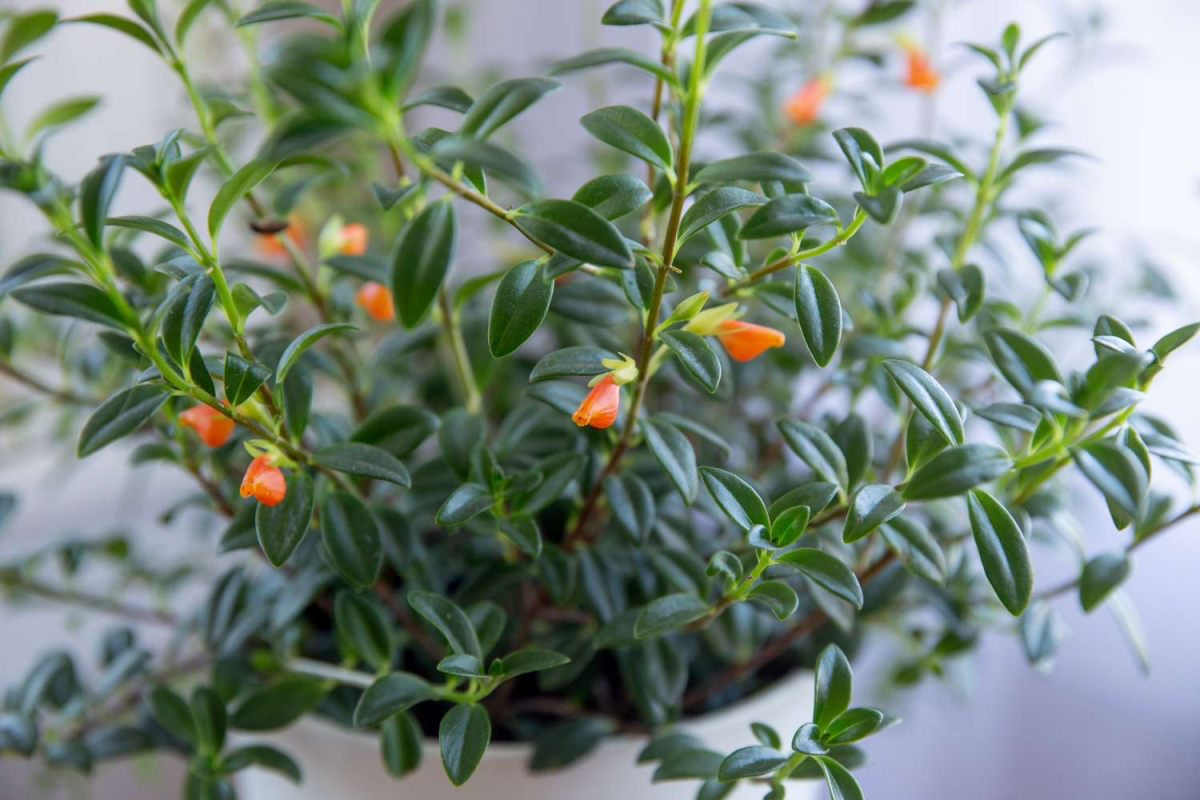
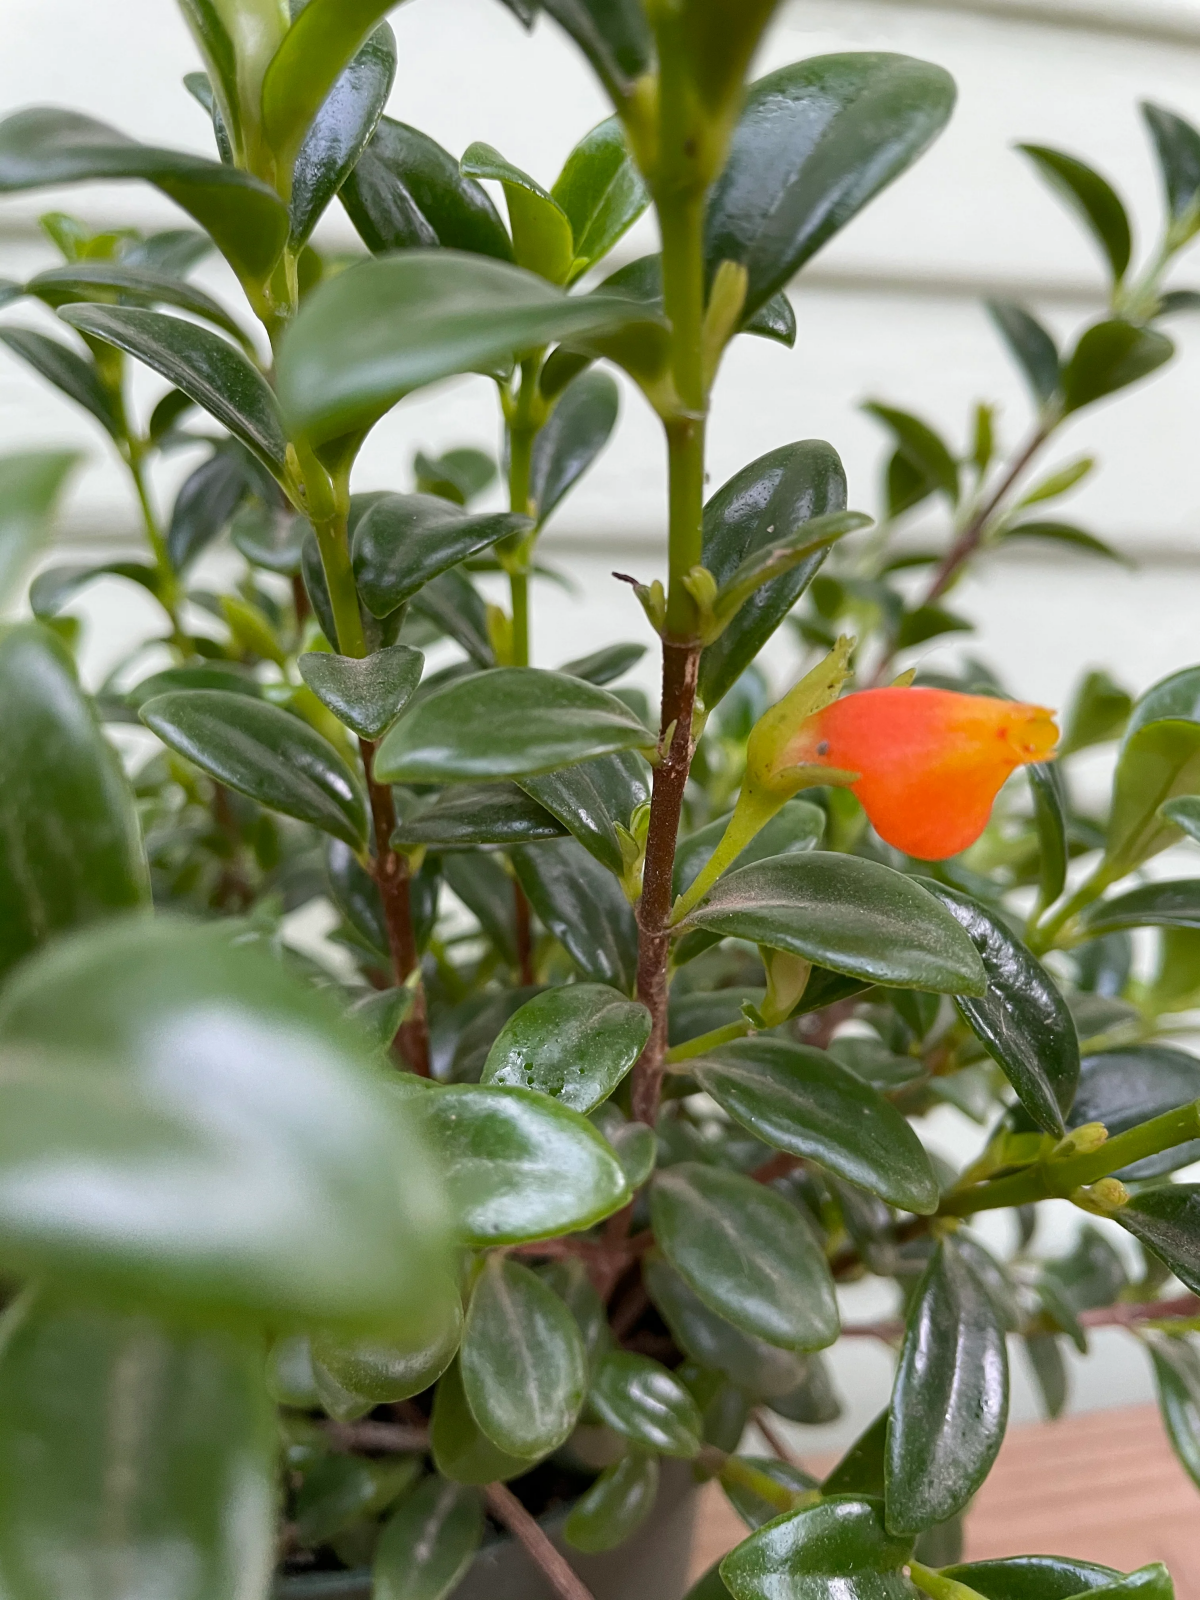
People usually grab them because of those unique flowers, which, let’s be honest, really do look like tiny orange goldfish leaping through the air. It’s a super charming feature. But for me, the real beauty is in the glossy, deep green leaves and the plant’s surprisingly resilient nature—once you get the conditions right. This guide is packed with all the hands-on tricks I’ve learned over the years, from professional techniques to the common mistakes we’ve all made and how to fix them.
First, Let’s Think Like a Goldfish Plant
Before you even think about watering, you have to get inside this plant’s head. Goldfish Plants are part of a big, fancy plant family called Gesneriads, which also includes African Violets. So, if you’ve ever kept one of those alive, you’ve got a head start!
Most of these guys come from the lush cloud forests of South America. This one fact tells you almost everything. In nature, they’re epiphytes, which means they grow on other plants, usually clinging to tree branches. They aren’t parasites; they just use trees as a platform to get better light. Their roots are built for gripping bark and grabbing moisture from the humid air and bits of debris, not for sitting in a pot of dense, wet dirt. This is the absolute key: they need amazing drainage, filtered light, and high humidity.
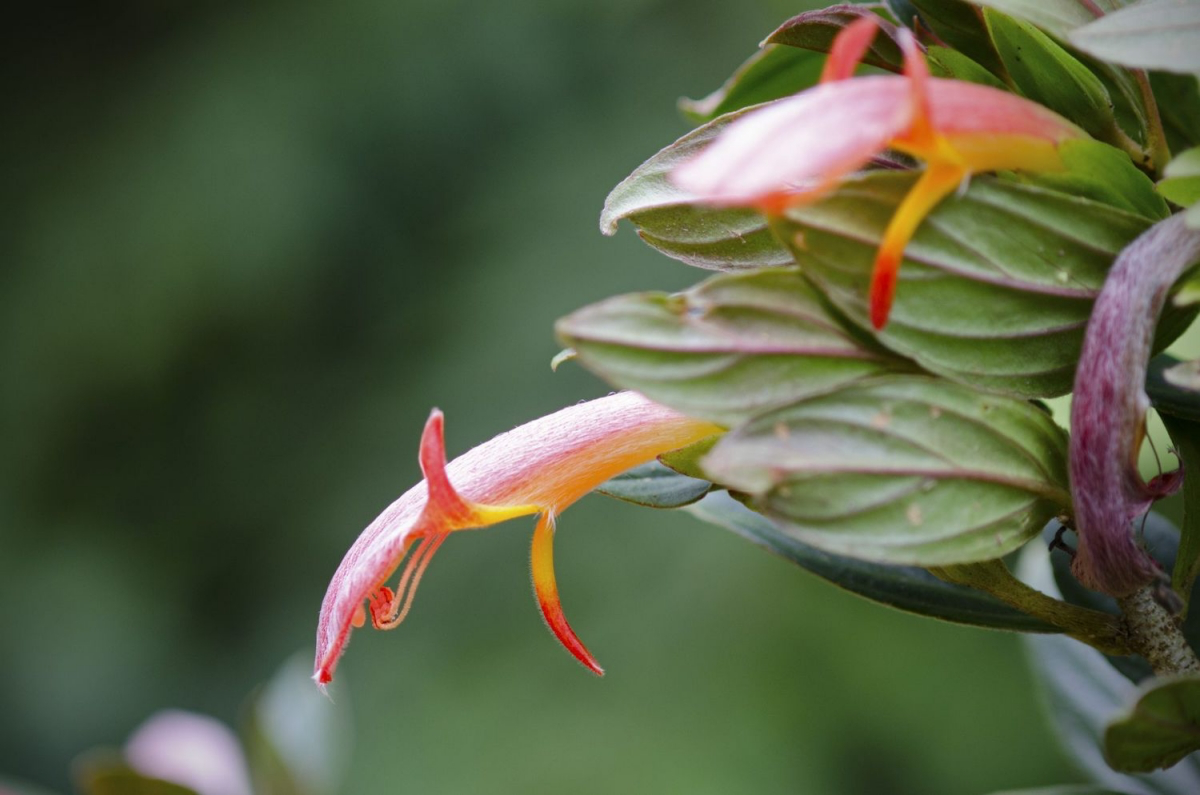
By the way, have you noticed how the leaves are a little bit thick and waxy? That’s a clever adaptation for storing a bit of water between rainfalls. It also means they’re way more likely to forgive you for forgetting to water once than they are for overwatering. And those bright, tubular flowers? They’re designed to attract their favorite pollinators in the wild: hummingbirds. Knowing this helps you understand why they need plenty of energy from good light to put on a good show.
Creating the Perfect Home: Light, Water, and Soil
Nailing this part is 90% of the battle. If you get these three things right, your Goldfish Plant will be happy, healthy, and way more forgiving of any other small mistakes.
Light: The Most Common Stumbling Block
Goldfish Plants need bright, indirect light. I know, it’s the most vague instruction in plant care, right? Let me be more specific. Imagine sunlight filtering down through a thick forest canopy—that’s the vibe. They never, ever want to be in the harsh, direct sun.
In most homes, the sweet spot is near an east-facing window that gets gentle morning sun. A west-facing window can also work, but you’ll want to pull the plant back a few feet or use a sheer curtain to diffuse the intense afternoon light. A south-facing window is usually too much, and a north-facing window often won’t provide enough light for it to bloom. I once put a beautiful variegated one in a north-facing office, and within two months it got all stretched out and leggy and lost its beautiful coloring. It survived, but it wasn’t thriving.
Don’t have a good window? No problem. A simple full-spectrum LED grow light is a fantastic solution. You can find bulbs for $15-$20 that screw right into a normal desk lamp. Just position it about 12 to 18 inches above the plant and run it for 12 to 14 hours a day.
Heads up! If your plant looks healthy but refuses to flower, lack of light is almost always the number one reason.
Watering: A Delicate Balancing Act
Because they’re epiphytes, Goldfish Plants will rot in a heartbeat if their roots stay soggy. This is the fastest way to send one to the compost bin. But, you also can’t let them go bone-dry for too long, or they’ll start dropping leaves to save themselves.
So, here’s the method I swear by: Don’t water on a schedule. Water when the plant tells you it’s thirsty. Every few days, stick your finger about an inch into the soil. If it feels dry, it’s time to water. If you feel any dampness at all, walk away and check again tomorrow. Another pro trick is the “lift test.” Once you get used to it, you can feel the difference in weight between a freshly watered pot and a dry one. It’s surprisingly obvious.
When you do water, do it thoroughly. Use room-temperature water (cold water can shock the roots) and drench the soil until water flows freely from the drainage holes. And please, don’t use water from a salt-based softener! The sodium buildup is terrible for them. The most important step? Let the pot drain completely. Never, ever let it sit in a saucer full of water.
Soil: The Foundation for Healthy Roots
You absolutely cannot use standard, all-purpose potting soil straight from the bag. It’s too heavy, holds way too much water, and will suffocate the roots. You need a mix that feels more like the loose, airy stuff they’d find on a tree branch.
Here’s a fantastic DIY recipe you can mix up yourself. You can find all these ingredients at a local nursery or big-box garden center for just a few dollars a bag:
- One part sphagnum peat moss: Holds moisture well.
- One part perlite: Those little white rocks. They’re essential for creating air pockets and ensuring drainage. A big bag costs maybe $5-$10 and will last you ages.
- One part vermiculite: Helps retain moisture and nutrients without getting waterlogged.
Your final mix should feel incredibly light and fluffy. A good test: squeeze a moist handful. It should crumble apart easily instead of clumping together like mud. If you’re not into mixing your own, a high-quality African Violet mix is the next best thing. Just check the bag—if it feels dense, don’t be afraid to mix in some extra perlite to lighten it up.
Long-Term Care: Feeding, Pruning, and Keeping It Happy
Once your plant is settled in the right spot, a simple routine is all it takes to keep it growing strong and producing those gorgeous flowers.
Fertilizing: The Fuel for Flowers
During the growing season (think spring through early fall), your plant needs a little boost to produce flowers. I recommend a balanced, water-soluble fertilizer, like a 10-10-10. You can get a bottle for about $10 that will last the whole season. The key is to dilute it to half or even a quarter of the strength recommended on the package. Too much fertilizer is worse than none at all—it can burn the delicate roots.
Feed your plant with this weak mixture every 2 to 4 weeks, but only when the soil is already moist. Never fertilize a bone-dry plant. When late fall and winter roll around, stop fertilizing completely. This winter rest period is a critical trigger for setting flower buds for the spring.
Pruning for a Fuller, Bushier Plant
Left to its own devices, a Goldfish Plant can get a bit stringy and bare. Pruning is your best friend for encouraging a full, bushy shape with lots of flowering stems. Don’t be timid; these plants can handle it!
The best time to prune is right after a big bloom cycle. Using a clean pair of scissors, trim each stem back by about a third. Always make your cut just above a leaf node (the little bump where a leaf meets the stem), as this is where new branches will sprout. Plus, the pieces you trim off are perfect for propagating!
Repotting: Only When Absolutely Necessary
Here’s a surprising fact: Goldfish Plants actually like being a little bit root-bound. A snug pot can encourage them to produce more flowers. You only need to repot every 2-3 years, or when you see clear signs like roots poking out the bottom or water running straight through without soaking in.
When it’s time, choose a new pot that’s only one or two inches wider than the current one. Moving to a giant pot is a classic mistake that often leads to root rot from all the excess, soggy soil. The whole process is quick, maybe 15-20 minutes tops. Gently ease the plant out, place it in the new pot with your fresh, airy soil mix, water lightly, and then give it a month to settle in before you start fertilizing again.
Troubleshooting: What Your Plant Is Trying to Tell You
Even with perfect care, things can go wrong. Here’s a quick guide to decoding your plant’s signals.
The Problem: Healthy leaves but zero flowers.
The Likely Cause: This is almost always a light issue. Move it to a brighter spot. It could also be a lack of a cool winter rest period, or you might be using a fertilizer with too much nitrogen, which encourages leaves instead of blooms.

The Problem: Leaves are turning yellow and feel soft or mushy.
The Likely Cause: Stop! You’re overwatering it. This is the number one sign of root rot. Let the soil dry out completely. If it’s really bad, you may need to pull it out, trim off any brown, mushy roots with sterile scissors, and repot in fresh, dry soil. It’s a tough recovery, so prevention is key.
The Problem: Leaf edges are brown and crispy.
The Likely Cause: This points to either underwatering or, more commonly, low humidity. If the soil is dry, give it a good soak. If the soil feels fine, your air is probably too dry (especially in winter with the heat on). Try misting it a few times a week or placing it on a tray of pebbles filled with water.
The Problem: The plant is suddenly dropping lots of leaves.
nThe Likely Cause: It’s probably in shock. Did you just move it? Is it near a cold draft from a window or an A/C vent? These plants hate sudden changes. Find a stable spot and leave it be.
The Problem: You see fine, spider-like webbing or little white cottony specks.
The Likely Cause: Pests. Webbing means spider mites, and the cottony bits are mealybugs. I like to think of this as building a ‘Plant First-Aid Kit.’ Keep a spray bottle, some concentrated neem oil (a great natural pesticide), and maybe a small magnifying glass on hand. The first step is to quarantine the plant so the pests don’t spread. Then, spray the entire plant down with a neem oil solution, making sure to get the undersides of the leaves. You’ll need to repeat this weekly for a few weeks to get them all.
The Fun Part: Making More Plants for Free!
Propagating Goldfish Plants is super easy and rewarding. The best time is in spring or summer.
Just take a 4- to 6-inch cutting from a healthy stem, making sure to cut just below a leaf node. Snip off the lower leaves, and you’re ready. You can dip the end in rooting hormone, but it’s not really necessary.
Stick the cutting into a small pot of your airy soil mix, water it lightly, and pop a clear plastic bag over the top to create a mini-greenhouse. Place it in a warm, bright spot. In about 4-8 weeks, you should have roots!
Beginner-friendly tip: Not ready to mess with soil? You can just put the cutting in a glass of water on a windowsill. Change the water every few days, and once you see roots that are about an inch long, you can plant it in soil.
A Final Word on Safety and Success
Good news for pet owners: Goldfish Plants are considered non-toxic to cats and dogs. It’s still a good idea to keep them out of reach, of course, just to prevent a curious pet from getting a mild tummy ache (and to save your plant from being nibbled on).
Remember, every home is different. Think of this guide as a starting point. Your job as a plant parent is to watch, learn, and respond. A yellow leaf isn’t a failure; it’s just your plant communicating with you.
So here’s a little challenge for you: Go find one slightly long, leggy stem on your plant right now and prune it back just above a set of leaves. You aren’t hurting it—you’re telling it to grow fuller and stronger. You’ve got this!
Galerie d’inspiration
To get those spectacular blooms, you need to feed your plant correctly. During the growing season (spring and summer), use a high-phosphorus fertilizer to encourage flowering. Many growers swear by African Violet food, as Goldfish Plants are in the same family. A diluted solution of a brand like Espoma Organic African Violet Plant Food every two weeks is a great routine. In fall and winter, give it a rest and cut back feeding to once a month.
The main challenge for Goldfish Plants indoors is not light, but atmospheric humidity. Native to cloud forests, they absorb a significant amount of moisture through their leaves.
This means that simply watering the soil isn’t enough. Misting your plant several times a week, placing it on a pebble tray with water, or grouping it with other tropical plants will help replicate its natural humid environment and prevent the dreaded crispy leaf edges.

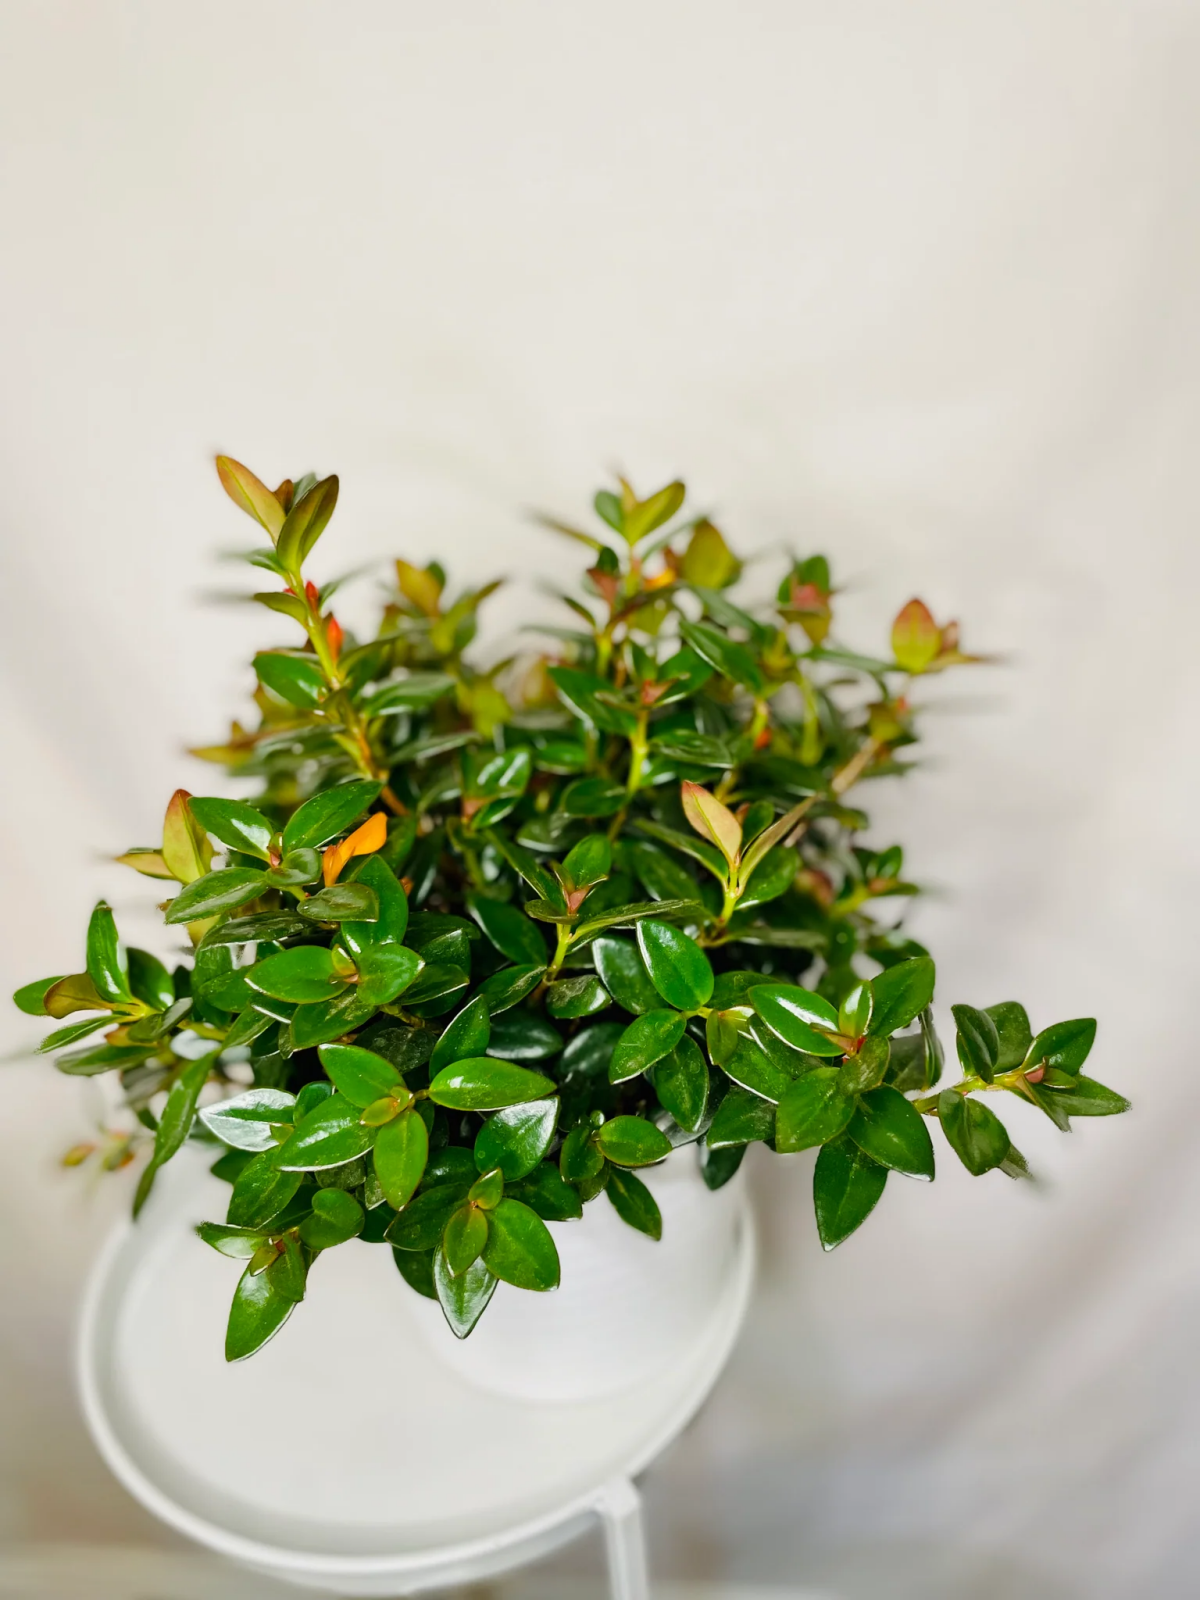
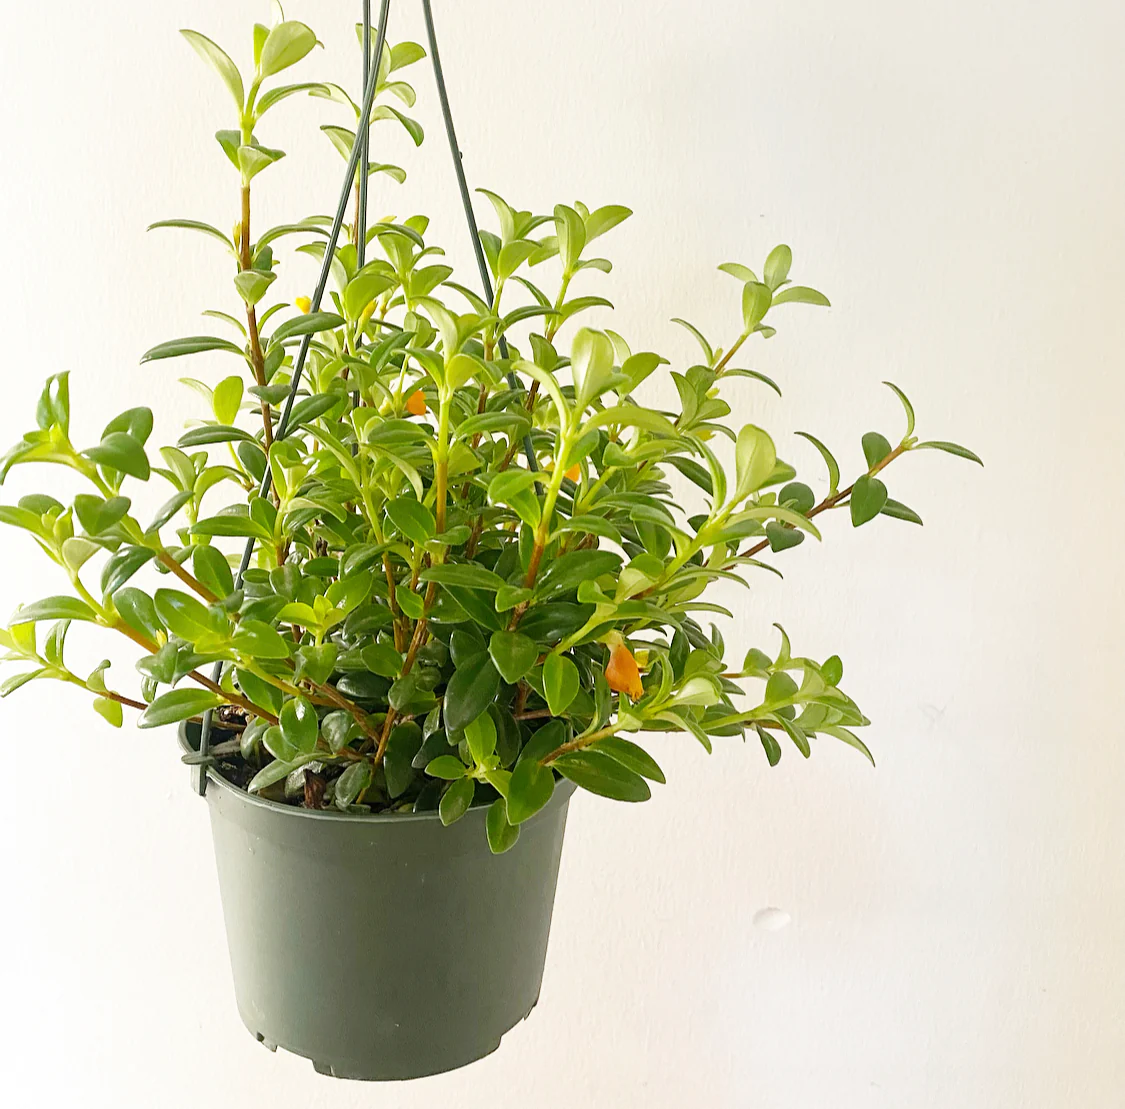
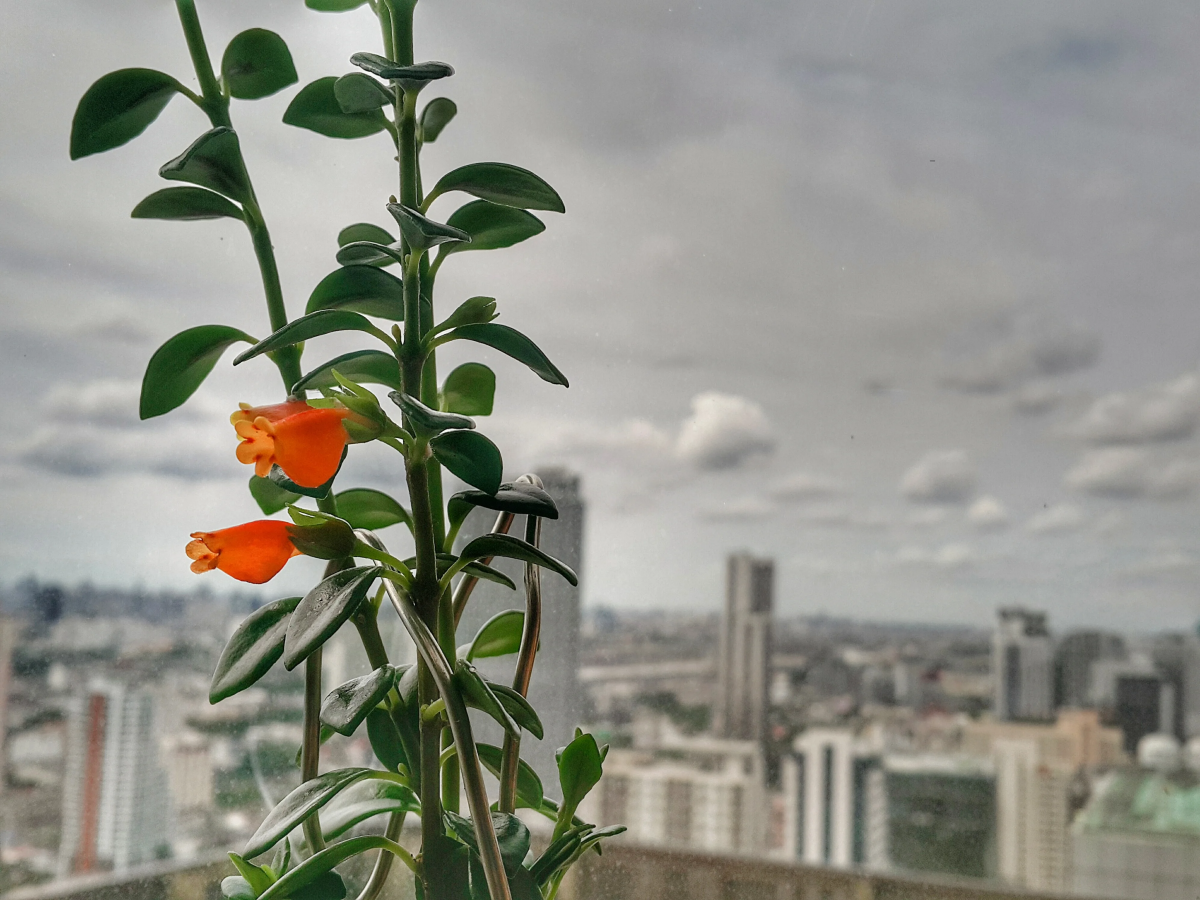
Wondering why your plant is getting ‘leggy’ with lots of bare stems?
This is a classic sign it needs a haircut! Goldfish Plants bloom on new growth, so regular pruning is the key to a full, bushy plant covered in flowers. After a blooming cycle, don’t hesitate to trim back the longer stems by about a third. This encourages the plant to branch out, creating more tips where new flowers can form. A good trim in the spring sets the stage for a spectacular summer show.
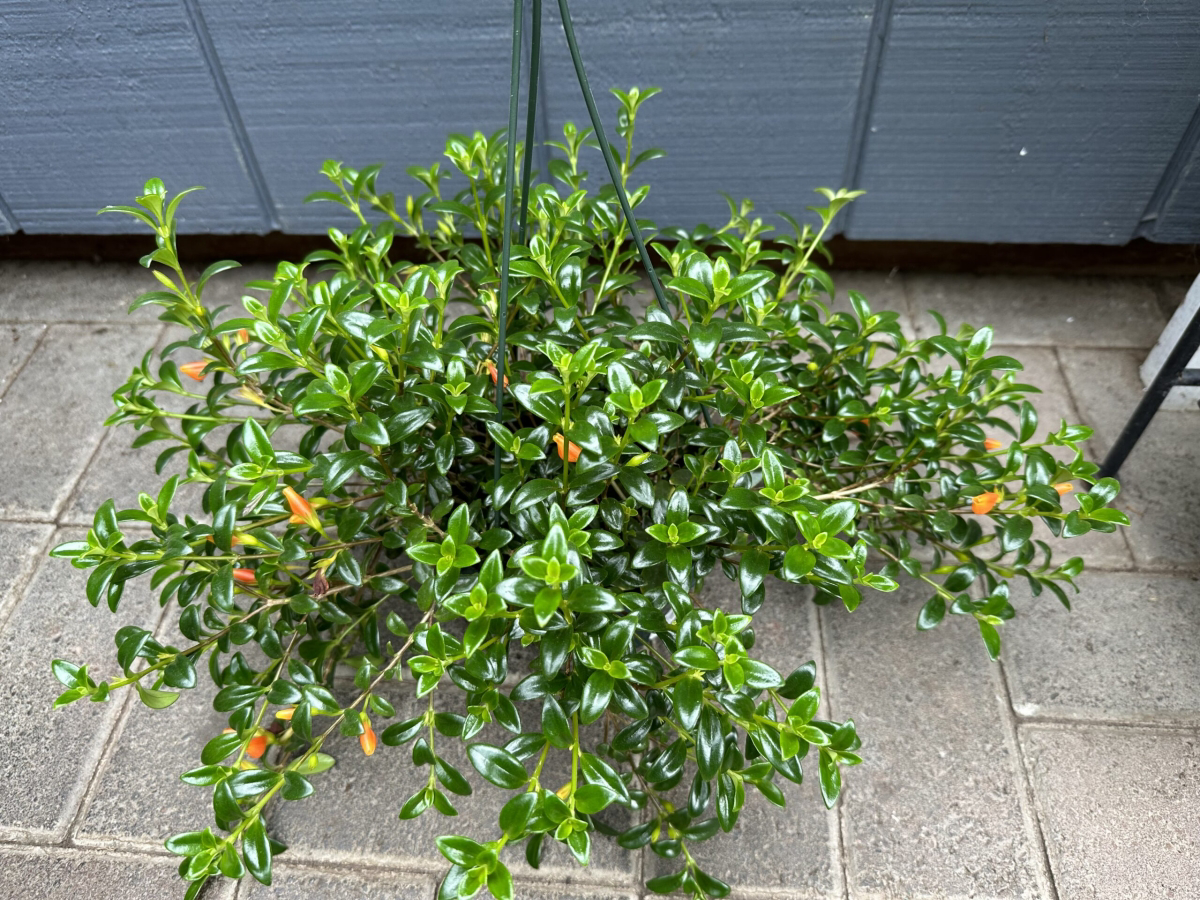
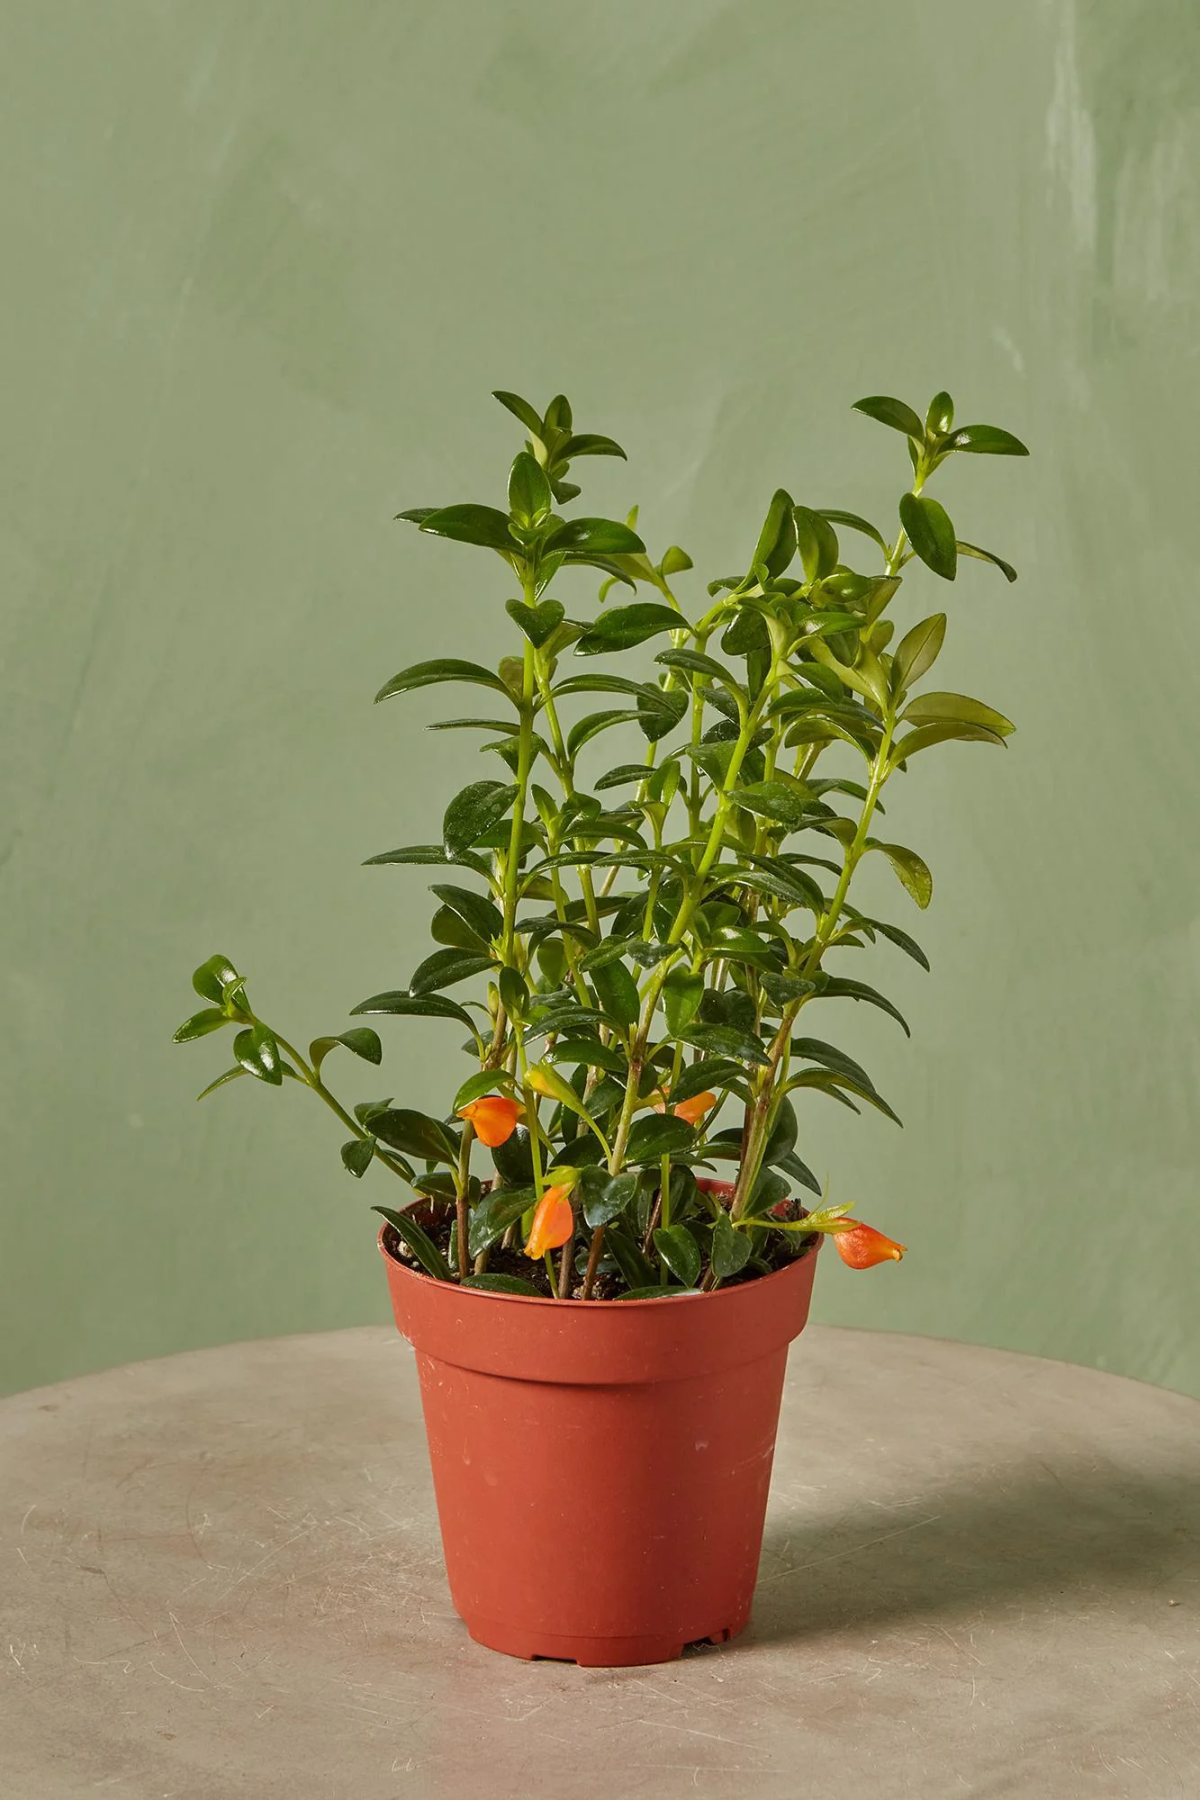
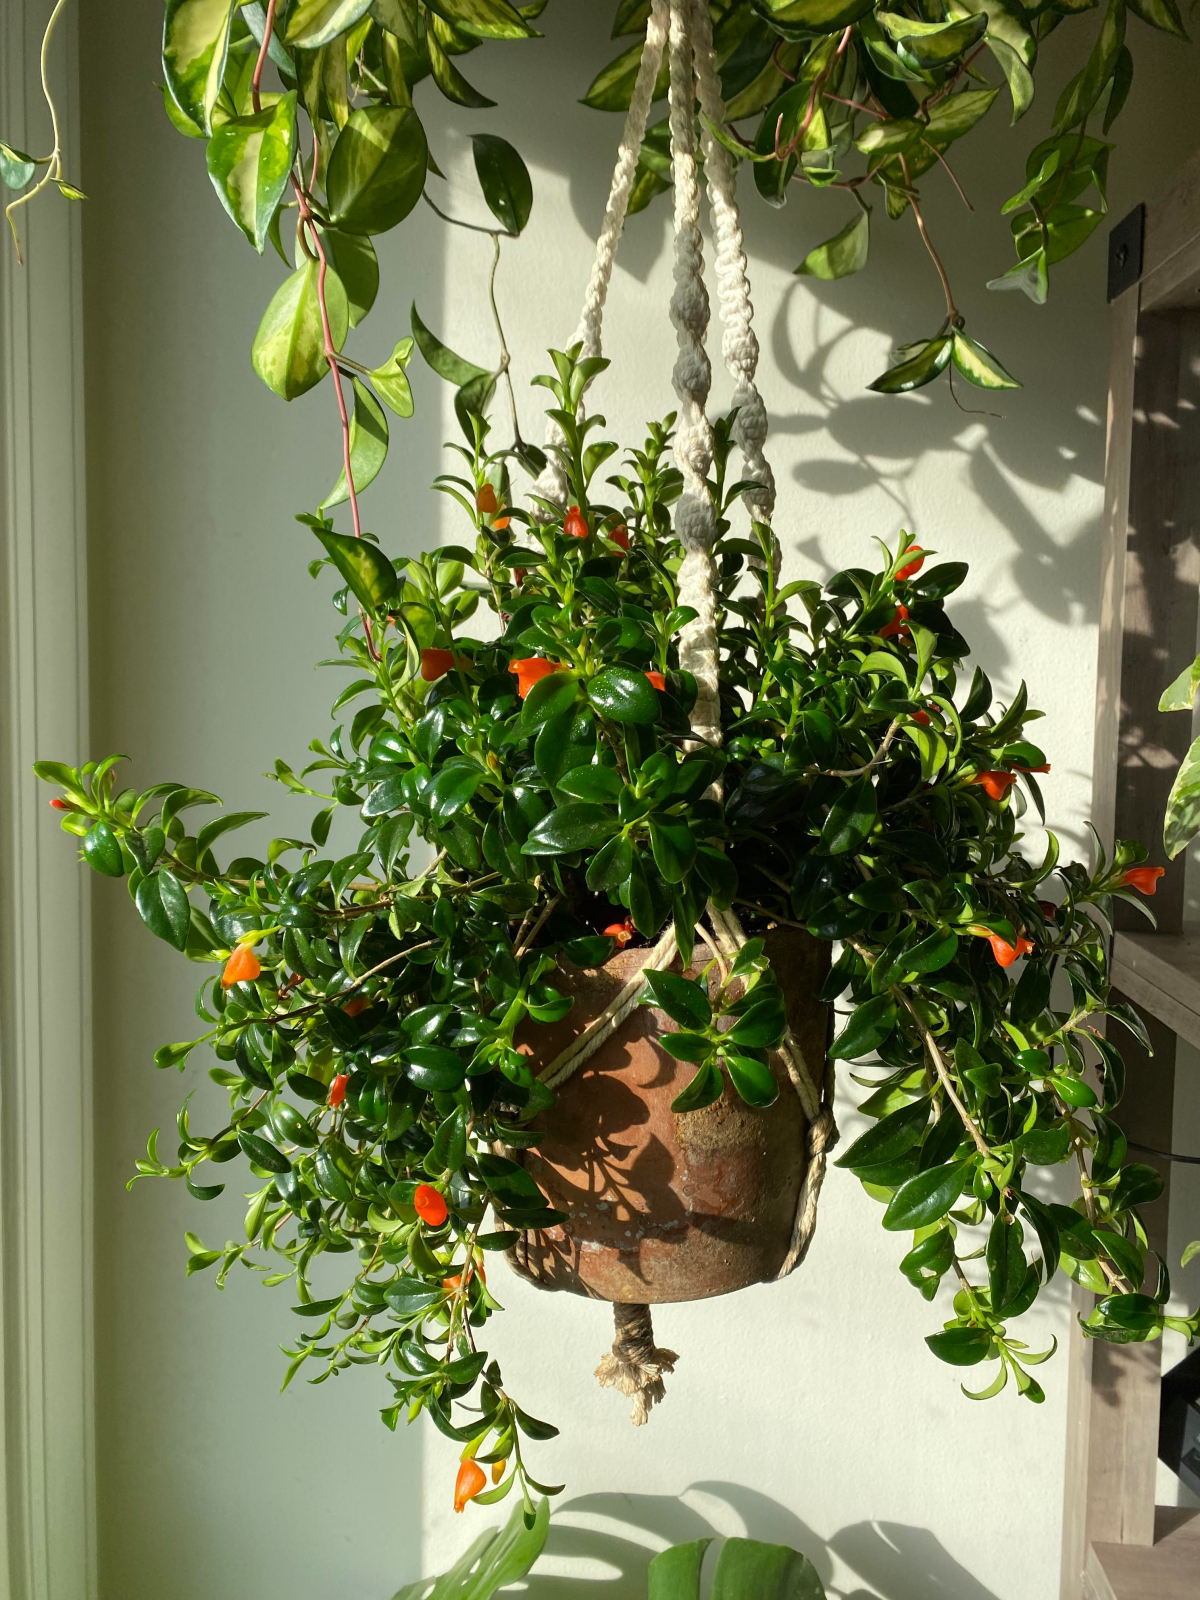
- Creates a stunning cascade of glossy green and orange.
- Draws the eye upward, making a room feel taller.
- Keeps delicate leaves away from pets or busy walkways.
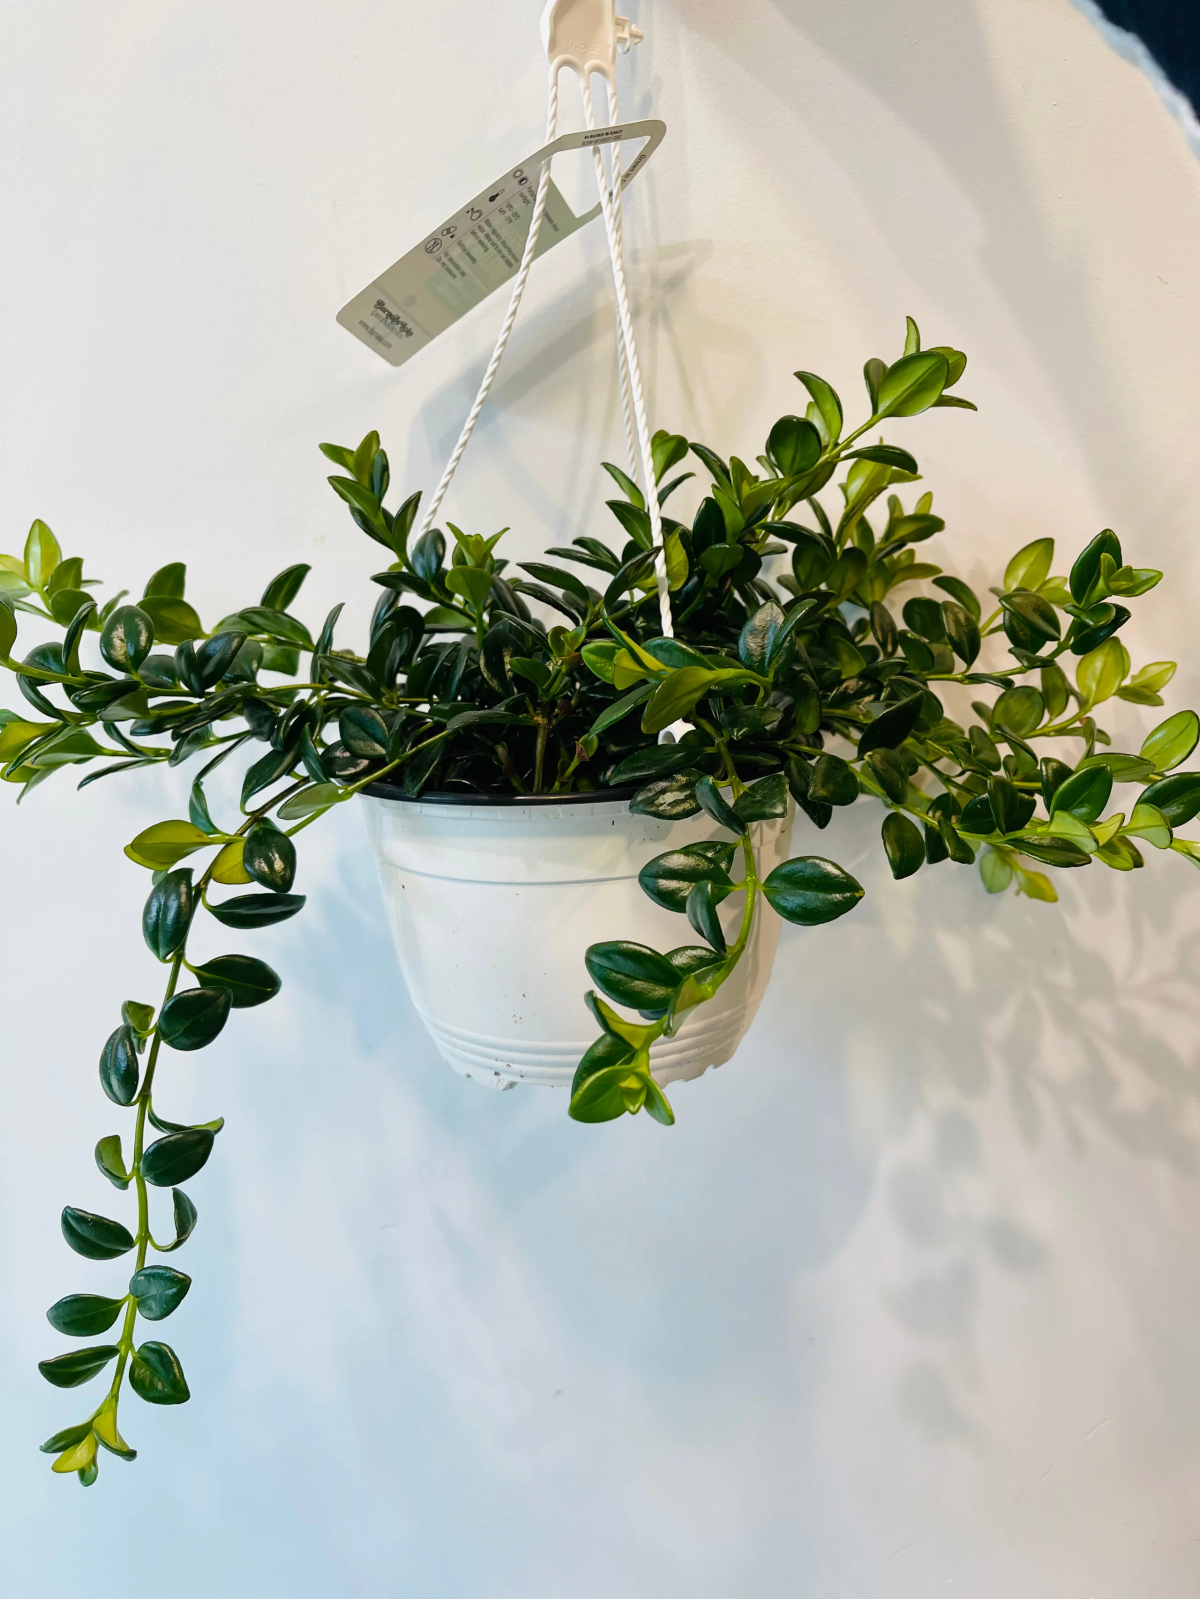
The secret? Utilizing its natural trailing habit. Placing your Goldfish Plant in a hanging basket or on a high shelf allows its stems to drape beautifully, just as they would from a tree branch in the wild. A woven macrame hanger adds a bohemian touch, while a simple ceramic pot on a bookshelf creates a modern, clean look.
Want more plants for free? Propagation is surprisingly easy. Take a 4-inch stem cutting that doesn’t have flowers on it. Here’s how:
- Remove the leaves from the bottom half of the cutting.
- Dip the cut end in a rooting hormone powder (this step is optional but helps).
- Plant it directly into a small pot with moist, well-draining soil.
- Cover the pot with a plastic bag to create a mini-greenhouse, and you should see roots in a few weeks!
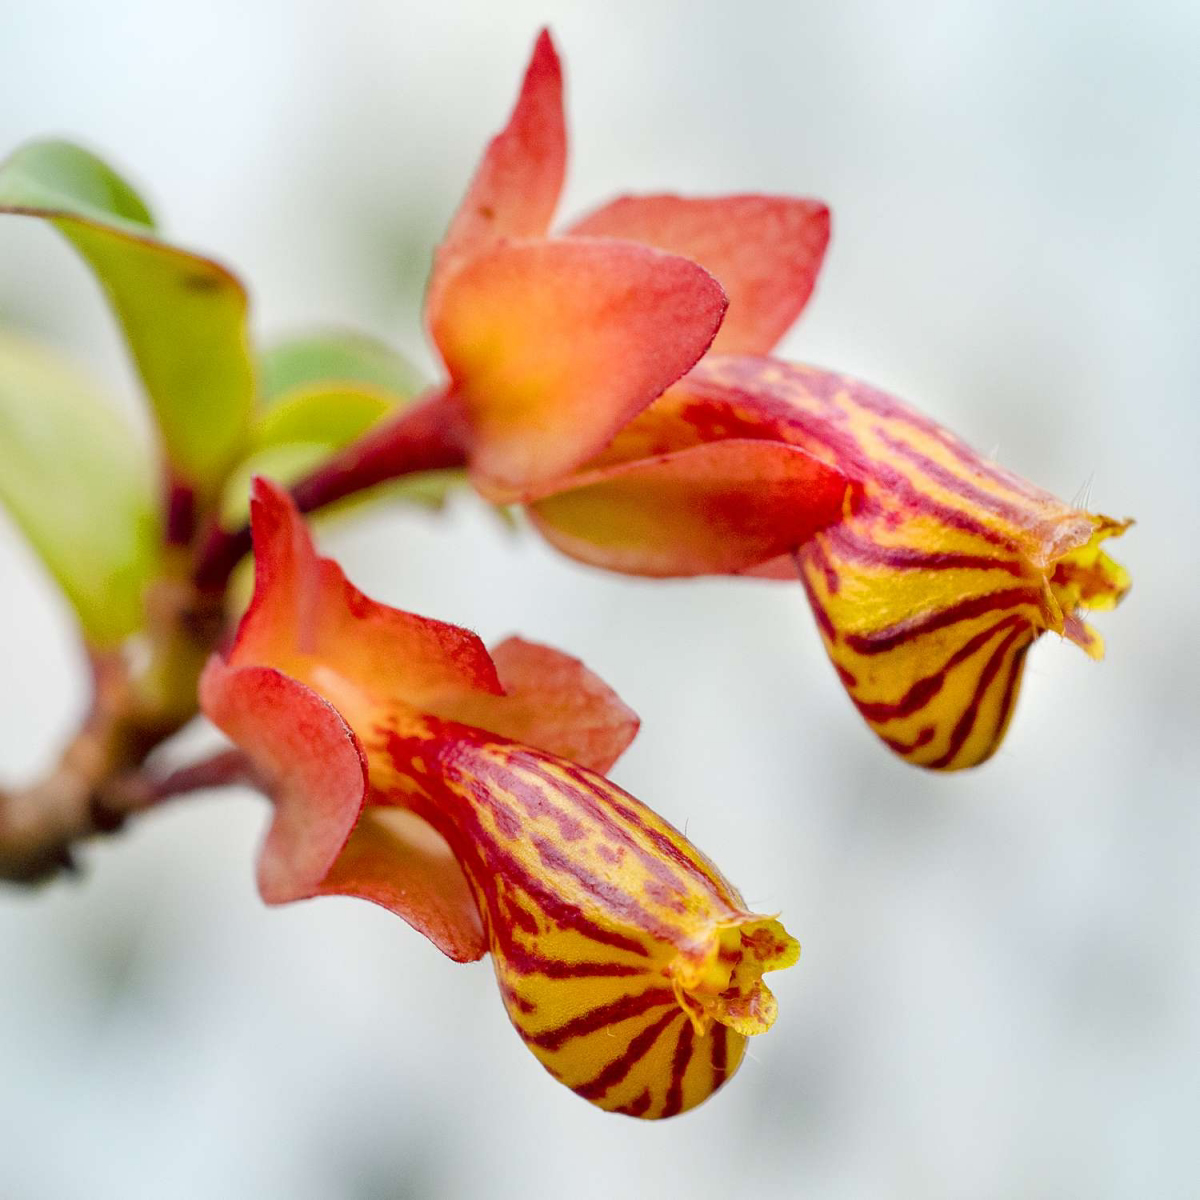
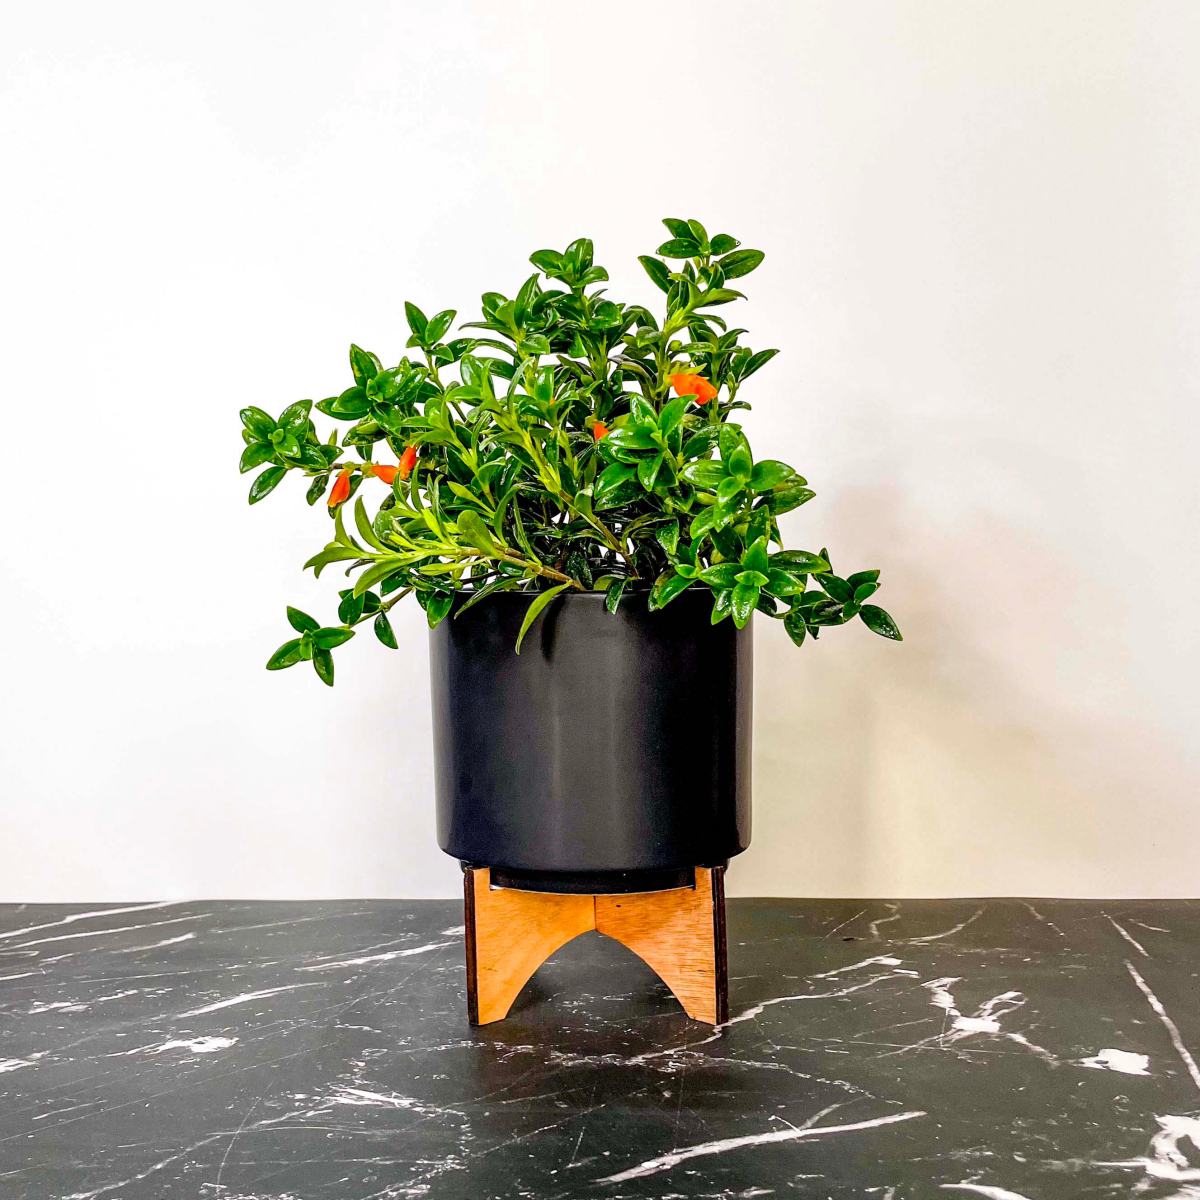
Classic ‘Gloriosa’: This is the iconic variety with deep green, glossy leaves and a profusion of bright orange flowers. It’s a vigorous grower and generally more forgiving for beginners.
Variegated ‘Firebird’: This cultivar features beautiful cream and green leaves, offering visual interest even when not in bloom. It can be slightly slower growing and may require more consistent bright, indirect light to maintain its variegation.
For a reliable bloomer, stick with the classic. For a decorative foliage statement, the variegated form is a showstopper.
Overwatering is the number one killer of most Gesneriads, the family to which the Goldfish Plant belongs. Their fine roots are adapted for gripping bark, not sitting in dense, waterlogged soil.
If you’ve mastered the Goldfish Plant, you’re ready to explore its fascinating relatives. Try the Lipstick Plant (Aeschynanthus radicans), which boasts similar trailing foliage but with stunning red flowers that emerge from a dark tube, just like lipstick. Or, for something truly unique, look for a Columnea ‘Early Bird’, which has striking yellow flowers and a more compact habit. They all share a love for humidity, bright indirect light, and a well-draining soil mix.
The perfect home: Your Goldfish Plant will never thrive in standard potting soil, which is too dense and retains too much water. You need an airy, light mix that mimics the debris found on a tree branch. You can easily make your own by combining:
- Two parts high-quality peat moss or coco coir
- One part perlite or pumice for aeration
- One part fine orchid bark for structure and drainage
This blend provides the perfect balance of moisture retention and oxygen for the roots to breathe.


