Plant This Fall for a Stunning Spring Garden: The Pro’s Guide
Even after years of designing gardens, my entire calendar still hinges on one simple thing: that first pop of color from a crocus or snowdrop breaking through the frosty ground. It’s more than just a pretty flower; it’s a promise. It’s the satisfying proof that all the planning and digging you did back in the cool, crisp days of autumn actually paid off. This is about working with the seasons, not against them.
In this article
A lot of articles will just throw a list of plants at you, but we can do better than that. I want to walk you through the techniques the pros use—the stuff I’ve learned from years in the field. We’ll get into the simple science, the hands-on tricks, and the honest truth about creating a spring garden that comes back bigger and better each year.
Let’s get your hands dirty.
First Things First: Know Your Ground
Before you even think about buying a single bulb, you have to get to know your canvas. And in gardening, your canvas is the soil and climate right in your own backyard. Skipping this step is, frankly, the fastest way to waste money and end up with a sad-looking garden. The pros never skip it.
What “Well-Drained Soil” Actually Means
You’ve seen it on every single plant tag: “prefers well-drained soil.” But what is that, really? It just means soil that holds onto enough moisture for the plant’s roots but lets the extra water flow away. Roots sitting in a puddle will rot, period. This is especially true for bulbs, which are basically little underground storage units that HATE being waterlogged.
Here’s a simple test you can do right now. Dig a small hole about six inches deep and grab a handful of that soil. Squeeze it hard in your fist.
- Falls apart instantly? That’s sandy soil. It drains too fast and doesn’t hold onto nutrients very well.
- Forms a slick, greasy ribbon? You’ve got heavy clay. It holds way too much water and can literally suffocate the roots.
- Holds its shape but crumbles easily when you poke it? Congratulations, that’s loam! It’s the perfect balance that gardeners dream of.
Most of us don’t have perfect loam, but the fix for both sand and clay is surprisingly the same: add organic matter. Good old compost is your best friend here. For a new garden bed, I like to work a solid 2 to 3-inch layer of compost into the top 6 inches of soil. It breaks up clay to create air pockets and helps sand act like a sponge to retain moisture. A bag of quality compost from a nursery will cost you around $10-$15, and it’s a better investment than any fancy fertilizer.
A Quick Word on Soil pH
Soil pH is just a scale of how acidic or alkaline your soil is. It matters because it controls which nutrients your plants can actually absorb. Most spring flowers and bulbs are happiest in a slightly acidic to neutral zone, somewhere between 6.0 and 7.0. You can grab a simple soil test kit from a garden center like Home Depot for about $15-$20. It’s the best money you’ll spend.
If your test shows the soil is too acidic, you can mix in some garden lime. If it’s too alkaline, adding sulfur or peat moss will help bring it down. Just be sure to follow the package directions—a little goes a long way!
Know Your Zone Before You Go
The USDA Plant Hardiness Zone map is a gardener’s secret weapon. You can find it online in seconds by just typing in your zip code. It divides the country into zones based on how cold it gets in the winter, which tells you what will survive in your garden. For most classic spring bulbs like tulips and daffodils, a certain period of cold (called vernalization) is necessary to trigger blooming.
Heads up! If you live in a warmer climate (Zone 8 or higher), you’ll likely need to buy pre-chilled bulbs or chill them yourself in a spare fridge for 10-14 weeks before planting to mimic a cold winter.
The Stars of the Show: Fall-Planted Bulbs
The most iconic spring flowers—the ones that make everyone stop and stare—all come from bulbs you plant in the fall. This gives them time to grow roots and get the chilling they need. Planting them right is what separates a breathtaking display from a few lonely-looking flowers.
Pro Planting Techniques
Dig Deep: The most common rookie mistake is planting bulbs too shallow. A shallow bulb can get pushed up by frost or, even more likely, become an easy snack for squirrels. The golden rule is to plant a bulb three times as deep as it is tall. So, a 2-inch daffodil bulb goes 6 inches deep. Smaller bulbs like crocus only need about 3-4 inches.
Pointy End Up: Most bulbs have a clear pointed tip where the stem will grow and a flatter bottom where the roots emerge. Always plant them pointy-end-up. By the way, if you honestly can’t tell, just plant the bulb on its side. The stem is programmed to grow up toward the light, so it will figure it out.
Give ‘Em a Good Start: Don’t just chuck a bulb in a hole. I always mix a handful of compost and a small amount of bone meal into the soil at the bottom of the hole. A box of bone meal costs about $10 and is packed with phosphorus, which is exactly what bulbs need for strong roots and big blooms.
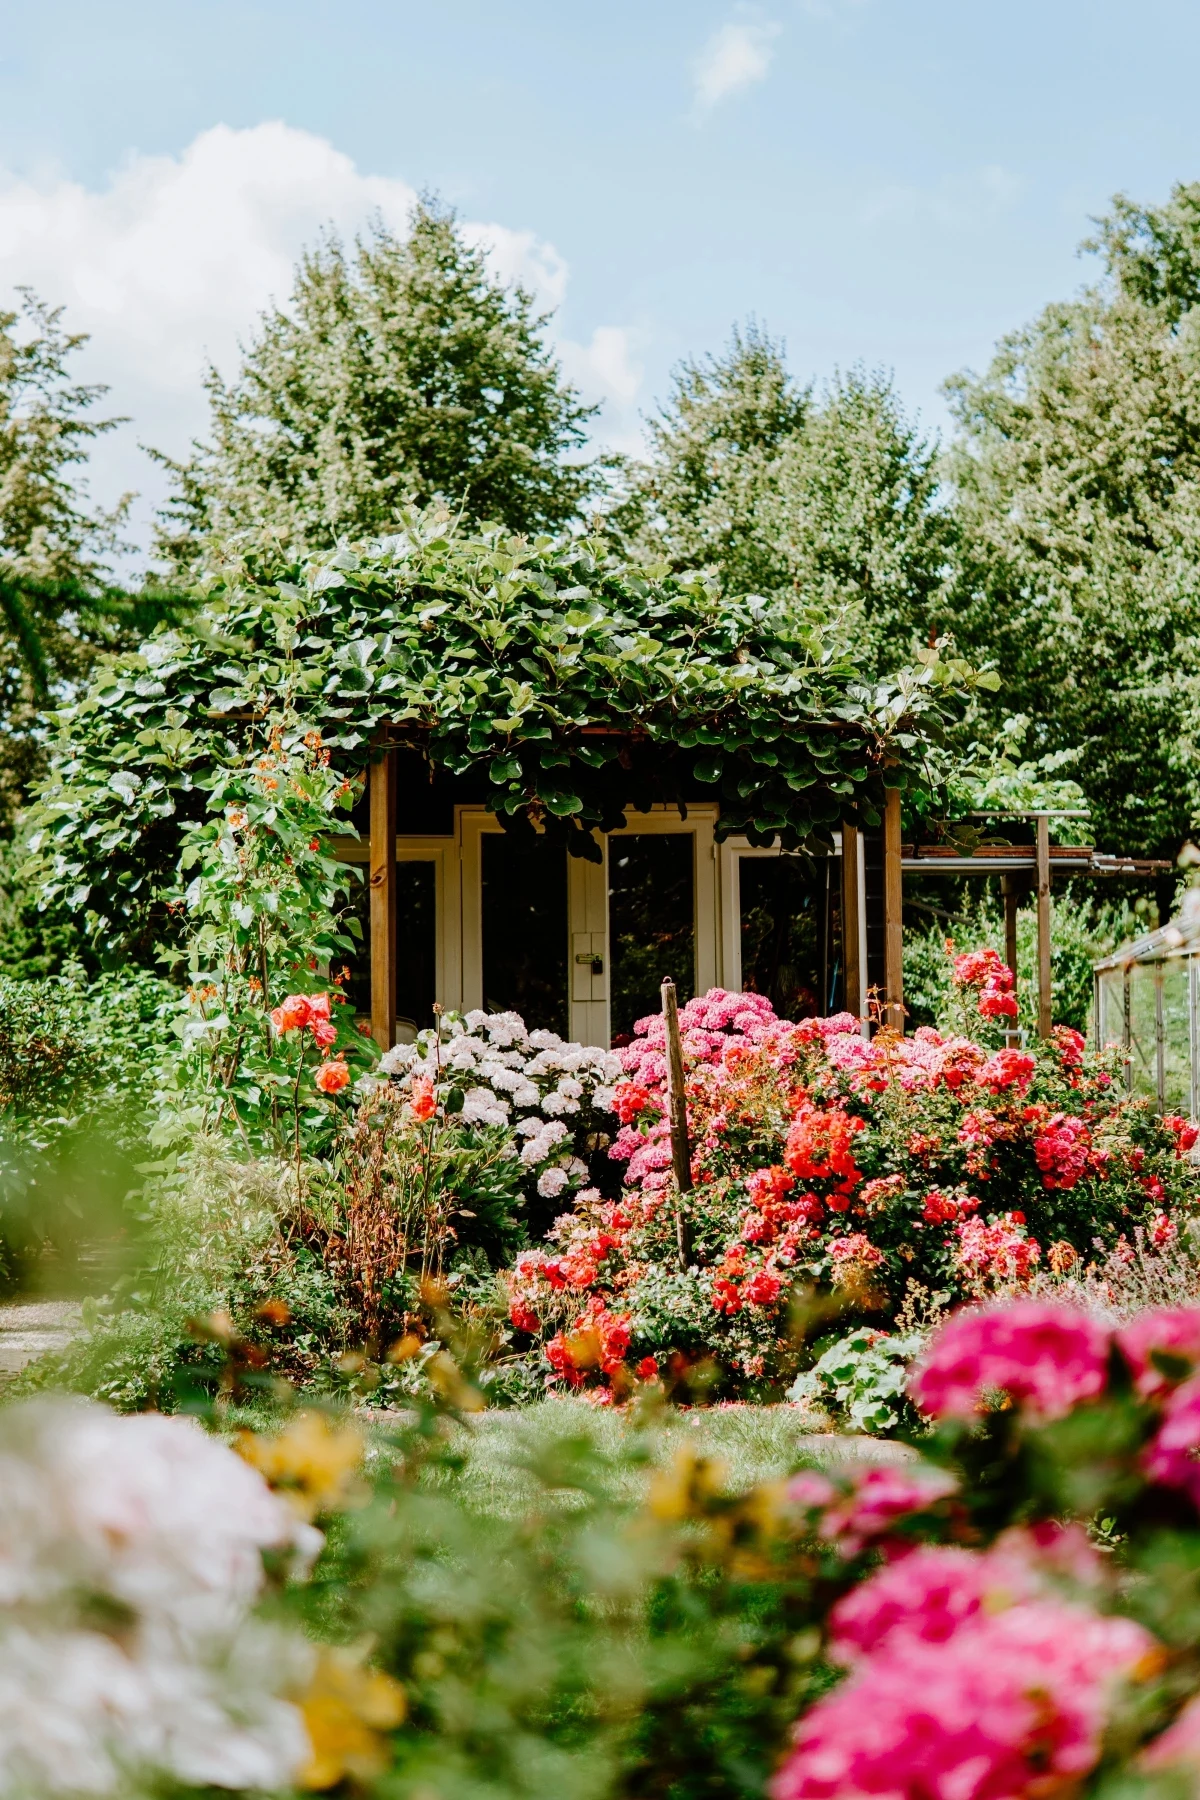
Plant in Drifts, Not Rows: For a beautiful, natural look, avoid planting in rigid lines like soldiers. I prefer to plant in big, casual clusters called drifts. To get this look, I’ll take a handful of bulbs, gently toss them onto the prepared area, and plant them more or less where they land. For a full, lush look, you need more than you think. For a small drift, I aim for at least 12-15 larger bulbs like tulips or a couple dozen smaller ones like crocuses.
Time-Saving Hack: If you’re planting a lot of bulbs (say, 50 or more), do yourself a huge favor and get a bulb-planting auger for your drill. It’s a game-changer that costs around $20 at a hardware store and turns a full day of back-breaking work into a quick afternoon job.
Your Spring Bloom Lineup
Here’s a look at the key players and when they show up to the party. We’ll skip the table and just talk about them like we’re planning a guest list.
The Early Birds (First to Arrive)
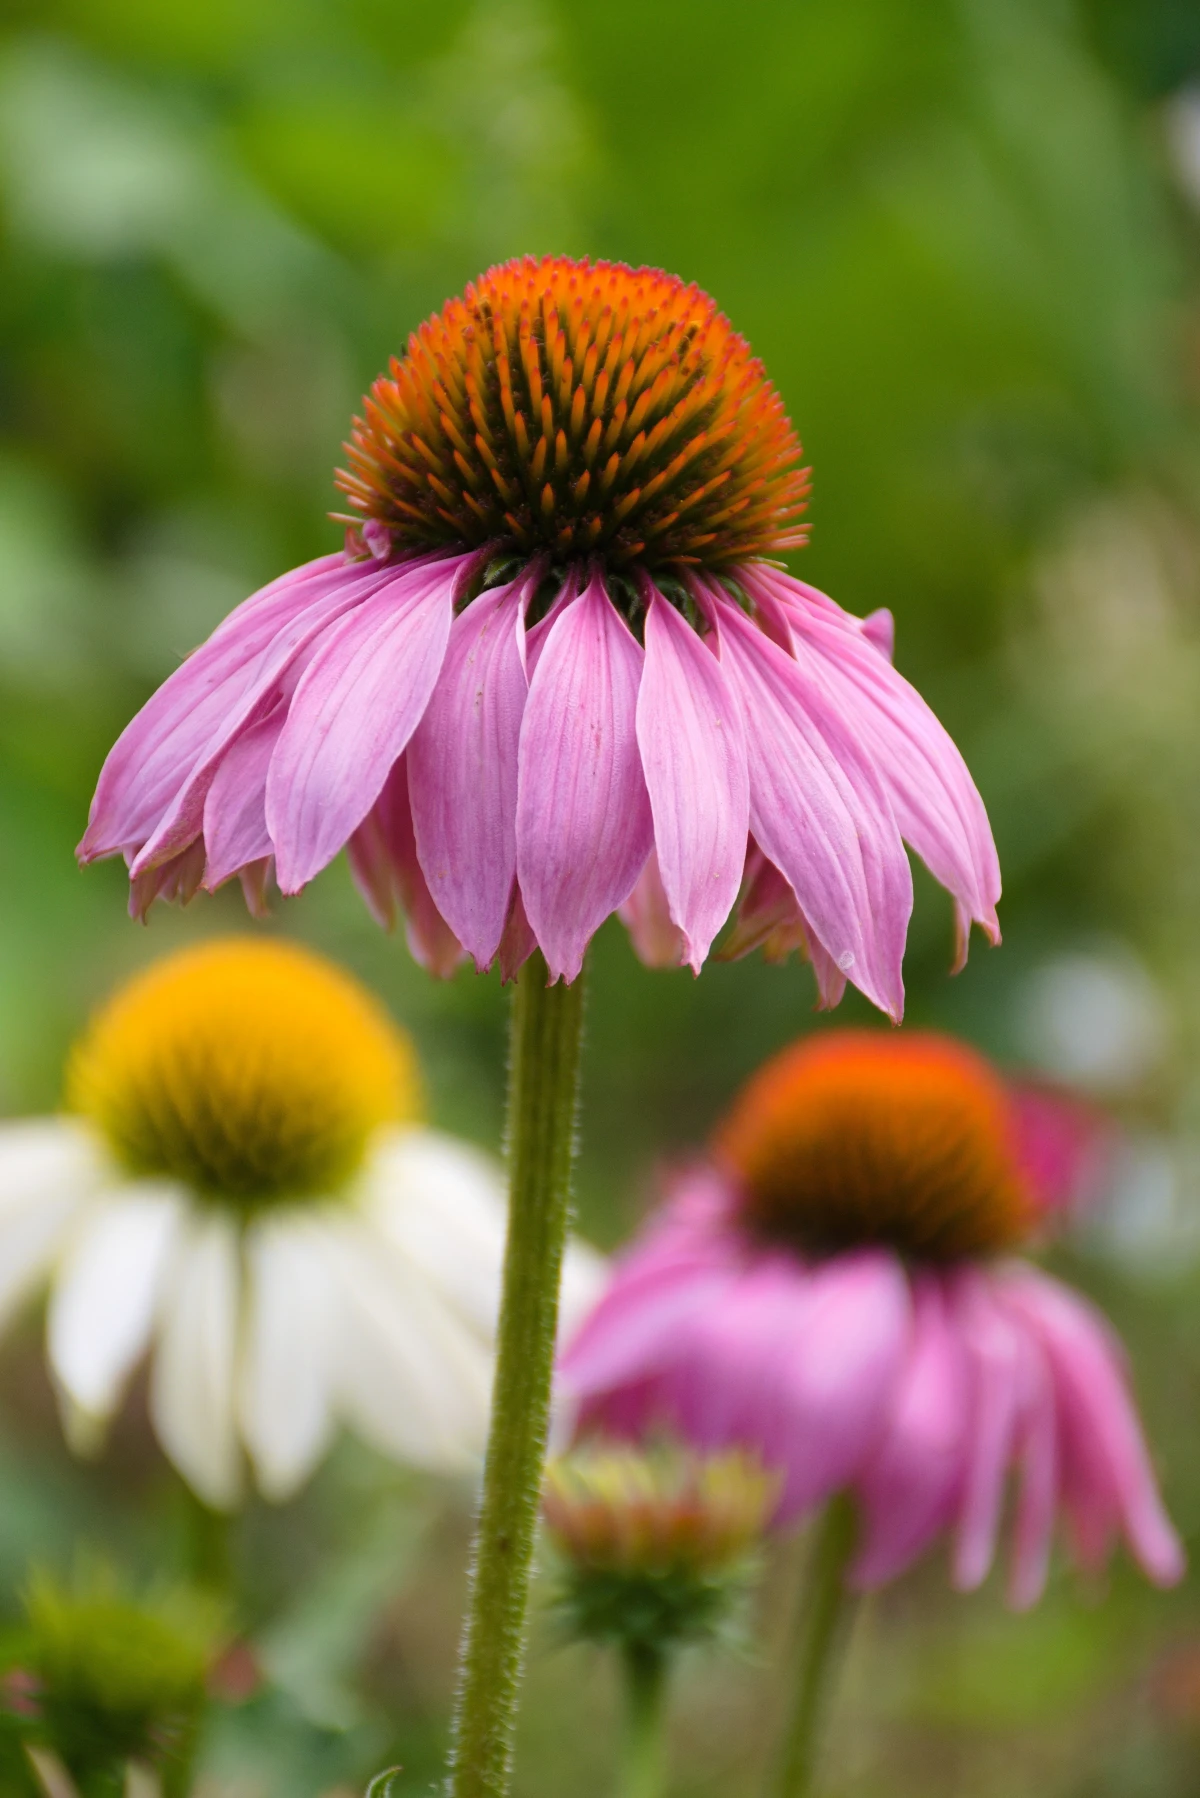
- Snowdrops: These little troopers often bloom right through the snow. They’re tough, they spread on their own over time (naturalize), and they’re perfect under trees that will later cast shade.
- Crocus: Famous for their jewel-toned colors. Just know that squirrels and chipmunks think crocuses are a delicacy. Planting them a little deeper or covering the area with a temporary layer of chicken wire can help protect your investment.
The Main Event (Mid-Spring Spectacle)
- Daffodils: If you can only plant one bulb, make it the daffodil. They are incredibly reliable, and here’s the best part: deer and rodents absolutely hate them because they contain a toxic compound. A quick but important safety note: All parts of the daffodil are poisonous if eaten, so never plant them near your veggie patch and wash your hands after handling the bulbs. After they bloom, you MUST let the leaves die back naturally for about six weeks. It looks messy, but that’s how the bulb recharges for next year. A great trick is to plant them among perennials like Hostas or Daylilies. As the daffodil leaves start to fade, the perennials grow up and hide the mess perfectly.
- Tulips: The ultimate for color, but let’s be honest—in most places, fancy hybrid tulips are best treated as annuals. You’ll get a spectacular show the first year, but they often fizzle out after that. The pros just plant fresh ones each fall. For a longer-lasting display, look for Species or Darwin Hybrid types. Oh, and squirrels love these too. Planting them a bit deeper (about 8 inches) can sometimes deter the critters.
The Grand Finale (Late Spring)
- Alliums (Ornamental Onions): These are total showstoppers with their big, globe-shaped flowers on tall stems. They provide amazing structure in the garden. Like daffodils, their oniony nature makes them deer and rodent-proof. Their leaves tend to yellow before the flowers even open, so plant them behind other perennials that will hide their scraggly-looking base.
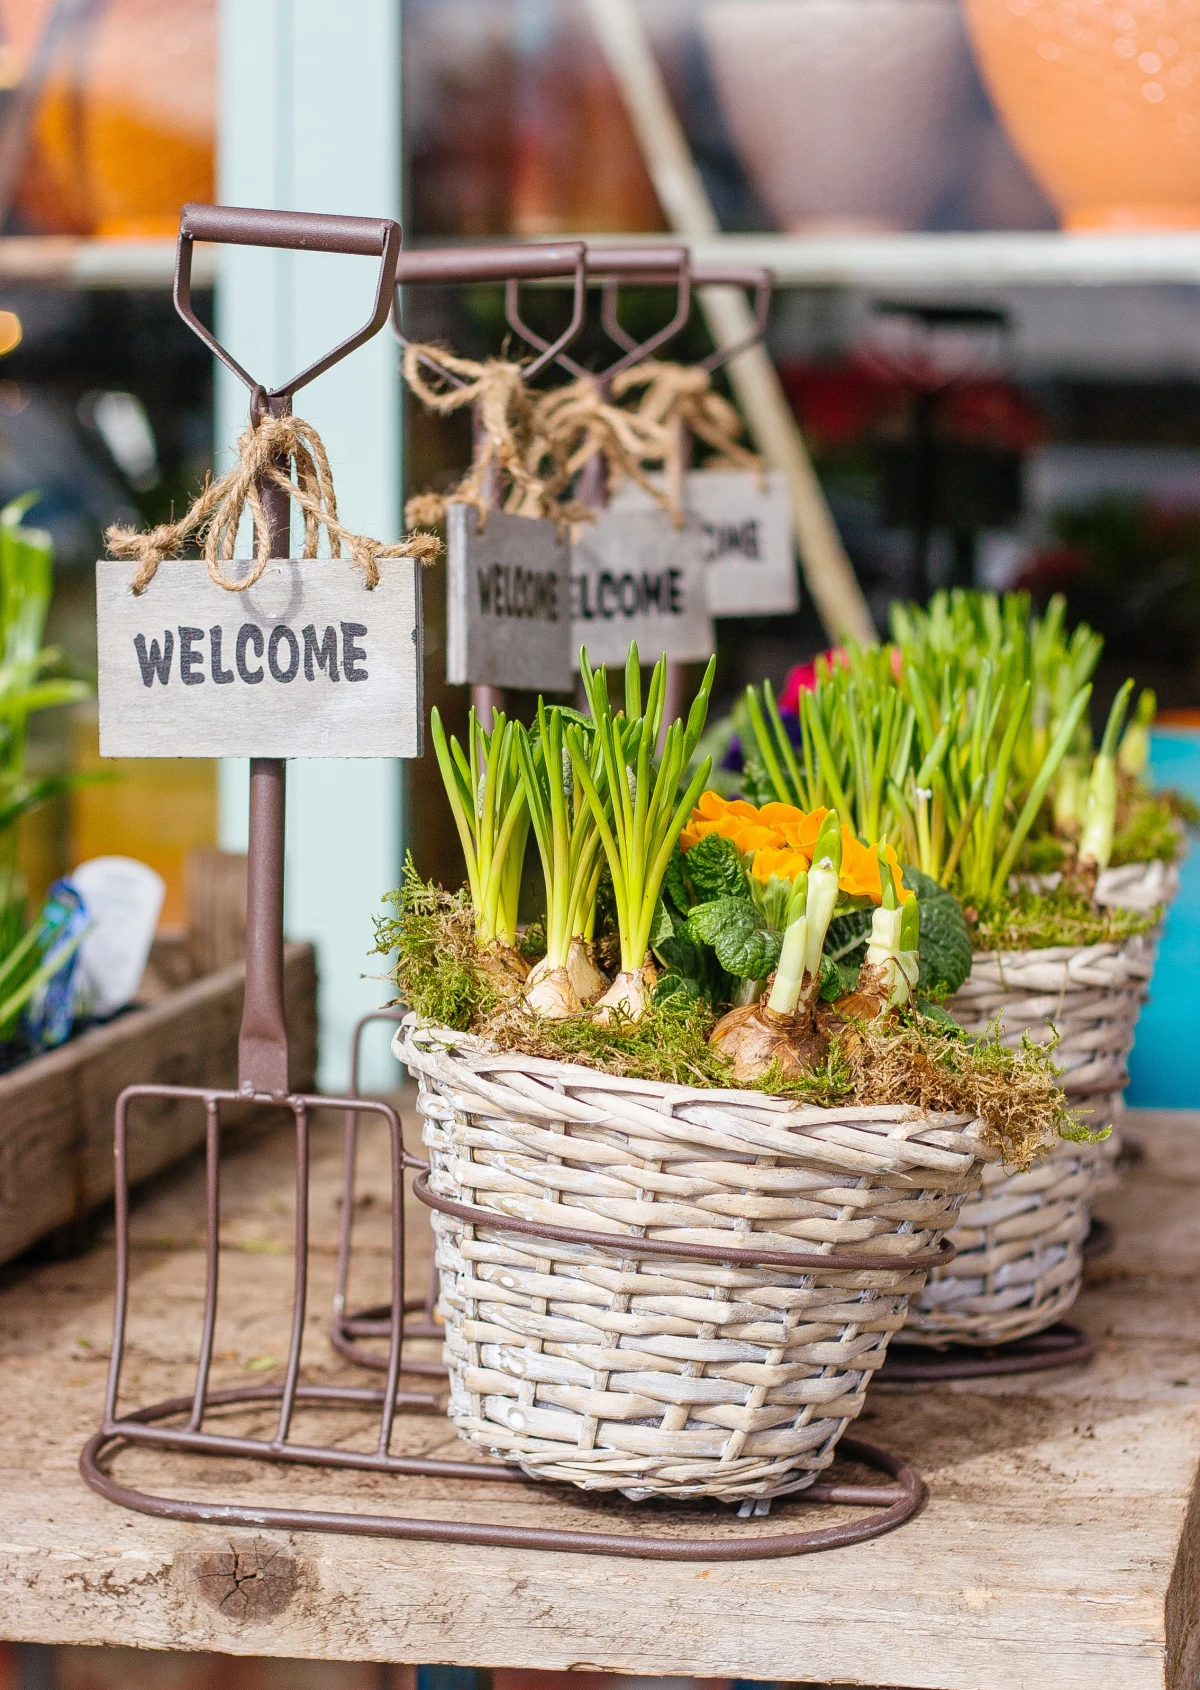
Container Trick: The Bulb Lasagna
Got a small patio? You can create an incredible, long-lasting show in a single pot using a method called “lasagna planting.” It’s all about layering bulbs for waves of color. Here’s a sample recipe:
Grab a big, deep pot (at least 20 inches wide and deep) with great drainage. Add a layer of potting mix, then place about 10 of your latest-blooming bulbs, like daffodils, on the bottom. Cover them with a few inches of soil. Next, add a layer of about 15 mid-season tulips. Cover with more soil. Finally, place about 25 of your earliest, smallest bulbs, like crocuses, on the top layer. Top it all off with soil, water it well, and you’re done. Your pot will bloom for nearly two months straight!
The Supporting Actors: Spring Perennials
Perennials are your garden’s long-term residents. They emerge every spring to complement your bulbs and are fantastic at hiding that fading bulb foliage we talked about.
- Hellebores (Lenten Rose): These shade-lovers are amazing, with flowers that appear in late winter and last for months. Their sap can be a mild skin irritant, so I always wear gloves when handling them. They are also toxic if eaten.
- Creeping Phlox: This sun-loving groundcover explodes into a carpet of color in mid-spring. Quick tip: after it flowers, shear it back by about one-third to keep it from getting sparse and woody.
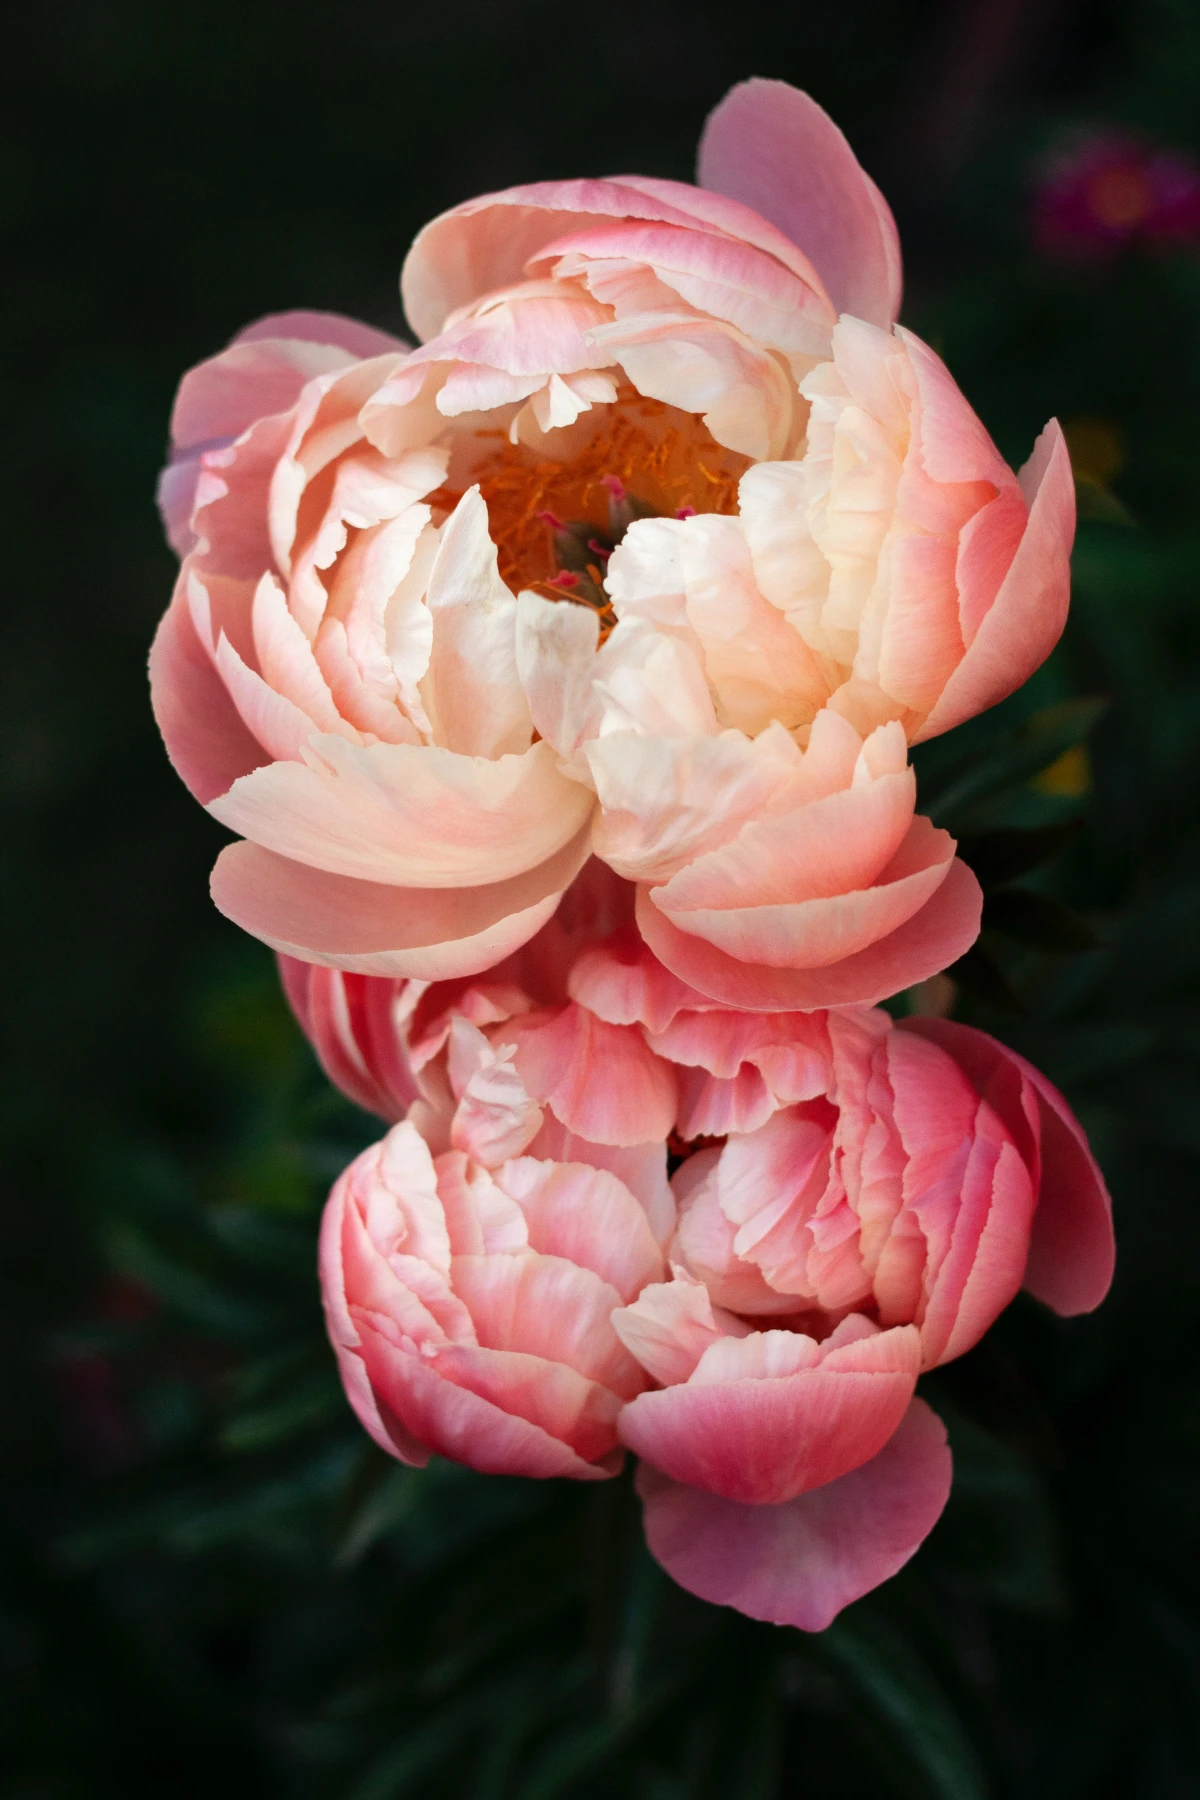
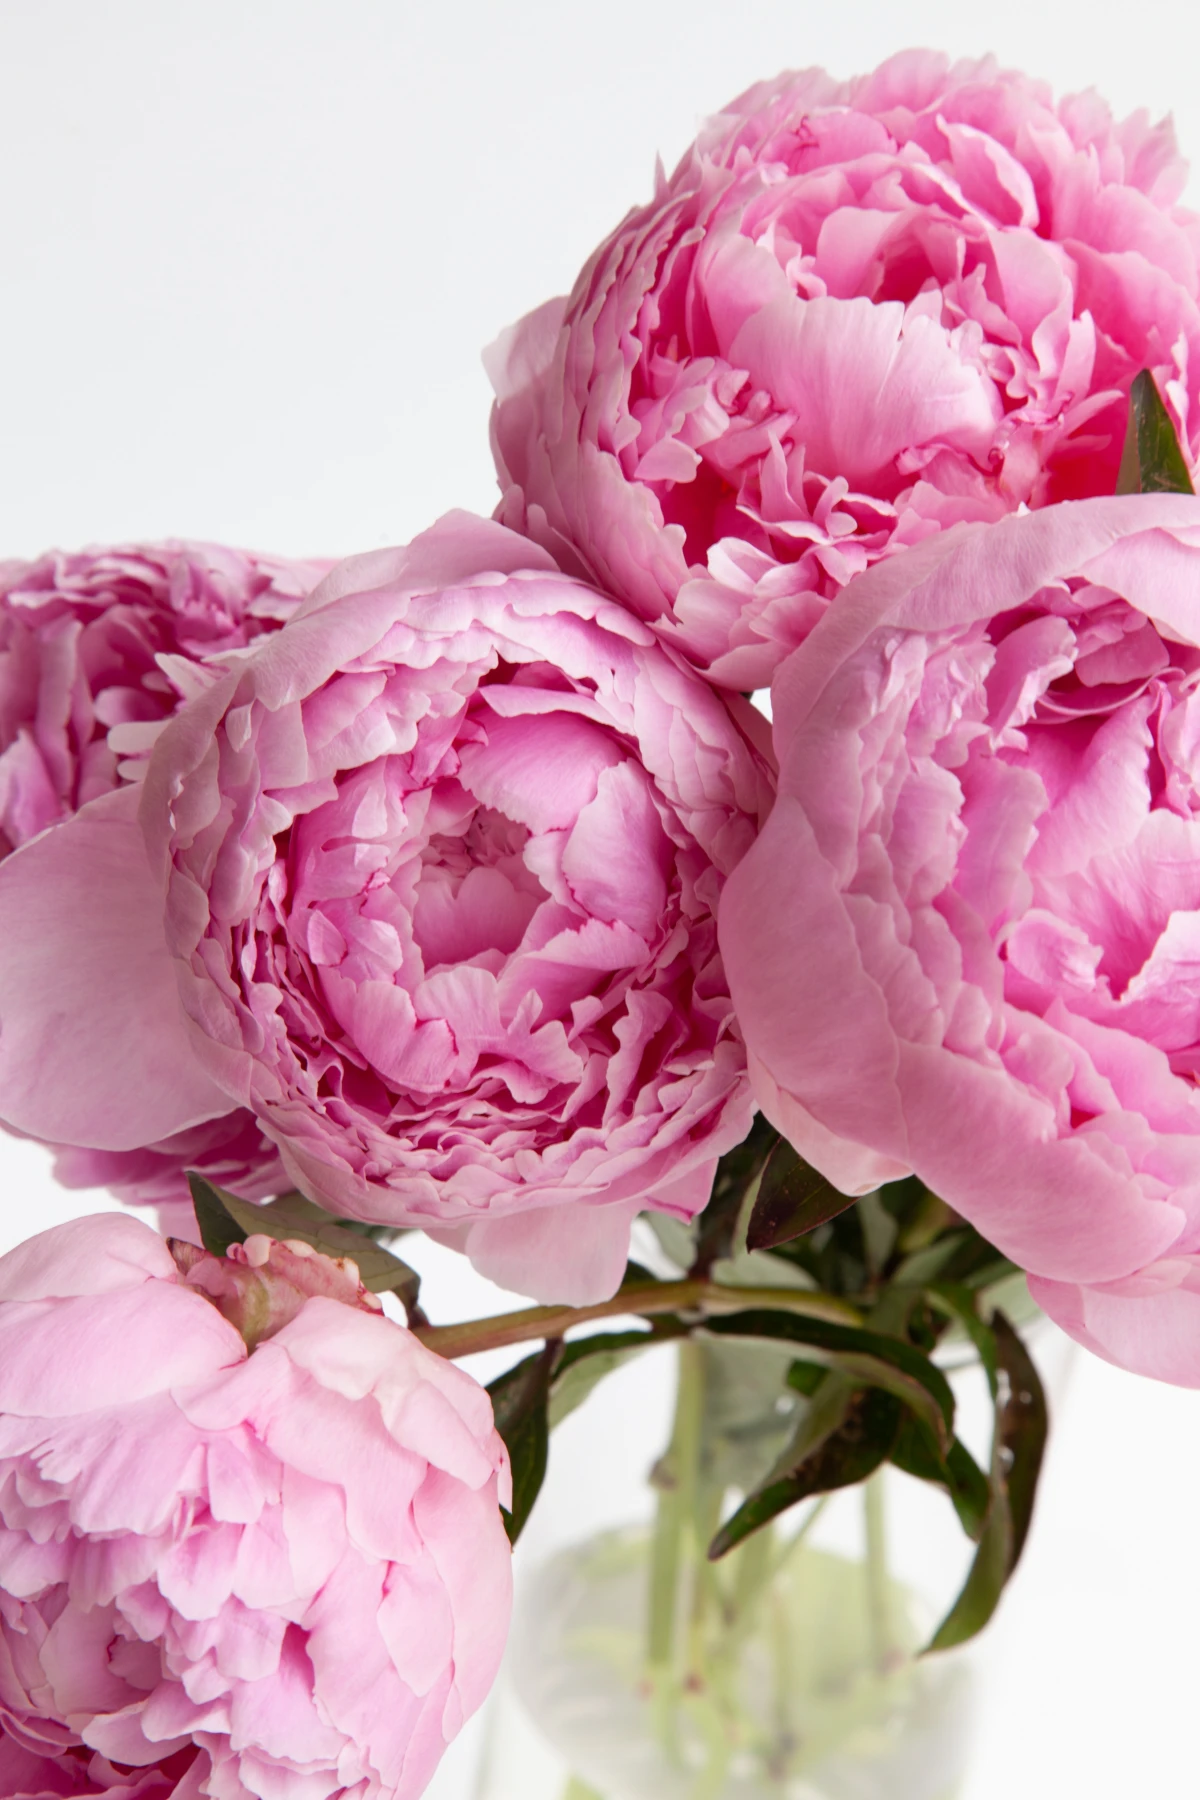
- Peonies: Known for their huge, fragrant blooms, peonies can live for decades. The number one mistake people make is planting them too deep. The little pinkish buds (or “eyes”) on the root should be no more than two inches below the soil. Any deeper, and you’ll get a lovely bush with no flowers. Their heavy heads also need support, so place a peony ring over the plant early in spring before it gets too big.
Let’s Clear Something Up: Summer vs. Spring Flowers
A really common point of confusion for new gardeners is mixing up flowers that bloom in spring with flowers that you plant in spring. For example, Elephant Ears, Calla Lilies, and Coneflowers (Echinacea) are all planted in the spring, after the last frost. But they are for summer and fall color, not spring.
Just remember this simple rule: You plant for spring in the fall. You plant for summer in the spring.
Keeping Your Garden Happy for Years
Your work isn’t quite done after planting. After you plant your bulbs in the fall, give them a good, deep watering to get them settled. In the spring, I top-dress my garden beds with a fresh layer of compost, which acts as a fantastic slow-release food. For hungry perennials, a balanced granular fertilizer is great, but avoid high-nitrogen food for bulbs—it just gives you leaves instead of flowers.
As for pests, start simple. A strong blast of water from the hose can knock aphids right off new growth. For slugs, I use an iron phosphate bait like Sluggo, which is safe for pets and wildlife. Healthy plants in good soil are your best defense.
And remember to be safe. Wear gloves, and be mindful of toxic plants like daffodils and hellebores, especially if you have curious kids or pets. Know your limits, too. Planting is fun, but if your project involves major grading or electrical work for lighting, it’s time to call in a professional landscape contractor.
The work you do in the fall is a quiet act of faith. But when those first bits of color push through the cold ground months later, you’ll know every moment was worth it.
Inspirational Gallery
The Pro’s Secret Weapon: Lasagna Planting. This technique is a game-changer for getting waves of color from a single spot. In a deep pot or garden bed, plant your latest-blooming bulbs (like Alliums or Darwin Hybrid Tulips) at the bottom. Add a layer of soil, then plant your mid-spring bloomers (like Daffodils). Add more soil, and finish with the earliest bloomers (like Crocus or Galanthus) near the surface. The result is a non-stop flower show for over a month.
- Deters squirrels with its strong scent.
- Helps break down heavy clay soil.
- Provides essential phosphorus for strong root development.
The secret? A handful of bone meal in each planting hole. For just a few dollars, a product like Espoma’s Bulb-tone provides this and other essential nutrients that ensure your bulbs have the fuel they need to thrive through winter and erupt in spring.
Wondering how deep to plant?
Forget measuring every single hole. The universal rule of thumb for bulbs is to plant them at a depth three times their own height. A small crocus bulb that’s an inch tall should be planted three inches deep, while a large two-inch daffodil bulb goes six inches down. This simple guideline protects them from frost and ensures they have a solid anchor for their roots.
For many emerging queen bumblebees, early spring flowers like crocuses are a critical first meal, providing the nectar and pollen needed to start a new colony.
By planting drifts of Crocus, Scilla, and Chionodoxa, you’re not just creating a beautiful scene; you’re setting up a vital lifeline for pollinators waking from hibernation. Your garden becomes one of the first and most important restaurants of the season.
For dramatic, dark accents: The ‘Queen of Night’ tulip is legendary. Its deep, velvety maroon petals look almost black in certain light, creating incredible contrast with bright yellows and pinks. It’s a late-spring bloomer, perfect for a grand finale.
For a soft, painterly effect: Try the ‘La Belle Époque’ tulip. This variety boasts an antique, dusky-apricot color that shifts with the light, pairing beautifully with blues and purples. It brings a sophisticated, vintage feel to any planting scheme.
A common mistake: Cutting back foliage too soon. It’s tempting to trim the messy-looking leaves after the flowers have faded, but resist! These leaves are the bulb’s solar panels, gathering energy for next year’s blooms. Wait until the foliage turns completely yellow and pulls away easily before cutting it back. Patience now means a bigger, better show next spring.
To achieve that effortless, natural look, toss a handful of smaller bulbs, like Muscari or Scilla, gently onto the area you want to plant. Dig your holes wherever they land. This simple trick breaks up rigid patterns and creates the beautiful, random drifts you see in nature.
The famous Keukenhof Gardens in the Netherlands plant an estimated 7 million bulbs by hand each autumn.
While your backyard might not be on that scale, you can borrow a key design principle: plant in abundance. Instead of a single, lonely row of tulips, plant a cluster of 10 or 15. The dense grouping creates a powerful visual impact that single bulbs just can’t match.
Think about scent, not just sight. Planting a cluster of fragrant Hyacinths near a doorway or window means you’ll be greeted with the intoxicating perfume of spring every time you pass by. Varieties like ‘Delft Blue’ or ‘Carnegie’ are famous for their powerful, sweet fragrance that truly announces the season’s arrival.
- A classic bulb planter works like an apple corer, quickly removing a plug of soil. It’s ideal for planting dozens of bulbs in a lawn or established bed.
- A sturdy hand trowel or hori-hori knife gives you more control to amend the soil in each individual hole, which is perfect for clay soil or new beds.


