The Real Deal on Mulch: A Gardener’s Guide to Getting It Right
I’ve spent more years than I can count with my hands in the dirt, and if there’s one thing I’ve seen make or break a garden, it’s mulch. Seriously. I’ve seen it rescue flower beds during a scorching heatwave, and I’ve also been called in to fix gardens where it’s rotted the base of beautiful, established shrubs. The difference always boils down to two simple things: picking the right stuff and putting it down the right way.
In this article
A lot of people think of mulch as just a decorative blanket for their soil. But it’s so much more than that. It’s an active, working partner in your garden’s little ecosystem. It protects, it feeds, and it keeps things stable for your plants. So before you just grab the first bag you see, let’s talk about what mulch is actually doing for you.
Why Mulch is a Non-Negotiable Garden MVP
Before you can pick a winner, you need to know the rules of the game. The benefits you hear about—saving water, stopping weeds—are all rooted in some pretty straightforward science. Understanding this will help you choose like a pro.

- Moisture Lock-In: Bare soil is a sitting duck for the sun and wind, which team up to suck water right out of the ground. On a hot day, your plants’ roots might never even get a sip. A layer of mulch is like a shield, blocking the sun and slowing evaporation. I’ve tested this myself with a soil moisture meter in two identical beds. After a hot week, the mulched bed consistently held 40-50% more moisture. That means less watering for you and happier plants.
- Temperature Control: Roots are sensitive. In summer, the top layer of bare soil can literally cook the delicate feeder roots of your plants. In winter, the constant freezing and thawing can push plants right out of the ground (a classic problem for perennials). Mulch is insulation. I’ve measured soil under 3 inches of hardwood mulch on a 90°F day and found it a full 15°F cooler than exposed soil right next to it. That’s a huge deal for root health.
- Weed Suppression: Your soil is full of weed seeds just waiting for their moment in the sun. A solid 2- to 3-inch layer of mulch blocks the light they need to sprout. It’s honestly one of the biggest time-savers in gardening. Now, let’s be realistic: it suppresses weeds, it doesn’t magically eliminate them. A few determined ones will push through. But the good news? The soil underneath will be soft and moist, making those invaders incredibly easy to pull.
- Soil Improvement: This is where organic mulches are the true heroes. Things like shredded bark or compost slowly decompose. As they do, an entire community of earthworms and microbes breaks them down, releasing nutrients and creating humus—that dark, rich, spongy stuff that’s the foundation of incredible soil. Over a few seasons, you’re not just covering your soil; you’re actively building a better one.
The Mulch Showdown: Choosing the Right Material
Okay, let’s get into the nitty-gritty. Organic mulches come from stuff that was once alive, and they’re what the pros almost always use in flower beds. Each one has its own personality.
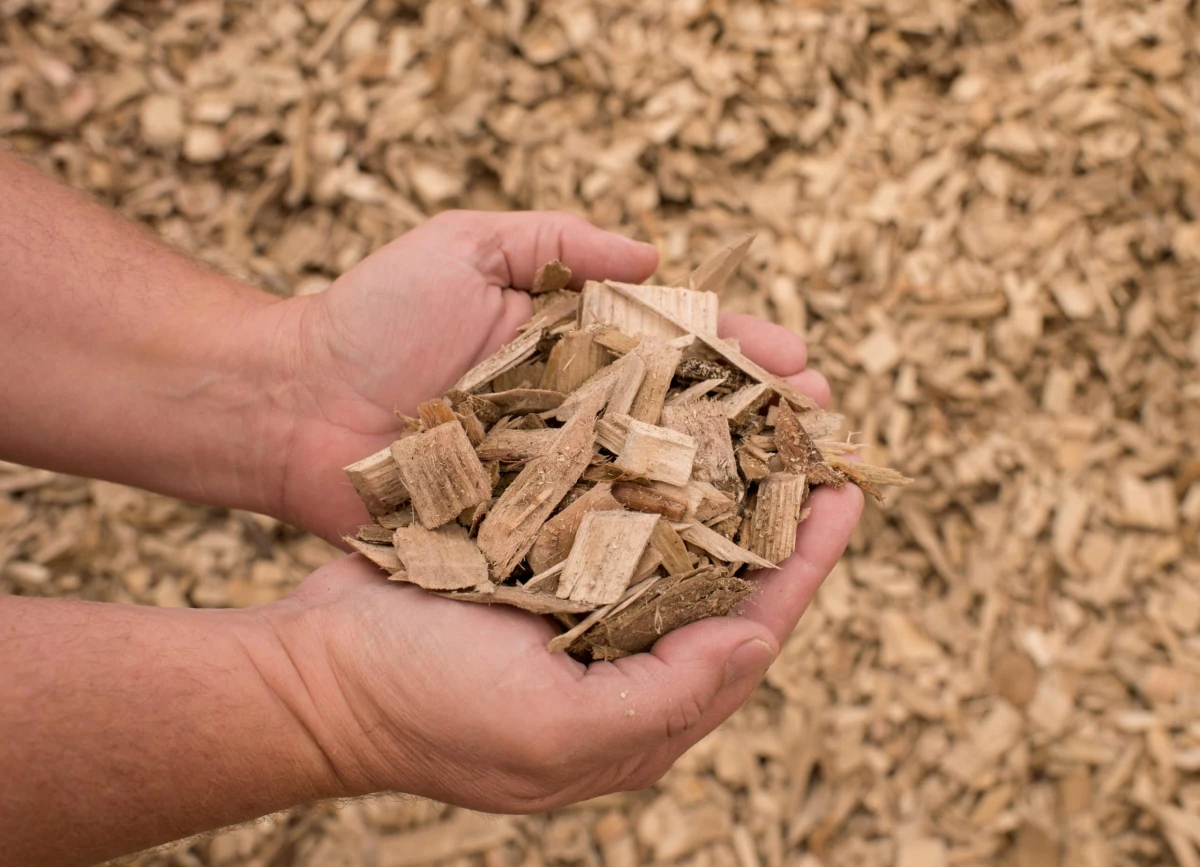
Shredded Hardwood Bark
This is the dependable workhorse of the landscaping world. It’s typically sold as double- or triple-shredded; the more shredded, the finer it looks. It has a nice, uniform appearance and its texture helps it lock together and stay put.
It’s a fantastic all-rounder for perennials, shrubs, and trees. It breaks down over a year or two, so you’ll need to top it up with a fresh inch each spring. Heads up! Some cheap “hardwood mulch” is actually ground-up pallets or waste wood, not bark. It can mat down and repel water. I once had a client who used this stuff, and it was a disaster. Always buy from a reputable nursery or soil yard.
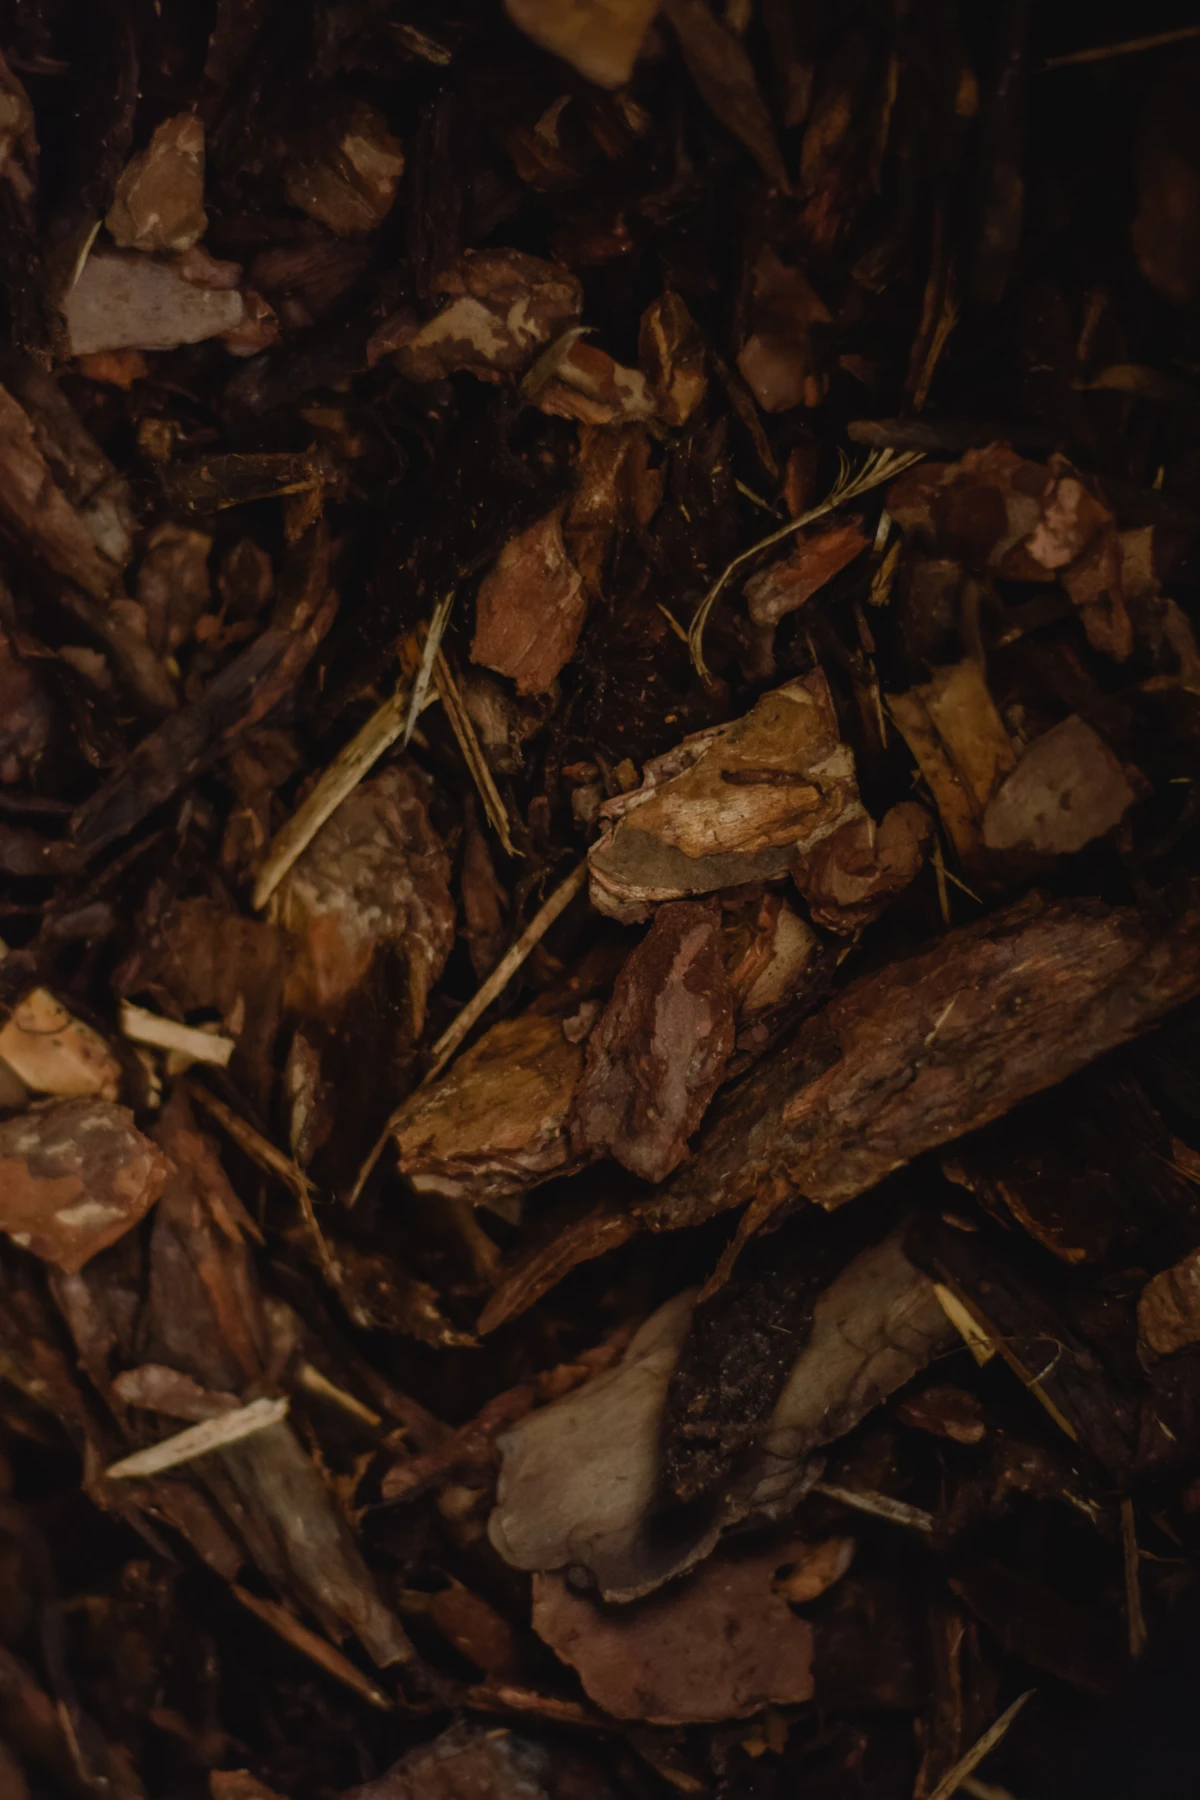
Pine Bark (Fines and Nuggets)
Known for its rich color and pleasant smell, pine bark is another great choice. It’s especially perfect for acid-loving plants like azaleas, rhododendrons, and hydrangeas, as it helps lower the soil pH slightly as it breaks down. The downside? It’s lightweight. The bigger nuggets, in particular, can float away in a heavy downpour, so I wouldn’t use them on a slope.
Cedar or Cypress Mulch
These are prized for their light color and how slowly they break down. If you want a mulch you won’t have to re-apply for a few years, this is a contender. But because it decomposes so slowly, it adds fewer nutrients back to the soil. There are also some sustainability questions, especially around cypress harvested from sensitive wetlands. It’s worth asking your supplier about the source.
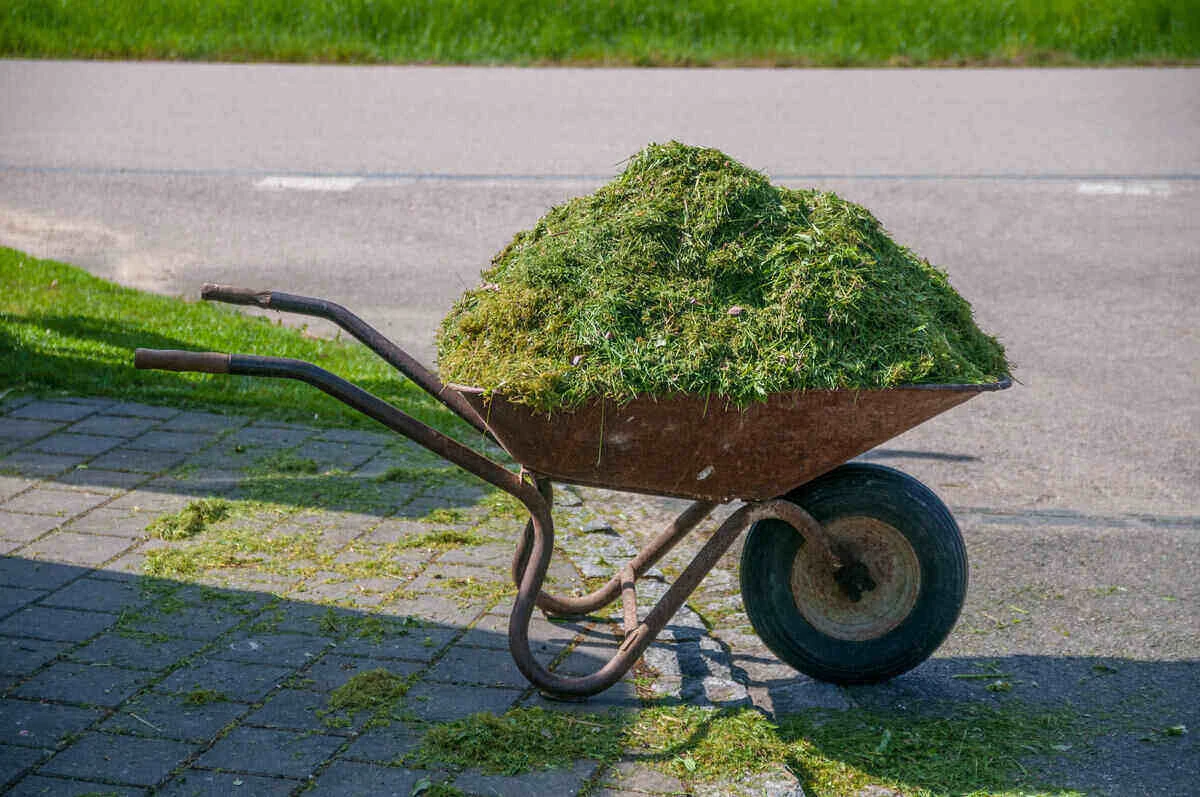
Compost
Using high-quality compost as mulch is like giving your garden a superfood smoothie. It’s packed with nutrients and beneficial microbes. It’s the ultimate soil builder, especially for vegetable gardens or new beds with poor soil. The catch? It can be pricier than bark mulches, and you only want to apply a 1- to 2-inch layer. Any deeper and it can stay too wet. Also, make sure it’s fully finished compost—if it smells sour or like ammonia, it’s not ready and can harm your plants.
Shredded Leaves
This is the gardener’s free gold. Don’t bag your fall leaves! Run them over with a lawnmower a few times to shred them, then spread them on your beds. They create an amazing, nutrient-rich layer that earthworms go crazy for. A quick warning: you HAVE to shred them. I learned this the hard way. Piling whole leaves on a bed creates a slimy, impenetrable mat that will smother your plants.
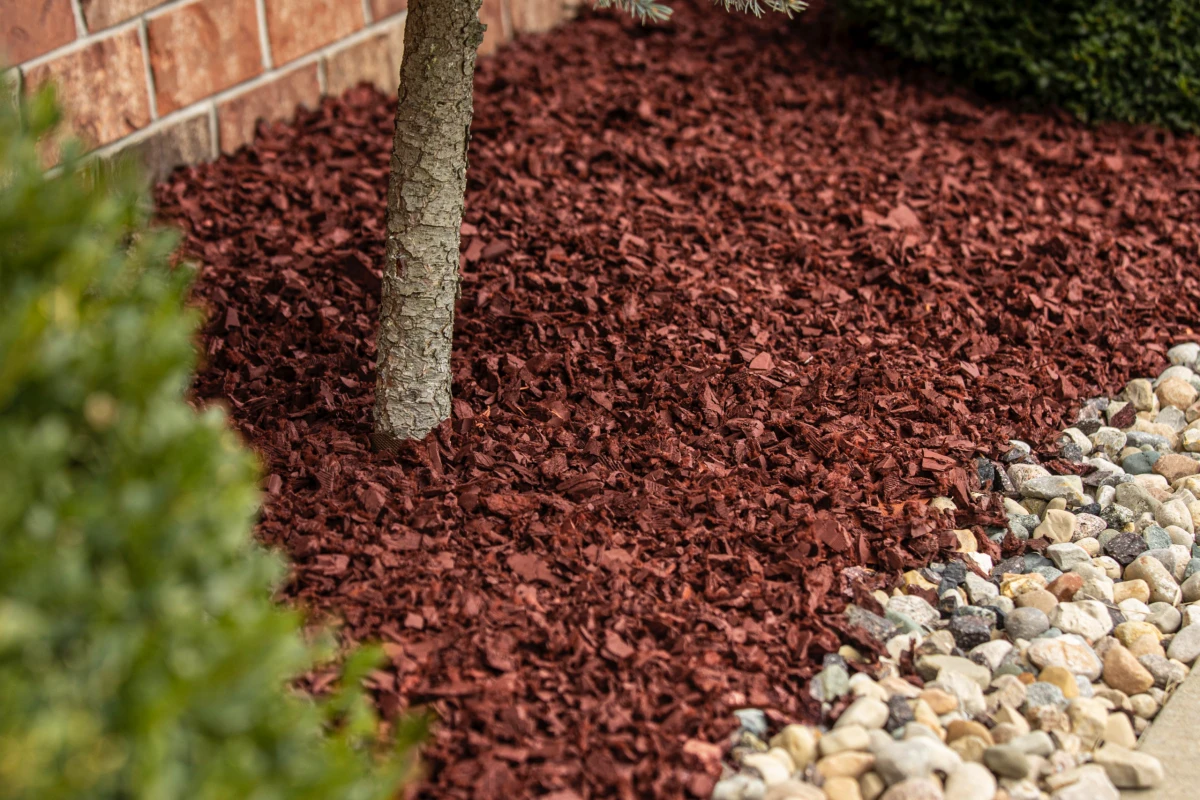
A Quick Word on Dyed Mulches
You’ve seen them at the big box stores: the jet-black and fire-engine-red mulches. So, what’s the deal? Most modern dyed mulches use iron oxide (for red) or carbon black (for black), which are generally considered safe for plants and soil. The bigger issue, honestly, is aesthetics and performance. The color often fades unevenly within a single season, leaving a blotchy, sad-looking bed. And that dark black mulch can get extra hot in the sun, which might be too much for some delicate plant roots.
The Money Talk: Bags vs. Bulk Delivery
Let’s talk cost, because it matters. Buying mulch in 2-cubic-foot bags from a store like Home Depot or Lowe’s is convenient for small jobs. Expect to pay between $3 and $6 per bag, depending on the type.
But if you need a lot, bulk delivery from a local garden center or soil yard is the way to go. A cubic yard of shredded hardwood might cost you $30 to $50, plus a delivery fee. This is where a little math saves you big money. One cubic yard is equal to about 13.5 of those 2-cubic-foot bags. To get that much mulch in bags, you’d be spending $40 to $80, and you’d have to haul it all yourself.
My rule of thumb: If you need more than 2 cubic yards (that’s roughly 27 bags), get it delivered. It’ll save your back and your wallet.
How to Apply Mulch Like You’ve Been Doing It for Years
Getting the right mulch is half the battle. Applying it correctly is what seals the deal.
Step 1: Get Your Numbers Right
First, measure the area. Multiply the length by the width of your bed to get the square footage. For a bed that’s 10 feet long by 5 feet wide, that’s 50 square feet. Then, use this simple formula the pros use: (Area in square feet x Depth in inches) / 324 = Cubic Yards Needed.
For our 50 sq ft bed, at a standard 3-inch depth: (50 x 3) / 324 = 0.46 cubic yards. So you need about half a cubic yard. And what does that mean in real-world terms? Since a full yard is about 13.5 bags, you’d need to grab 7 bags from the store.
Step 2: Prep the Bed
This is critical. Weed the area thoroughly. If you mulch over weeds, you’re just giving them a cozy blanket to grow under. Then, give the bed a good, deep watering. Applying mulch to moist soil helps lock that water in.
Step 3: Spread it Right (No Mulch Volcanoes!)
This is the #1 mistake I see homeowners make. They pile mulch right up against the stems of their flowers and trees, creating a “mulch volcano.” This traps moisture against the plant, inviting rot, disease, and pests. It will kill your plants over time.
Instead, think “donut.” Always pull the mulch back 2 to 4 inches from the base of every plant. You should be able to see the spot where the stem meets the soil. Aim for an even 2- to 3-inch layer everywhere else. For that 10×5 bed, if it’s already weeded, this job should only take about 30-45 minutes. Put on some music—it’s a pretty satisfying task.
What About Last Year’s Mulch?
A common question! Do you need to remove the old stuff? Absolutely not! That old mulch is breaking down and turning into food for your soil. Just use a hard rake to fluff it up a bit, breaking up any matted layers, and then apply a fresh 1-inch top-up layer to bring it back to the proper depth and freshen up the look.
Quick Troubleshooting
- Sour Mulch: If you open a bag and it smells sharp like vinegar, stop. That’s “sour mulch.” It was stored improperly and can harm your plants. Spread it on a tarp for a few days to air out before using it.
- Slugs & Pests: A thick, moist mulch layer can be a slug paradise. If they’re a problem, try a coarser mulch like pine nuggets. A lesser-known trick: create a barrier of crushed eggshells or diatomaceous earth (you can find this at garden centers) in a ring around sensitive plants like hostas. They hate crawling over it.
- Termites: Good news—termites aren’t attracted to the mulch itself. However, a thick layer piled against your house can provide a hidden bridge for them to your foundation. Always keep mulch at least 6 inches away from your home’s siding.
At the end of the day, the best mulch is the one that fits your garden’s needs and your budget. But more important than the exact type is the technique. Remember to prep the bed, apply the right amount, and always—ALWAYS—pull it away from the base of your plants. Your garden will thank you with healthier growth and more vibrant flowers. And you’ll spend less time watering and weeding. That’s a win-win.


