Bringing Spring Indoors: The Real Guide to Forcing Lilies
I’ve spent a good chunk of my life with my hands in the dirt, working with flowering bulbs. One thing I’ve noticed over and over is the confusion around ‘indoor lilies.’ Most of what you see sold under that name aren’t true lilies at all. This guide is for the real deal—the big, fragrant, stunning flowers from the Lilium family, and how you can actually trick them into blooming inside your house.
In this article
Honestly, getting this right isn’t just about being a plant nerd. It’s a serious safety issue, especially if you have pets. I’ll never forget a panicked call from a customer whose cat chewed on a flower from a gift bouquet. We had to figure out, fast, if it was a Peace Lily (which causes painful mouth irritation) or a true Oriental Lily (which causes deadly kidney failure). That experience taught me to always lead with the most important lesson first.
First Things First: True Lilies vs. The Lookalikes
Before we even talk about pots and soil, we need to clear this up. Knowing what you’re dealing with is everything.
A CRITICAL Warning for Cat Owners: I cannot be more clear about this. If you have cats, you should never bring a true lily (from the Lilium genus) into your home or garden. Every single part of the plant—petals, leaves, pollen, even the water in the vase—is extremely toxic to them. Ingesting a tiny amount can lead to irreversible kidney failure and death. It’s a medical emergency. If you’re ever in doubt, the ASPCA’s website has detailed information on plant toxicity. For cat households, it’s best to stick with the lookalikes.
So, what’s what?
- True Lilies (The Lilium Crew): These are the showstoppers. Think of fragrant Oriental Lilies, bright Asiatic Lilies, or classic Easter Lilies. They all grow from a scaly bulb that looks like a little onion. Pet Safety: DEADLY for cats. Forcing Needs: They absolutely require a long, cold chilling period to bloom. This is the plant this guide is about.
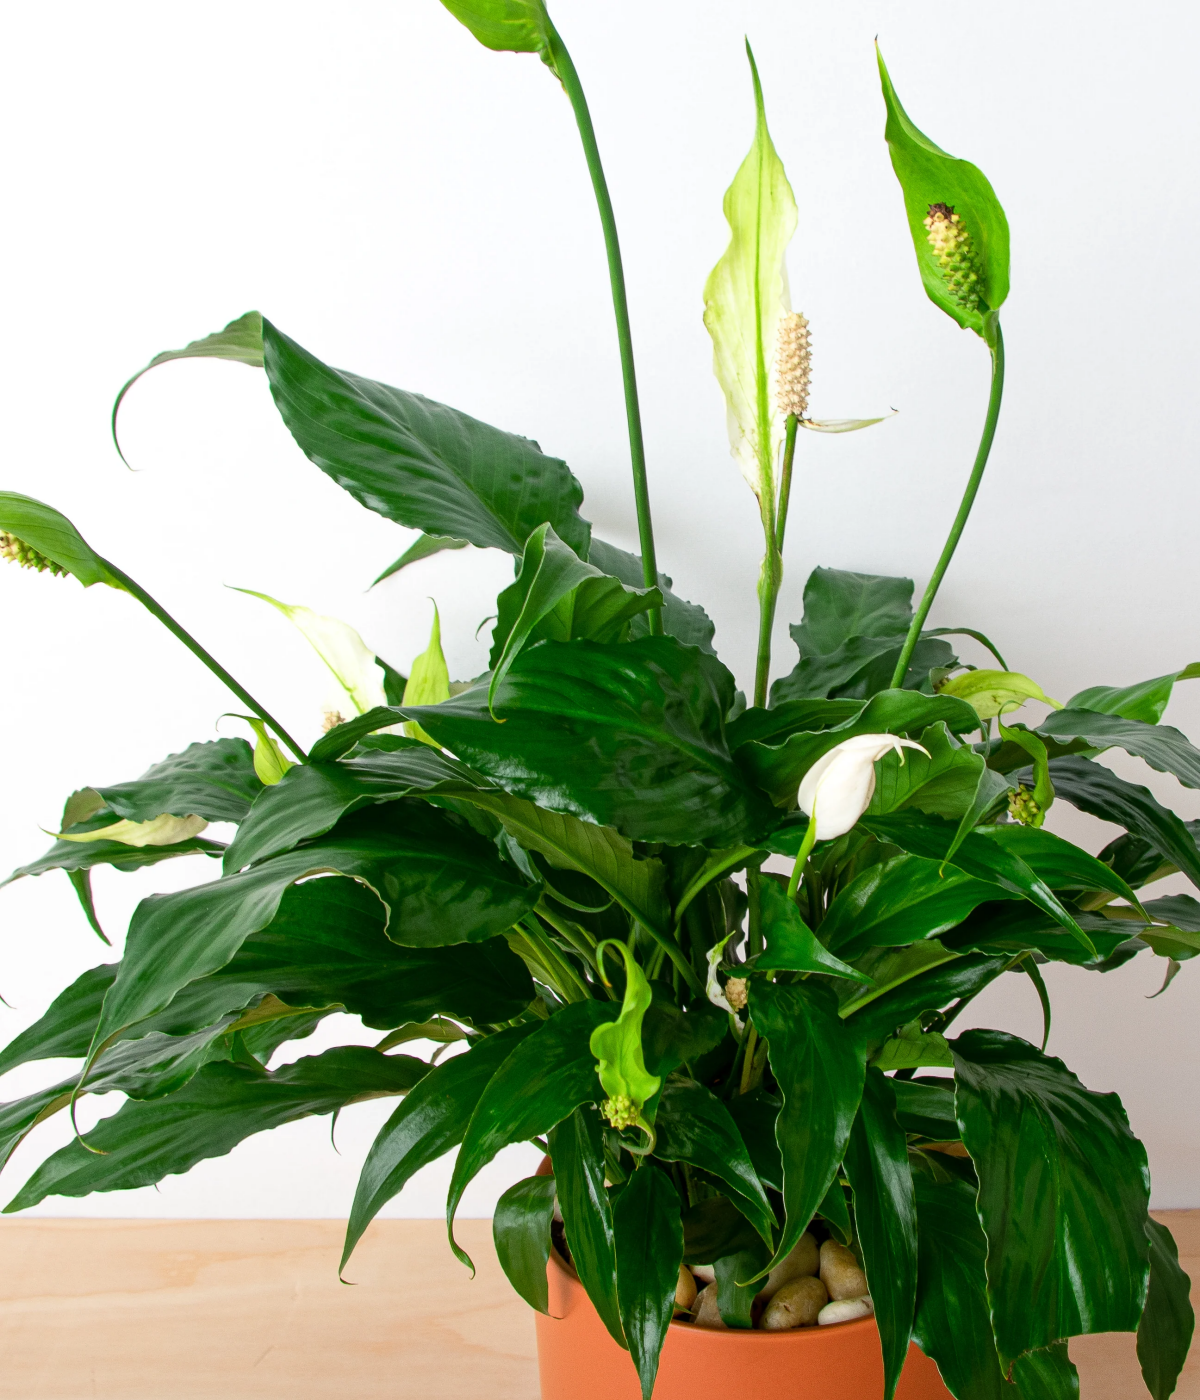
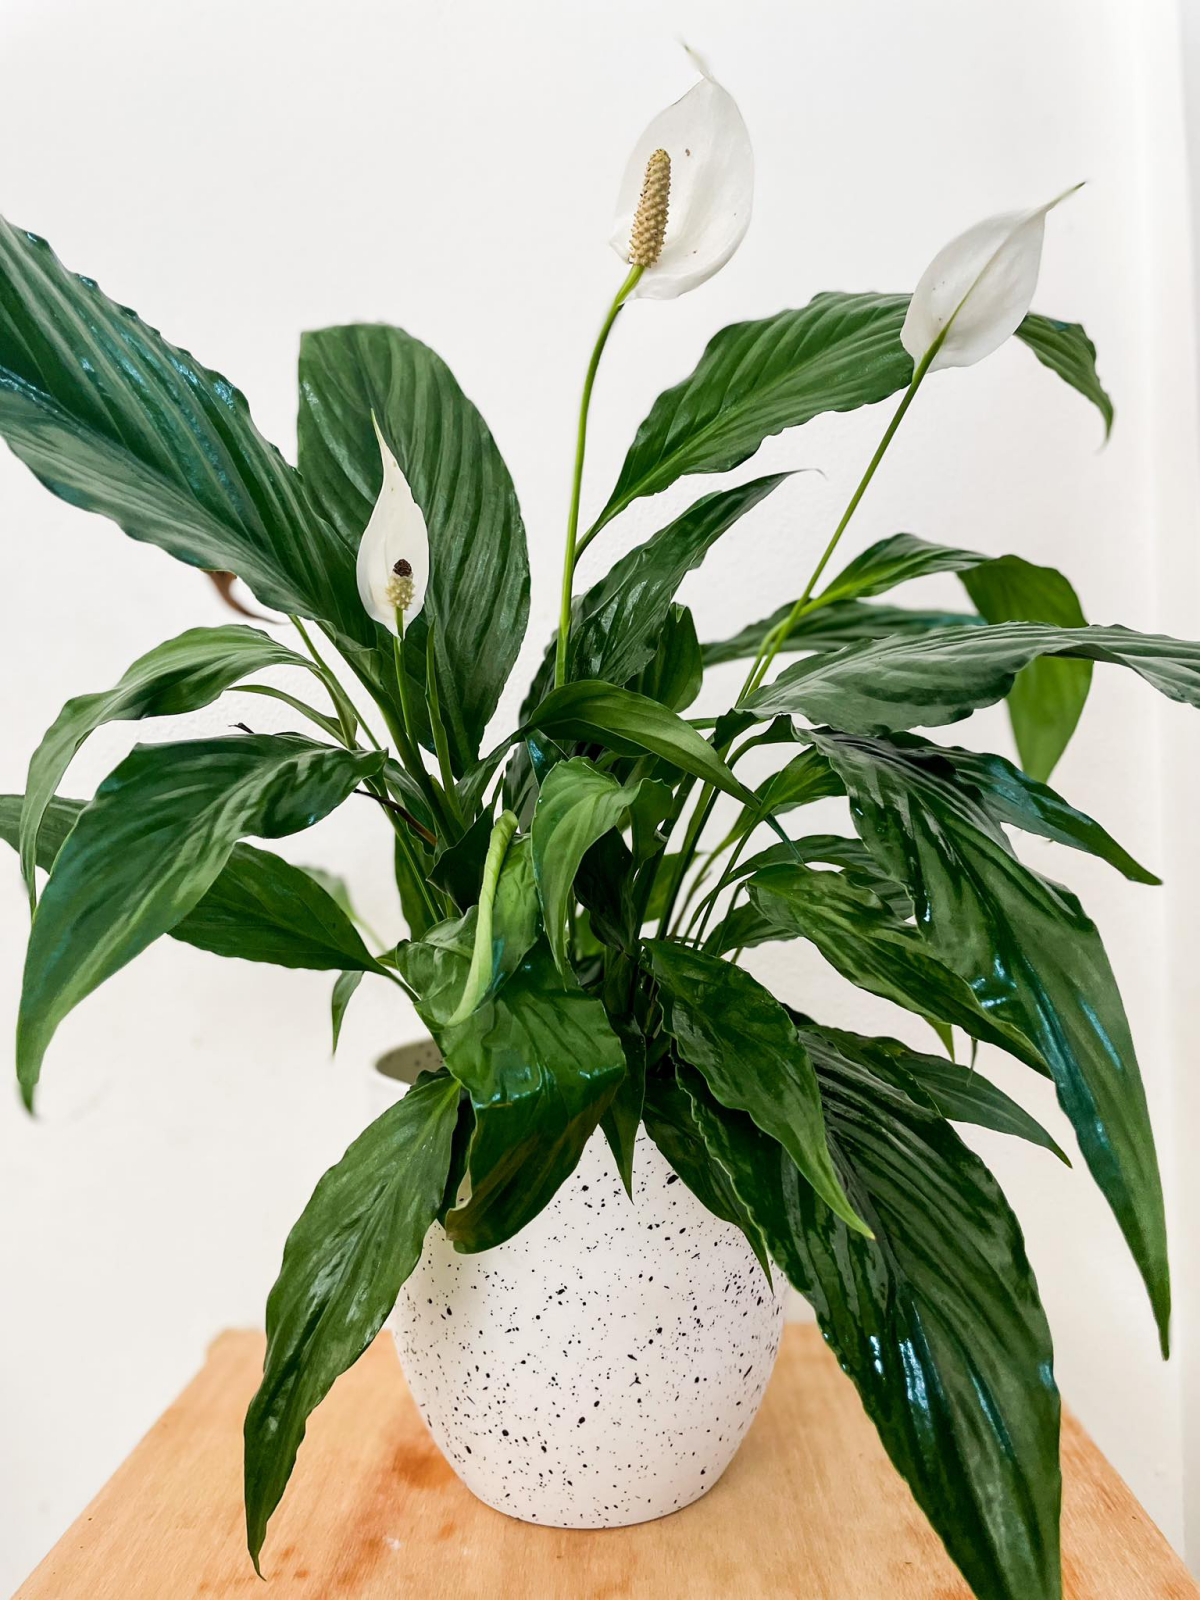
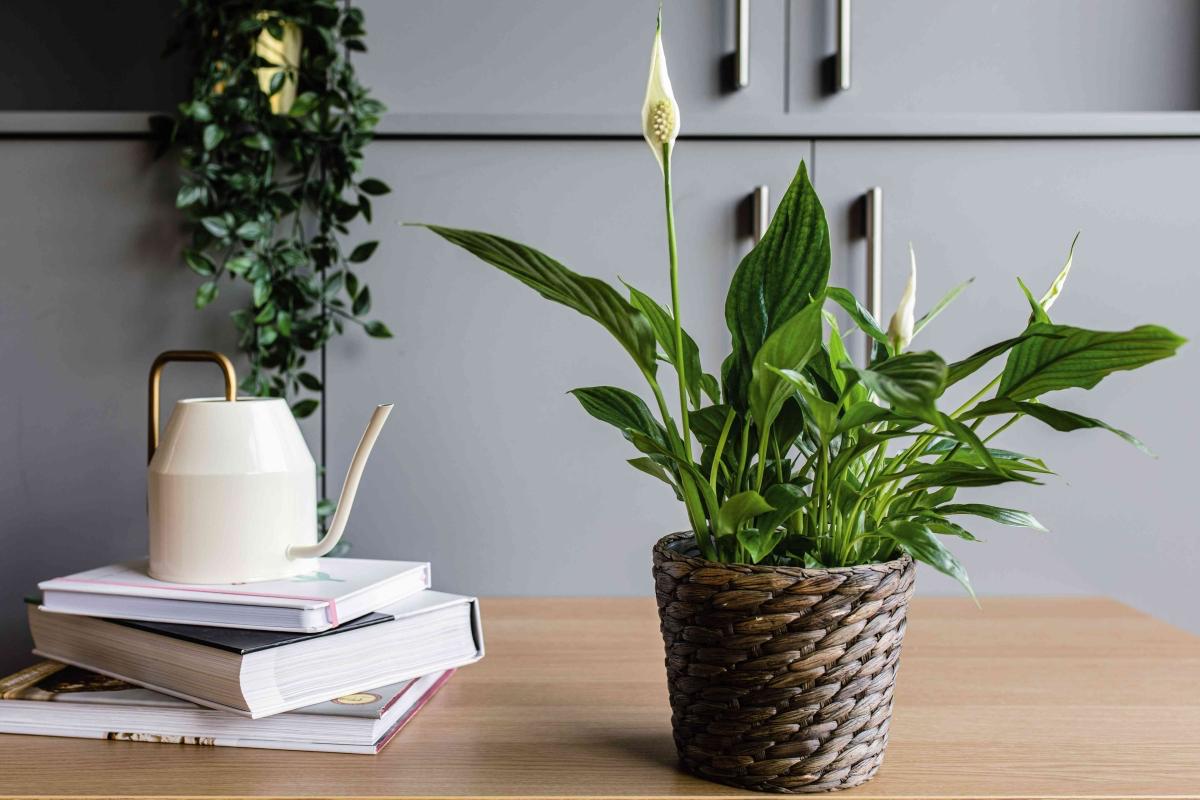
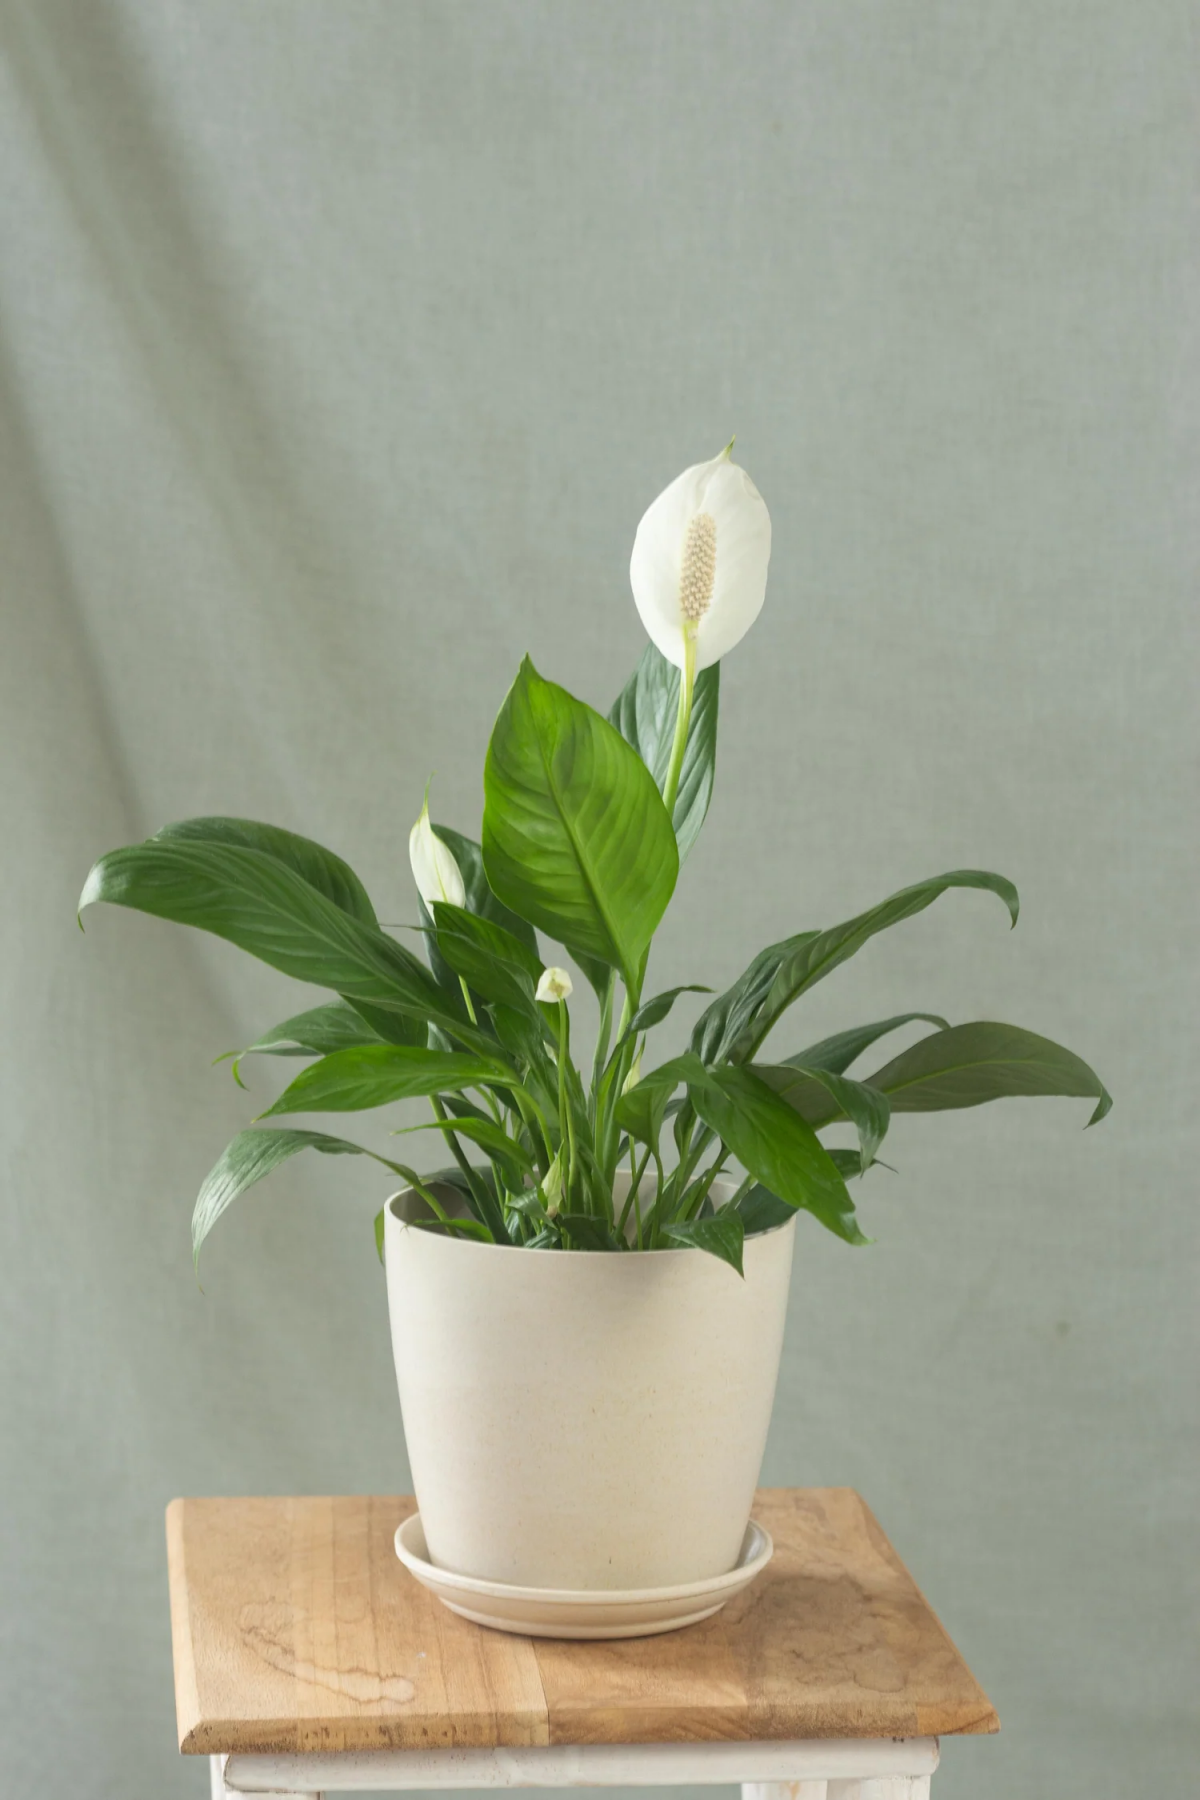
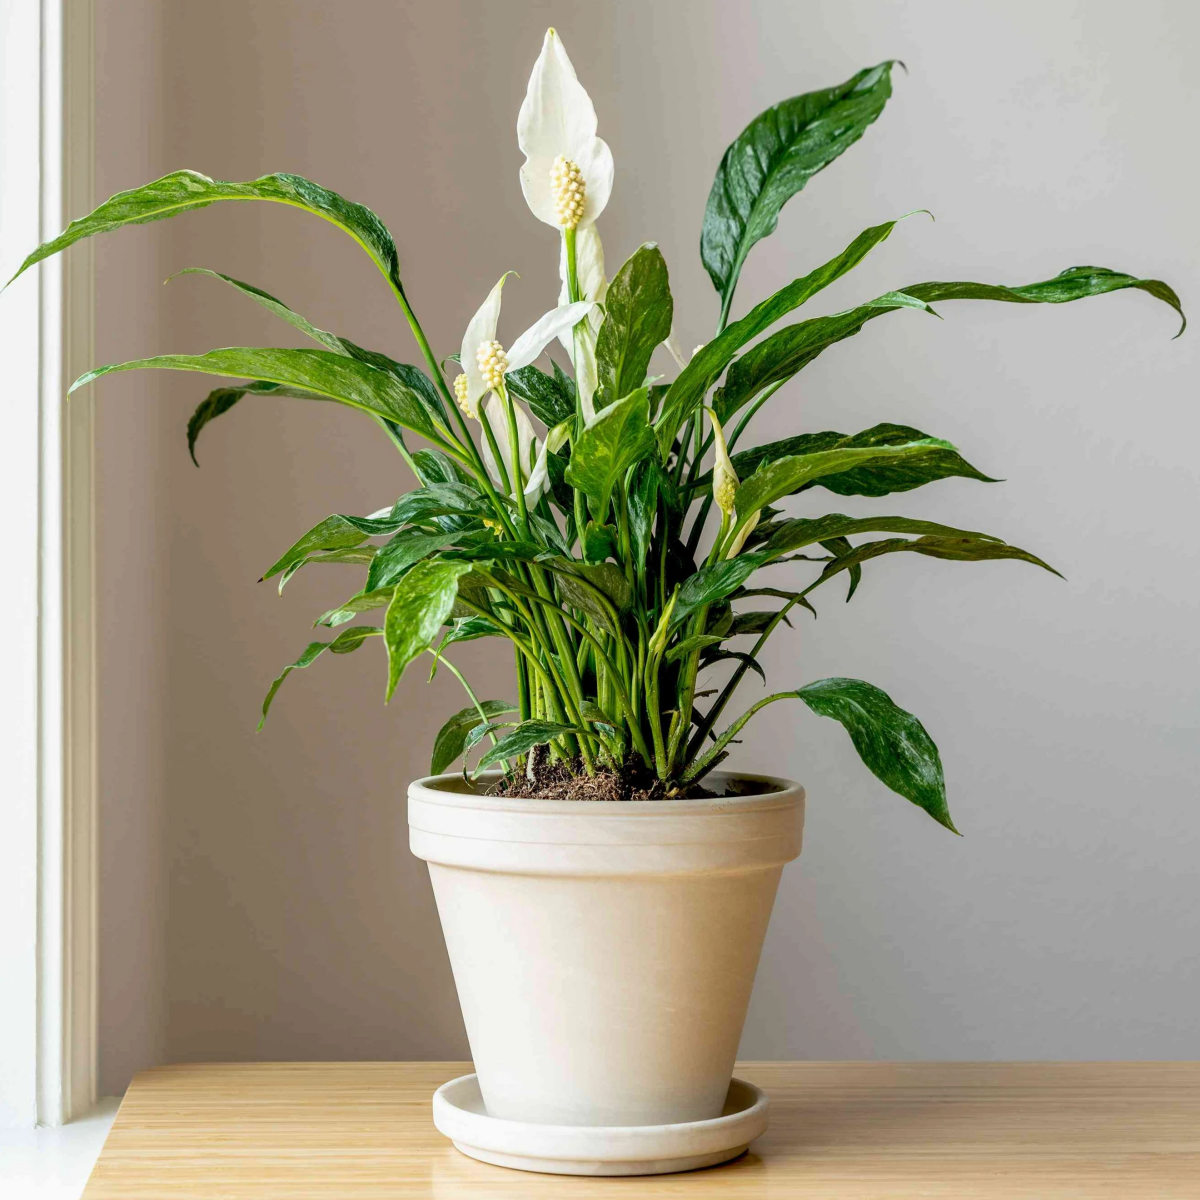
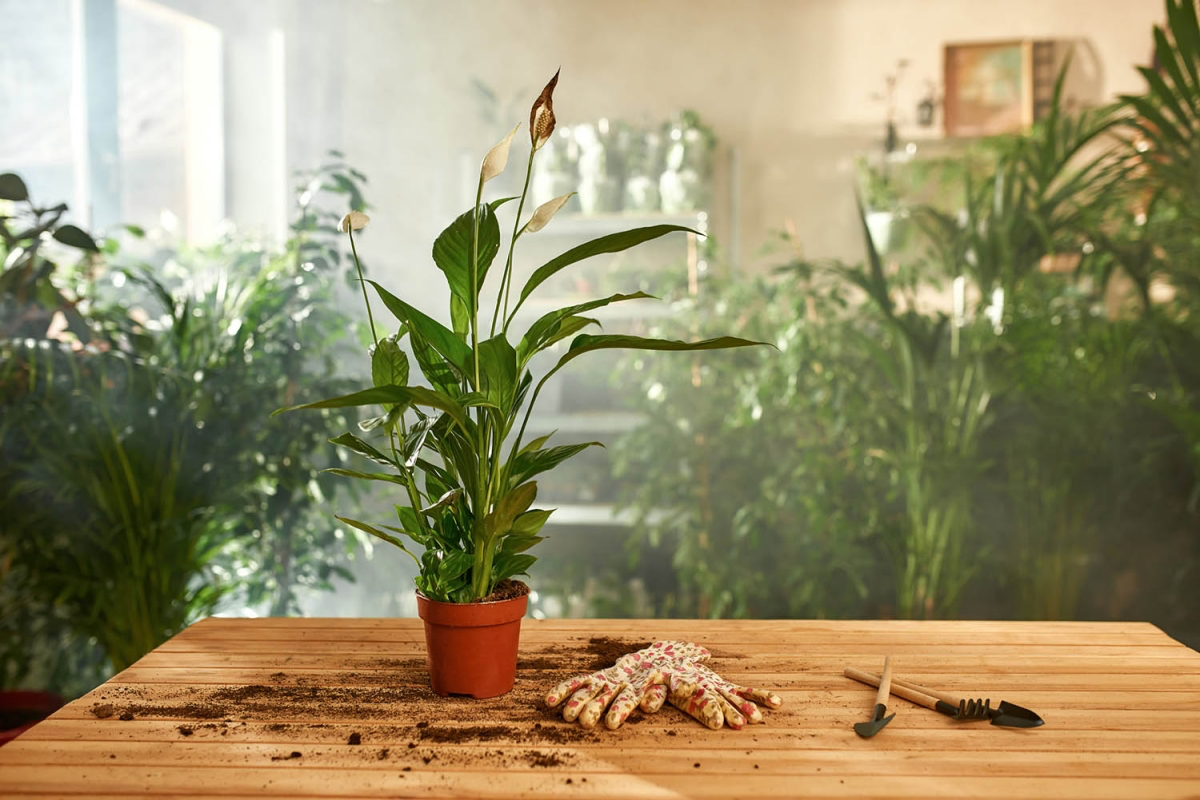
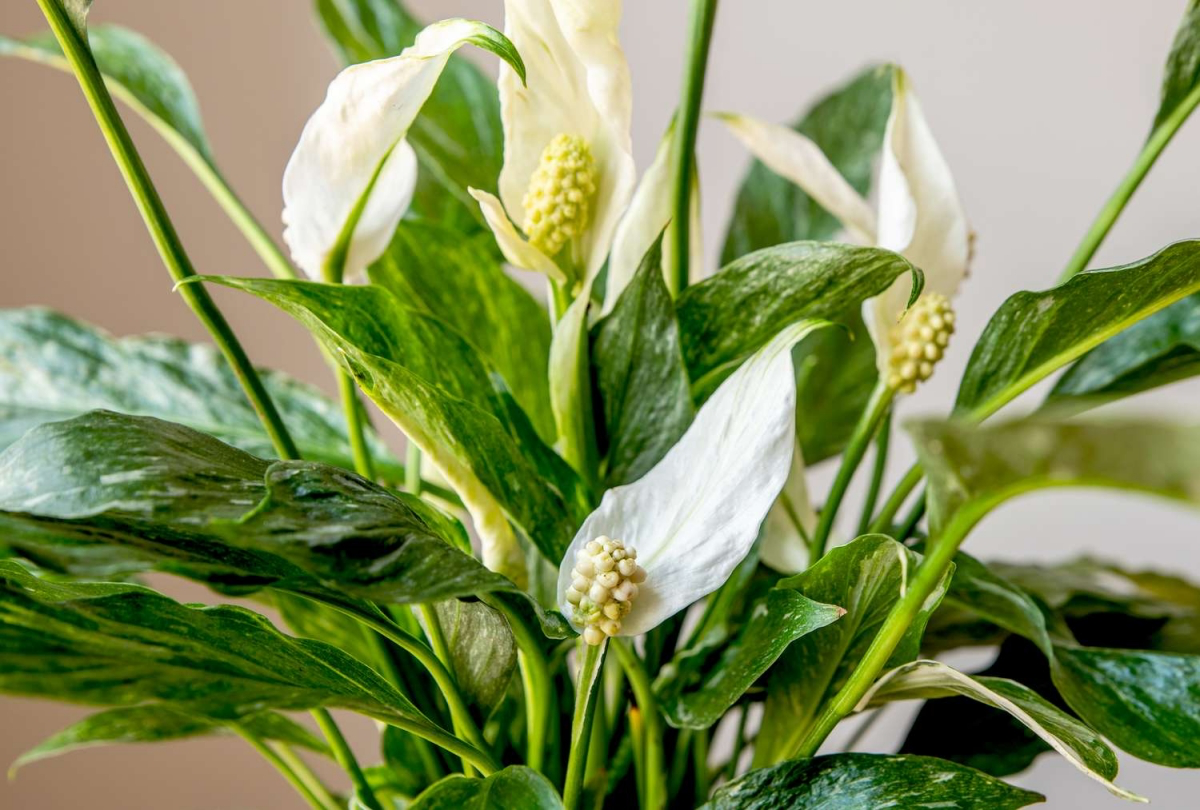
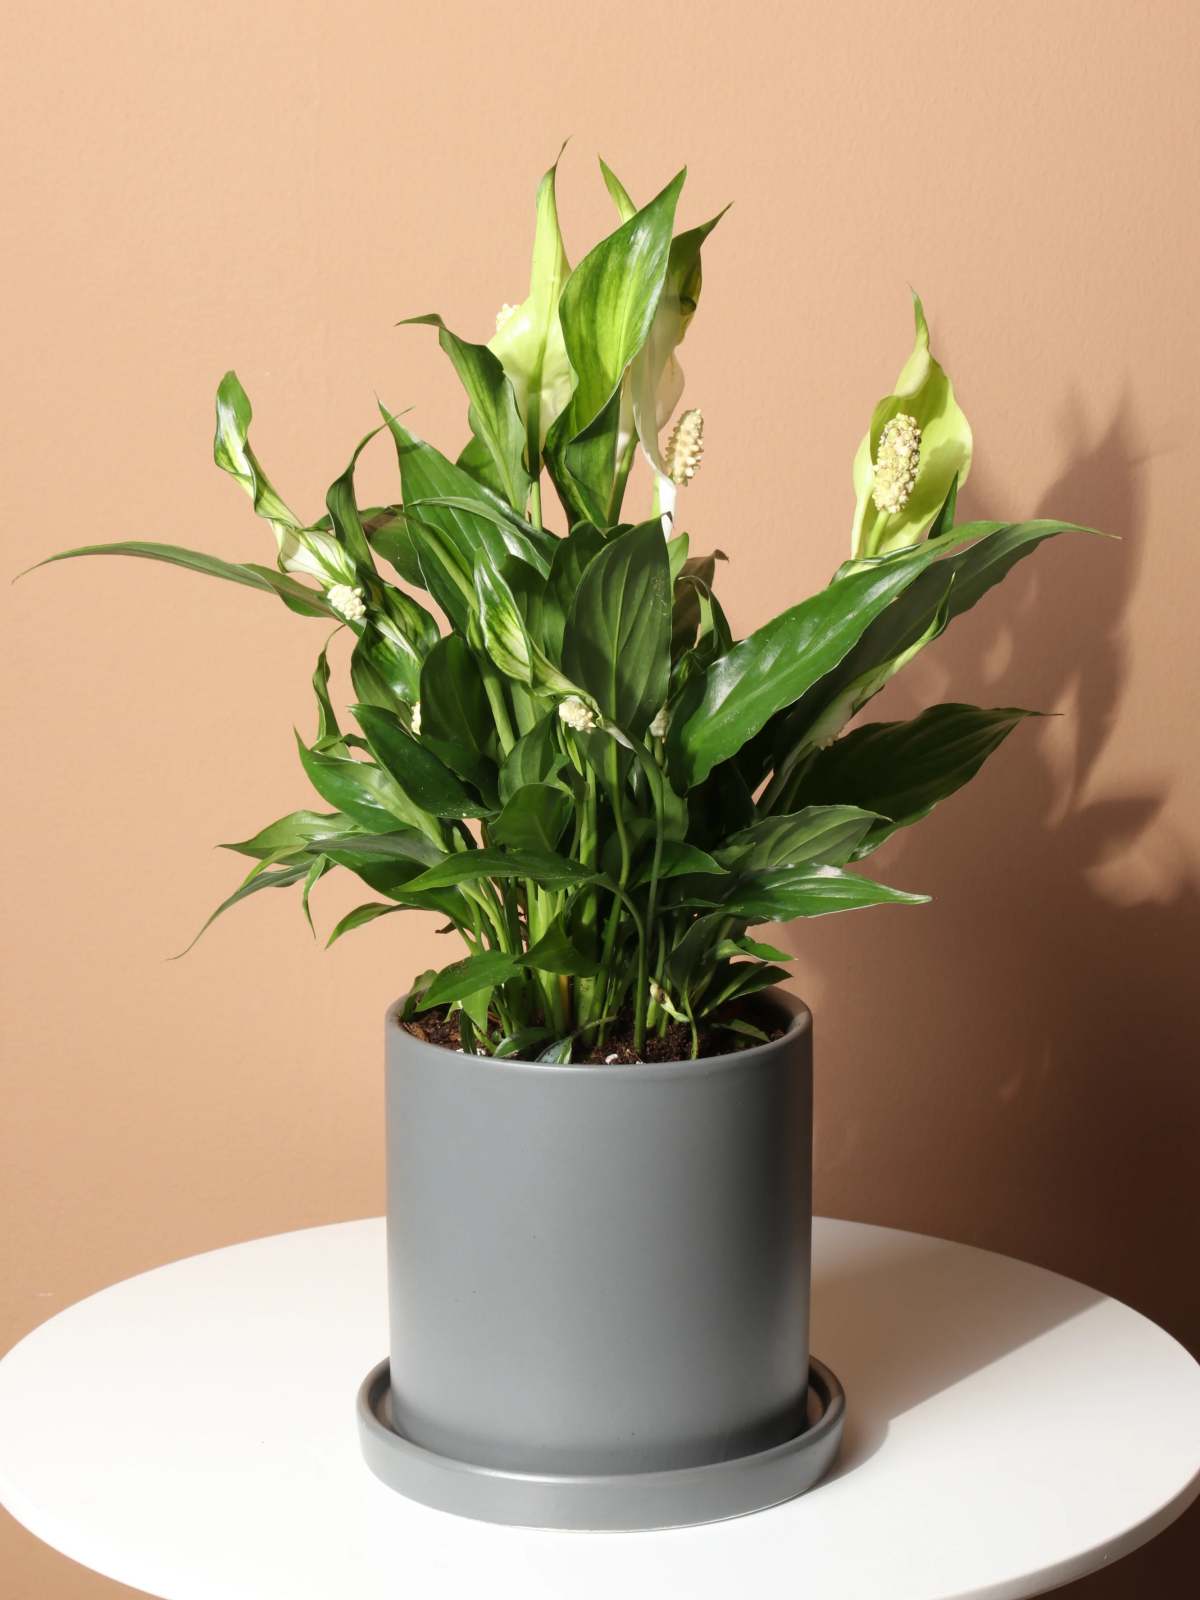
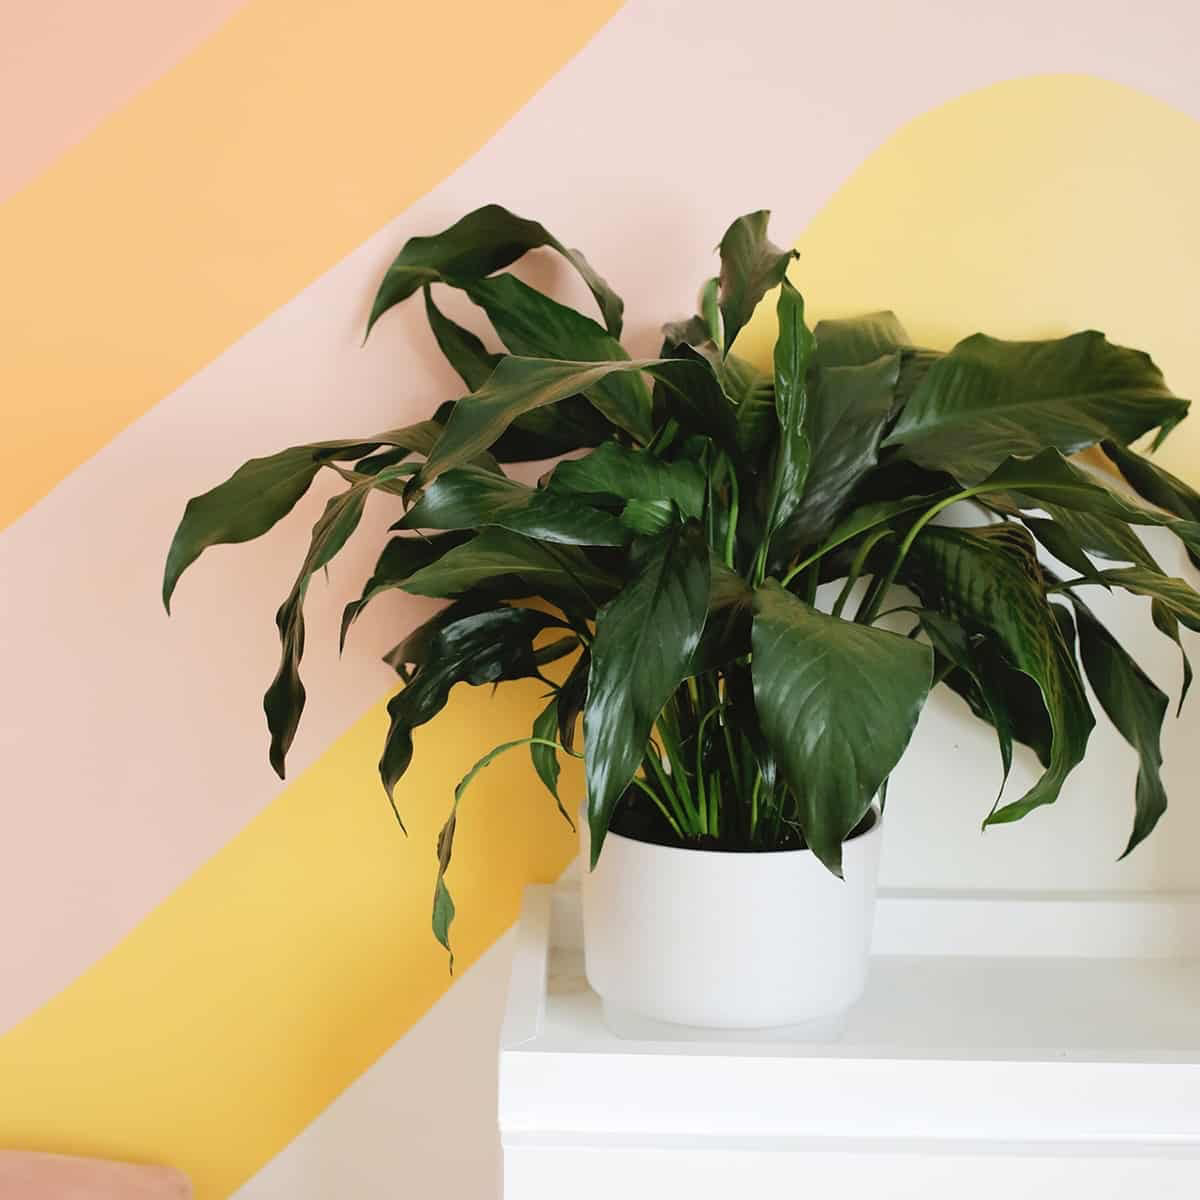
- Peace Lily (Spathiphyllum): A super common houseplant. That white “flower” is actually a modified leaf. Pet Safety: Toxic, but not in the same way. Chewing it releases crystals that cause intense mouth pain and drooling, but it’s not typically fatal. Forcing Needs: None! It’s a tropical plant that needs no chilling.
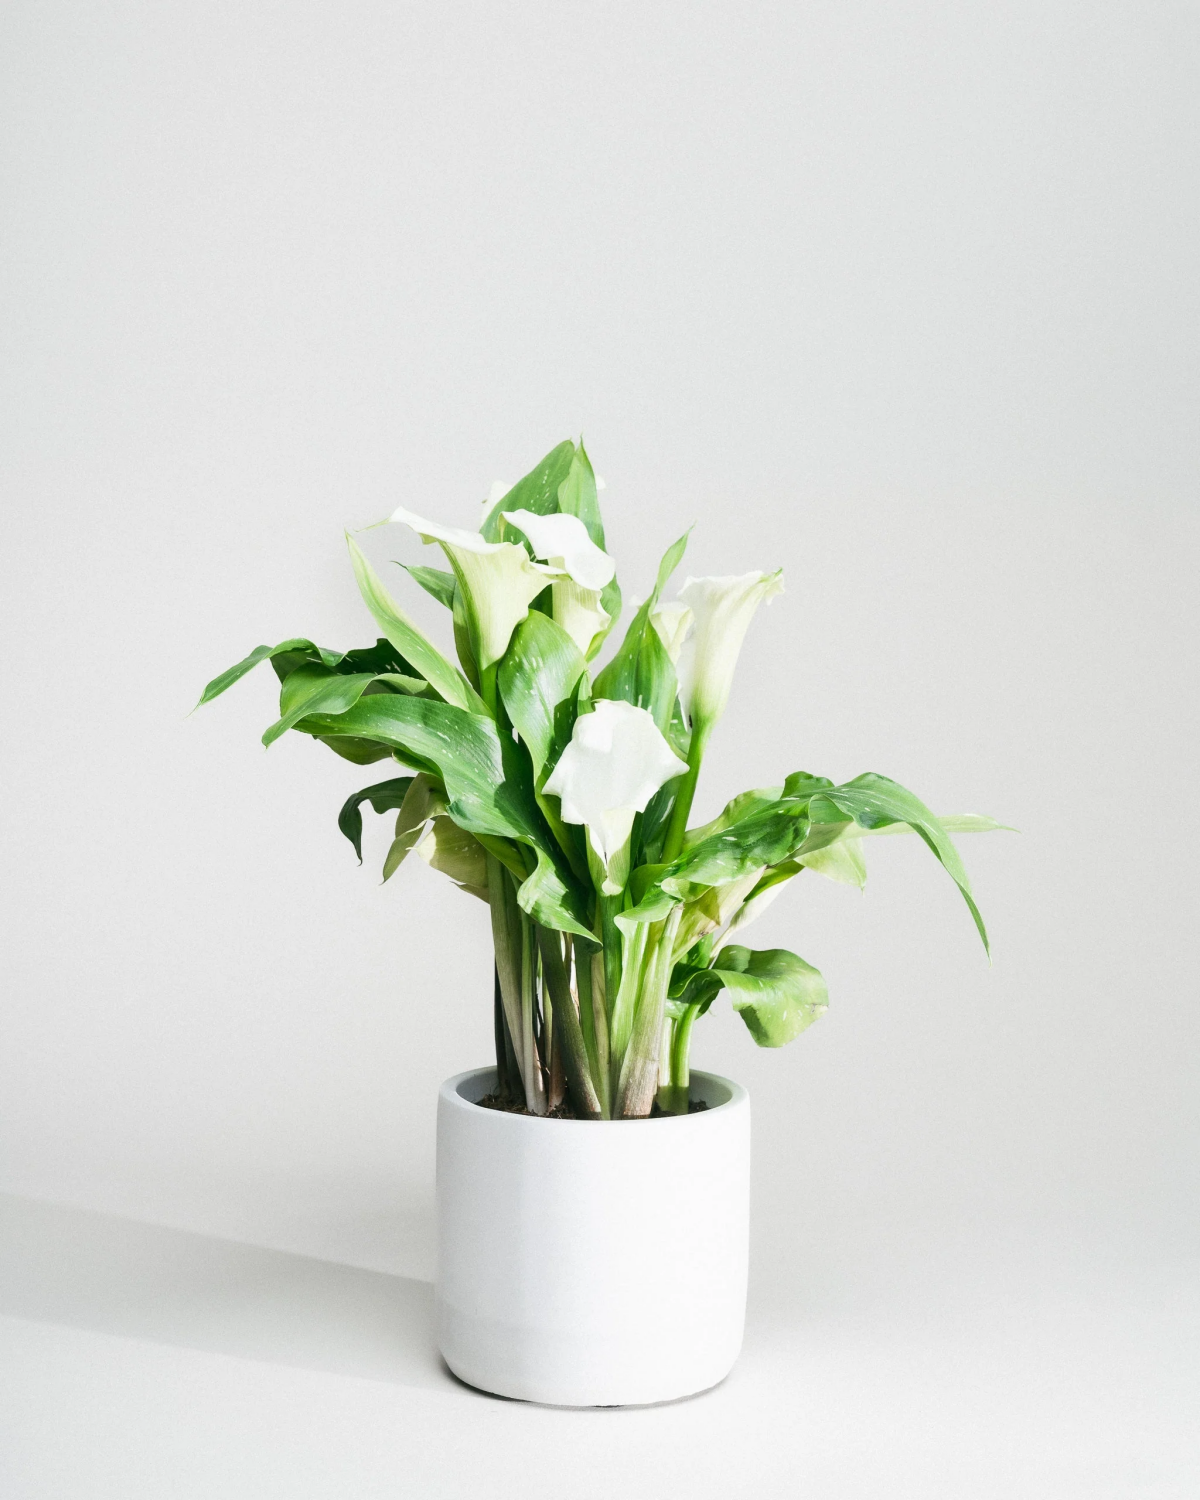
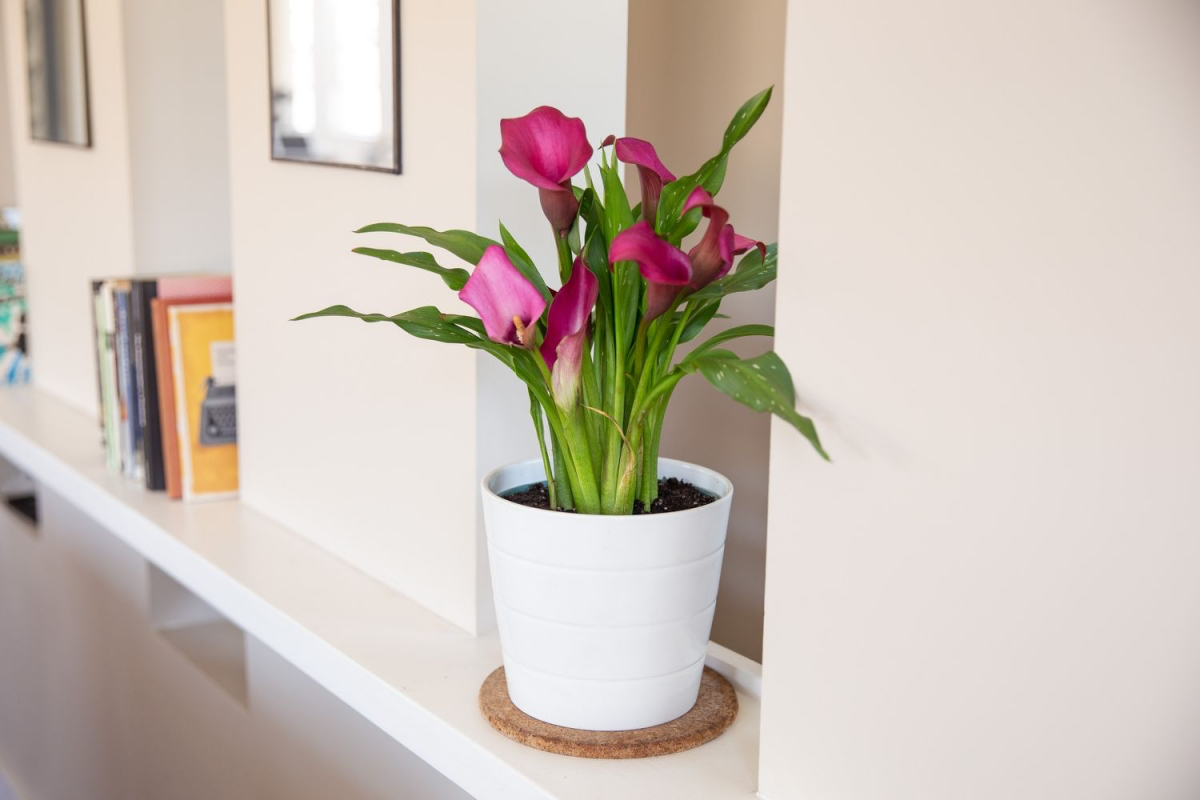
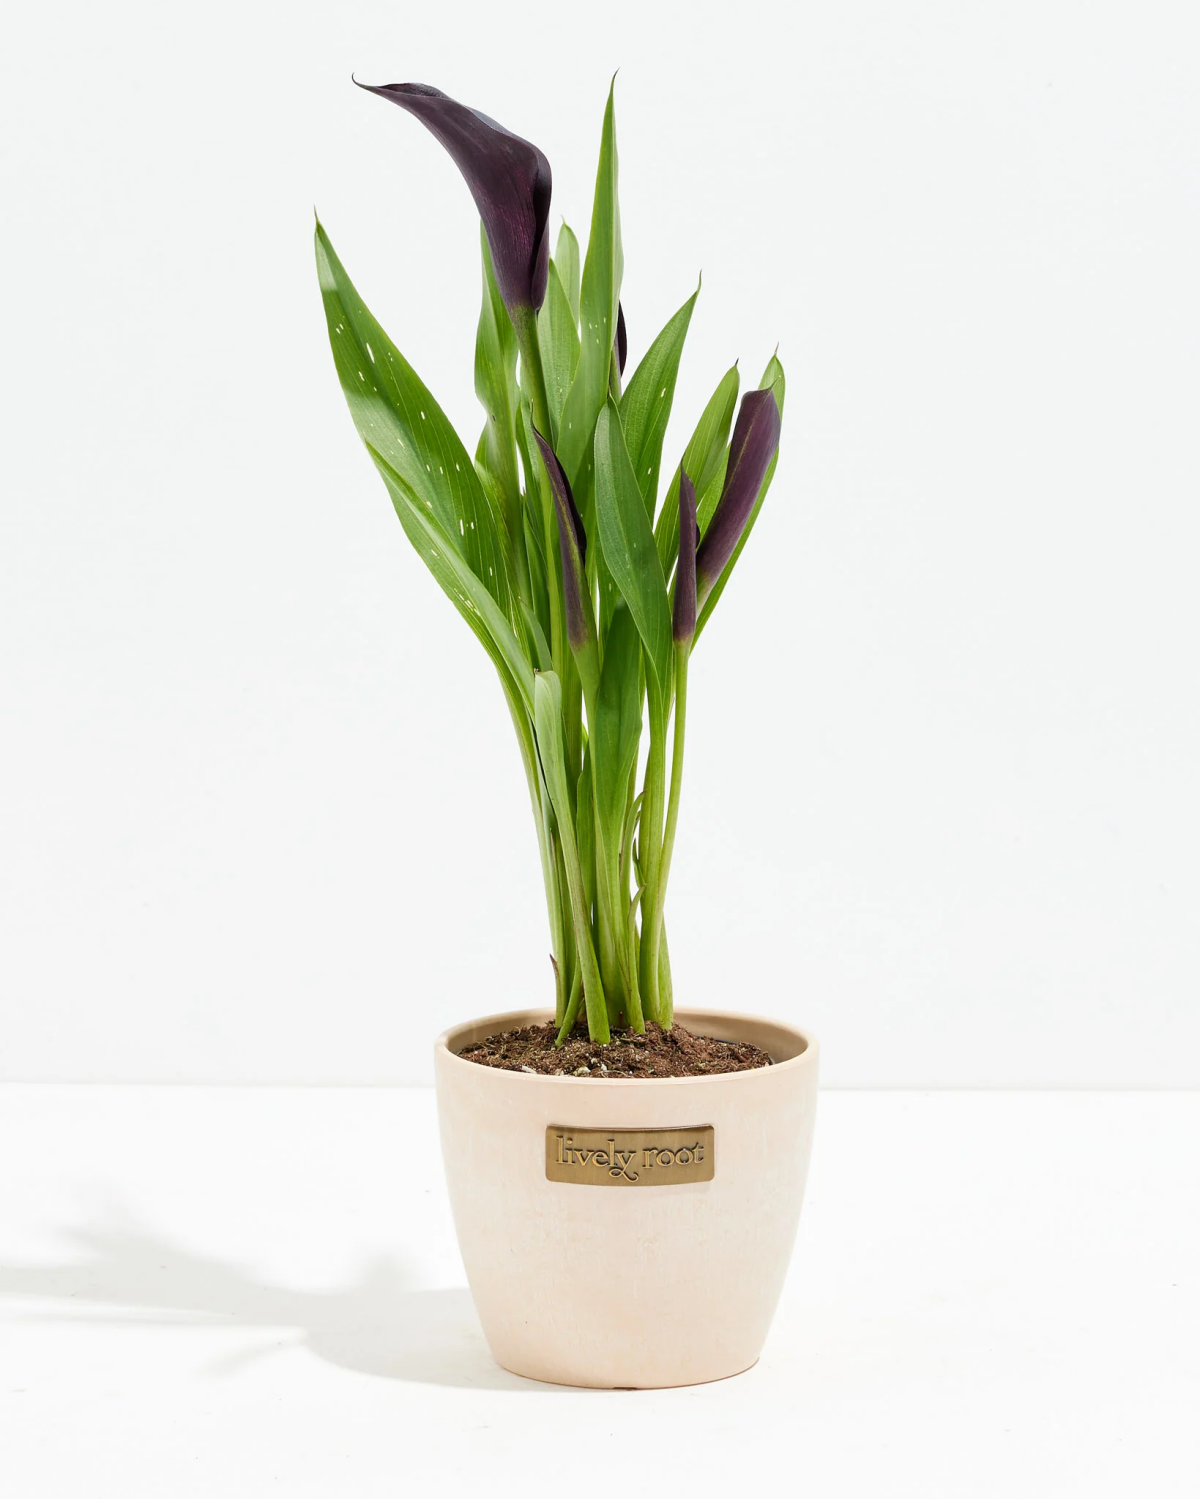
- Calla Lily (Zantedeschia): Another imposter with an elegant, funnel-shaped “flower” that’s also a modified leaf. It grows from a tuber-like rhizome. Pet Safety: Same as the Peace Lily—causes mouth irritation. Forcing Needs: No chilling required.
Oh, and a quick tip while we’re on the topic of true lilies. That bright orange pollen? It stains EVERYTHING. As soon as a flower opens, do yourself a favor and gently snip off the anthers (the dusty tips) with small scissors. It won’t hurt the flower, and it will save your tablecloths, clothes, and countertops.
The Forcing Project: A Reality Check
Okay, so you’re ready to grow true lilies indoors? Fantastic. But let’s be real about what you’re signing up for.
Timeline: This is a long game, not a weekend project. You’re looking at a minimum of 12-16 weeks for the chilling period alone. After that, it takes another 6-8 weeks of growing before you see flowers. All in, you’re committing to a 5- to 6-month process. To give you an idea, if you want blooms for Valentine’s Day, you’d need to pot your bulbs and get them chilling around mid-September.
The Budget: This is a pretty affordable project. You can find quality lily bulbs online or at a garden center for about $5 to $15 for a pack of 3-5. A decent 6-inch terracotta pot might run you $10, and the ingredients for a good soil mix will be another $15-$20 but will last for many projects. So for around $30-$45, you can have a gorgeous, custom-potted display that would cost way more from a florist.
The Easy Button: Feeling a bit intimidated by the whole fridge situation? Good news. Many online bulb suppliers sell “pre-chilled” bulbs in late winter. You can buy these and skip straight to the planting and growing stage, cutting the project time by more than half. It’s a great option for beginners!
A Pro’s Step-by-Step Method for Forcing Lilies
I’ve tweaked this process over the years to get the most reliable results. Here’s how we do it, adapted for your home.
Step 1: Choose Your Bulbs
Success starts with healthy bulbs. They should feel firm and heavy, kind of like a good onion. Skip anything that’s soft, moldy, or papery. I usually go for Asiatic or Oriental varieties for forcing, as they perform really well in pots. You can find excellent bulbs from specialty online purveyors who grade them for size—bigger bulbs often mean bigger, more numerous flowers.
Step 2: Get Your Pot and Soil Right
Drainage is non-negotiable. Lily bulbs will rot in a heartbeat if their feet stay wet. Pick a pot that’s at least 6 inches deep with plenty of drainage holes. Terracotta is a great choice because it’s porous and helps the soil dry out evenly.

Don’t just use any old potting soil; it’s often too dense. You need a light, gritty mix. Here’s my go-to recipe:
- 2 parts high-quality potting soil
- 1 part perlite (for lightness and air pockets)
- 1 part coarse sand (for weight and excellent drainage)
Mix it all up. It should feel loose and airy.
Step 3: Plant ‘Em Up
Fill your pot partway with your new soil mix. Place three bulbs in a 6-inch pot, pointy-end up, giving them a little space. Don’t let them touch each other or the pot’s sides. Cover them with about 2 inches of soil, so their tips are well below the rim. Water thoroughly until it streams out the bottom, then let it drain completely.
Step 4: The Big Chill (Vernalization)
This is where the magic happens. Put the whole pot in a black plastic bag to keep it dark and slightly moist. Now, it needs to live somewhere cold—between 35°F and 45°F (2°C to 7°C)—for at least 12 weeks. Honestly, 14 weeks is even better for stronger stems. A spare fridge is perfect. An unheated garage can work if you live in a cold climate, but you have to make sure it doesn’t freeze. Check the soil every month or so; it should be barely damp, not wet.
Step 5: Time to Grow!
After their long nap, bring the pot out and place it in a cool room with indirect light (around 60°F or 15°C is ideal). Within a couple of weeks, you should see pale green shoots poking through. Once those shoots are 4-6 inches tall, move the pot to a brighter spot, like an east-facing window with gentle morning sun. Avoid harsh afternoon sun, which can scorch the tender new growth.
Caring for Your Growing Lilies
Once they’re actively growing, they need a little TLC.
- Light: Give them bright, indirect light. Not enough light leads to sad, stretchy, pale stems that might be too weak to hold up the flowers. Rotate the pot every few days so they grow straight.
- Water: Keep the soil moist, but never soggy. The best way to check is to lift the pot. A dry pot is surprisingly light. When it feels light, water it deeply until it drains, then dump the excess from the saucer. If the soil starts to smell sour, you’re definitely overwatering.
- Food: Once the shoots are growing strong, you can start feeding. Use a balanced liquid fertilizer—that common blue all-purpose stuff works great—but dilute it to half the recommended strength. Feed every two weeks until you see buds, then stop.
The Blooms are Fading… Now What?
Once the beautiful show is over, snip off the dead flowers where they meet the stem. But—and this is important—do not cut down the stalk or the leaves. The leaves need to keep soaking up sun to recharge the bulb for next year. Continue watering as usual.
To be frank, trying to force the same bulb indoors again the next year almost never works. The process is exhausting for the bulb. The best thing to do is let the foliage die back naturally in the pot. Then, in the fall, plant the bulb out in your garden in a sunny, well-drained spot. It might take a year off, but it will likely recover and bloom for years to come. For indoor forcing, it’s best to start with fresh, high-energy bulbs each fall.
Troubleshooting Common Problems
Even the pros run into issues. Here’s a quick rundown:
- Yellow Leaves: If it’s the bottom leaves yellowing and the soil is damp, you’re overwatering. Let it dry out more. If leaves all over are yellow and crispy, the plant is probably thirsty or getting scorched by too much direct sun.
- No Flowers: 99% of the time, this means the chilling period wasn’t long enough or cold enough.
- Buds Drop Before Opening: This is a sign of stress. It could be from a sudden draft, a blast of heat from a vent, or the soil drying out completely.
- Pests: Aphids are the most common pest. You can usually just blast them off with a spray of water. Fungus gnats (tiny black flies) mean your soil is too wet. Let the top inch of soil dry out between waterings to discourage them.
Growing true lilies indoors is a commitment, there’s no doubt. But when those incredible, fragrant flowers open up in the dead of winter, it feels like a true accomplishment. You’ve brought a little piece of spring inside, and that’s a connection to nature that’s well worth the wait.
Galerie d’inspiration

Terracotta vs. Plastic Pots: For the crucial chilling phase, a simple plastic nursery pot is often better. It retains moisture more consistently, preventing the bulbs from drying out in the cold. Once you bring the plant into the warmth to grow, you can slip the plastic pot into a heavier, more decorative ceramic or terracotta cachepot for stability and style.
The iconic ‘Stargazer’ lily was developed in California in 1978, specifically bred to have upward-facing flowers.
This was a game-changer. Unlike older Oriental varieties whose blooms drooped, Leslie Woodriff’s creation looked right at you. This trait, combined with its intoxicating fragrance, makes it a perfect candidate for an indoor display where it can be appreciated up close.
What do I do with the bulb after it flowers?
Don’t toss it! Forcing uses up a lot of the bulb’s energy, so it won’t re-bloom indoors next year. However, if you cut back the flower stalk, continue to water the plant until the foliage dies back naturally, you can then plant the bulb in your garden in the fall. It will likely take a year or two to recover, but it should eventually flower again outdoors.
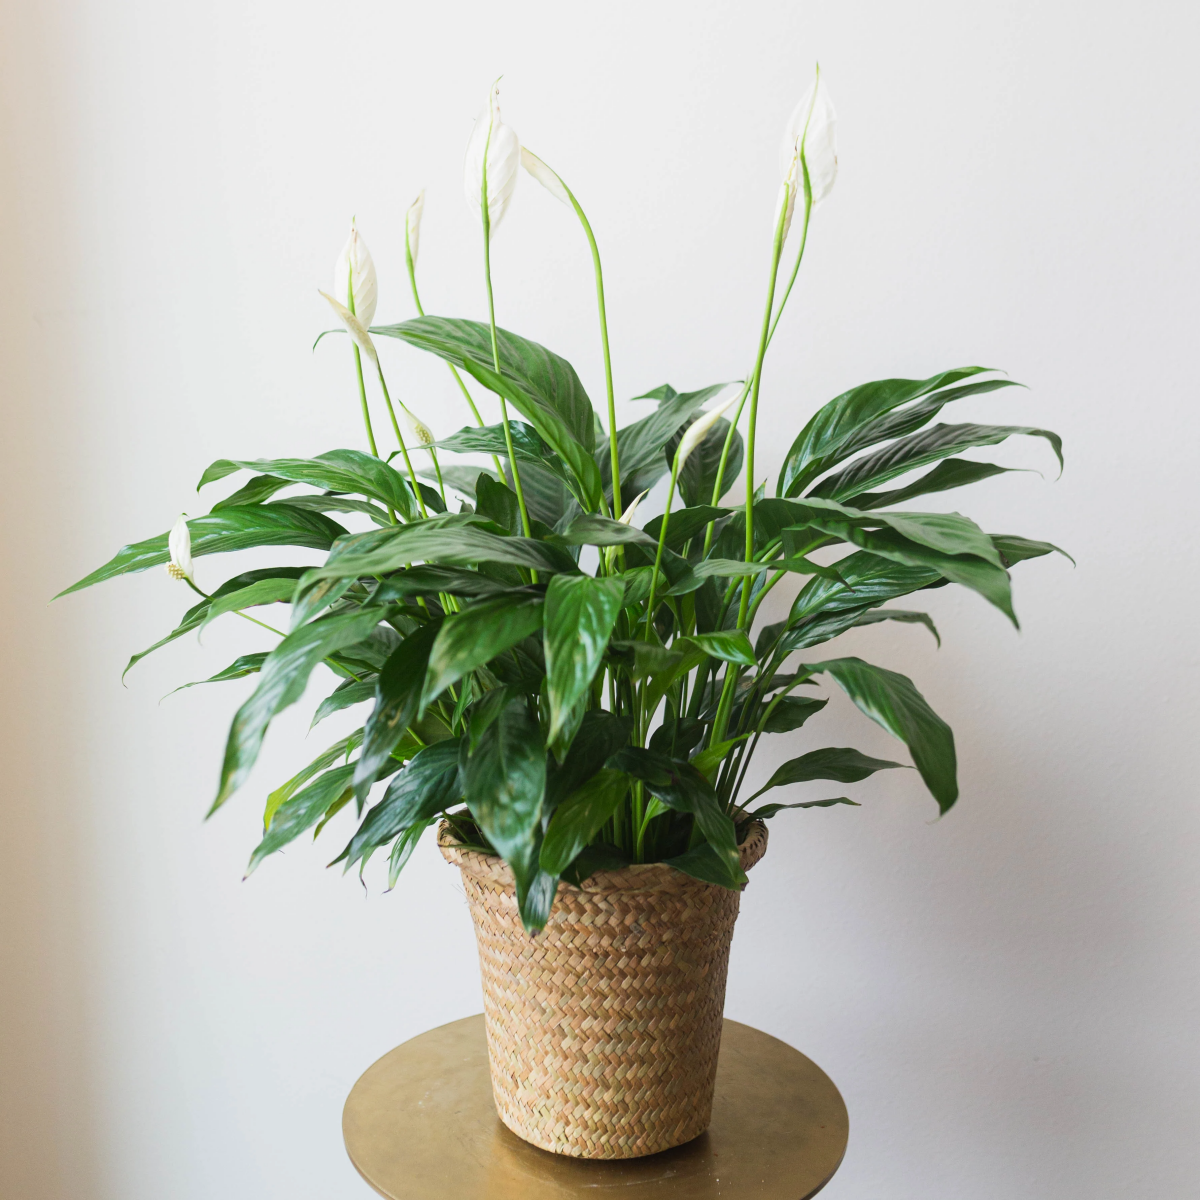
When arranging your display, think beyond the flower. The deep green foliage and strong, straight stems are beautiful in their own right. A single, perfectly grown lily in a simple pot on a side table often makes a more powerful statement than a crowded arrangement.
The one mistake you can’t fix: Insufficient chilling. True lilies from the Lilium genus are programmed by nature to require a cold period to trigger blooming. A minimum of 12-16 weeks at a steady 2-7°C (35-45°F) is non-negotiable. Trying to rush this ‘winter nap’ will only result in a pot of green leaves with no flowers.
For an exceptionally well-draining soil mix that prevents bulb rot during chilling, combine:
- 2 parts high-quality potting mix (a brand like Espoma or Pro-Mix is ideal)
- 1 part perlite
- 1 part coarse builder’s sand
This gritty blend mimics the natural environment many lilies prefer and is the best insurance against waterlogged bulbs.
A single blooming Oriental lily can release millions of pollen grains, which are the primary source of their famously strong fragrance.

- A continuous show of fragrant flowers from late winter to early spring.
- An evolving centerpiece that changes week by week.
- The satisfaction of seeing multiple stunning varieties come to life.
The secret is staggered chilling. Prepare three pots of bulbs, but place them in the refrigerator at two-week intervals. As the first pot’s blooms begin to fade, the second pot will be ready to emerge, creating a seamless floral succession.
My bulbs have started sprouting in the fridge! Is it ruined?
No, this is a great sign! It means the chilling period has been successful and the bulb is eager to grow. Pot it up immediately, being very careful not to snap the fragile white shoot. Keep it in a cool, low-light room for a few days to acclimate before moving it to a warmer, brighter spot to encourage leaf growth.
While grand Trumpet or OT (Orienpet) lilies are spectacular, they can grow too tall for indoor forcing. For best results, seek out compact cultivars. The Asiatic ‘Tiny’ series (like ‘Tiny Padhye’ or ‘Tiny Diamond’) stays under 45cm and is perfect for pots. Similarly, many LA Hybrids offer big, showy flowers on shorter, sturdier stems.
According to the ASPCA Animal Poison Control Center, lilies in the ‘true lily’ and ‘daylily’ families are a ‘true medical emergency’ for cats, with ingestion of even tiny amounts causing severe, acute kidney failure.
The number of bulbs per pot depends on the pot’s size. A good rule of thumb for forcing is to plant them much closer than you would in the garden. For a 6-inch (15 cm) pot, three medium-sized bulbs nestled together will create a full, lush display. Ensure their tips are just peeking above the soil surface.
Forcing Your Own vs. Buying Pre-Forced: A premium lily bulb from a supplier like John Scheepers or Van Engelen costs around $4. A fully grown, blooming lily from a florist can be upwards of $30. The trade-off for your patience is significant savings and access to hundreds of unique varieties that are never sold fully grown.


