Your Complete Guide to Winter Gem Boxwood (From Someone Who’s Planted a Ton of Them)
After spending more years than I can count designing gardens and getting my hands dirty, I’ve planted thousands of shrubs. I’ve seen weird trends pop up and fade away, but some plants are just… timeless. They’re the ones I come back to again and again because they just work. The ‘Winter Gem’ boxwood is definitely one of those plants.
In this article
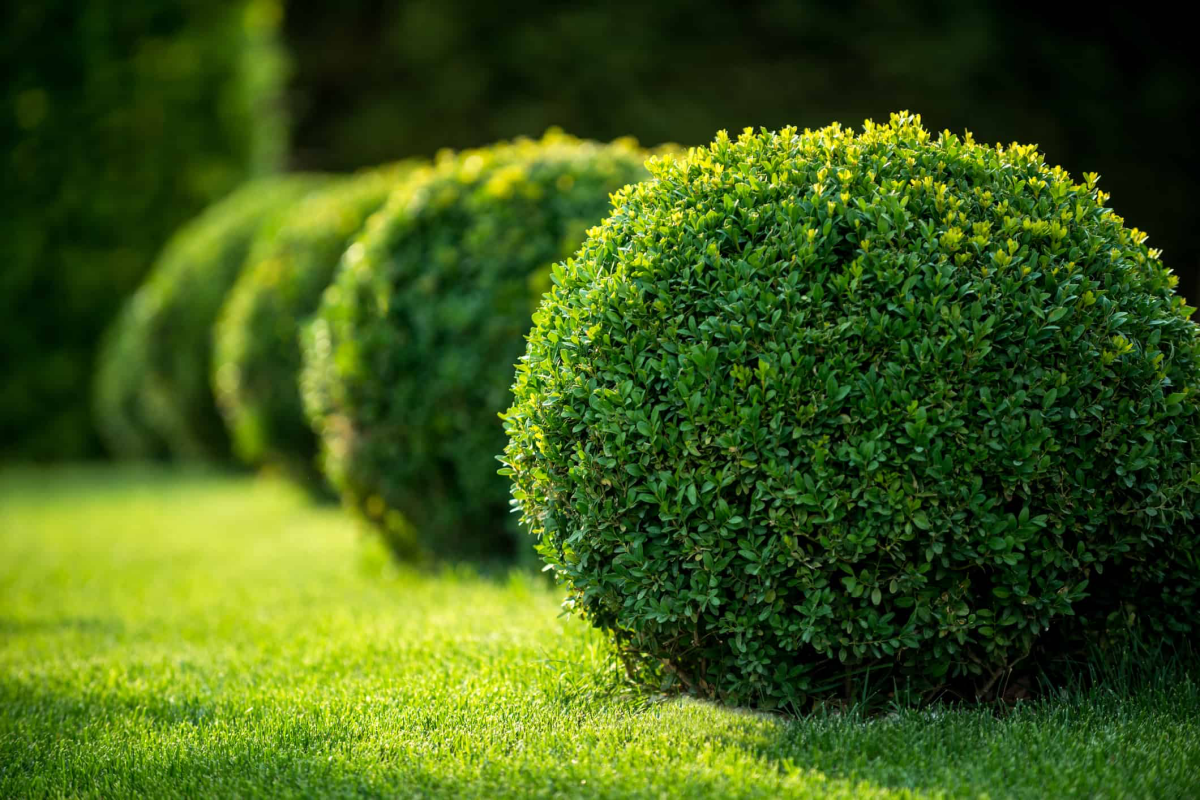
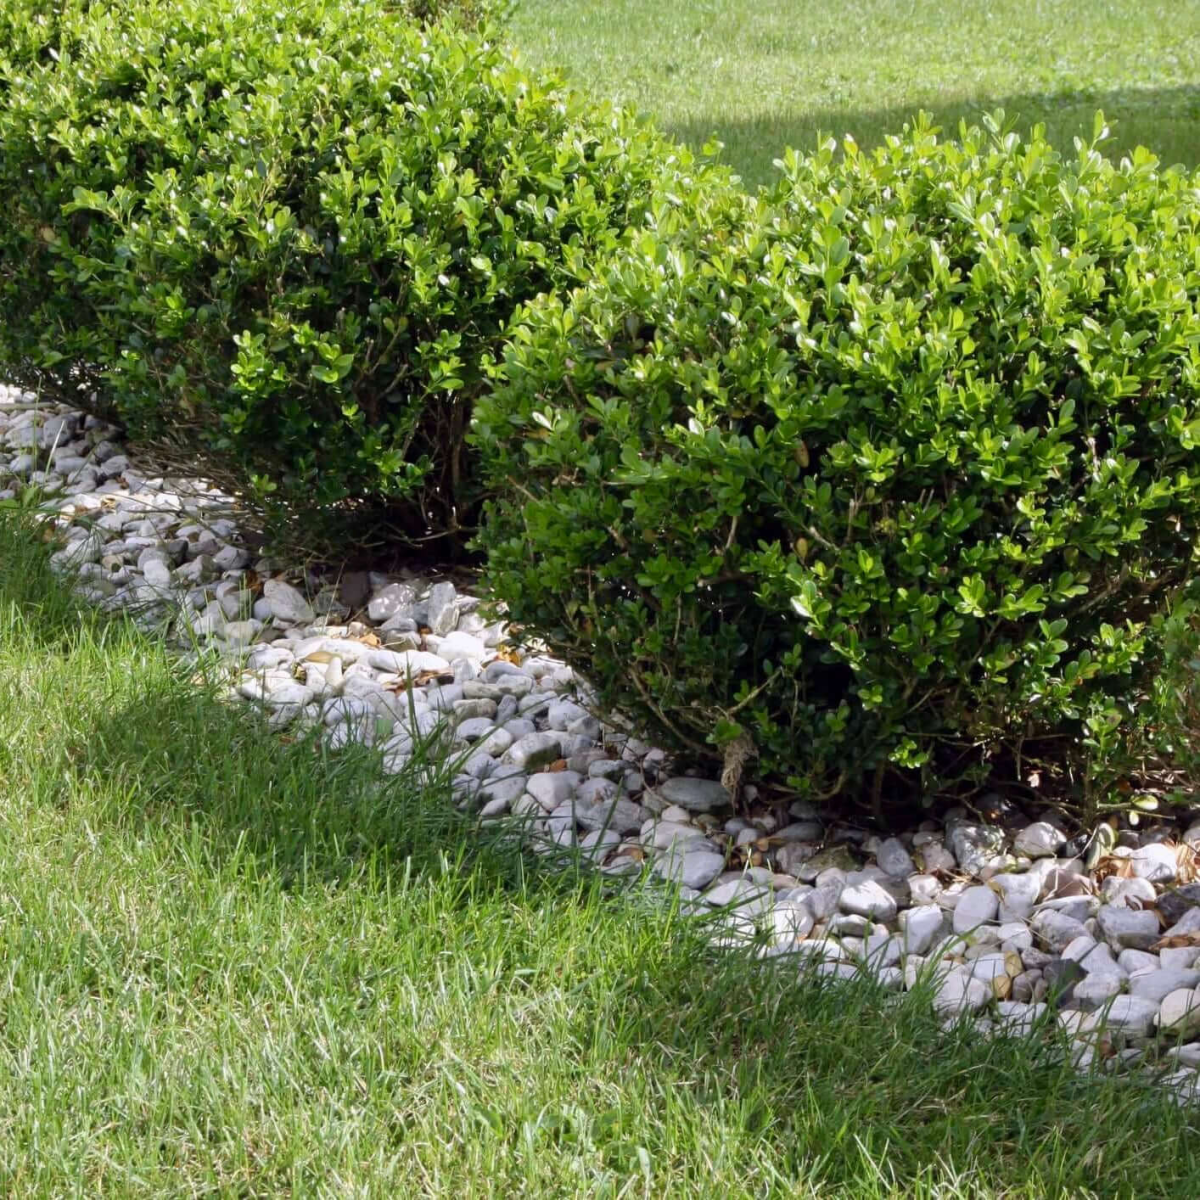
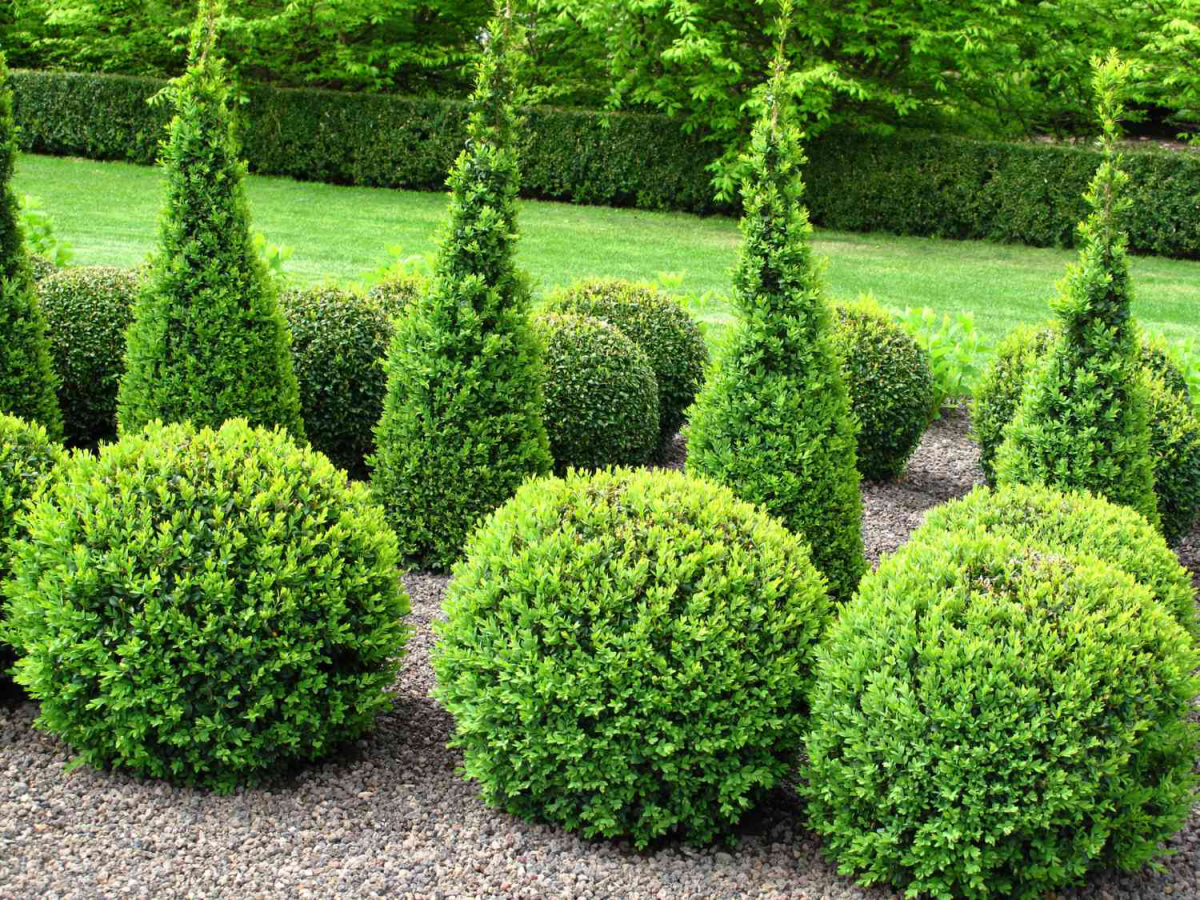
It’s not flashy or exotic. Honestly, it’s the quiet workhorse of a good garden design. It gives you structure, that deep evergreen color, and a sense of permanence that anchors everything, especially when the rest of the garden is asleep for the winter.
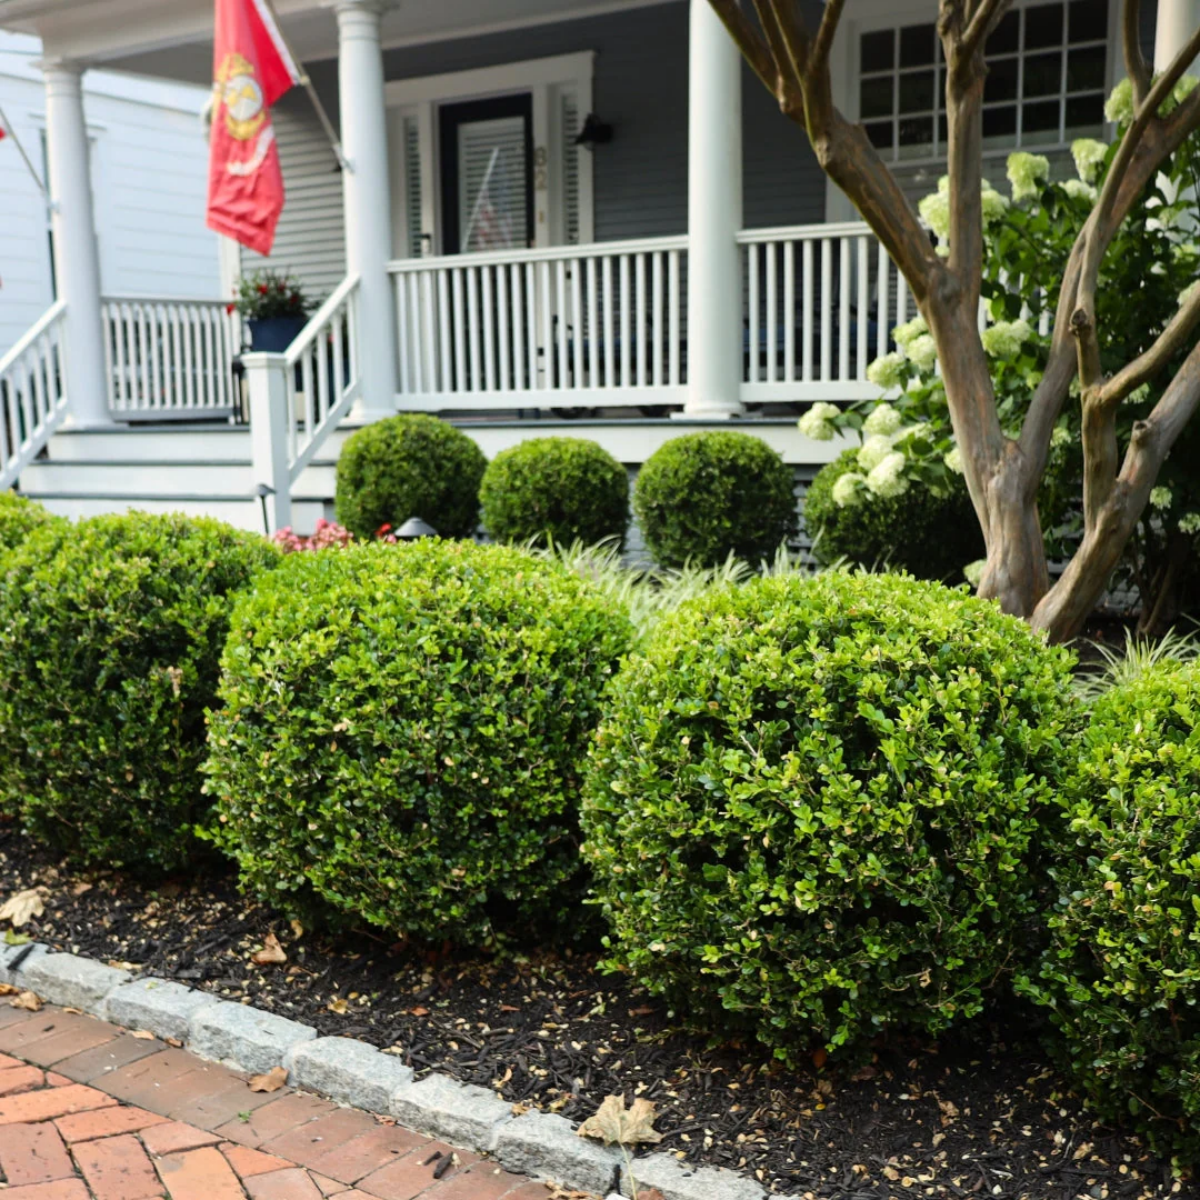
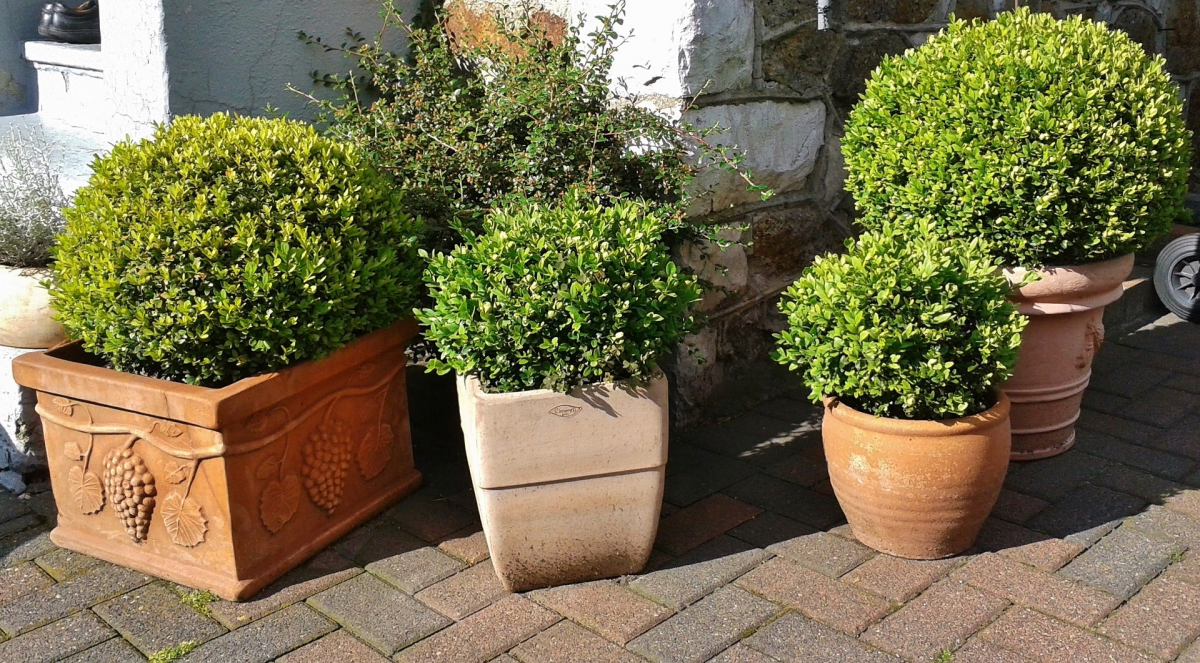
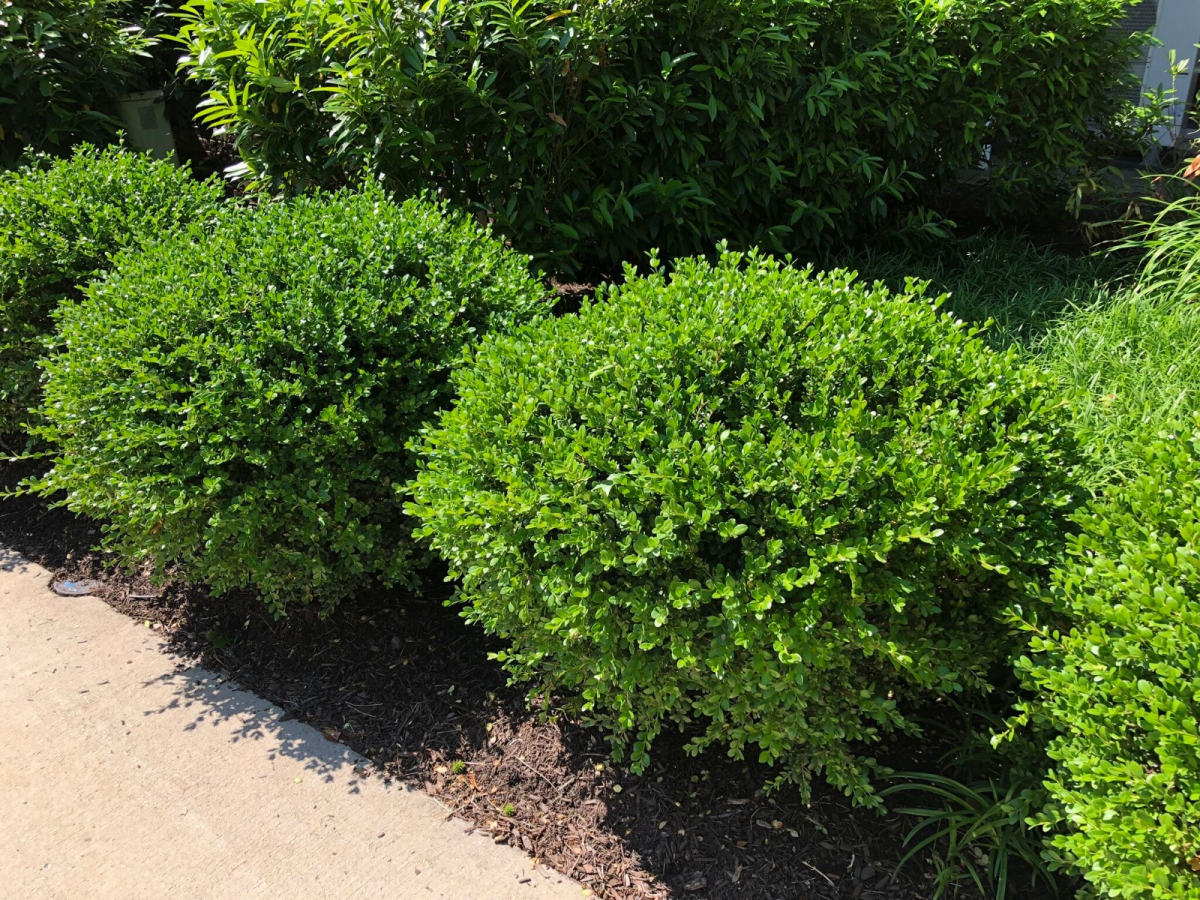
I’ve used these shrubs everywhere, from super formal, clipped hedges to more relaxed plantings around a house foundation. I’ve seen them handle surprise freezes and shrug off heavy, wet snow that snapped other evergreens in half. But, and this is a big but, I’ve also been called out to see why whole rows of them are yellow, sparse, and dying. The cause almost always comes down to a few basic mistakes made right at the beginning. So, this guide is built on all that experience—the good, the bad, and the ugly—to help you get it right from day one.
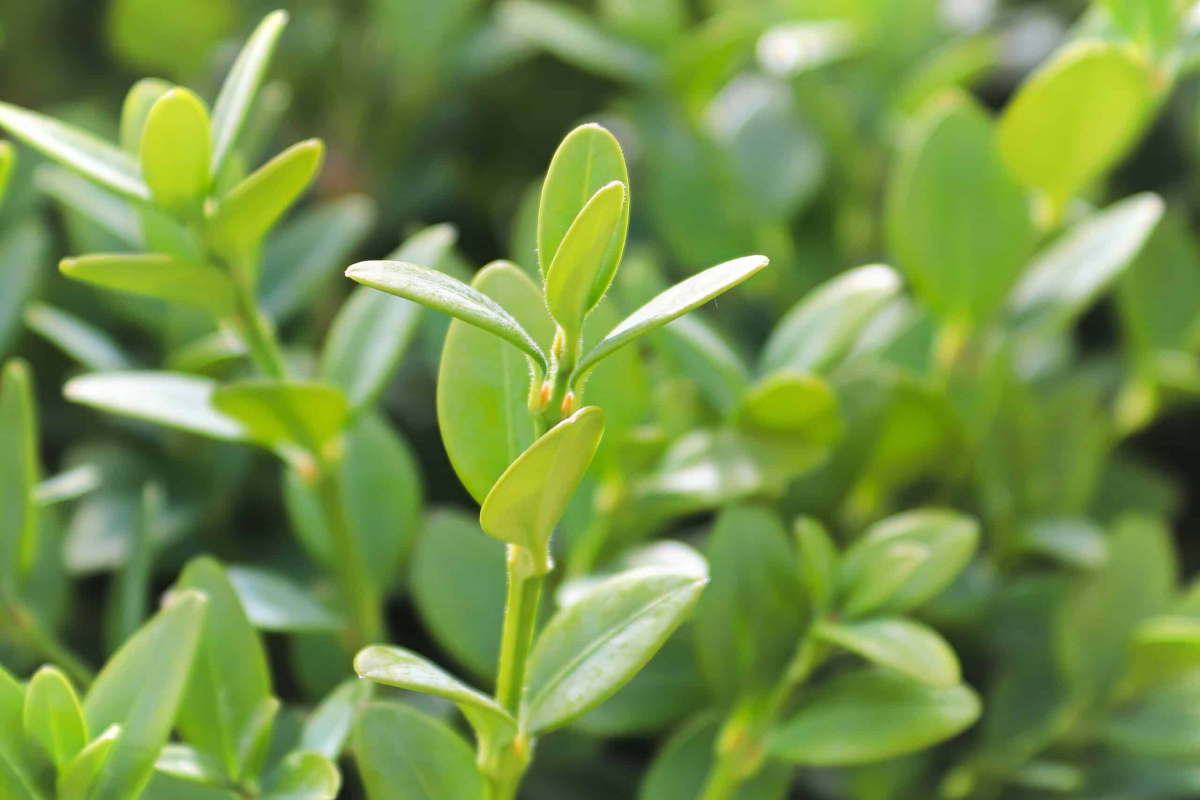
First, Let’s Talk About the Plant Itself
Before you even think about grabbing a shovel, you need to understand one critical thing about boxwoods: their roots. They have a super fine, shallow, and fibrous root system that spreads out like a dense mat just below the soil surface. They don’t have a big, deep taproot like a tree.
Why does this matter so much? Because it changes everything:
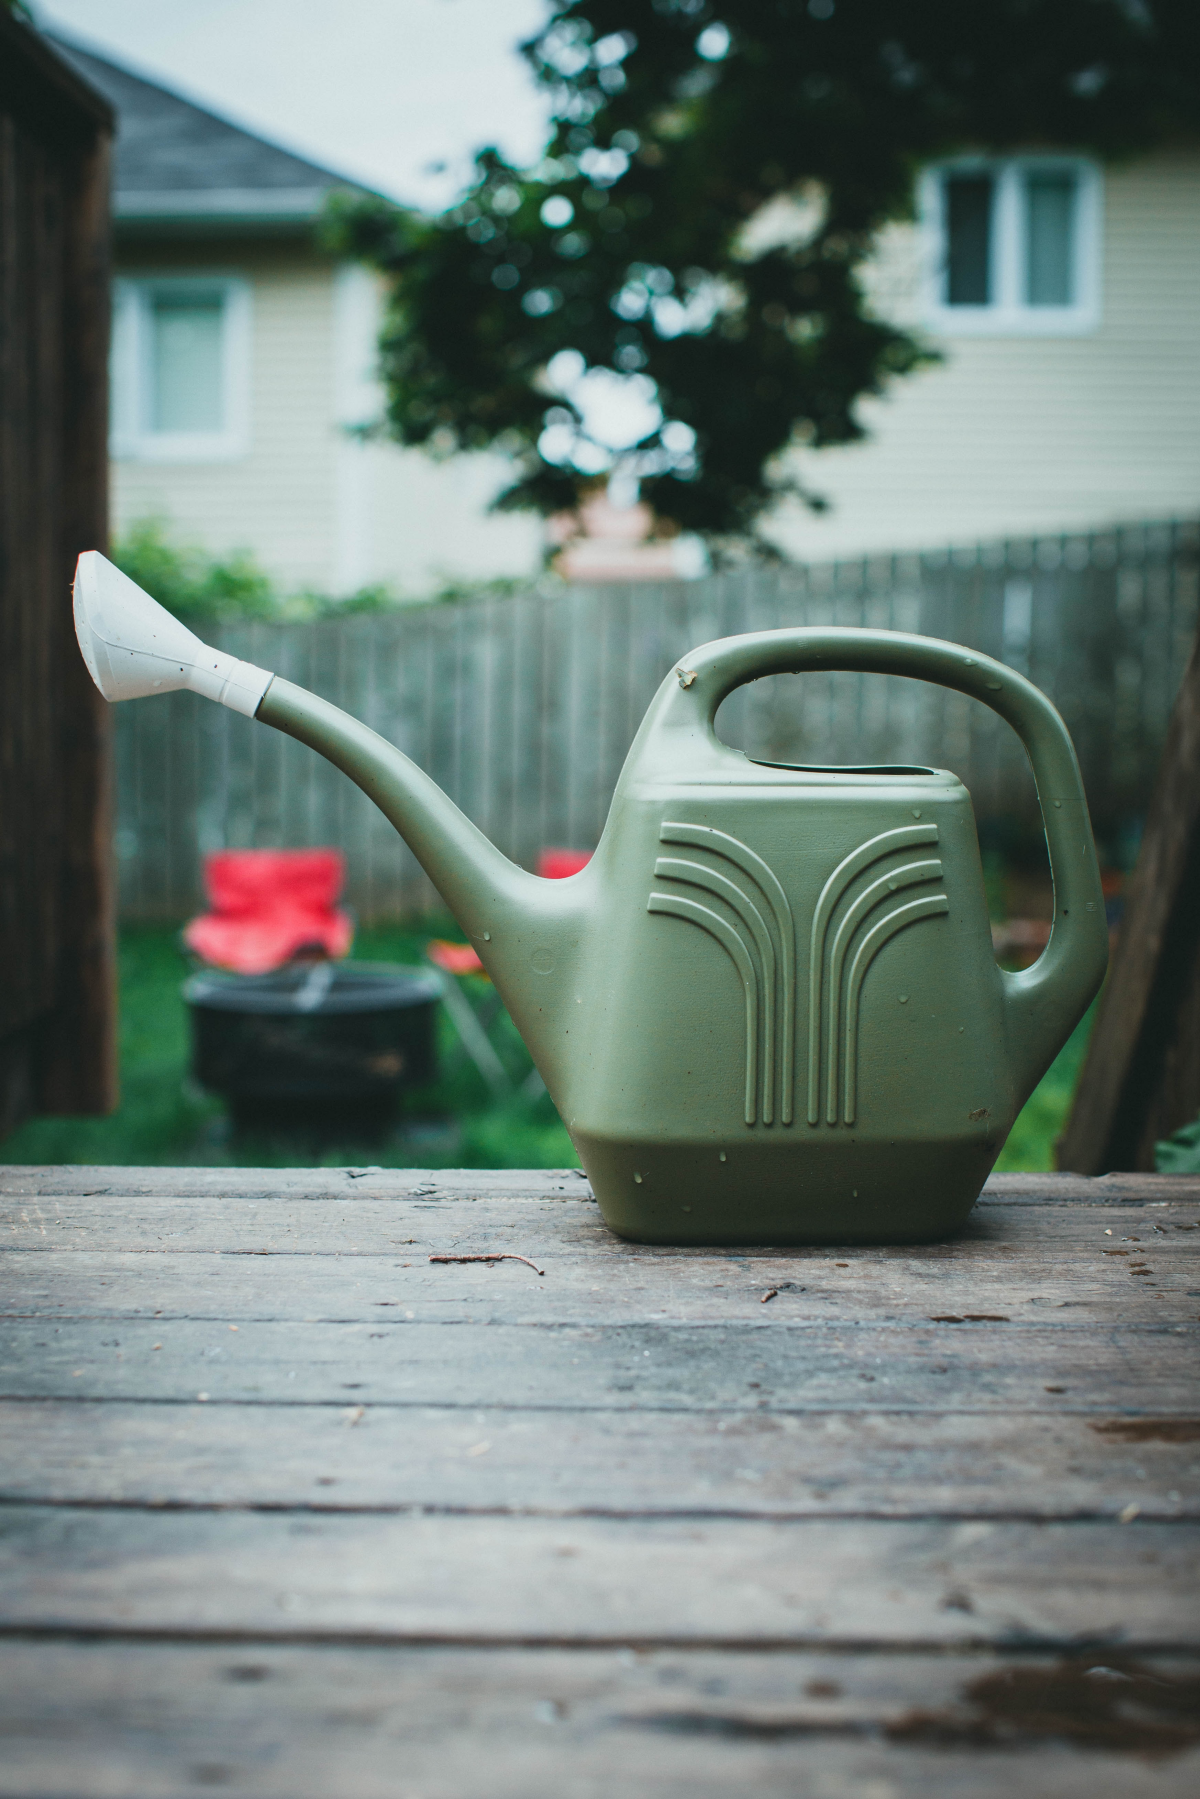
- Watering: That top layer of soil dries out first, so they can get thirsty quickly.
- Weeding: You can’t just go digging and cultivating around their base. You’ll tear up that delicate root mat. Be gentle!
- Drainage: They need moisture, but they absolutely HATE wet feet. Soggy, waterlogged soil is the #1 killer of boxwoods because it leads to root rot. Fast.
- Mulch: This isn’t optional; it’s essential. A good layer of mulch protects those shallow roots from baking in the summer sun and freezing in the winter.
Honestly, if you just remember that they have sensitive, shallow roots, you’re already 90% of the way to making good decisions for your plant.
Finding the Perfect Spot (and Fixing Your Soil)
I can’t stress this enough: getting the site and soil right is the most important part of the job. It’s a one-time investment of effort that will pay you back for the entire life of the shrub.
You’ll often see ‘Winter Gem’ listed for “full sun to part shade,” but let’s add some real-world nuance to that. In cooler northern climates, full sun is usually just fine. But if you live somewhere with hot, intense summers, that’s a recipe for disaster. The ideal spot for most of us is one that gets four to six hours of nice morning sun, and then gets some shade or protection from the brutal afternoon heat. Otherwise, you risk ‘leaf scorch,’ which turns the foliage a sad yellow-brown.
Also, think about wind. A spot that’s shielded from harsh, drying winter winds is a huge plus. That wind literally sucks the moisture out of the evergreen leaves, and since the ground is frozen, the roots can’t pull up any more water to replace it. That’s what causes that classic ‘winter burn’ you see on so many evergreens.
Finally, and this is a big one, think about water flow. I once consulted on a project where an entire hedge of 50 boxwoods was failing. It turned out a poorly graded lawn was funneling all its runoff right into the planting bed. They were literally drowning. Never plant a boxwood under a roof drip line or near a downspout. It’s a death sentence.
Getting Your Soil in Shape
Boxwoods thrive in soil that is well-drained but also holds onto some moisture. Sounds tricky, right? Most of us don’t have perfect soil, so we have to make it. First, do a simple percolation test. Dig a hole about a foot deep and a foot wide, fill it with water, and let it drain. Then fill it again and see how fast the water level drops. Ideally, it should go down about one to two inches per hour.
Heads up! If the water is still sitting in the hole hours later, you have a serious drainage problem. At that point, you either need to build a raised bed or seriously consider planting something else. Don’t try to fight a swamp; you’ll lose.
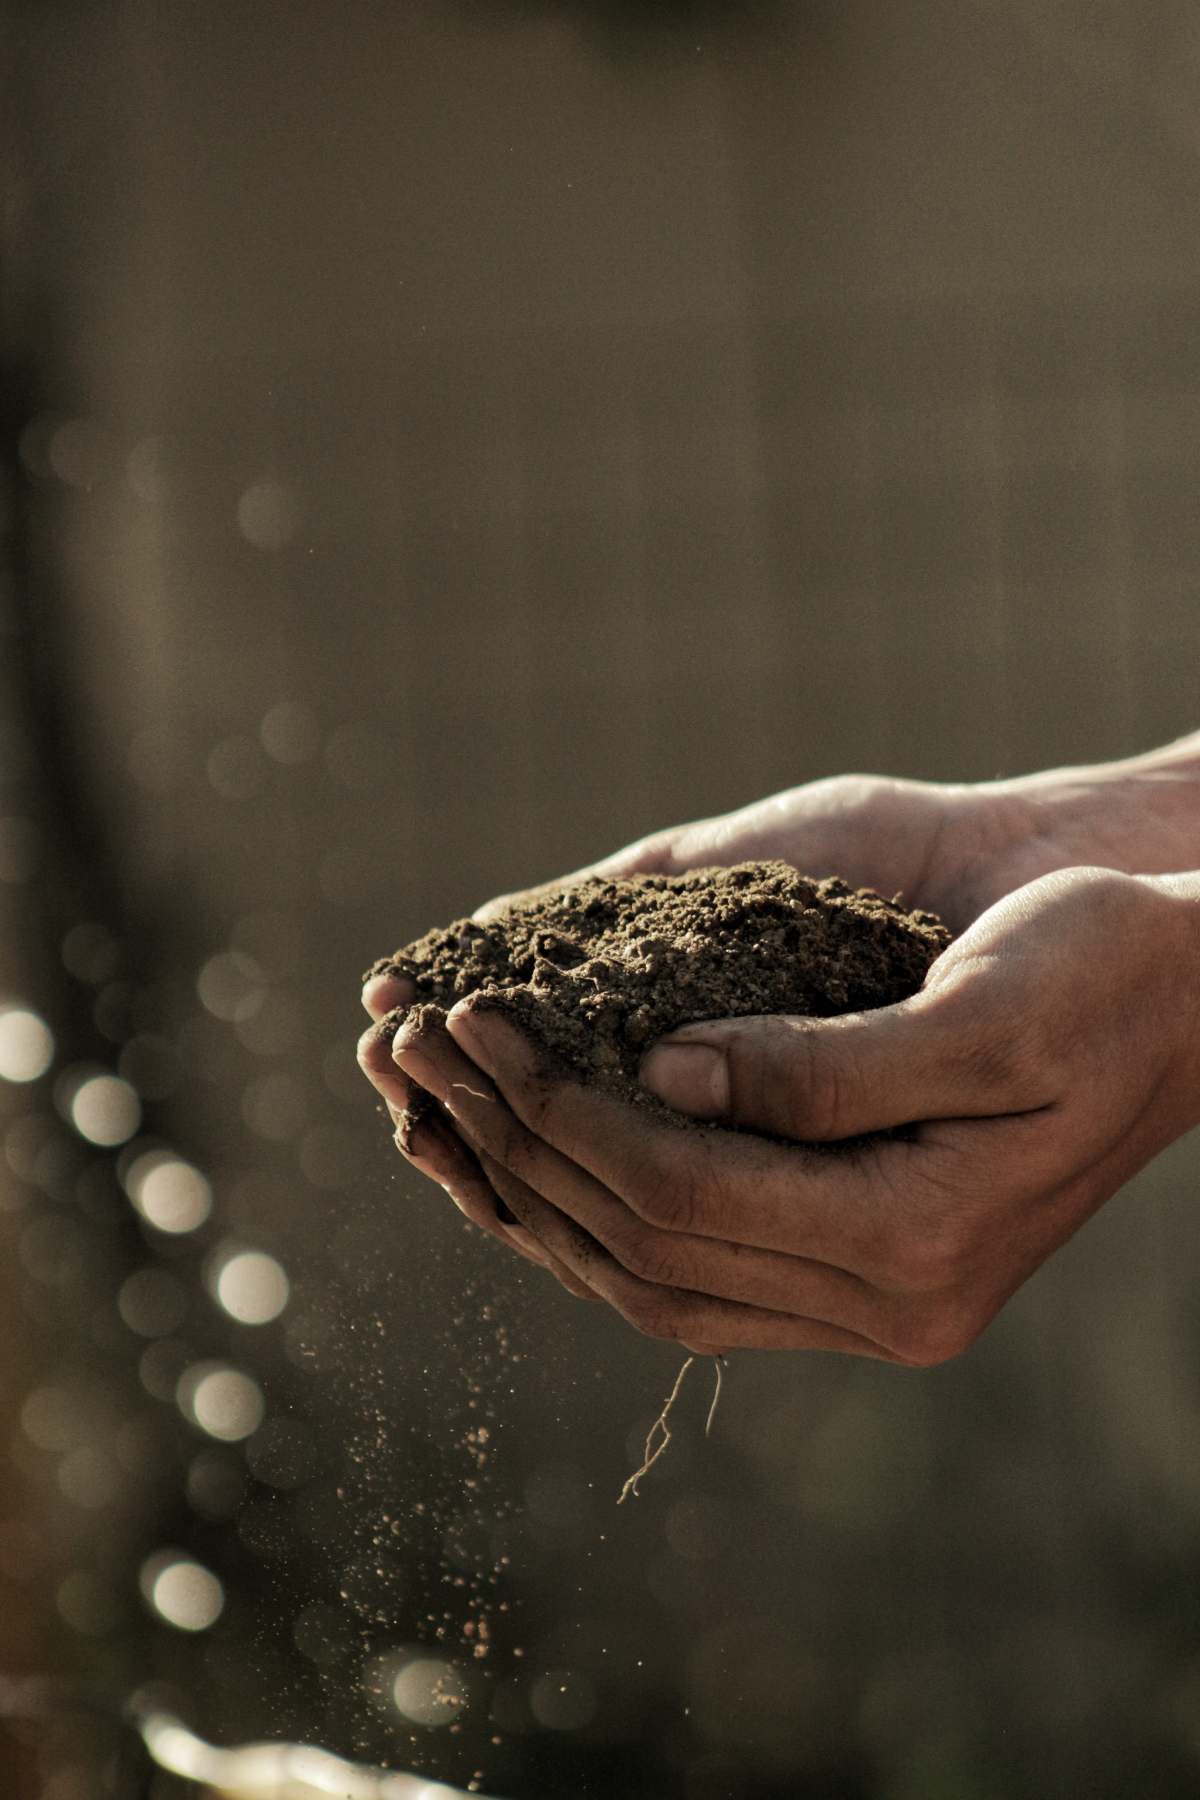
- For heavy clay soil: Your goal is to break it up and improve drainage. A great recipe is to mix two parts of your native clay with one part compost and one part pine bark fines (sometimes sold as ‘soil conditioner’). Expect to spend about $5-$8 for a bag of good compost or pine bark.
- For very sandy soil: Here, you need to add things that act like a sponge. Mix three parts of your native sand with one part compost or peat moss.
A common mistake is to only amend the soil in the little hole you dig for the plant. Don’t do it! This creates a ‘bathtub effect’ where the nice soil in the hole holds water while the surrounding clay acts like a concrete bowl. The roots just sit there and rot. You need to amend the soil in the entire planting bed, or at least in an area three times wider than the plant’s pot.
How to Plant It Like a Pro
Okay, you’ve picked your spot and prepped the soil. Now for the fun part. Before you head to the nursery, decide on size. A smaller 1-gallon plant might cost you between $15 and $25. It’s budget-friendly and will establish its roots very quickly. A larger 3-gallon plant will give you more instant impact but will run you closer to $40-$60. It’s a classic tradeoff between patience and budget!
- Dig the right hole. It should be two to three times wider than the pot, but—and this is critical—NO DEEPER than the root ball.
- Check the roots. Gently slide the plant out of its container. If the roots are a tangled, circling mess (we call this ‘root-bound’), you have to fix it. Take a sharp knife and make three or four vertical cuts about an inch deep down the side of the root ball. Then, use your fingers to gently tease the bottom roots apart. It feels a bit brutal, but if you don’t, the roots will just keep circling and eventually strangle the plant.
- Get the height perfect. Place the plant in the hole. The top of its root ball should sit at or even an inch above the surrounding soil. I always lay my shovel handle across the hole to use as a level. Planting too deep is one of the most common and fatal errors.
- Backfill and settle. Start filling the hole with your amended soil. Every few inches, water it gently to help the soil settle and eliminate air pockets. Don’t stomp on it with your feet—that causes compaction.
- Mulch, the right way. Apply a 2 to 3-inch layer of organic mulch, like shredded hardwood bark, over the whole area. But here’s the key: pull the mulch away from the trunk. It should never touch the stem of the plant. That classic ‘volcano mulching’ you see everywhere traps moisture against the trunk and invites rot and disease. Leave a little 2-inch mulch-free donut around the base.
Watering, Feeding, and Pruning
For the first year, you need to be consistent with watering to help it get established. The goal is deep, infrequent watering. A slow trickle from a hose for 20-30 minutes once a week is much better than a light sprinkle every day. The best way to know for sure is to just stick your finger 2 inches into the soil. If it’s dry, it’s time to water.
When it comes to feeding, less is more. I learned this the hard way. A client wanted their new hedge to grow FAST, so we pushed it with extra fertilizer late in the summer. It looked amazing in September, but all that tender new growth didn’t have time to ‘harden off’ before the first frost. We lost a third of the hedge. A costly lesson in patience.
The best time to fertilize is in early spring, right as new growth starts. A balanced, slow-release granular fertilizer like a 10-10-10 is perfect. I’ve had good luck with brands like Espoma Plant-tone or Osmocote; just follow the directions on the bag. And never, ever fertilize a boxwood after late July.
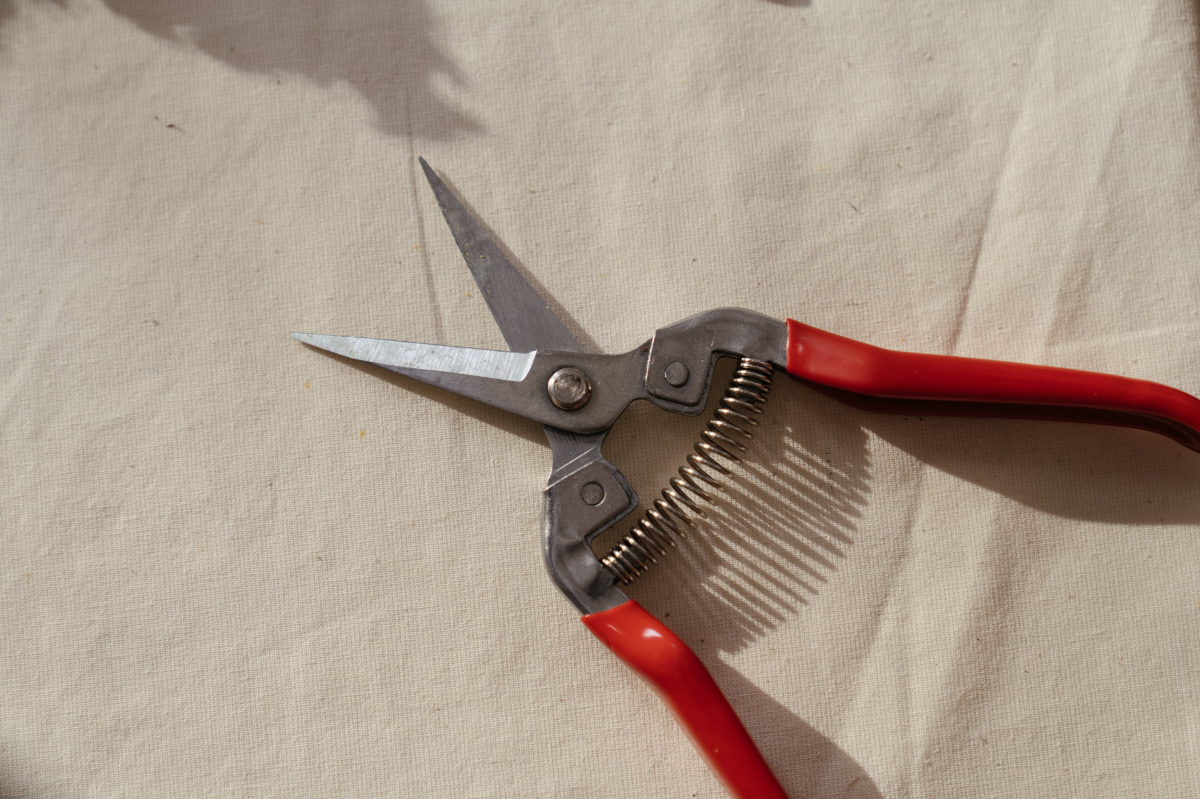
Pruning is key for health. At least once a year, you should do some ‘thinning.’ This just means reaching into the plant and snipping out a few small branches from the interior to improve light and air circulation. This is your best defense against fungal diseases. If you’re shearing it into a formal hedge, always keep the base slightly wider than the top. This ‘A’ shape allows sunlight to reach the bottom branches, keeping them full and green. If you’re going for a tight hedge, planting them about 18 to 24 inches apart on center is a good rule of thumb.
What to Watch Out For
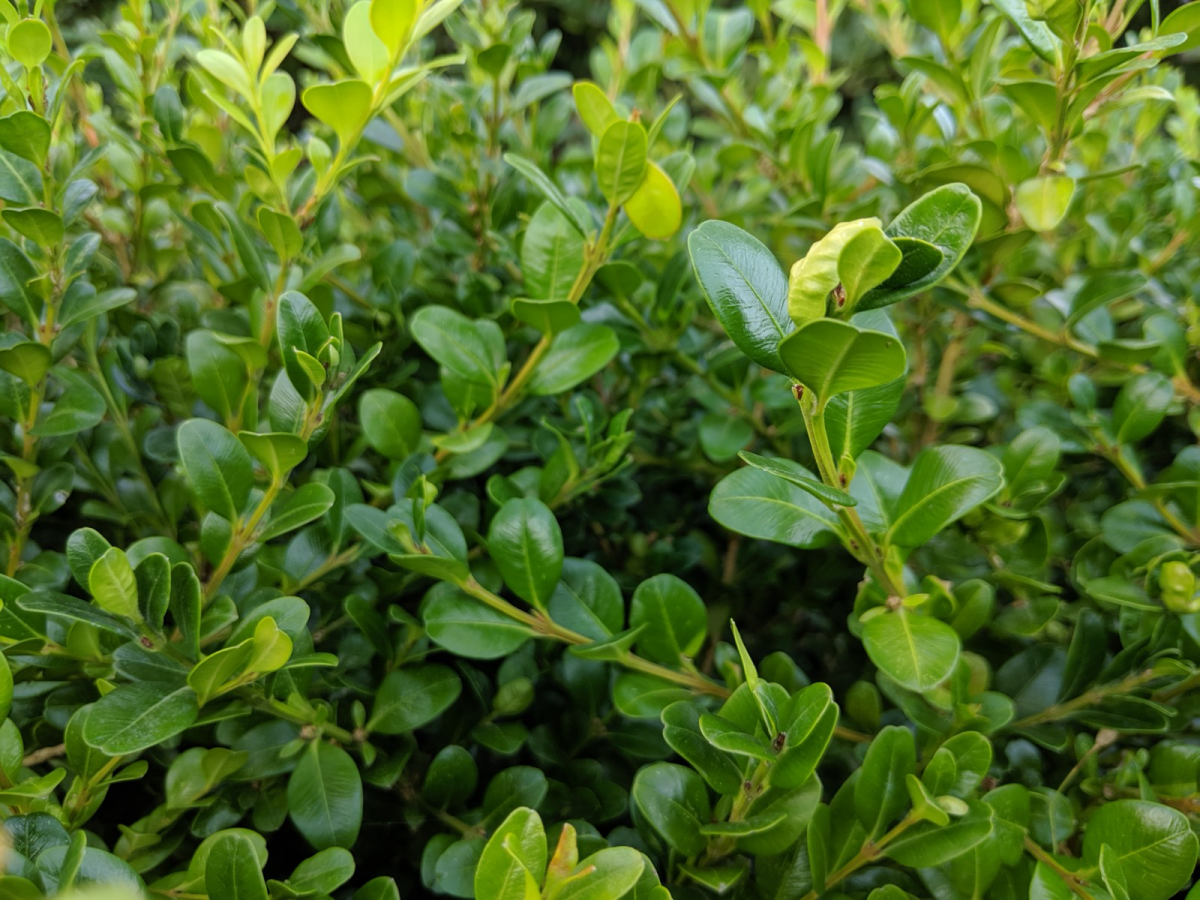
The most serious threat to boxwoods today is Boxwood Blight. It causes leaf spots, black streaks on the stems, and makes the plant drop its leaves very quickly. While ‘Winter Gem’ is more tolerant than many older varieties, it’s not immune. Prevention is everything: inspect new plants carefully, always clean up fallen leaves, and water the soil, not the foliage. Use soaker hoses instead of overhead sprinklers.
By the way, if blight is a huge concern in your area, you might want to look into some of the newer, more resistant varieties. Cultivars in certain modern series were specifically developed for better resistance. Or, a classic alternative like ‘Green Velvet’ is also known for being pretty tough. They have slightly different growth habits and looks, so do a little homework, but know you have options.
Oh yeah, and if you see some yellow or orange leaves on the side facing the winter sun, don’t panic! It’s likely just a bit of winter burn, and the plant will grow out of it in the spring.
A Quick Summary and Final Thoughts
This all might seem like a lot, but it really boils down to a few key things. Let’s do a quick recap.
The DOs:
- DO plant it high, with the top of the root ball slightly above the soil line.
- DO amend your soil in a wide area, not just the planting hole.
- DO thin out the inside of the plant annually for better airflow.
- DO use a 2-3 inch layer of mulch, but keep it away from the trunk.
The DON’Ts:
- DON’T plant in a soggy spot or where water collects.
- DON’T pile mulch up against the stem like a volcano.
- DON’T fertilize after late July.
- DON’T forget to water deeply during long dry spells, even in the first winter.
And finally, a quick challenge for you. Your 5-minute task for today: go look at your boxwoods (or any shrub, really!). Is mulch piled up against the trunk? If so, go pull it back a couple of inches. Boom. You just took a huge step in preventing rot. It’s small, consistent actions like that that make for a healthy, beautiful garden for years to come.
Galerie d’inspiration
The deep green, structured foliage of ‘Winter Gem’ is a perfect canvas. To make it truly stand out, think in terms of contrast. Here are a few pairings that work beautifully:
- For Texture: The broad, ribbed leaves of a ‘Frances Williams’ Hosta or the lacy fronds of a Japanese Painted Fern create a stunning textural dialogue next to the boxwood’s fine leaves.
- For Color & Form: The large, cone-shaped white blooms of a ‘Limelight’ Panicle Hydrangea look crisp and modern against a boxwood hedge.
- For Movement: Planting wispy Japanese Forest Grass (Hakonechloa) at its base softens the boxwood’s formal lines with gentle, flowing movement.
When is the right time to prune for that perfect globe or crisp hedge?
Timing is everything. The ideal window for a major shaping is late spring, after the first flush of bright green growth has appeared and started to mature. This allows the plant to recover and push out a bit more growth before summer’s heat. Use sharp, clean hand shears or hedge trimmers. Avoid pruning after late summer, as this can stimulate new, tender growth that will be damaged by the first hard frost, leading to unsightly winter browning.


