Stargazer Lilies: My Field-Tested Secrets to Getting Those Huge, Fragrant Blooms
I’ve been deep in the world of plants for a couple of decades now, and I’ve seen all sorts of flowers become the “it” thing, only to fade away. But the Stargazer lily? It’s a rockstar that never leaves the charts. I’ll never forget the first time I stepped into a commercial greenhouse packed with them. The fragrance hit me like a wall—this incredible, rich blend of sweet and spicy. It was absolutely intoxicating.
In this article
- What Makes a Stargazer Tick?
- The Foundation: Getting the Location and Soil Right
- No Garden? No Problem! Growing Lilies in Pots
- Planting Your Bulbs Like You Mean It
- The Three Biggest Stargazer Killers
- Battling the Bad Guys: Pests & Diseases
- After the Blooms Fade: What to Do Next
- Enjoying Your Lilies Indoors
- A Really, Really Important Warning for Cat Owners
- Galerie d’inspiration
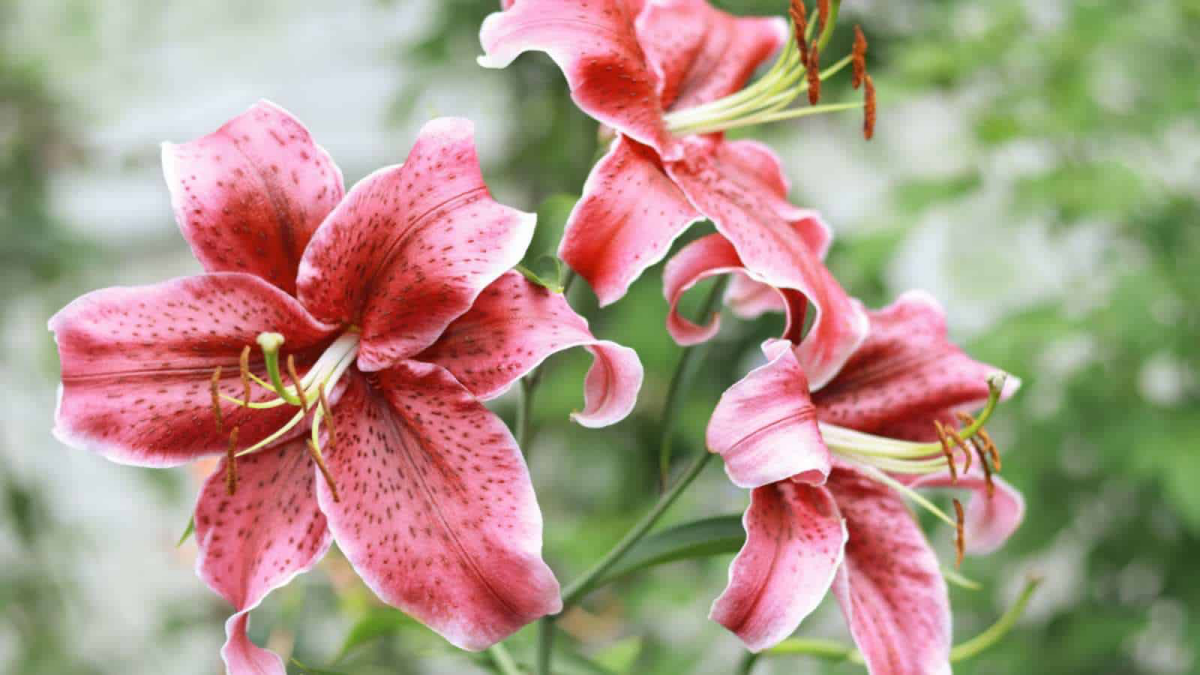
And the sight of thousands of those vibrant, upward-facing blooms was something else. These aren’t shy flowers; they are bold, dramatic, and they practically demand you look at them.
But let’s be honest, that show-stopping beauty doesn’t come without a little know-how. I’ve learned over countless seasons that you can’t just toss a Stargazer in the ground and hope for the best. It has its own personality, from its unique bulb to its absolute hatred of having “wet feet.” This guide is my brain dump of everything I’ve learned in the field—the practical stuff, the techniques that actually work, and the common mistakes that can break your heart. My goal is to get you growing spectacular lilies, not just ones that limp by.
What Makes a Stargazer Tick?
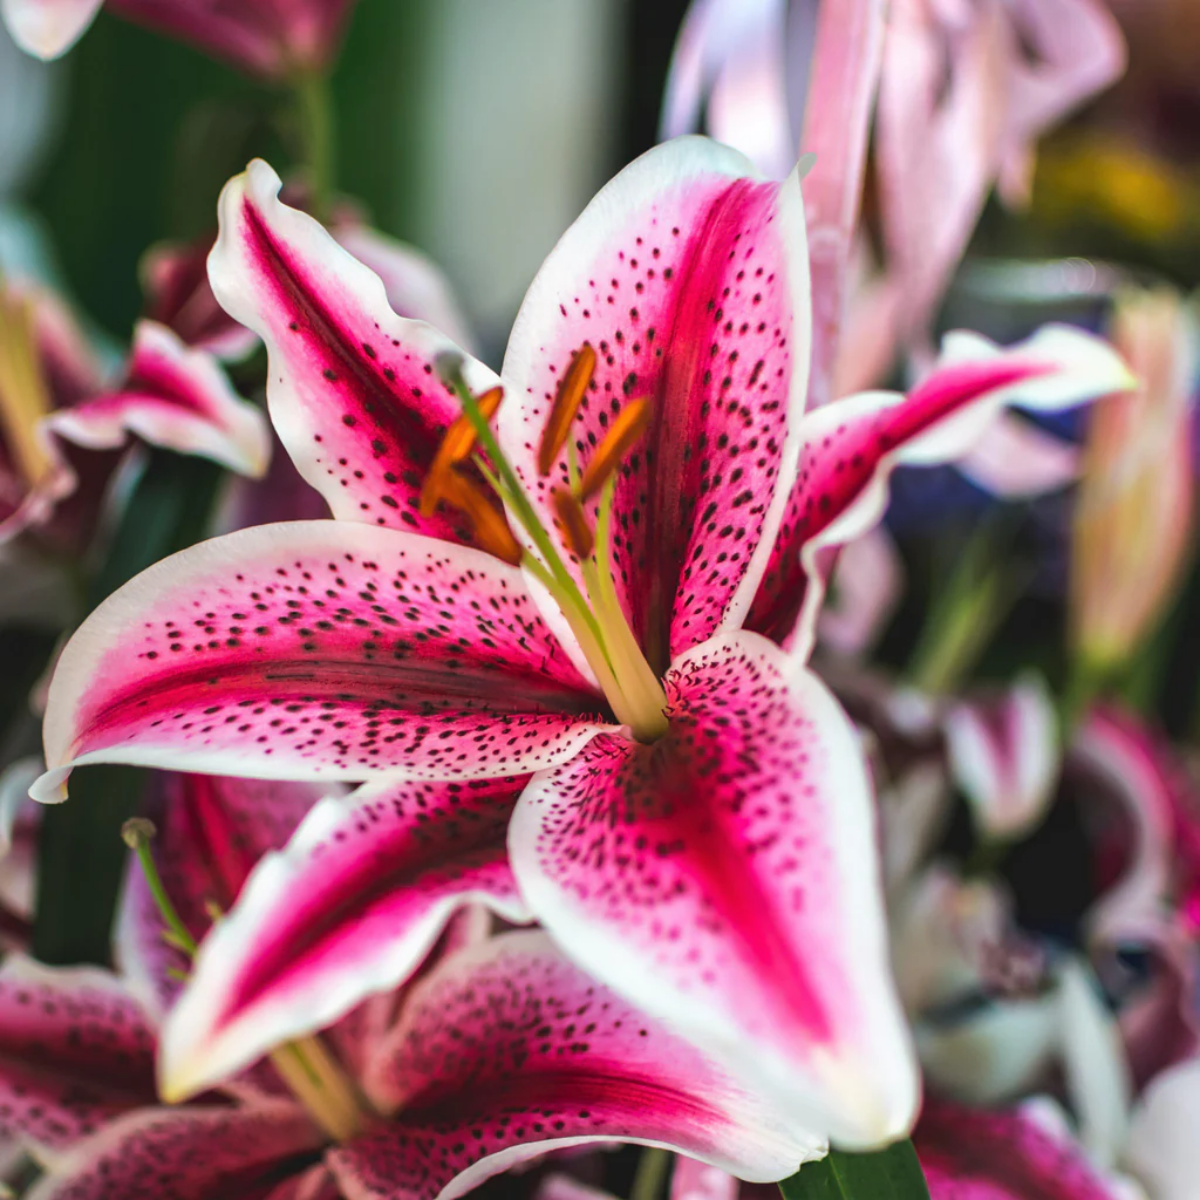
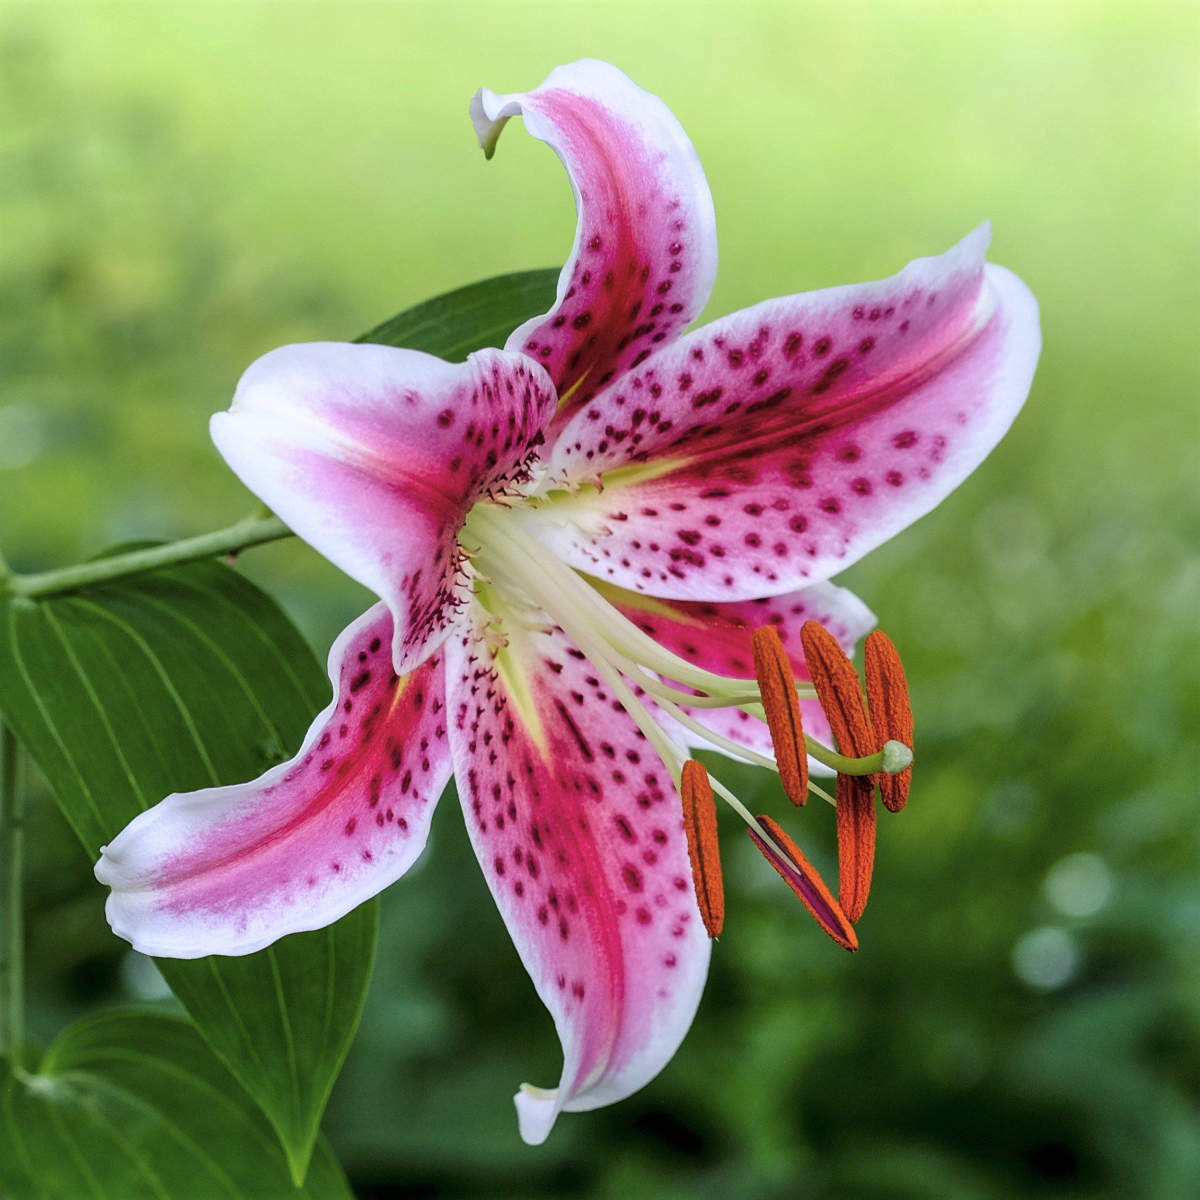
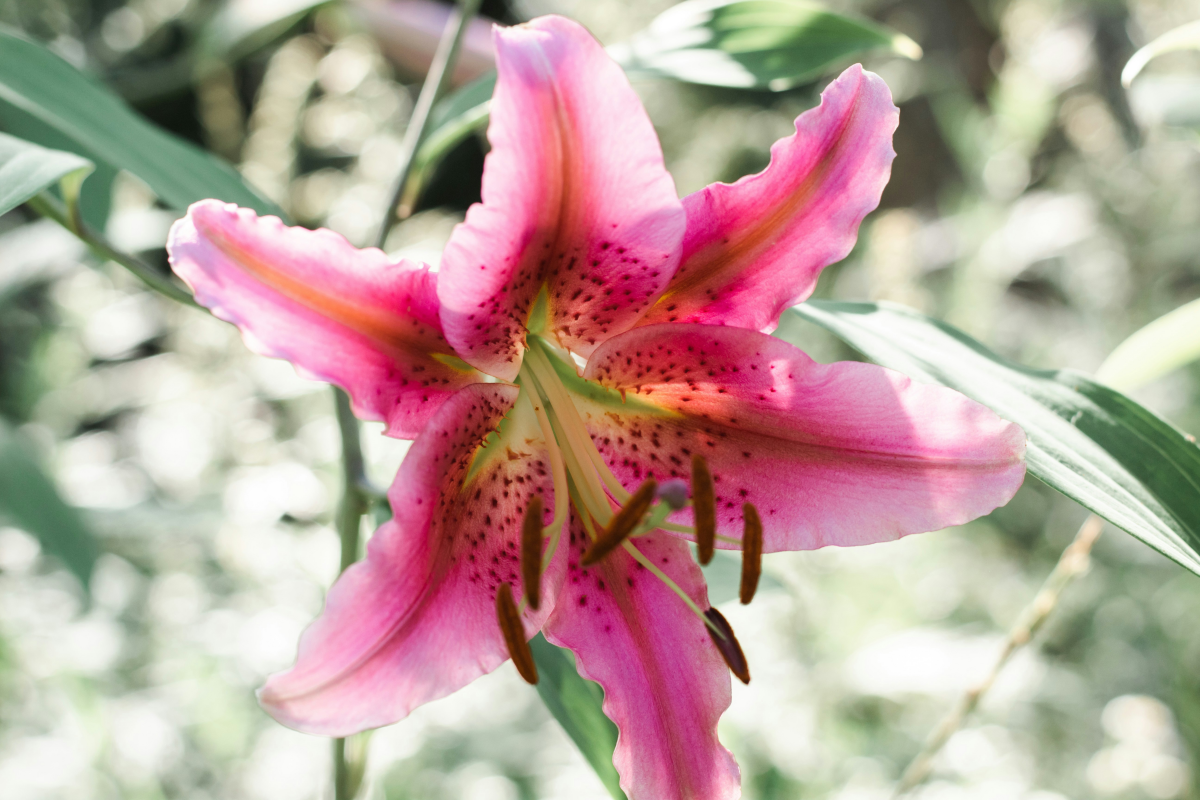
To grow something well, you’ve gotta understand it first. Stargazer lilies are a type of Oriental hybrid, and that little fact tells you almost everything you need to know about their needs. The original breeders were aiming for a lily with the massive, fragrant flowers of its Oriental parents, but with blooms that faced the sky instead of nodding down. They knocked it out of the park, and it completely changed the floral industry.
So, what does being an Oriental hybrid mean for you in the garden?
- They crave acidic soil. This is a big one. Unlike their easy-going Asiatic cousins, Stargazers will sulk and perform poorly in alkaline conditions.
- They are famously fragrant. That powerful scent is a signature trait you can count on.
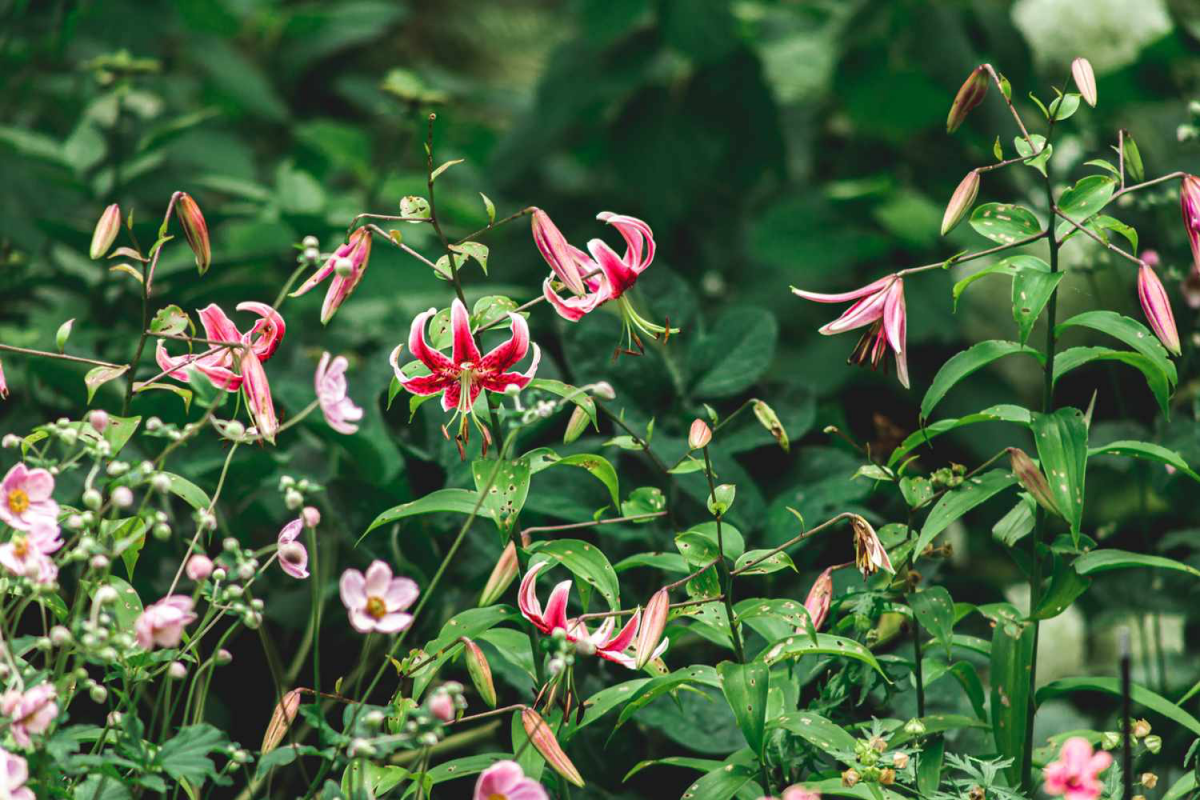
- They’re a mid-to-late summer bloomer. This means they put on their show after many other common garden flowers have already finished.
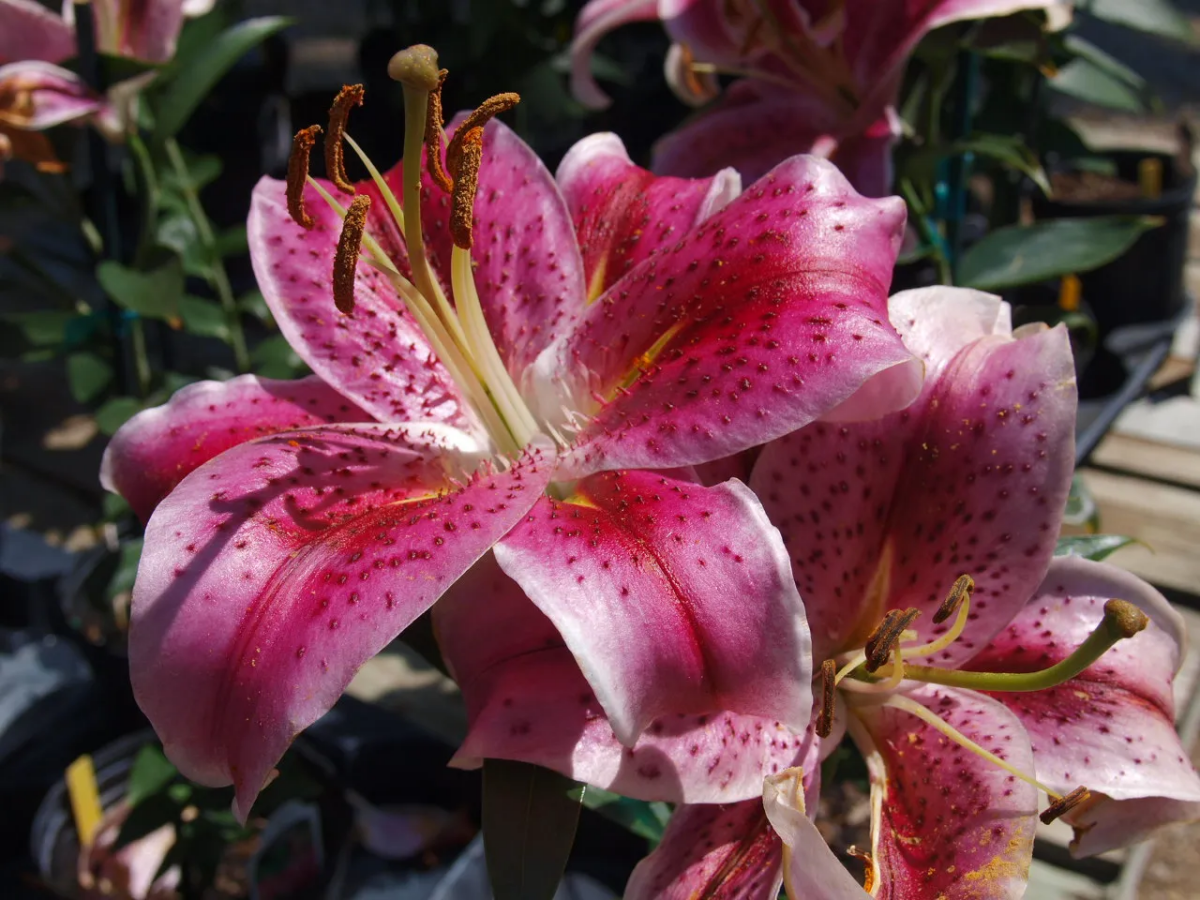
But the most critical piece of the puzzle is the bulb itself. A lily bulb isn’t like a tulip or a daffodil; it doesn’t have that dry, papery skin (called a tunic) for protection. Instead, it’s a bundle of fleshy scales that are packed with nutrients but can dry out in a heartbeat. This is why you should never, ever buy a lily bulb that looks dry, lightweight, or shriveled. It’s already on life support. A healthy bulb should feel firm and heavy for its size, with plump scales. Sometimes you’ll even see a few healthy white roots at the base—that’s a great sign.
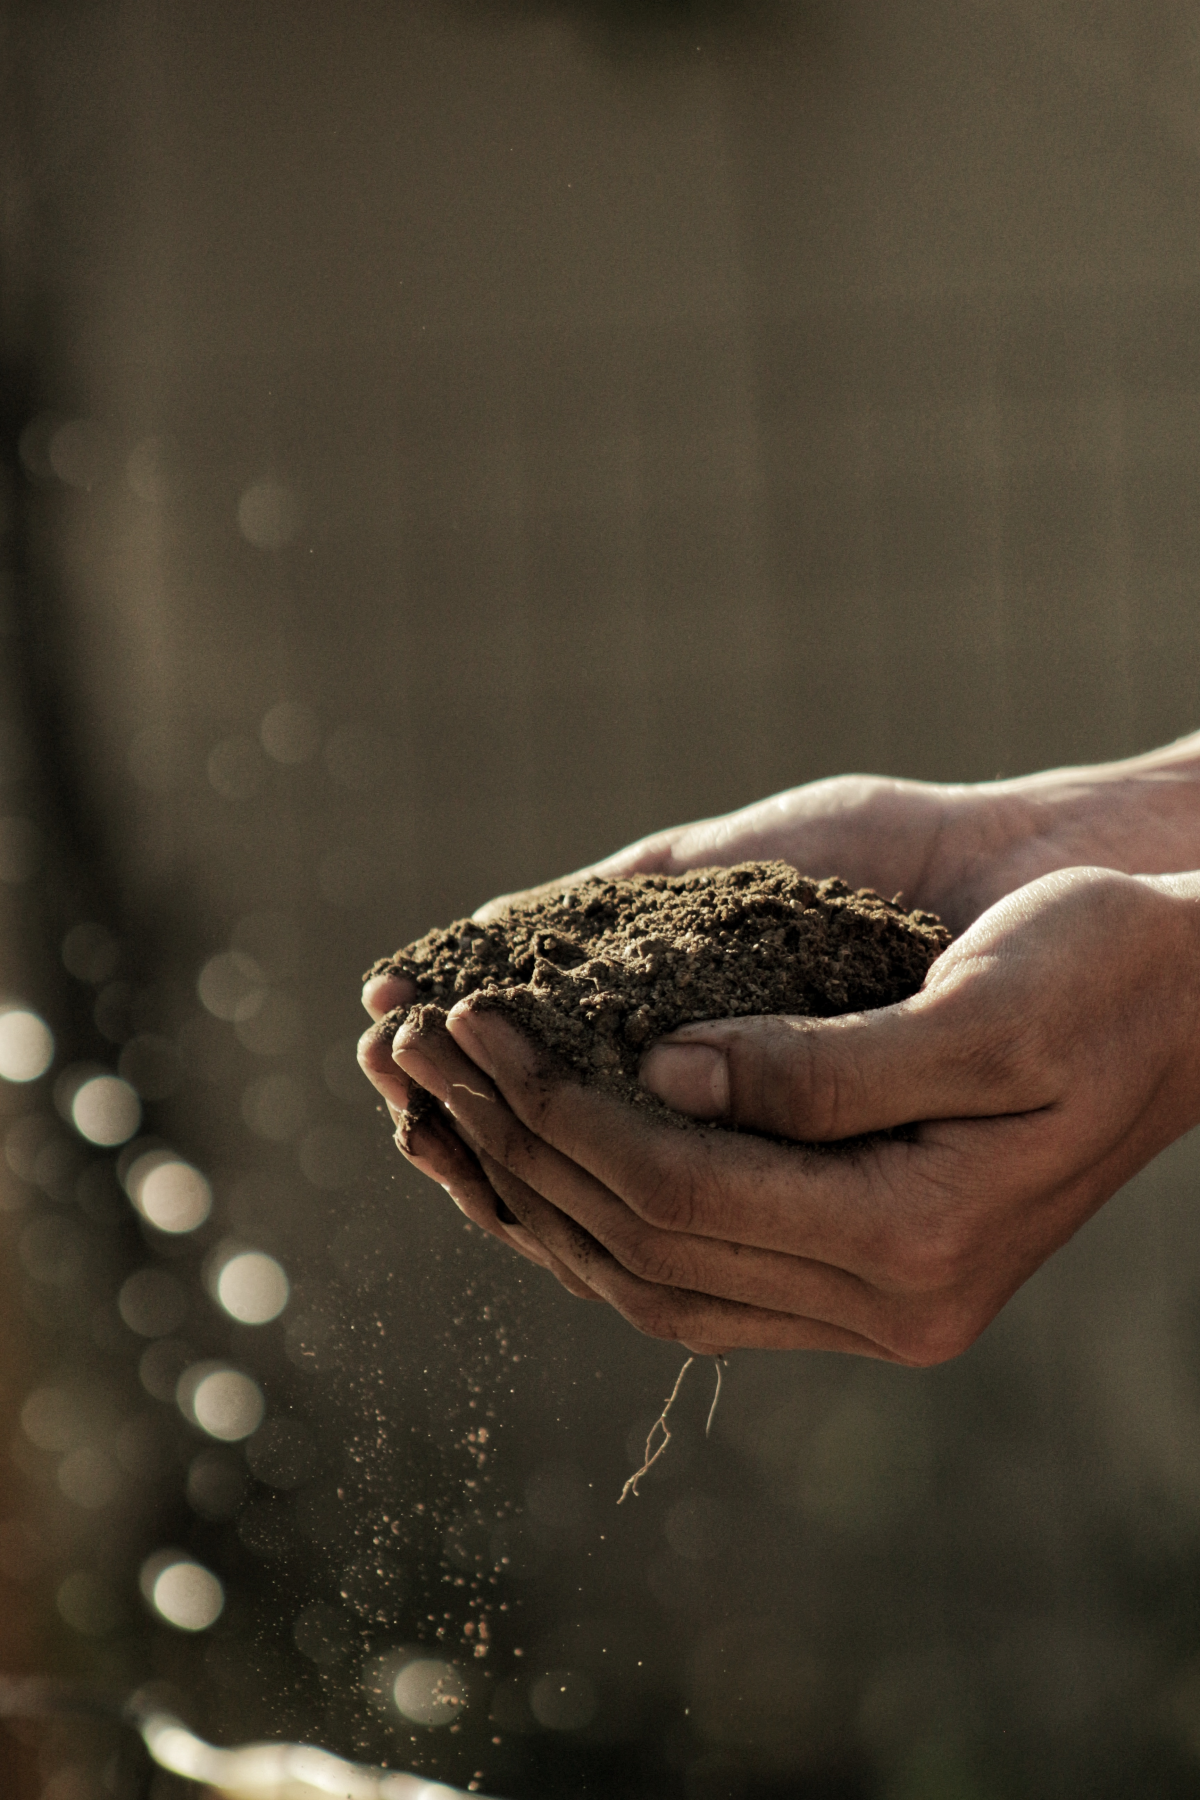
The Foundation: Getting the Location and Soil Right
I cannot overstate this: more lily failures start with bad location and poor soil than anything else. If you nail this part, the rest of your job becomes infinitely easier. The old saying for lilies is “sunny tops, cool feet,” and it’s spot on.
They need at least six, and preferably eight, hours of direct sun each day for strong stems and a ton of flowers. In my experience, a spot that gets blasted with sun until about 2 PM is the sweet spot, especially in hotter climates where the late afternoon sun can scorch the petals. Too little sun, and you’ll get a lanky, sad-looking plant that leans desperately toward the light with few, if any, blooms.
Drainage is Everything
This is the number one, non-negotiable rule. Oriental lilies will rot in a flash if left in heavy, soggy soil. Before you plant, you have to test your drainage. It’s easy. Just dig a hole about a foot deep and a foot wide, fill it with water, and let it drain. Then fill it again and see how long it takes to disappear. If it’s gone within a few hours, you’re golden. If water is still sitting there after 8 or 10 hours, you’ve got a problem.
You can either find a new spot or you have to amend the soil. For really heavy clay, honestly, the best solution is a raised bed. Building a simple frame that’s 8 to 12 inches high and filling it with good soil provides the perfect drainage these plants dream about.
The Perfect Soil Recipe and a Quick Budget
Stargazers are feeders, so they want rich, crumbly soil that drains well. They also need that slightly acidic pH, ideally between 6.0 and 6.8. How do you know your pH? Just grab a cheap soil test kit from any garden center or online for about $10-$15. If your soil is too alkaline, you can mix in some soil acidifier or elemental sulfur to bring the pH down.
Here’s a rough idea of what you’ll need to prep a great lily bed. Think of it as your startup shopping list:
- Quality Stargazer Bulbs: You can find these at local garden centers or, for better selection, from online nurseries that specialize in bulbs. Expect to pay between $12 and $25 for a pack of 3 to 5 healthy, large bulbs. Don’t cheap out here!
- Mature Compost: This is for nutrients and soil structure. A 1-cubic-foot bag usually runs about $8.
- Perlite or Coarse Sand: This is purely for drainage. A big bag of perlite costs around $15-$20 but goes a long way. Heads up: don’t use fine play sand, which can actually clog up soil.
- Bone Meal or a Starter Fertilizer: A small box is usually under $10 and provides the phosphorus for strong roots.
For a small patch, you can expect to spend around $50 to get everything you need for a fantastic start. Work these amendments into the top foot of your soil until it’s loose and fluffy. This prep work pays off for years.
Oh, and a quick tip for keeping their “feet cool”: I love to plant shallow-rooted annuals like sweet alyssum or a groundcover like creeping thyme around the base of the lilies. It acts as a living mulch, shading the soil and keeping the bulbs happy.
No Garden? No Problem! Growing Lilies in Pots
What if you have heavy clay soil and don’t want to build a raised bed, or you only have a patio? You can absolutely grow stunning Stargazers in containers. It’s a fantastic option!
Just grab a large pot—I’m talking at least 12-15 inches in diameter and just as deep—to give the roots plenty of room. Make sure it has excellent drainage holes. Fill it with a high-quality potting mix (don’t use garden soil!) amended with about 20% perlite for extra drainage. Plant 3 bulbs in a pot of this size, about 6-7 inches deep. Keep in mind that pots dry out much faster than garden beds, so you’ll need to check the soil every couple of days during the growing season.

Planting Your Bulbs Like You Mean It
Once you have your bulbs, get them in the ground as soon as you can. Remember, no paper tunic means they’re vulnerable. If you have to wait, store them in a cool, dark place (like a garage fridge) packed in a bag with some barely damp peat moss.
Fall is my preferred planting time in most places. It gives the bulbs all winter to establish a strong root system, leading to a much more vigorous plant come spring. If you live somewhere very cold or you missed the window, you can plant in early spring as soon as the ground isn’t frozen solid. Your first-year blooms might just be a little smaller.
A good rule of thumb is to plant a bulb three times as deep as its height. So for a 2-inch bulb, that’s 6 inches deep. Honestly, I go even deeper, closer to 7 or 8 inches. This keeps the bulb cool, helps anchor those tall stems so they don’t flop over, and encourages the growth of “stem roots” above the bulb, which are vital for grabbing nutrients.
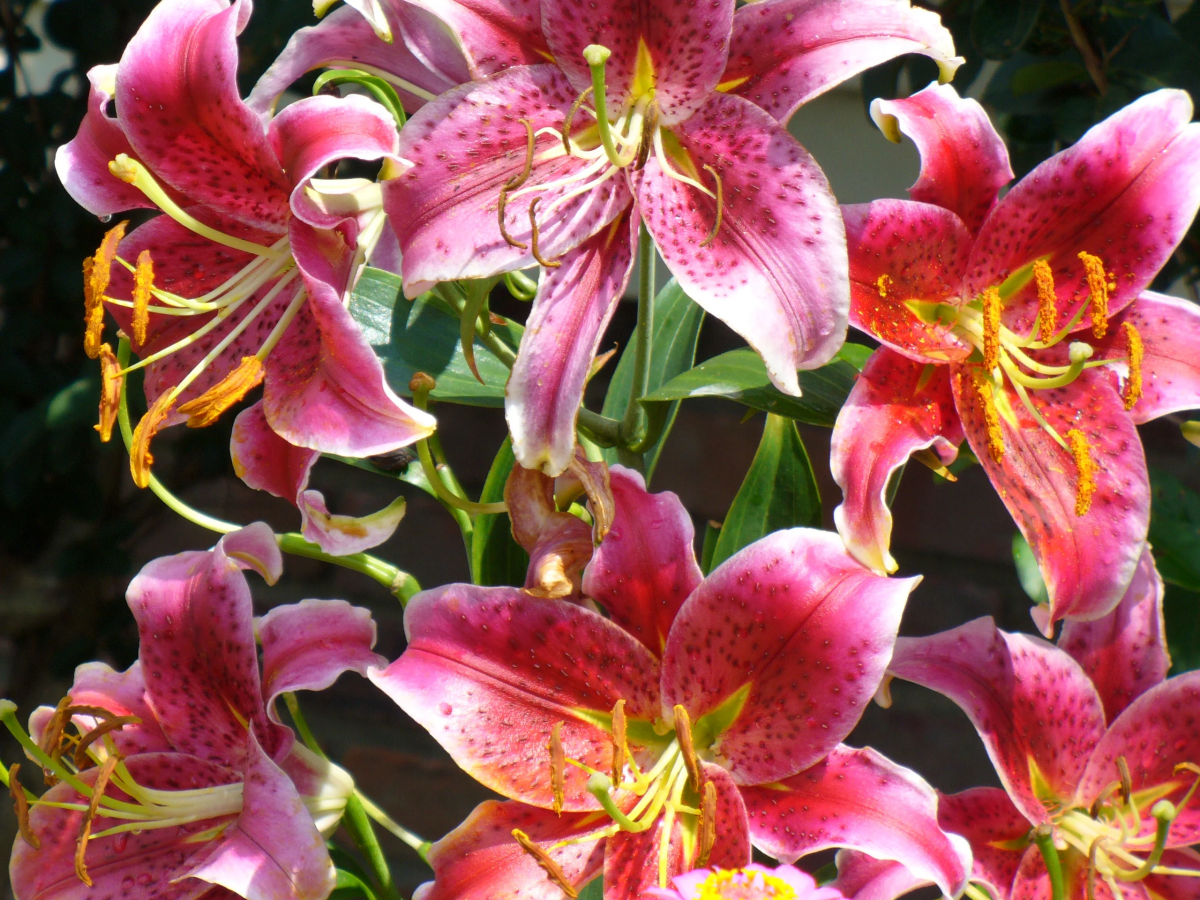
Space them about 8 to 12 inches apart. It looks like a lot of empty space at first, but trust me, they need the airflow when they’re fully grown to help prevent disease.
The Three Biggest Stargazer Killers
If you avoid these common mistakes, you’re 90% of the way to success. I’ve seen them take down more lilies than anything else.
- Wet Feet (Bad Drainage): I’ve said it before, and I’ll say it again. Soggy soil is a death sentence. It leads to bulb rot, and there’s no coming back from that.
- The Premature Haircut: After the flowers fade, people get tidy-happy and chop the whole stalk down. DON’T DO IT! The stalk and leaves are the factory that recharges the bulb for next year. Let it turn completely yellow and brown first.
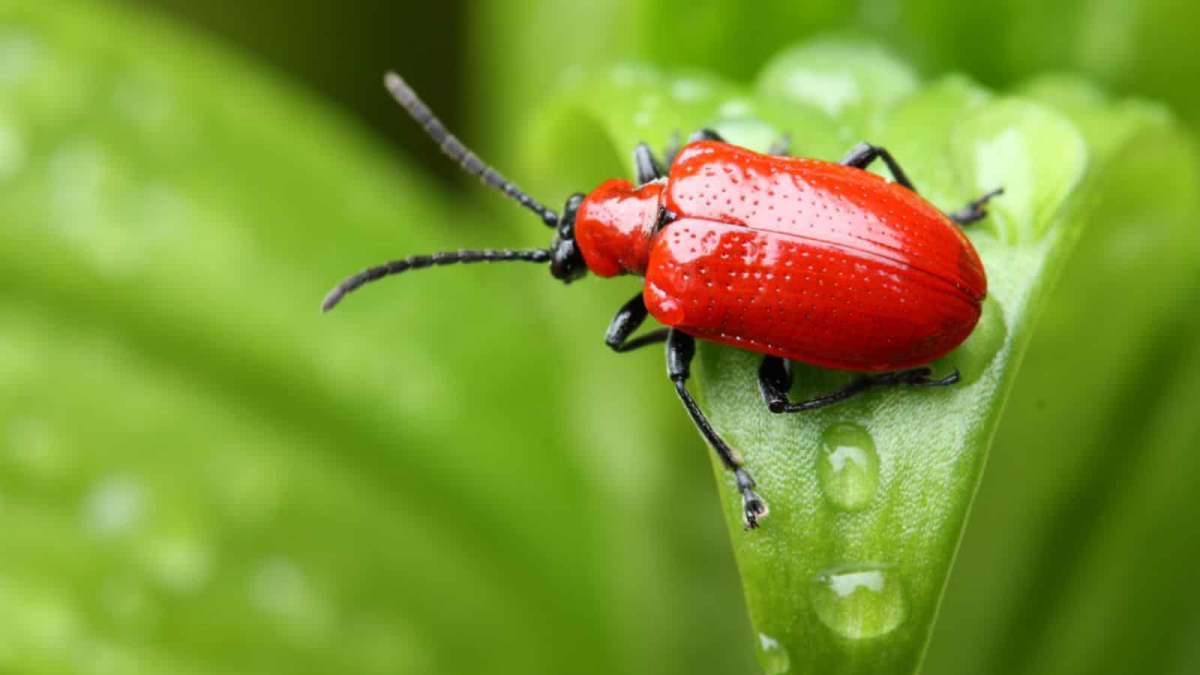
- Ignoring the Red Beetle: This little pest can turn a beautiful lily patch into a skeleton in a matter of days. You have to be vigilant.
Battling the Bad Guys: Pests & Diseases
The main villain you’ll face is the Red Lily Leaf Beetle. It’s a major headache in the Northeast and Midwest, but less of an issue on the West Coast. The adult is a shockingly bright red beetle. It’s easy to spot, but it has this annoying habit of dropping to the ground upside down, showing its black belly, which makes it vanish. The real damage, though, comes from the larvae. They are truly disgusting little grubs that cover themselves in their own slimy black poop to ward off predators. They will devour the leaves.
I’ll admit, the first time I fought lily beetles, I waited too long and they decimated half my plants. Now, I check them every single morning with my coffee. It’s a non-negotiable ritual. The best control is just picking them off by hand. Hold a cup of soapy water underneath and just tap them in. It’s gross, but it works.
You might also see aphids on new growth, but a sharp spray of water from the hose usually deals with them. The main disease to watch for is Botrytis, or gray mold, which shows up as watery spots on leaves in cool, damp weather. Good spacing for air circulation and watering the soil (not the leaves!) are your best defenses.
After the Blooms Fade: What to Do Next
Your job isn’t over when the last flower wilts! Snip off the spent flowers to stop the plant from wasting energy on making seeds. But again, leave that stalk and its leaves alone. They need to keep soaking up the sun to feed the bulb for next year. Be patient; this can take 6 to 8 weeks after the last flower fades. It’s worth the wait! Once the stalk is totally yellow or brown, you can cut it down to a few inches above the ground.
In colder climates (Zones 3-4), you’ll want to add a 4- to 6-inch layer of mulch like shredded leaves or straw after the ground freezes. This keeps the soil frozen and prevents the freeze-thaw cycles that can push bulbs out of the ground. In milder climates, no winter mulch is needed.
Enjoying Your Lilies Indoors
Stargazers make incredible cut flowers. For the longest vase life, cut the stems in the cool of the morning when the first bud is showing color but hasn’t opened yet. Strip off any leaves that will sit below the waterline in the vase.
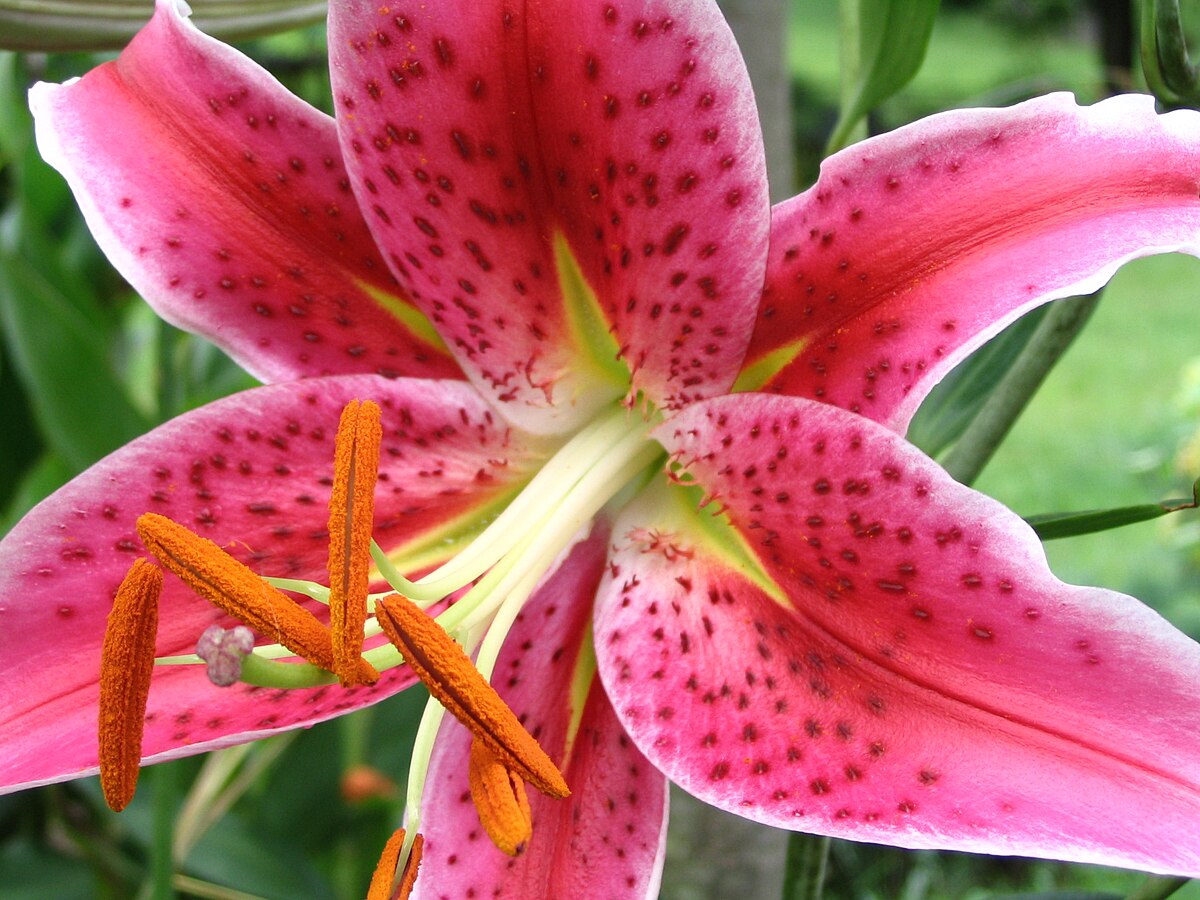
Now, for the big indoor problem: that dark orange pollen. It stains EVERYTHING. To prevent a disaster, you can gently pluck out the pollen-dusted anthers with tweezers as soon as the flower opens. Pro tip: do this before the flower is fully open and unfurled. The pollen is less messy then. If you do get pollen on fabric, don’t rub it or use water. Just use a piece of sticky tape to lift the dry grains off.
A Really, Really Important Warning for Cat Owners
This is the most critical piece of information in this entire guide. All parts of any lily plant are extremely poisonous to cats. This means the leaves, the pollen, the stem, and even the water in the vase. Ingesting even a tiny amount can cause rapid, irreversible kidney failure and death. Many cat owners simply don’t know how serious this is.
If you have cats, I strongly urge you to choose a different flower. The risk is just too high. It’s my professional duty to be crystal clear about this. Please, protect your feline friends.
Growing Stargazer lilies is one of the most rewarding things you can do in a garden. It forces you to get the fundamentals right, and when you see—and smell—those enormous, spectacular flowers open up, all that prep work feels more than worth it. Happy planting!
Galerie d’inspiration
Why do my Stargazer stems seem weak or flop over?
The culprit is often shallow planting. These lilies develop roots along the stem underground, which help anchor the plant and absorb nutrients. A common rule of thumb is to plant the bulb at a depth three times its height. For a robust Stargazer bulb, this means digging a hole 6 to 8 inches deep. For an extra drainage boost, especially in clay-heavy soil, add a one-inch layer of coarse sand or poultry grit at the bottom of the hole before placing your bulb. This creates a perfect drainage pocket, preventing the bulb rot they so famously despise.
Companion Planting: Let Your Stargazers Shine
Stargazers are the undisputed stars of the mid-to-late summer garden, but the right supporting cast can elevate their performance from a solo act to a full-blown concert. The key is to choose companions that contrast in texture or color without competing for the spotlight. Consider these pairings:
- Salvia ‘May Night’: The deep, spiky purple-blue flowers provide a stunning color contrast to the lily’s vibrant pink and create a vertical echo.
- Baby’s Breath (Gypsophila): Clouds of delicate white flowers create a soft, romantic haze around the bold lily blooms, adding texture and lightness.
- Lady’s Mantle (Alchemilla mollis): Its low-growing, scalloped, chartreuse leaves are perfect for hiding the bare lower stems (or
Did you know? The intense fragrance of a Stargazer is most powerful in the early evening as the air cools. This is a genetic trait from its Oriental lily ancestors, designed to attract night-flying moth pollinators.


