Your Shed Shouldn’t Be a Pile of Rot in 5 Years. Here’s How to Build It Right.
I’ve spent a lot of time on job sites, from framing houses to finishing basements. But honestly, some of the most satisfying work is building those small backyard structures—the she sheds, workshops, or garden studios. Whatever you call them, they’re basically small houses, and if you want them to last, you have to treat them with the same respect.
In this article
Too many people see a shed kit online and think it’s a simple weekend project. And I’ve been paid good money to tear down those exact projects a few years later. A shed built on a shoddy foundation will sink and twist. Walls without proper bracing will feel flimsy in a stiff breeze. And a roof that isn’t sealed correctly? That’s a fast track to rot and mold, which will kill your investment from the inside out.
My goal here is to walk you through this the way a pro would, from the ground up. We’ll skip the shortcuts and focus on building a structure you’ll be proud of for years to come.
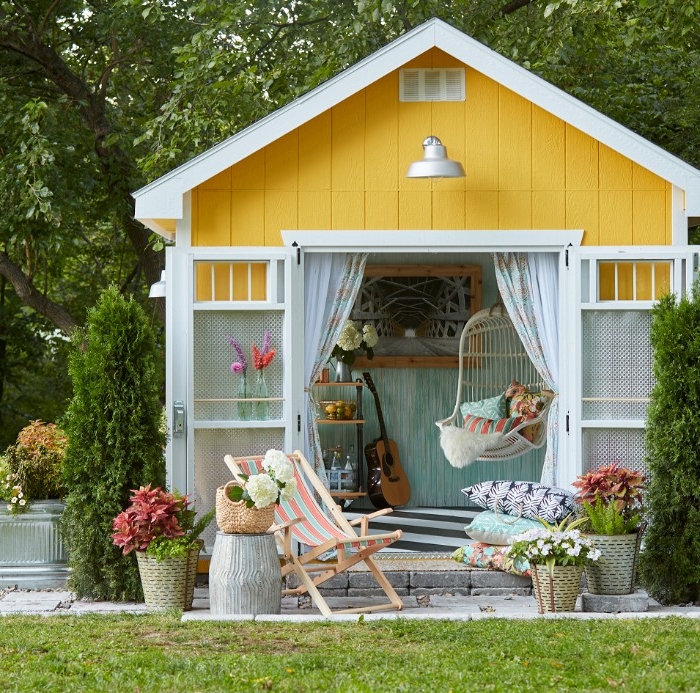
First, Let’s Avoid the Classic Blunders
Before we even talk about lumber, let’s get this out of the way. I’ve seen the same mistakes derail dozens of projects. Here are the top five rookie moves to avoid:
- Skimping on the Foundation: Thinking a few cheap concrete blocks on uneven dirt is “good enough.” It’s not. This is the #1 cause of failing sheds.
- Forgetting House Wrap: Skipping this step seems like a way to save $100, but it invites moisture into your walls, leading to hidden rot.
- Undersizing Headers: Using a single 2×4 over a wide door or window opening. It will sag, and your door will eventually get stuck.
- Botching the Roof Flashing: Getting the shingles right but forgetting the metal flashing in the corners and edges. This is how 90% of roof leaks start.
- Ignoring Permits: Just starting to build without talking to your local building department. This can lead to fines or even a tear-down order. Ouch.
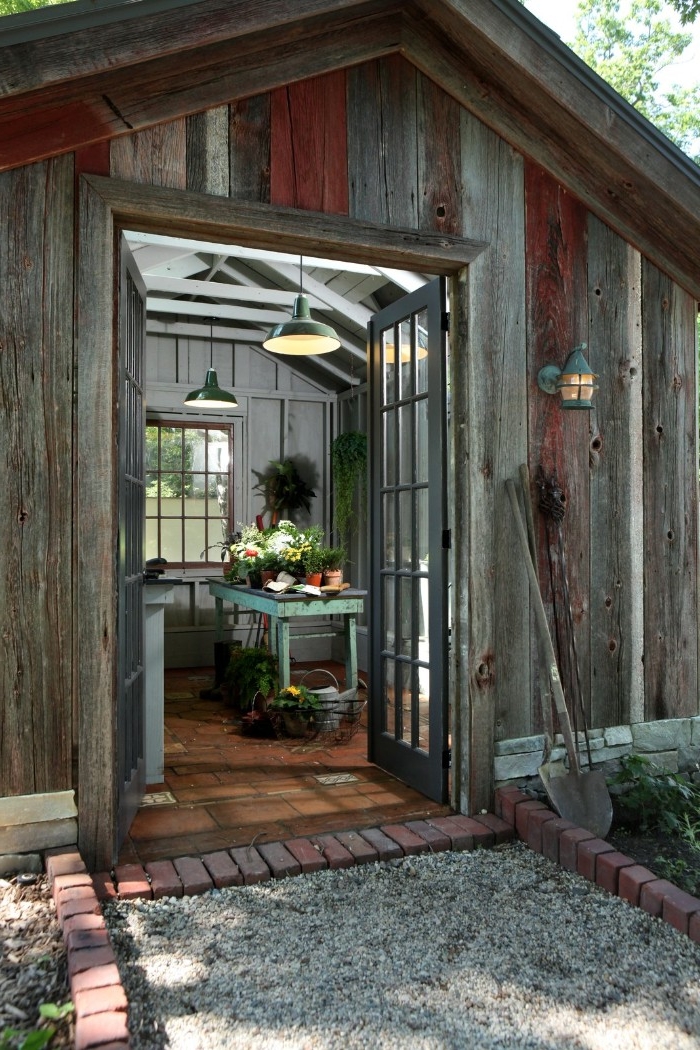
The Foundation: Don’t Mess This Up
Everything—and I mean everything—starts with the foundation. It’s the most critical part of the build and an absolute nightmare to fix later. Its job is to carry the entire weight of the shed, your lawnmower, and everything else, and transfer it safely to the ground.
You’ve basically got three solid choices here:
- On-Grade (Gravel Pad & Skids): This is your simplest and most budget-friendly option, perfect for smaller sheds (think under 100 sq. ft.) on fairly level ground. You’re basically building a 4- to 6-inch deep frame, filling it with compacted gravel, and laying pressure-treated wood “skids” on top. That gravel pad is non-negotiable. It lets water drain away so your shed floor doesn’t sit in a puddle and rot. A decent gravel pad might set you back $200-$400 in materials, but it’s worth every penny.
- Concrete Slab: This is the gold standard for a permanent, rock-solid shed. It gives you a built-in floor that’s durable and completely anchors the structure. For most sheds, a 4-inch thick slab is perfect. You dig out the area, build a simple form (usually with 2x4s staked into the ground), lay down a gravel base, and then a thick plastic vapor barrier to block ground moisture. For a 10×12 shed, a professionally installed slab could be $1,500+, but doing it yourself can bring the material cost down to the $800-$1200 range, depending on local concrete prices.
- Pier Foundation: Got a sloped yard? This is your best friend. It involves digging holes down below your local frost line and pouring concrete piers. That frost line detail is critical. In cold climates, the ground freezes and expands, which can literally “heave” a shallow foundation out of the ground, jamming your doors and windows shut. A quick call to your local building department will tell you how deep you need to dig. Don’t guess!
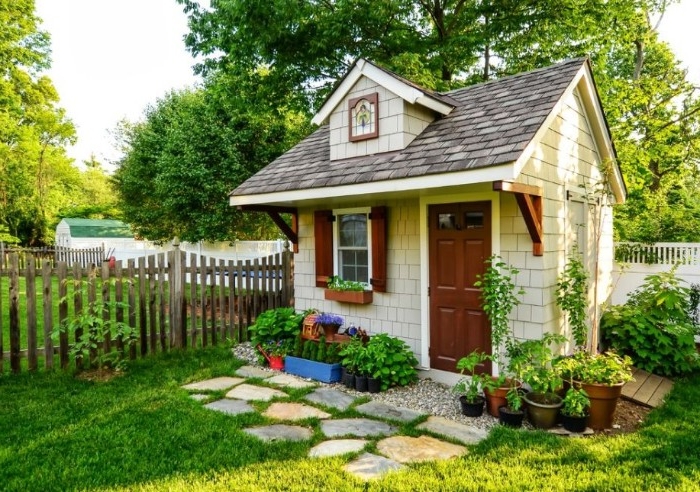
Framing: Where Your Shed Takes Shape
Once your foundation is set, it’s time for the fun part. The skeleton of your shed goes up fast, and it’s incredibly satisfying to see it come to life.
Nailing the Floor Frame
Your floor frame is the first wooden piece of the puzzle. Use pressure-treated lumber for the outer frame since it’s in contact with the foundation. The inner joists can be standard lumber, usually spaced 16 inches apart “on center.” This keeps the floor from feeling bouncy.
Quick tip: Once you’ve assembled the frame, check if it’s perfectly square. Measure diagonally from corner to corner. Then measure the other two corners. If those two numbers are identical, you’re square. If not, give it a good shove until they are. A lot of people also use the classic 3-4-5 triangle trick. Measure 3 feet along one side and 4 feet along the adjacent side. The diagonal between those two points should be exactly 5 feet. This little check saves massive headaches later.
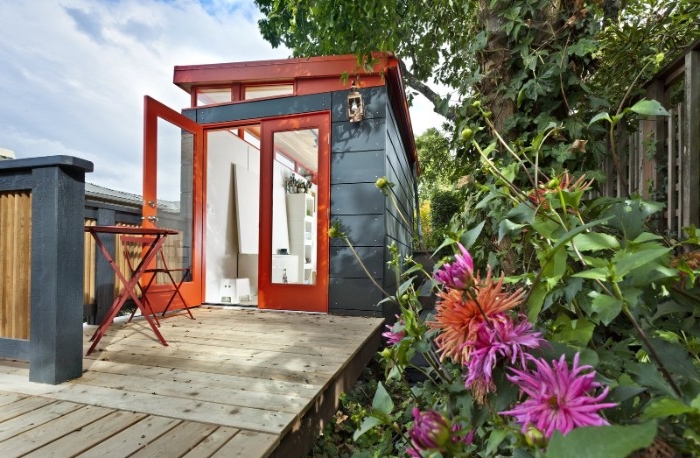
Raising the Walls
We build walls one at a time, flat on the shed floor. It’s way easier and safer. A wall is just a top plate, a bottom plate, and vertical studs in between. I always stick to 16-inch spacing for a really sturdy feel. Any spot for a door or window needs a header—a strong beam that carries the roof’s weight. Don’t skimp here! An undersized header will sag, making it a pain to open your window. I learned that the hard way on an early job and have overbuilt them ever since.
While the wall is still on the ground, nail on your sheathing (usually 7/16-inch OSB or plywood). Follow the nailing pattern! It’s usually nails every 6 inches on the edges and 12 inches in the middle. Oh yeah, you’ll want 3-inch framing nails for putting the frame together and 8d ring shank nails for the sheathing to get a good grip.
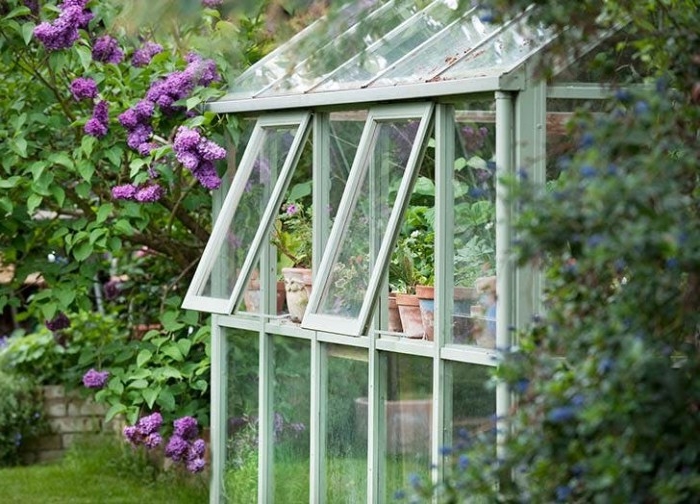
Builder’s Hack: Go rent a framing nailer for the weekend. Seriously. It might cost you $50-$75 from a place like Home Depot, but it will save you literally hours of swinging a hammer and a very, very sore arm.
Getting the Roof Right: Your Shed’s Umbrella
The roof protects everything. There is absolutely no room for error here. A tiny leak can go unnoticed for months, quietly causing thousands in damage.
First, you’ll cover the roof frame with sheathing (OSB or plywood). On top of that goes an underlayment. The old-school stuff was tar paper, but modern synthetic underlayments are way better—they’re lighter, tougher, and more water-resistant. This is your last line of defense.
When you put on shingles, you start at the bottom and work up. The most important part, and the part people always mess up, is the flashing. This is just thin metal (usually aluminum) that goes in all the joints and valleys to direct water away. Skipping the flashing is like buying a great raincoat but leaving it unzipped in a downpour.
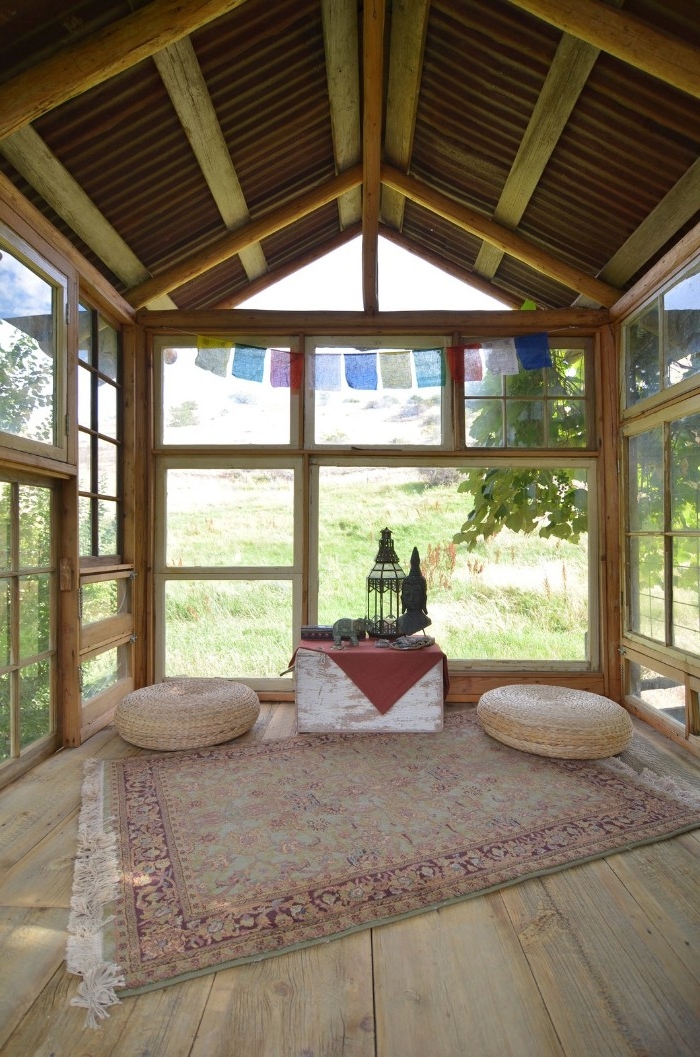
And don’t forget ventilation! To prevent moisture buildup, you need air to move. The best way is with soffit vents (under the eaves) and a ridge vent (at the very peak). This creates a natural airflow that pulls cool, dry air in and pushes warm, moist air out, dramatically extending the life of your shed.
Siding and Finishes: The Fun Stuff
The siding is what everyone sees, but it’s also a critical part of your shed’s protective shell. Your choice here is a balance of cost, looks, and how much time you want to spend on maintenance.
- Plywood Siding (T1-11): This is your classic, rustic-looking budget option. It looks great but you HAVE to keep it painted or stained, probably every 3-5 years, to stop it from falling apart.
- Vinyl Siding: Very low-maintenance (no painting!) and affordable. The trade-off is that it can look a bit cheaper and can get brittle and crack over time, especially in very sunny or cold climates.
- Fiber Cement Siding: This stuff is one of my favorites. It’s a mix of cement and wood fibers, making it incredibly durable, fire-resistant, and it holds paint forever. It’s heavy, though, and you need a special blade to cut it.
- Wood Lap Siding: Think classic cedar or pine. It’s beautiful, traditional, and also the most expensive option that requires the most maintenance.
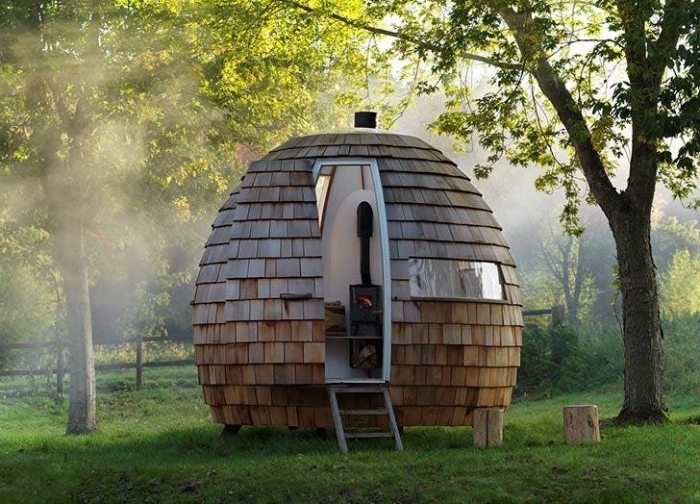
Let’s Talk Real Cost and Time
You see those shed kits online for $900? Let’s be real. That’s usually just the sticks, with no floor, no roofing, and no hardware. A properly built 10×12 foot shed, done yourself, is going to be in the $3,000 to $8,000 range for materials alone.
So what’s the difference? That $3,000 shed probably has a simple gravel pad foundation, T1-11 siding, and no windows. The $8,000 version is more likely to have a full concrete slab, high-end fiber cement siding, a nice window or two, and maybe even electrical service.
As for time, this is NOT a single weekend job. For someone with decent skills, here’s a more realistic plan:
- Weekend 1: Site prep and foundation. This is heavy, dirty work.
- Weekend 2: Floor and wall framing. You’ll see huge progress here.
- Weekend 3: Getting the roof on and sheathed. Maybe start the house wrap.
- Weekend 4 & 5: Siding, trim, windows, doors, and painting. The finishing touches always take longer than you think.
A Final Word on Safety and When to Call a Pro
This should be obvious, but always wear your safety glasses. Hearing protection is a must when you’re using power saws, and gloves will save you from a ton of splinters. And please, be careful with ladders. I’ve seen more serious injuries from falls than anything else.
When it comes to utilities, I have one non-negotiable rule: hire a licensed electrician. Don’t mess with it. They’ll run the power from your house safely, install a subpanel, and use GFCI outlets, which are required in damp locations and can literally save your life. It’s not the place to save a few hundred bucks.
And on that note, know when to ask for help. If your site is on a steep slope, consider hiring someone with an excavator to level the pad and a pro to pour the foundation. It’s money well spent to ensure the most important part of your project is done perfectly.
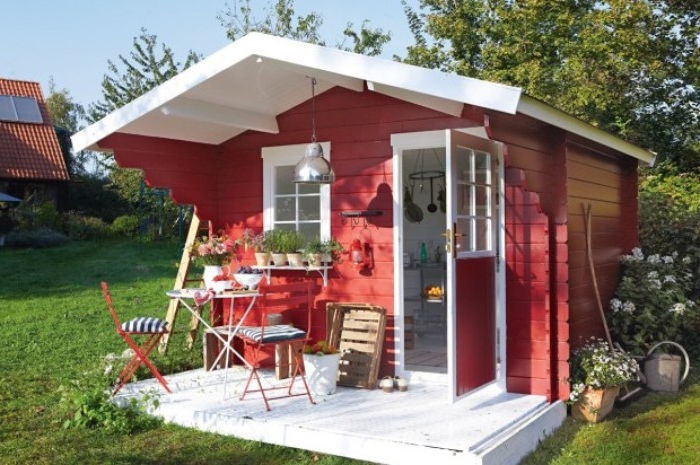
Building a shed is a serious project, but it’s also incredibly rewarding. There’s a special kind of pride that comes from standing in a solid, beautiful space that you built with your own two hands, knowing you did it the right way.
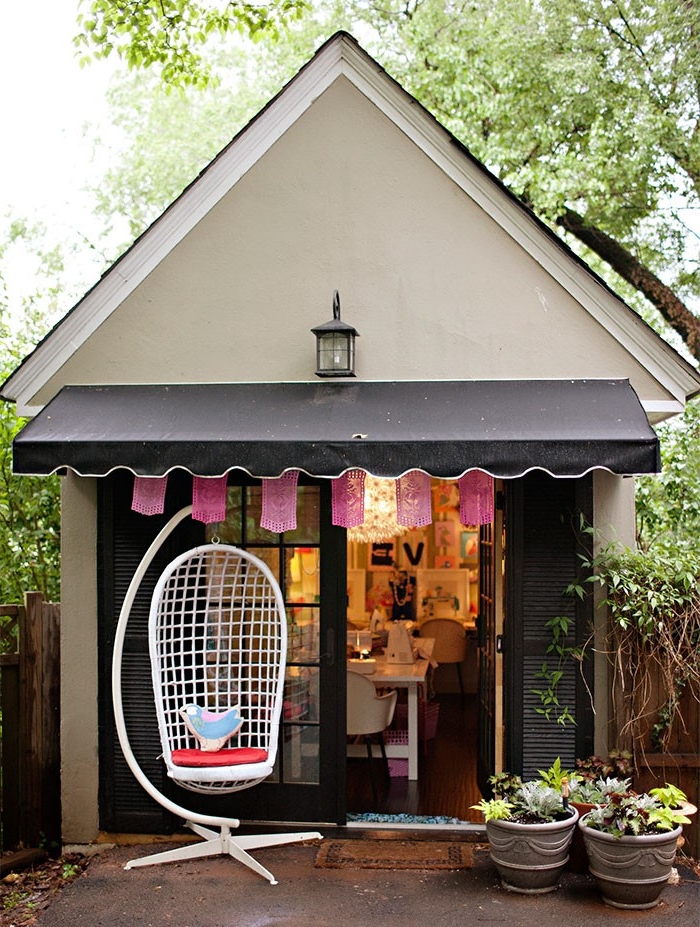
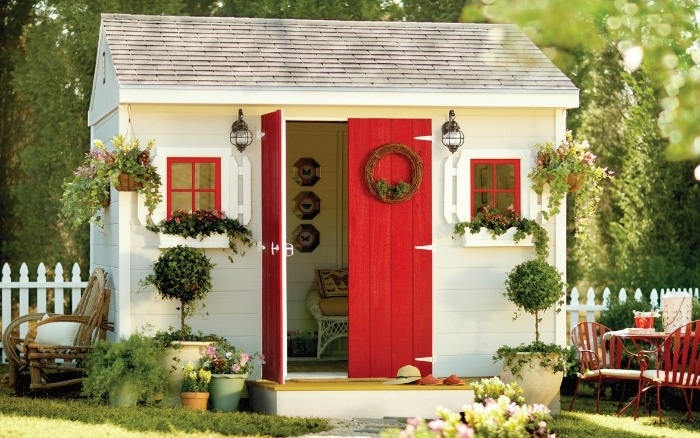
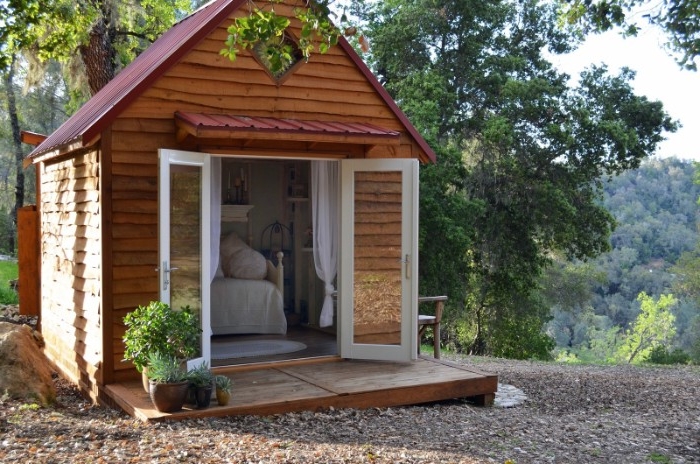
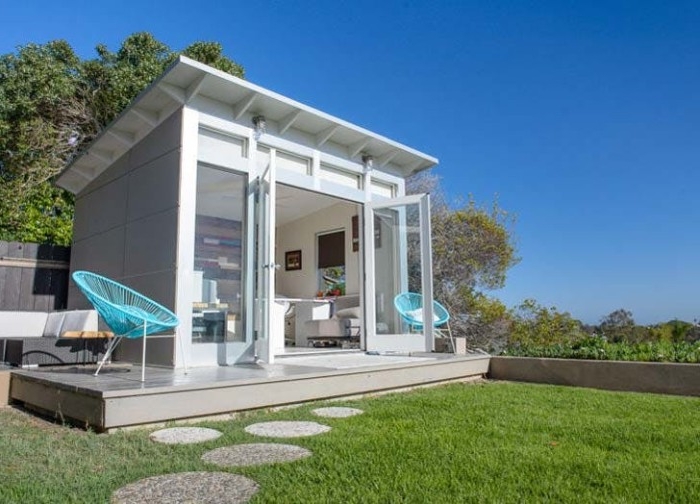
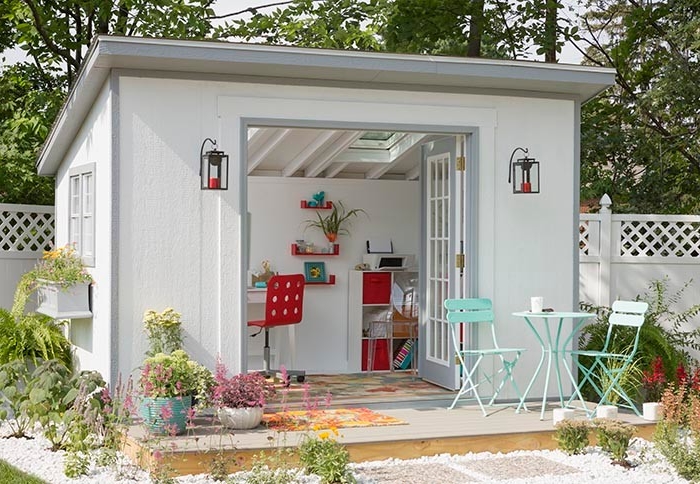
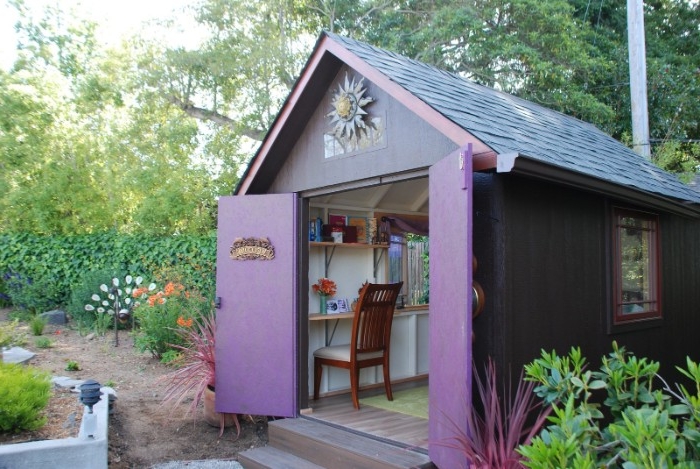
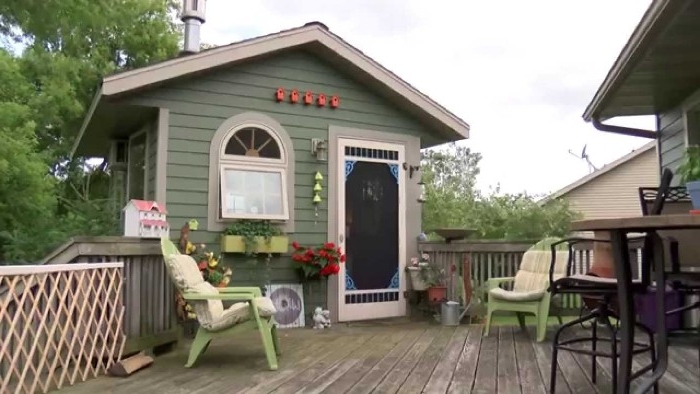
Inspiration Gallery
What’s the best foundation if my ground isn’t perfectly level?
For uneven terrain, a concrete pier foundation (also known as a post-and-beam) is often superior to a slab. It involves digging holes below the frost line, pouring concrete footings, and building up with concrete blocks or pressure-treated posts to create a level platform. This method adapts to slopes, ensures excellent air circulation underneath to prevent rot, and often has a smaller environmental footprint than a full concrete slab.
A single gallon of water weighs 8.34 pounds. Now imagine the weight of snow piling up on an under-built roof.
This is why following rafter span tables from your local building code isn’t just a suggestion—it’s essential. Using 2×6 rafters instead of 2x4s, for example, can dramatically increase the load your shed can safely handle, preventing catastrophic collapse during a heavy winter storm.
Choosing Your Fasteners: Not all screws and nails are created equal. For framing, use hot-dip galvanized ring shank nails for their holding power. When attaching structural elements like ledger boards or building headers, opt for certified structural screws from brands like GRK Fasteners or Spax. For all exterior trim and siding, stainless steel or ceramic-coated screws will prevent ugly rust streaks down the line.
- Prevents musty smells and mildew growth.
- Reduces extreme temperature swings in summer.
- Extends the life of the roof sheathing and shingles.
The secret? Proper ventilation. A balanced system of soffit vents (for air intake) and a ridge vent (for air exhaust) allows your shed to breathe, preventing the moisture and heat buildup that destroys structures from the inside out.

Think beyond asphalt shingles for your roof. A standing-seam metal roof, while more expensive initially, offers a lifespan of 50+ years and superior resistance to wind, fire, and hail. It also provides a sleek, modern aesthetic and comes in a variety of colors from brands like Classic Metal Roofing Systems to perfectly match your home’s style.
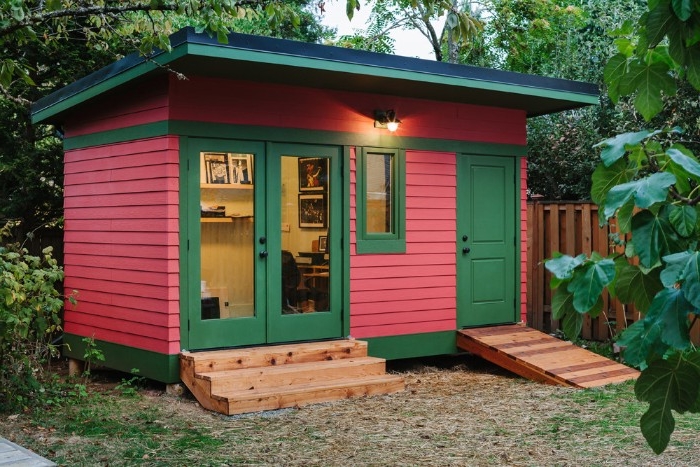
According to the U.S. Forest Products Laboratory, a quality paint job can easily double the service life of exterior wood components.
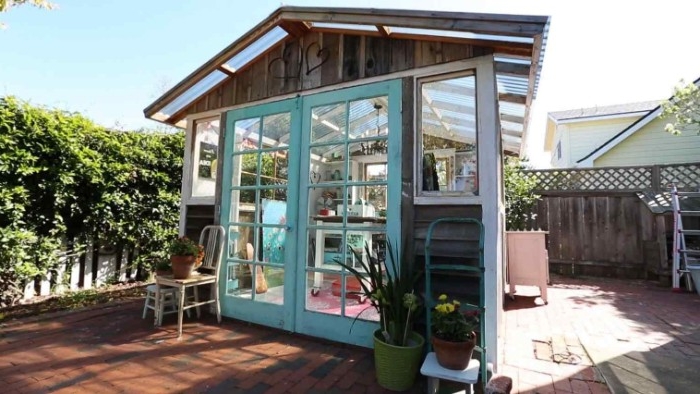
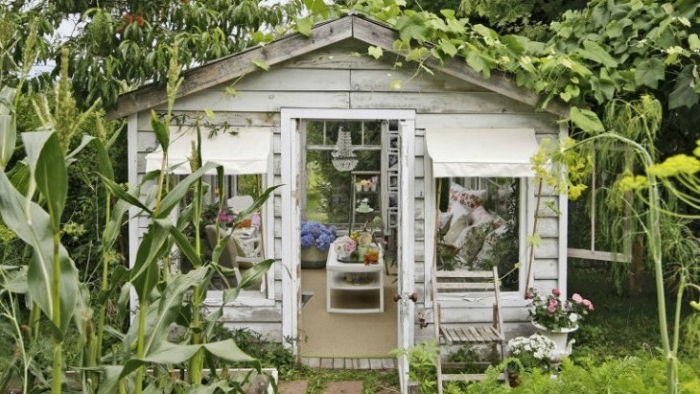
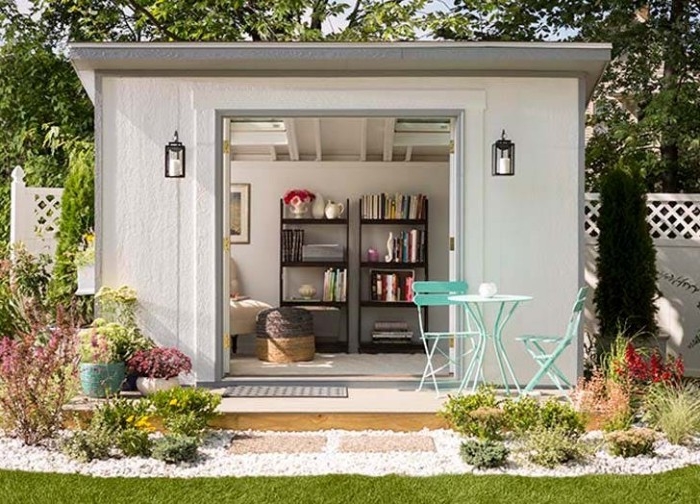
LP SmartSide Siding: This engineered wood product offers the look of real wood but is treated with a zinc borate compound, making it highly resistant to rot, termites, and fungal decay. It comes pre-primed, making it easier to paint than raw wood.
Fiber Cement Siding: Products like James Hardie’s HardiePlank are virtually indestructible. They won’t rot, are fire-resistant, and are impervious to pests. The trade-off is that it’s heavier and requires special tools for cutting.
For most DIYers, the workability and built-in protection of LP SmartSide offer a fantastic balance of performance and ease of installation.
Don’t just slap a window in a hole. Create a proper rough opening framed with a jack stud on each side supporting a header. For openings wider than 3 feet, that header should be made from two 2x6s sandwiched together, not a single 2×4. This structural support prevents the wall from sagging and ensures your window will open and close smoothly for years.
A word on house wrap: The goal is to create a continuous weather-resistant barrier. This means overlapping each layer correctly. Always start at the bottom and work your way up, ensuring the upper layer overlaps the lower layer by at least 6 inches, like shingles. Use the manufacturer’s specified tape (like Tyvek HomeWrap Tape) on all seams to seal out air and water completely.
- Workshop: Plywood walls are durable, inexpensive, and make it incredibly easy to hang tools and shelves anywhere you want.
- Home Office/Studio: Use drywall for a clean, professional finish that feels like a real room. Be sure to use moisture-resistant ‘green board’ if you’re in a damp climate.
- Potting Shed: Unfinished cedar or redwood planks on the interior will stand up to moisture and dirt while giving off a wonderful, natural aroma.
Can I run an extension cord to power my shed?
For temporary, light-duty use, maybe. But for a permanent, safe setup, absolutely not. The proper way is to run a dedicated circuit from your home’s main panel using UF-B (Underground Feeder) cable buried in a trench. All outlets in a shed or outdoor structure must be GFCI-protected. If you’re unsure about wire gauges or trench depth codes, this is the part of the job to hire a licensed electrician for.
Fact: Wood can expand and contract by up to 1/4 inch across its width due to changes in humidity.
This is why you must leave a small expansion gap (typically 3/16 inch) at the butt ends of your siding planks, as specified by the manufacturer. Failing to do so can cause the siding to buckle and warp as the seasons change, ruining your perfect finish.
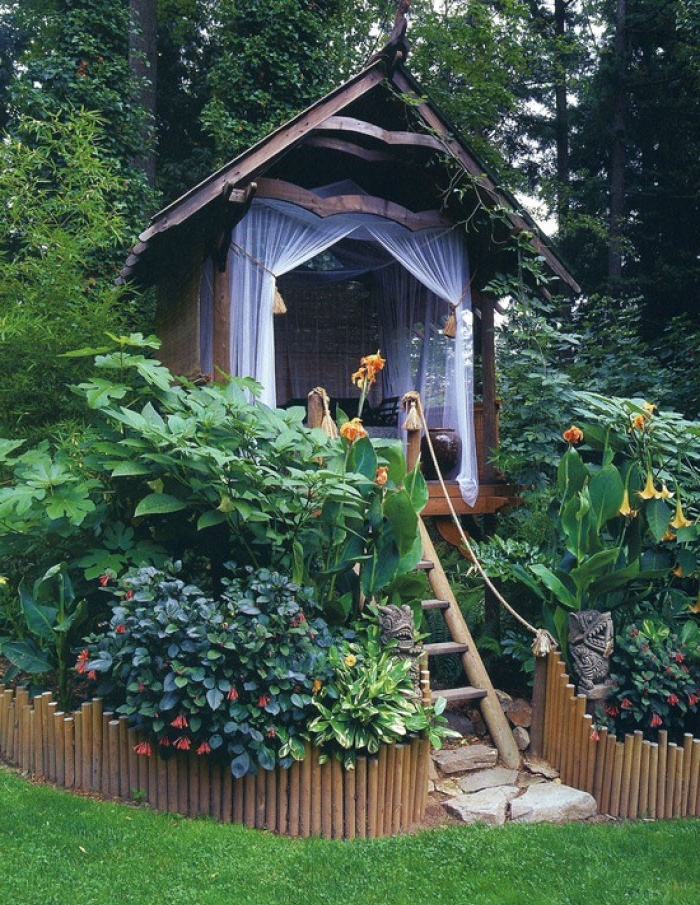
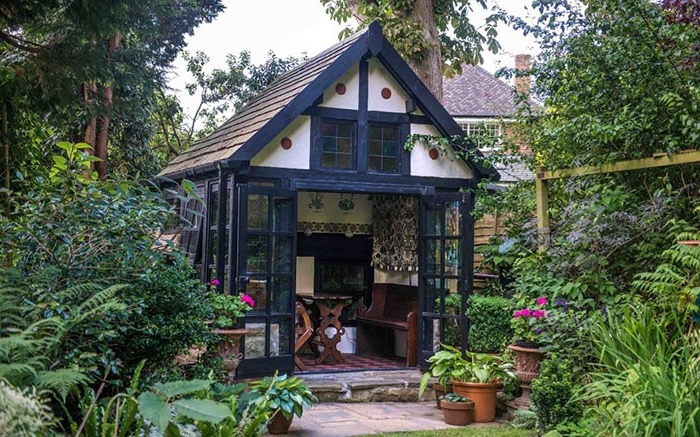
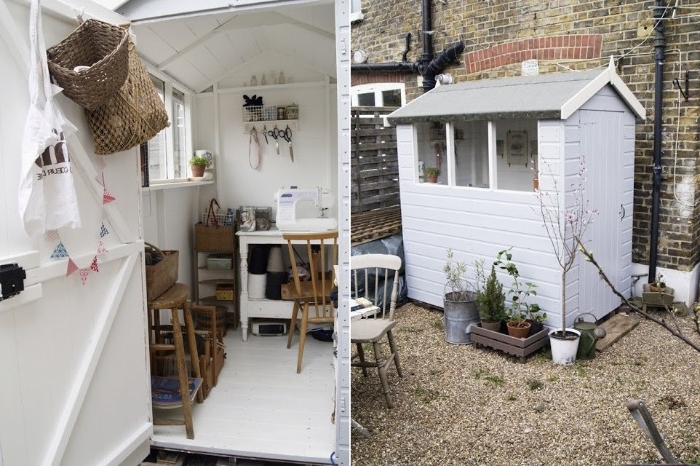
Your shed’s entry is a key functional and aesthetic choice. A standard 32-inch pre-hung exterior door is fine for a small studio. But if you plan to store a lawn tractor, wheelbarrow, or large equipment, consider installing double doors or even a small roll-up garage door for maximum accessibility.
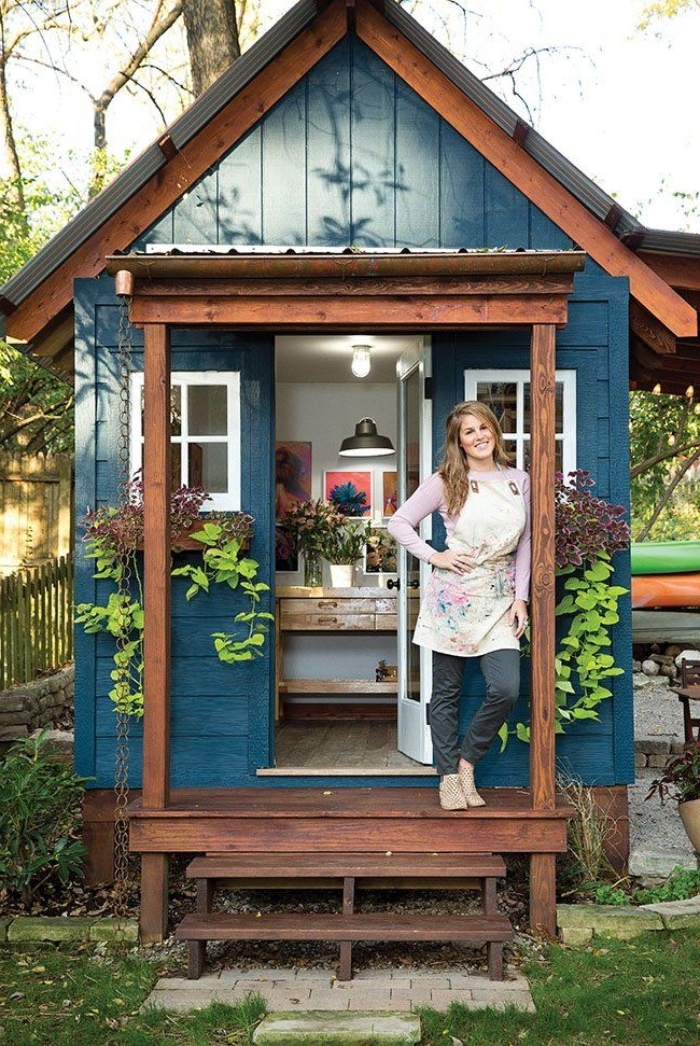
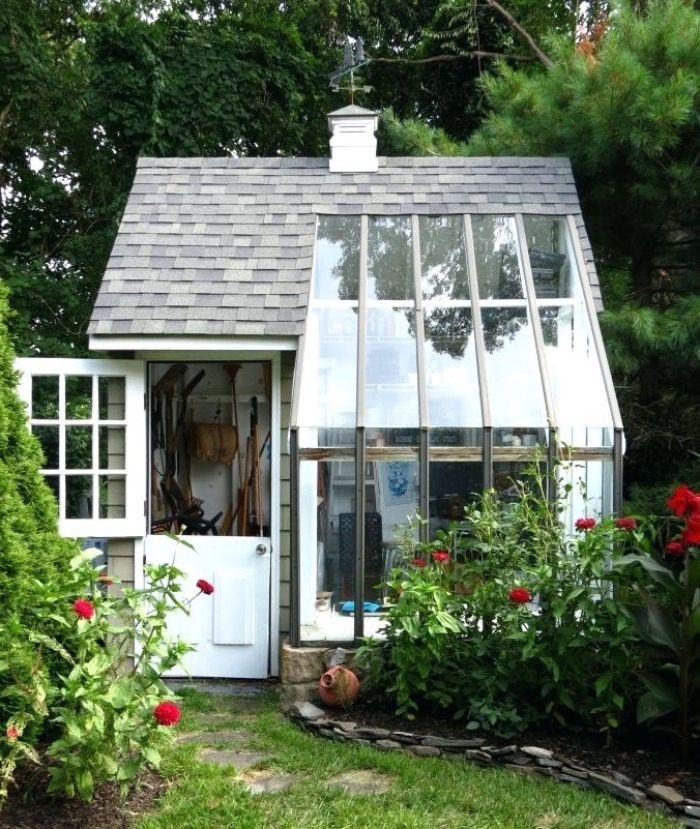
The unsung hero: Drip Edge. This L-shaped piece of metal flashing is installed along the edges of the roof before the shingles go on. It’s a simple, inexpensive component, but it’s absolutely critical. It directs water away from the fascia board and into the gutters, preventing the edge of your roof decking from soaking up water and rotting over time.
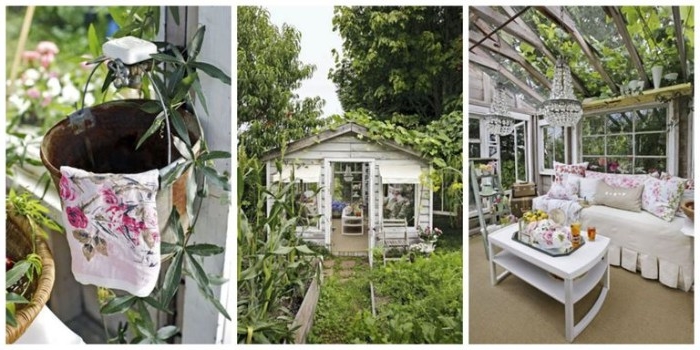
- Connects roof rafters to the top plate of the walls.
- Secures wall studs to the bottom plate and foundation.
- Provides measurable resistance to wind uplift forces.
The key to a storm-proof shed? Metal connectors. Using hurricane ties and straps from a company like Simpson Strong-Tie turns your shed from a collection of nailed-together boards into a unified, rigid structure that can withstand high winds.
Is insulation overkill for a shed?
Not if you plan to use it for anything more than basic storage. Insulating the walls and ceiling with fiberglass batts or rigid foam panels will keep the space cooler in summer and warmer in winter, protect contents from extreme temperature swings, and reduce condensation. It’s a small investment that dramatically expands the usability of your shed.
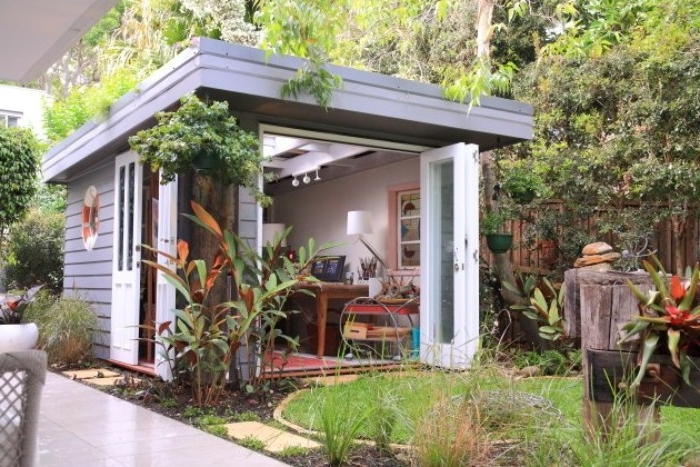
A study from the University of Michigan found that a well-designed, permanent home office shed can increase a property’s value by 5% to 7%.
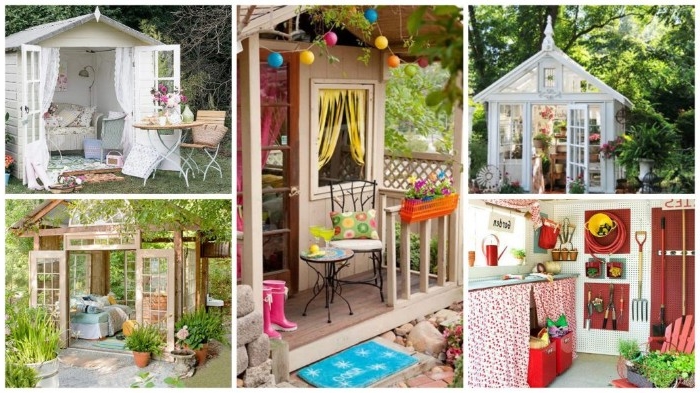
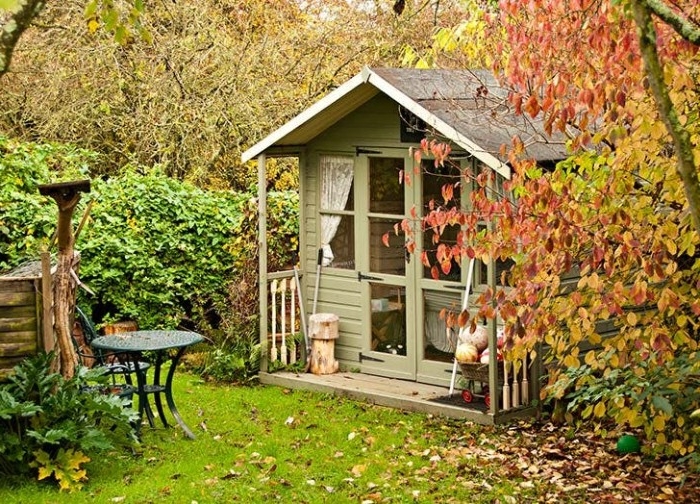
Before you nail down the floor sheathing, consider a simple upgrade: a cricket. If your shed is positioned where roof runoff from your house can cascade onto it, building a small, triangular roof structure (a ‘cricket’) on the uphill side of the shed roof will divert the water around it, preventing a deluge from overwhelming your shed’s own roof and gutters.
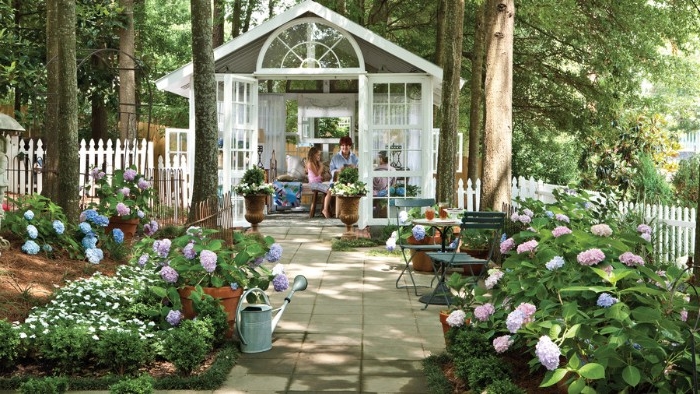
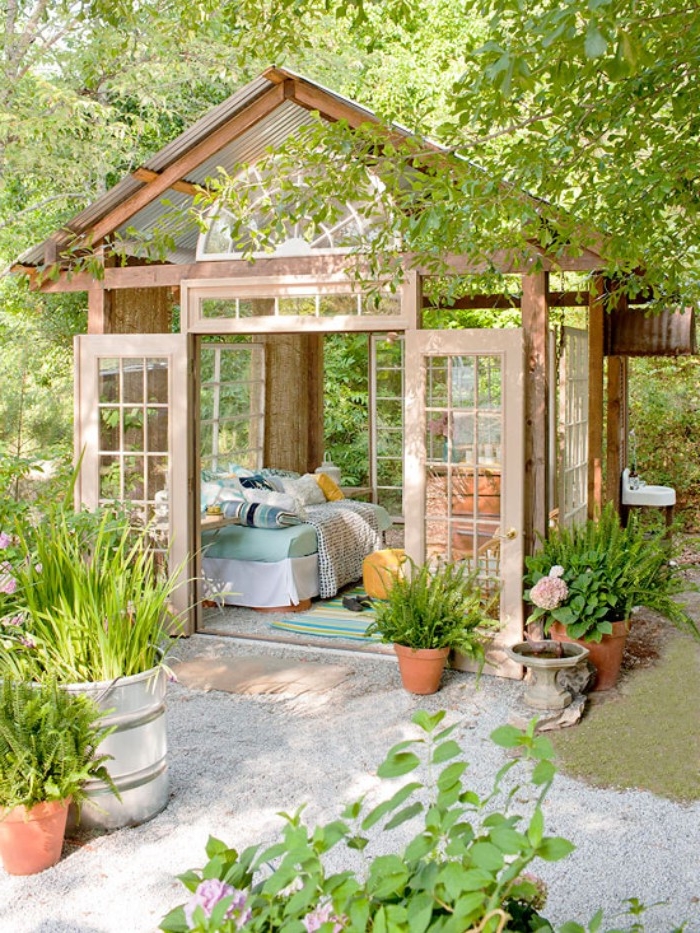
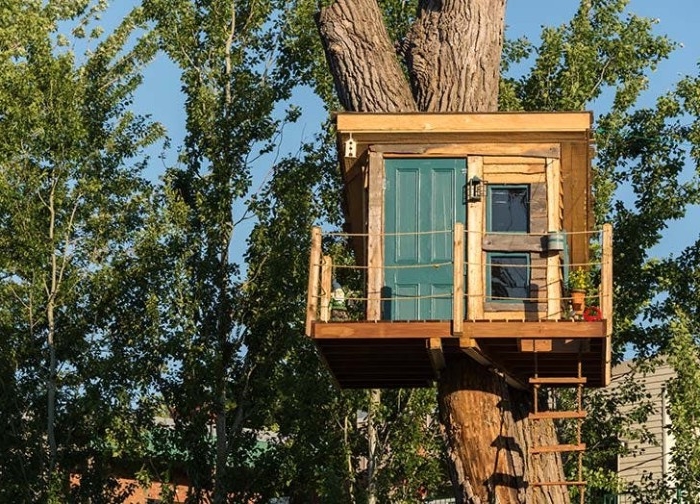
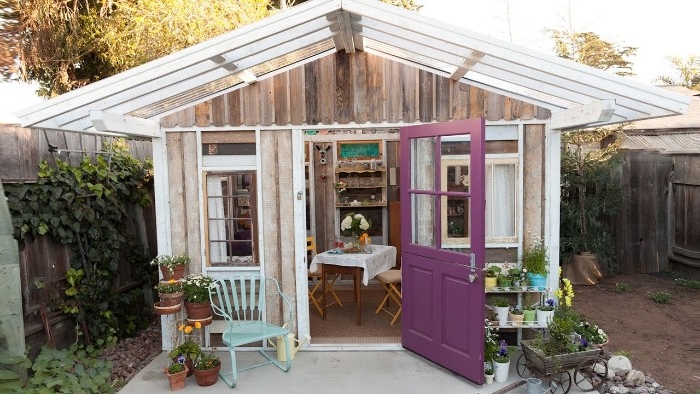
Smart Budgeting Tip: Look for salvaged materials, but be selective. A vintage door or reclaimed windows can add immense character. However, never compromise on structural elements. Always use new, pressure-treated lumber for your foundation and high-quality, code-compliant lumber for framing. Save the ‘creative reuse’ for the non-structural, finishing touches.
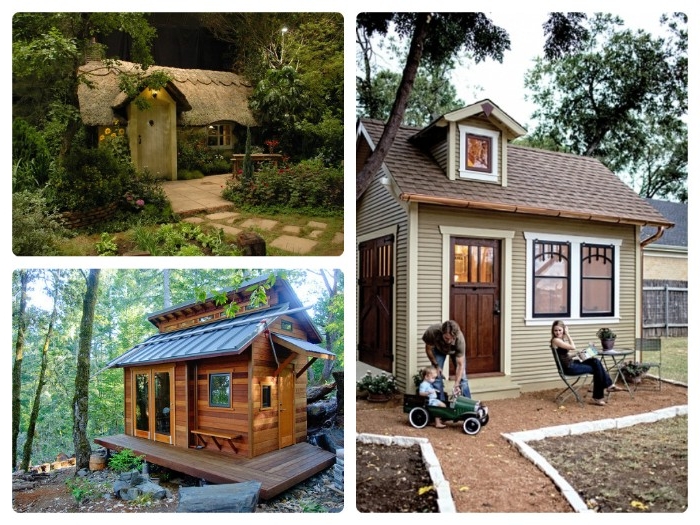
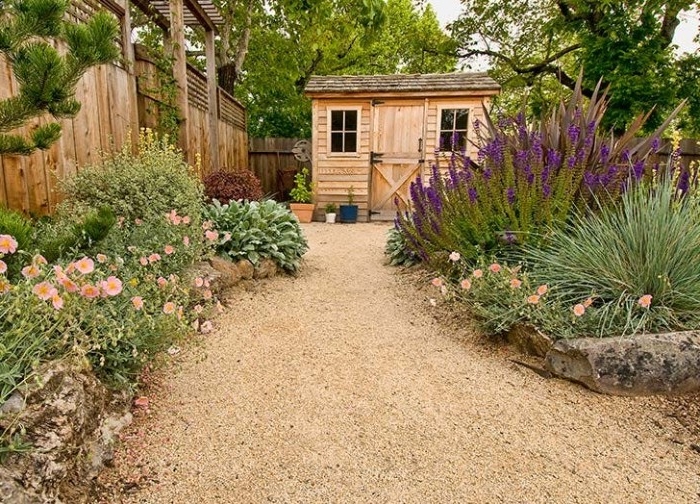
A Ramp for a Better Life: If you plan to store anything with wheels—a mower, a snowblower, a wheelbarrow—don’t treat the ramp as an afterthought. Build a sturdy, gently sloped ramp using pressure-treated 2x6s and non-slip decking. Anchor it securely to the shed’s floor frame for a seamless and safe transition.
Gravel Pad Foundation: A frame of pressure-treated 4x4s filled with 4-6 inches of compacted crushed stone. It’s DIY-friendly, provides excellent drainage, and is the most affordable option.
Concrete Slab Foundation: A monolithic pour of concrete with a thickened perimeter. It offers ultimate stability and a built-in floor, but requires significant excavation, formwork, and cost.
For a workshop where heavy equipment will be used, a slab is king. For a garden or storage shed, a gravel pad is more than sufficient.
- French Cleat System: A series of interlocking 45-degree angled boards on the wall, allowing you to hang and easily rearrange heavy tools, cabinets, and shelves.
- Overhead Loft: Utilize the space in the roof trusses by adding some 2×4 supports and a plywood floor. Perfect for long-term storage of seasonal items.
- Fold-Down Workbench: A hinged work surface with folding legs that lies flat against the wall when not in use, maximizing your floor space.
The final seal: Before a single drop of paint touches your siding, meticulously apply a high-quality, paintable exterior sealant to every gap. This includes around windows and doors, on corner trim boards, and over any exposed nail heads. A flexible caulk like DAP’s Dynaflex 230 will move with the wood and provides the ultimate barrier against wind-driven rain.
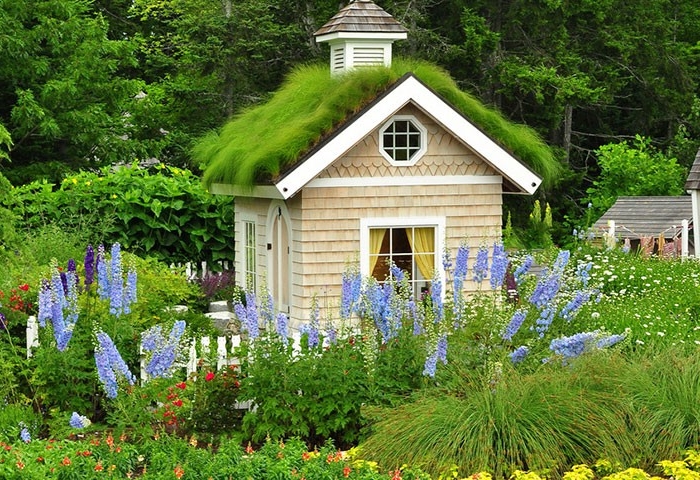
Trend Watch: The Living Roof
For a truly integrated garden shed, consider a ‘green’ or living roof. This involves a special waterproof membrane, drainage layer, and lightweight soil medium planted with hardy, drought-tolerant sedums. It provides natural insulation, absorbs rainwater, and creates a stunning visual that blends your structure into the landscape.
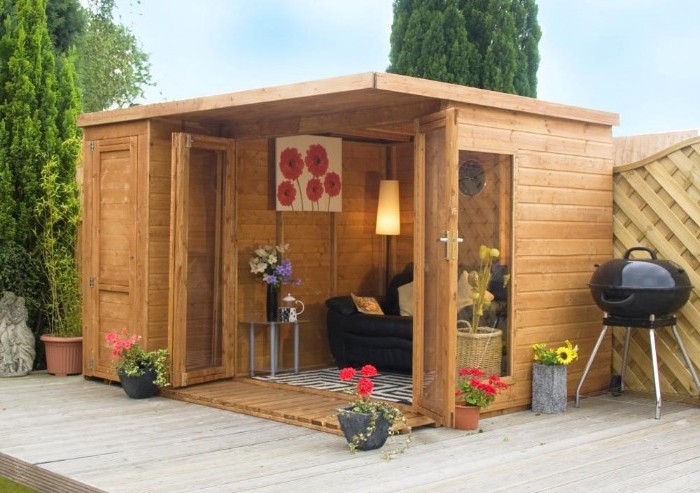
Your shed’s placement has long-term consequences. Before you build, spend a day observing the path of the sun. Position windows to capture morning light for a studio or to avoid harsh afternoon sun in a workshop. Also, consider prevailing winds and leave enough space around the entire structure (at least 3 feet) for future painting and maintenance access.


