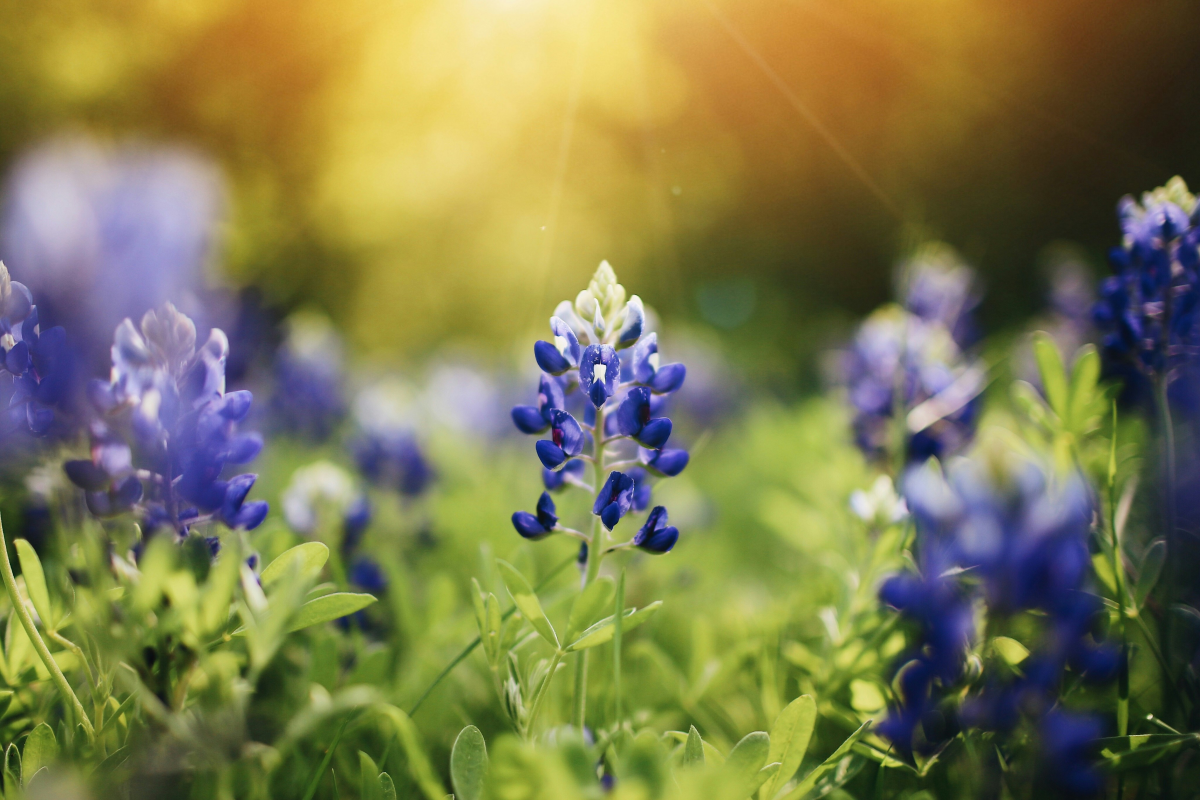
How to Actually Grow Bluebonnets (The Stuff No One Tells You)
I’ve been working with native plants for a long, long time, helping people transform patches of dirt into beautiful wildflower displays. And you know the one plant everyone dreams of? The bluebonnet. I’ve seen the pure joy on someone’s face when their field explodes in blue for the very first time. But I’ve also seen the crushing disappointment when a carefully planted patch is a total no-show. The difference, honestly, usually boils down to a few key secrets that work with the plant’s wild nature, not against it.
In this article
Growing bluebonnets isn’t like tossing out marigold seeds. These are wild plants that play by their own ancient rules. So, let’s just forget most of what you know about typical garden chores. To succeed, you have to understand the seed, the soil it craves, and the seasonal clock it runs on. This guide is built on countless hours of fieldwork and a whole lot of trial and error. My goal is to share the pro techniques so you can bring a piece of that iconic landscape right to your own yard.
First, Get to Know the Plant
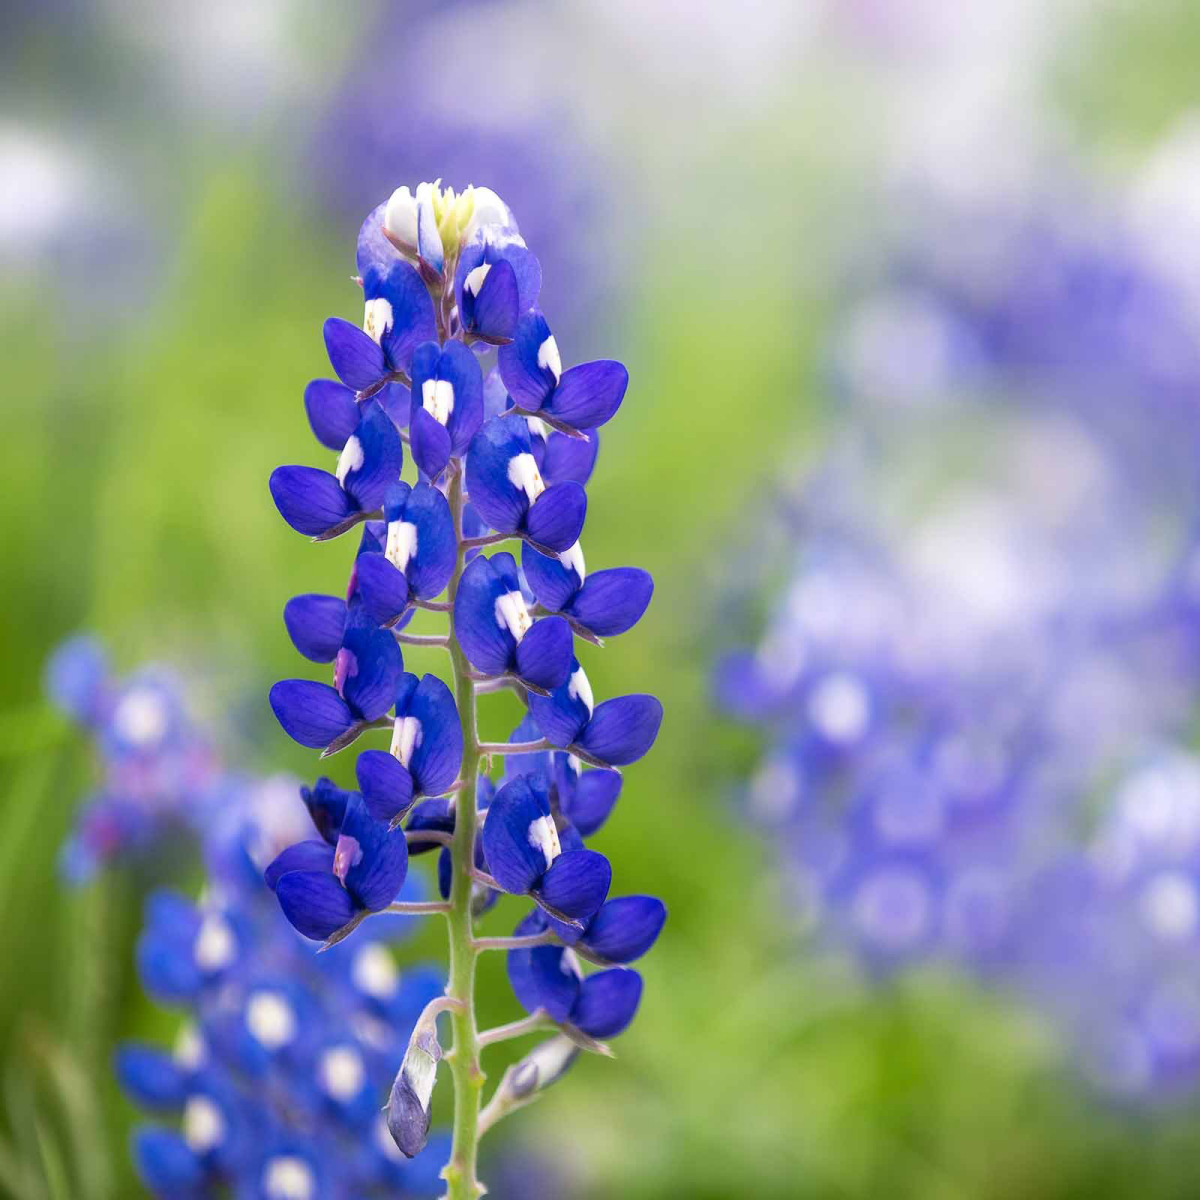
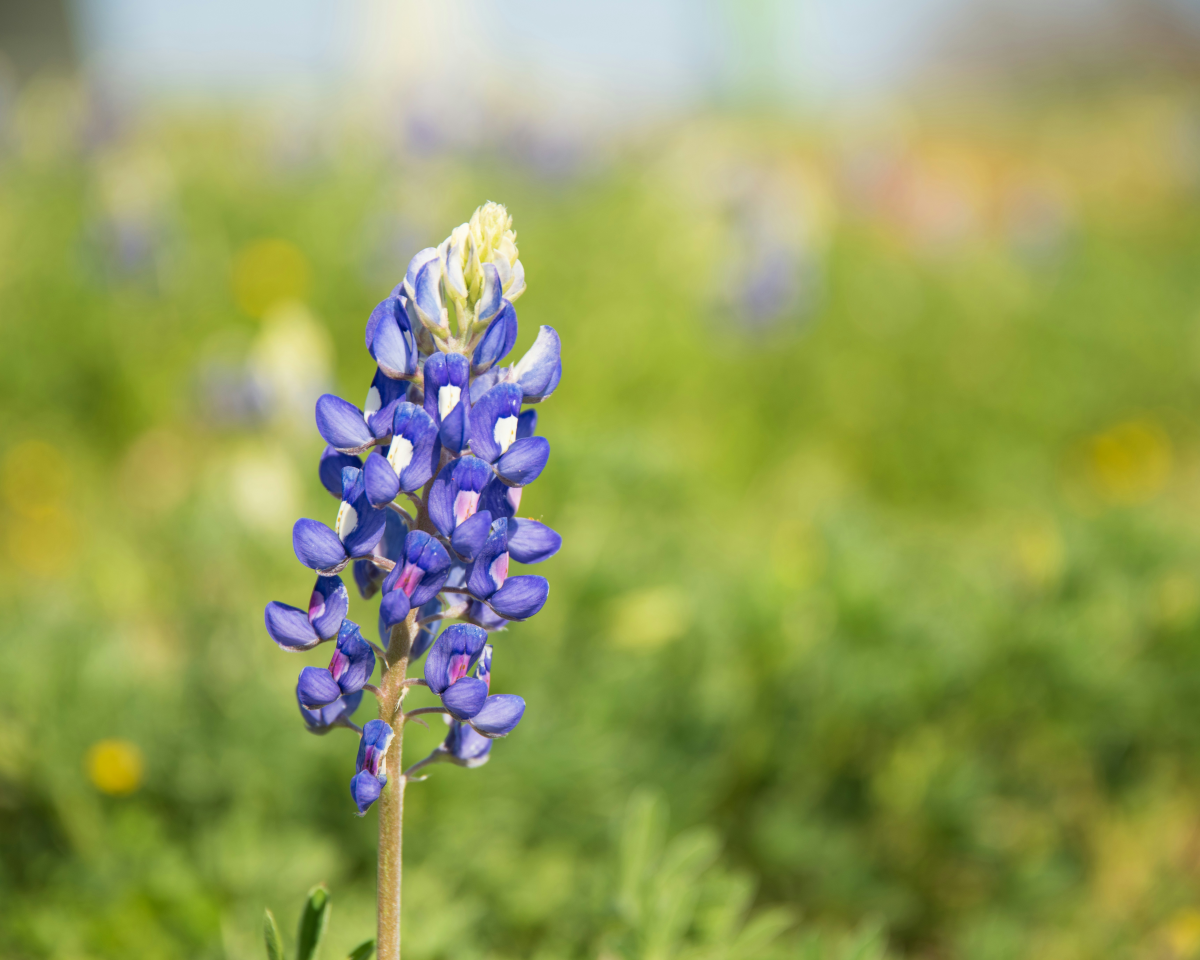
Before you spend a single dollar on seeds, it helps to understand what you’re dealing with. Bluebonnets are part of the lupine family, and there are a couple of key types you should know about. The classic Texas Bluebonnet is the one most people picture; it absolutely loves the heavy, alkaline clay soils you find in many parts of the south and central plains. Then there’s its cousin, the Sandyland Bluebonnet, which, as you might guess, prefers the sandy, more acidic soils of coastal and eastern regions. While the classic version is generally more adaptable for home gardens, knowing your soil can give you a real edge in choosing the right one for your spot.
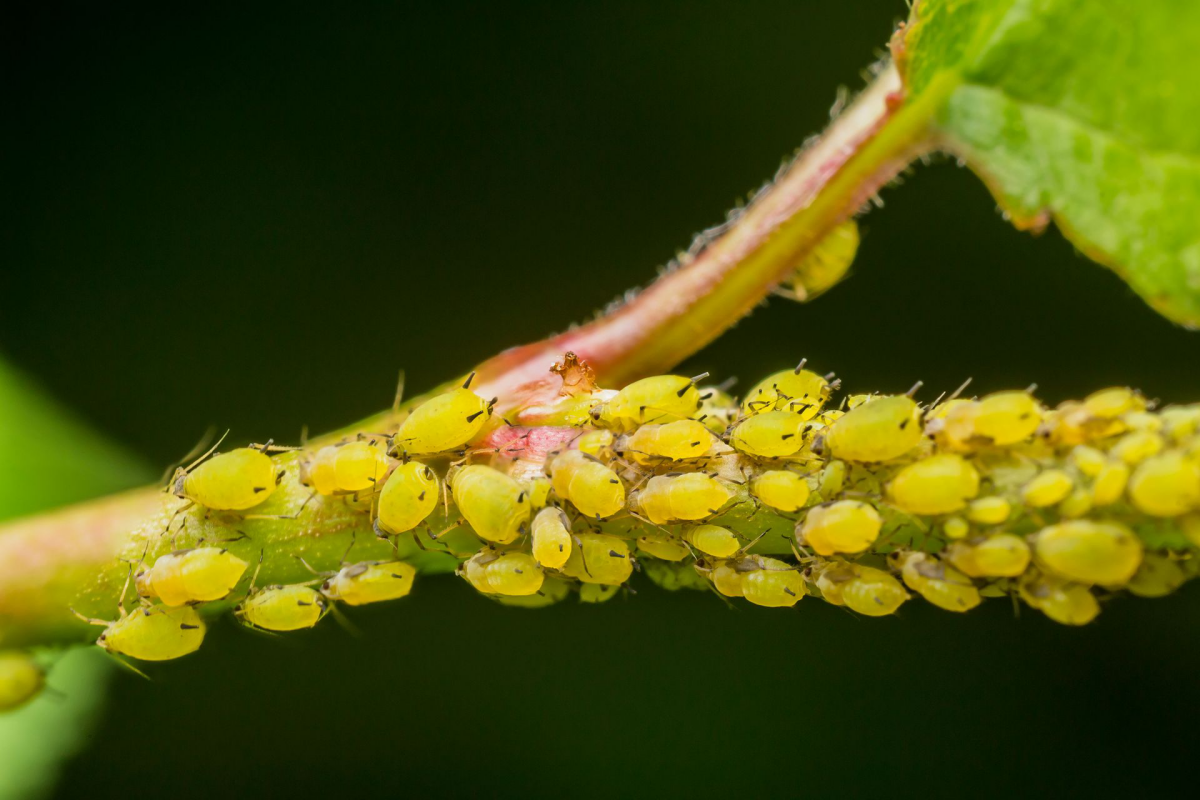
But here’s the most important thing to grasp: bluebonnets are legumes. This is their superpower. Their roots team up with special soil bacteria called Rhizobium, which form little nodules that pull nitrogen (aka fertilizer) right out of the air. It’s a brilliant self-sufficient system. This is why adding high-nitrogen fertilizer is one of the worst things you can do. It just encourages weeds and grasses to grow like crazy and choke out your precious bluebonnets. I’ve seen more patches fail from too much “kindness” than from total neglect.
The One Step You Absolutely Cannot Skip: Seed Prep
If you only remember one thing from this article, let it be this. You have to prep the seeds. Bluebonnet seeds have a shell like a tiny suit of armor. It’s a survival tactic that stops them all from sprouting at once in the wild. But for a gardener who wants a sea of blue next spring, that armor is our enemy. We have to rough it up a bit, a process called scarification.
Without this step, you might get a measly 10-20% of your seeds to sprout. With it? You’re looking at 80-95% success. It’s a total game-changer.
I’ll admit, one year I got cocky and skipped scarification on half my seeds just to see what would happen. I got maybe a dozen flowers. The other half, which I prepped properly, was a thick carpet of blue. Trust me, don’t skip this!
How to Scarify Seeds at Home
Pros sometimes use harsh chemicals for this, but that’s a definite no-go for home use. Thankfully, a little elbow grease works just as well.
My favorite method is the good old sandpaper trick. It’s perfect for the amount of seed you’d use in a typical yard. Here’s how you do it:
- Find a small jar or box with a secure lid.
- Take a piece of medium-grit sandpaper (around 100-grit is perfect) and rub the seeds between two sheets, or shake them vigorously in the jar for a couple of minutes.
- The goal isn’t to crack the seeds, just to scuff and scratch the shiny outer coat so water can finally get inside.
For a tiny amount of seeds, you could even use a nail clipper to carefully nick the outer edge of each seed. Just be gentle and don’t damage the little embryo inside. It’s precise, but it takes forever.

Your Secret Weapon: Inoculant
Once your seeds are scuffed up, there’s one more pro step: inoculation. Remember those helpful Rhizobium bacteria? If your soil has never hosted bluebonnets before, those bacteria might not be around. Inoculant is a black, dusty powder containing dormant bacteria, and it’s your best friend for establishing a new patch.
Heads up! A packet of inoculant is a cheap but powerful add-on, usually costing around $5. You can find it anywhere you buy quality bluebonnet seeds. To use it, just mist your scarified seeds with a tiny bit of water so they’re slightly damp, sprinkle on the powder, and stir until they’re all coated. It’s best to plant them within a day or so while the bacteria are active and ready to find a root.
Choosing and Prepping Your Spot
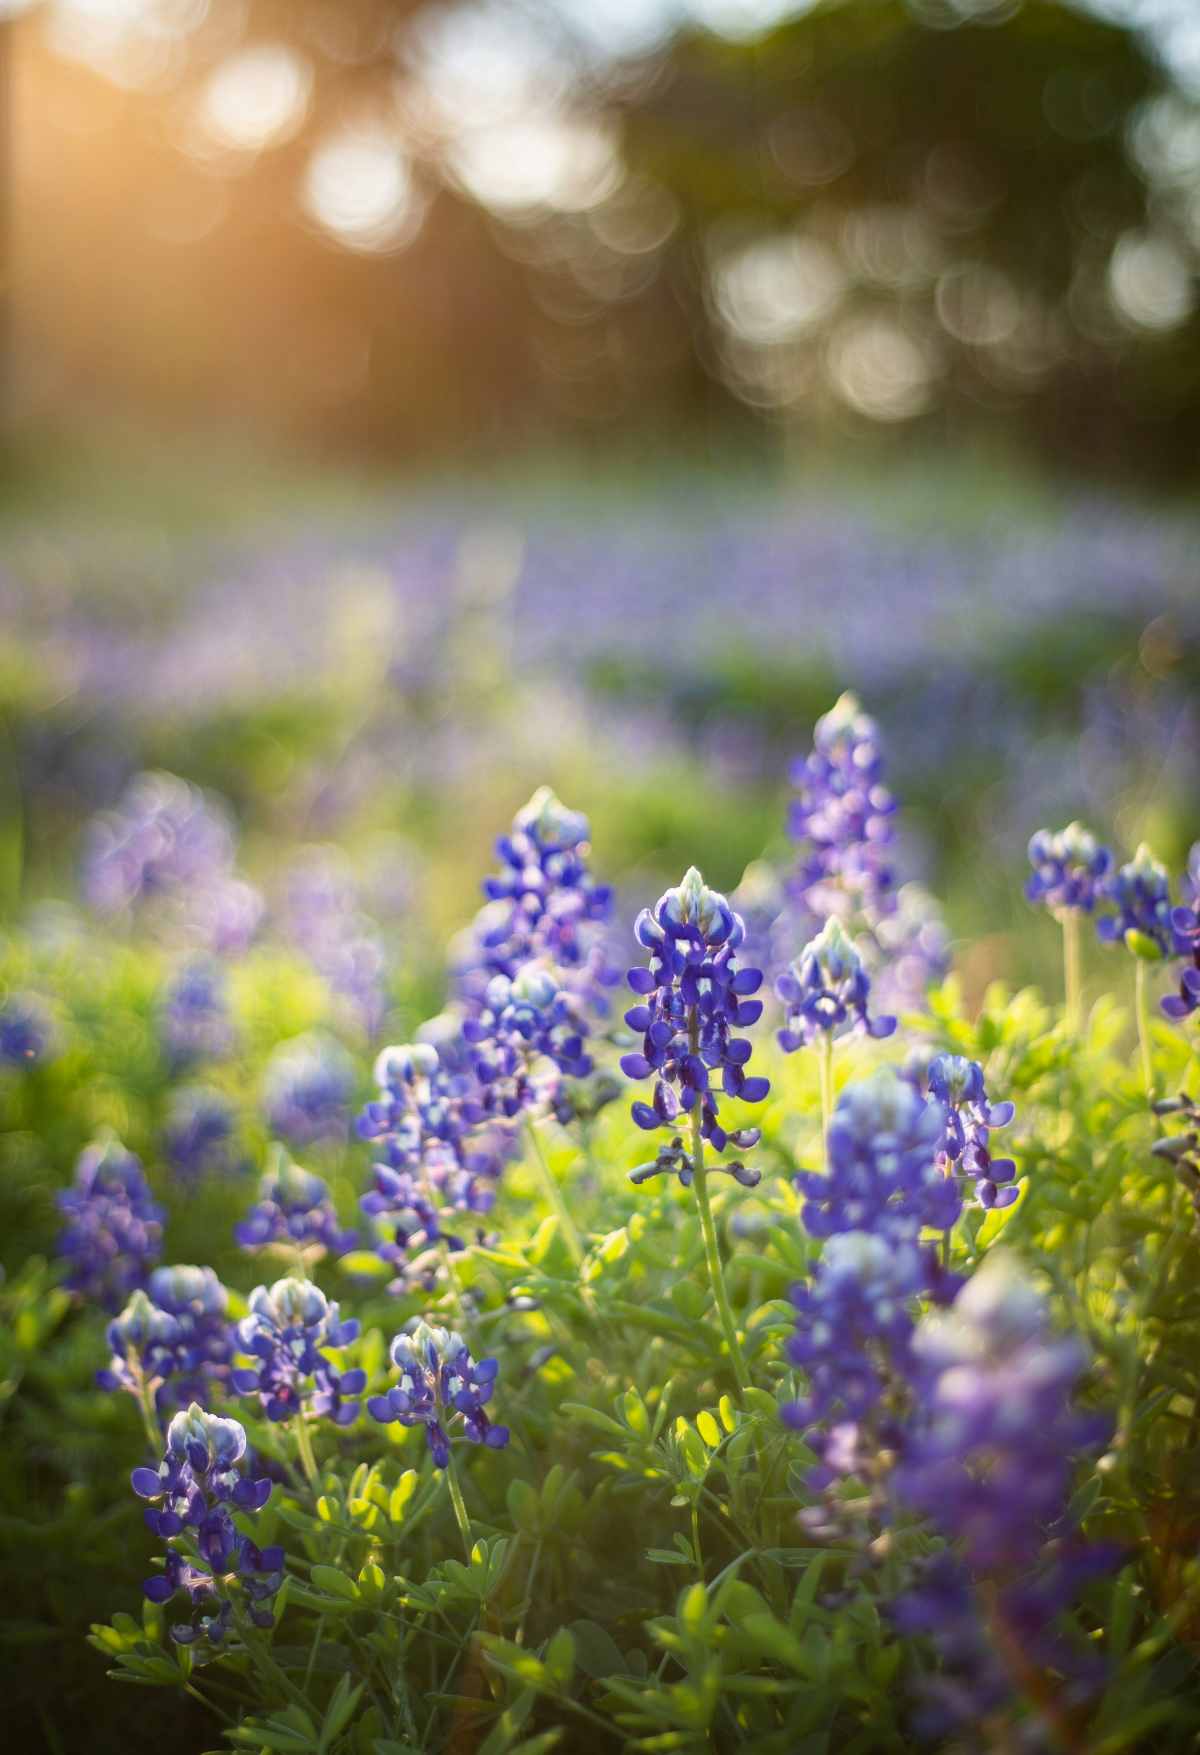
Bluebonnets have two non-negotiable demands. First, SUN. They need at least 8 hours of direct, unfiltered sunlight every day. A spot that only gets morning sun will give you sad, leggy plants with hardly any flowers. Pick the sunniest, most wide-open area you’ve got.

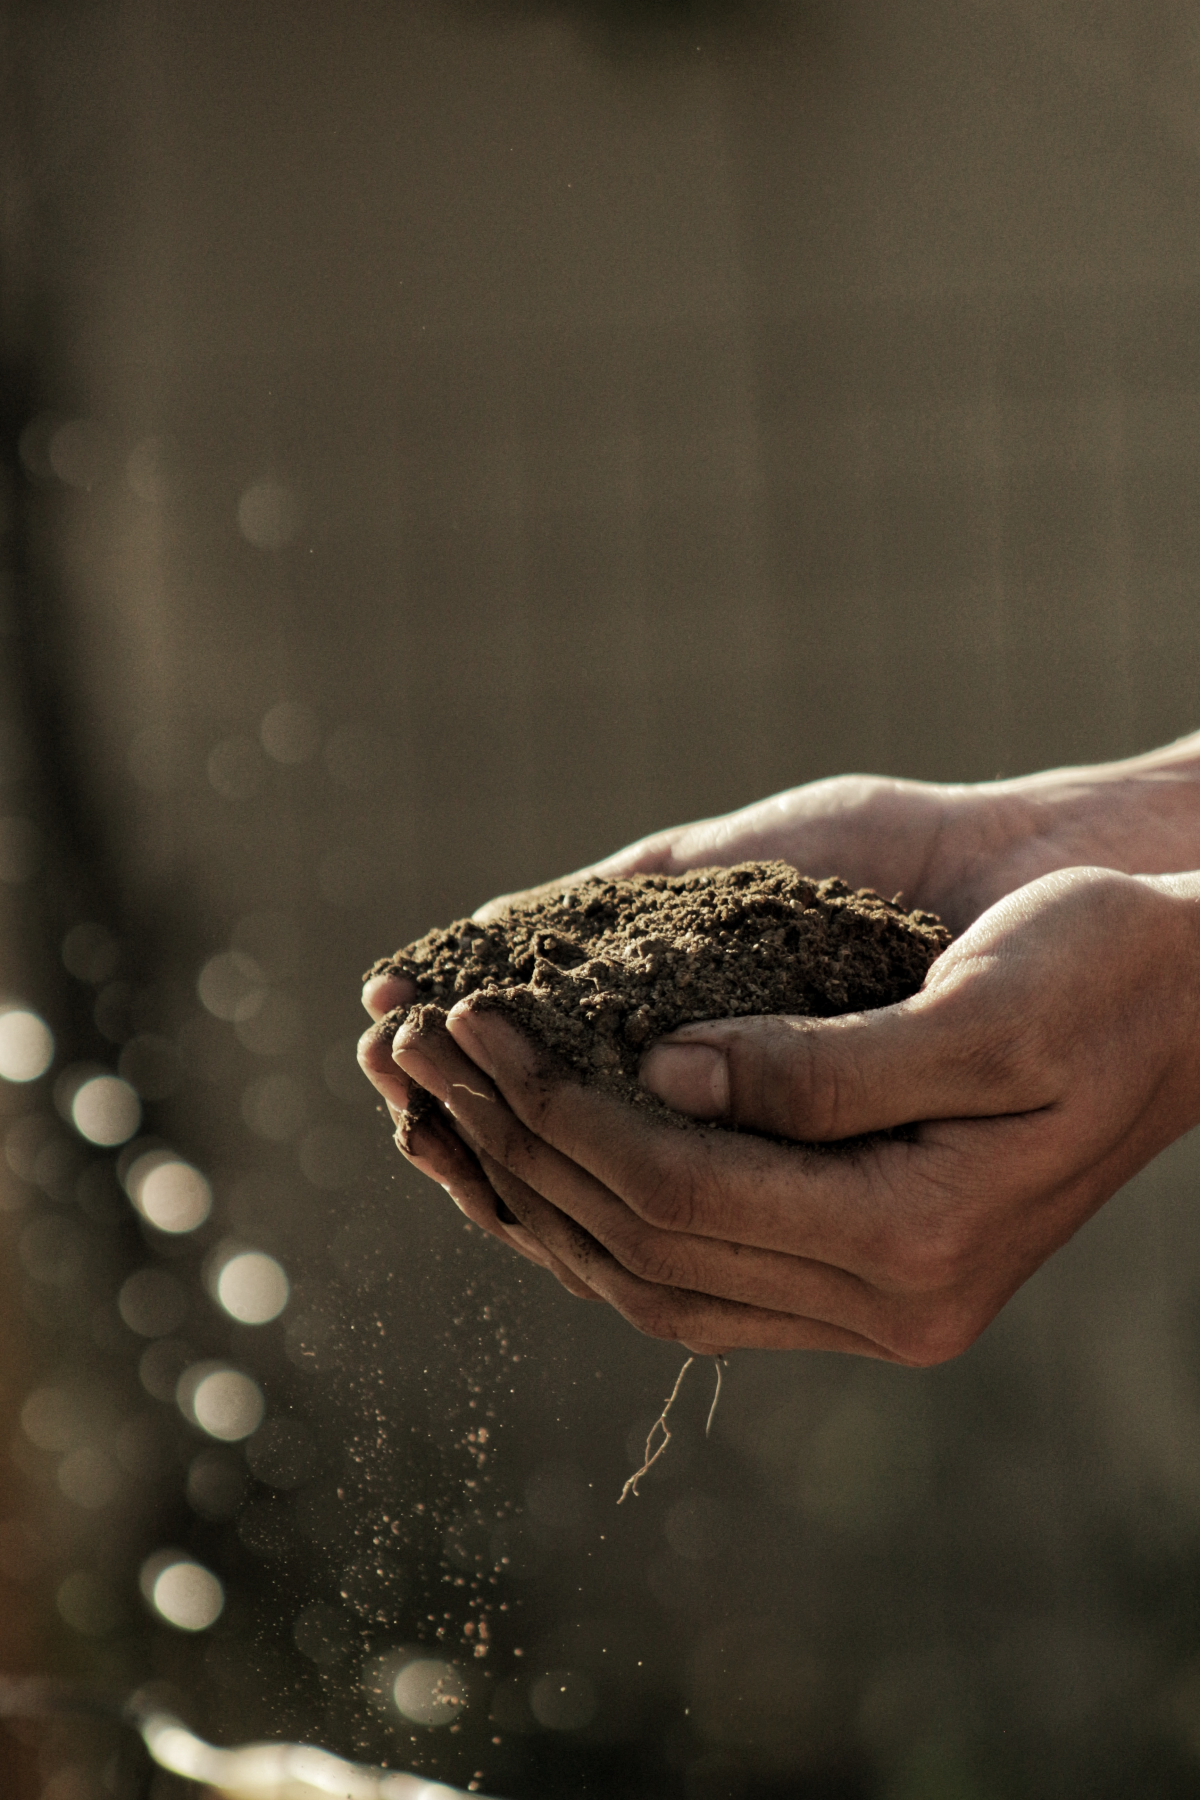
Second, they need excellent drainage. These plants hate having “wet feet.” If you have dense clay that turns into a puddle after it rains, you’ll need to make some adjustments. For a small patch, you can build a simple raised bed (just 6-8 inches high) with a mix of topsoil and compost. For a larger area, it’s often easier to just find a different spot that drains better naturally.
Oh yeah, and they generally prefer a slightly alkaline soil. If you live somewhere with acidic soil, you might need to add a little garden lime in the fall. The best way to know for sure? Get a soil test from your local county extension service—it’s a small investment that takes out all the guesswork.
When and How to Plant
Timing is everything, and it’s not flexible. You MUST plant bluebonnet seeds in the fall—think September through mid-November in most of their native range. This gives them time to sprout and grow into a small, ground-hugging plant called a rosette. This little plant spends all winter developing a deep, strong root system, which is the engine for the big flower show in the spring. If you plant in the spring, you will get zero flowers. Period.
Getting the Ground Ready
If you have a clean garden bed, just rake the surface lightly to rough it up. If you’re planting in an existing lawn or meadow, you need to be more aggressive. In late summer, mow the grass as low as your mower can possibly go. You want to scalp it. Rake up all the clippings to expose the soil. This disturbance mimics what happens in nature and gives the seeds a fighting chance.
Sowing the Seeds
A little trick to spread tiny seeds evenly is to mix them with sand—about four parts sand to one part seed. This bulks up the mix and makes it way easier to see where you’ve been. Broadcast your mix by hand across the area. Aim for about 8-10 seeds per square foot. As for cost, a pound of good, scarified seed will typically run you between $40 and $70 and cover around 2,000 square feet.
After you’ve spread the seeds, they need to make good contact with the soil. You don’t need to bury them. Just walk all over the area or use a lawn roller to press them firmly into the ground. Water the area well just one time—enough to moisten the top inch of soil. After that, let nature do the work.
The Waiting Game and the Big Payoff
Within a few weeks of planting and that first watering, you should see tiny seedlings. Over the winter, they’ll form their rosette. A common mistake is thinking these are weeds! Learn to identify it: it’s a low, circular cluster of fuzzy, grayish-green leaves that looks a bit like a snowflake pressed flat against the ground. Your only real job in winter is to pull any competing weeds or grasses that pop up.
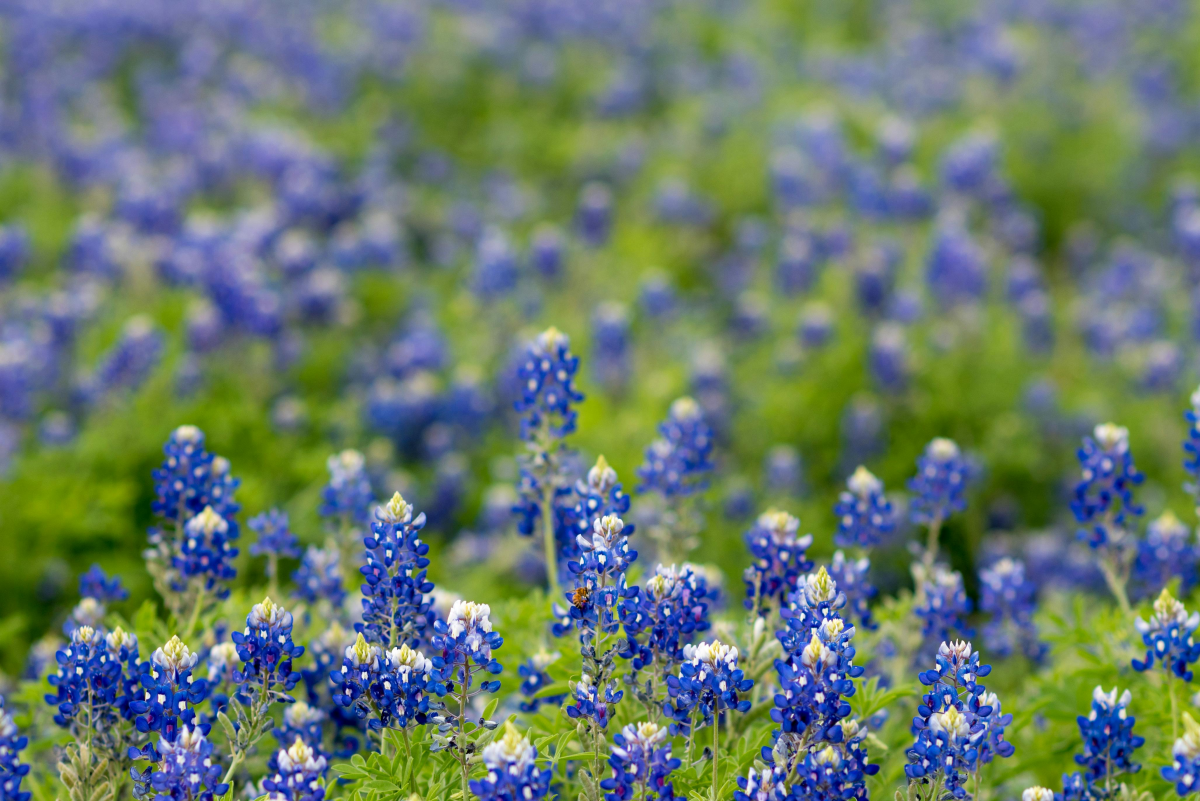
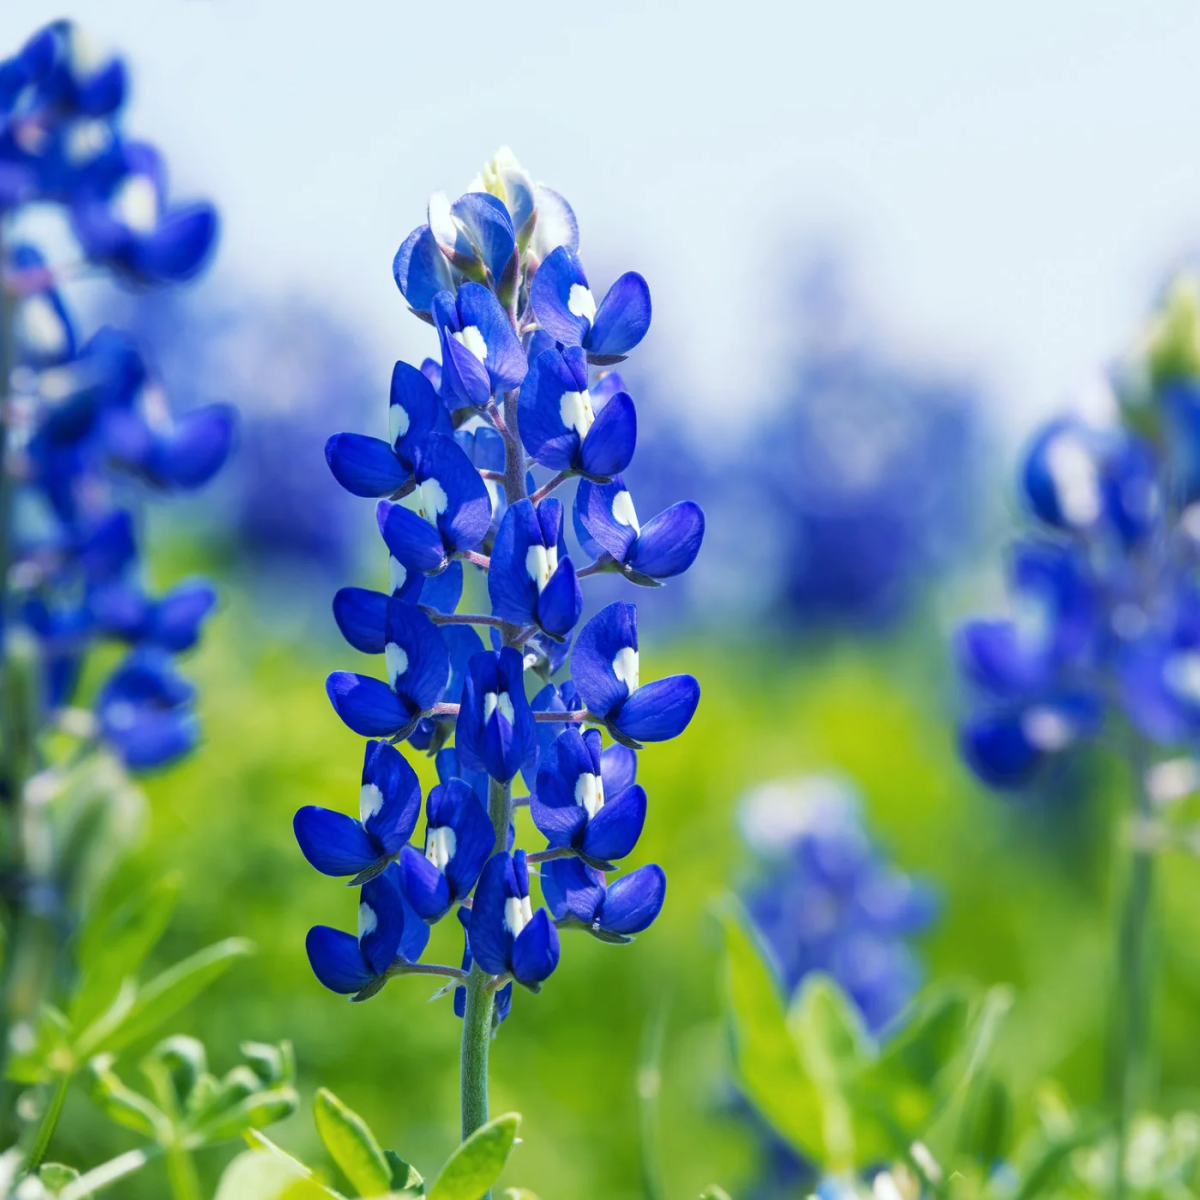
Come spring, the magic happens. A flower stalk will shoot up from the center of each rosette, soon covered in those famous blue blooms. After the flowers fade, you’ll be tempted to mow it all down to tidy up. DO NOT DO THIS. The plant needs to form its fuzzy, bean-like seed pods. Let them turn from green to yellow to a dry, brittle brown. On a hot day, you might even hear them pop as they fling next year’s seeds across the ground. Only after the plants are brown and the pods have done their job is it time to mow.
Quick Tip: Growing Bluebonnets in Pots!
Don’t have a yard? You can absolutely do this on a smaller scale. Many people don’t realize this is an option!
Get a deep pot—at least 1 to 2 gallons—to give the taproot room to grow. Fill it with a standard potting mix blended with a little extra perlite or sand to improve drainage. Place the pot in the sunniest spot on your patio or balcony (remember the 8+ hour rule!). Follow all the same steps: scarify a small handful of seeds, plant them in the fall, and wait for your personal bluebonnet show in the spring.
Troubleshooting Common Problems
Problem: Nothing Sprouted. 9 times out of 10, the culprit is unscarified seed. Other possibilities: the seed was old, you planted it too deep, or it didn’t get pressed into the soil.
Problem: Healthy Green Plants, But No Flowers. This is almost always one of three things: not enough sun, too much nitrogen fertilizer, or you planted way too late in the fall.

A final note on safety: It’s important to know that bluebonnet seeds are toxic if eaten. Keep them away from curious pets and small children. And while there’s a popular myth that it’s illegal to pick bluebonnets, that’s not quite true. It is, however, illegal to trespass or destroy public property to get them. The best practice is to just leave them for everyone to enjoy—and to ensure your patch comes back even stronger next year.
Galerie d’inspiration
A bluebonnet seed’s outer shell is so tough it can remain dormant in the soil for a decade or more, waiting for the perfect conditions.
This natural armor is why simply tossing seeds often leads to disappointment. For reliable, first-year blooms, always opt for ‘scarified’ seeds. Companies like Wildseed Farms use a gentle acid treatment to mimic the wear-and-tear a seed would experience in nature, signaling that it’s safe to germinate. It’s not cheating; it’s giving the seed the head start it needs to thrive in your garden.
While a solid field of blue is stunning, weaving in other native wildflowers creates a more dynamic and resilient Texas meadow. The key is choosing companions that thrive in the same lean, sunny conditions bluebonnets crave. Consider inter-seeding with these hardy partners:
- Indian Paintbrush (Castilleja indivisa): Its fiery red-orange spikes create a classic, high-contrast pairing with the cool blue.
- Pink Evening Primrose (Oenothera speciosa): These delicate pink flowers open in the evening and provide a soft, beautiful counterpoint. They are vigorous and help fill in bare spots.
- Indian Blanket (Gaillardia pulchella): With its bold red and yellow pinwheel blooms, this flower extends the color show well after the bluebonnets have faded.


