Your Ultimate Guide to Thriving Angel Wing Begonias (Without the Headaches)
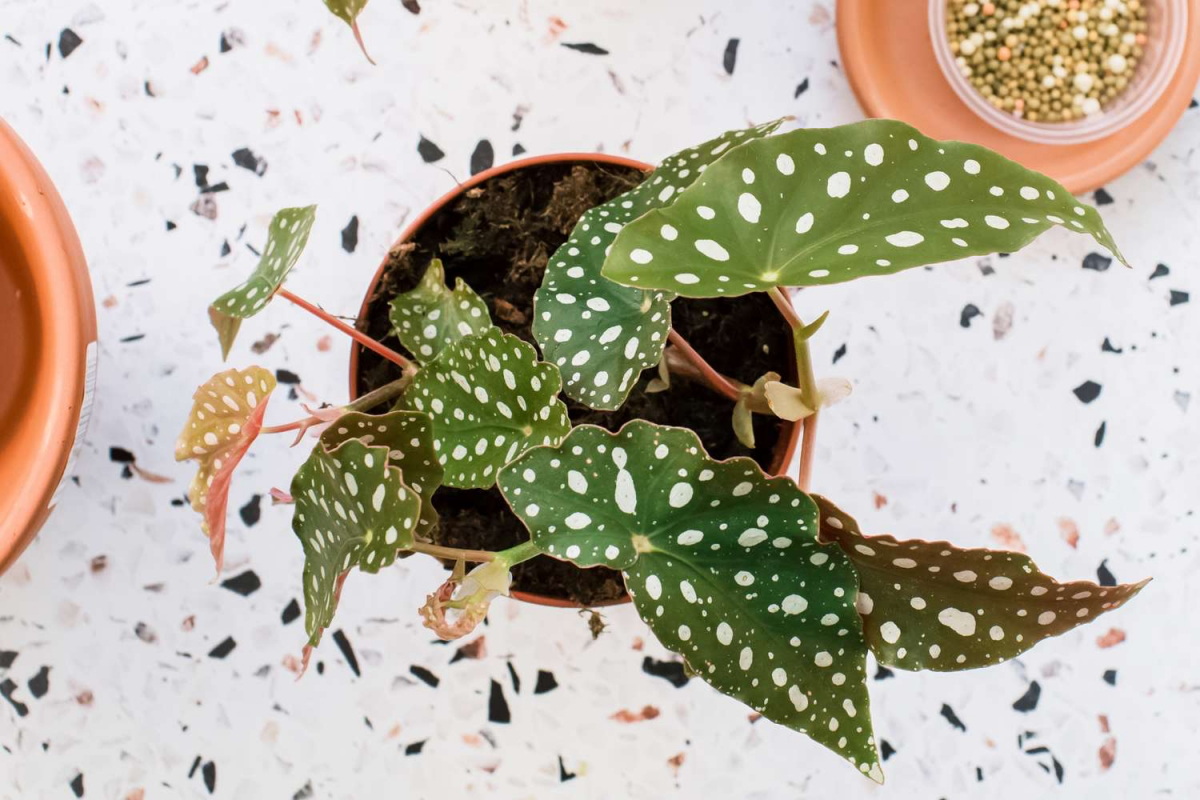
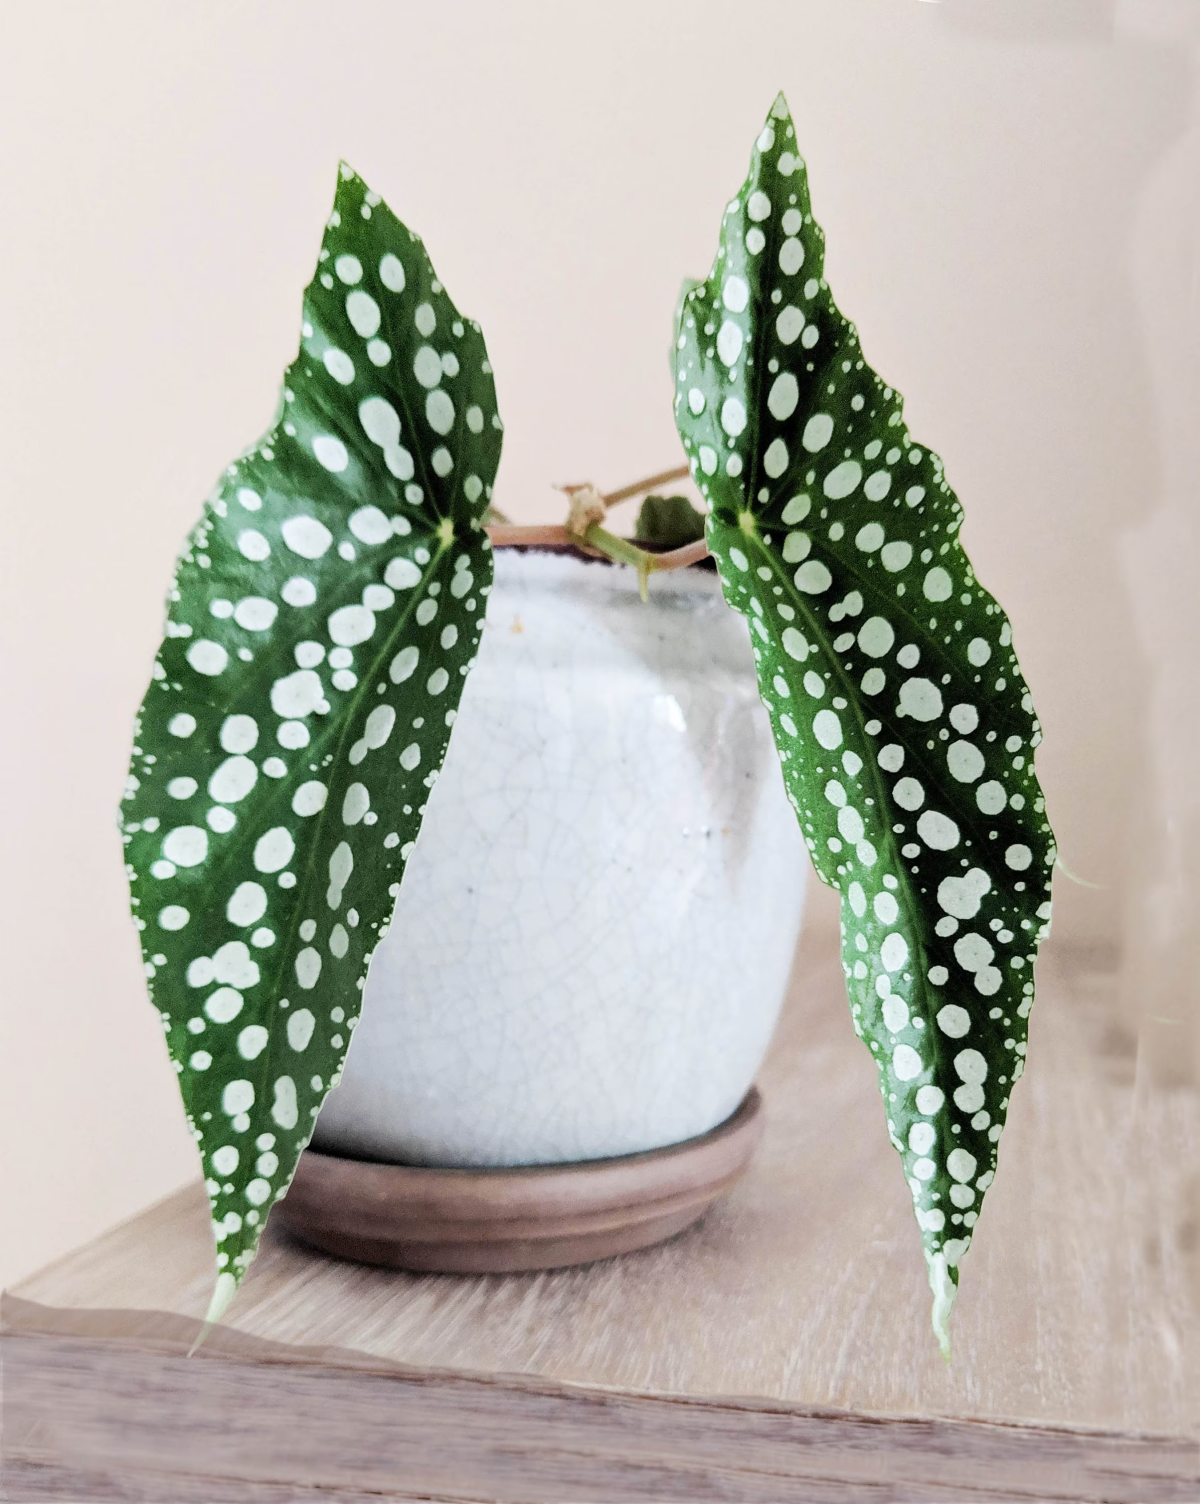
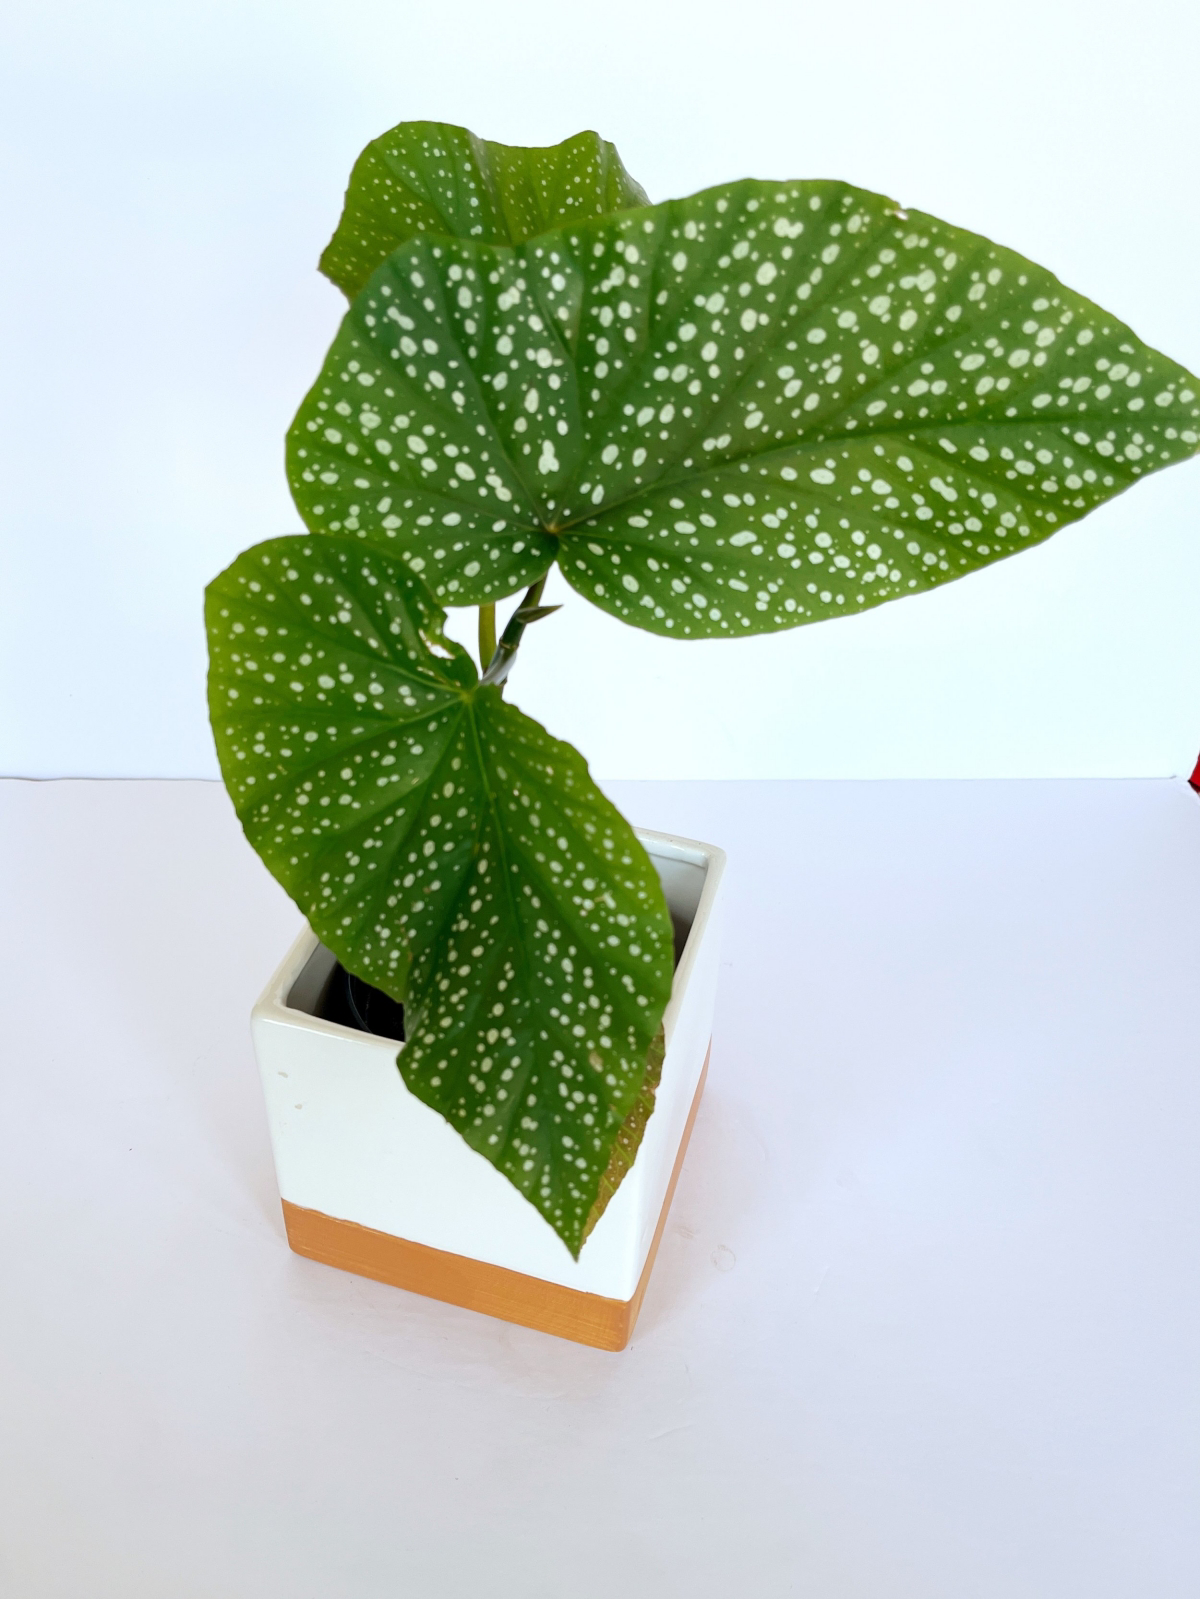
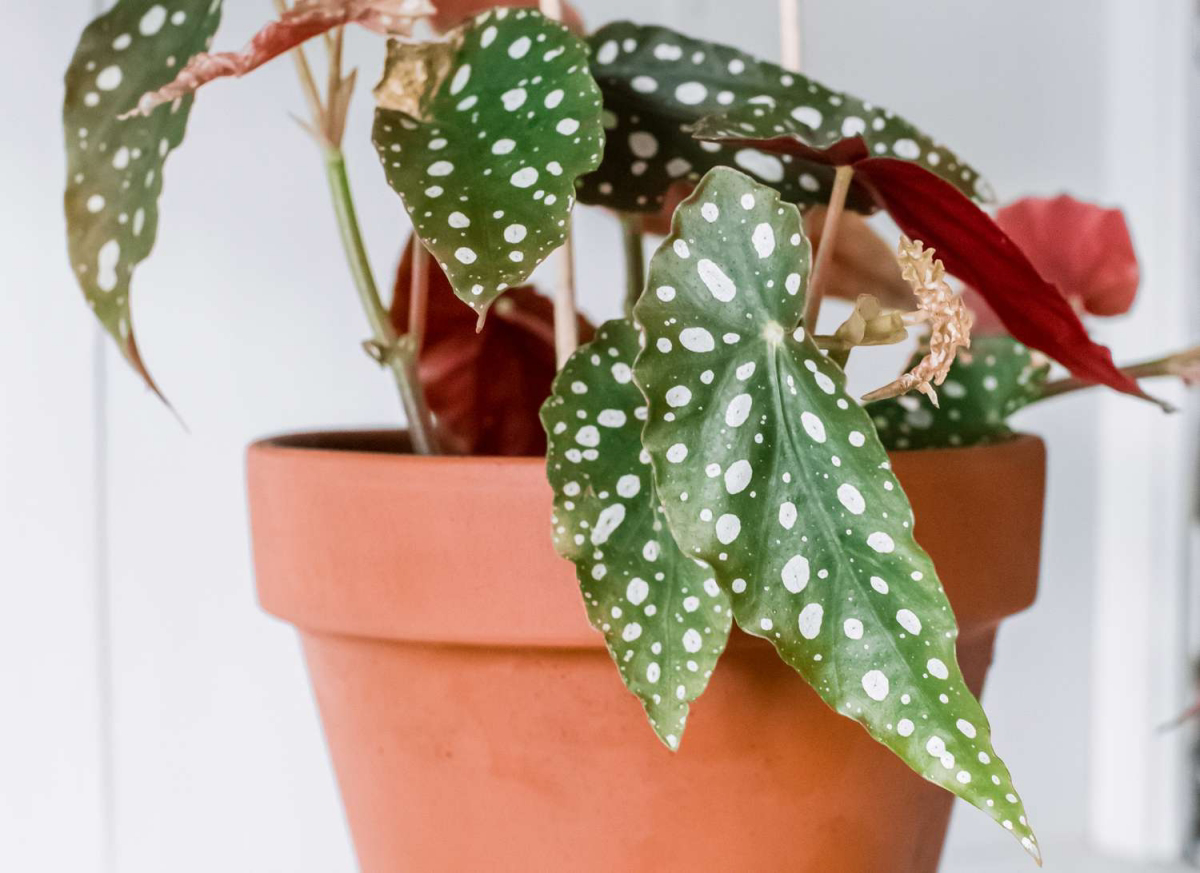
So, you’ve heard whispers of the “Angel Plant,” right? It’s a charming name, but honestly, it can be a little confusing because there isn’t just one plant that goes by that title. Most of the time, when someone is raving about their Angel Plant, they’re talking about the Angel Wing Begonia. And you can see why—the leaves have this incredible, lopsided shape that really does look like a delicate wing.
In this article
- Let’s Talk Budget: Your Beginner’s Shopping List
- The Foundation: Getting the Soil and Pot Just Right
- Light, Temperature, and Humidity: Creating a Happy Place
- The Art of Watering and Feeding
- Why You MUST Prune Your Begonia (Don’t Be Scared!)
- Making New Plants for Free: Propagation
- Troubleshooting 101: What Your Plant is Telling You
- Galerie d’inspiration
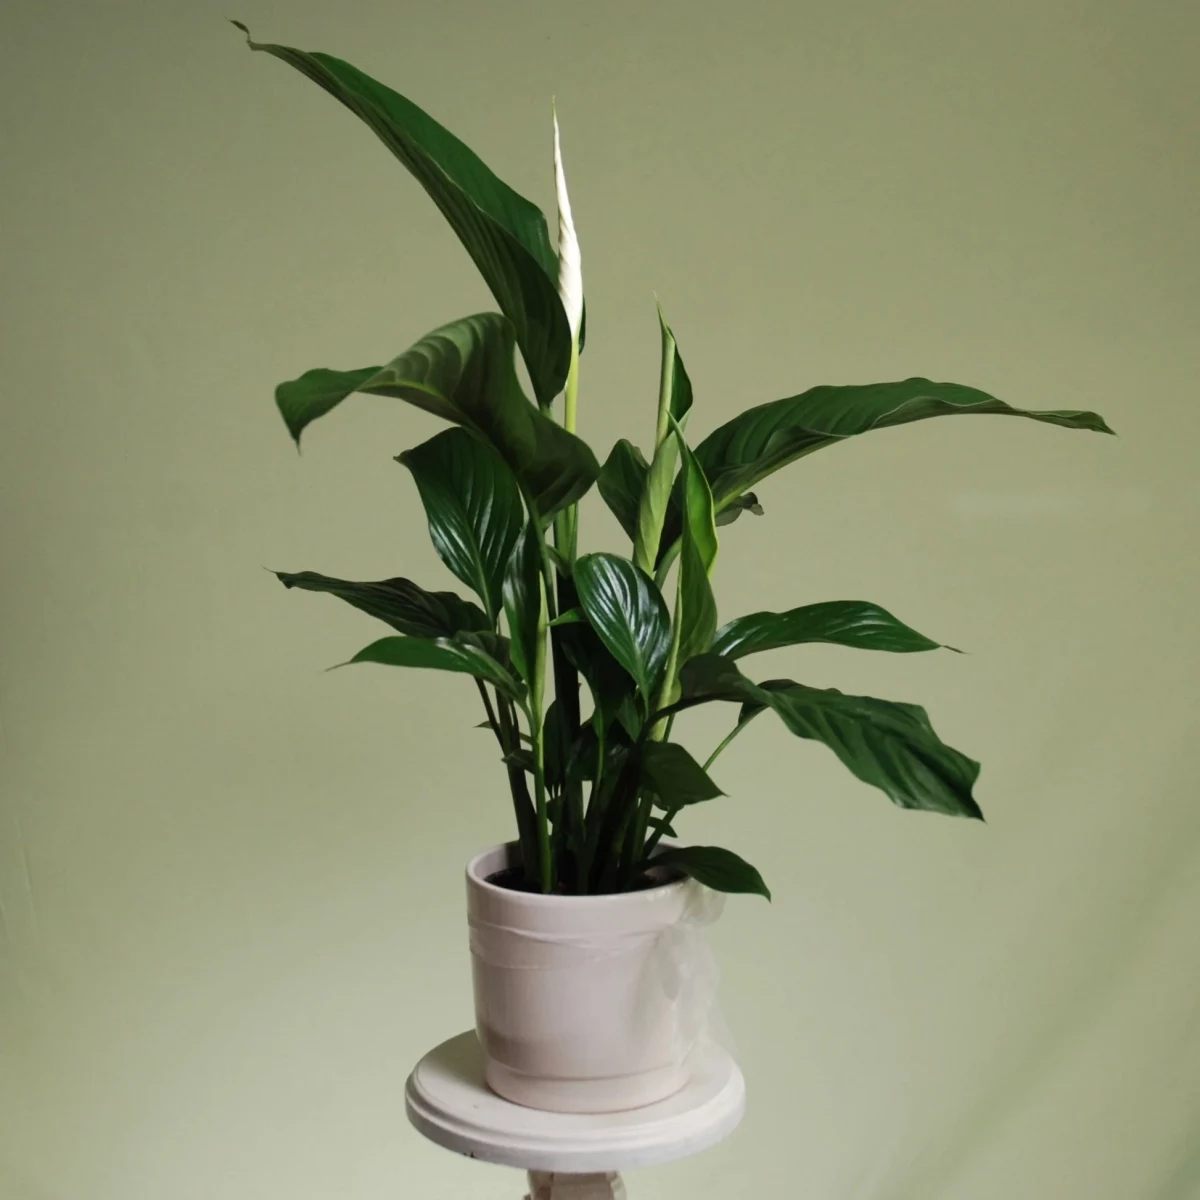
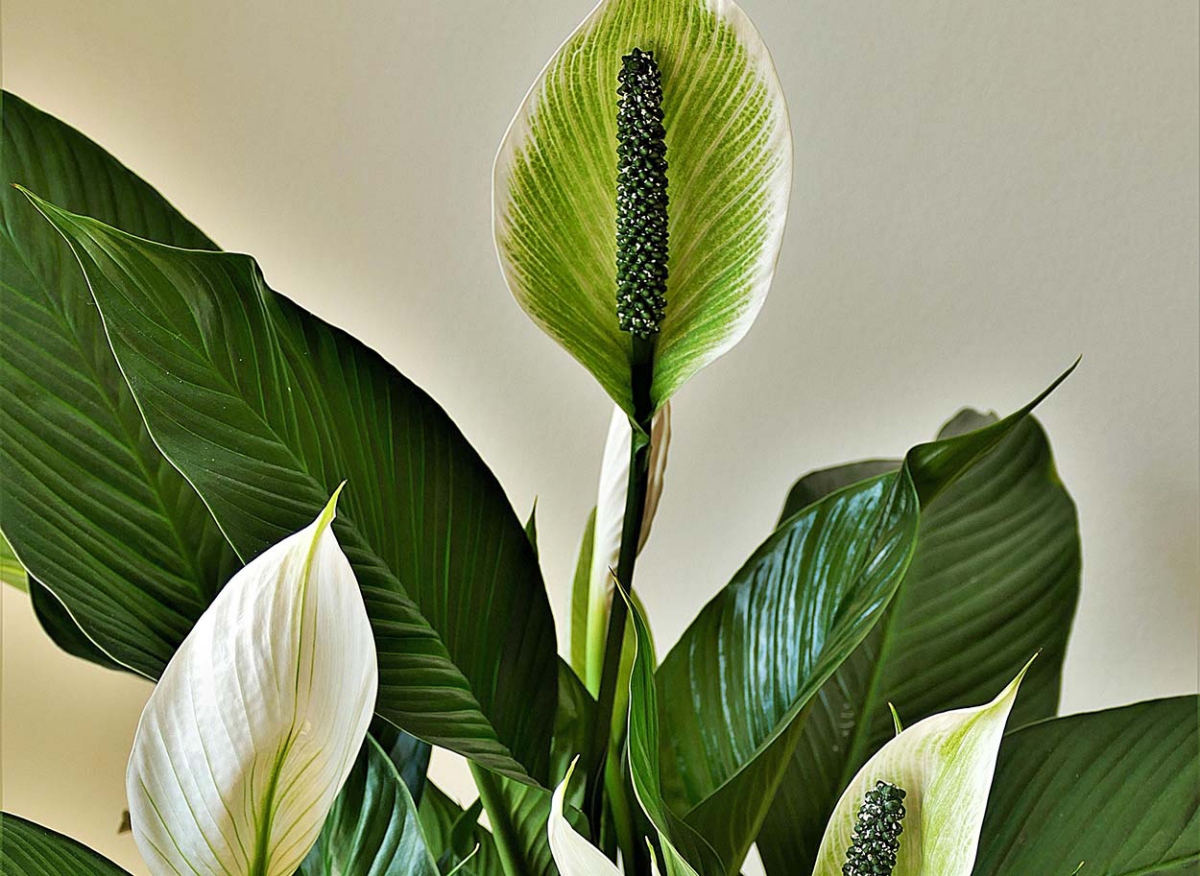
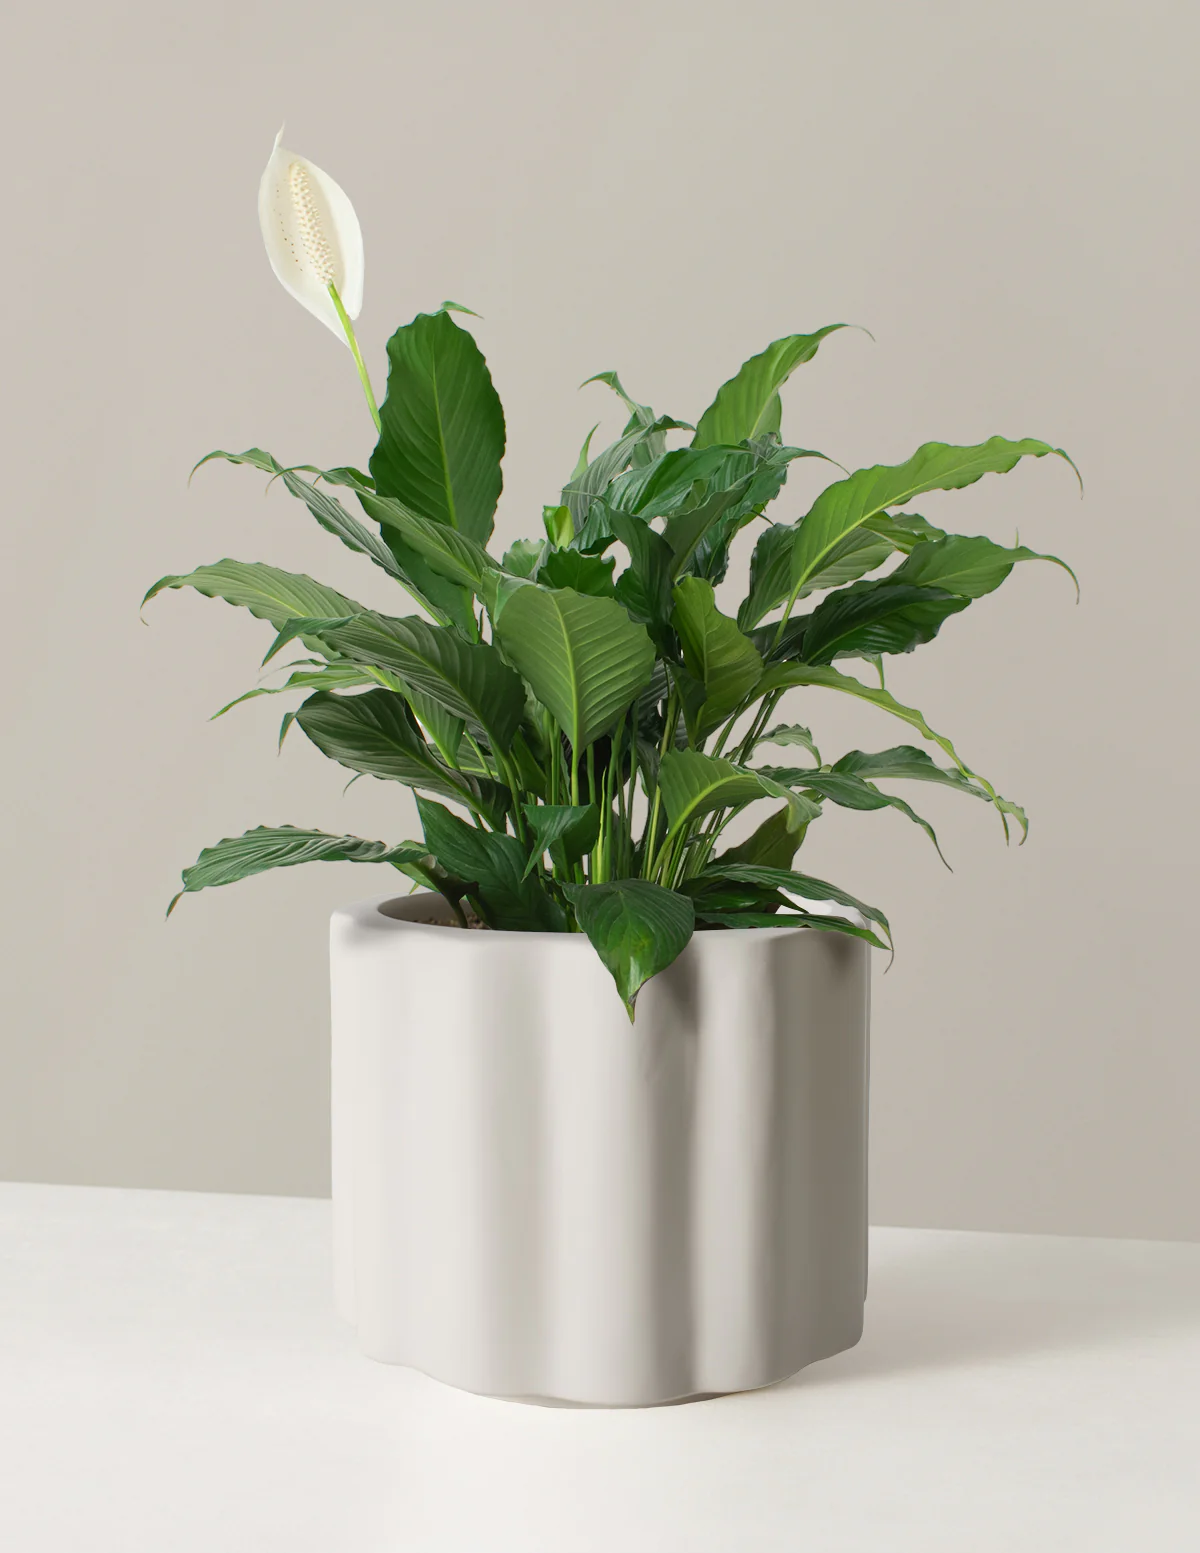
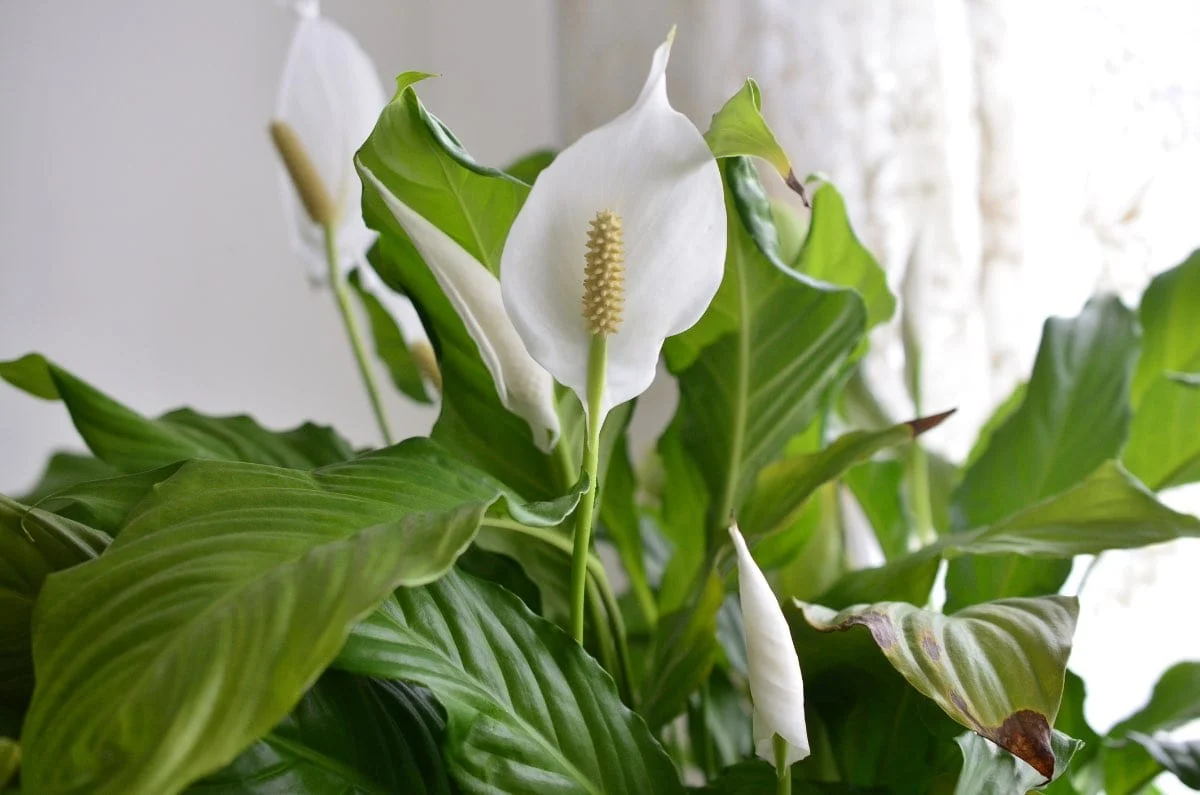
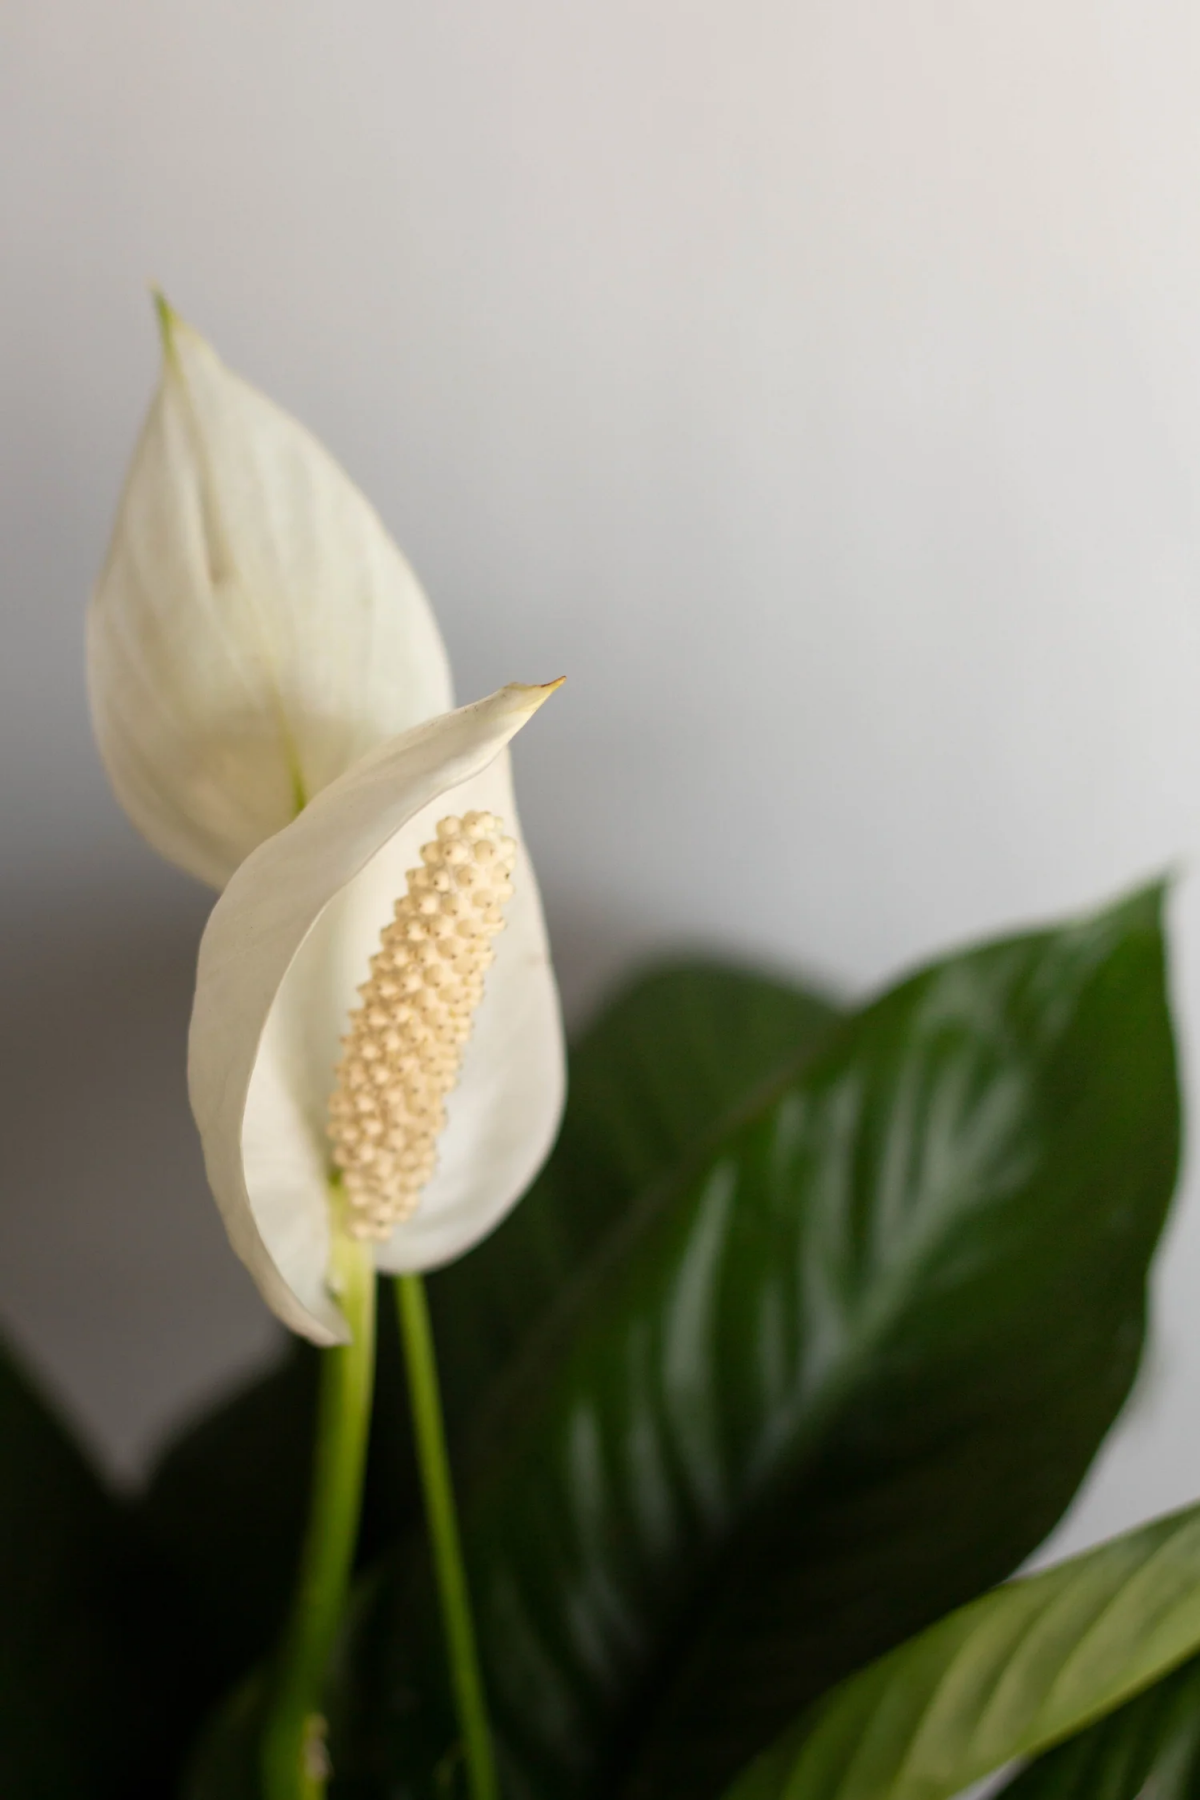
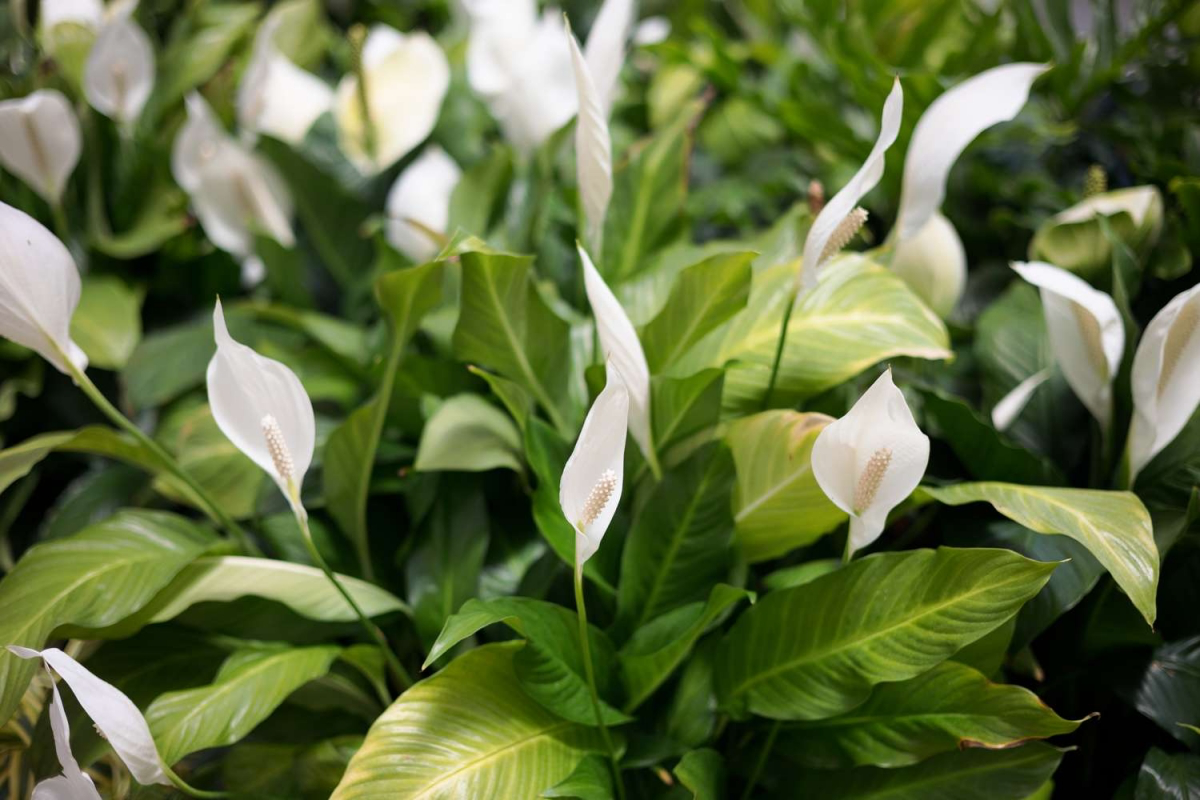
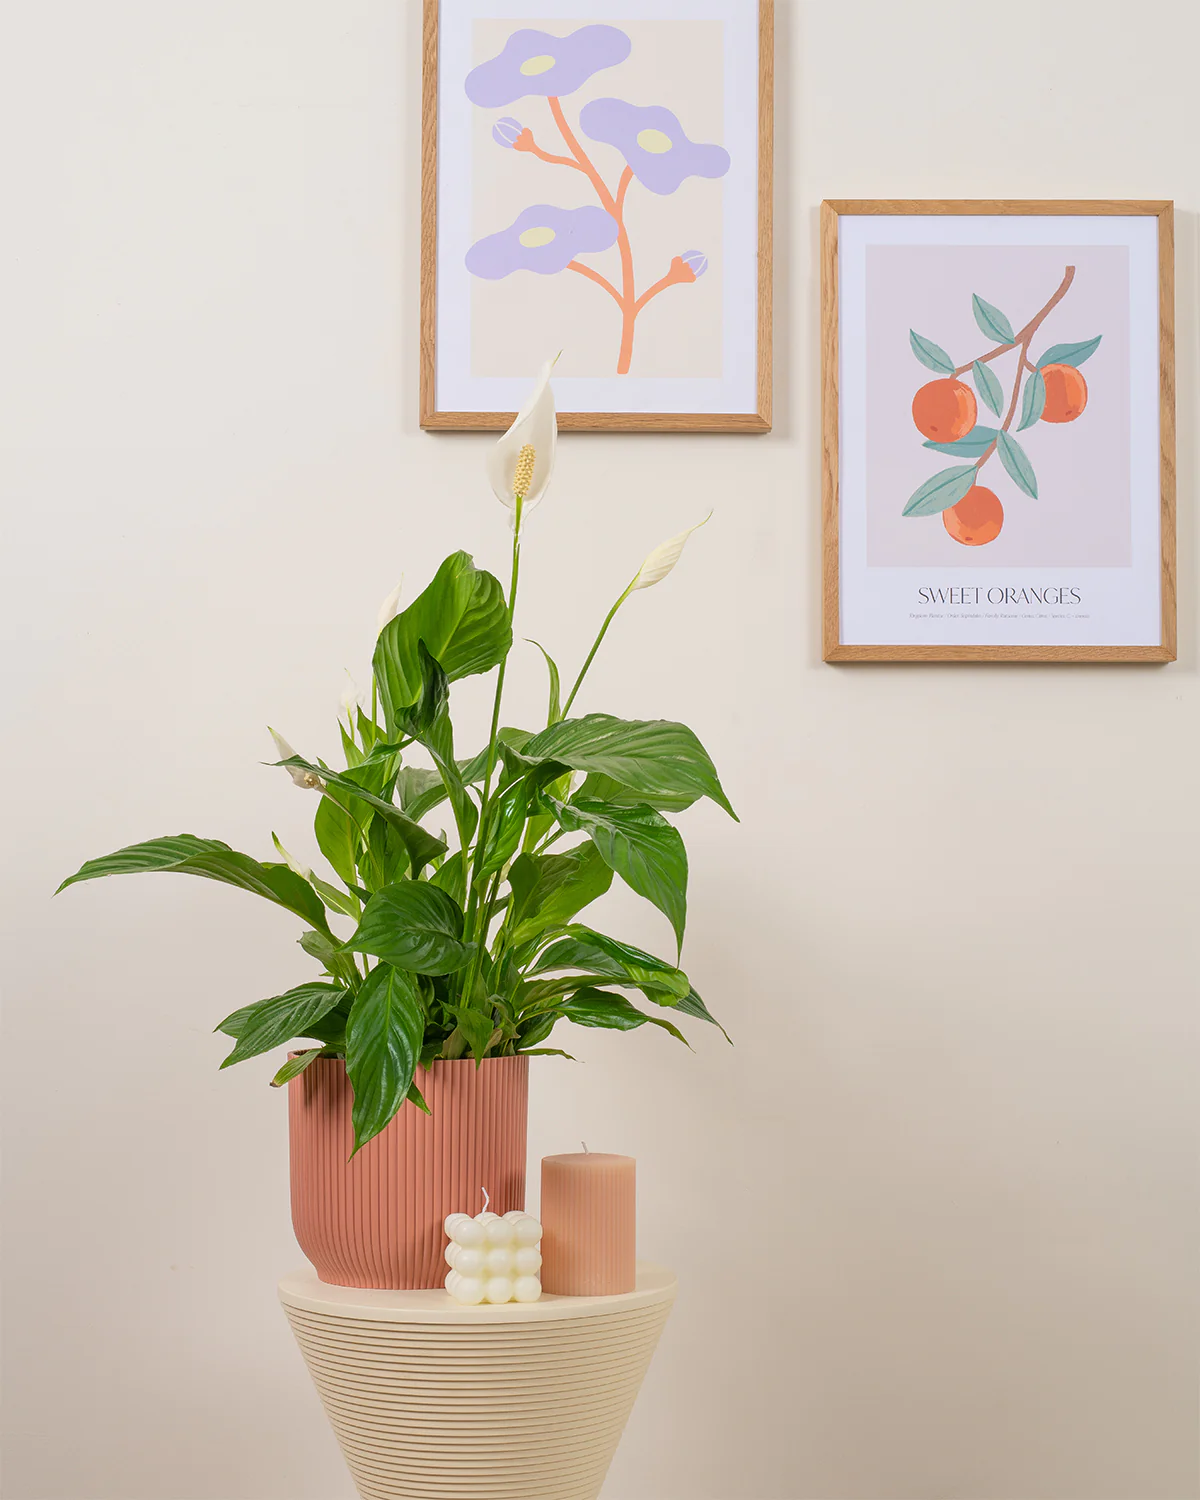
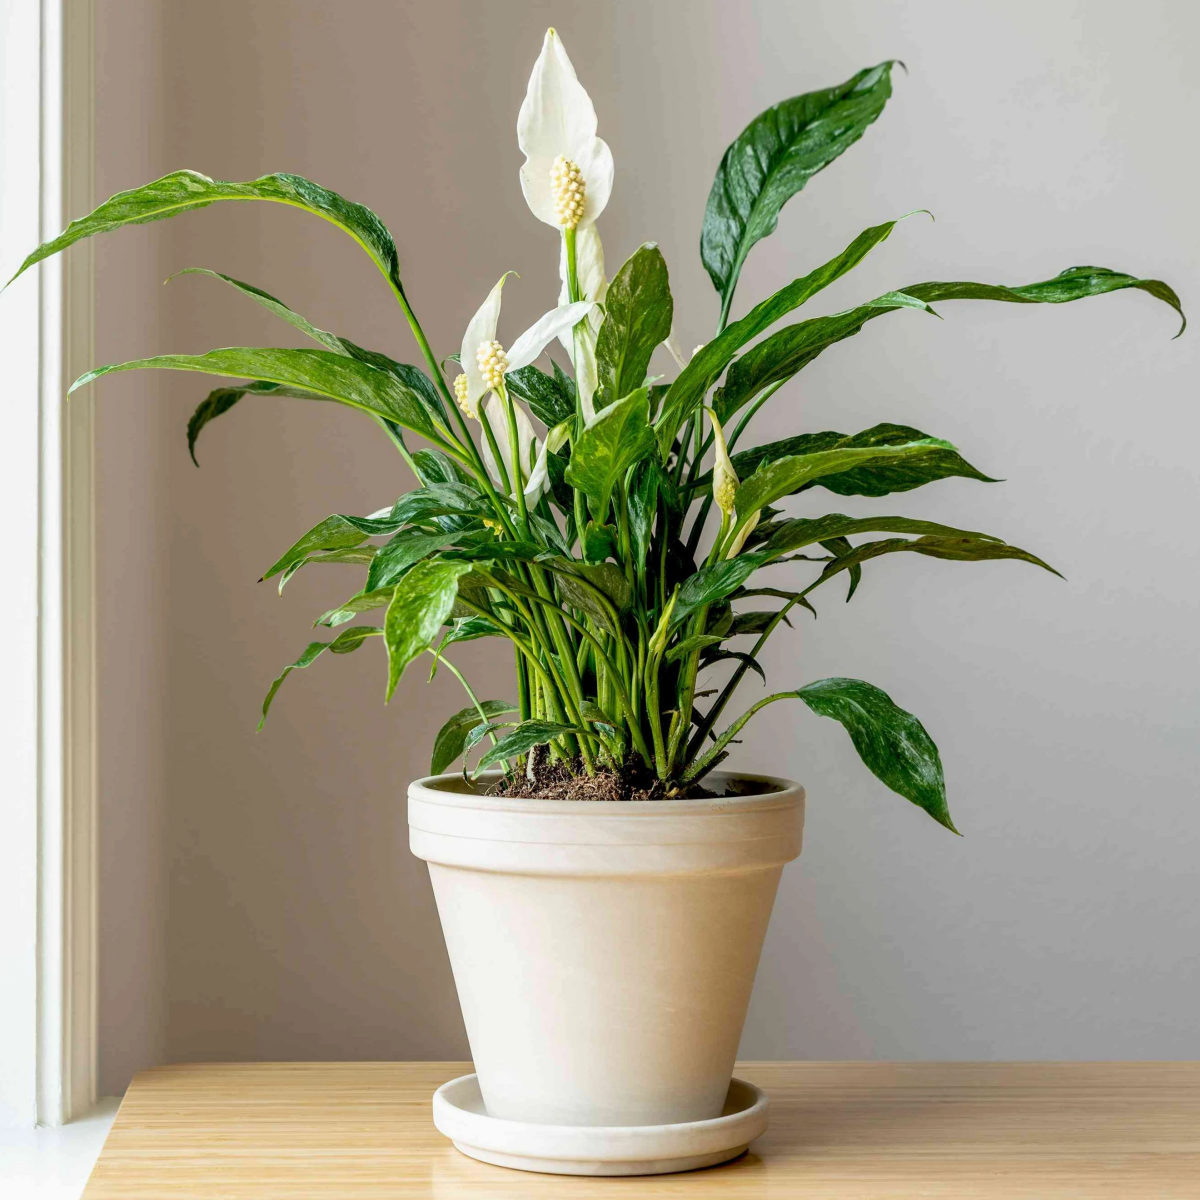
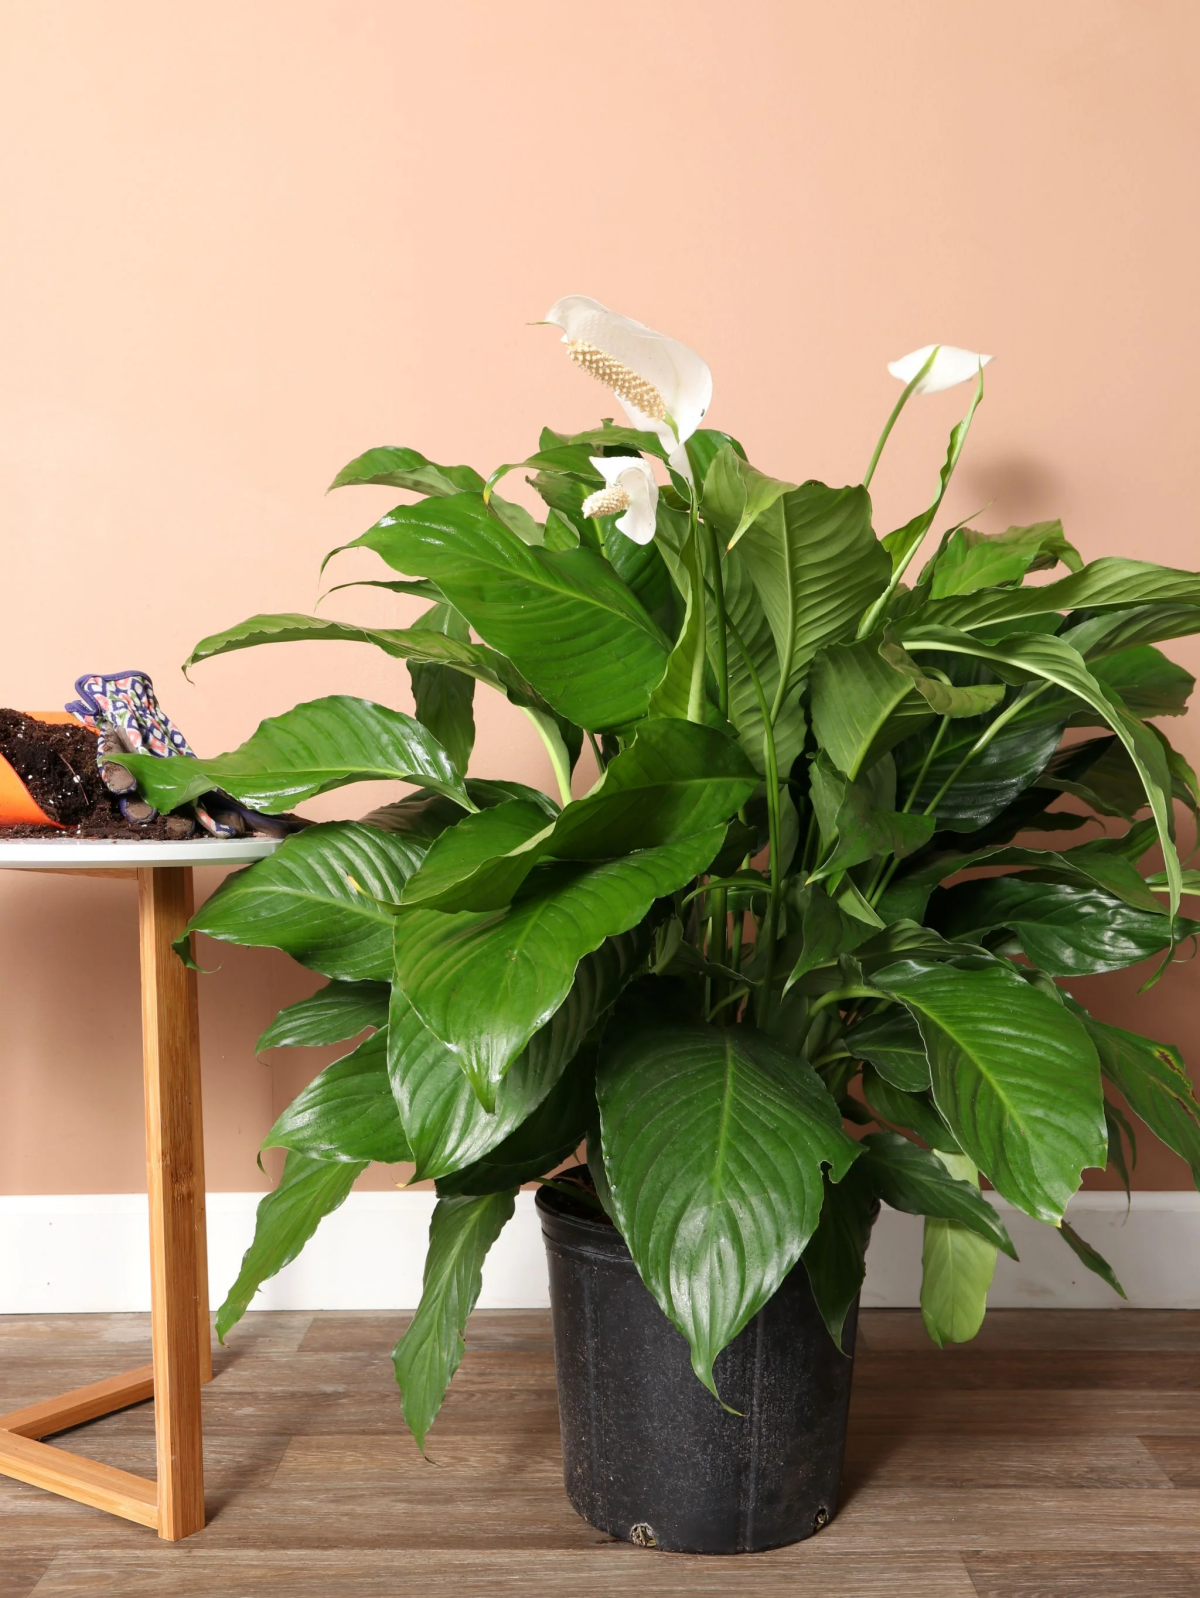
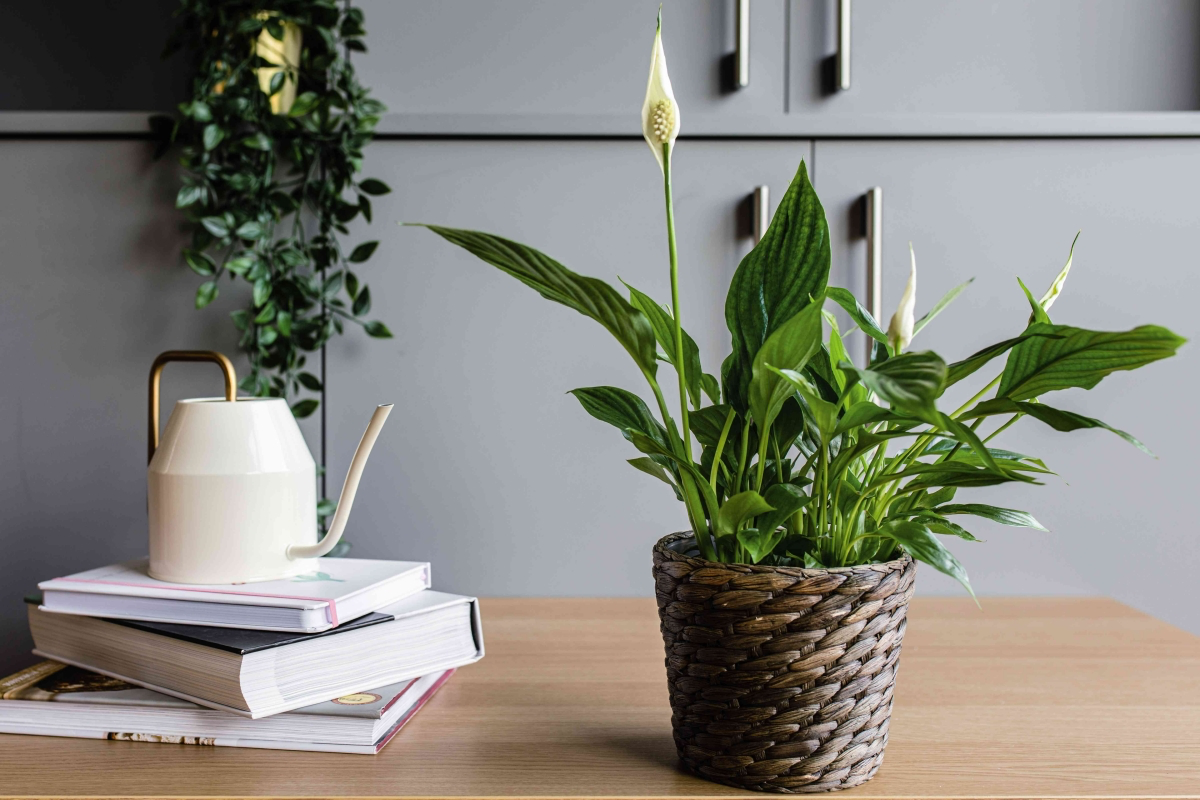
Just a heads-up, sometimes people call a Peace Lily an “Angel Plant” too, because of those pure white, wing-shaped flowers. But their care is totally different. For our purposes, we’re diving deep into the one you probably have your eye on: the gorgeous Angel Wing Begonia. These are a type of cane begonia, and understanding what that means is your first step to success. You might see different kinds at the garden center, some with names like ‘My Special Angel’ or ‘Sophia,’ but the care is largely the same.
Let’s Talk Budget: Your Beginner’s Shopping List
Before we get into the nitty-gritty, let’s talk about what it’ll cost to get started. You don’t need to break the bank, but setting yourself up for success is key. All in, you’re probably looking at a one-time investment of about $40 to $60. Here’s a rough breakdown:
- The Plant Itself: A nice starter plant will usually run you between $15 and $30 at a local nursery or big-box store.
- The Perfect Pot: Expect to spend $5 to $20, depending on whether you go for basic terracotta or a more decorative ceramic pot.
- Soil Ingredients: A bag of potting mix, perlite, and orchid bark will be about $8-$15 each, but these will last you for many, many repottings. It’s a great long-term investment for your plant collection!
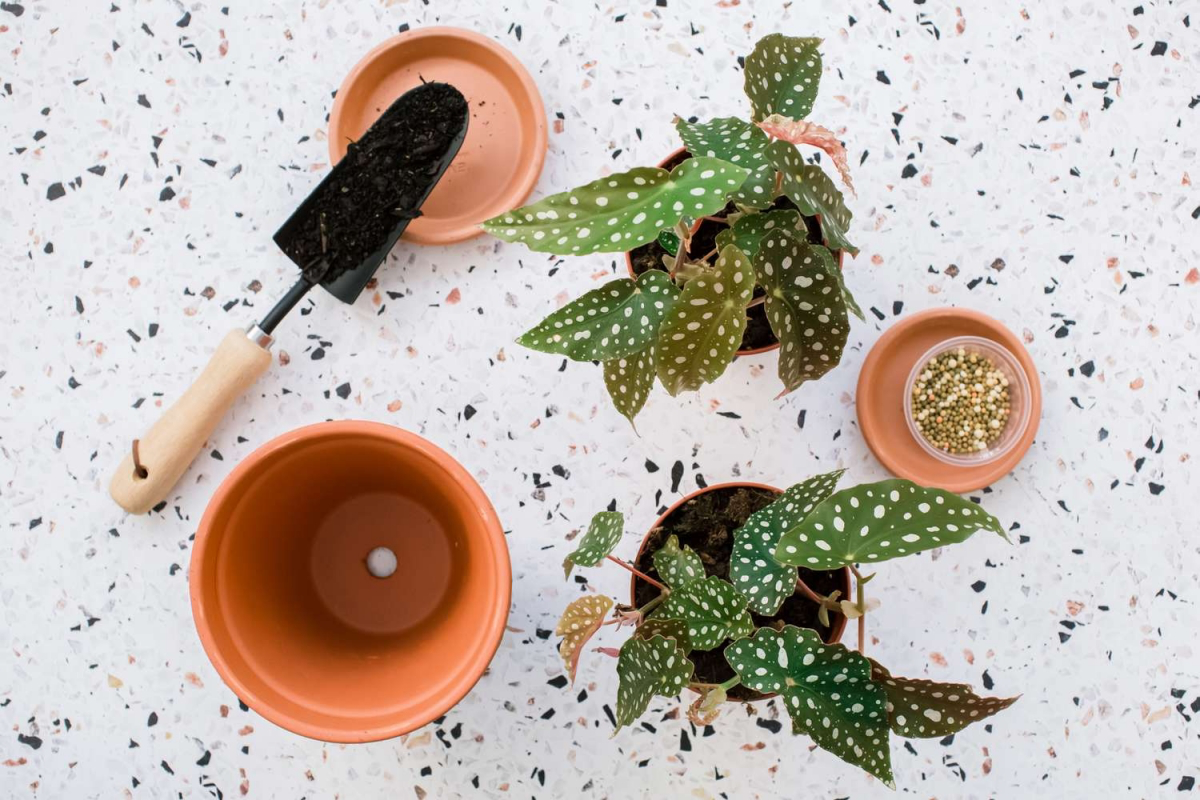
The Foundation: Getting the Soil and Pot Just Right
If there’s one secret to a happy begonia, it’s the soil. These plants absolutely despise sitting in water, and the biggest mistake I see people make is using a dense, heavy potting mix straight out of the bag. That’s a one-way ticket to root rot, which is a real pain to fix.
After years of tweaking, I’ve landed on a foolproof mix that mimics their natural home on the forest floor. It’s airy, drains beautifully, and the plants just love it. It’s a simple three-part recipe:
- One part good-quality indoor potting mix for basic structure and nutrients.
- One part perlite. Those little white rocks are your best friend—they create air pockets so roots can breathe.
- One part fine-grade orchid bark (or coco coir) to boost drainage and add some chunky organic matter.
Good to know: You can find all of these supplies at most garden centers, big-box stores like Home Depot or Lowe’s, or easily online. A bag of perlite might seem like a lot, but it will last you forever.
Choosing the Right Home (aka The Pot)
Your pot choice really does matter. For beginners, I often steer people towards unglazed terracotta. Why? Because the clay is porous and literally pulls excess water out of the soil, giving you a safety net against overwatering. They do dry out faster and are a bit heavier, though. Plastic pots are perfectly fine—they’re lightweight, cheap, and hold moisture well. The only downside is that you have to be the one to prevent overwatering, as there’s no porous clay to help you out.
No matter what you choose, a drainage hole is NON-NEGOTIABLE. If you fall in love with a decorative pot that doesn’t have one, just use it as a cover pot. Keep your begonia in its plastic nursery pot, place it inside the pretty one, and just remember to tip out any excess water after you’re done watering.
When Is It Time to Repot?
Resist the temptation to put your little plant in a giant pot, thinking it’ll have room to grow. Begonias actually prefer to be a little snug. A pot that’s too big holds a ton of soil that the roots can’t drink from, leading to—you guessed it—root rot. A good rule is to only go up 1-2 inches in diameter from the current root ball.
So, how do you know when it’s time? The plant will tell you. Look for these signs:
- Roots are visibly poking out of the drainage holes.
- Water seems to run straight through the pot without soaking in.
- The plant’s growth has completely stalled during the growing season.
- It looks top-heavy and is constantly tipping over.
If you see a couple of these signs, it’s time for a slightly bigger home with fresh soil mix.
Light, Temperature, and Humidity: Creating a Happy Place
The common advice is “bright, indirect light,” but what does that even mean? Think of it this way: an east-facing window is pretty much perfect. It gets that gentle, not-too-hot morning sun. A spot a few feet away from a sunny south or west-facing window is also a great choice. You’ll know the light is right when the leaves are vibrant and the spots (if you have a spotted variety) are bold and beautiful.
If your plant starts stretching toward the window with lots of space between the leaves, it’s begging for more light. On the flip side, if you see crispy brown patches or the leaves look bleached out, it’s getting scorched by too much direct sun.
These plants are happy in the same temperatures we are, ideally between 65-75°F. They hate sudden changes, so keep them away from drafty doors and windows or direct blasts from your heater or AC. They also appreciate good air circulation, which helps prevent a common fungal issue called powdery mildew. You don’t need a wind tunnel, just a room that doesn’t feel stuffy.
Oh yeah, and they crave humidity. Crispy brown leaf edges are the classic sign that your air is too dry. Misting is… okay, but it’s a temporary fix at best. I find these methods work way better:
- A Pebble Tray: Super simple. Just put your pot on a tray filled with pebbles and water. The evaporation creates a little humid paradise right around the plant. Just make sure the pot is sitting on the pebbles, not in the water.
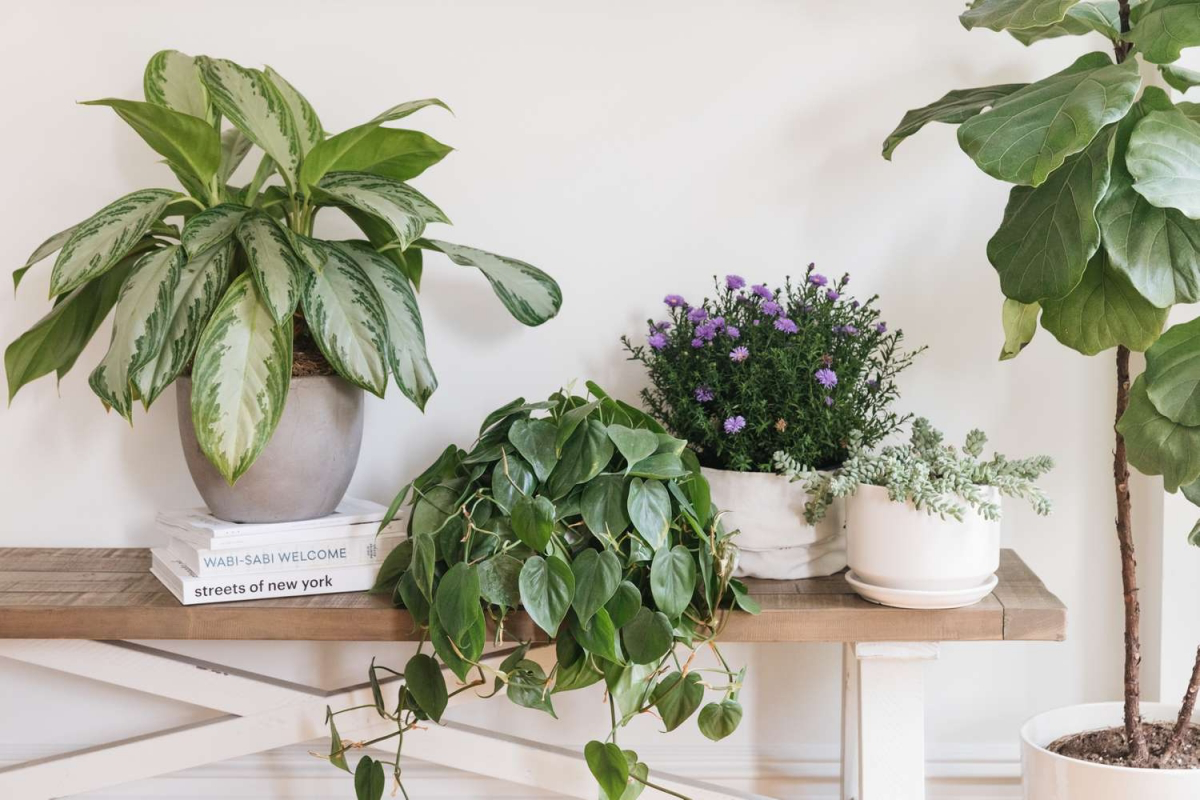
- Group Your Plants: Plants naturally release moisture, so clustering them together creates a more humid micro-environment for everyone.
- A Humidifier: Honestly, this is the most effective solution, especially if you have a few tropical plants. A small humidifier set to 50-60% will make them think they’re back in the rainforest.
The Art of Watering and Feeding
If you can master watering, you’ve won 90% of the battle. The rule is simple: let the top inch or two of soil get completely dry, and then water it thoroughly. Don’t just give it a tiny sip. Drench the soil until water flows freely out of the drainage hole. This ensures all the roots get a drink and helps flush out any mineral buildup.
I’m a huge fan of bottom watering these guys. Just set the pot in a sink or a basin with a few inches of water for about 20-30 minutes. The soil will soak up exactly what it needs through the drainage hole. When the top of the soil feels damp, it’s done. This is great because it encourages strong, deep roots.
A Simple Feeding Plan
During the spring and summer, when the plant is actively growing, it appreciates a little food. I use a balanced liquid fertilizer (like a 10-10-10 or 20-20-20) and I dilute it to half the strength the bottle recommends. Don’t let those numbers scare you; they just stand for the main nutrients (NPK). A balanced one is perfect, don’t overthink it! Feed it every 2-3 weeks, but always after you’ve watered. Fertilizing dry soil can burn the roots.
Once fall hits, I stop feeding completely. The plant needs to rest for the winter. Pushing it to grow during its downtime will just lead to weak, spindly stems.
Why You MUST Prune Your Begonia (Don’t Be Scared!)
This is the part that terrifies new owners, but it is absolutely essential. If you don’t prune, you will end up with a few long, bare, woody canes with a sad little tuft of leaves at the very top. Pruning is what makes it branch out and become a full, bushy, gorgeous plant. It also encourages more flowers!
Always use clean, sharp pruners. I give mine a quick wipe with rubbing alcohol before I start. For overgrown plants, don’t be shy. You can cut a cane back by half its length! Just make your cut about a quarter-inch above a leaf node (the little bump on the stem). New growth will sprout from there.
I learned this the hard way. I once had a beautiful spotted variety that I didn’t want to prune because I loved its height. Before I knew it, it was a sad, 3-foot stick with a few leaves on top, leaning over precariously. I finally got brave and whacked it back to about one foot tall. Two months later? It was a bushy, multi-stemmed beast loaded with flowers! It was a night-and-day difference. So trust me, a good prune in the spring is the best thing you can do for it.
Making New Plants for Free: Propagation
The bonus of pruning is that you get tons of free plant material! Propagating these begonias is incredibly easy. Just take a 4-6 inch cutting with a few nodes on it, snip off the lower leaves, and stick it in either a jar of water or a pot of moist soil. If you root in water, pot it up once the roots are about an inch long. I personally prefer rooting straight into soil; I find the roots are a bit tougher and adapt better down the line.
Troubleshooting 101: What Your Plant is Telling You
Even with great care, things can go wrong. Here’s a quick guide to decoding the distress signals.
- Problem: Yellowing lower leaves that drop off.
Cause: Almost always overwatering. The roots are suffocating.
Solution: Stop watering immediately. A quick tip I live by: When in doubt, DON’T water. It’s way easier to save a thirsty begonia than a drowned one. Let the soil dry out. If it’s really bad, you may need to check the roots for mushy brown bits (rot) and repot in fresh, airy soil.
- Problem: Leggy, stretched-out growth.
Cause: Not enough light.
Solution: Move it to a brighter spot. Prune back the leggy bits to encourage bushier growth.
- Problem: A white, powdery film on the leaves.
Cause: Powdery mildew, a fungus that thrives in stagnant, humid air.
Solution: Isolate the plant ASAP to stop the spread. Improve air circulation. You can try spraying it with a commercial fungicide or a homemade mix of 1 part milk to 9 parts water. I once lost a few plants in my greenhouse because a fan failed. It taught me to never underestimate the importance of airflow.
- Problem: Crispy, brown leaf edges.
Cause: Low humidity.
Solution: Time for that pebble tray or humidifier we talked about!
- Problem: Tiny white cottony spots or fine webbing under the leaves.
Cause: Pests like mealybugs or spider mites.
Solution: For the white cottony mealybugs, dab them with a cotton swab dipped in rubbing alcohol. For spider mites, give the whole plant a good spray-down with insecticidal soap, repeating every week for a few weeks to break their life cycle.
And that’s really it! Angel Wing Begonias aren’t diva plants; they just have clear needs. Give them the right foundation and listen when they communicate with you through their leaves, and you’ll have a stunning plant that brings you joy for years to come. Every new spotted leaf is a little ‘thank you’ note from your plant.
Galerie d’inspiration
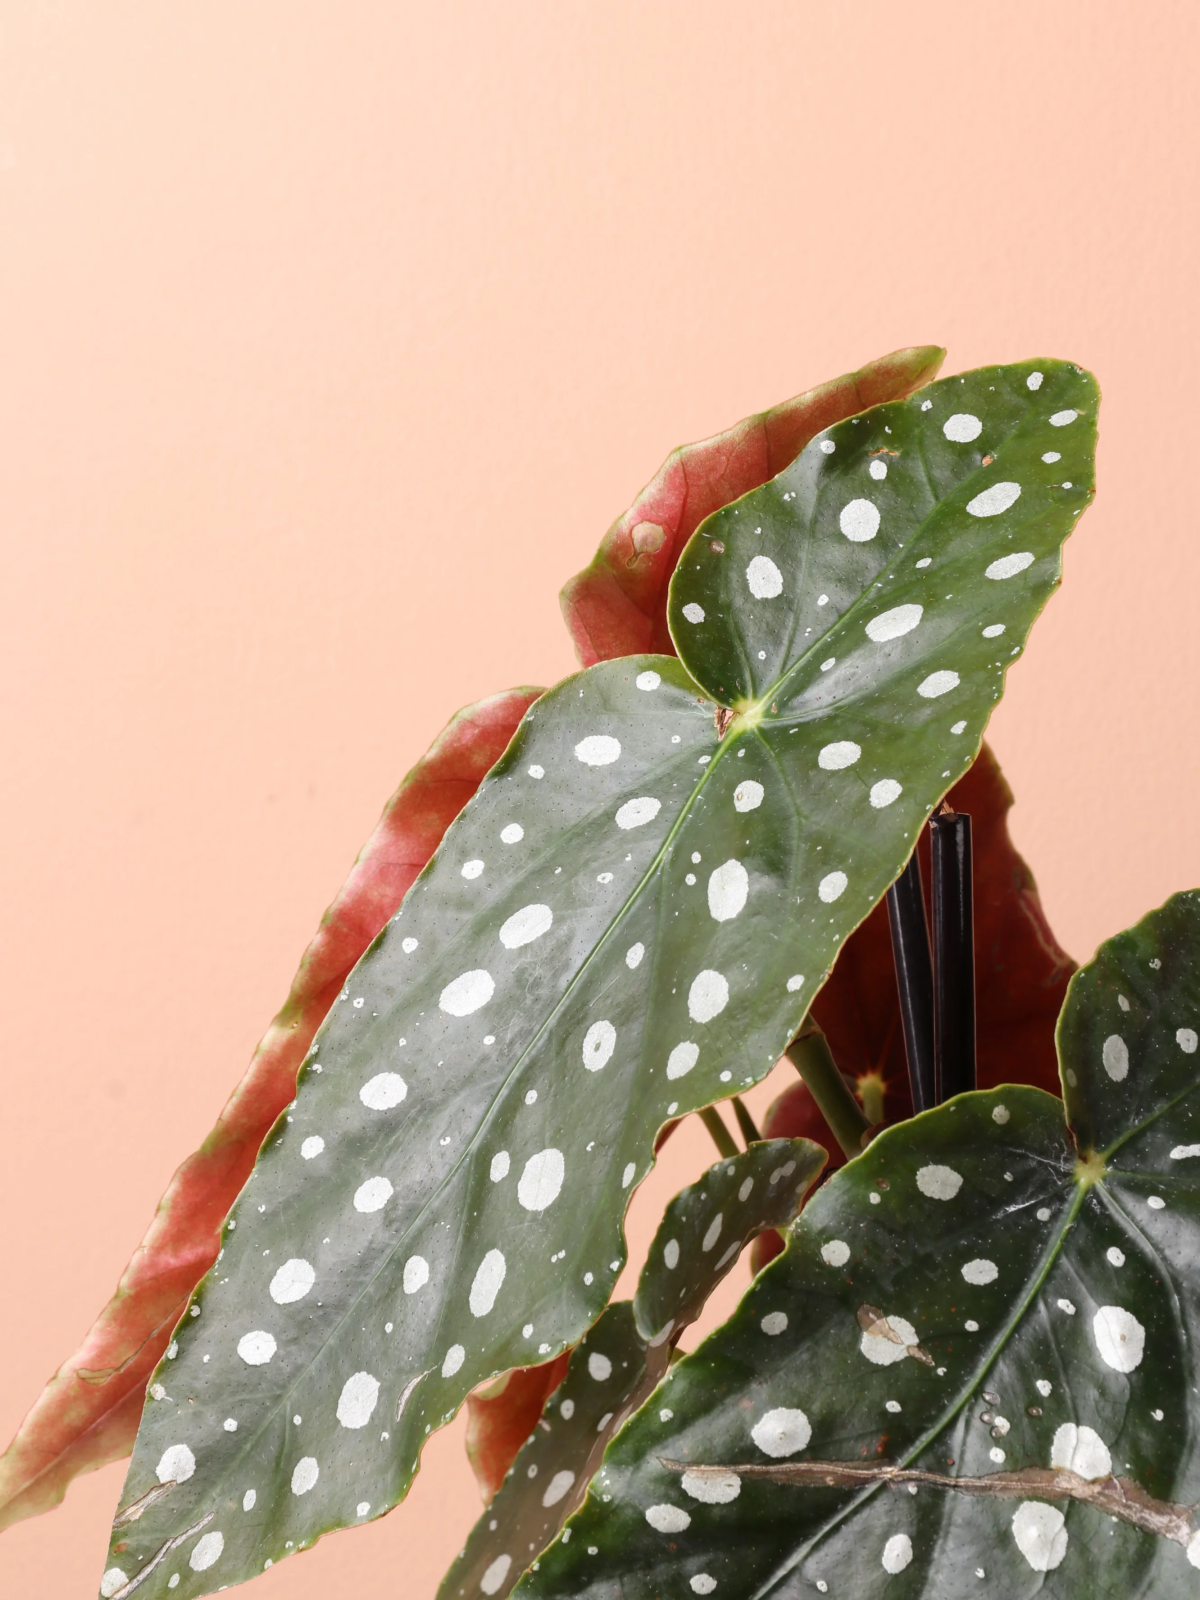
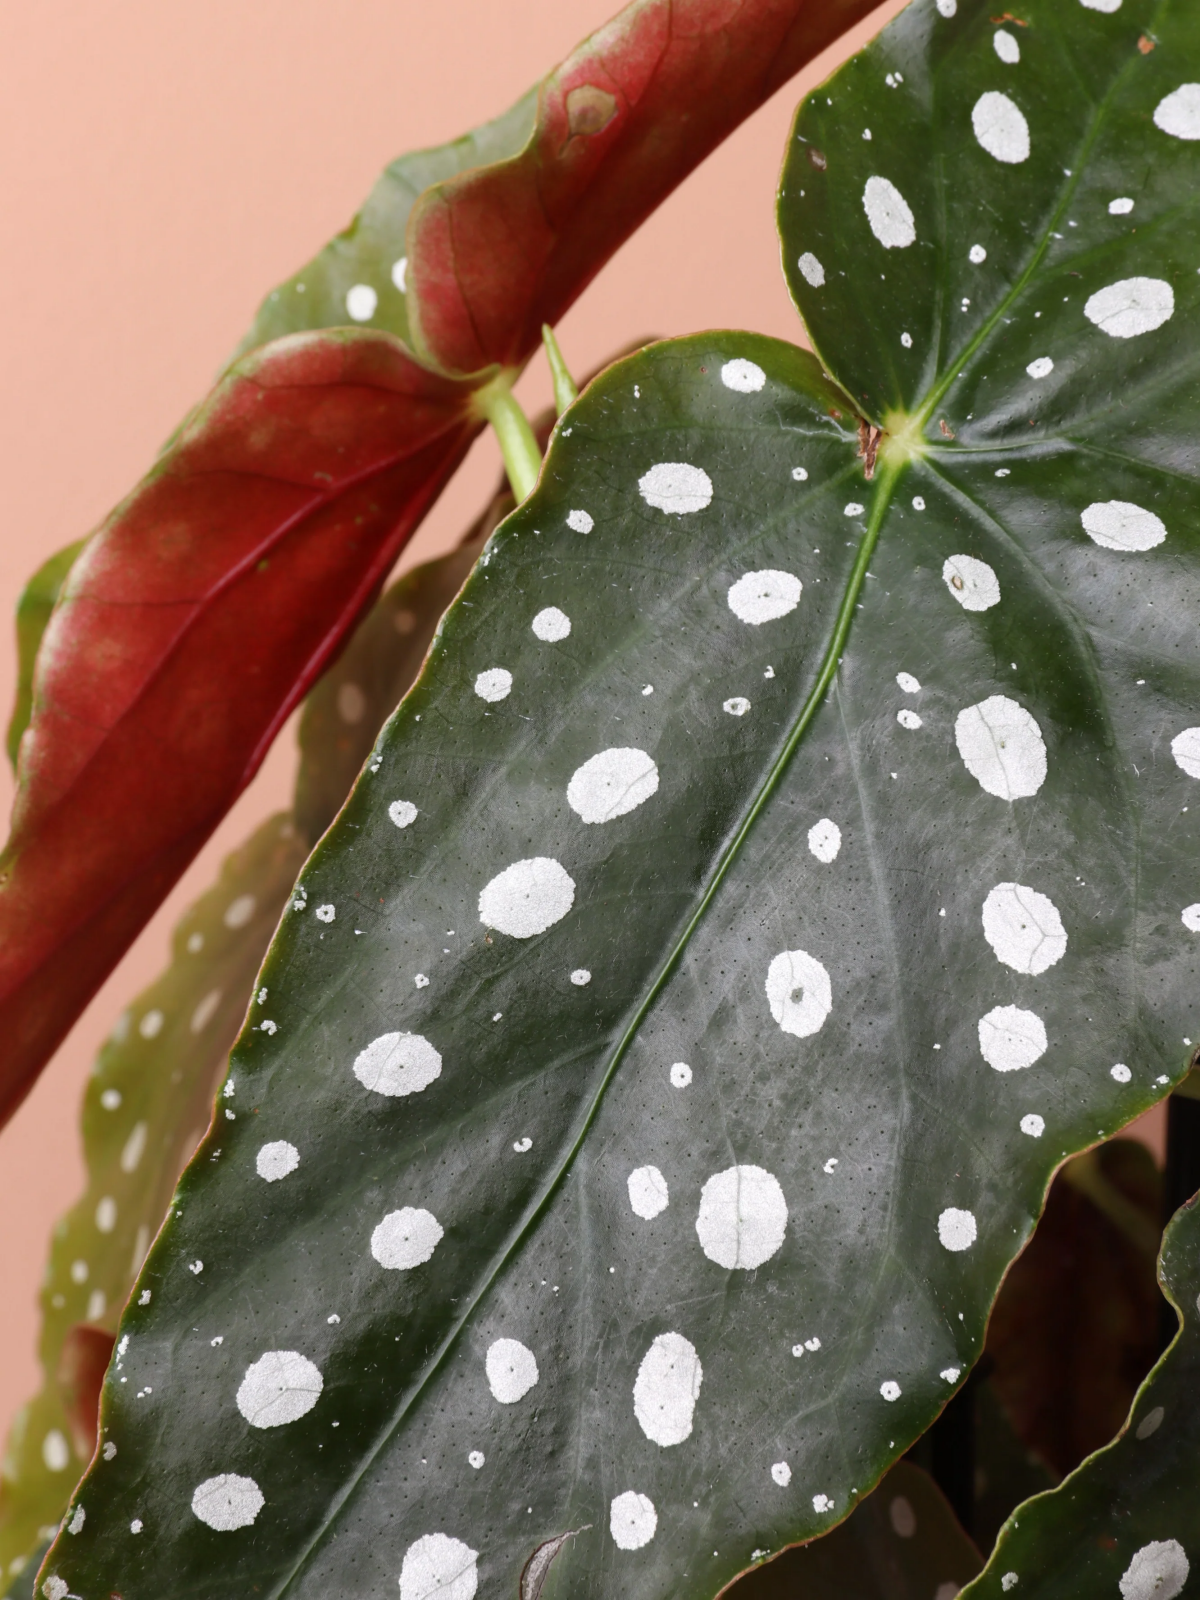
Don’t be surprised if you stumble upon a variety named ‘Lucerna’. It’s one of the classic, most robust Angel Wing Begonias, often passed down through generations. Its large, olive-green leaves are generously splashed with silver spots, and it rewards even beginner caretakers with abundant clusters of pink flowers. It’s a living piece of history that brings a touch of vintage charm to any plant collection.
- Fewer crispy, brown leaf edges.
- Lusher, more supple foliage.
- A happier plant that’s more resistant to pests like spider mites.
The secret? Consistent humidity. Angel Wing Begonias are native to subtropical climates. Grouping them with other plants or placing their pot on a pebble tray filled with water creates a humid micro-environment they will absolutely love.
Important point: The sweet spot for light is key to vibrant leaves and flowers. Too much direct sun will scorch the delicate leaves, leaving them bleached or crispy. Too little light, and your plant will become ‘leggy’—stretching towards the sun with sparse foliage and refusing to bloom. Aim for a spot a few feet from an east-facing window or a brighter window filtered by a sheer curtain.
Why is my begonia getting so tall and spindly?
This is a classic sign your plant is reaching for more light! But it’s also a natural growth habit for these cane-type begonias. Don’t be afraid to prune it. Snipping the main cane back by about a third encourages the plant to branch out from below, creating a much fuller, bushier appearance. Plus, you can easily propagate the piece you cut off!
Ready to share the love? Propagating your Angel Wing is incredibly simple and rewarding. Here’s the no-fail method:
- Locate a healthy stem and make a clean cut just below a leaf node (the little bump where a leaf grows from). Your cutting should be at least 4-6 inches long.
- Remove the lower leaves, leaving just two or three at the top of the cutting.
- Place the cutting in a glass of water, ensuring the node is submerged. Change the water every few days, and in a few weeks, you’ll see roots!
- Check the soil moisture every 5-7 days.
- Only water when the top inch or two of soil feels completely dry to the touch.
- When you do water, do so thoroughly until it runs out the drainage hole.
- Never let the pot sit in a saucer of excess water.
Liquid Fertilizer: A balanced liquid fertilizer, like Schultz All Purpose Plant Food 10-15-10, diluted to half-strength and applied every 2-4 weeks during the growing season (spring and summer), provides a quick and easily absorbed boost of nutrients.
Slow-Release Pellets: Alternatively, mixing a granular slow-release fertilizer into the soil during repotting, such as Jobe’s Organics All-Purpose, offers a ‘set it and forget it’ approach, feeding your plant gradually over several months.
For beginners, the liquid option provides more control over feeding schedules.
Did you know a happy Angel Wing Begonia can bloom nearly year-round?
Unlike plants that have a strict blooming season, these beauties will produce their delicate, drooping flower clusters continuously as long as their conditions are met. The key isn’t a specific time of year, but rather consistent bright, indirect light, regular feeding during its active growth, and allowing it to become slightly root-bound in its pot.


