My Unfiltered Guide to Growing Gorgeous Chinese Evergreens (Aglaonema)
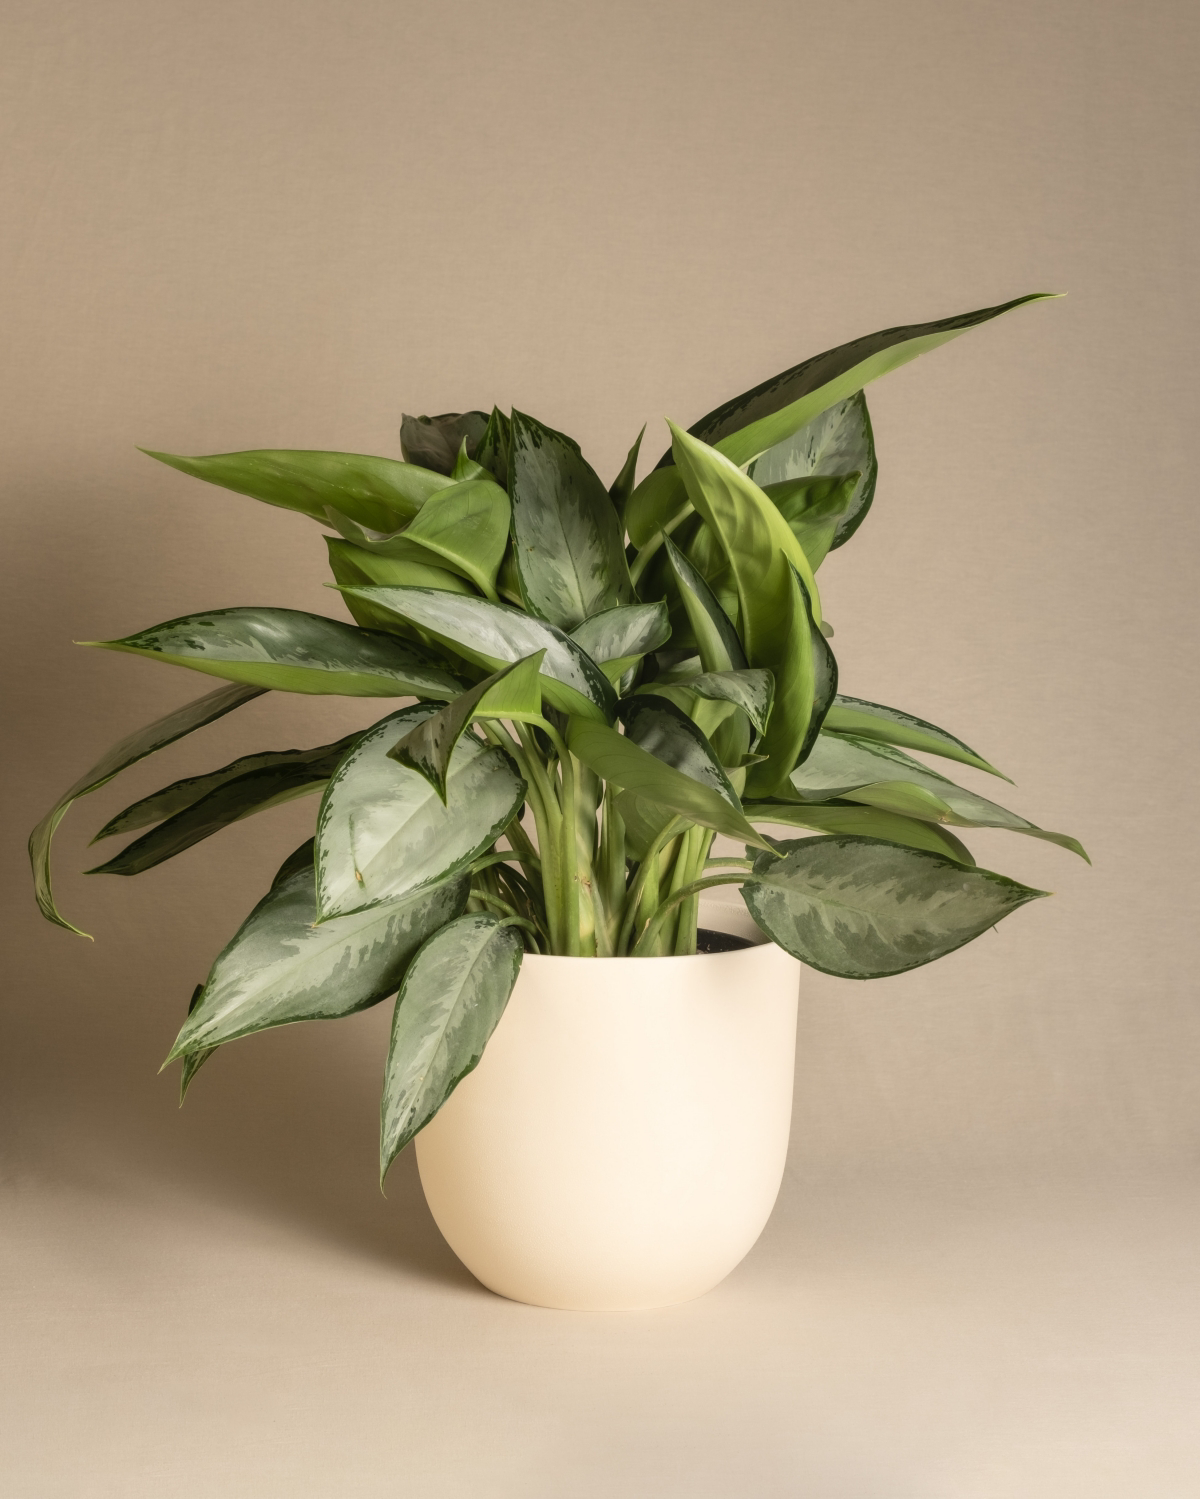
I’ve spent a long, long time working with indoor plants—we’re talking designing, installing, and fixing plant setups in all sorts of places, from big corporate offices to cozy homes. And through it all, one plant has been an absolute rockstar: the Aglaonema, or as most people know it, the Chinese Evergreen. I’ve put these champs in dimly lit corners and in bright, airy lobbies. They’re tough, beautiful, and remarkably forgiving.
In this article
- Why Your Aglaonema Acts the Way It Does
- The Single Most Important Thing: Soil & Potting
- How to Water Like You Know What You’re Doing
- Let There Be (the Right Kind of) Light
- Feeding Your Plant (Without Overdoing It)
- How to Prune and Get Free Plants
- Troubleshooting Like a Pro
- A Serious Warning: This Plant is Toxic
- Galerie d’inspiration
But here’s the thing: “forgiving” doesn’t mean you can forget about them entirely. Honestly, a good chunk of my “plant emergency” calls are for Aglaonemas that look sad and droopy. The owner is always frustrated, saying, “But I heard this plant was supposed to be easy!”
The truth is, “easy” is all relative. To get these plants to truly thrive, you just need to understand what they actually want. It’s not about some secret pro-level trick; it’s about nailing the basics. This guide is built on everything I’ve learned in the field. I’m going to share the exact methods I use for my clients, covering everything from the perfect soil to fixing common mistakes.
Why Your Aglaonema Acts the Way It Does
To get a plant to be happy, you have to think about where it came from. Aglaonemas are native to the floors of tropical rainforests in Asia. They live their lives under a massive canopy of trees. This one fact tells you almost everything you need to know.
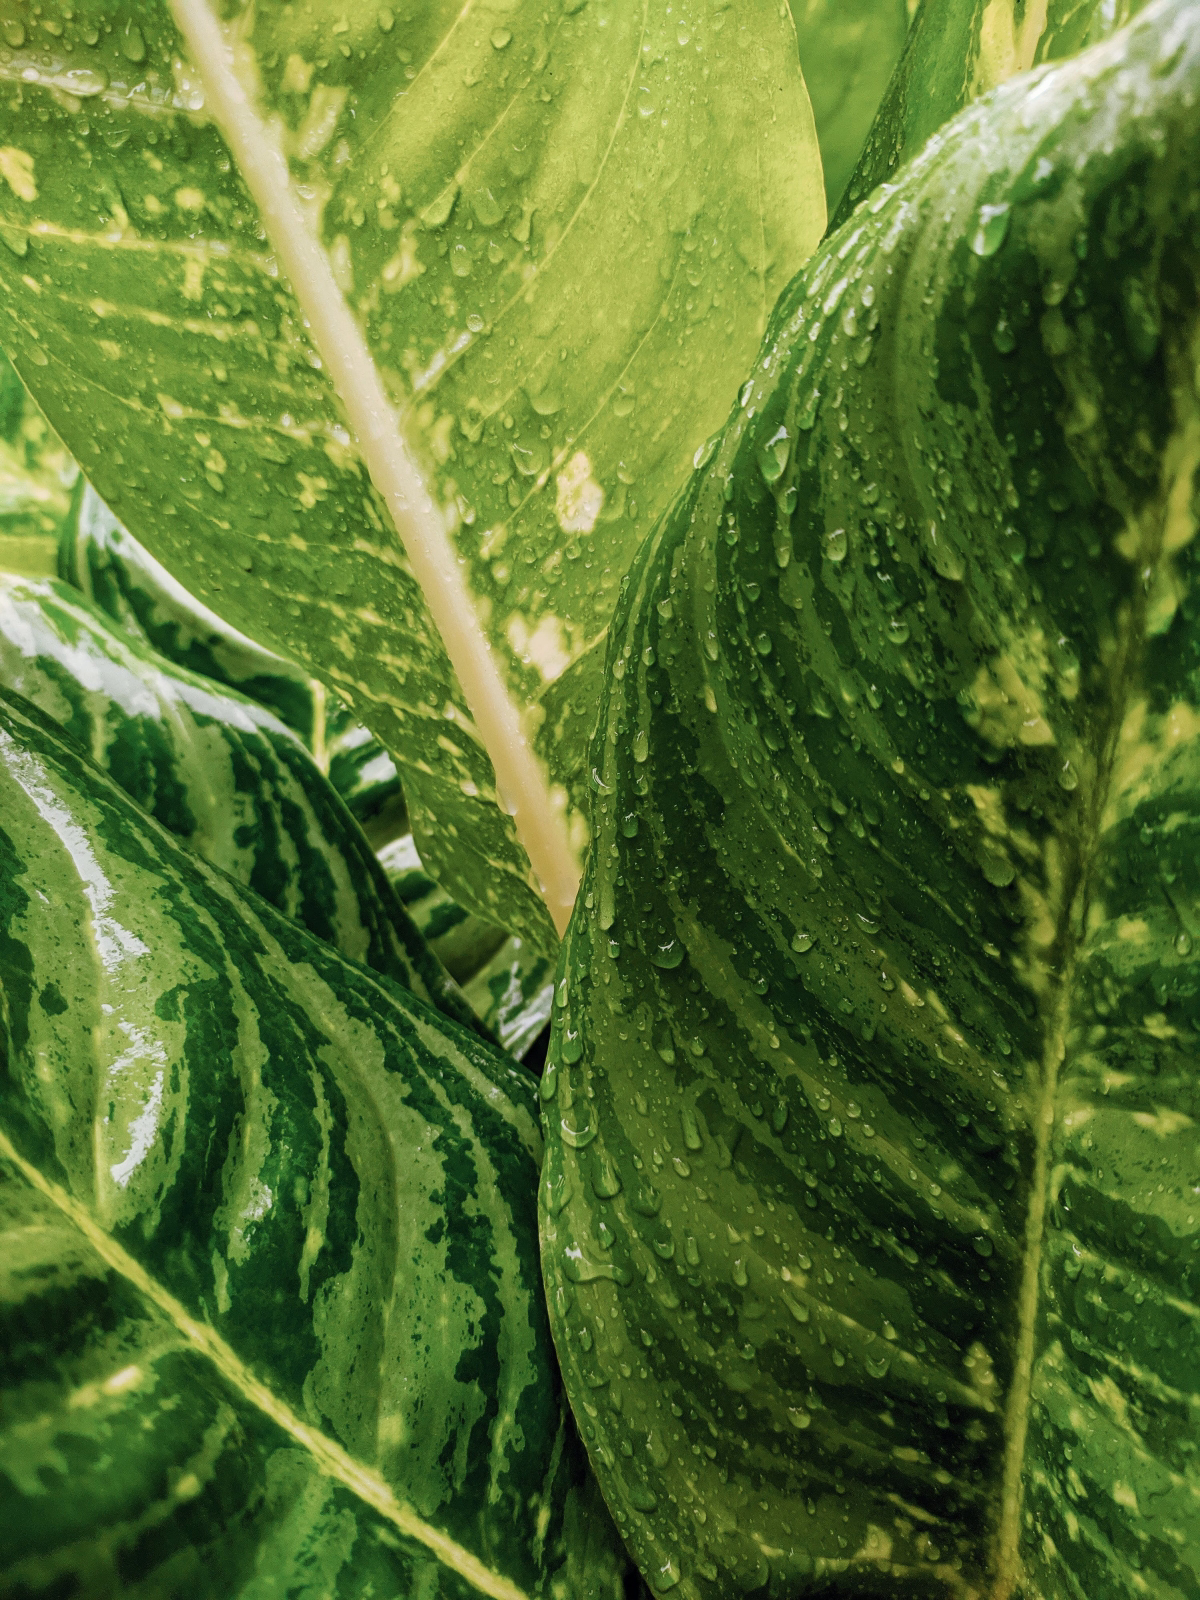
Think about it: the light is dappled and dim. The air is warm and sticky with humidity. The “soil” is just a loose collection of decaying leaves and bark that drains instantly after a downpour. Our job is simply to mimic these conditions in our living rooms.
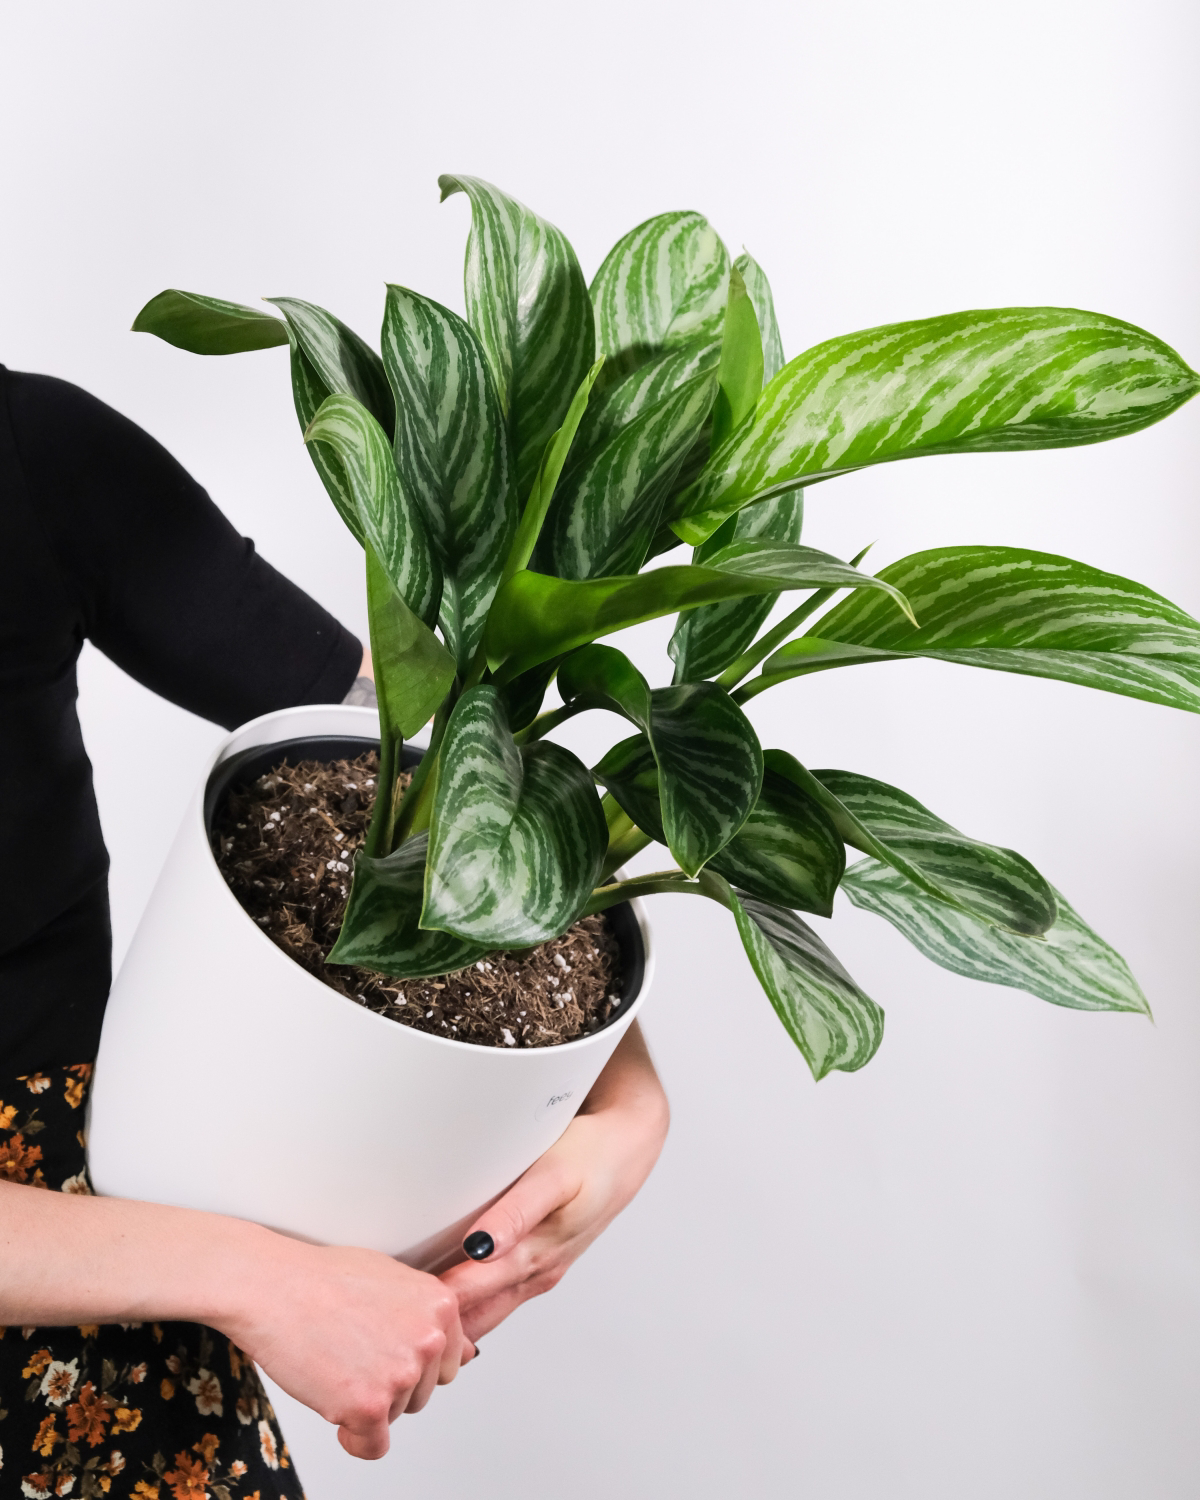
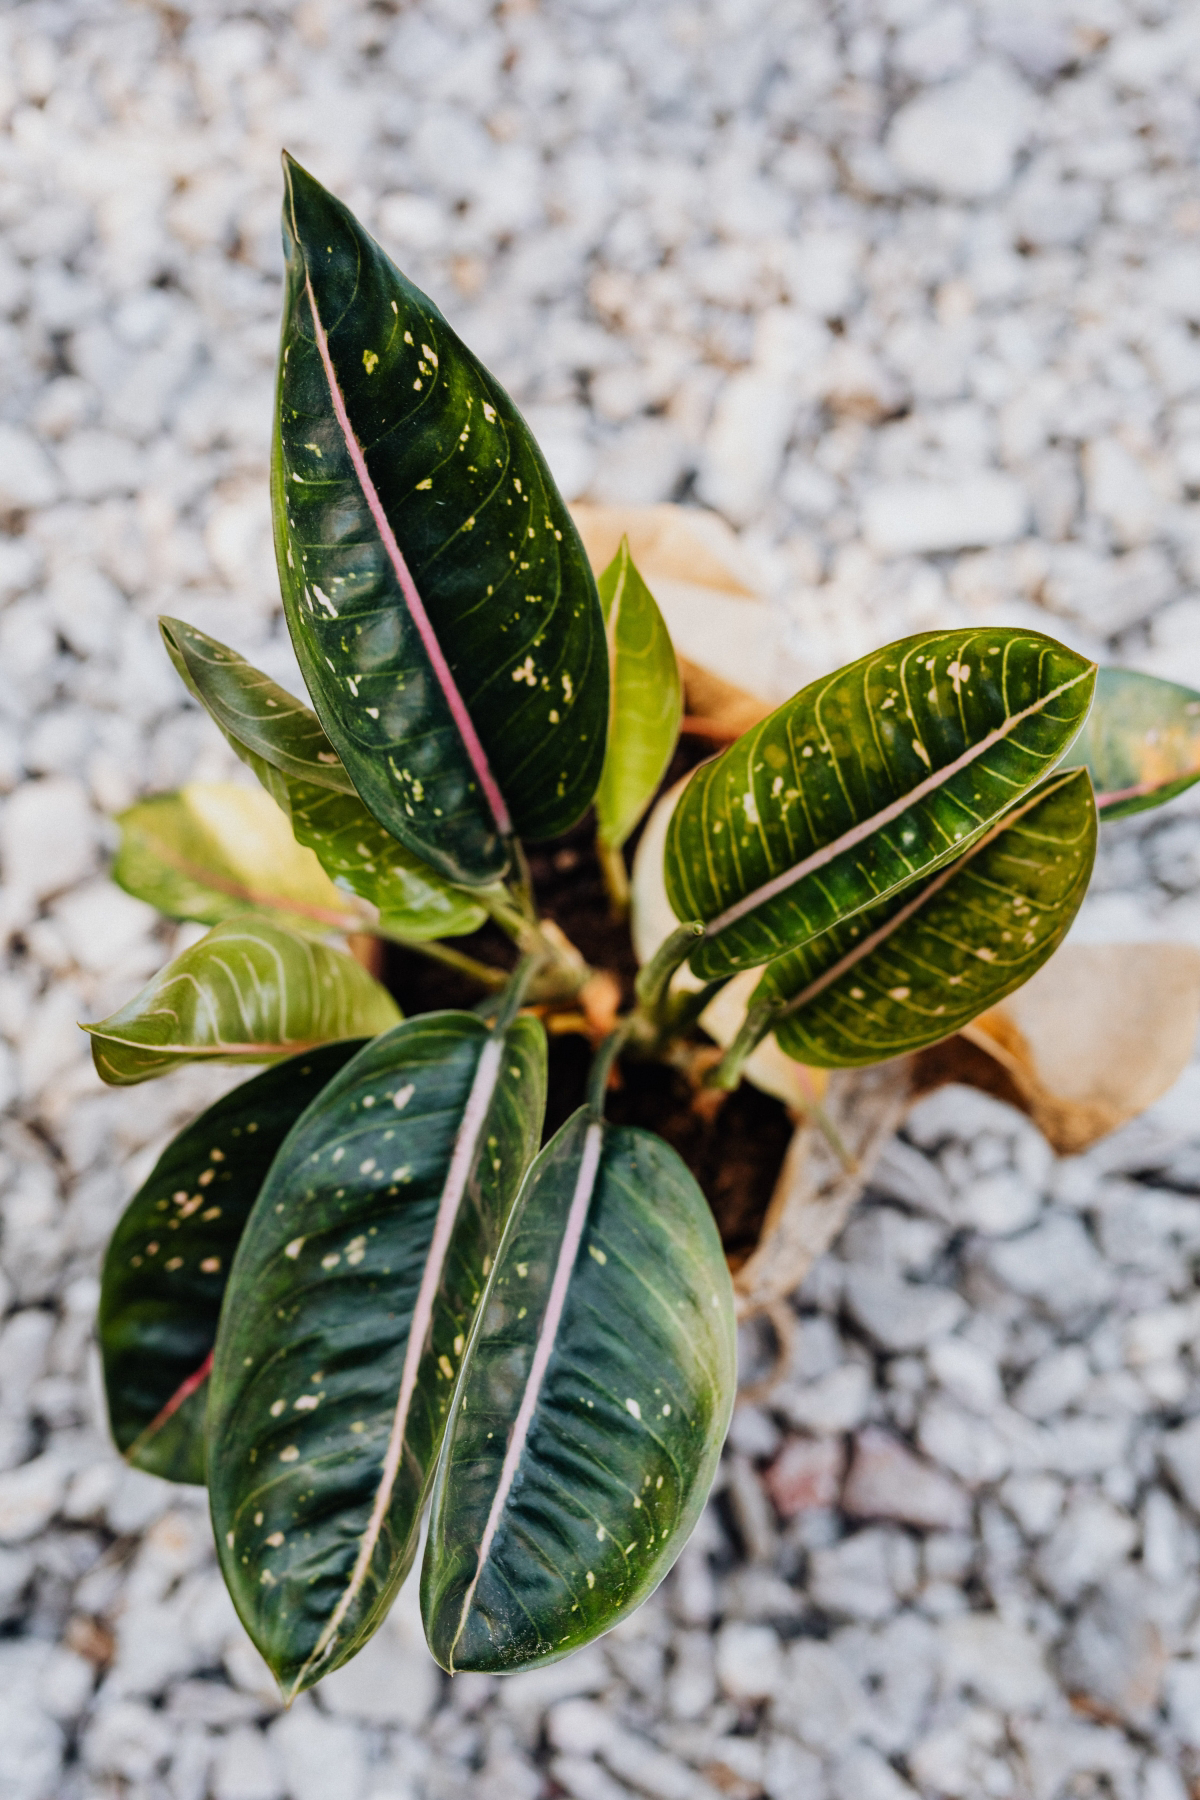
Now, what about those colorful varieties? People always wonder how some can handle low light while others can’t. It all comes down to the color. Classic, deep-green Aglaonemas are packed with chlorophyll, making them super efficient at turning faint light into food. They can get by in spots that would starve other plants.
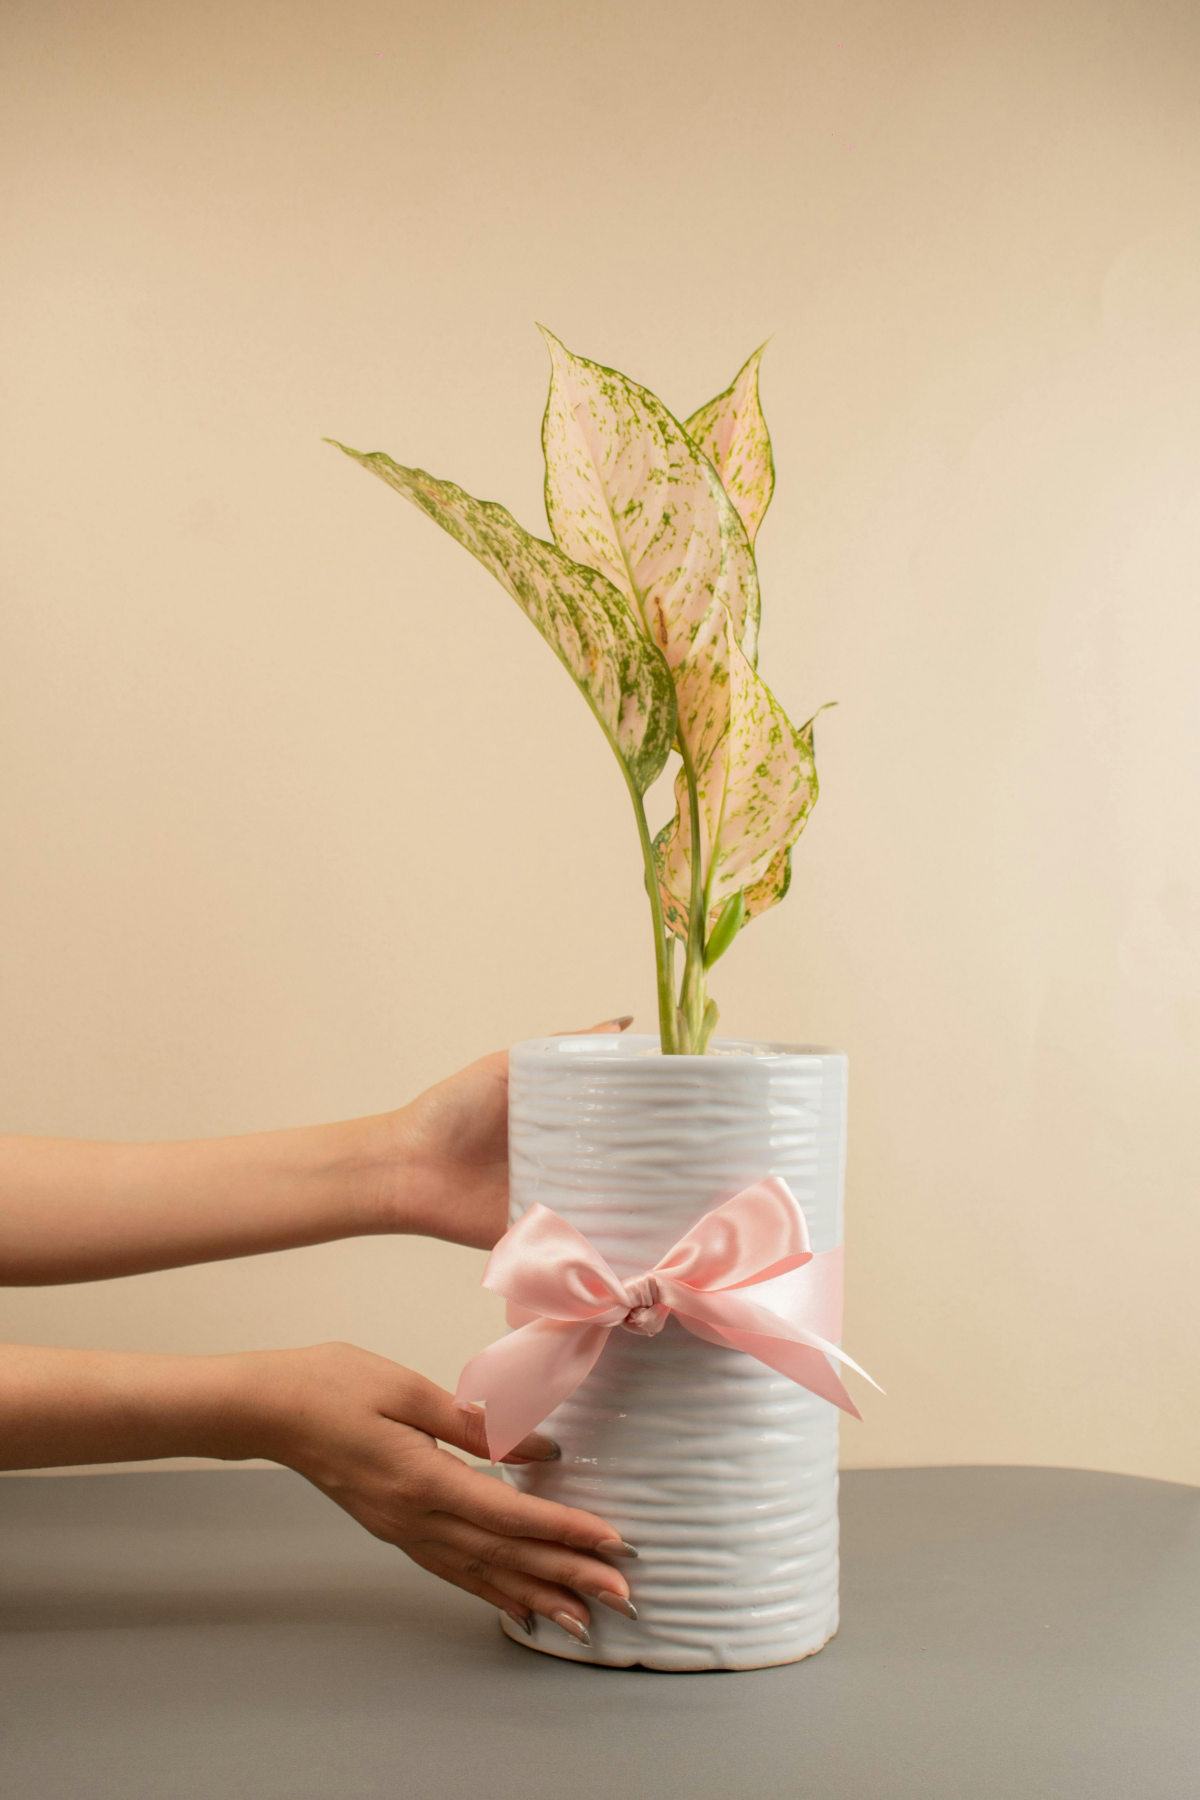
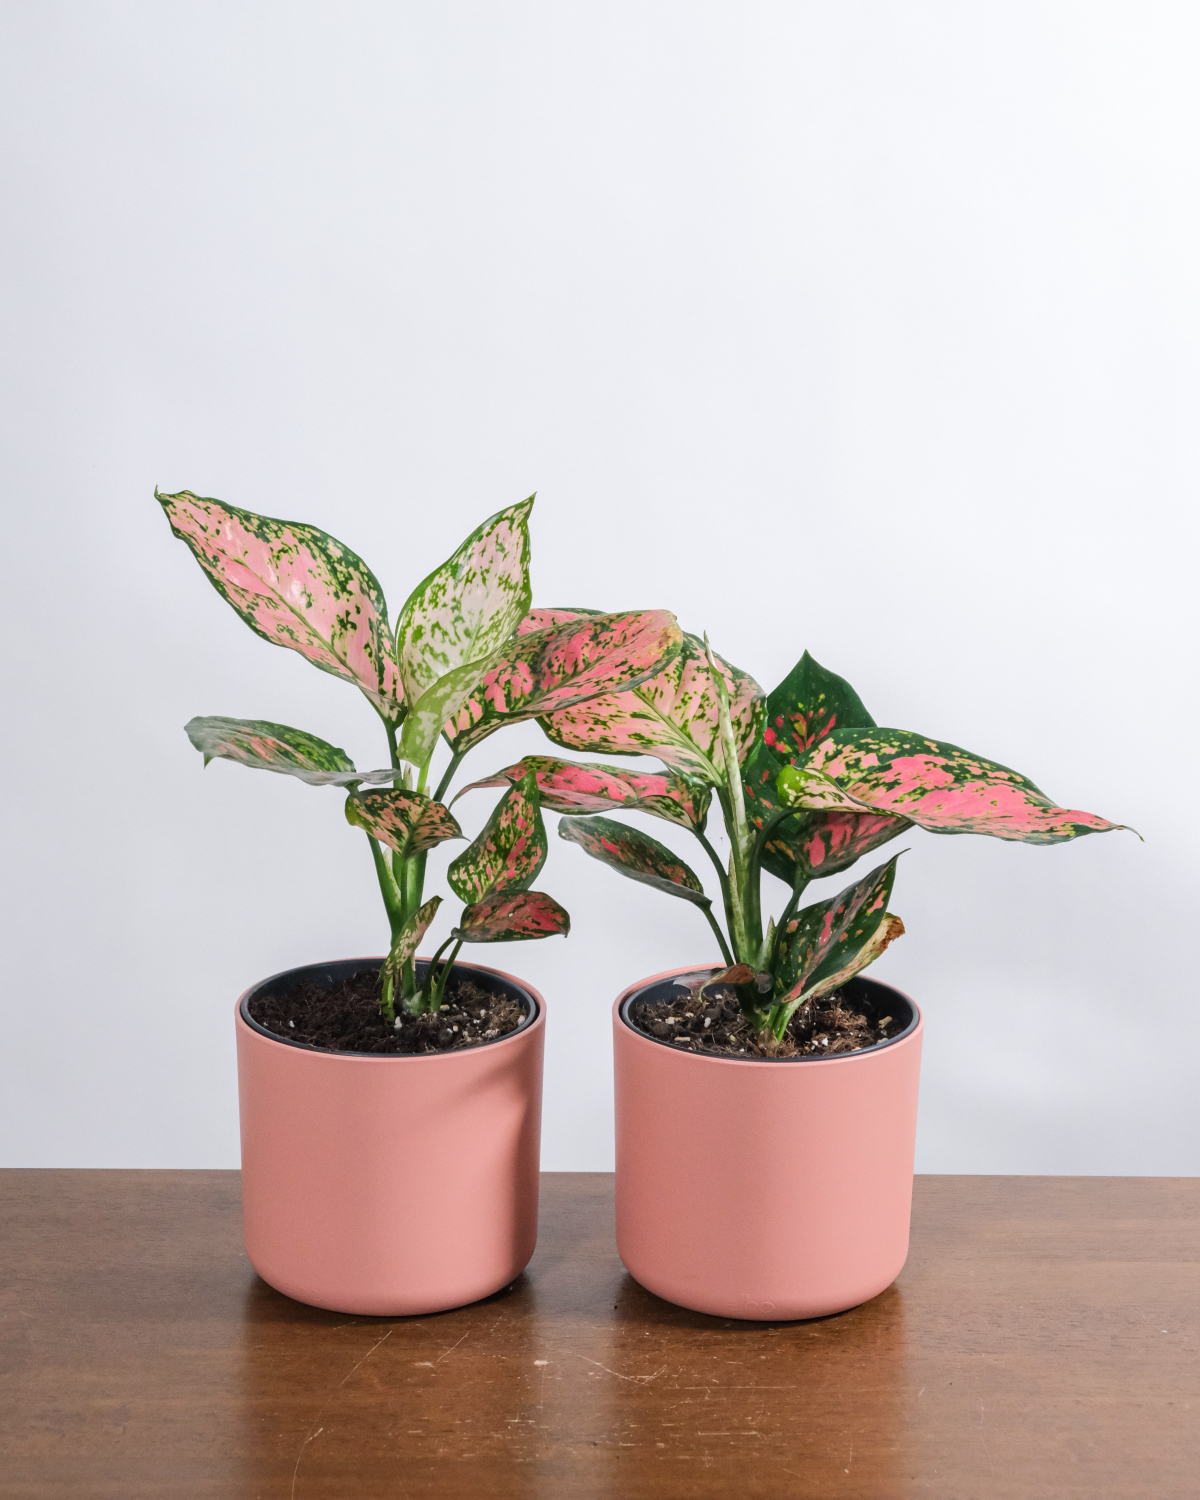
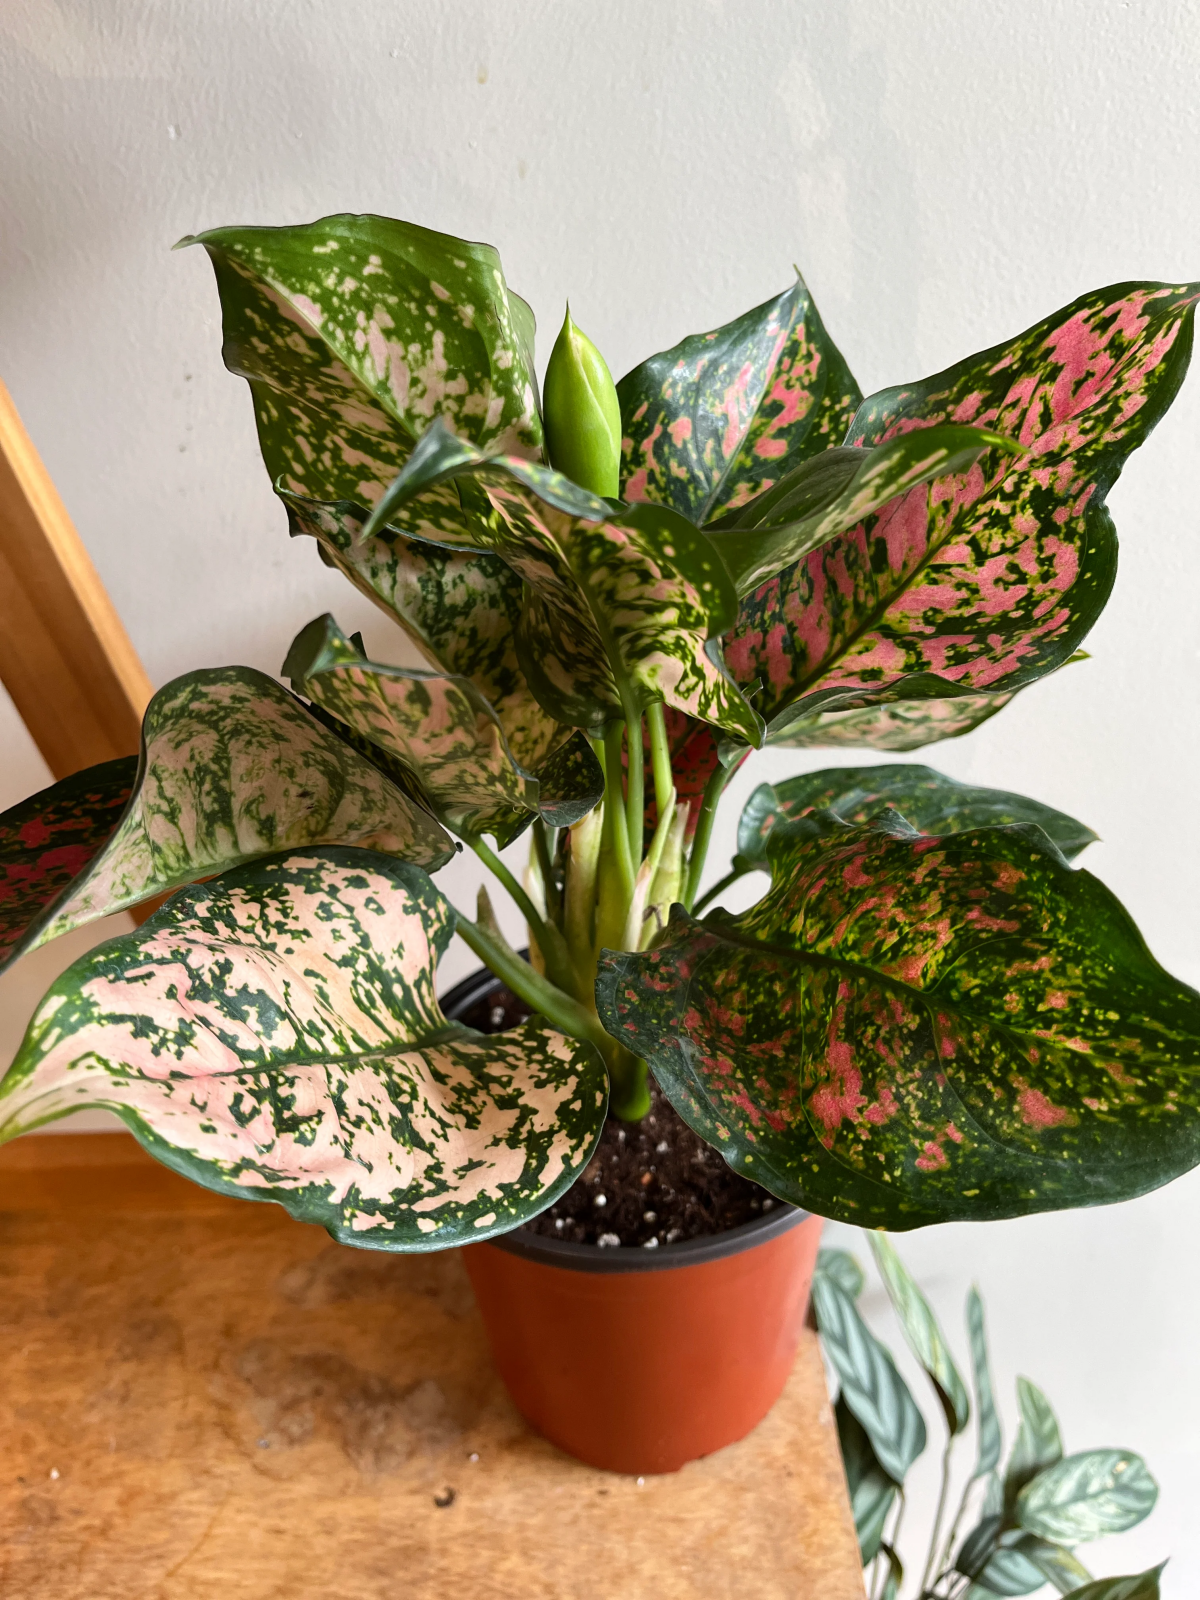
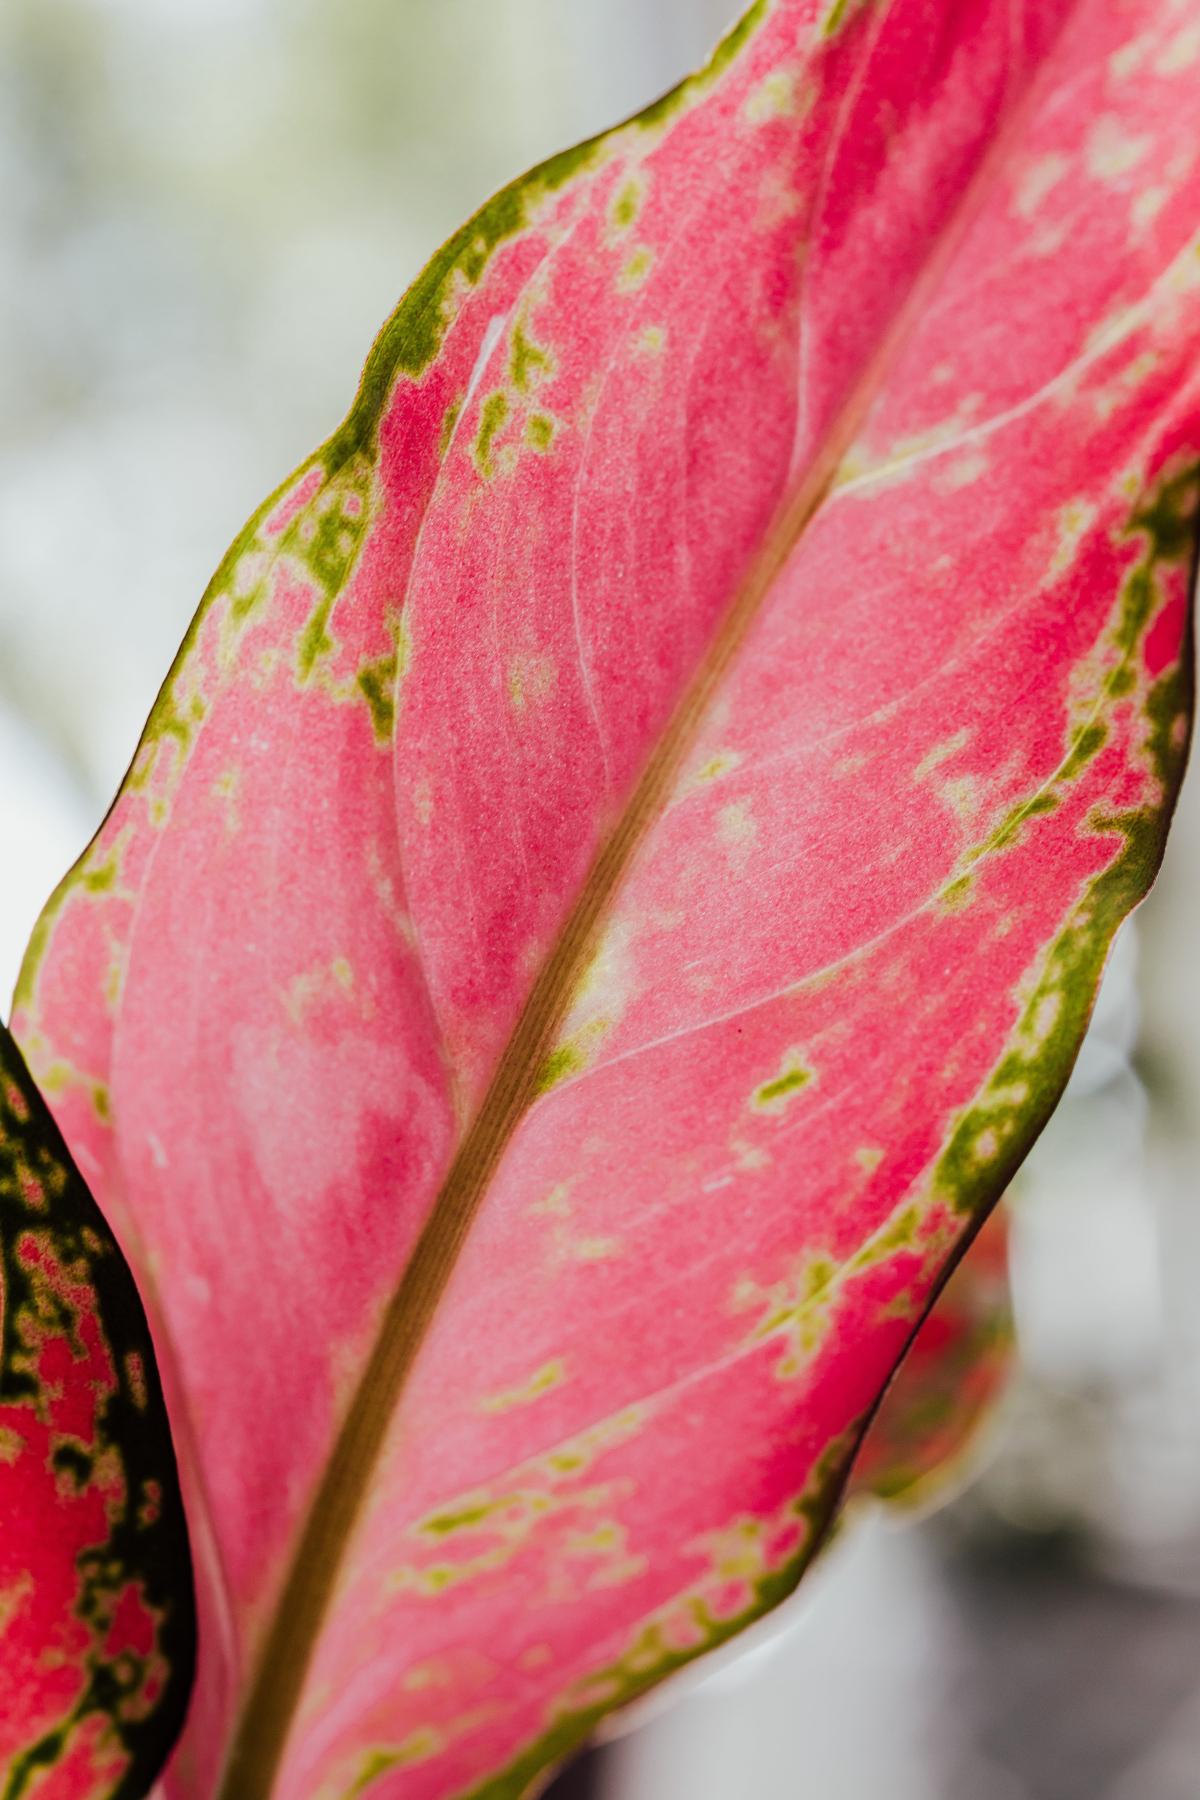
But the newer, flashy varieties with pink, red, or white splashes are a different story. Those beautiful colorful patches have little to no chlorophyll. This means they are way less efficient at making energy. So, to keep their vibrant colors, they need brighter, indirect light than their all-green cousins. Sticking a fiery red one in a dark corner is a classic mistake—it’ll probably fade and get weak over time.
Here’s a simple way to think about it:
- All-Green Types: These are your low-light champions. They’re more tolerant of shadier spots and are generally tougher. The common mistake here is giving them too much direct sun, which can scorch their leaves.
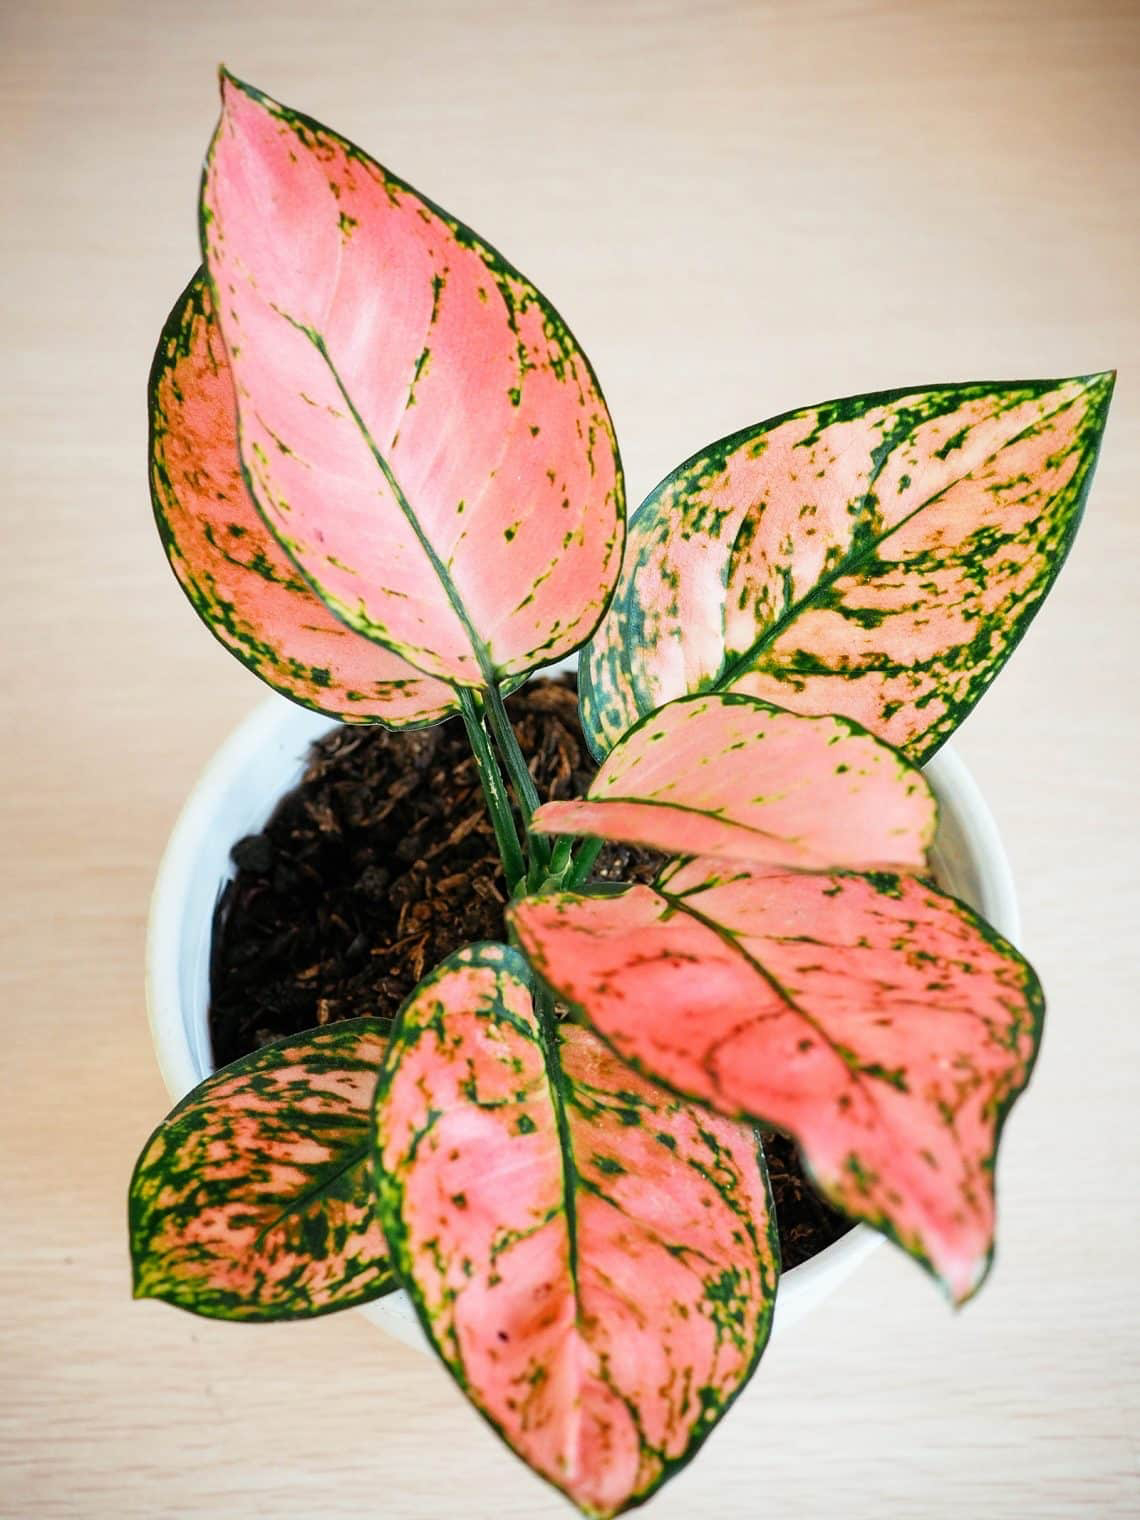
- Colorful (Pink/Red/White) Types: These need more light to stay colorful. Give them medium to bright, but always indirect, light. The biggest mistake is putting them in a dark corner where they’ll lose their pizzazz and struggle to survive.
The Single Most Important Thing: Soil & Potting
If I had to point to one thing that causes the most houseplant failures, it’s the soil. That generic, all-purpose potting mix you grab at a big-box store just isn’t cut out for Aglaonemas. It’s usually made of fine peat moss that holds way too much water and compacts over time, squeezing all the air out. This is a direct invitation for root rot, the #1 killer of these plants.
My Go-To Aroid Soil Recipe
After years of trial and error, I’ve landed on a mix that’s pretty much perfect. It gives you the ideal balance of moisture, drainage, and aeration. Mixing it yourself is a game-changer, and it’s way cheaper in the long run.
Here’s the recipe by volume:
- 1 part high-quality indoor potting mix
- 1 part perlite
- 1 part fine-grade orchid bark
Just toss it all in a bucket or on a tarp and mix it up. The final product should feel chunky and light, not dense and heavy. And by the way, when I say “high-quality” potting mix, look for brands like Espoma or FoxFarm, which tend to have better ingredients. You can find all this stuff at a local garden center, a hardware store like Home Depot, or online. A big bag of perlite might cost you $8-$12, orchid bark around $8-$15, and good soil about $10-$15. For around $30-$40, you can make enough mix for a dozen plants, whereas a small bag of pre-made aroid mix can cost $25 on its own.
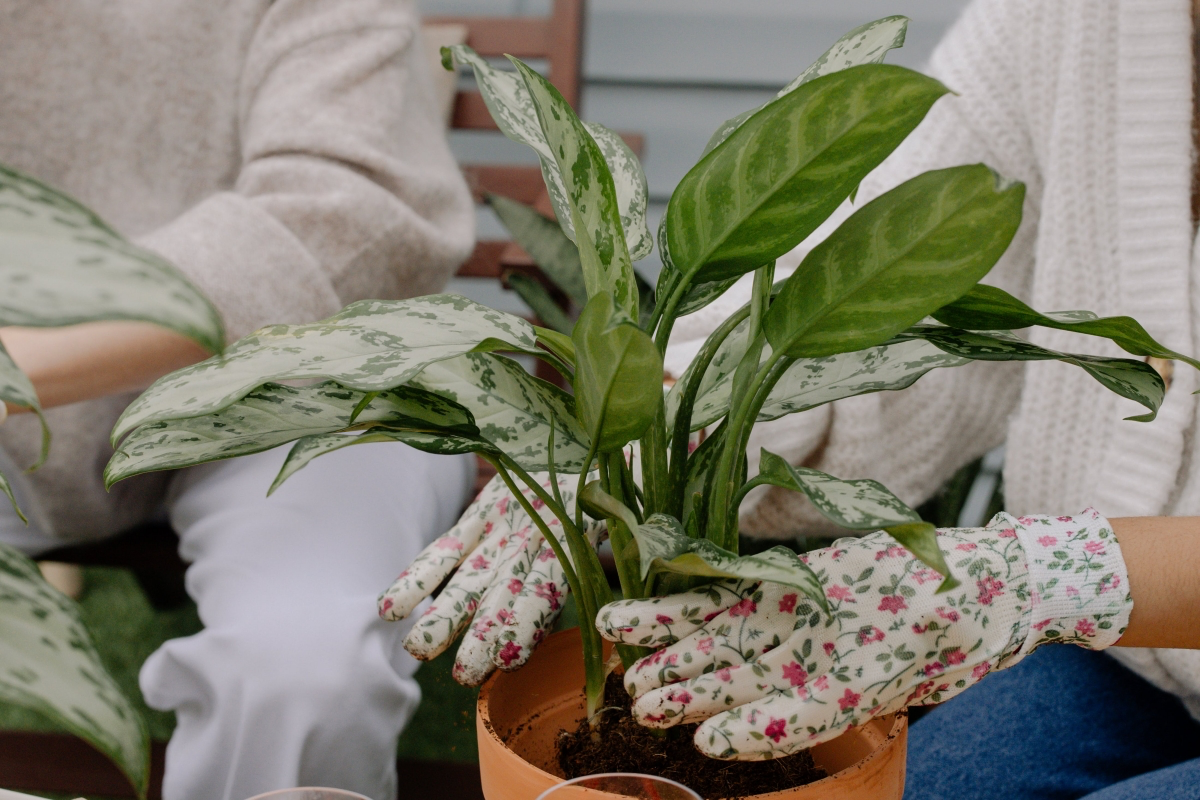
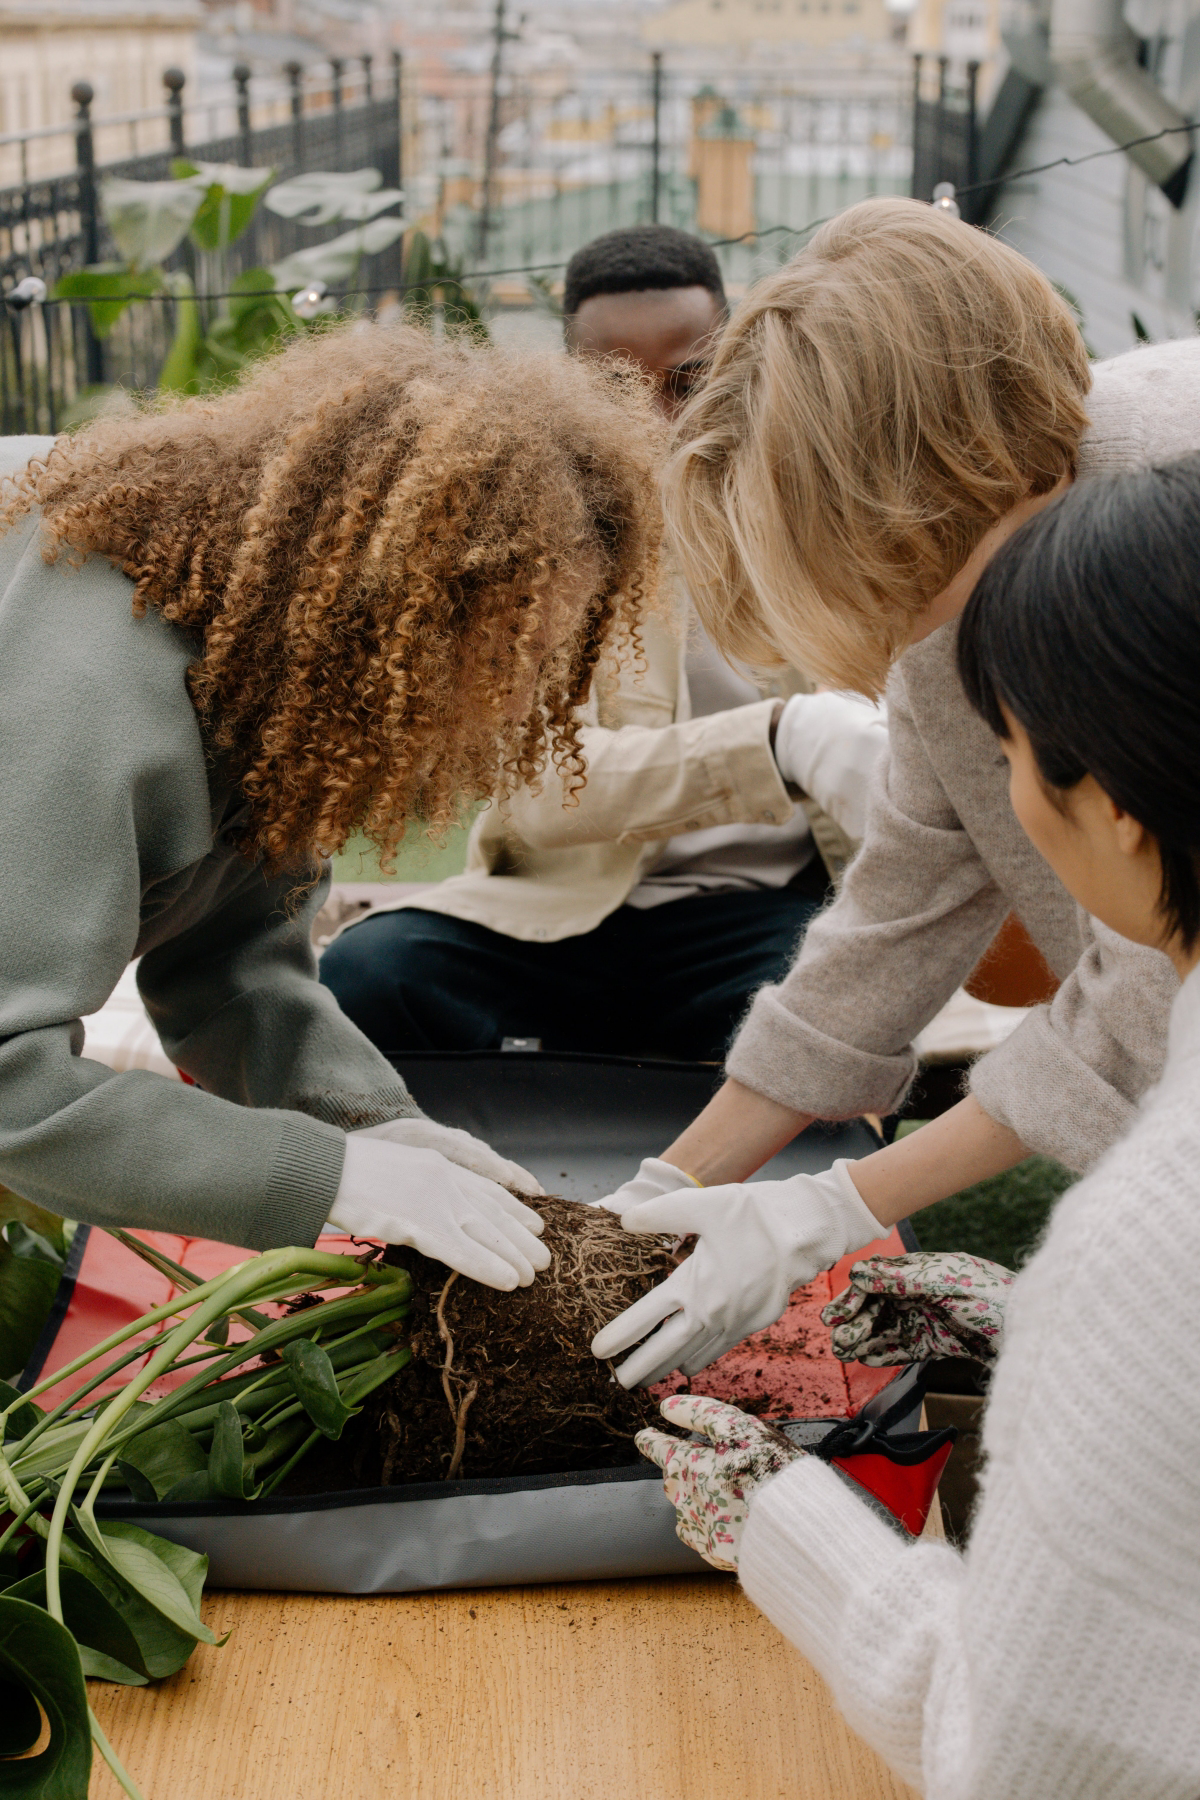
Choosing the Right Home (The Pot)
The pot is just as crucial as the soil. And I mean this: always use a pot with a drainage hole. No exceptions. If you find a gorgeous decorative pot without one, use it as a “cachepot.” That just means you keep the plant in its plastic nursery pot, and set that inside the pretty one. When it’s time to water, you pull the inner pot out, water it in the sink, let it drain for 20 minutes, and then pop it back in.
Quick Tip: When you repot, only go up one size. Choose a new pot that’s just 1-2 inches wider in diameter than the old one. A pot that’s too big holds a ton of extra soil that stays wet for too long, which is another fast track to root rot. This is a super common beginner mistake!
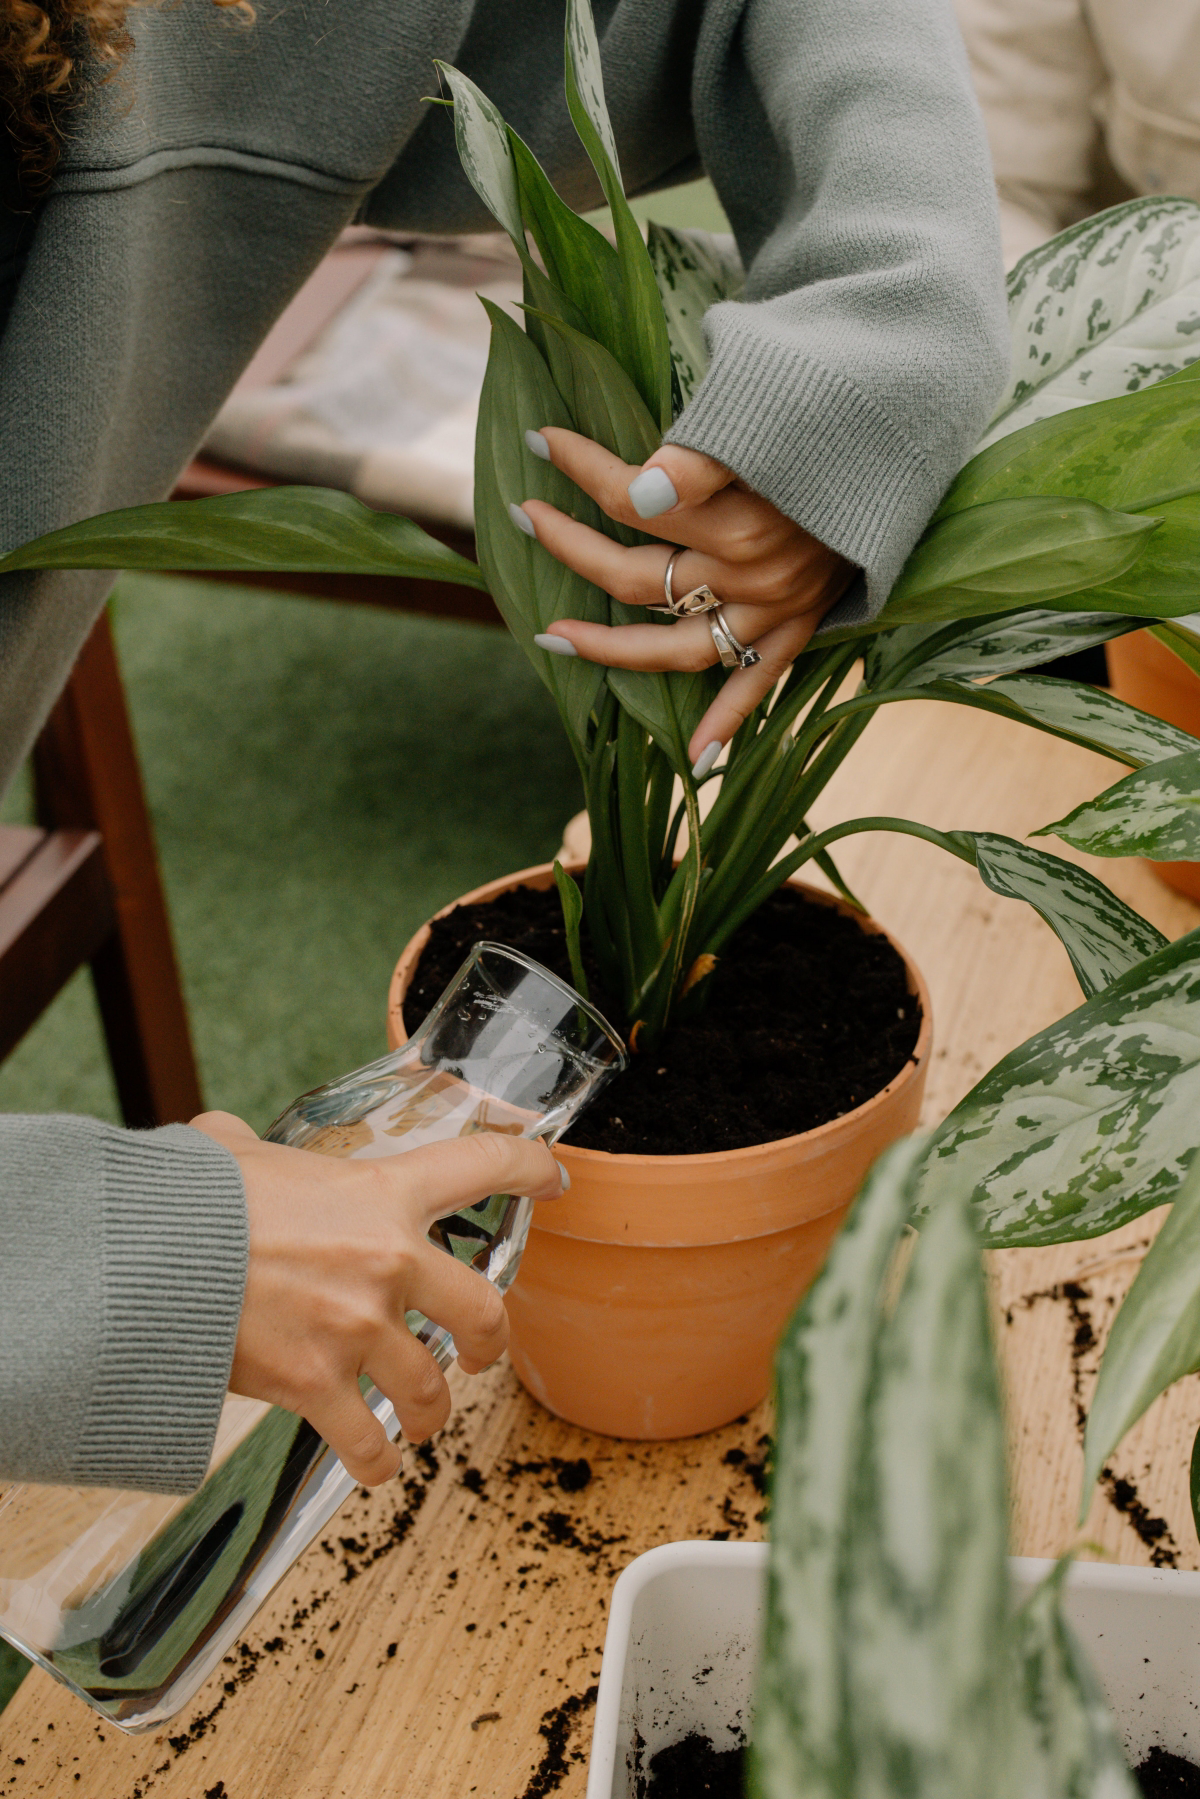
How to Water Like You Know What You’re Doing
Watering is a skill, not a schedule. Please, never just water “once a week.” Your plant’s needs will change based on the season, the light it gets, and how fast it’s growing. The real goal is to water deeply when the plant needs it, then let it dry out a bit.
So, how do you know when it’s time?
- The Finger Test: The old classic. Stick your finger into the soil up to your second knuckle. If it feels dry, it’s time to water. If you feel any moisture at all, give it a few more days.
- The Lift Test: Get a feel for how heavy the pot is right after you’ve watered it. Then, a week later, lift it again. A dry plant is noticeably lighter.
- The Chopstick Method: For bigger pots, a wooden dowel or a bamboo chopstick is your best friend. Push it gently into the soil, wait a minute, and pull it out. If it comes out clean and dry, it’s time for a drink. If it has moist soil stuck to it, wait.
When you do water, do it right. Take the plant to the sink and let lukewarm water run over the soil until it flows freely out the bottom. This flushes out any built-up mineral salts and makes sure the entire root system gets a drink. Then, and this is important, let it drain completely. Never, ever let an Aglaonema sit in a saucer of water.
Let There Be (the Right Kind of) Light
That phrase “bright, indirect light” can be so confusing. Let’s break it down in real-world terms.
- Low Light: A hallway, the middle of a room, or a corner far from a window. Only the tough, all-green types can handle this, and even then, they might get a little leggy over time.
- Medium Indirect Light: This is the sweet spot for most Aglaonemas. It’s the light you’d find a few feet back from an east-facing window, or well away from a bright south or west window. The room is bright, but the sun’s rays never hit the leaves directly.
- Bright Indirect Light: This is what you need for those colorful varieties. Think right next to an east-facing window, or near a west-facing window that has a sheer curtain to soften the sun.
The only real enemy is direct sun. A little bit of gentle morning sun is usually okay, but hot afternoon sun will absolutely scorch the leaves, leaving ugly brown or bleached-out patches.
Feeding Your Plant (Without Overdoing It)
In a pot, your plant is completely dependent on you for food. But trust me on this, over-fertilizing is a much bigger problem than under-fertilizing. Use any balanced, water-soluble fertilizer (like a 10-10-10), but here’s the key: dilute it to half or even a quarter of the recommended strength.
Feed it about once a month, but only during the spring and summer when it’s actively growing. In the fall and winter, back off completely. The plant is resting and feeding it can burn its roots.
How to Prune and Get Free Plants
As they get older, some Aglaonemas can get a bit long and leggy, with bare stems and a puff of leaves on top. This is totally normal, especially in lower light. Pruning is an easy fix that also gets you free plants!
Using a clean, sharp pair of shears (I always wipe mine with rubbing alcohol), find a leggy stem and cut it, leaving a few inches of stem on the main plant. Don’t be scared! It’s going to look a little ugly for a bit, but don’t panic. In about 2-3 weeks, you should see tiny new green bumps—new growth!—popping out from the base.
And that piece you just cut off? You can easily propagate it. Just strip off the bottom leaf or two to expose a few nodes (the little bumps on the stem), and stick it in a jar of water. Change the water every few days, and in 4 to 8 weeks, you should see roots. Once the roots are an inch or two long, you can plant it in soil.
Troubleshooting Like a Pro
Even with good care, things can go wrong. Here’s how to diagnose the most common issues.
- Yellowing Lower Leaves: 99% of the time, this is from overwatering. The soil is too wet, the roots are suffocating, and the plant is ditching its oldest leaves to survive. Let the soil dry out completely before you even think about watering again.
- Brown, Crispy Leaf Edges: This usually points to a water or humidity issue. It could be low humidity in your home, inconsistent watering (letting it go bone dry, then flooding it), or a buildup of minerals from tap water. Try grouping plants together or using a humidifier.
- Pests (Mealybugs & Spider Mites): These are the two most likely culprits. Mealybugs look like little white cottony specks, and spider mites leave fine webbing. First, blast them off in the shower. Then, you need to treat the plant. My go-to emergency spray is simple: mix one teaspoon of neem oil and half a teaspoon of mild dish soap into a quart of lukewarm water. Shake it up and spray the entire plant, especially under the leaves. Repeat this every 5-7 days for a few weeks to break their life cycle.
Emergency Surgery: Fixing Root Rot
If you suspect severe root rot (the stem feels soft at the base or the soil smells swampy), you have to act fast. Gently take the plant out of the pot and wash off all the soil. Healthy roots are firm and white; rotted roots are brown, black, and mushy. Using clean scissors, cut off every single piece of rot. Be ruthless. Repot the plant in a smaller pot with fresh, dry soil mix. Wait a few days before watering lightly to let the cut roots heal. It’s plant ICU, and while it’s no guarantee, it’s the plant’s best shot.
A Serious Warning: This Plant is Toxic
I never leave a client’s home without discussing this, especially if they have pets or kids. All parts of the Aglaonema plant are toxic if chewed on or eaten. This is not a joke. The plant contains tiny, needle-like crystals that cause immediate and painful irritation, swelling, and burning in the mouth and throat. While it’s rarely fatal because the pain stops most pets or kids after one bite, it’s incredibly distressing and can require a trip to the vet or doctor. The only responsible way to keep this plant is to place it completely out of reach. High shelves, hanging baskets, or a locked room are your only safe bets.
Galerie d’inspiration
When it comes to feeding your Aglaonema, less is definitely more. During the growing season (spring and summer), use a balanced liquid fertilizer, like Schultz 10-15-10 Plant Food, but dilute it to half the recommended strength. Feed it once a month at most. Over-fertilizing is a fast track to burnt leaf tips and root damage. In fall and winter, the plant is resting, so stop fertilizing altogether.
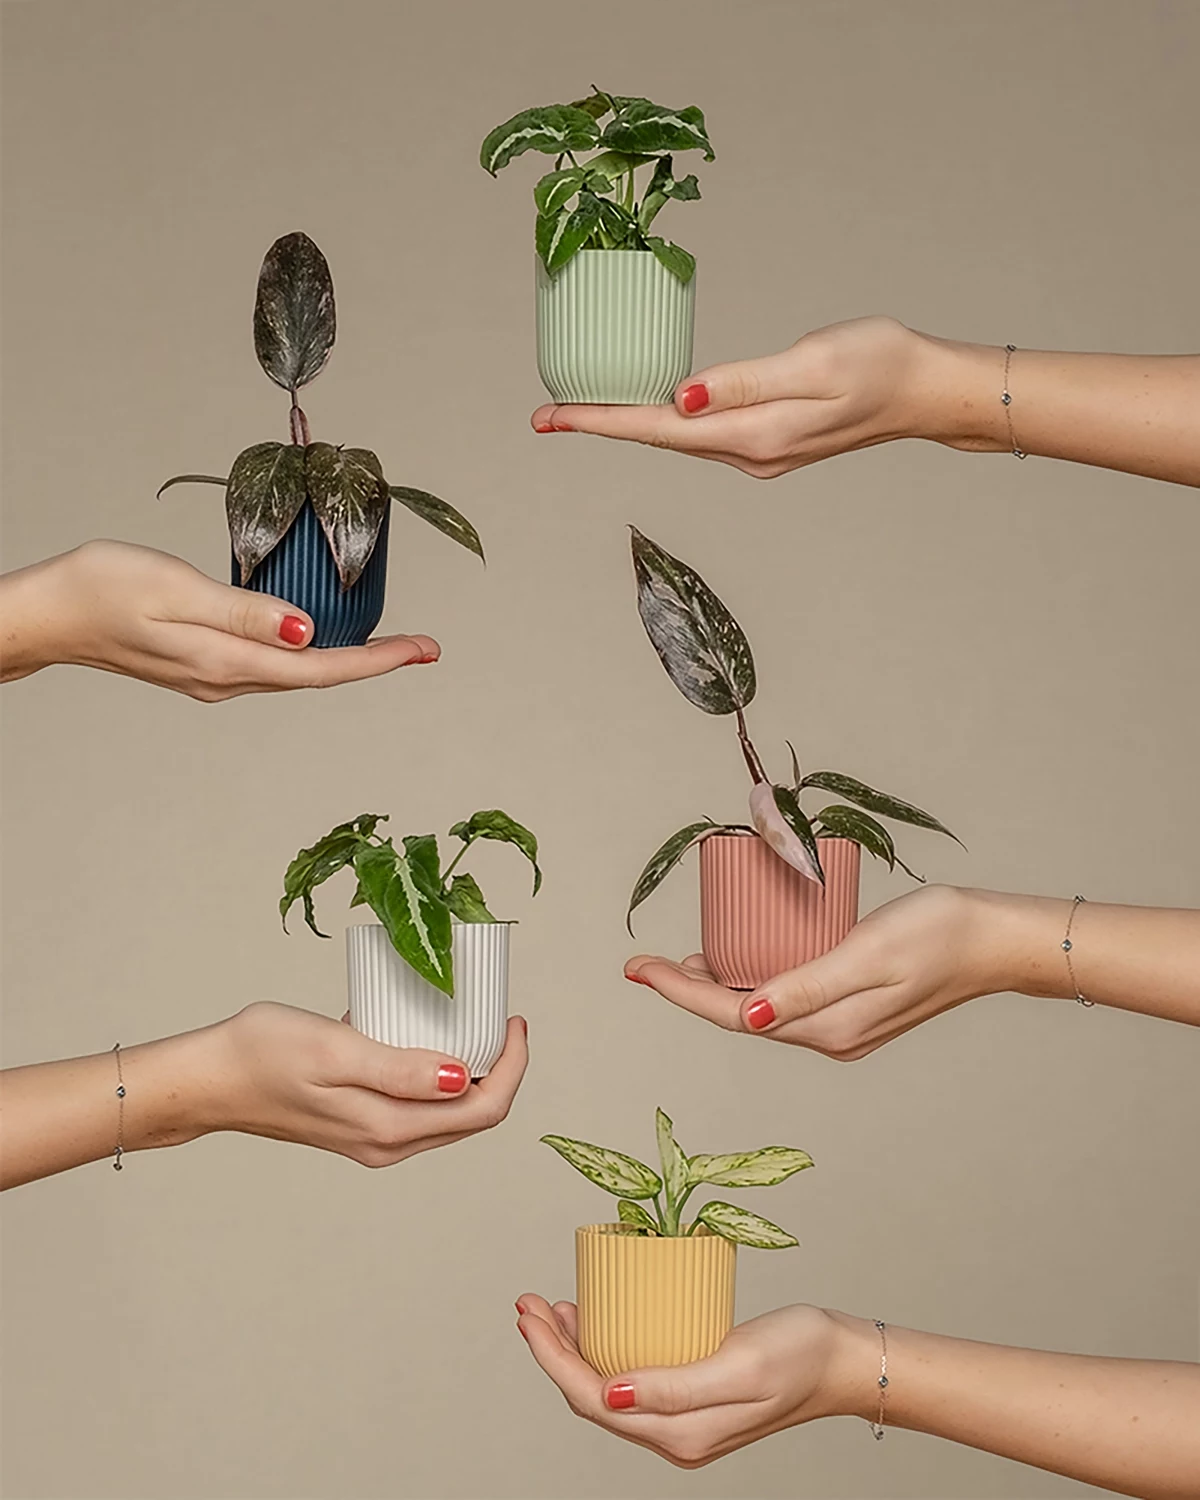
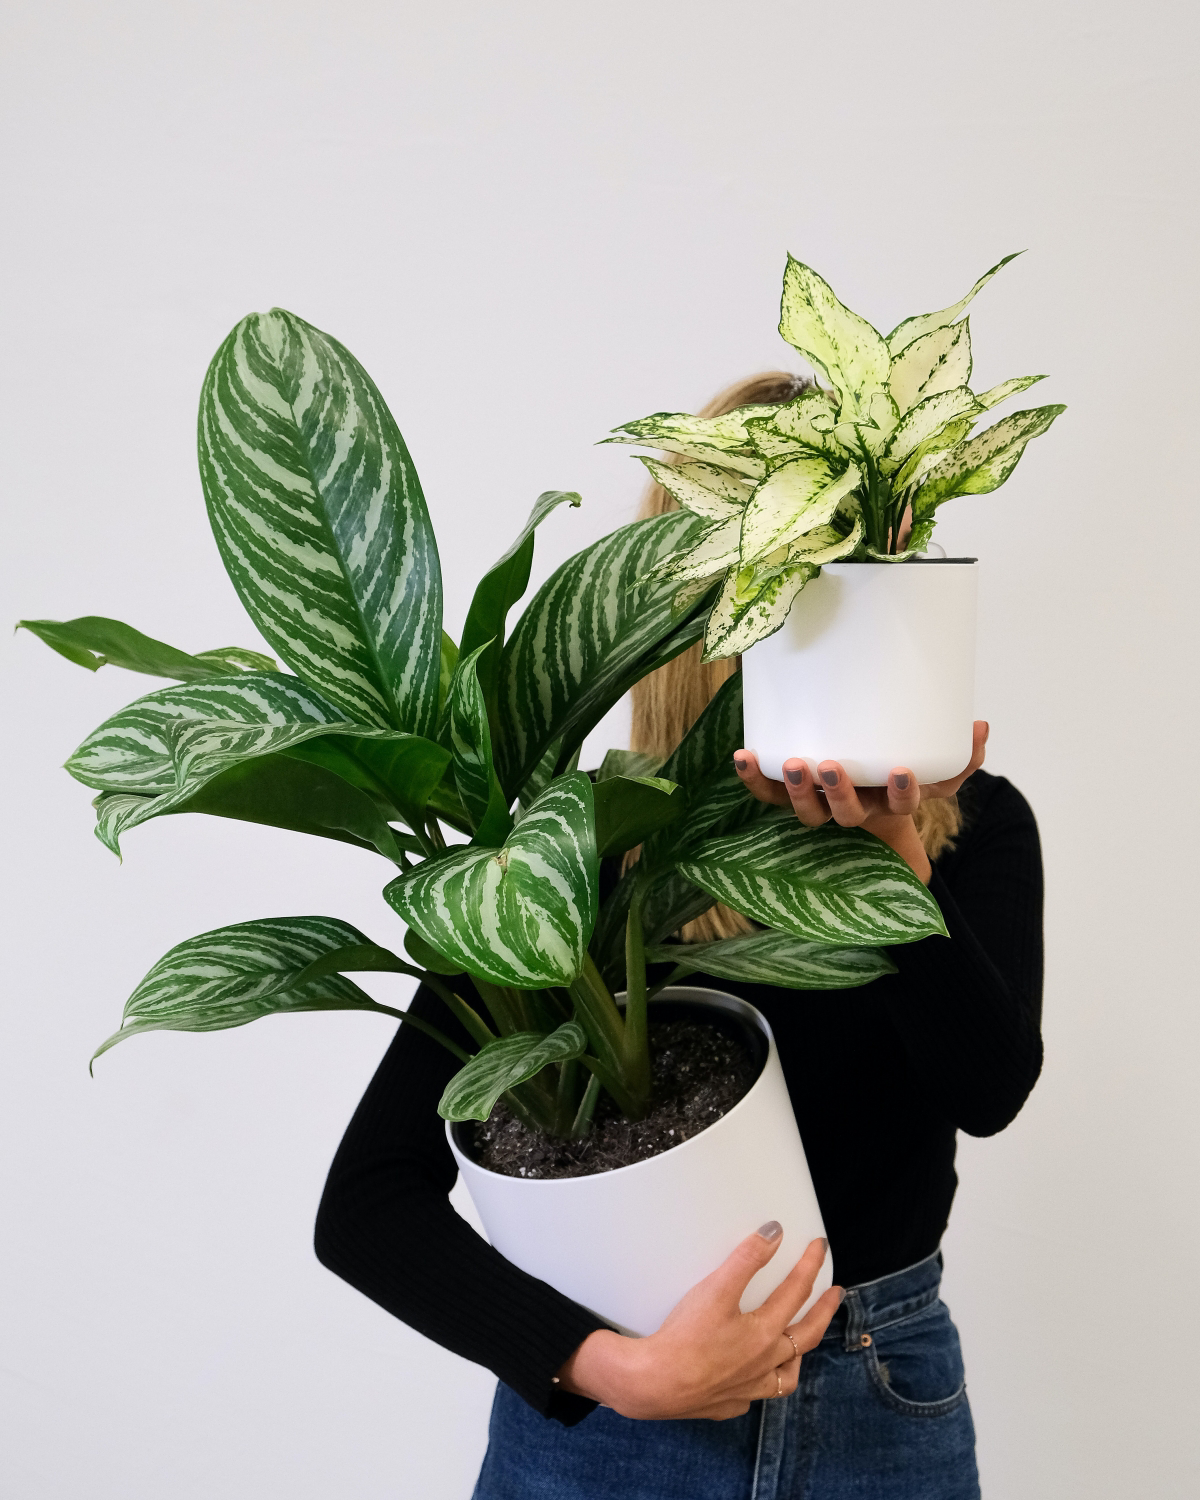
- Creates a stunning visual display by grouping plants with contrasting foliage.
- Increases local humidity, creating a micro-climate that helps all the plants thrive.
- Simplifies your watering routine, as you can check on them all at once.
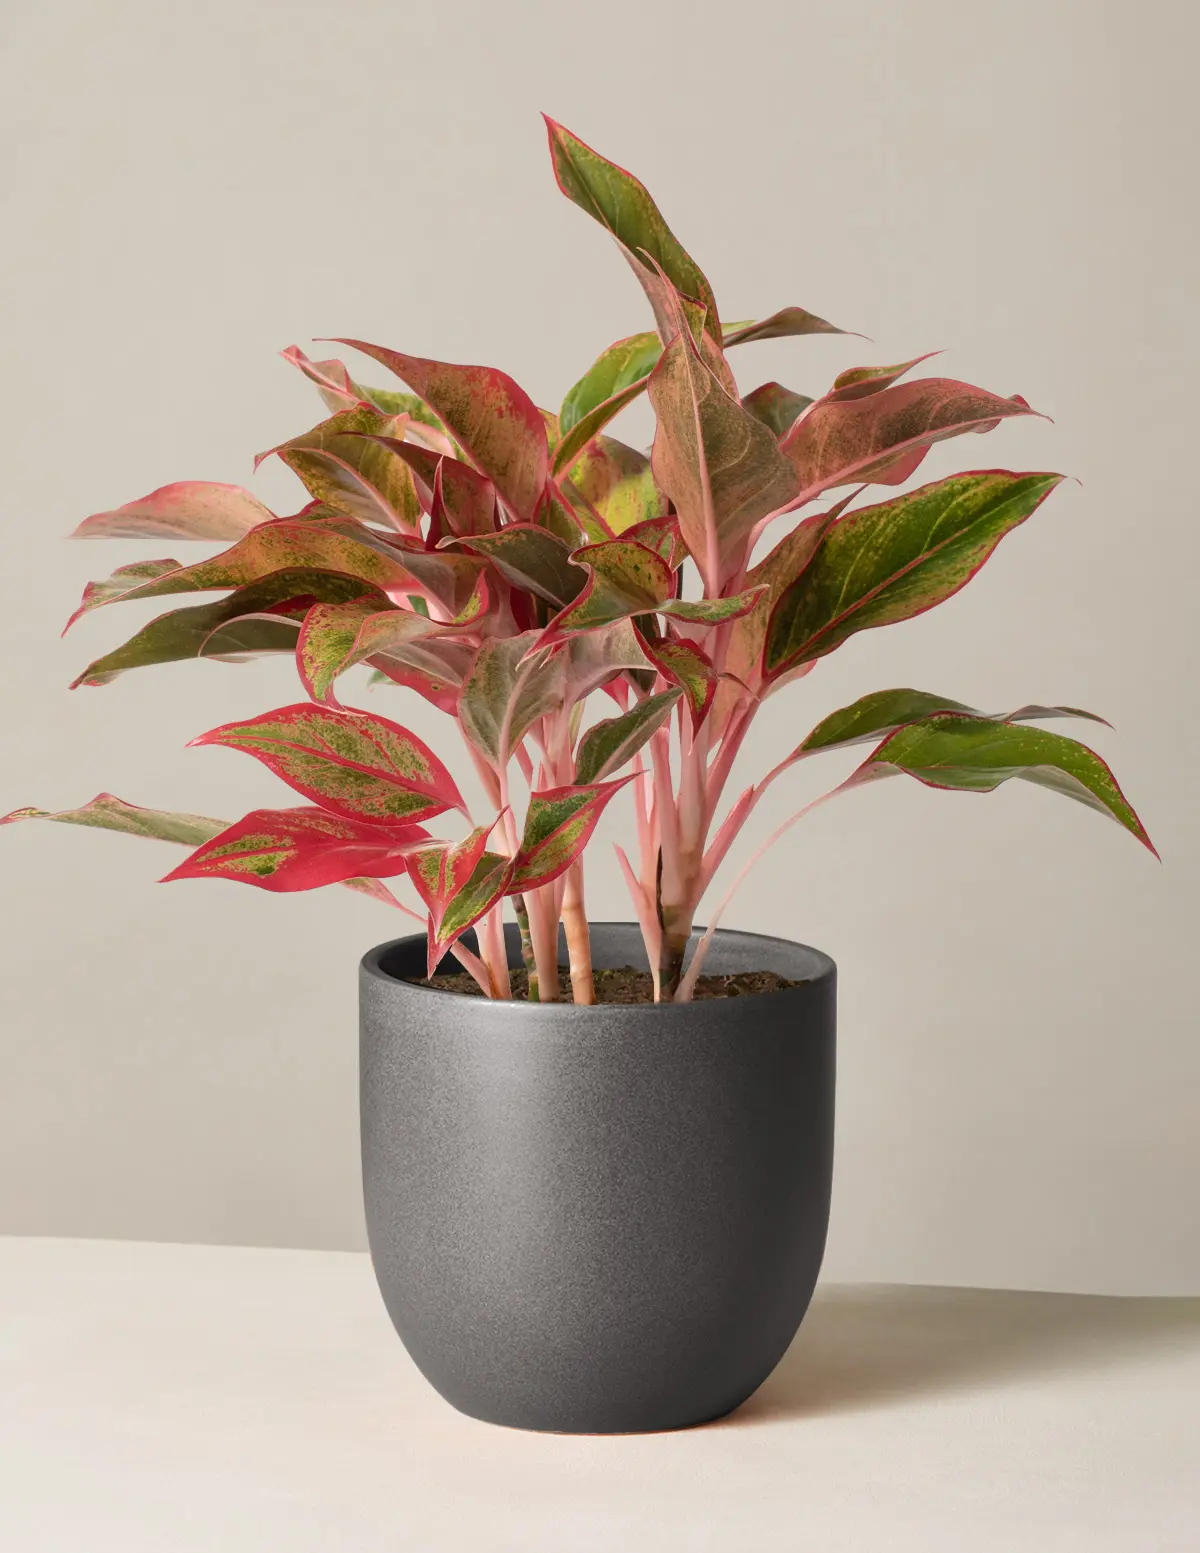
The secret to a successful Aglaonema grouping? Combine a tall, upright variety like ‘Silver Bay’ with a bushier, more colorful one like ‘Red Valentine’ and a compact, dark green like ‘Maria’ to create layers of texture and color.
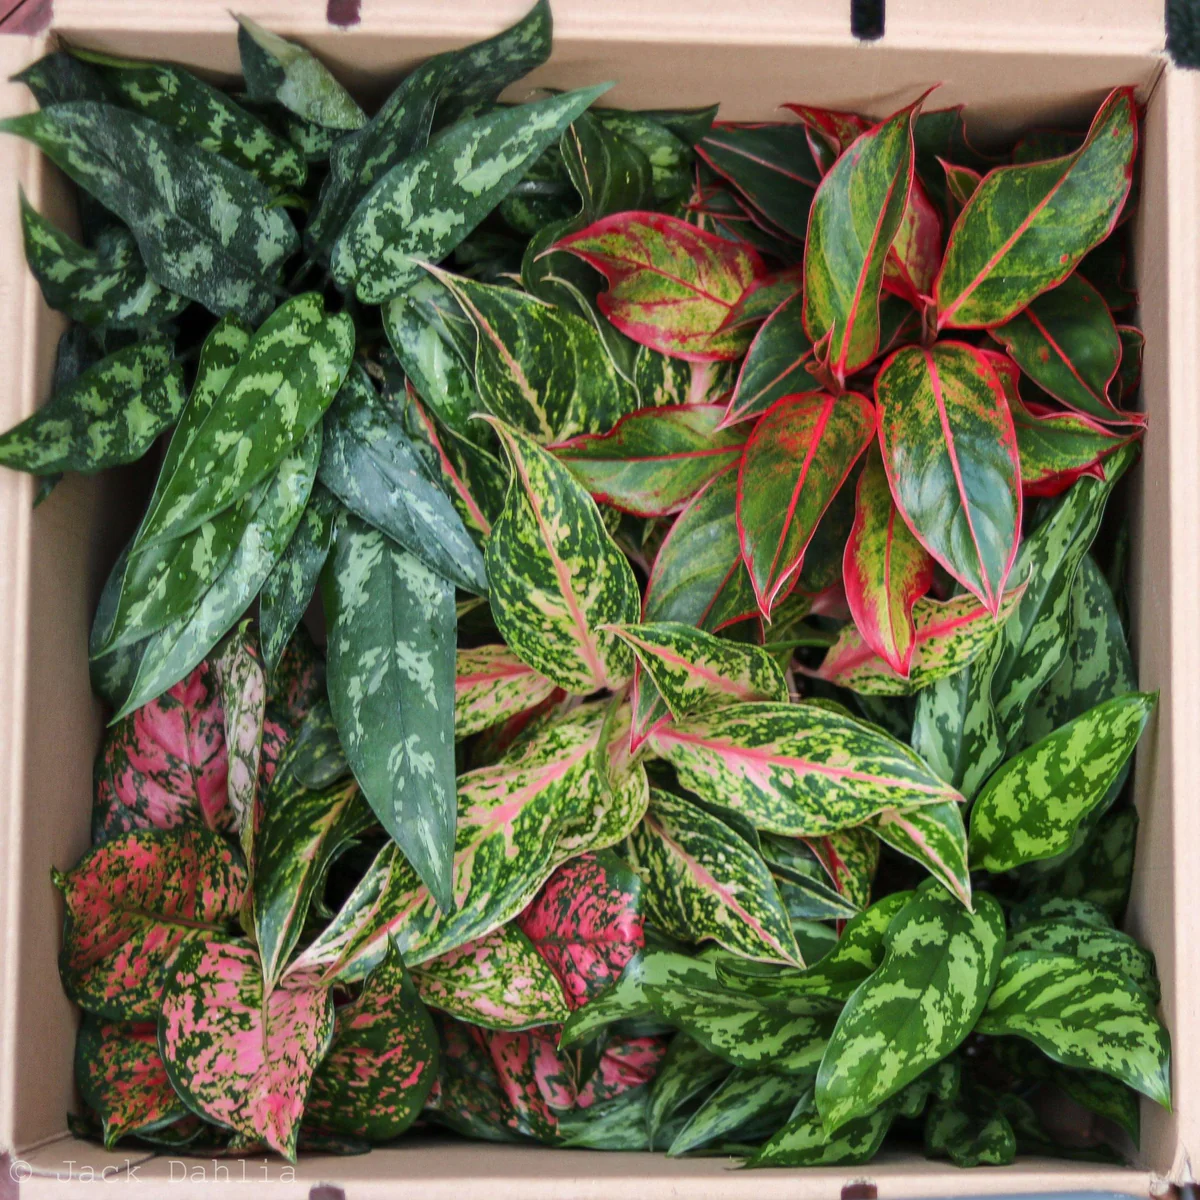
Classic ‘Maria’ Aglaonema: This is your go-to for lower light conditions. Its deep green, chevron-patterned leaves are incredibly efficient at photosynthesis. A tough, resilient, and budget-friendly choice for beginners.
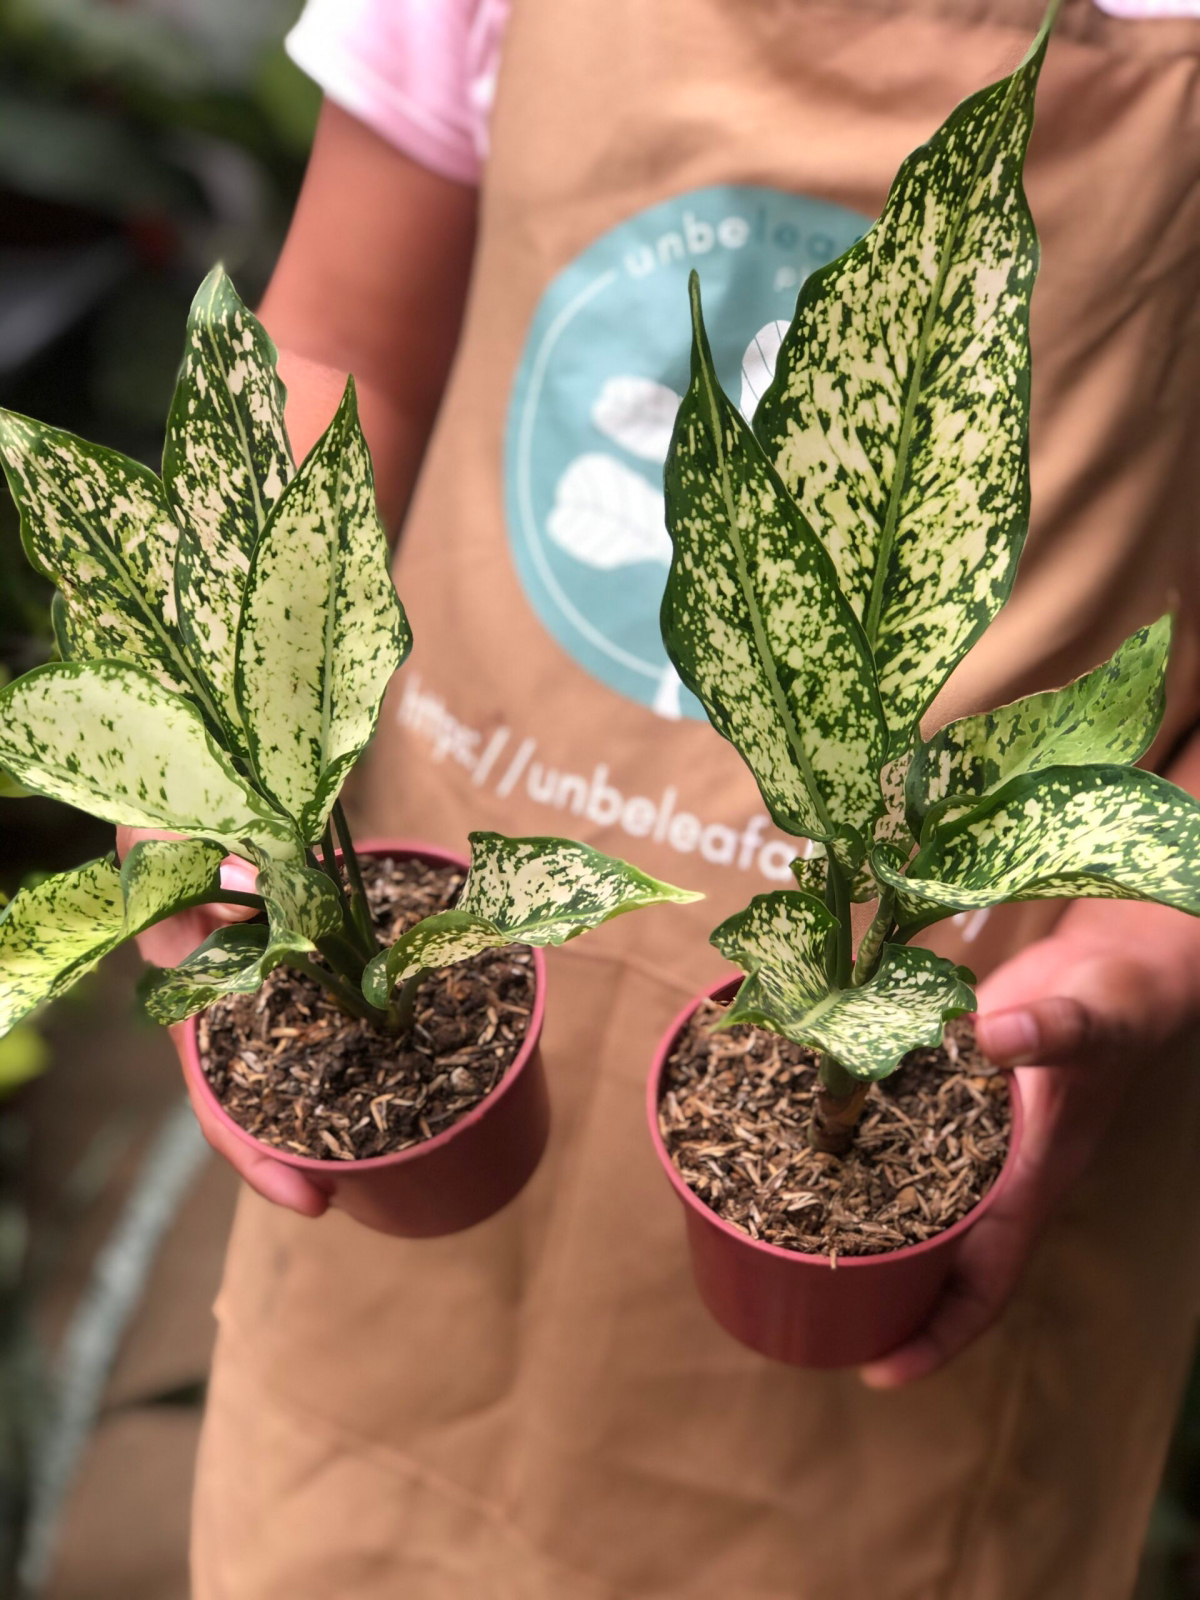
Trendy ‘Pink Dalmatian’ Aglaonema: Known for its light green leaves speckled with vibrant pink. It requires much brighter, indirect light to maintain that unique coloration and is often sold at a premium price.
Choose based on your room’s light, not just the look.
In many parts of Asia, the Aglaonema is considered a plant that brings good fortune, luck, and prosperity to the home.
This belief stems from its incredible resilience and ability to thrive even in challenging conditions. Its longevity symbolizes stability, and its air-purifying qualities are thought to cleanse the space of negative energy. Placing one near the entrance of a home is a common practice to welcome positive vibes.
My Aglaonema’s leaves are turning yellow! What’s wrong?
This is the most common SOS call. Yellowing leaves, especially lower ones, are most often a sign of overwatering. Before you water, stick your finger two inches into the soil. If you feel any moisture, wait. If the soil is dry, then it’s time to water thoroughly. Occasionally, it can also signal a need for nutrients (if you haven’t fertilized in over a year) or it might just be an old leaf naturally dying off. Check the soil first—it’s the biggest culprit.
The key to a happy Aglaonema is replicating its native rainforest floor environment, and that starts with the potting mix. Forget dense, heavy garden soil. You need something airy that drains in a flash. Create your own pro-level mix:
- One part high-quality indoor potting mix (like Black Gold All Purpose).
- One part orchid bark for chunky aeration.
- One part perlite to keep things light and prevent compaction.
This blend holds just enough moisture while letting the roots breathe, preventing the dreaded root rot.
Important point: While Aglaonemas are tough, they are highly sensitive to cold drafts. A sudden blast of cold air from an open window in winter or a vent blowing direct AC in summer can shock the plant, causing leaves to yellow or droop dramatically. Keep them in a stable environment away from temperature fluctuations to ensure they stay lush and healthy.

Did you know that Aglaonemas are toxic to both cats and dogs if ingested? The plant contains insoluble calcium oxalate crystals.
When a pet chews on the leaves or stem, these sharp, microscopic crystals are released, causing immediate irritation and pain to the mouth, lips, and tongue. Symptoms can include drooling, pawing at the mouth, and vomiting. While rarely fatal, it’s very uncomfortable for pets. If you have curious cats or dogs, it’s best to place your Chinese Evergreen on a high shelf or in a room they can’t access.
- Keep an eye out for fine, web-like material under the leaves or at the plant’s joints. That’s a sign of spider mites.
- Check for small, white, cottony masses tucked into the nooks where leaves meet the stem. These are mealybugs.
- For either pest, dip a cotton swab in 70% isopropyl alcohol and dab it directly on them to dissolve their protective coating. For a larger infestation, a gentle spray with insecticidal soap is effective.


