Container Gardening for Real People: How to Grow Amazing Food on Your Patio (Without Failing)
I’ve had my hands in the dirt for more than twenty years, first running a little market garden and then getting folks excited about gardening in the city. When I first started, I figured a pot was just a tiny field. Man, was I wrong.
In this article
A container is its own little world, a closed ecosystem where you are 100% in charge of everything—the soil, the water, the food. It’s a ton of control, which is both awesome and a little intimidating. A lot of people dive into container gardening thinking it’s the “easy” version. It’s definitely more manageable, but it plays by a different set of rules.
Honestly, I learned these rules the hard way. I’m talking about losing a whole crop of beautiful tomatoes to blossom-end rot or staring at sad, stunted pepper plants and wondering what I did wrong. This guide is built on all those mistakes so you don’t have to make them. We’re going way beyond just listing plants; we’re talking about the real foundation for success: picking the right pot, creating soil that’s actually alive, and understanding what your plants are trying to tell you.
First Things First: Your Pot and Soil Are Everything
Before you even dream about seeds or seedlings, you have to get this part right. Your container and the mix you put in it are the entire universe for your plant’s roots. Messing this up is, without a doubt, the number one reason beginners get discouraged. And let me be clear: you can’t just scoop some dirt out of your backyard, plop it in a pot, and hope for the best. It just doesn’t work.
Choosing Your Container
The pot you choose isn’t just about looks; it affects how warm the soil gets, how often you have to water, and how happy the roots are. They all have their pros and cons.
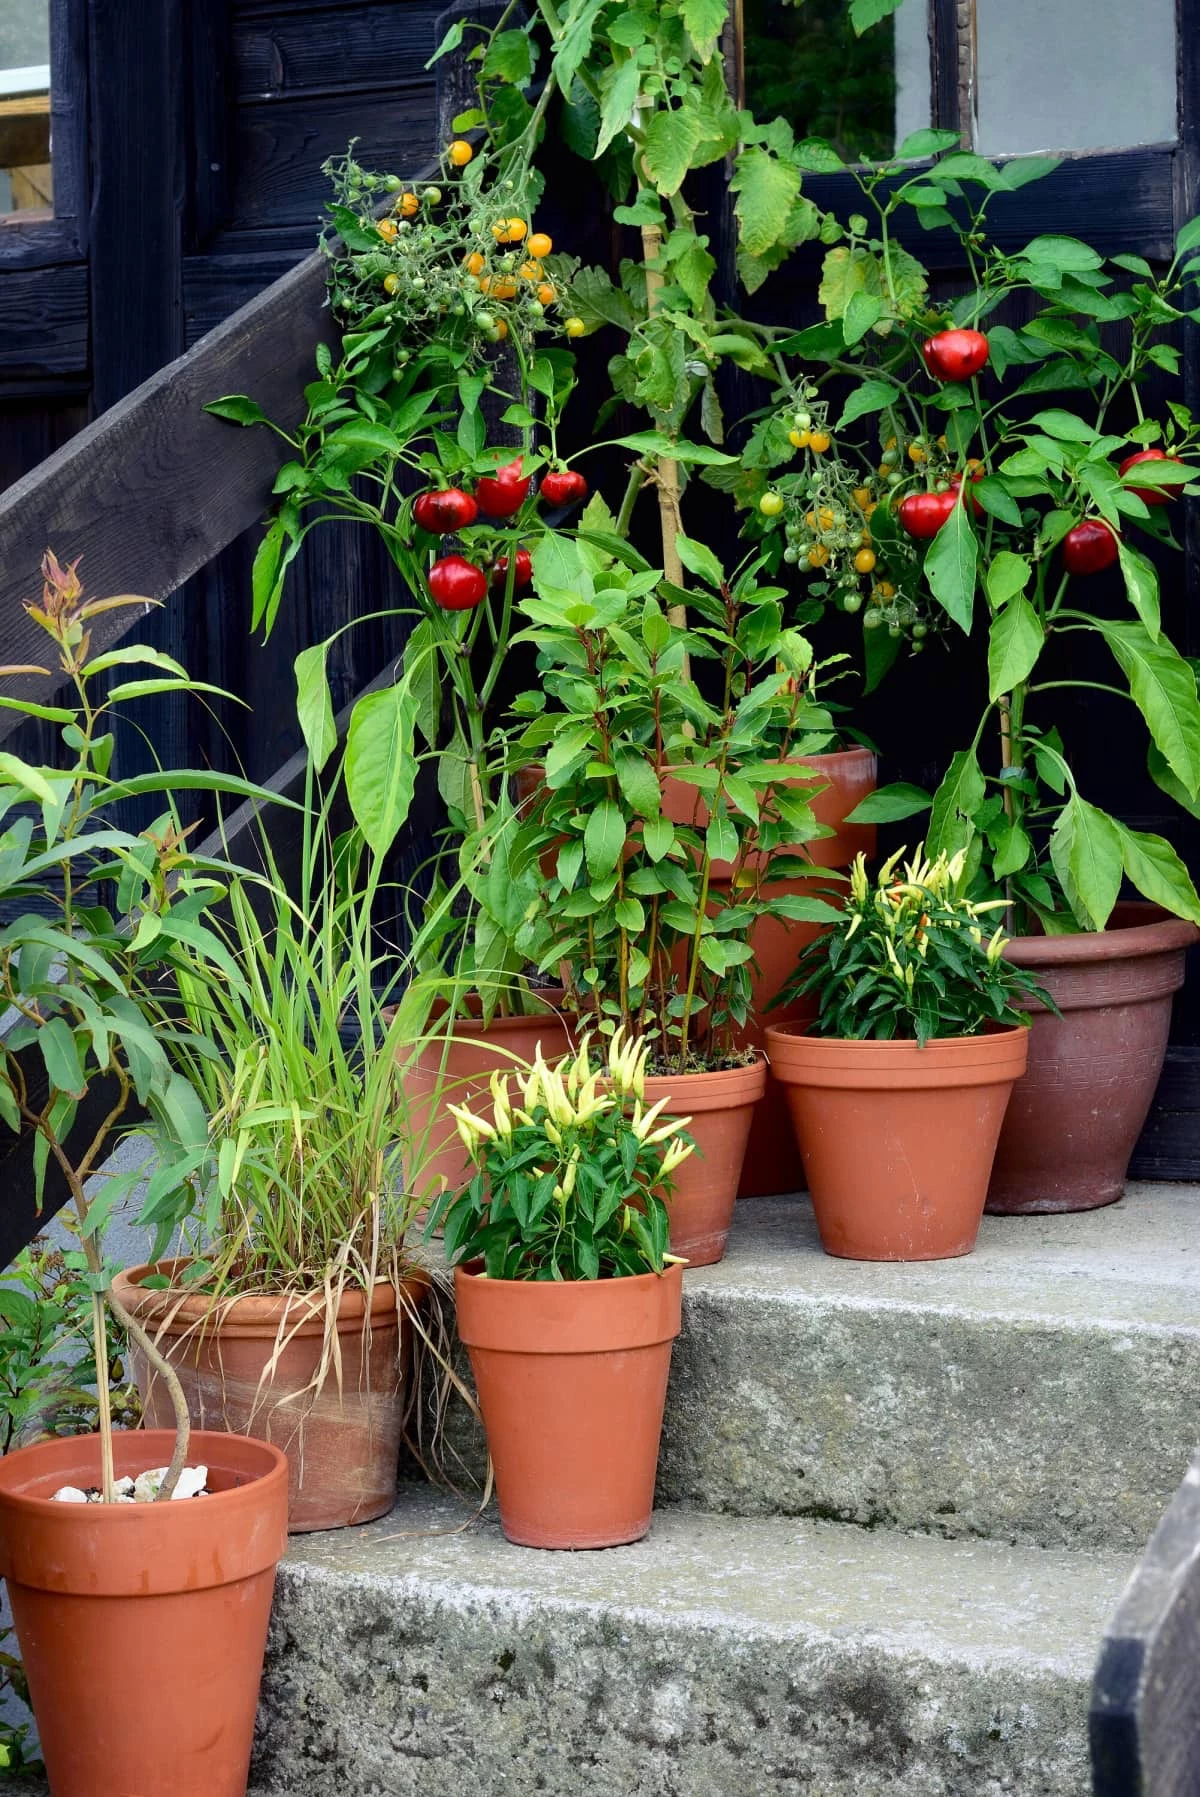
- Terracotta (Clay Pots): These have that classic, rustic vibe for a reason. They’re porous, meaning air and water can move through the sides, which is great for preventing soggy soil and root rot. The catch? They dry out incredibly fast, especially on a hot, sunny day. I love them for drought-friendly herbs like rosemary, but for thirsty vegetables, you have to be on watering duty constantly. Expect to pay anywhere from $5 for a small one to $30+ for a large, decorative pot.
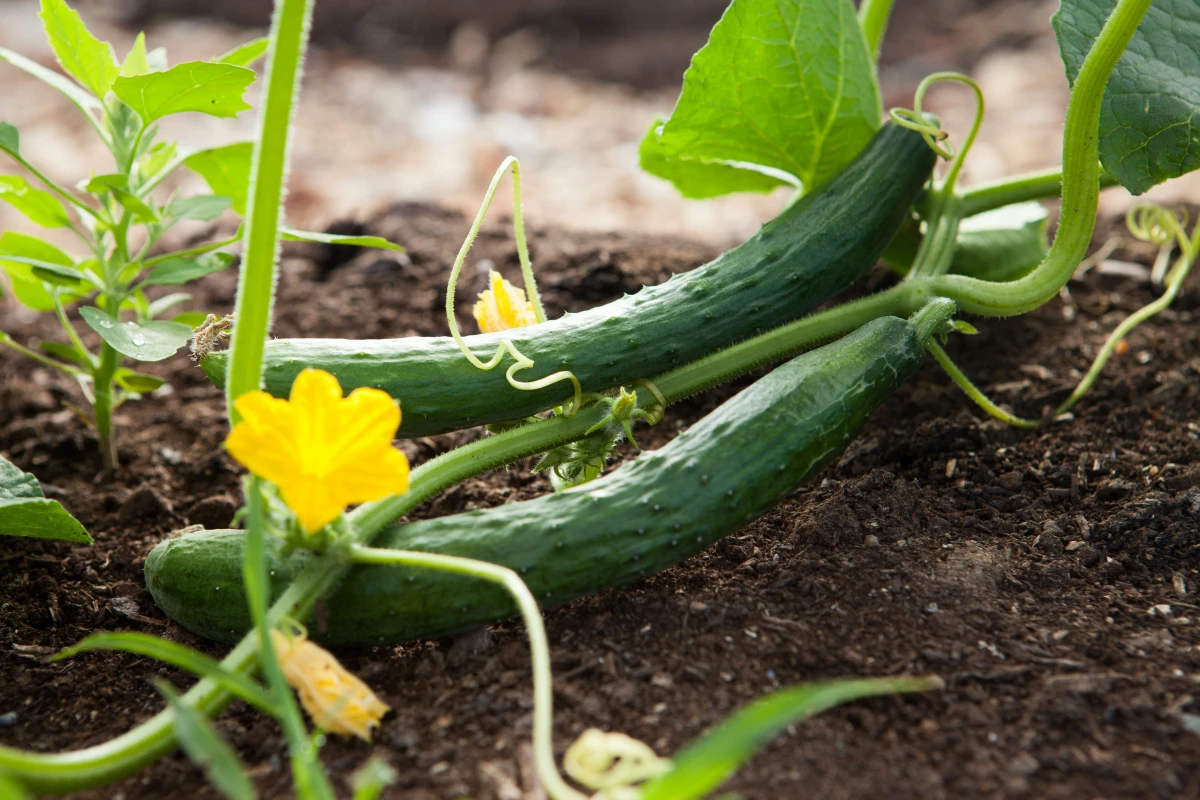
- Plastic Pots: These are the workhorses. They’re lightweight, super affordable (often just $3 to $15), and they hold onto moisture really well. This makes them a fantastic choice if you’re just starting out or growing something that needs consistent water, like cucumbers. A quick heads-up, though: dark-colored plastic can get crazy hot in the direct sun and literally cook the roots. I learned this the hard way one year when my peppers just… stopped growing. I dumped out the pot and the roots were scorched. Now, I always go for lighter colors like white, tan, or light gray.
- Fabric Grow Bags: Okay, these have become my absolute favorite for most veggies, especially potatoes and carrots. You can find a 10-gallon bag for about $5 to $8 online, making them a total steal. They’re made of a thick, felt-like fabric that allows for something amazing called “air pruning.” When a root hits the airy side of the bag, it stops growing and tells the plant to send out more feeder roots. This creates a dense, healthy root ball instead of a tangled, circling mess. Plus, drainage is so good it’s almost impossible to overwater.
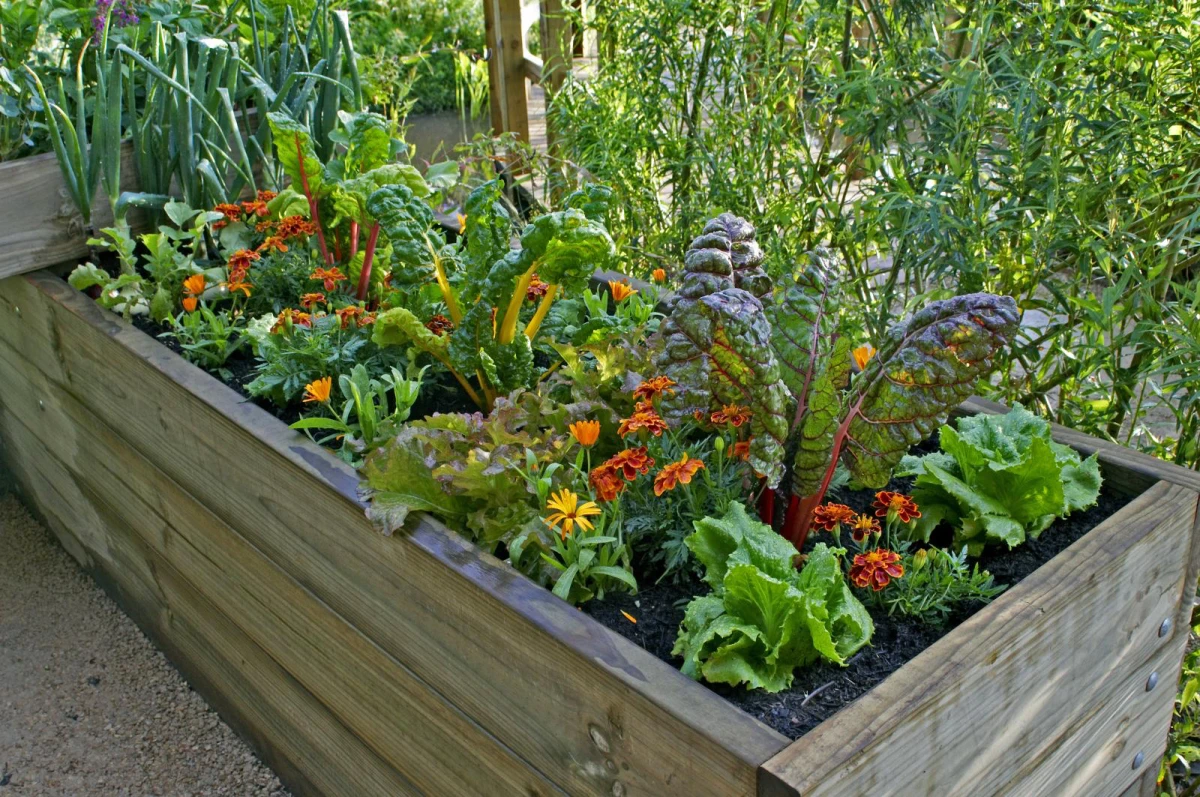
- Wood Planters: Wood is a fantastic insulator, protecting roots from scorching heat and sudden cold snaps. A well-built cedar or redwood planter can look stunning and last for ages. The most important thing here is to make sure the wood is untreated. NEVER, ever use pressure-treated wood for growing food. The chemicals used to preserve it can leach into your soil and, eventually, into your plants.
A Quick Note on Size and Drainage: When in doubt, go bigger. A larger pot holds more soil, which means more moisture, more nutrients, and better insulation for the roots. A common beginner mistake is trying to grow a big plant like a tomato in a tiny pot. As a general rule, a 5-gallon container (that’s about the size of a paint bucket) is the bare minimum for most veggies. And every single pot, no exceptions, MUST have drainage holes. If you find a cute pot without them, get your drill out and add a few yourself.
The Secret to Amazing Potting Mix
Garden soil is heavy and dense. In a pot, it compacts down, squeezing out the precious air pockets that roots need to breathe. To succeed, you need a light, fluffy potting mix.
A good mix gives your plant roots four things: something to hold onto, water, oxygen, and nutrients. Over the years, I’ve perfected a simple recipe that I use for pretty much everything. It’s cheaper than buying pre-made bags in the long run, especially if you’re filling lots of pots. For comparison, a great quality bagged mix might cost you $15-$20 for 1.5 cubic feet. You can make a whole lot more than that for a similar initial investment.
My Go-To Professional Mix Recipe:
- 1 part Coco Coir or Peat Moss: This is your base for holding moisture. Peat moss is the traditional choice, but coco coir (a byproduct of the coconut industry) is a more sustainable option.
- 1 part High-Quality Compost: This is the life of your soil. It provides slow-release nutrients and, more importantly, beneficial microbes that help your plants thrive. Look for bags with an OMRI-listed seal, which means they’re approved for organic gardening.
- 1 part Perlite or Vermiculite: This is for drainage and aeration. Perlite looks like little white Styrofoam balls and adds air pockets. Vermiculite holds a bit more water while still keeping things light.
By the way, when I say “1 part,” I just mean by volume. It could be a shovel-full, a yogurt container, or a bucket—as long as you use the same measurement for all three ingredients, you’re golden. Just mix them on a tarp or in a big tub, adding a little water as you go until it feels like a damp sponge.
Let’s Talk About the Fun Part: The Veggies!
Now that your foundation is solid, let’s pick some plants. The key is choosing the right variety. Look for keywords on the seed packet or plant tag like ‘bush,’ ‘patio,’ ‘dwarf,’ or ‘determinate.’ These are bred for smaller spaces.
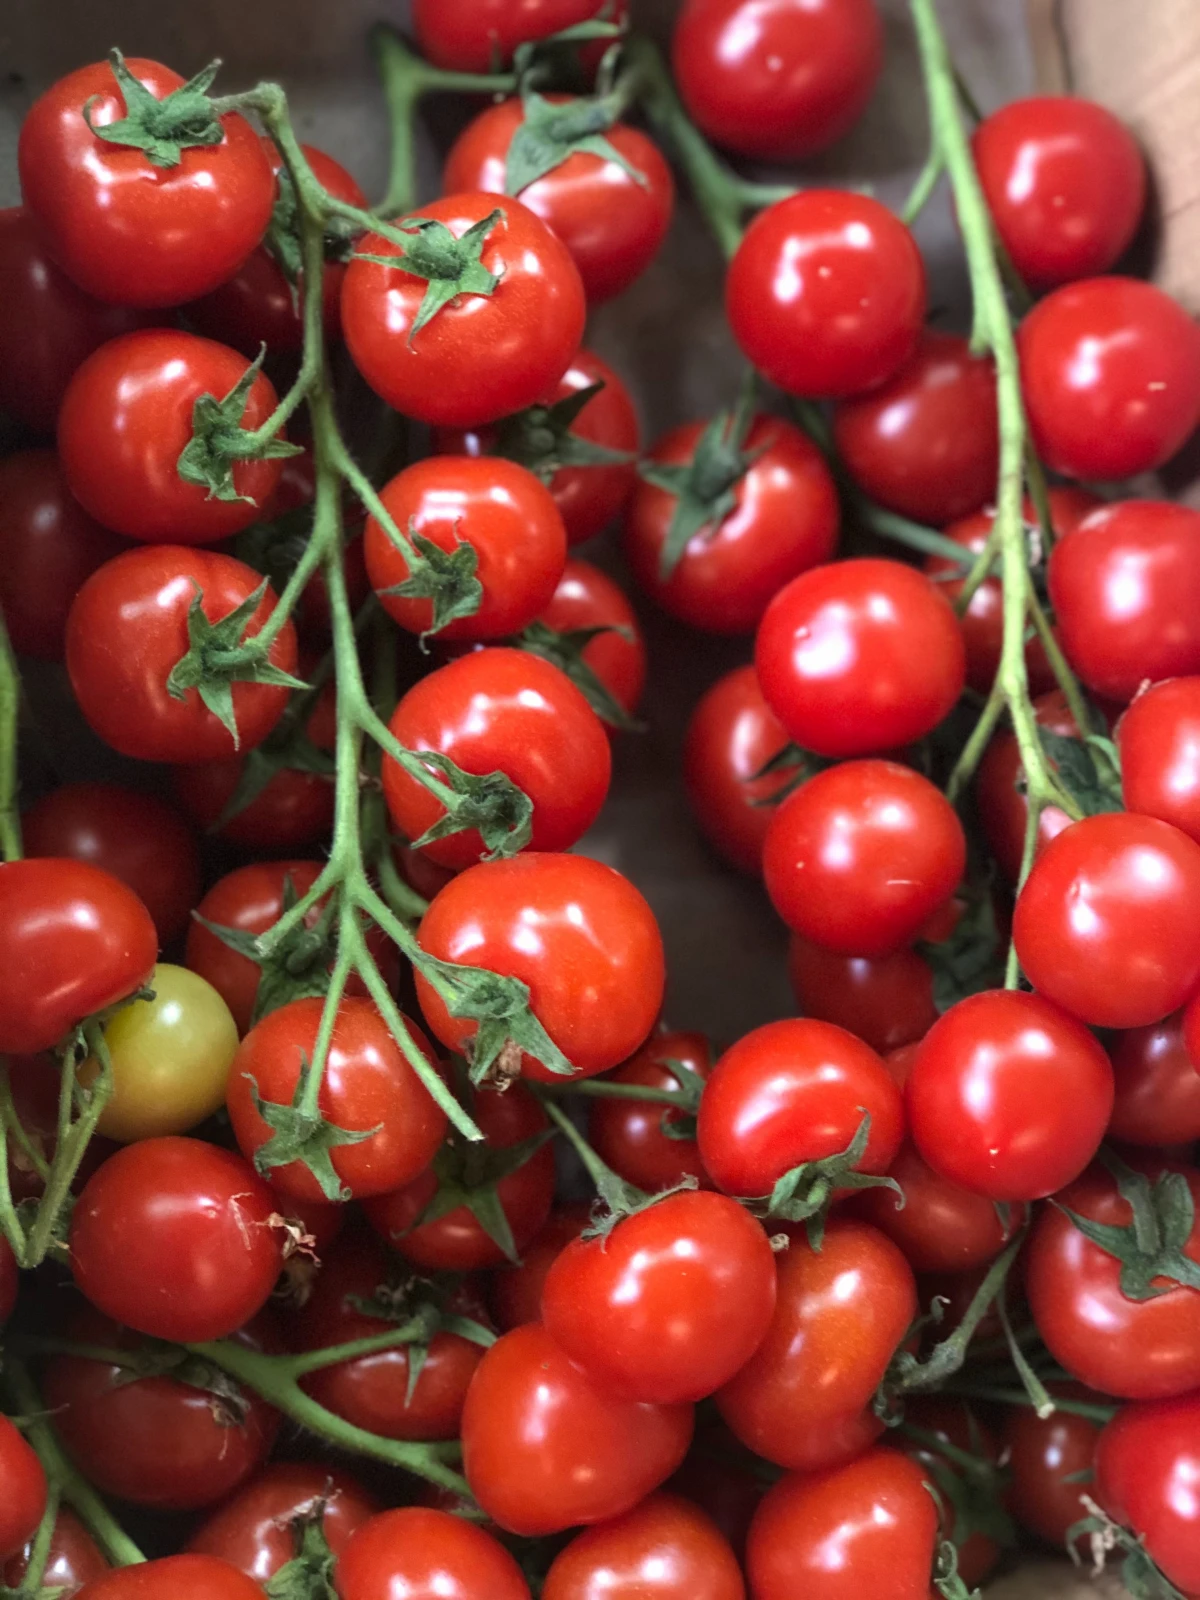
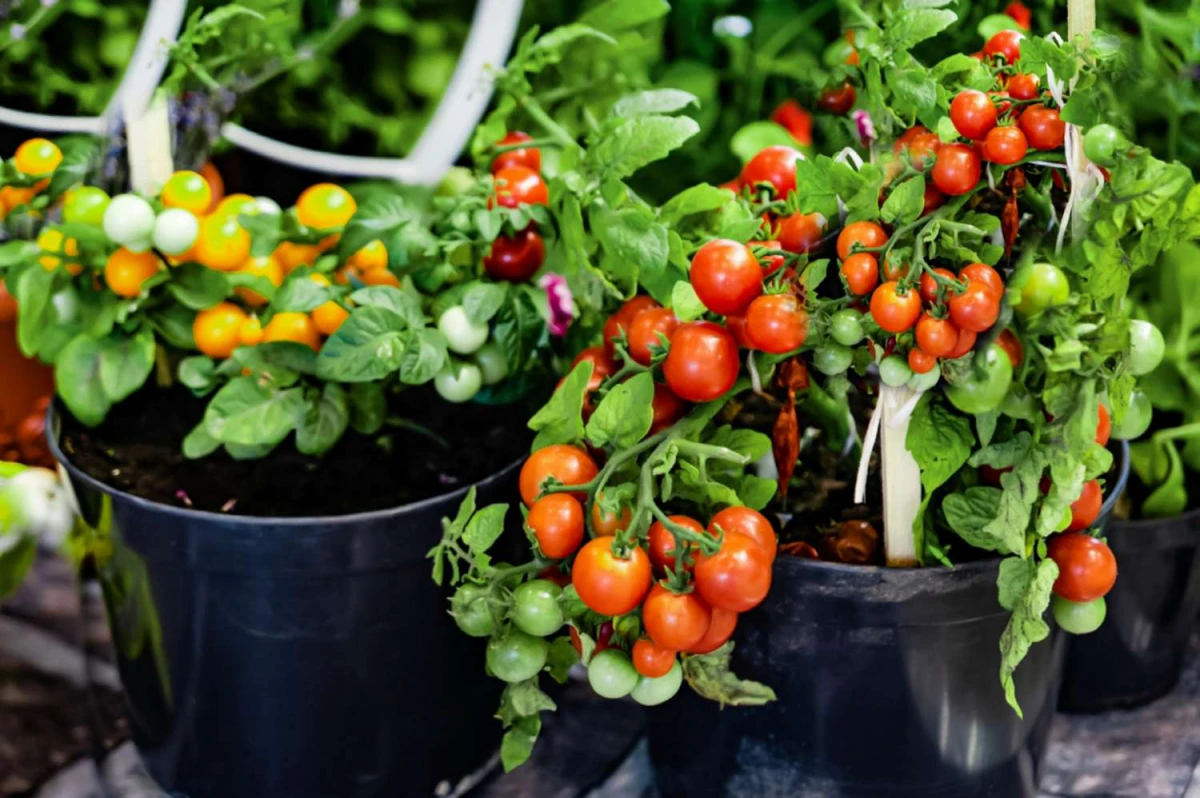
Tomatoes: The Balcony Superstar
There’s simply nothing better than a warm, fresh-picked tomato. For containers, you want to grow ‘determinate’ (or bush) types. They grow to a manageable size and produce their fruit in a shorter window. Indeterminate types are vines that will just keep growing and can quickly take over a patio.
- Container: A 5-gallon pot is the absolute minimum. I personally use 10-gallon fabric bags for better stability and moisture.
- Sunlight: They need a solid 6-8 hours of direct sun per day. No cheating on this one!
- Time to Harvest: Roughly 60-80 days after you plant the seedling.
- Pro Tip: This is my number one trick for stronger tomato plants! When you plant your seedling, gently pinch off the bottom sets of leaves and bury the stem deep. Tomatoes grow new roots all along the buried stem, creating a super-strong anchor for the plant.
- Water & Food: Inconsistent watering leads to blossom-end rot (that ugly black spot on the bottom of the fruit). It’s not a disease; it’s a calcium deficiency caused by the plant’s inability to absorb nutrients when it’s stressed from lack of water. The easiest way to know when to water? Use the good old-fashioned finger test. Stick your finger about two inches down into the soil. If it comes out dry, it’s time to water. If it feels damp, check again tomorrow. Feed them every 1-2 weeks with a liquid fertilizer made for tomatoes.
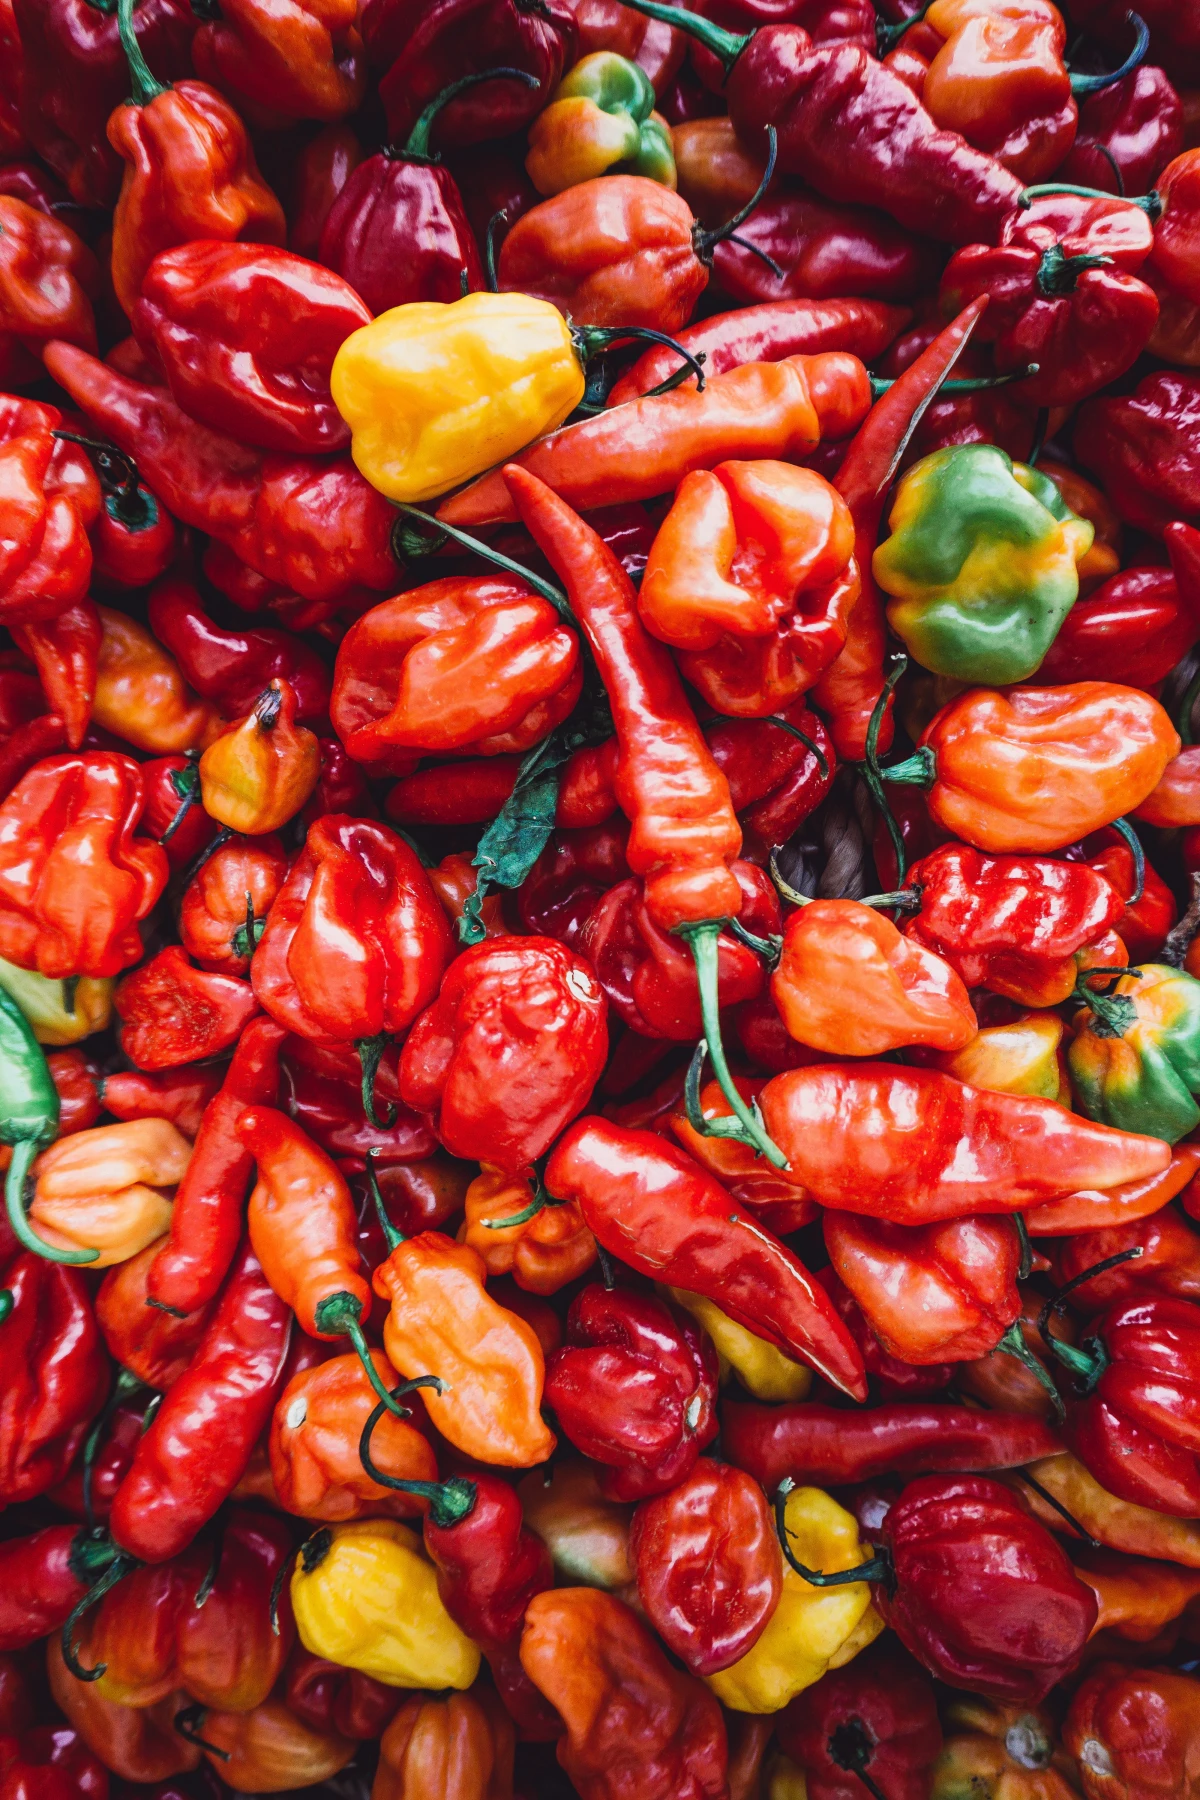
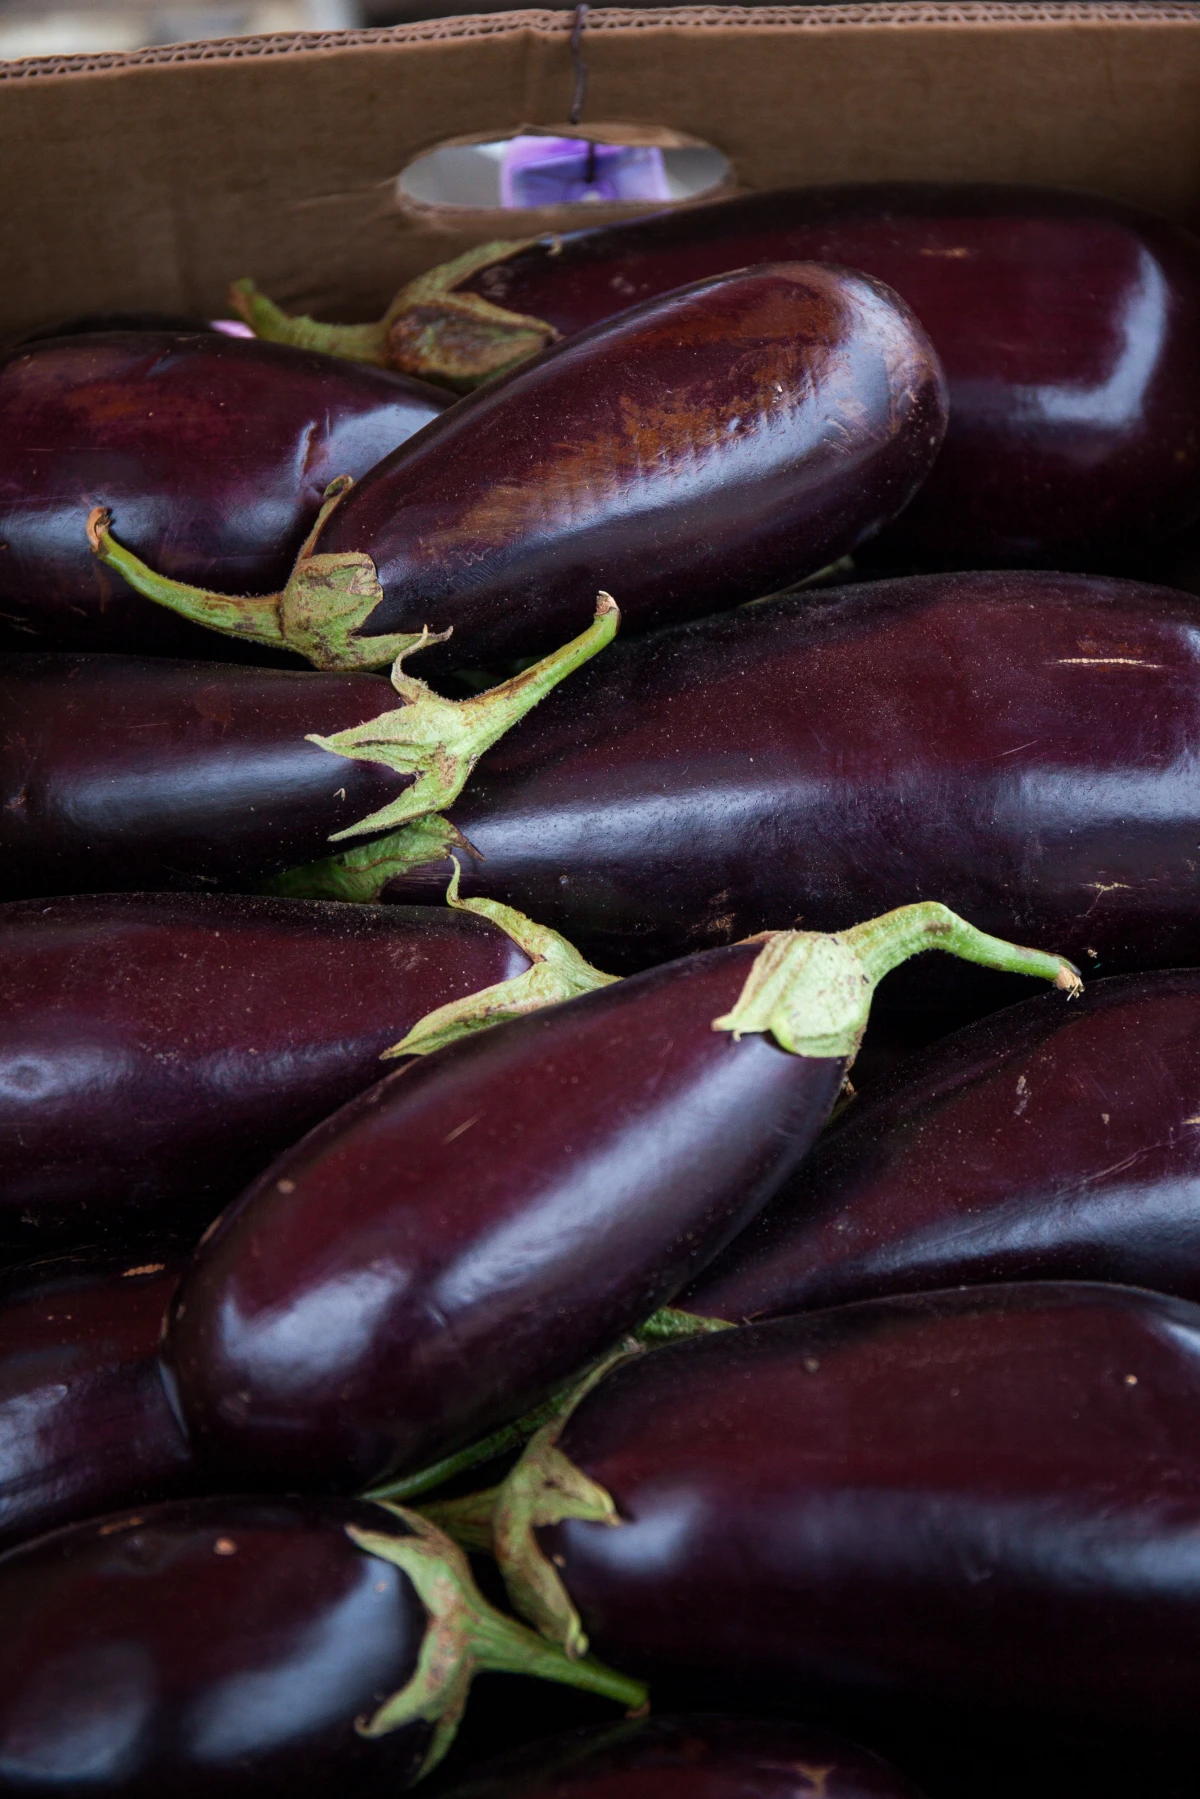
Peppers & Eggplants: The Heat Freaks
These guys love sun and heat. Most pepper varieties, from sweet bells to hot habaneros, do great in pots. For eggplants, look for smaller varieties.
- Container: A 3 to 5-gallon pot is perfect for most types.
- Sunlight: Full, blazing sun. 8+ hours if you can get it. Using a dark pot here can actually help warm the soil, which they love.
- Time to Harvest: Usually around 70-90 days from transplant.
- Quick Tip: An old-timer gardener once told me to add a tablespoon of Epsom salts (magnesium sulfate) to the watering can once a month. Magnesium is key for fruit production, and it really seems to work!
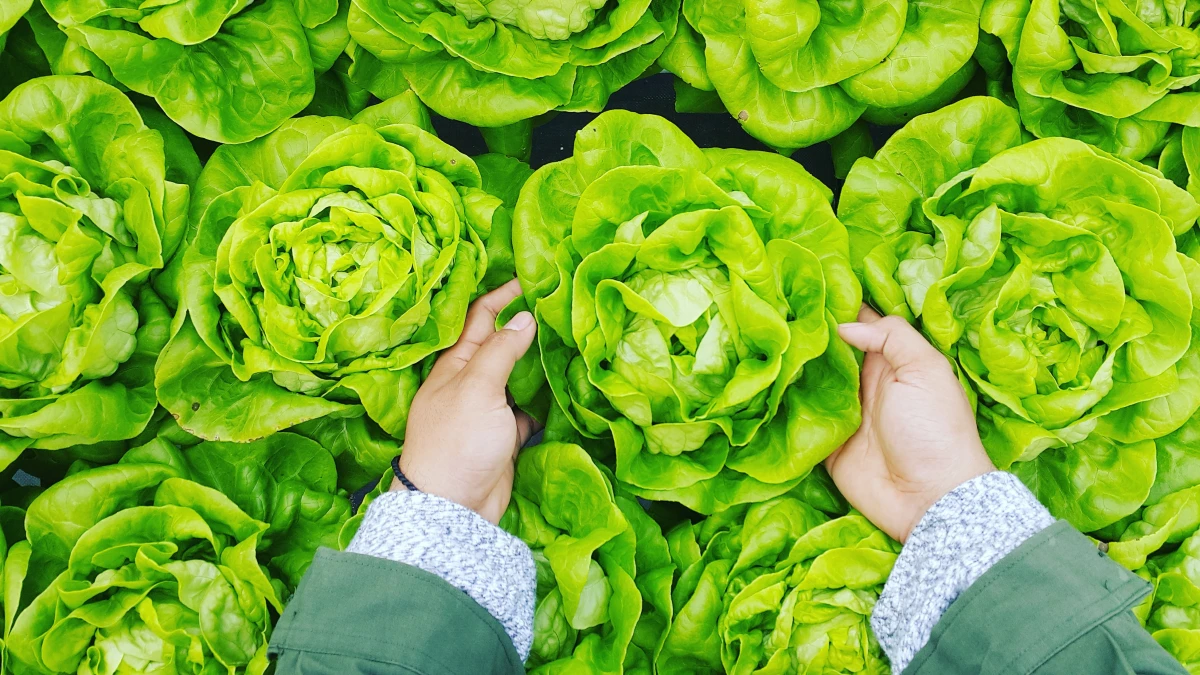
Lettuce & Greens: The Easiest Win
Growing your own salad is so rewarding. Focus on loose-leaf varieties instead of heading lettuce. You can harvest the outer leaves, and the plant will keep making new ones from the center for months. This is called ‘cut-and-come-again’ harvesting.
- Container: Wide, shallow containers like window boxes are ideal. They only need about 6-8 inches of soil depth.
- Sunlight: They’re different. About 4-6 hours is perfect. They love morning sun but get stressed and bitter in intense afternoon heat.
- Time to Harvest: Super fast! You can be snipping baby leaves in as little as 30 days.
Potatoes: A Treasure Hunt Harvest
Yes, you can absolutely grow potatoes in a pot! And it’s the most fun harvest ever. Don’t use potatoes from the grocery store; they’re often treated to stop them from sprouting. Buy ‘seed potatoes’ from a garden center or online.
- Container: A tall, 10-gallon grow bag is perfect.
- Sunlight: At least 6 hours of sun.
- Time to Harvest: About 70-100 days.
- Technique: This is cool. Start with a few inches of soil, place 2-3 small seed potatoes inside, and cover with a few more inches of soil. When the green shoots are about 8 inches tall, add more soil to bury them halfway. Keep doing this ‘hilling’ process until the soil reaches the top of the bag. The new potatoes grow off those buried stems. To harvest, you just tip the whole bag over onto a tarp and go digging for treasure!
Let’s Talk About a Few Rookie Mistakes
We all make them, but here are the big three to watch out for:
- Using a Pot That’s Too Small. It seems easier, but a tiny pot dries out in a flash and chokes the roots. It’s the fastest way to a sad, unproductive plant. Always default to a bigger pot if you’re unsure.
- Using Dirt from the Yard. I know it’s tempting, but garden soil is a disaster in pots. It gets hard as a rock, has terrible drainage, and can bring in pests and diseases. Always use a proper potting mix.
- Watering All Over the Place. A plant that wilts every afternoon and then gets flooded is a stressed plant. Stressed plants don’t make tasty fruit and are magnets for problems. Try to check your pots daily and water deeply when they need it. Consistency is king.
Keeping Your Plants Fed and Pest-Free
Since you’re watering so often, nutrients wash out of the bottom of the pot. You have to put them back. I like to mix a granular, slow-release organic fertilizer into the soil when I first plant. Then, I supplement with a liquid feed like fish emulsion or kelp every week or two during peak season. A word of warning: fish emulsion works wonders, but it stinks for a day or two, so it’s best for outdoor patios!
As for pests, the most common culprits are aphids and spider mites. Check your plants often, especially under the leaves. For aphids (tiny, visible pear-shaped bugs), a strong blast of water from the hose often works. Spider mites are tougher to see; you’ll usually notice their fine, silky webbing first. For either, insecticidal soap is a great weapon. You can buy it or make your own by mixing a tablespoon of pure castile soap in a gallon of water. Spray it in the evening to avoid burning the leaves.
A Final Thought: Be Patient with Yourself
Look, your first year might not be a massive, Instagram-worthy success, and that is completely okay. I’ve probably killed more plants than most people will ever try to grow. Every failure is just a lesson. Maybe the pot was too small, or the spot was too shady. Pay attention, and your plants will tell you what they need.

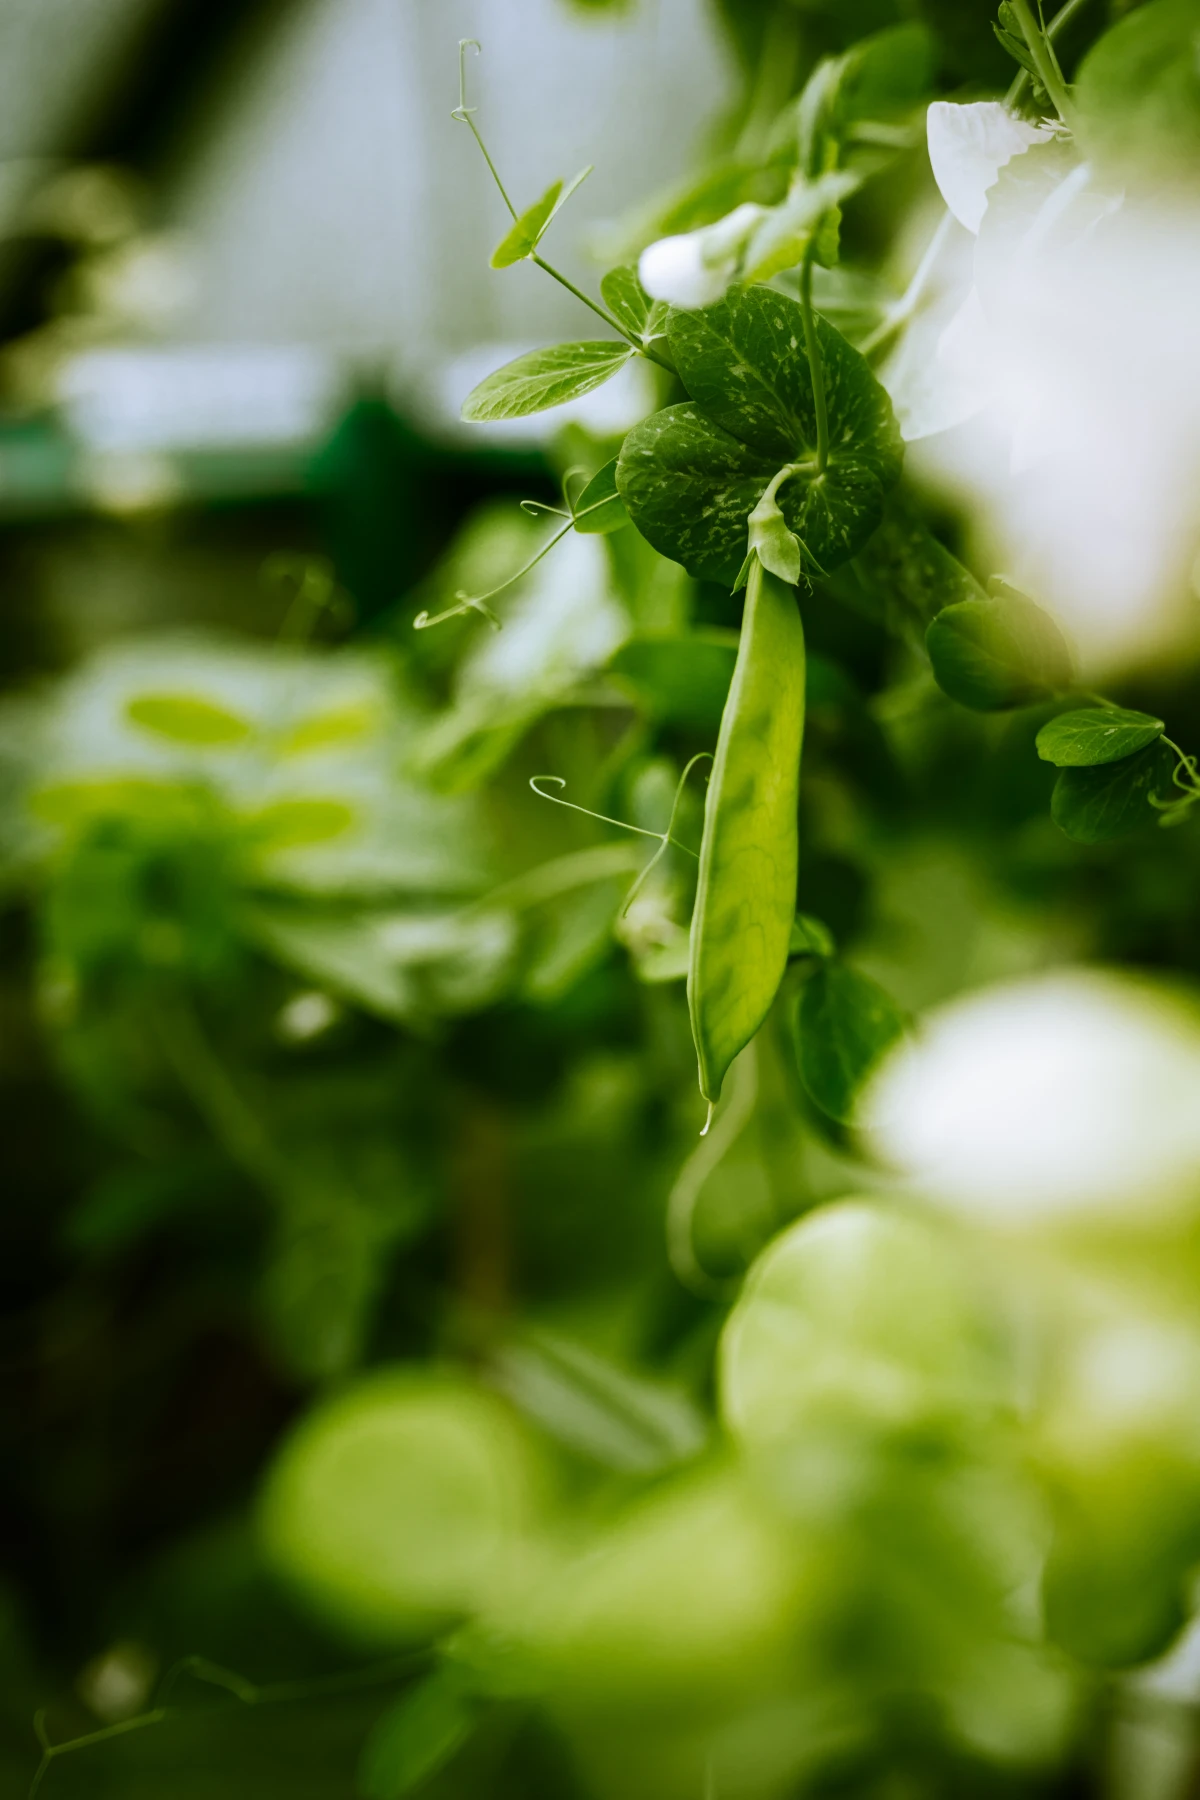
The reward is so worth it. It’s the crunch of a fresh snap pea, the burst of flavor from a sun-warmed cherry tomato, and the simple joy of snipping your own herbs for dinner. Just start with one or two pots, get the foundation right, and enjoy the ride.
Galerie d’inspiration
Did you know a plant’s roots can be


