Your Guide to a Happy Philodendron Gloriosum (Without the Headaches)
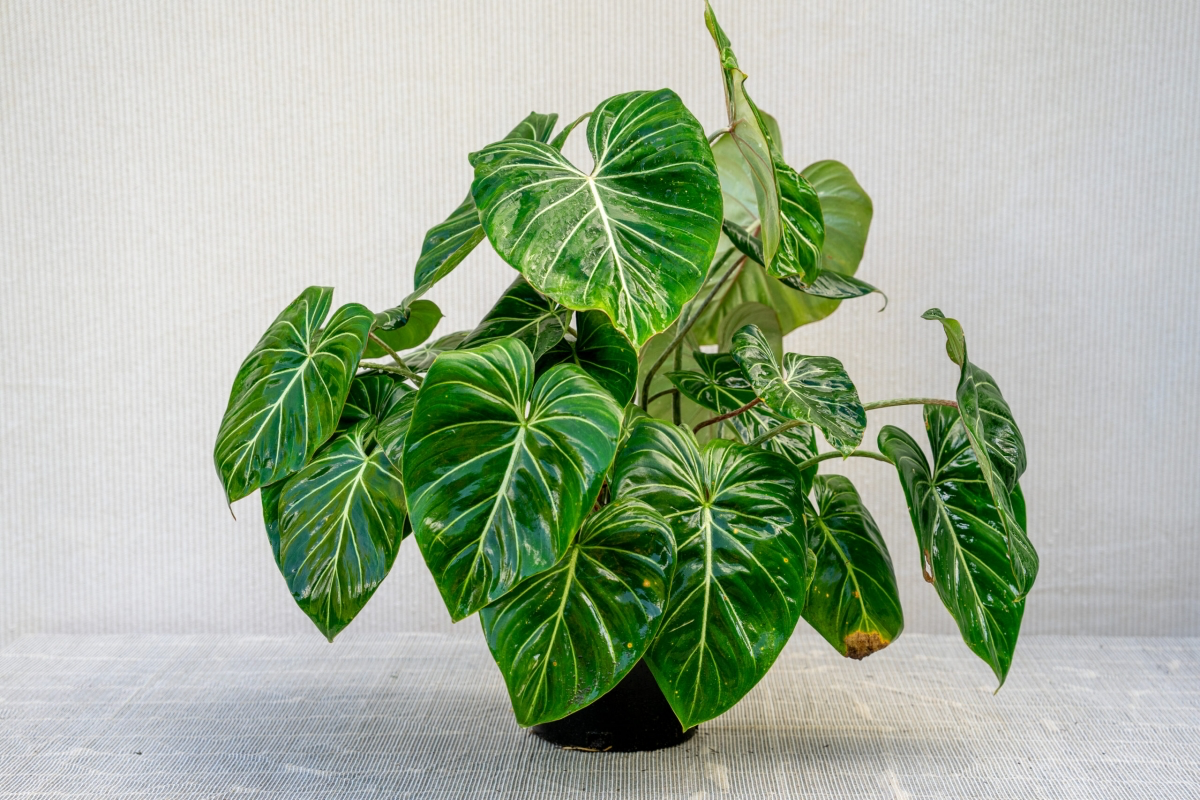
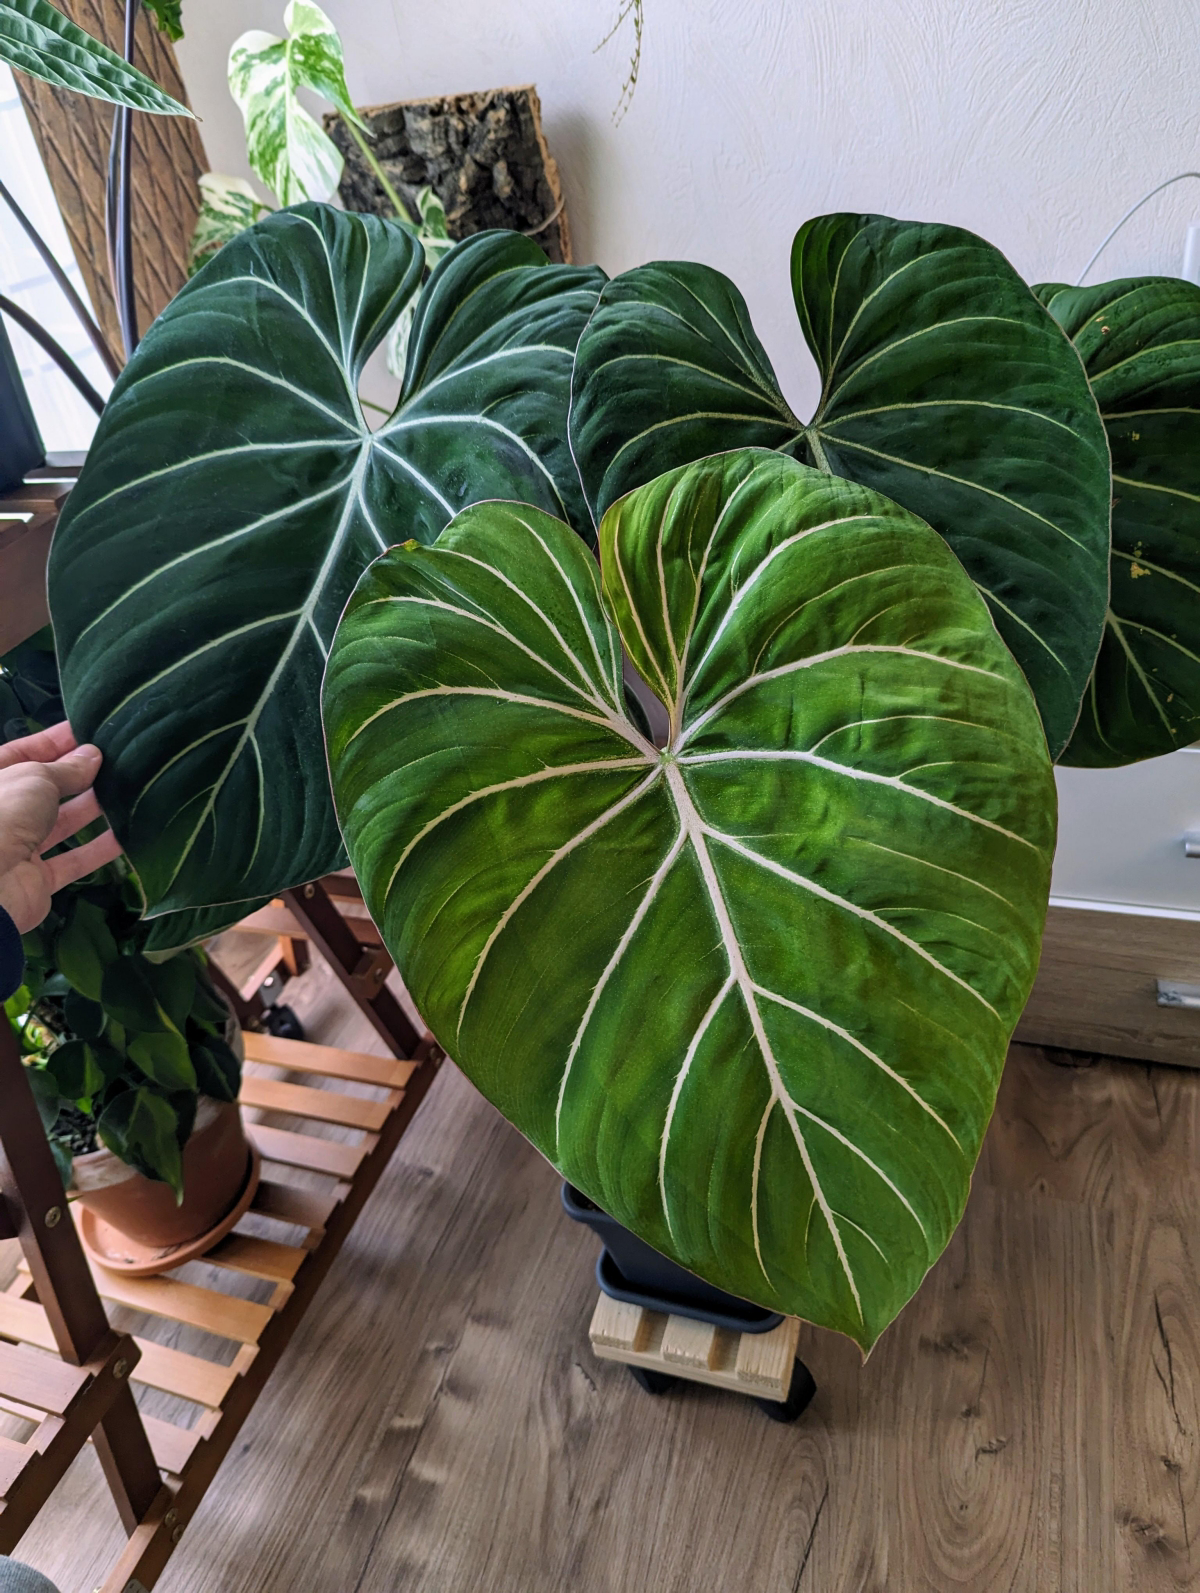
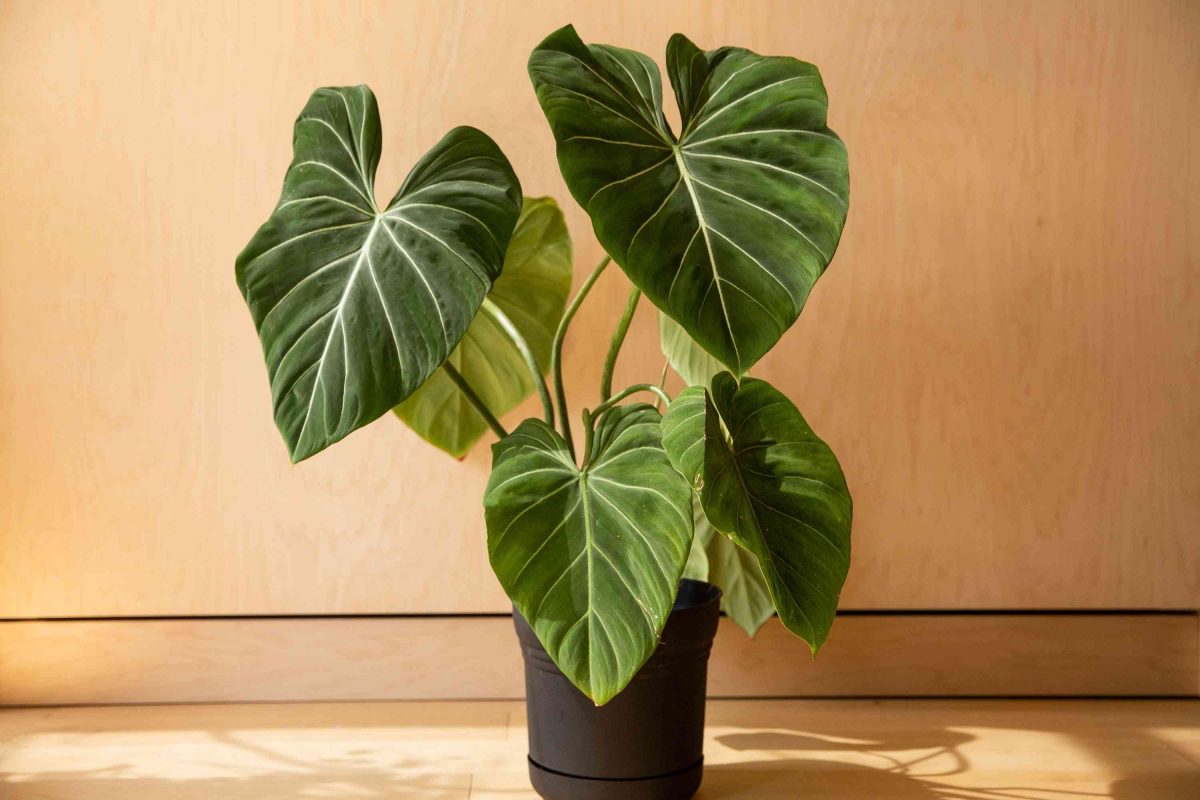
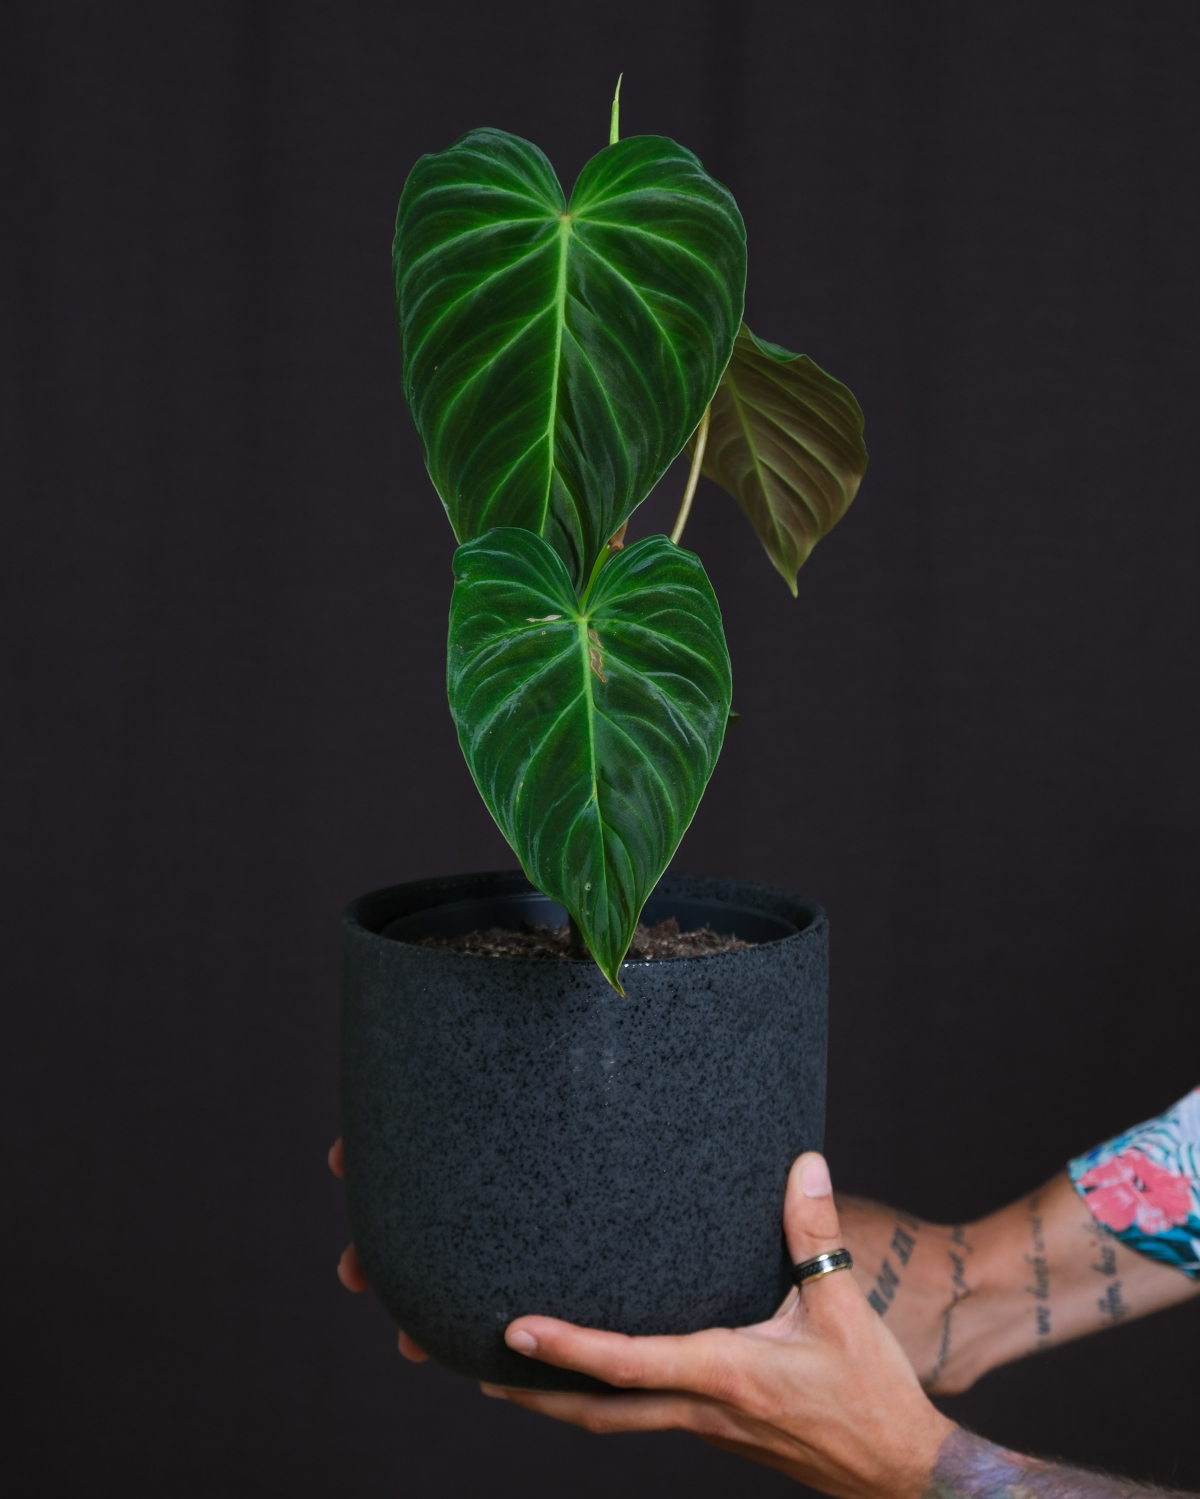
You know, after years of working with all kinds of tropical plants, some of them still just stop you in your tracks. The Philodendron Gloriosum is definitely one of those. It’s not some flashy climber that’s always showing off. Instead, it has this quiet, almost dignified vibe. Its massive, velvety, heart-shaped leaves just hug the ground, tracing the soil with a pattern of brilliant white veins. It doesn’t climb; it crawls. And honestly, getting that one simple fact is the most important step to keeping it happy. It’s the detail that separates people who get frustrated from those who succeed.
In this article
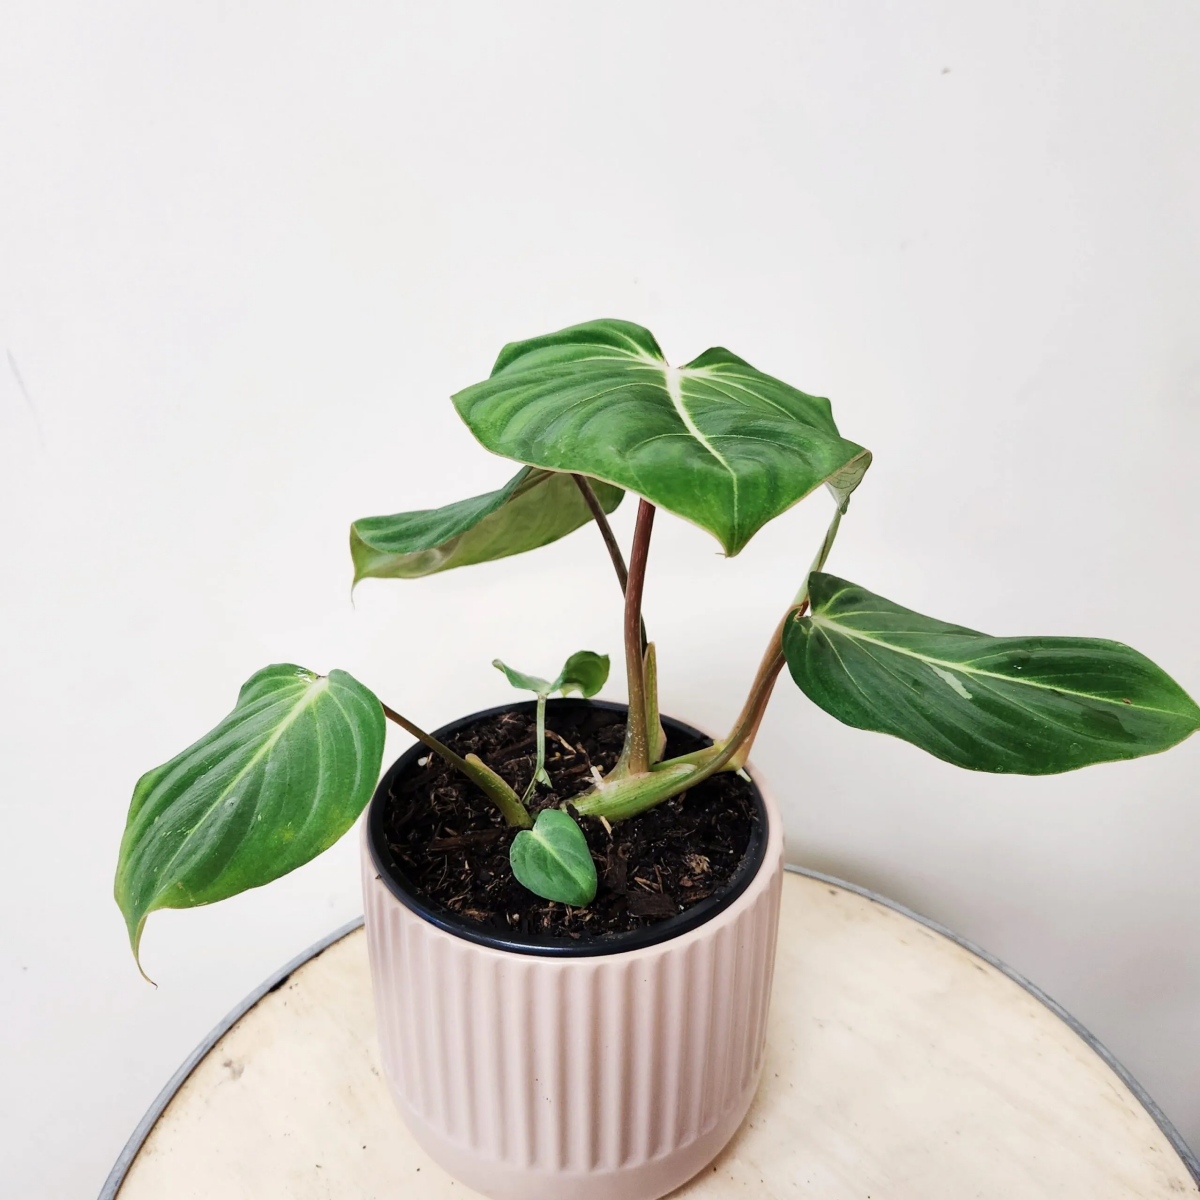
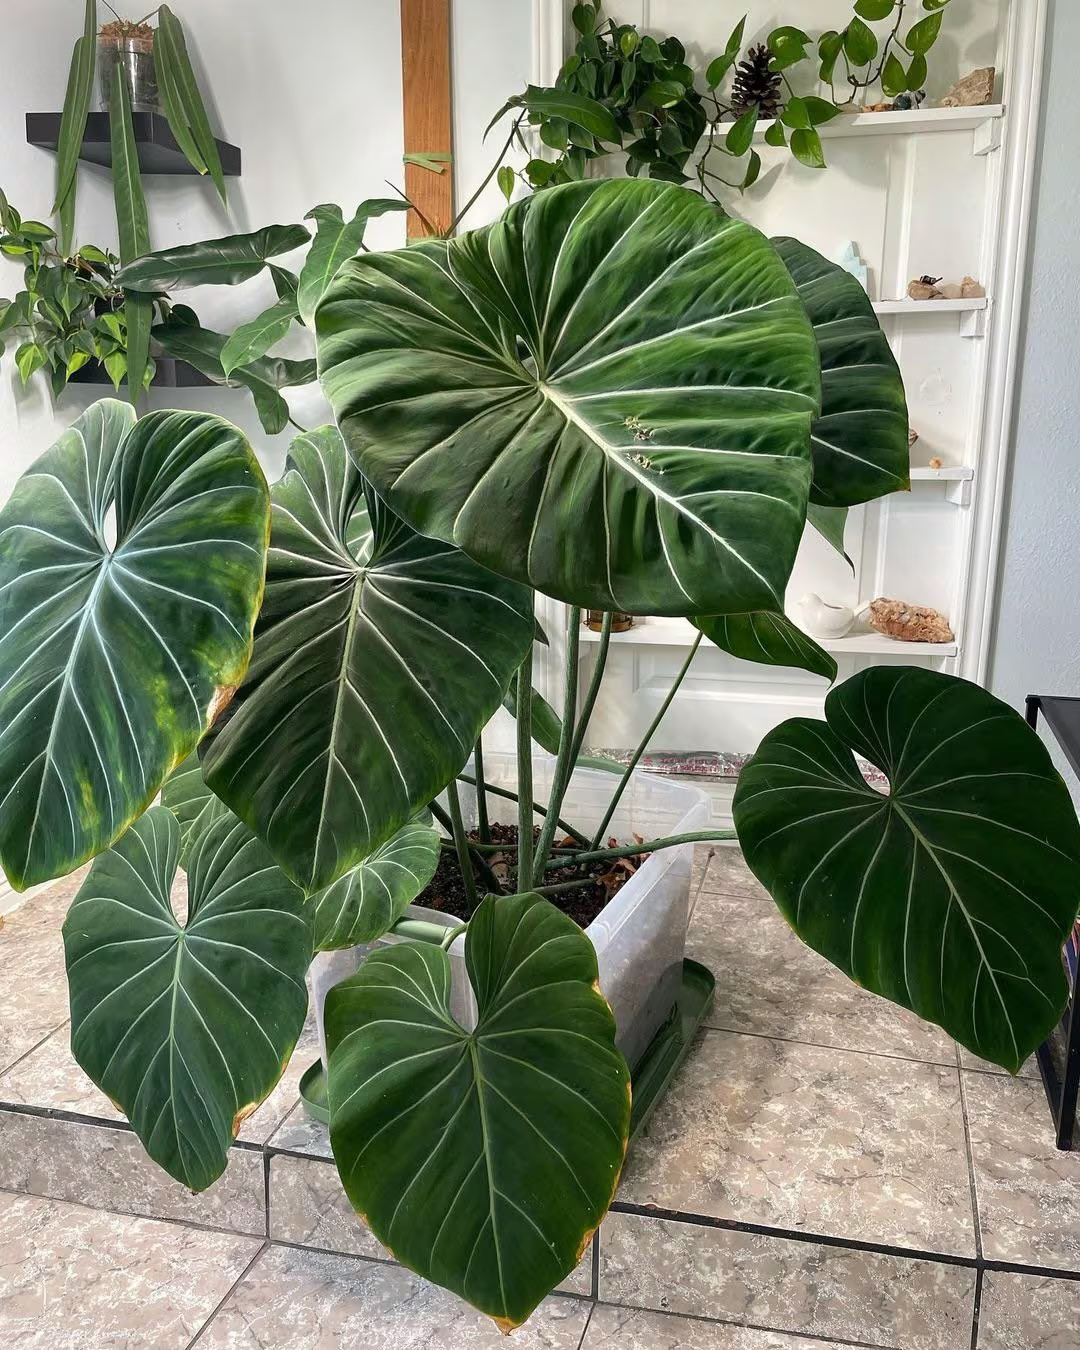
I’ve seen these plants everywhere from commercial greenhouses to my own living room, and I’ve walked plenty of people through their first one. I’ve seen all the common mistakes, like burying its main stem (the rhizome), which is a guaranteed recipe for rot. But I’ve also seen the incredible reward of a perfectly grown plant, with leaves over two feet wide, covering the entire surface of a long pot. This isn’t a super difficult plant, but it is specific. It knows what it wants. This guide is all about the hands-on stuff I’ve learned works best.
Heads up, though! Like all its relatives in the philodendron family, this plant is toxic to pets and people if they take a nibble. The leaves contain sharp little crystals that cause a lot of pain and swelling. So, always place it where curious cats, dogs, or toddlers can’t get to it. Safety first, always.
First Things First: What to Budget and Where to Look
Let’s be real, the first question is usually about cost. This isn’t your average hardware store houseplant, so it helps to have a realistic budget in mind. Here’s a quick shopping list to get you started:
- The Plant Itself: For a decent starter plant with a few leaves, expect to pay between $30 and $80. You can often find them on Etsy, at specialty online plant shops, or sometimes at a local, non-chain nursery.
- The Pot: Since it needs a trough or rectangular pot, budget about $15 to $30 for a good one. For a young plant, look for something around 12 inches long and 5-6 inches wide. Don’t go too big right away!
- The Soil Ingredients: You’ll need to make a custom mix. Budget around $30 to $40 for small bags of all the components. The good news is, this will be enough for several repots down the line.
Understanding Why It Crawls
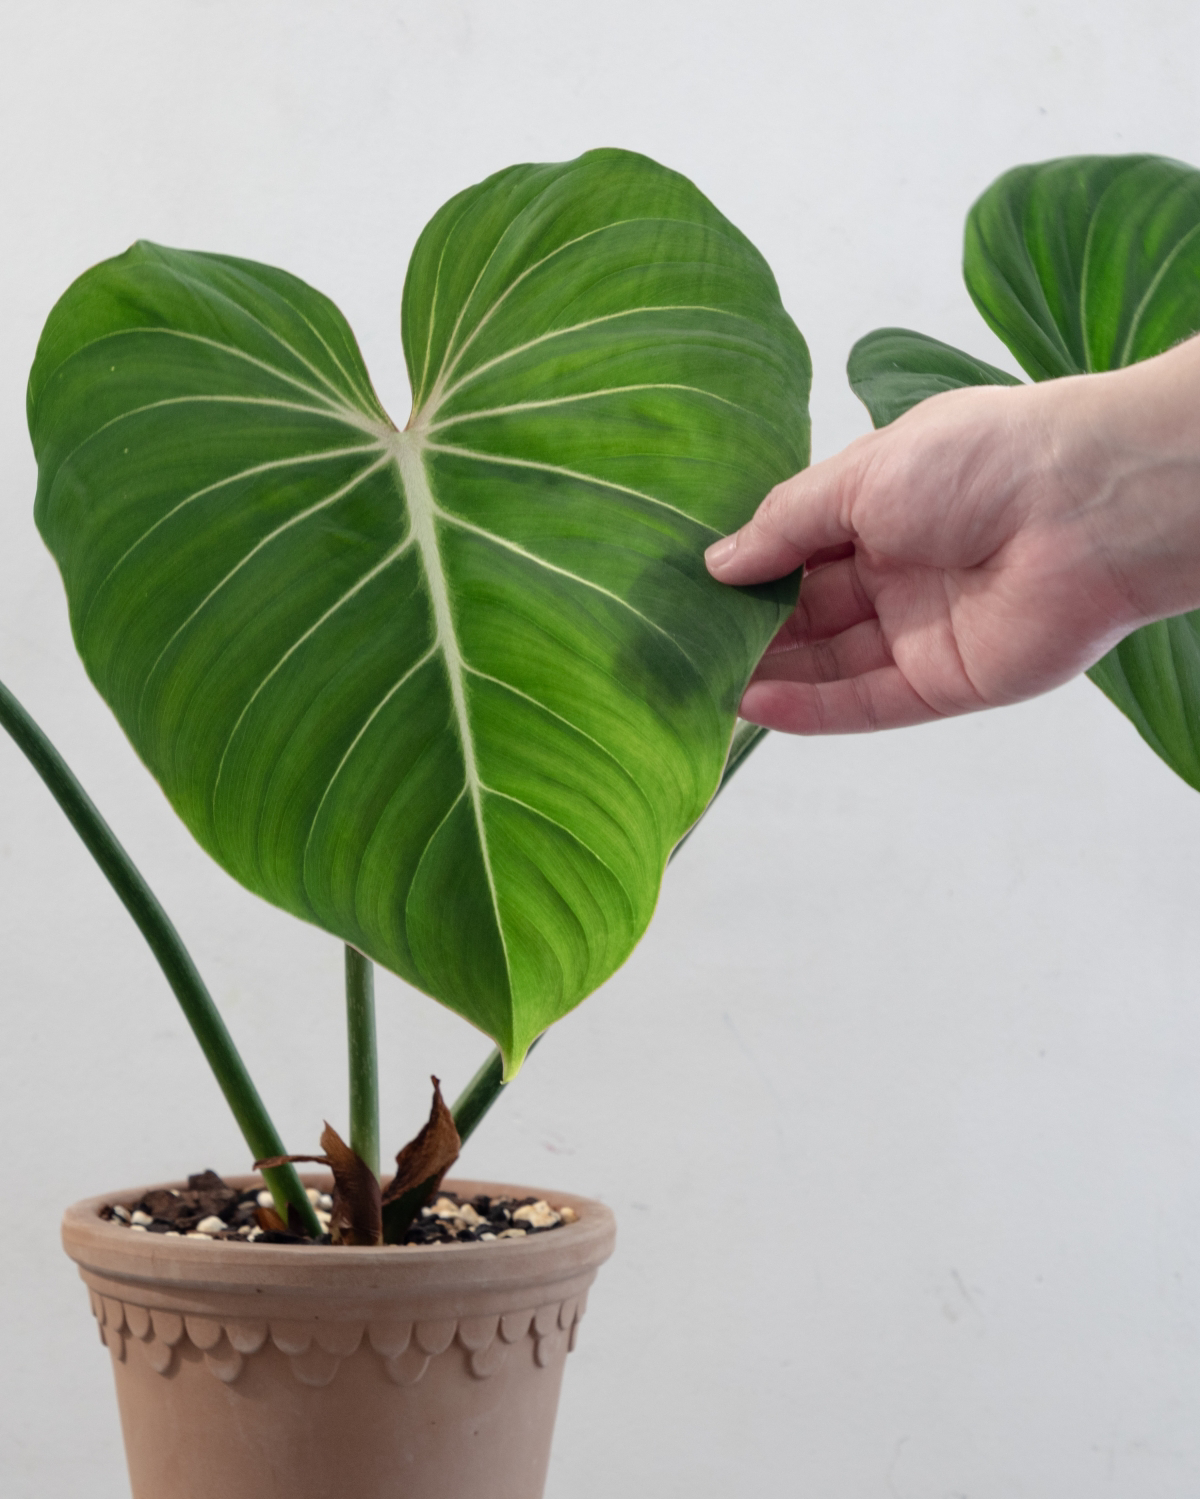
To grow any plant well, you have to think about how it lives out in the wild. This philodendron is a terrestrial plant, which just means it grows on the ground, not up trees. This is totally different from many other popular philodendrons that are natural climbers. The gloriosum has a thick, fleshy stem called a rhizome that creeps horizontally across the rainforest floor. Roots shoot out from the bottom to anchor it, while leaves pop up from the top, facing the sun.
This crawling habit changes everything about how you care for it. If you bury that rhizome under the soil, it can’t breathe. It will suffocate and rot. I learned this the hard way with a gorgeous plant I got early in my career. I potted it like any other, and within a month, the base was total mush. A very sad day.
So, here’s your first quick win. Go to your plant right now and gently brush the soil off the top of the rhizome. Is it buried? Fixing this one thing takes 30 seconds and could literally save its life.
The Right Pot and a Soil Mix That Actually Works
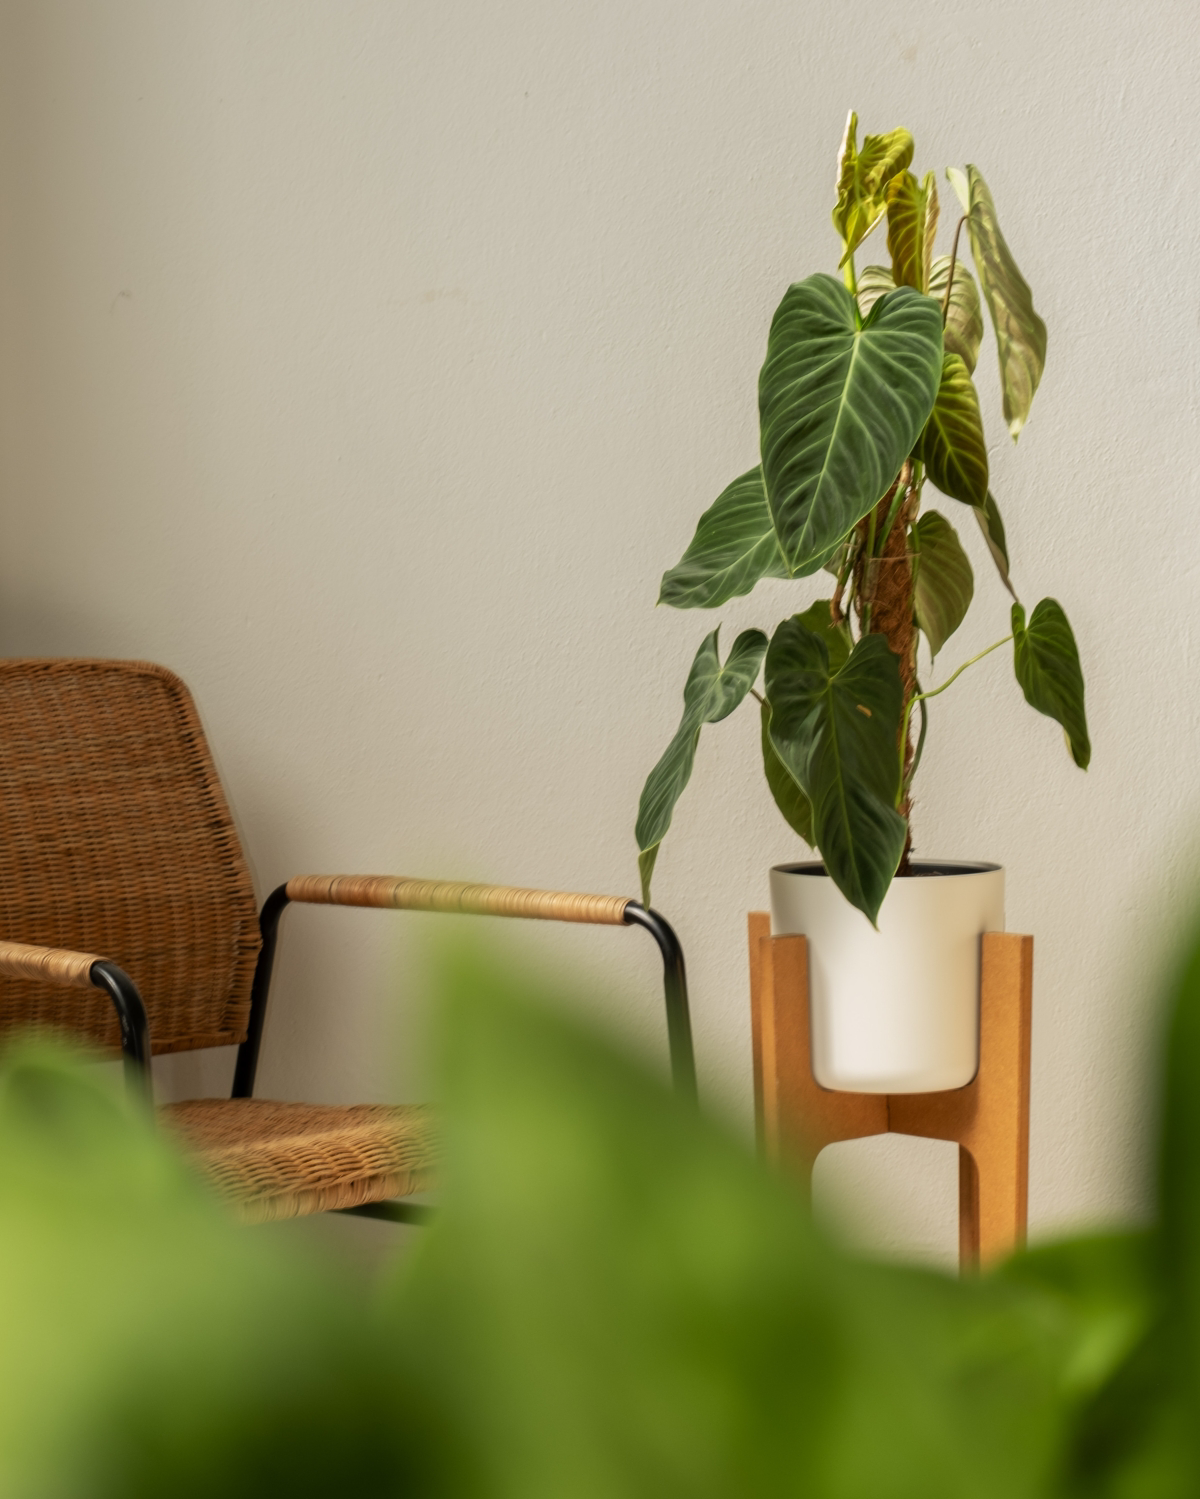
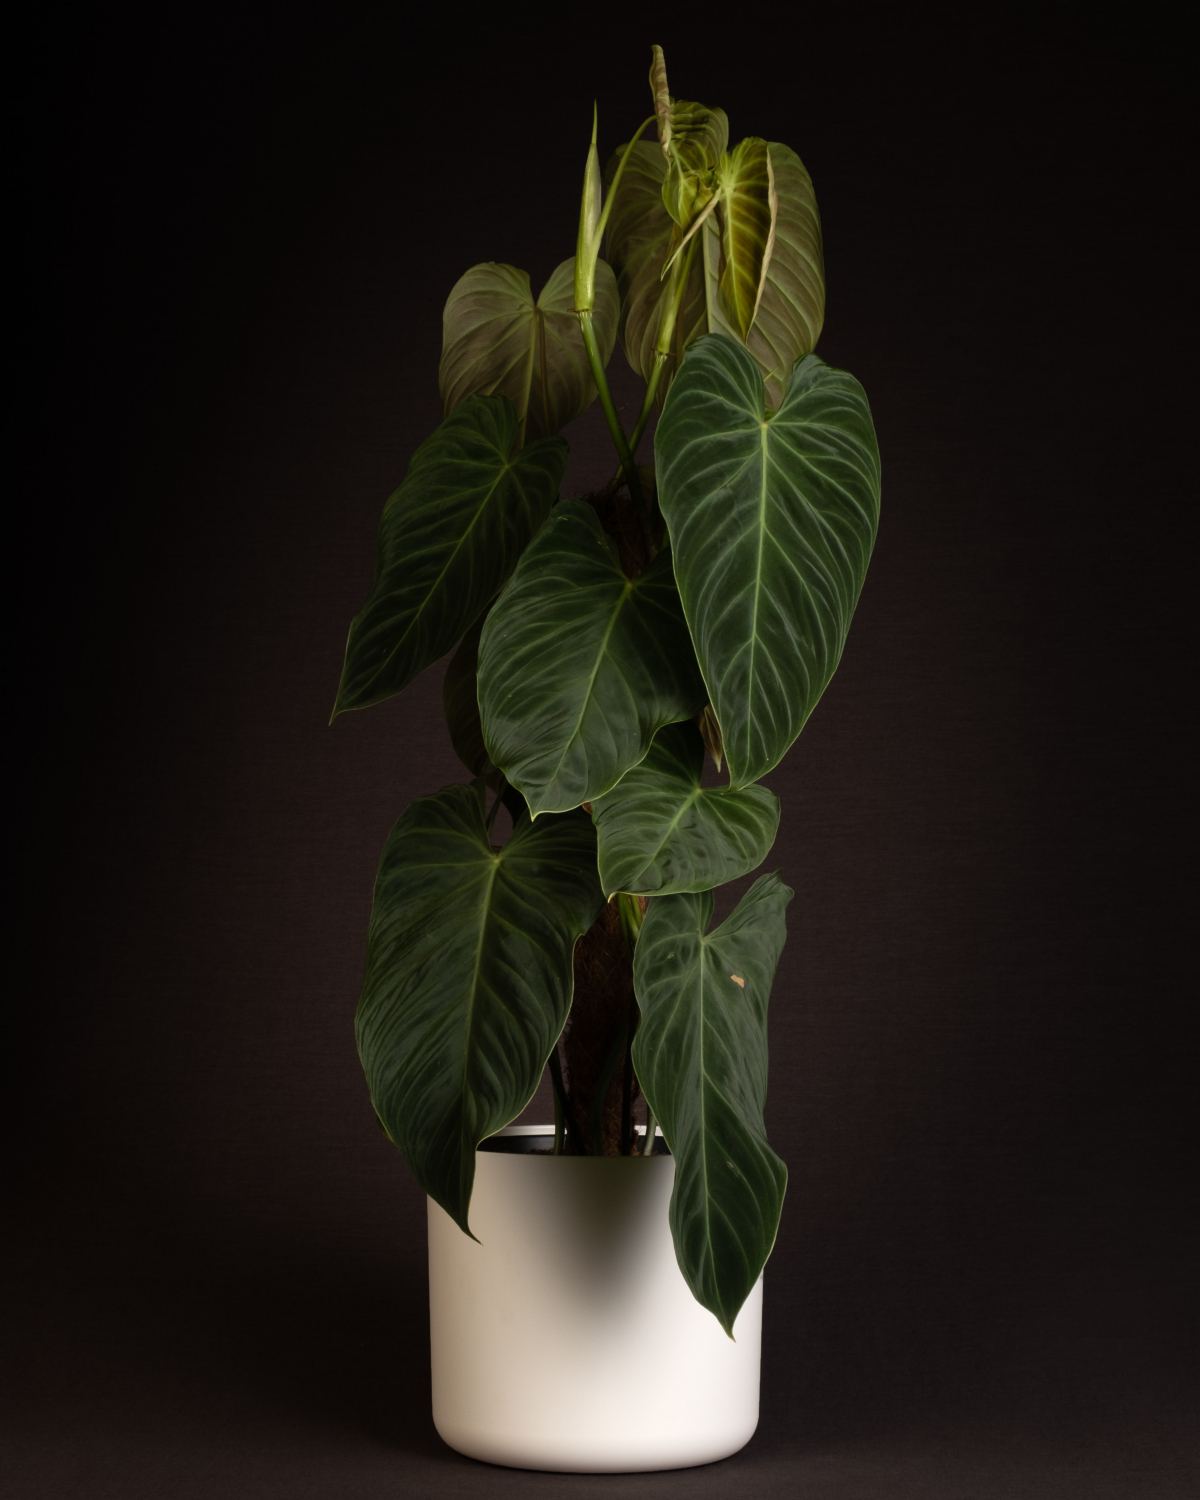
Because of that crawling habit, a standard round pot just won’t cut it. The rhizome will hit the edge in no time and either stall out or try to escape. A rectangular planter or a long trough is your best bet. This gives it room to roam and produce that beautiful train of leaves.
As for the material, unglazed terracotta is great because it’s porous and helps prevent soggy soil. On the other hand, if your home is super dry, plastic might be better since it holds moisture longer. Either way, make sure the pot has plenty of drainage holes. This is non-negotiable.
My Pro-Grade Aroid Soil Recipe
Most bagged potting mixes are way too dense for this plant. They hold too much water and don’t have enough air for the roots. Over time, I’ve perfected a chunky mix that these guys love. I usually mix it in a big tub, but you can scale it down.
- 2 parts Orchid Bark: This creates big air pockets for the roots to breathe, just like the woody debris on the forest floor.
- 2 parts Perlite or Pumice: These lightweight volcanic rocks are all about drainage. They keep the mix from turning into a dense brick.
- 1 part Coco Coir: This holds a bit of moisture without getting waterlogged. (Quick tip: Always rinse coco coir before using it to wash away any excess salts.)
- 1 part Worm Castings: This is a gentle, natural fertilizer that slowly feeds the plant and adds good microbes to the soil.
- A handful of Horticultural Charcoal: This is optional, but I swear by it. It helps keep the soil “sweet” by absorbing impurities.
The ‘I’m a Beginner’ Soil Mix
Feeling a little overwhelmed by that recipe? No worries. Here’s a super-simple, three-ingredient version that works great, too. Just mix equal parts: Orchid Bark, Perlite, and a quality cactus/succulent soil. Done. It gives you the drainage and aeration you need without a trip to five different stores.
When you’re potting, fill your planter with the mix, then just lay the rhizome right on top. You can tuck the existing roots into the soil, but the rhizome itself needs to stay out in the open air. I sometimes use little orchid clips to gently hold it in place until the roots grab on. (By the way, a small rock or even a paperclip you’ve bent open and covered in tape can work in a pinch!)
Getting the Environment Just Right
Light, temperature, and humidity are the three pillars of a happy plant. Getting them right is key.
Light: “Bright, indirect light” is the classic advice, but what does that even mean? Think of a spot near an east-facing window or a few feet back from a sunny south or west window. You want it bright, but you don’t want direct sunbeams hitting those velvety leaves, which can scorch them in less than an hour. I once had a gloriosum putting out tiny, sad leaves. I thought it was a dud. I moved it just three feet closer to the window, and BAM, the next leaf that came out was twice the size. Light is everything!
Temperature & Airflow: This plant is happiest in the same temperatures you are—think between 65°F and 85°F (18°C to 29°C). Keep it away from drafty doors or vents blasting hot or cold air. A little gentle air circulation in the room is a good thing, though; it helps keep things fresh.
Humidity: Ah, humidity. This is often the biggest challenge. These plants love humidity levels around 60-80%, while most homes are much drier. If your new leaves get stuck while unfurling or have crispy brown edges, low humidity is almost always the culprit. Misting is… okay, to be frank, misting is pretty useless. It barely raises humidity and can cause fungal spots on the leaves. The best solution by far is a small humidifier placed nearby. Grouping plants together or using a pebble tray (a tray of pebbles with water under the pot) also helps create a nice little moisture bubble.
How to Water and Feed Like a Pro
Instead of watering on a rigid schedule, learn to check the plant first. When it’s time, give it a good soak. Pour water all over the soil until it runs freely out the drainage holes. This flushes out any mineral buildup. Then, and this is important, let it dry out. Let the top 2-3 inches of soil get fully dry before you water it again. In my house, that might be every 5 days in the summer or every 12 days in the winter. The pot will feel noticeably lighter when it’s dry.
To get those huge leaves, you’ll need to fertilize during the spring and summer. A standard balanced liquid fertilizer works great. The golden rule is to use it at half or even a quarter of the recommended strength. Too much can burn the roots. I add this weak fertilizer mix every other time I water during the growing season, then back off to once a month or so in the fall and winter.
Making New Plants is Easier Than You Think
Propagating this plant is super rewarding. You just need a clean, sharp knife and a bit of courage. The best time is in spring or summer.
Find a healthy section of the rhizome that has at least one leaf and hopefully some little root nubs underneath. Make a clean cut between the leaves. Now you have a cutting! Let the cut end dry out for a few hours to form a callus—this is a pro tip that really helps prevent rot. Then, lay the cutting on top of some damp sphagnum moss in a clear container with a lid (a takeout container is perfect). Put it in a warm, bright spot, and you should see new roots in 3 to 6 weeks.
Troubleshooting: When Your Plant Looks Sad
Even with perfect care, stuff happens. Here’s a quick rundown of common issues.
The Problem: Yellowing Leaves
What it probably is: If it’s an old leaf at the very back of the plant, it’s likely just normal aging. If it’s several leaves and the soil feels wet, you’re almost certainly overwatering. If the leaves are yellow and droopy and the soil is bone dry, you’ve waited too long to water.
My fix: Check the soil moisture first! Adjust your watering schedule based on what you find.
The Problem: New Leaves are Small
What it probably is: Not enough light. The plant is stretching to find more sun, so it doesn’t have the energy for big leaves. It could also be hungry for fertilizer.
My fix: Move it to a brighter spot. If it’s been a while, give it a diluted dose of fertilizer with its next watering.
The Problem: Pests!
What it probably is: The most common culprits are spider mites (look for fine webbing and tiny dots on the leaves) and thrips (look for silvery patches and tiny black specks).
My fix: First, give the plant a good shower, spraying down every surface. Then, treat it with an insecticidal soap or horticultural oil, following the directions. You’ll likely need to do this a few times, about a week apart, to get them all.
The Problem: Mushy Rhizome
What it probably is: This is rhizome rot, the most serious issue. It’s caused by being buried too deep or from chronic overwatering.
My fix: Act fast. Unpot the plant and use a sterile knife to cut away every single bit of black, mushy rot until you only see healthy, firm tissue. You may need to take a cutting from a healthy part of the plant to save it.
Taking care of a Philodendron gloriosum really teaches you to be an observant plant parent. It forces you to pay attention. When you give it what it needs—that airy soil, room to crawl, and a humid spot—it will thank you with the most breathtaking foliage. It’s a truly special plant to have in your collection.
Galerie d’inspiration
The perfect soil mix for a Gloriosum is less about ‘soil’ and more about creating a chunky, airy environment that mimics the forest floor. You’re aiming for something that drains instantly but holds a bit of moisture. A go-to recipe that never fails:
- 40% Orchid Bark: Provides the large air pockets the rhizome loves.
- 30% Perlite or Pumice: For extra drainage and aeration.
- 20% Coco Coir: Retains just enough moisture without becoming soggy.
- 10% Worm Castings: A gentle, natural fertilizer to get things started.
If you’re short on time, a high-quality aroid mix from a brand like Sol Soils is a fantastic alternative.
Wondering why new leaves seem stuck or come out damaged?
The culprit is almost always low humidity. These plants thrive in 60-80% humidity, a far cry from the average home’s 30-40%. While misting provides a fleeting moment of moisture, it’s not a real solution and can encourage fungal issues. The best investment is a small humidifier, like a popular Levoit model, placed nearby. A budget-friendly alternative is to place the pot on a large tray filled with pebbles and water, ensuring the pot sits on the pebbles, not in the water, to create a humid microclimate.
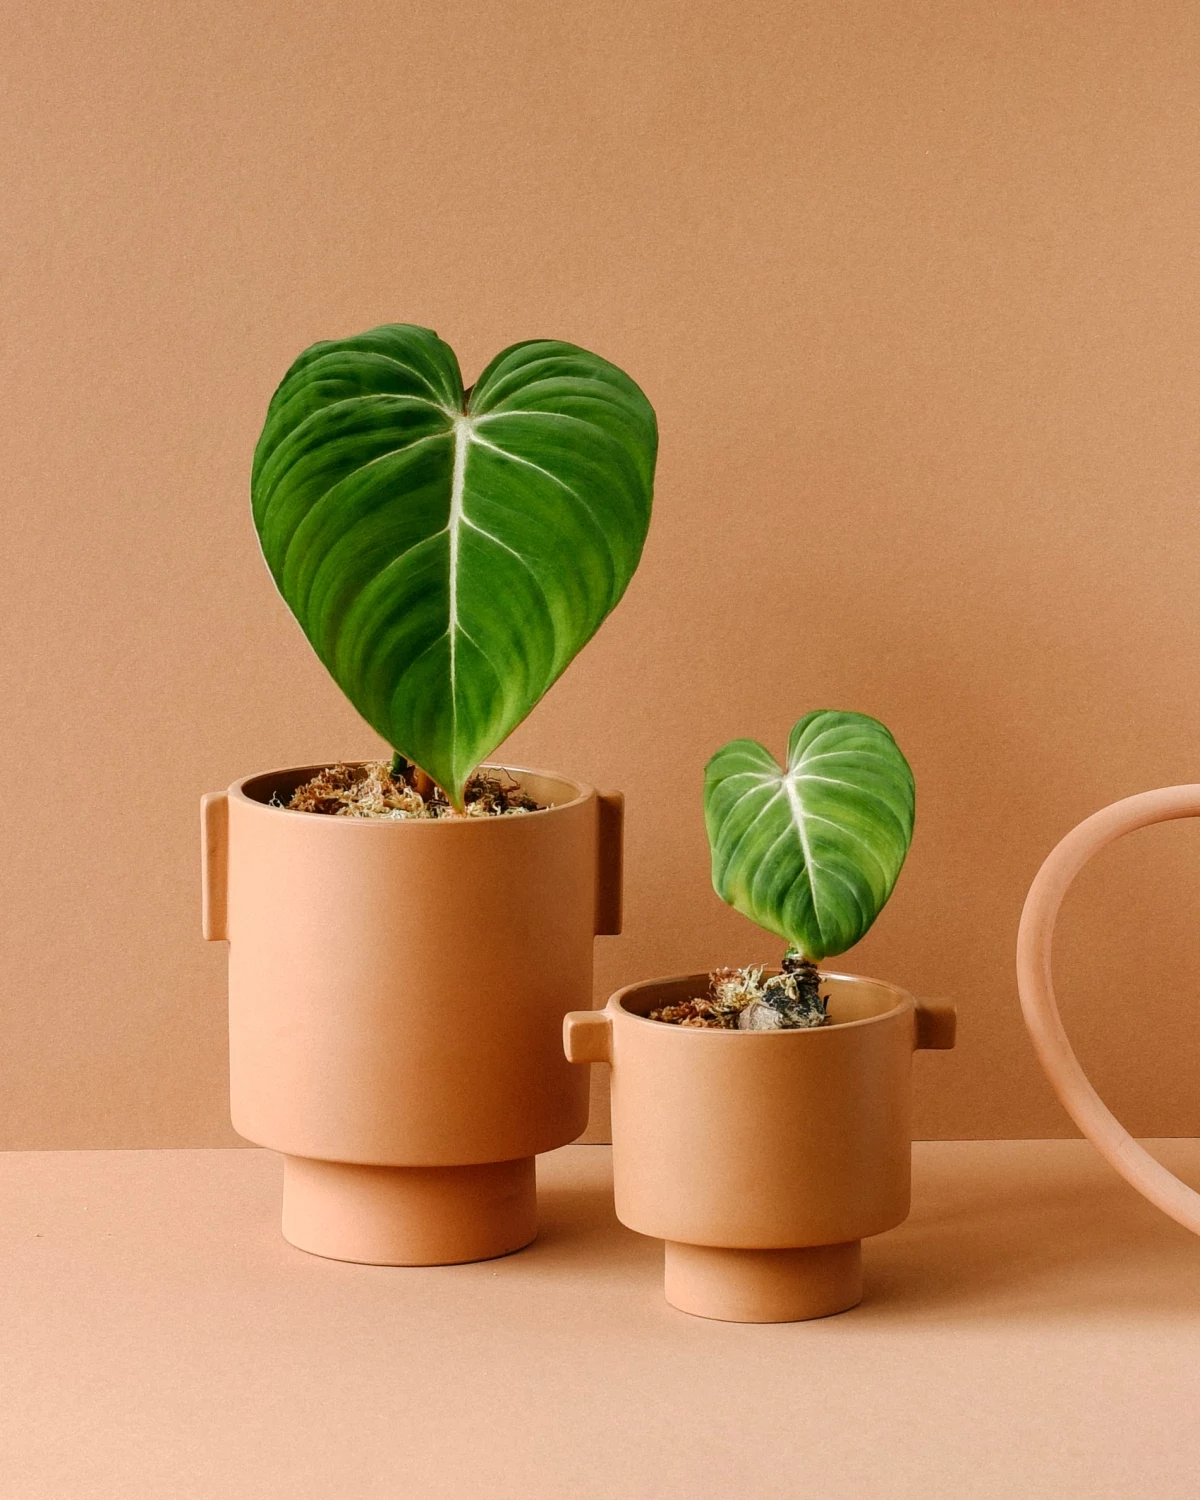
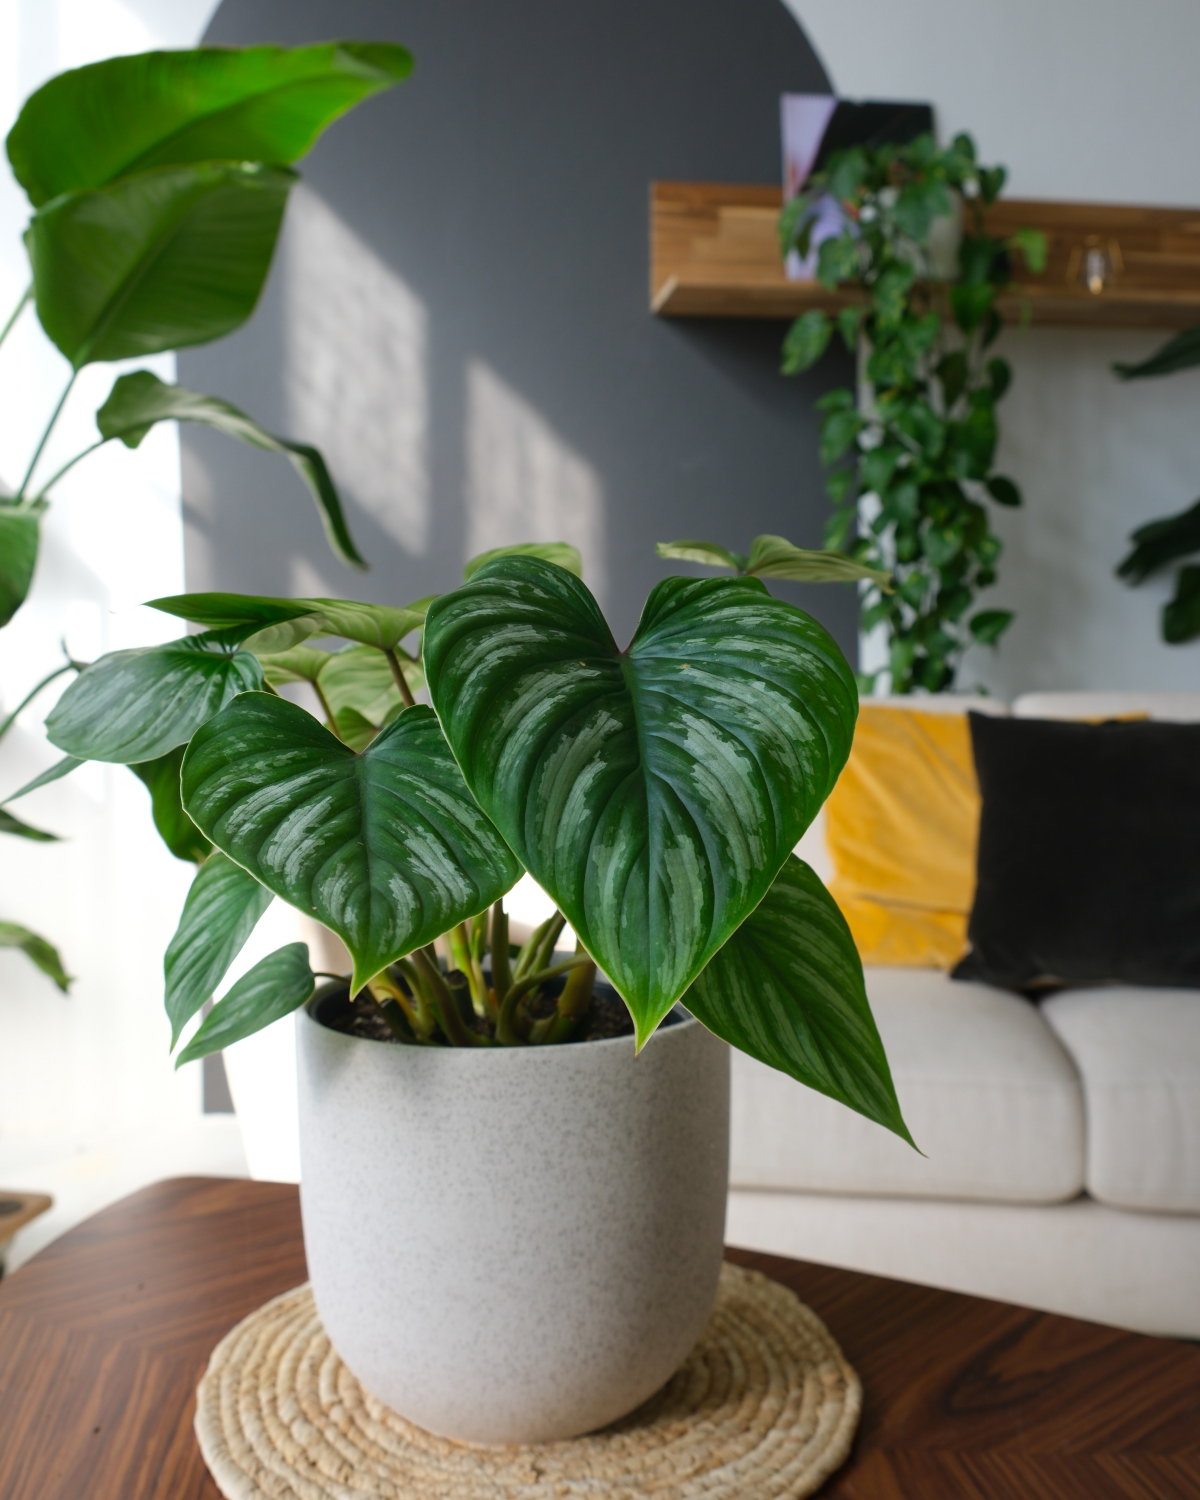
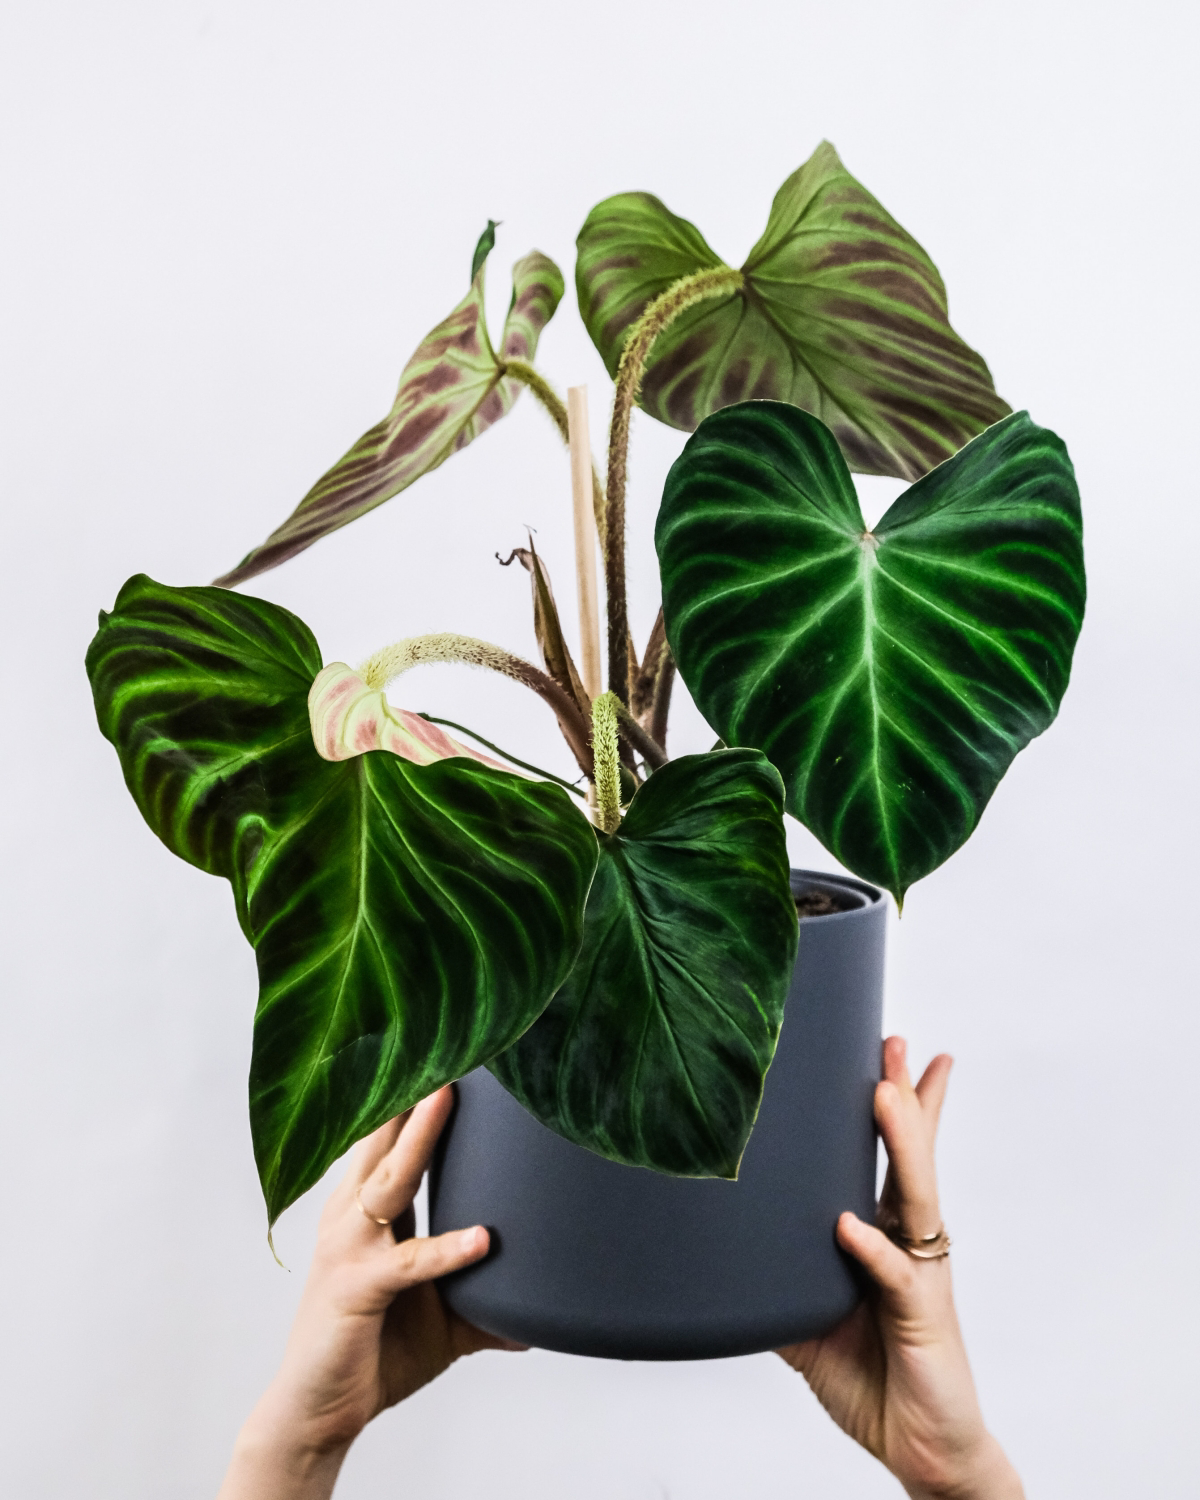
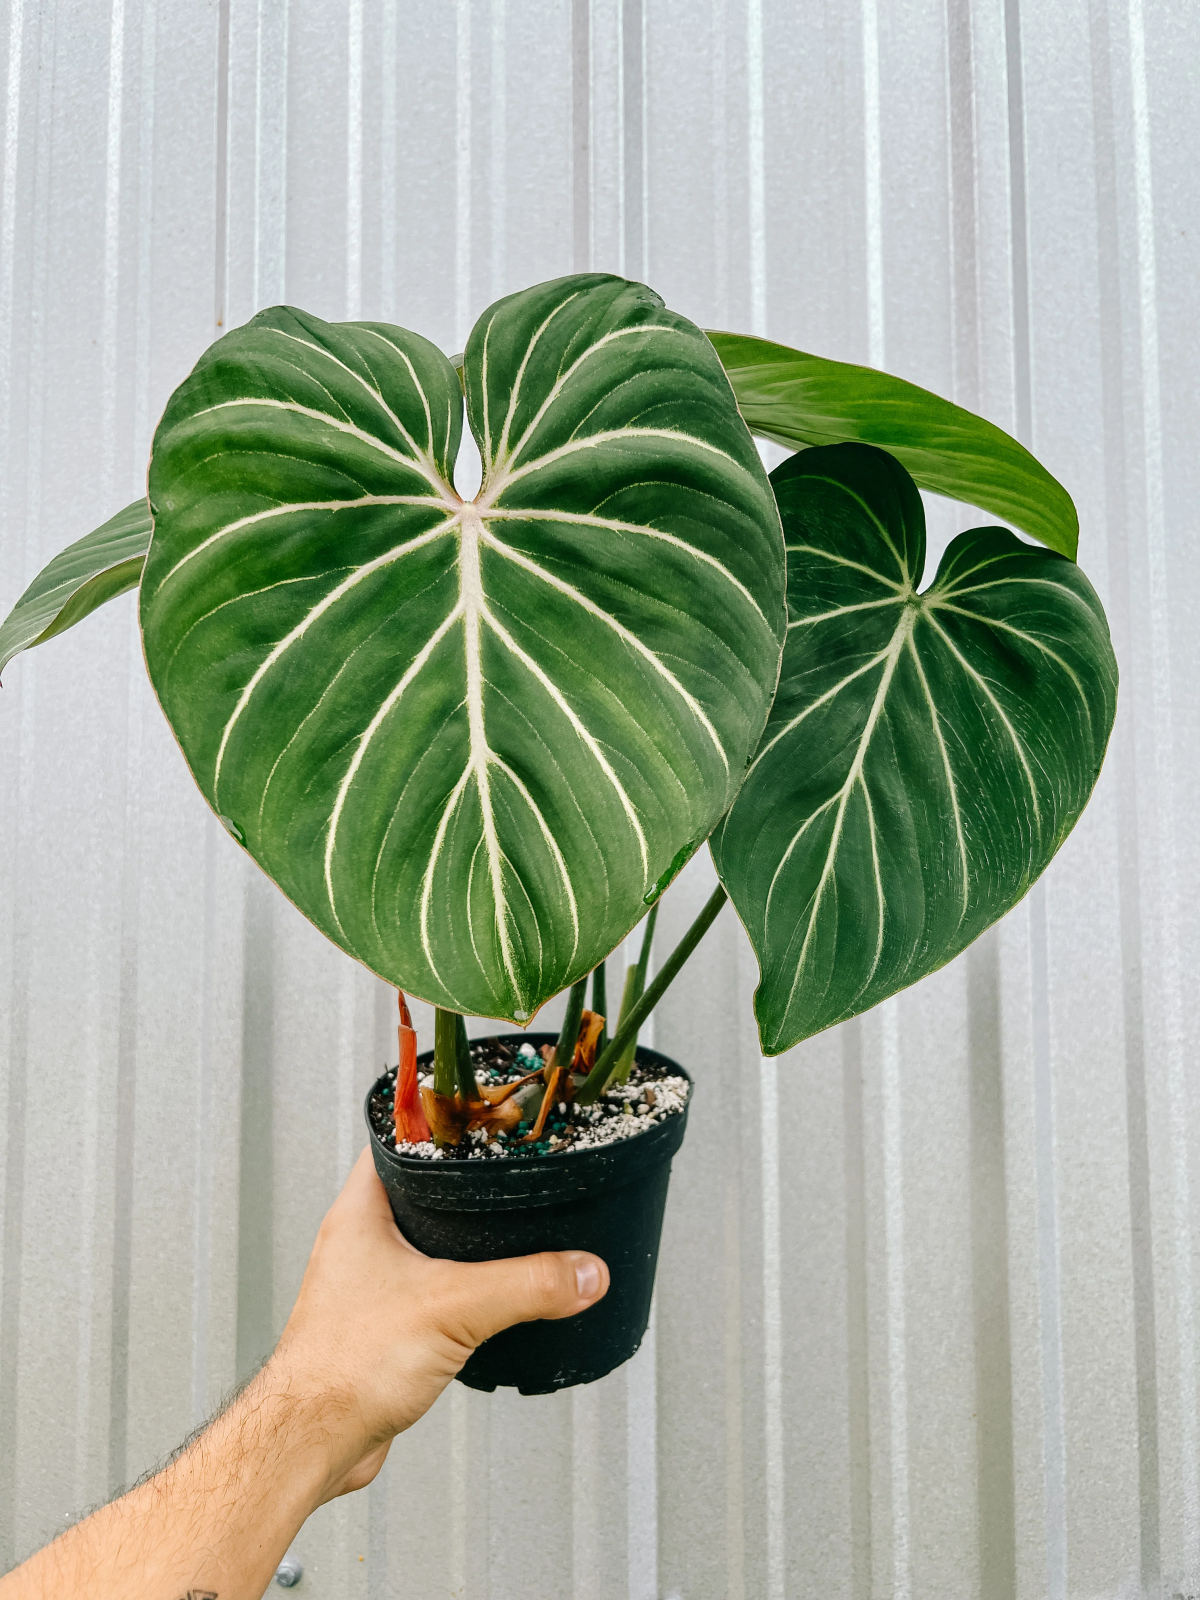
Classic Gloriosum: This is the form most people know, with vibrant green leaves and striking, silvery-white veins. It’s a high-contrast, graphic look.
‘Dark Form’ Gloriosum: A more subtle and moody variety. The leaves are a much deeper, almost black-green velvet, and the veins are often thinner and less pronounced. The overall effect is incredibly luxurious and sophisticated.
Ultimately, the choice is purely aesthetic—care for both is identical. It just depends on the statement you want to make.
- Prevents root rot completely.
- Encourages bigger, healthier leaves.
- Makes watering almost foolproof.
The secret? Never burying the rhizome. This creeping stem is designed to sit directly on top of the soil, not in it. When you pot your Gloriosum, lay the rhizome flat on the surface of your chunky mix and use small pins or stones to gently secure it until the roots anchor themselves. This single step is the most critical for long-term success.


