The Real Deal on Snake Plants: How to Get Yours Thriving, Not Just Surviving
I’ve been around snake plants for what feels like forever—from massive commercial greenhouses to picking out the perfect one for a quiet office corner. Everyone calls them “indestructible,” and honestly, they’re not wrong. These guys can put up with an incredible amount of neglect. But here’s the secret: there’s a world of difference between a plant that’s just surviving and one that’s truly thriving.
In this article
- First Things First: Your Shopping List
- Why This Plant is So Tough (And What It Means for You)
- The #1 Most Important Thing: Soil and Potting
- Watering: The Art of Strategic Neglect
- Let There Be Light (The Right Kind)
- A Quick Word on Food and Temperature
- Making More Plants (Because It’s Fun!)
- Troubleshooting the Common Problems
- A Quick Safety Note
- Inspirational Gallery
A surviving plant is… well, it’s just there. A thriving one, though? It has rich, deep color, puts out strong new leaves, and has that quiet, sturdy presence that makes it a part of your home for decades. A lot of guides give you the same old basics, but this is about getting into the plant’s head and using the kind of techniques the pros use. Believe me, I’ve learned a lot from my mistakes—I once rotted an entire batch of a beautiful variety by being way too attentive. Those lessons are priceless.
So let’s dig into how to make your snake plant genuinely happy.
First Things First: Your Shopping List
Before we get into the weeds (pun intended), here’s a quick rundown of what you’ll actually need. It’s surprisingly simple and won’t break the bank.
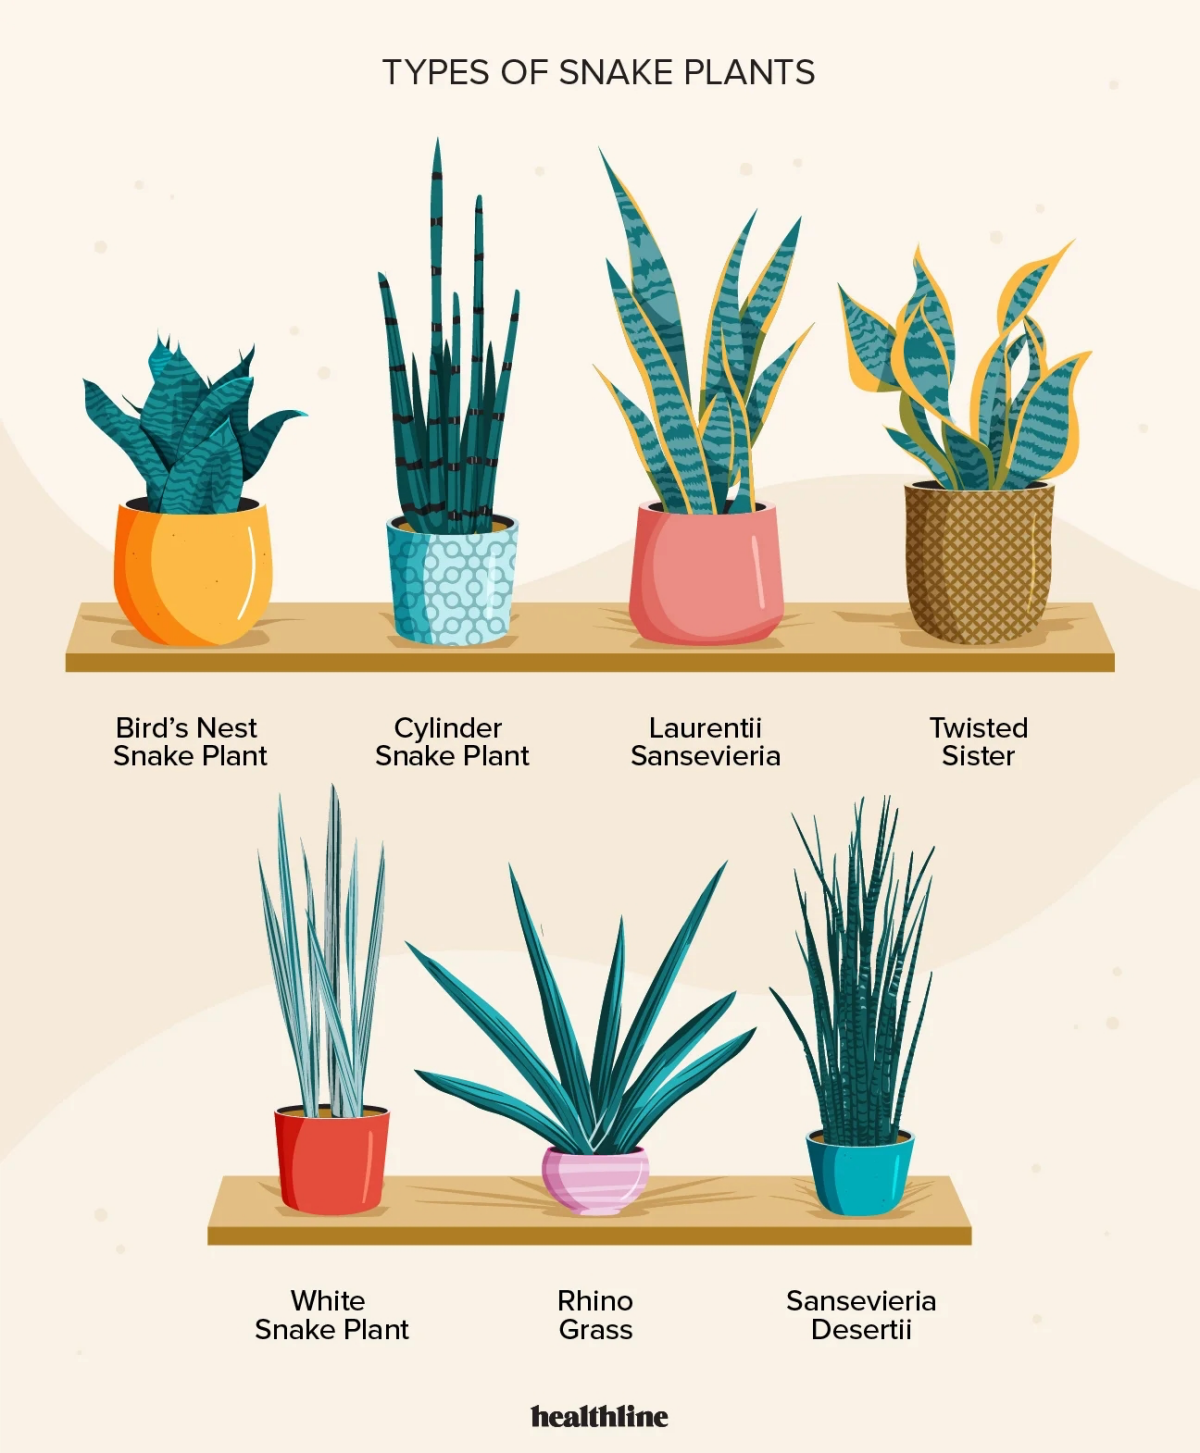
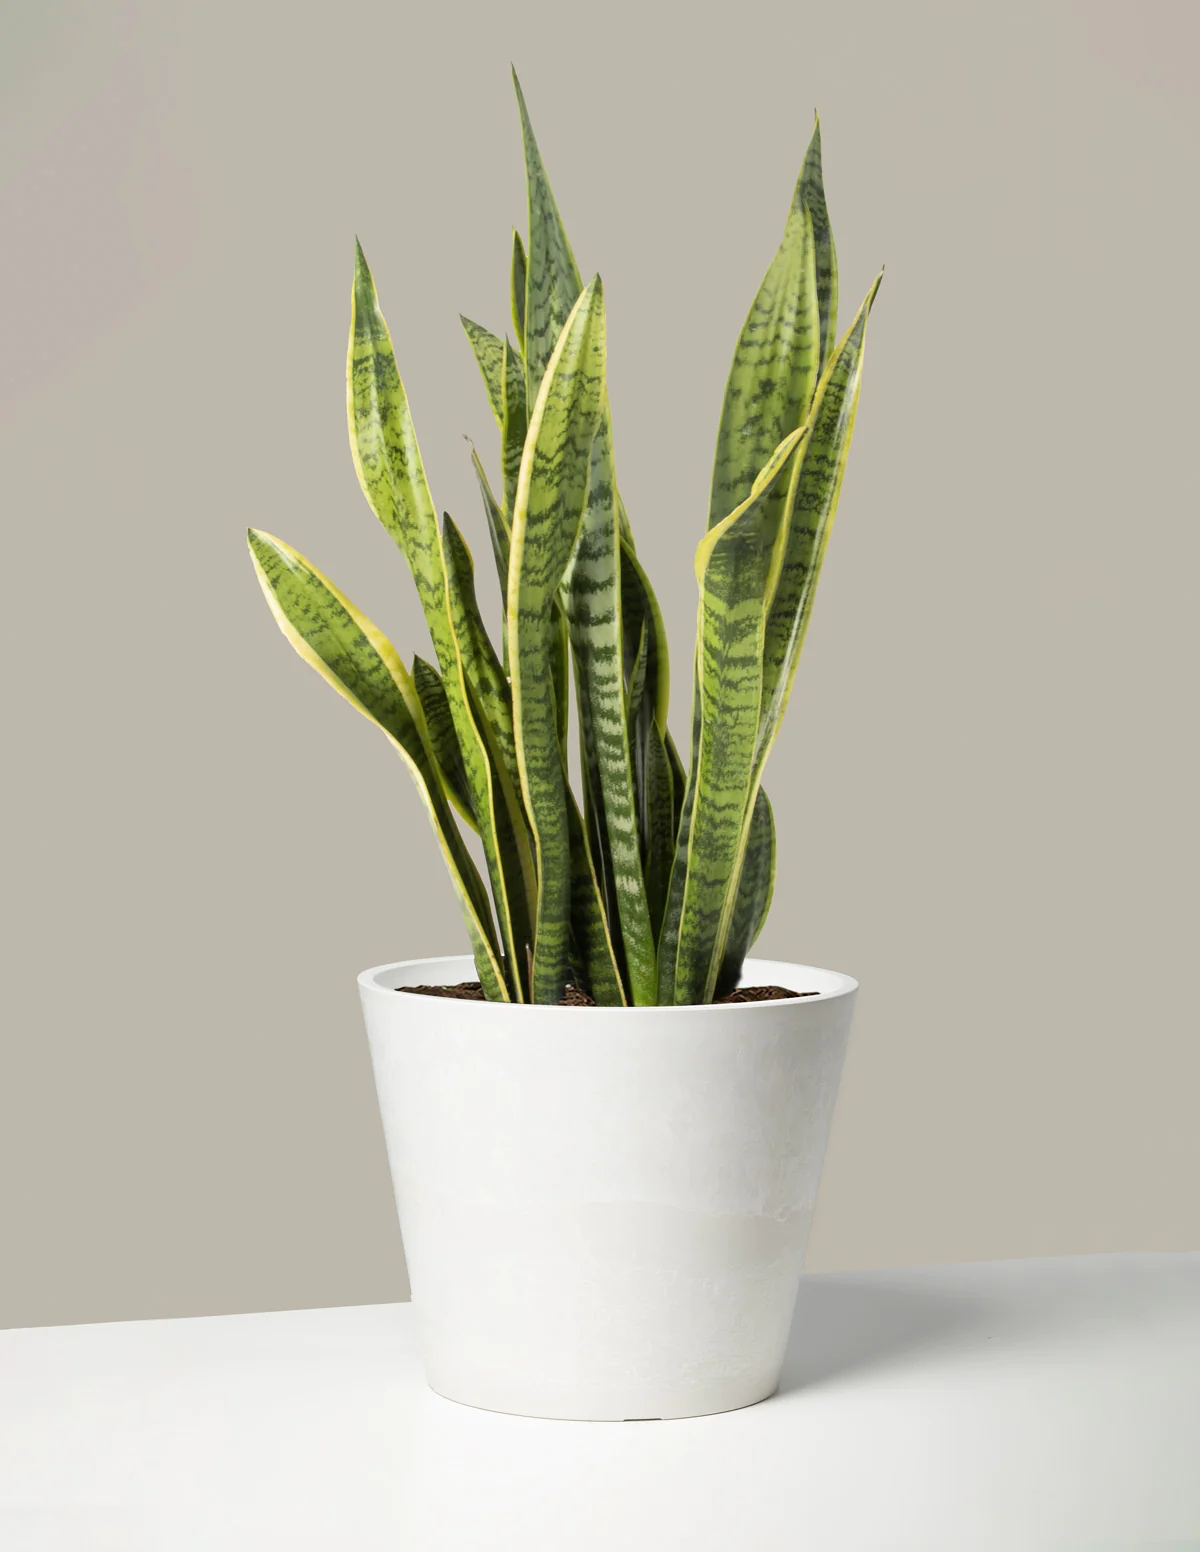
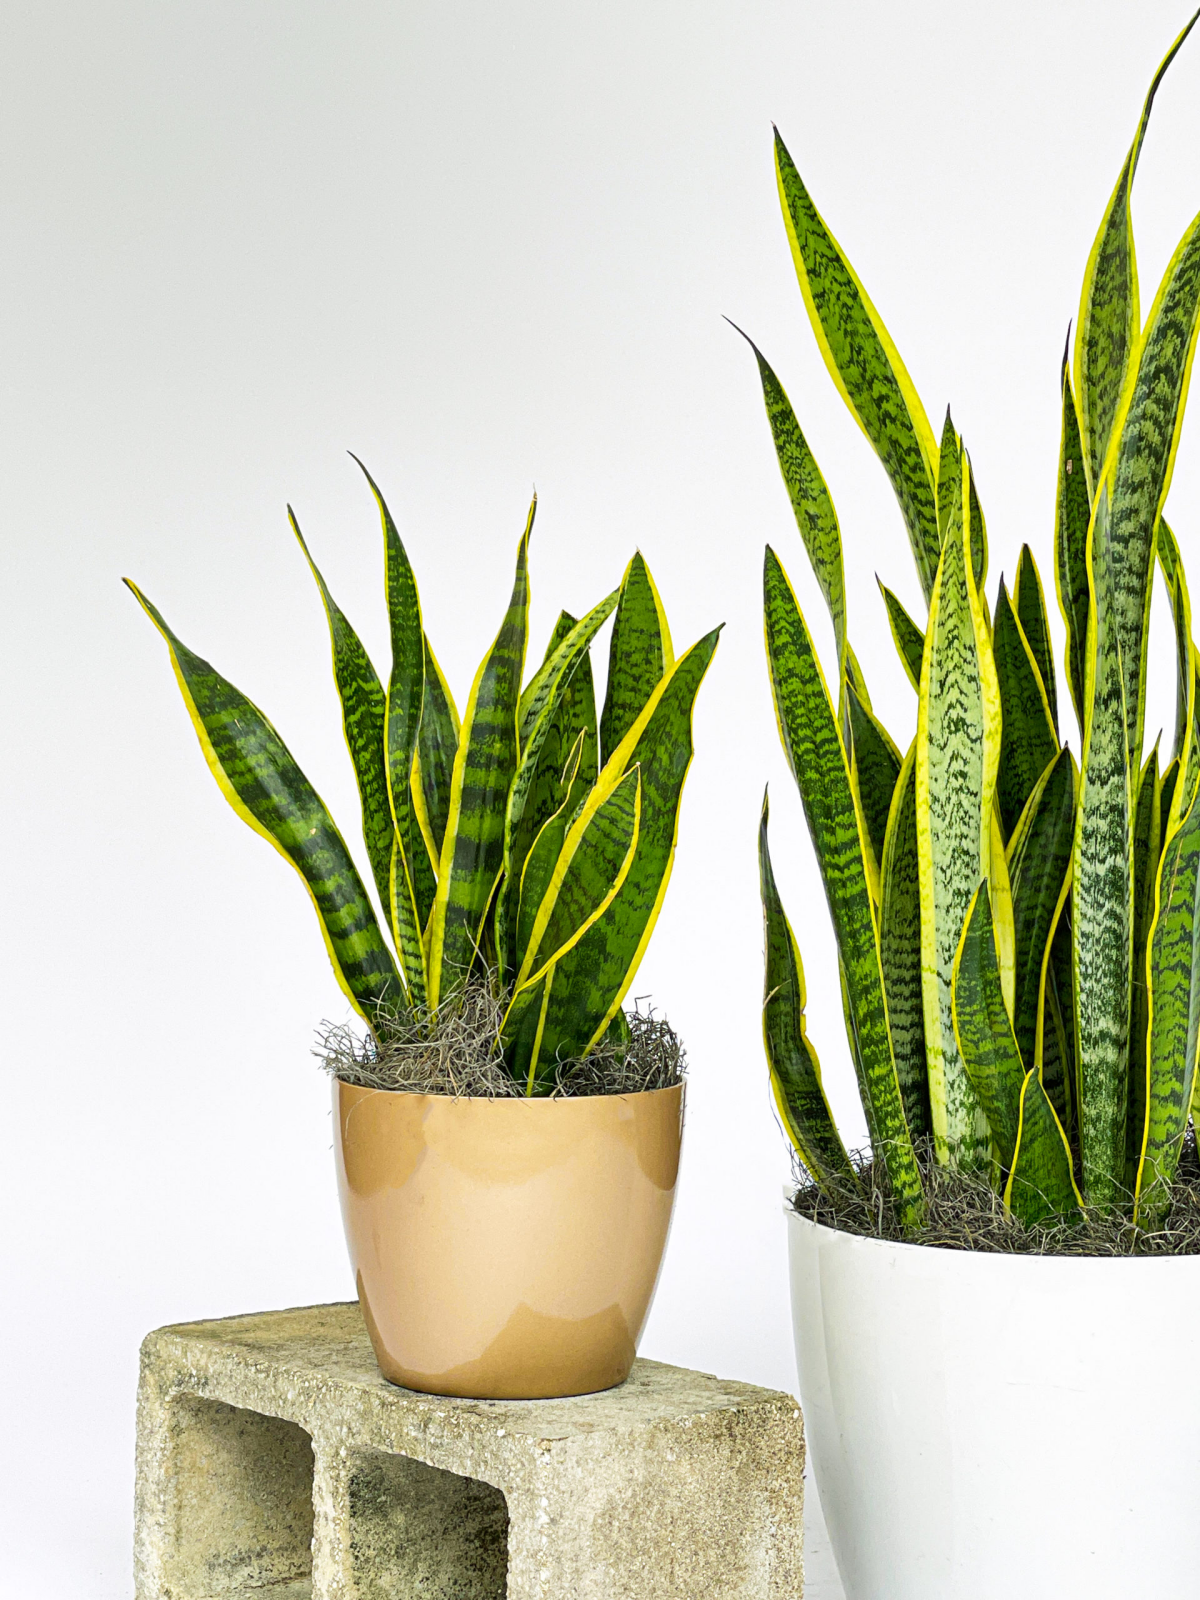
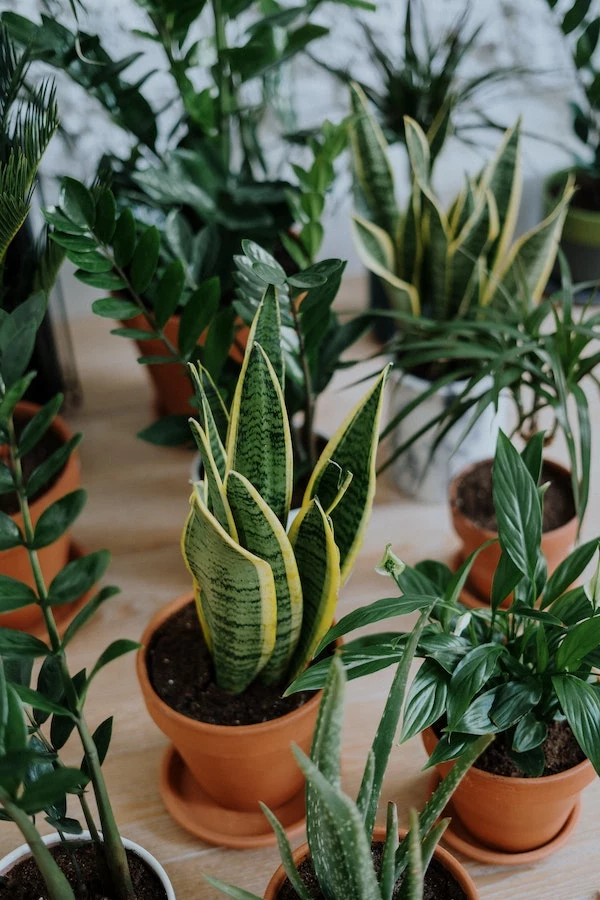
- The Plant: You’ll see all kinds, from the classic tall, dark green ones (often called ‘Zeylanica’) to the popular ones with yellow edges or the short, squatty ‘Bird’s Nest’ types. Pick what you love!
- The Pot: An unglazed terracotta pot is your best friend here. For a standard 6-inch pot, you’re looking at about $5 to $15.
- The Soil Mix: You’ll need a bag of cactus/succulent mix and a bag of perlite. Plan on spending around $20 for both, and you’ll have plenty left over for other projects.
Why This Plant is So Tough (And What It Means for You)
To really get a plant, you have to understand its origins. Snake plants come from dry, arid places, not lush jungles. Think poor, gritty soil and long periods without rain. Its whole being is a masterclass in survival.
The magic happens underground with its rhizomes. These are thick, horizontal stems that store water and nutrients, which is why the plant can go so long between drinks. When you see new baby leaves (we call them ‘pups’) popping up, they’re shooting off from this underground network.
Oh yeah, and here’s a cool fact: Snake plants have a special kind of metabolism. Unlike most plants that exchange gasses during the day (and lose water in the process), snake plants do their “breathing” at night to conserve moisture. They suck in carbon dioxide and release oxygen while you sleep, which is why they’re rockstars for bedrooms.
The #1 Most Important Thing: Soil and Potting
I’m going to say it plainly: the single biggest mistake people make is using standard potting soil. It’s a recipe for disaster. That stuff is designed to hold moisture, which is the exact opposite of what a snake plant’s roots want. They need to dry out fast to avoid rot.
Over the years, I’ve landed on a mix that works every time. It’s all about creating a gritty, airy environment.
The Ideal Pro Mix:
- One part cactus/succulent mix: This is your base. You can find it at any garden center.
- One part perlite or pumice: These are lightweight volcanic rocks that create air pockets. I lean towards pumice because it’s a bit heavier and doesn’t float to the top when you water, but perlite works great and is usually cheaper and easier to find.
- One part coarse sand or fine orchid bark: This adds some extra structure and drainage.
The ‘Good Enough’ Budget Mix:
Now, if you’re standing in Home Depot and don’t want to buy three separate bags, I get it. To be frank, you can get 80% of the benefit with a much simpler combo: just mix one part cactus soil with one part perlite. That’s it. It’s a huge improvement over potting soil alone and is super easy.

Choosing the Right Home (The Pot)
The pot you choose is just as important as the soil. I almost exclusively use unglazed terracotta pots for these plants. Why? Because clay is porous, it breathes. This helps the soil dry out evenly, giving you a massive safety net against overwatering.
Glazed ceramic and plastic pots look nice, but they don’t breathe. If you use one, you have to be much more careful not to overwater, and an airy soil mix becomes non-negotiable. Whatever you choose, it absolutely MUST have a drainage hole. A snake plant in a pot without drainage is a tragedy waiting to happen.
Quick tip on sizing: Snake plants actually like being a little snug and root-bound. A pot that’s too big holds a ton of soil that the roots can’t reach, so it stays wet for way too long. When you do repot, only go up about 1-2 inches in diameter.
When Should I Repot, Anyway?
Good question! The plant will tell you when it’s time. Look for these signs:
- You can see roots actively pushing out of the drainage hole.
- The plant is so top-heavy and root-filled that it’s starting to tip over or warp its plastic pot.
- Water runs straight through the pot instantly, meaning there’s more root than soil left.
Watering: The Art of Strategic Neglect
If you take away only one thing from this guide, let it be this: when in doubt, don’t water. I have seen more snake plants killed by kindness (aka, overwatering) than anything else. It’s the only thing that can reliably defeat them.
Here’s how to do it right using the “soak and dry” method:
- Check the soil. Always. Never water on a schedule. Stick your finger a good two or three inches into the soil. If you feel even a hint of moisture, walk away. Seriously, come back in a week. For bigger pots, a wooden chopstick is a fantastic tool—push it to the bottom, and if it comes out with any damp soil on it, it’s not time yet.
- When it’s bone dry, soak it. Take the plant to the sink and give it a deep, thorough watering until water flows freely from the drainage hole. This ensures the entire root ball gets a drink.
- Let it drain completely. Let the pot sit for 15 minutes to get rid of all excess water. Never, ever let it sit in a saucer full of water. That’s a one-way ticket to root rot.
During a warm, bright summer, you might do this every 2-4 weeks. In the winter, it could be as little as once every 6-8 weeks. Your finger is a better guide than any calendar.
Let There Be Light (The Right Kind)
Snake plants are marketed as “low-light” plants, which is a half-truth. They can survive in low light, but they won’t grow, their color will dull, and they’ll look pretty sad. For a plant that thrives, give it bright, indirect light. Think of a spot near an east-facing window or maybe several feet back from a sunny south or west-facing window. A little direct morning sun is great; just avoid hours of scorching afternoon sun, which can burn the leaves.
A Quick Word on Food and Temperature
These plants are not heavy feeders. During the spring and summer, you can give them a little boost with a balanced liquid fertilizer, but dilute it to half-strength. When the bottle says something like “10-10-10,” don’t stress about the numbers—they just represent the main nutrients. Any bottle that says “All-Purpose” or “For Houseplants” is fine. Feed maybe once a month during the growing season, and not at all in the fall and winter.
As for temperature, if you’re comfortable, they are too. Just keep them away from cold drafts and temperatures below 50°F (10°C), which can turn their leaves to mush.
Making More Plants (Because It’s Fun!)
One of the best parts of owning snake plants is how easy it is to make more. You’ve got two main options.
1. Division (The Fast Way): When you’re repotting, just gently separate the plant into clumps. You’ll see the thick orange rhizomes connecting them. Use a clean knife to cut a section with its own leaves and roots, let the cut end dry for a day, and pot it up!
2. Leaf Cuttings (The Patient Way): Cut a healthy leaf into 3-inch sections. And here’s a crucial tip: you MUST remember which end is the bottom (the part that was closer to the soil). If you plant it upside down, it won’t root. To avoid this, some people make a little ‘V’ shaped cut on the bottom of each piece. Let the cuttings dry for a couple of days to callus over, then stick them an inch deep into some barely-moist soil. It can take a couple of months, but eventually, you’ll see a new pup emerge.
Heads up! Here’s a little pro-tip that separates the newbies from the old-timers. If you take a leaf cutting from a variegated plant (like the ones with yellow edges), the new plants will almost always grow back as solid green. To keep the cool colors, you have to propagate by division.
Troubleshooting the Common Problems
Problem: Yellowing leaves, mushy base, maybe a foul smell.
Cause: 99% of the time, this is root rot from overwatering.
Solution: Emergency surgery time. Take the plant out of the pot, wash off the soil, and cut off every single bit of black, brown, or mushy root and rhizome. Be ruthless. Let any healthy pieces dry out for a few days, then repot in fresh, dry soil. Don’t water for at least two weeks.
Problem: Wrinkled, curling leaves.
Cause: This is usually thirst. Check if the soil is bone dry, and if so, give it a good soak. The leaves should plump up in a day or two. But wait—there’s a catch. Wrinkled leaves can also be a sign of advanced root rot. I know, confusing, right? It’s because the rotted roots can’t absorb water, so the plant is thirsty even if the soil is wet. Always check the soil and the base of the plant before you water!
Problem: White cottony spots or fine webbing.
Cause: Pests like mealybugs or spider mites.
Solution: For the white fluff (mealybugs), dip a cotton swab in rubbing alcohol and dab them directly. For webbing (spider mites), give the plant a good rinse in the shower and follow up with some insecticidal soap.
A Quick Safety Note
It’s good to know that snake plants are mildly toxic if eaten. According to veterinary experts, they can cause nausea and upset stomachs in cats and dogs, so it’s best to keep them out of reach of curious pets and toddlers. They’re for looking at, not for snacking on!
At the end of the day, the secret to a gorgeous snake plant is simply to respect its nature. Give it a gritty home, water it only when it’s truly thirsty, and give it some decent light. If you can resist the urge to over-love it, you’ll have a thriving, architectural companion for years to come.
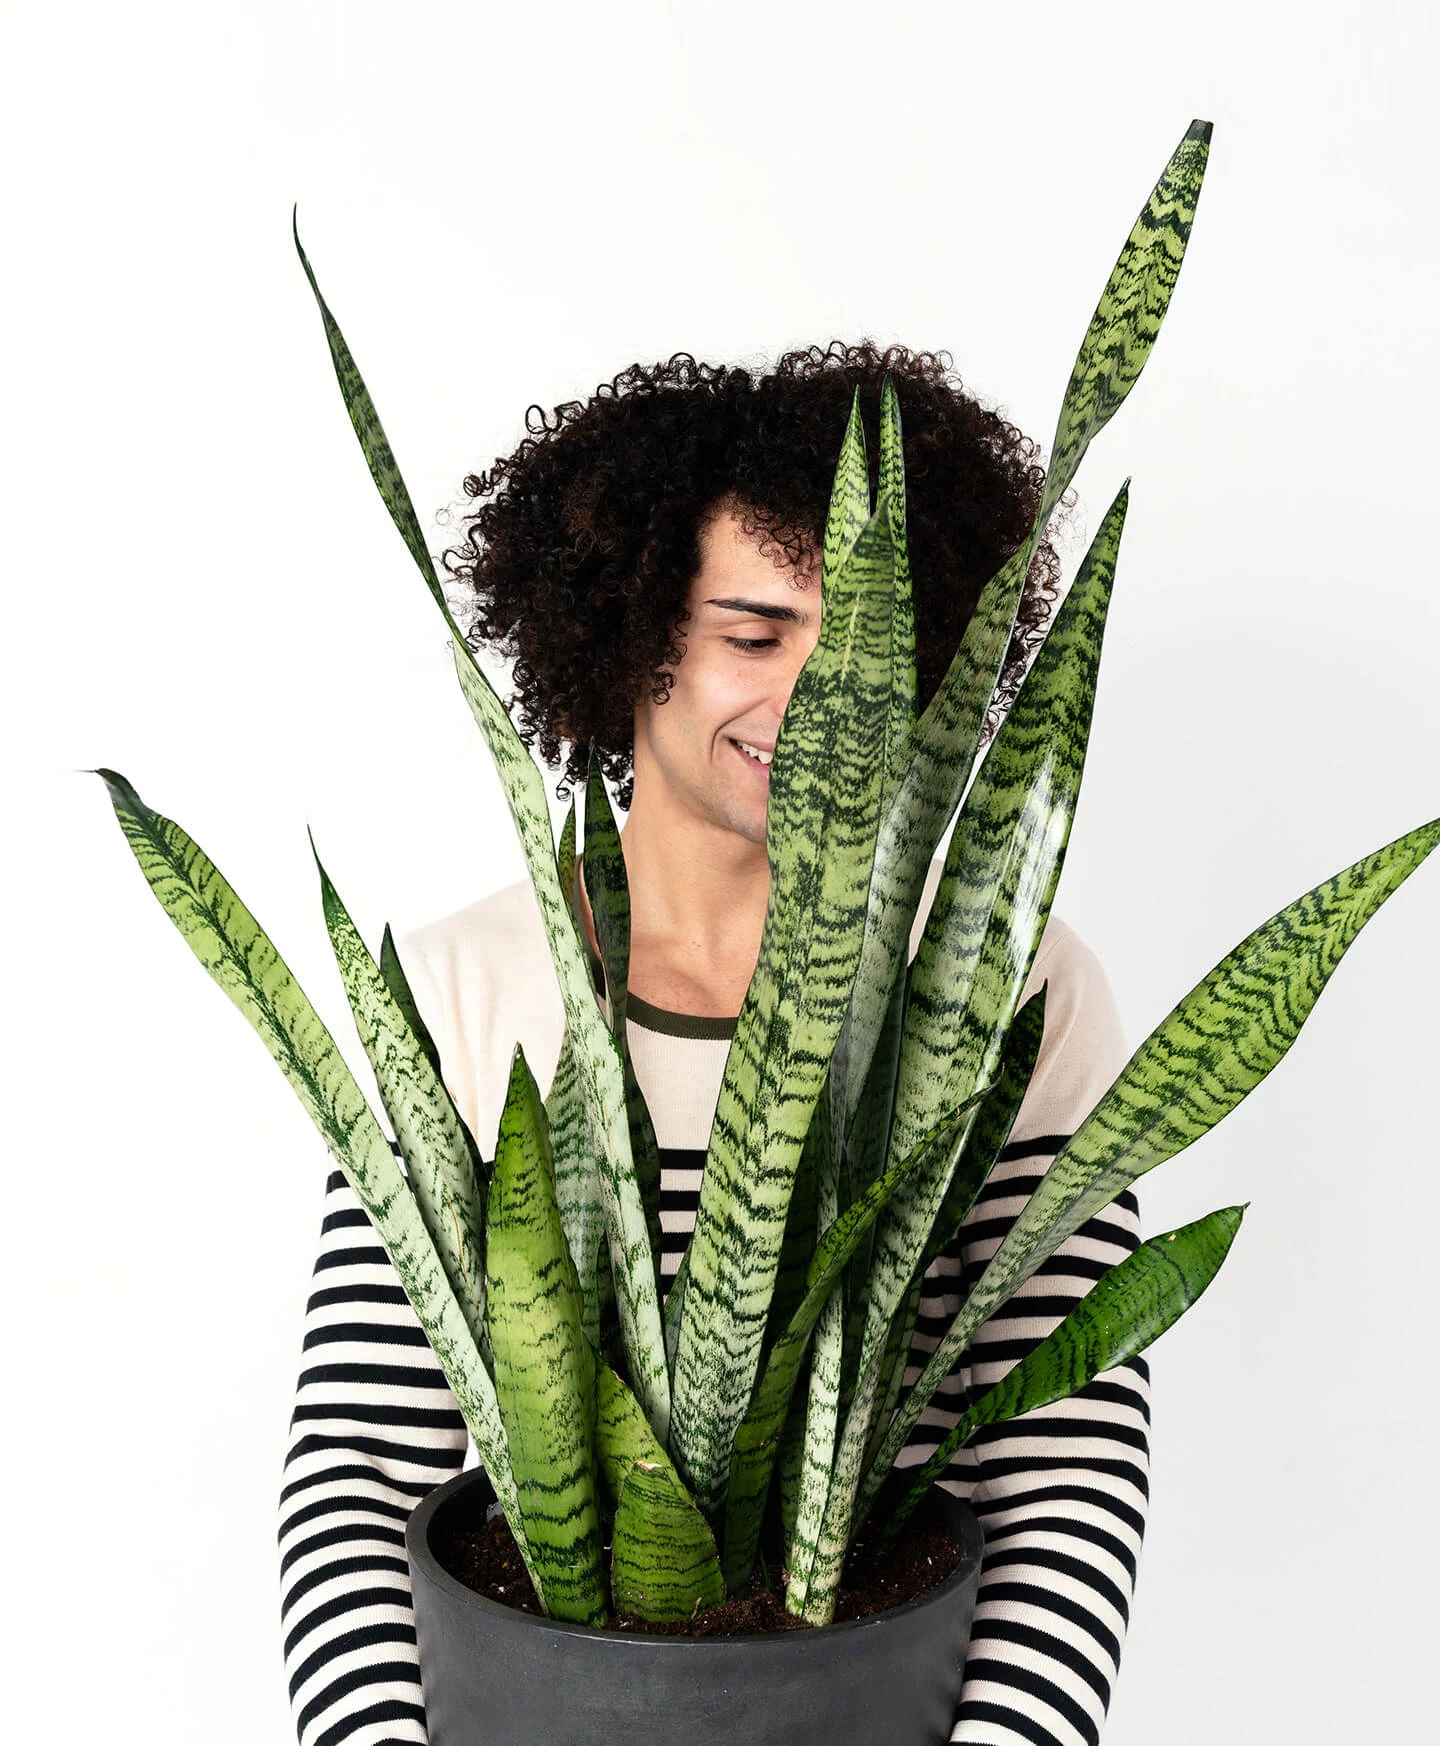
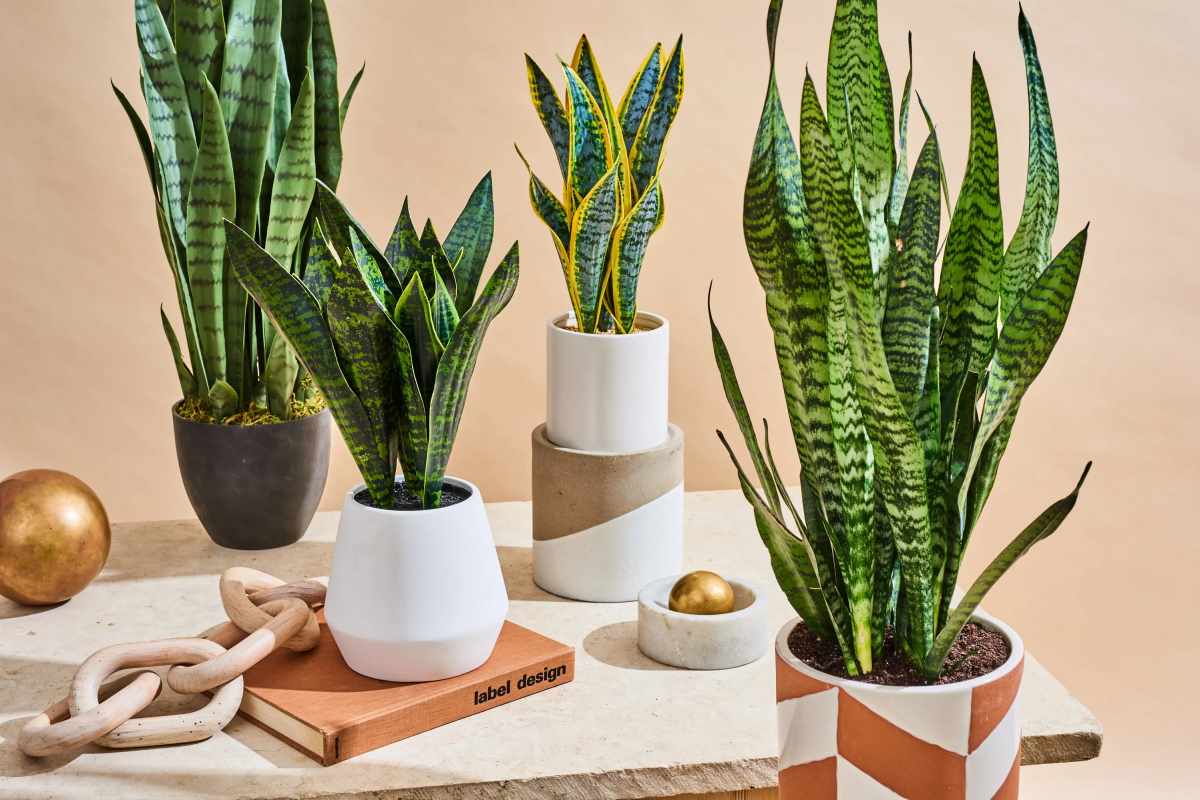
Inspirational Gallery
Wondering why a leaf is turning yellow?
It’s almost always a water issue. Overwatering is the number one snake plant killer, causing root rot which shows up as mushy, yellow leaves at the base. Underwatering, on the other hand, can cause tips to yellow and the whole leaf to look shriveled. Before you reach for the watering can, stick your finger two inches into the soil. If it’s even slightly damp, wait.
The famous 1989 NASA Clean Air Study found that snake plants are proven to remove toxins like formaldehyde, xylene, and toluene from the air.
This makes them more than just a decorative piece; they are silent, hardworking roommates, especially effective in bedrooms as they release oxygen at night.
- Vibrant, deep green foliage that feels firm.
- New growth, often called “pups,” emerging from the soil.
- Stiff, upright leaves that don’t flop over.
The secret? Benign neglect. Mimicking its native arid environment means letting the soil dry out completely and giving it bright, indirect light. A little ‘stress’ actually makes it stronger.
Choosing the right size and shape can transform a space. It’s all about scale and purpose.
For height: The classic Sansevieria trifasciata ‘Laurentii’, with its tall, yellow-edged leaves, is perfect for filling an empty corner or flanking a doorway. It draws the eye upward, making a room feel more spacious.
For desktops: The compact Sansevieria trifasciata ‘Hahnii’, or Bird’s Nest snake plant, is a better fit. Its rosette shape stays low and tidy, adding a touch of green to a desk or shelf without getting in the way.
The pot is more than a container; it’s part of the plant’s health system. While the article mentions terracotta, the key is its porosity. Unlike plastic or glazed ceramic pots that trap moisture, unglazed terracotta breathes. This wicks excess water away from the soil, drastically reducing the risk of root rot and recreating the dry conditions snake plants love.
Seeing your collection grow is one of the biggest rewards. The easiest way to propagate a snake plant is by division when you repot it.
- Gently remove the entire plant from its pot and brush off the excess soil.
- You’ll see the main root structure, a thick, fleshy rhizome, connecting different leaf clusters.
- Using a clean, sharp knife, you can cut the rhizome into sections, ensuring each piece has at least one healthy leaf and some roots attached.
- Pot each new division in a well-draining mix, like the recommended cactus soil and perlite blend. Water it lightly and watch your new plant family grow!
Did you know snake plants can flower? It’s rare for indoor plants but a sure sign your plant is thriving.
The flowers are typically greenish-white, grow on a long stalk, and are incredibly fragrant at night. This usually happens when a plant is happily root-bound and receives ample bright, indirect light—a little positive stress can trigger this beautiful, unexpected reward.
- Don’t use a pot that’s too big. They prefer to be snug.
- Never let it sit in a saucer of water. Always empty excess water after 30 minutes.
- Avoid leaf shine products. They can clog the pores on the leaves. A simple wipe with a damp cloth is all you need to keep them clean and glossy.


