Forget ‘Dirt’—Here’s How to Build Amazing Living Soil for Your Garden
I’ve been playing in the dirt for a long, long time. My very first garden was this sad little patch of ground behind a rental house. The soil wasn’t just soil; it was heavy, sticky clay, packed down so hard from years of foot traffic you couldn’t even get a shovel into it. I literally had to chip away at it with a mattock. As you can imagine, my first tomato plants were pale, stunted little things. I learned a huge lesson that year: a garden is only as good as what it’s growing in. You don’t just grow plants. You grow the soil.
In this article
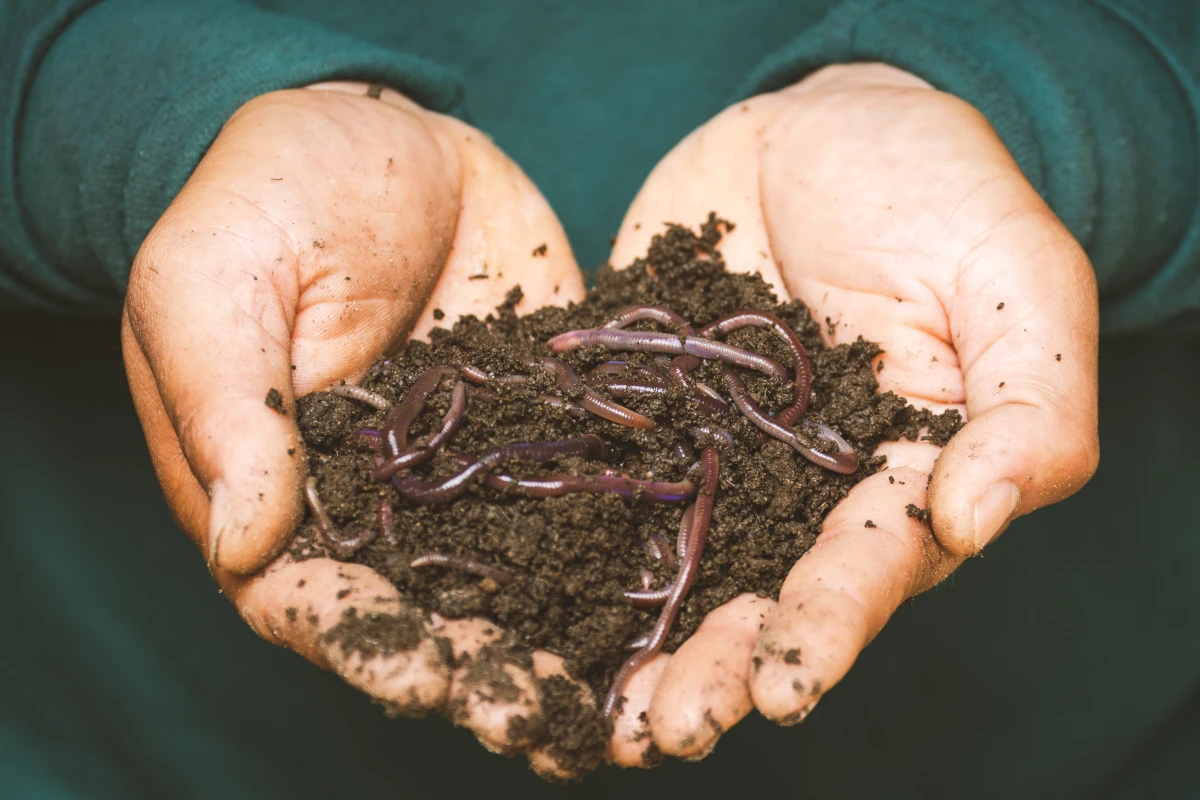
So many people think of soil as just… dirt. An inert medium to hold plants upright. But that’s completely missing the point. Healthy soil is a bustling, living ecosystem, jam-packed with billions of microorganisms, fungi, worms, and insects. They all have a job to do, working together to break down organic stuff and deliver nutrients right to your plants’ roots. My job as a gardener isn’t really to feed the plants; it’s to feed the soil that feeds the plants. It’s a simple shift in perspective that changes everything.
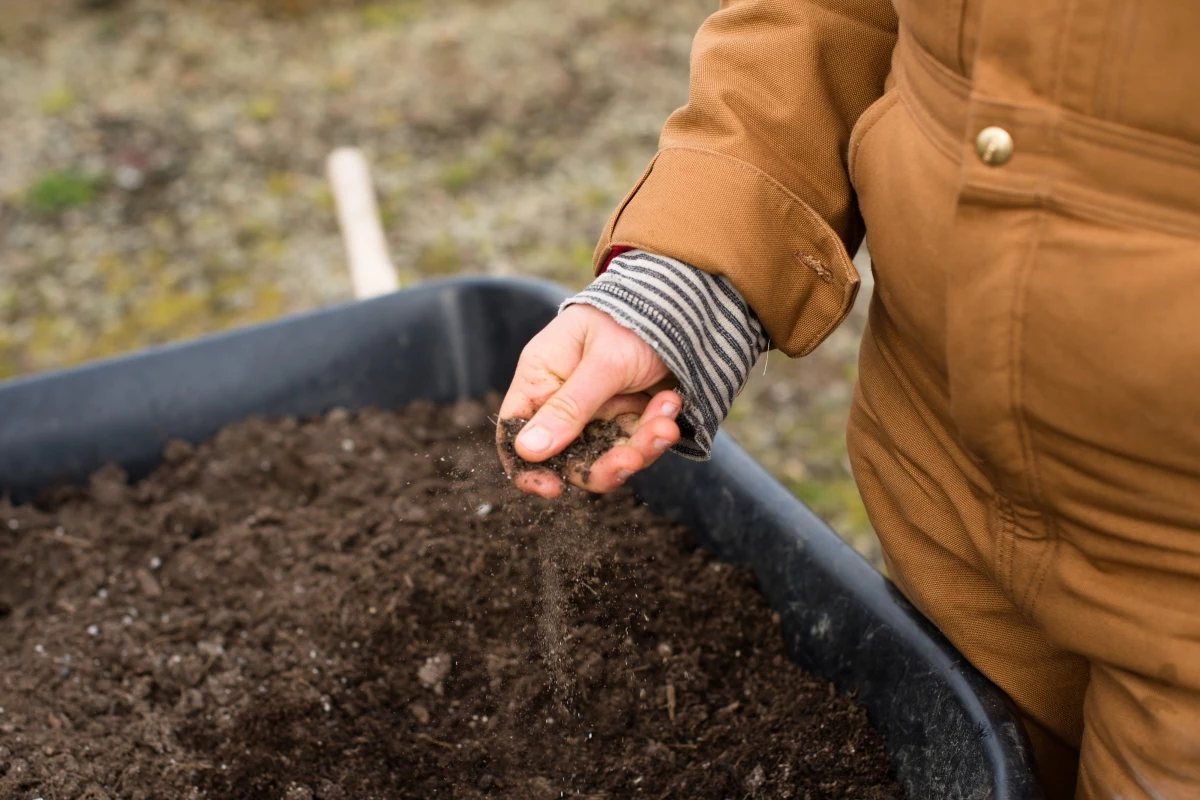
Over the years, I’ve managed to turn that first clay patch into dark, crumbly loam, and I want to share the practical, no-fluff knowledge I’ve picked up so you can do it, too.
First, Figure Out What You’re Working With
Before you start dumping bags of stuff on your garden, you have to know what you’re dealing with. Just randomly adding amendments is like taking medicine without a diagnosis—you could be wasting time and money, or honestly, even making things worse. The first step is always to get a feel for your soil’s texture and chemistry. This isn’t as complicated as it sounds, and it gives you a clear roadmap.
The Super-Simple Jar Test
Soil texture is all about the size of its mineral particles, which tells you how well it drains and holds onto water. You’ve got sand (the biggest particles), silt (medium), and clay (the tiniest). Most soils are a mix of the three.
You can get a surprisingly good read on this with a simple jar test. It’s a classic for a reason.
- Grab a Sample: Dig down about 6-8 inches (below the very top layer) and scoop out about a cup of soil.
- Fill a Jar: Use a clear, straight-sided jar with a good lid, like a quart-sized mason jar. Fill it about halfway with your soil.
- Add Water & Soap: Fill the rest of the jar with water, leaving an inch of air at the top. Add a tiny squirt of dish soap (maybe half a teaspoon). This little trick helps the super-fine clay particles separate instead of clumping.
- Shake It Up: Lid on tight, and shake that thing like you mean it for a solid two minutes. You want every single clump broken apart.
- Let It Settle: Now, just set the jar on a level surface and let gravity do its thing.
After just one minute, the heaviest stuff will settle. That bottom layer is your sand. Mark the level on the jar with a sharpie. After a couple of hours, the next layer, silt, will have settled on top of the sand. Mark that level. The clay can take a day or two to fully settle out of the water. Once the water is mostly clear, mark the top of the clay layer. By the way, any little bits floating on top? That’s your organic matter, which is pure gold.
Looking at the proportions of these layers tells a story. Lots of sand means great drainage but it won’t hold nutrients well. Heavy on the clay means it holds water and nutrients like a champ but can get compacted and waterlogged. That sweet spot in the middle, a nice balance of all three, is called loam—and that’s the goal.
Why a Real Soil Test is Your Best Investment
While the jar test is great for texture, a lab test tells you about the chemistry. For a surprisingly small amount of money, you can get a detailed report that takes all the guesswork out of the equation. I was stubborn about this for years and wasted so much money on fertilizers I didn’t need. Don’t be like me!
A good starting point is to Google “[your state] cooperative extension soil testing.” These university-based labs are fantastic resources. Expect to pay between $15 and $50 for a standard test, including postage. It’s truly the best $30 you’ll spend on your garden all year.
Quick tip on collecting your sample: Don’t just scoop from one spot! For a garden bed, take 5-6 small scoops from different areas, digging down about 6 inches each time. Mix them all together in a clean bucket. This composite sample gives you a much more accurate average of your whole garden.
The report you get back will tell you things like:
- Your Soil’s pH: This is a huge one. If your pH is too high or too low, nutrients get ‘locked up’ in the soil, meaning your plants can’t access them even if they’re there. Most veggies like it slightly acidic to neutral (around 6.0 to 7.0).
- Organic Matter %: This is your soil’s health score. You’re aiming for 5% or higher. If it’s low, you know your top priority is adding compost.
- Key Nutrient Levels: It will show you levels of phosphorus and potassium. This is so important because many home gardens actually have too much phosphorus from years of using ‘all-purpose’ fertilizers, which can harm soil microbes and wash into our waterways.
The best part is that the report will come with specific recommendations tailored to your soil and what you want to grow. It’s like getting a personalized prescription for your garden.
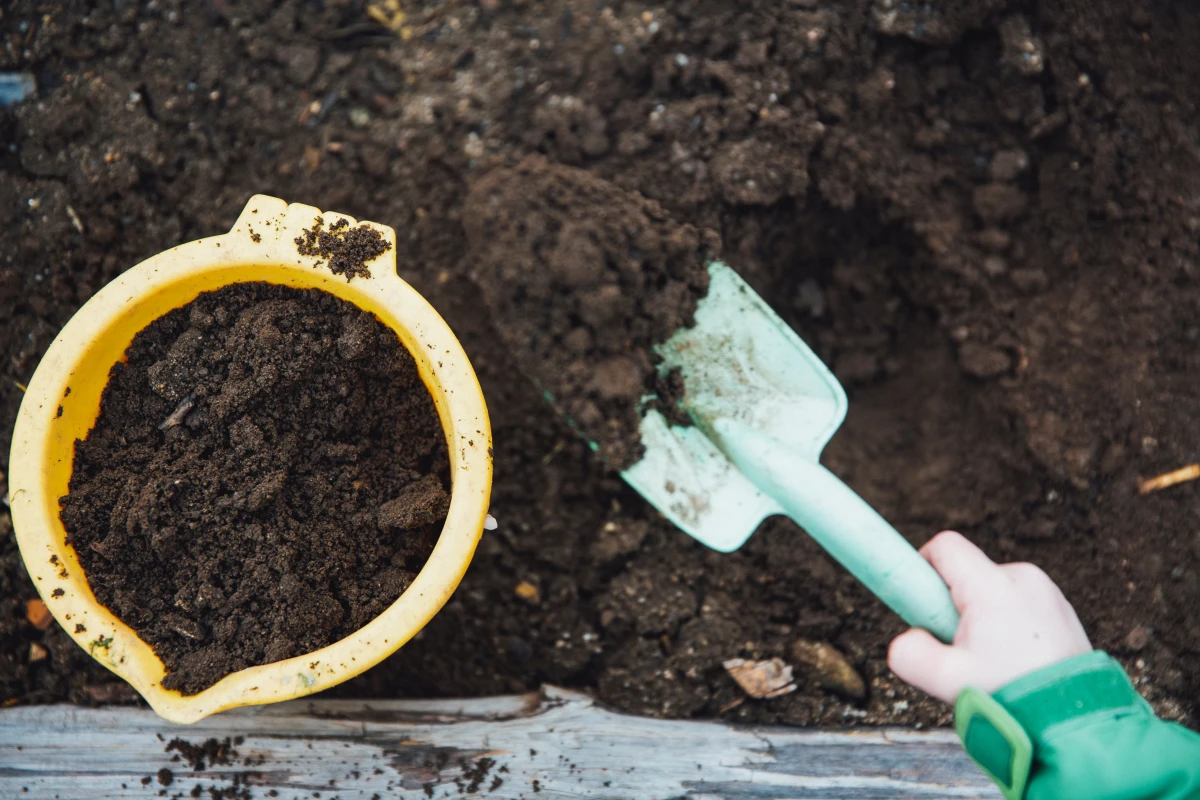
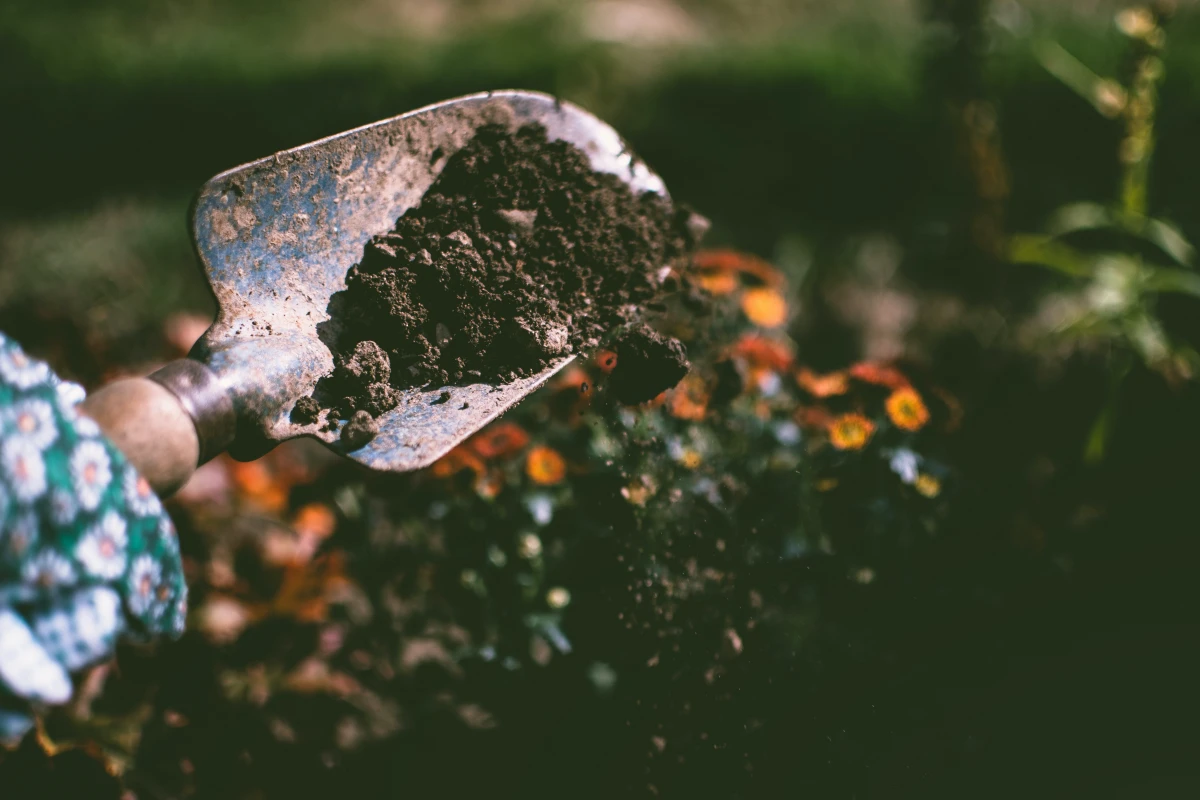
The Magic Ingredient: Organic Matter
No matter what your soil test says, I can almost guarantee your garden will benefit from more organic matter. It’s the universal problem-solver. In heavy clay, it forces the tiny particles apart, which improves drainage and aeration. For sandy soil, it acts like a sponge, helping it hold onto water and nutrients. Organic matter is the food that powers the entire soil ecosystem.
Let’s Talk Compost
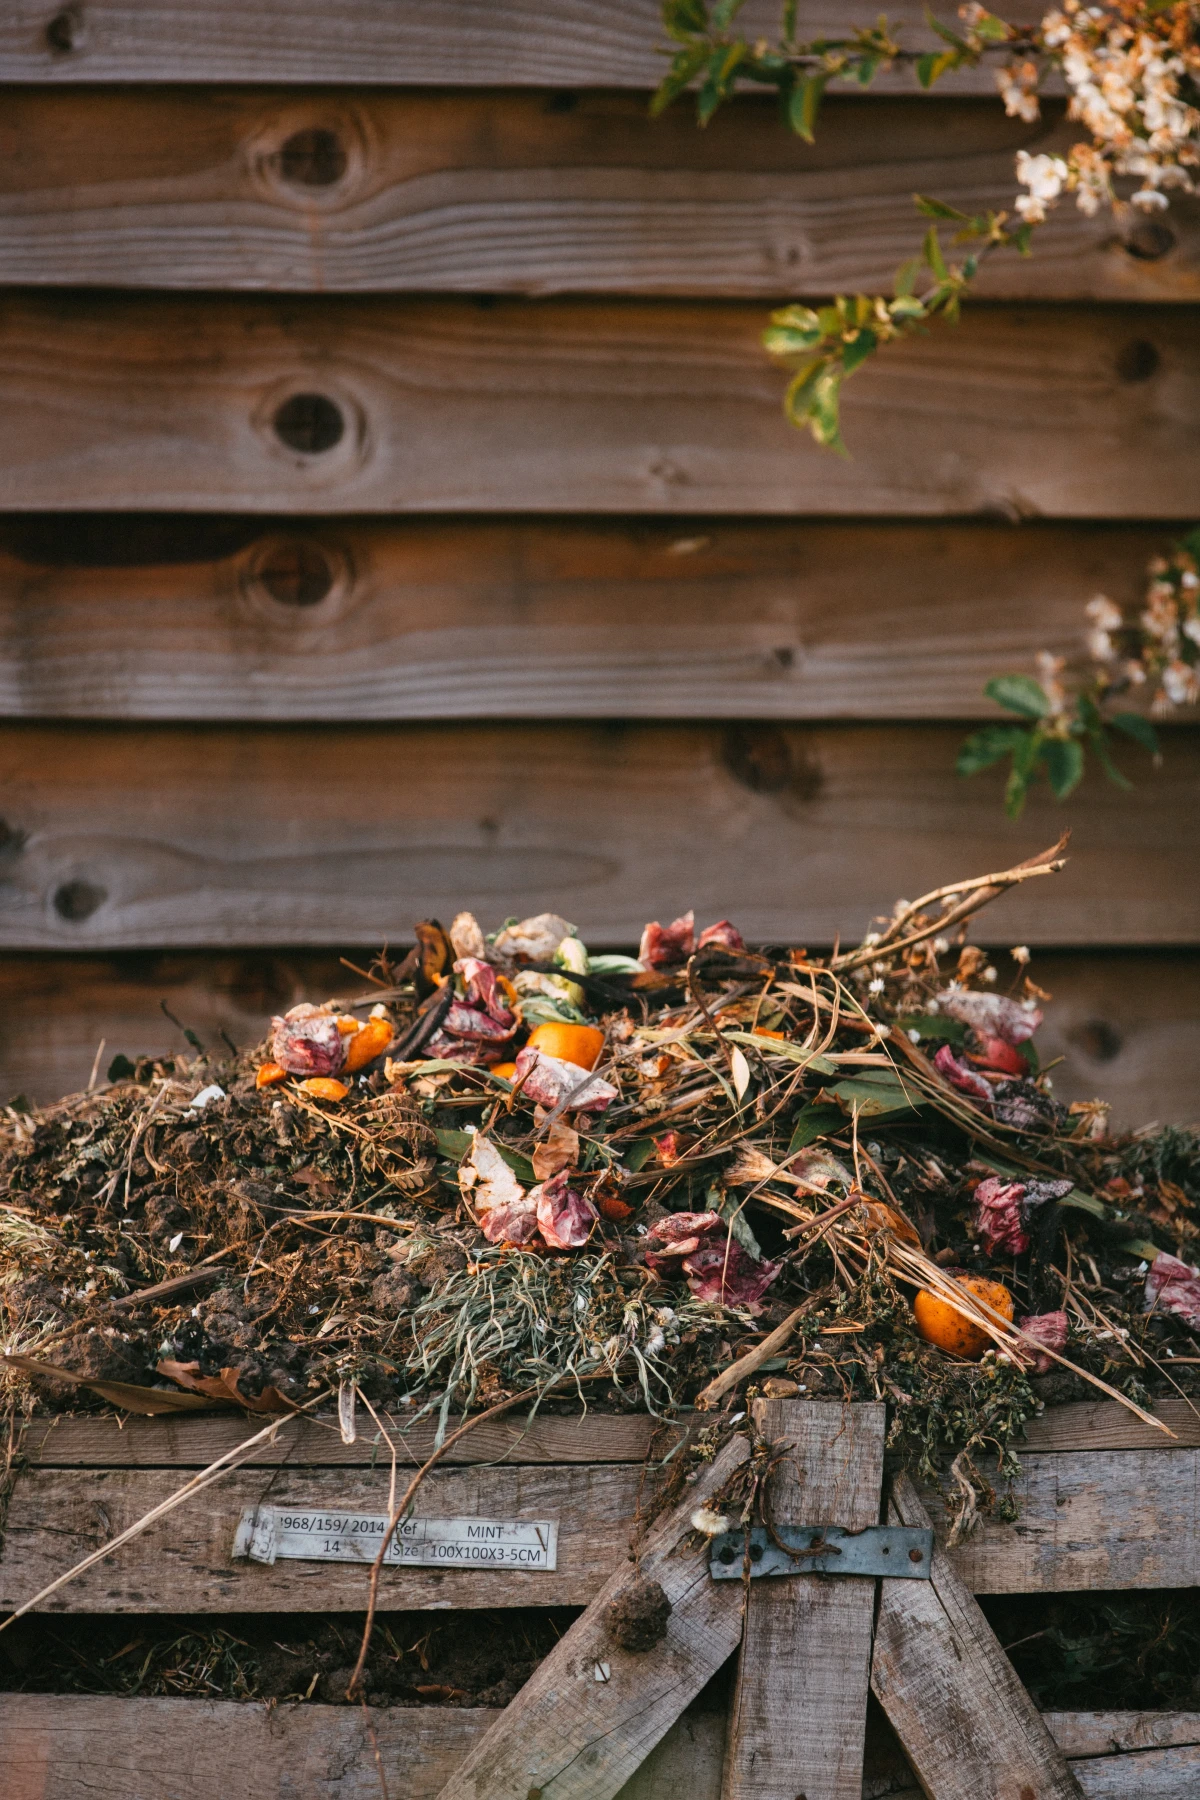
Compost is the absolute best all-around soil amendment. The key is balancing your ‘browns’ (carbon) and ‘greens’ (nitrogen).
- Browns (Carbon-rich): Think dry, woody stuff. Fall leaves are the classic, but you can also use straw, shredded newspaper (avoid the glossy ads), torn-up paper egg cartons, and even free cardboard from appliance stores.
- Greens (Nitrogen-rich): This is the fresh, moist material. Kitchen scraps (no meat, oil, or dairy), fresh grass clippings, and used coffee grounds are perfect.
Aim for a ratio of about three parts browns to one part greens by volume. Layer them in your pile or bin, watering each layer lightly as you go—you want it to feel like a wrung-out sponge. If you build it right, the pile will heat up in the center. You’ll know it’s working when you see steam rising on a cool morning!
Having trouble with your compost pile? A little troubleshooting:
- Smells like ammonia? It’s a sign of too much nitrogen (too many greens). Easy fix: just mix in a thick layer of shredded leaves or cardboard to balance it out.
- Nothing happening? The pile is probably too dry or too small. Give it a good watering. To really get hot, a compost pile needs a bit of mass—aim for at least 3 feet wide by 3 feet tall.
A Word on Manures
Manure is a fantastic nutrient source, but you have to handle it right.
Heads up! Never, ever apply fresh manure directly to your garden, especially where you grow food. It can contain harmful pathogens and is so high in nitrogen it will ‘burn’ your plants. It needs to be either hot-composted (at sustained high temperatures) or aged for at least 4-6 months to be safe. Bagged, composted manure from a garden center is a safe, easy option if you’re just starting out.
How to Loosen Soil Without Destroying It
Compacted soil is a huge problem. The traditional fix was to fire up a rototiller, but we now know that intensive tilling can pulverize soil structure, wrecking the delicate fungal networks plants rely on. It can even create a compacted ‘hardpan’ layer just below where the tines reach.
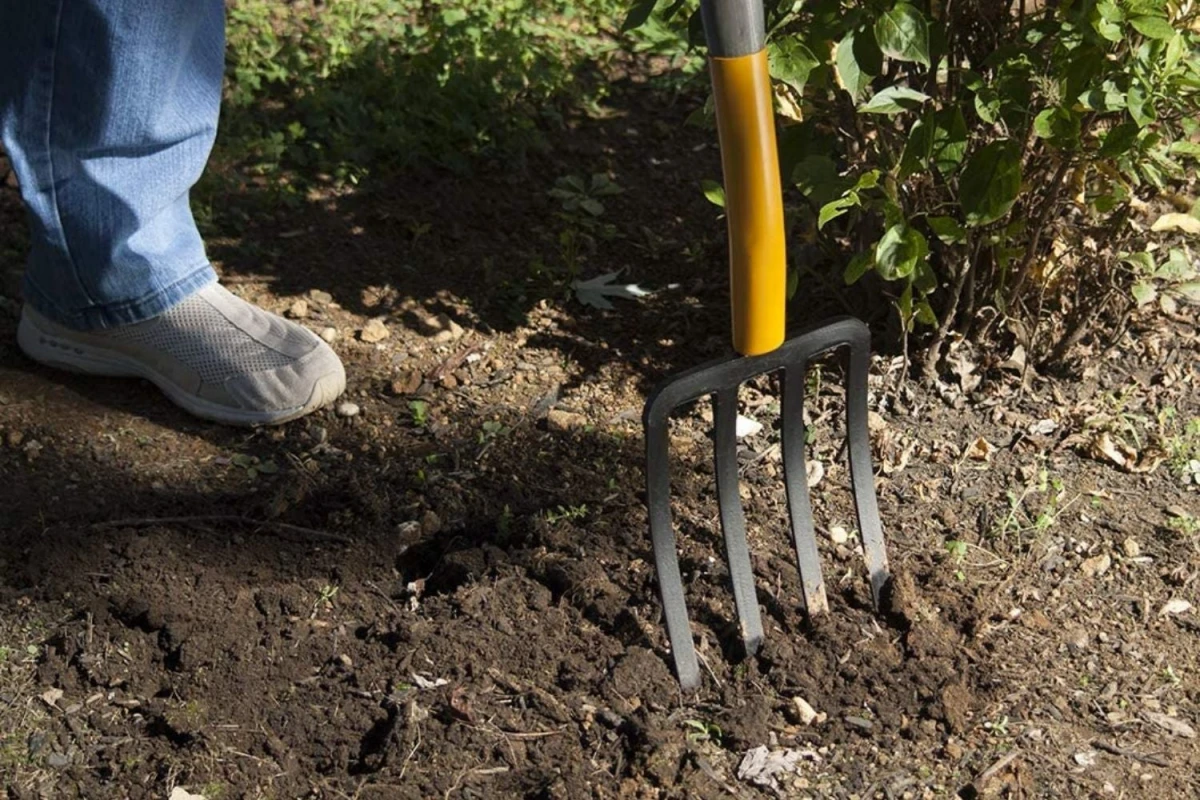
These days, I prefer tools that loosen the soil without turning it upside down. My go-to is a broadfork, which lets you use your body weight to drive long tines into the ground and gently rock back to create air channels. But they can be pricey. A great, budget-friendly alternative is a standard digging fork. Just push it deep into the soil, rock it back and forth gently to create some space, and pull it out. Repeat every 6 inches. You get the aeration without the destruction.
Building a New Bed? Try Sheet Mulching!
If you’re starting a new bed on top of lawn or weedy ground, sheet mulching (or ‘lasagna gardening’) is the way to go. It’s a no-dig method that builds incredible soil from the top down.
- Mow or cut the grass/weeds as low as you can.
- Lay down overlapping layers of plain cardboard, making sure to remove all plastic tape. This is your weed barrier.
- Now, build your layers. Add a 2-3 inch layer of ‘greens’ (like grass clippings) on the cardboard, then a 4-6 inch layer of ‘browns’ (shredded leaves are perfect).
- Finish with a 3-4 inch layer of finished compost or good quality topsoil.
- Water the whole thing down well.
To give you an idea, for a standard 4×8 foot bed, you’ll probably need about 6 large cardboard boxes, a couple bags of grass clippings, and around 5-6 bags (the common 1.5 cu. ft. size) of compost for that top layer. You can plant bigger seedlings like tomatoes or squash directly into that top compost layer right away!
Don’t Forget the Cover Crops
One of the best ways to actively improve your soil is to use cover crops, sometimes called ‘green manure.’ This just means planting something not to eat, but to feed the soil, usually over the winter when a bed would otherwise be empty.
Here’s a super simple plan to get started: In late summer or early fall (think late August or September), sow a mix of oats and field peas in your empty vegetable beds. They will grow through the fall, with the peas fixing valuable nitrogen from the air. The heavy frosts of winter will kill them off. In the spring, you’re left with a mat of organic matter on the surface. Just chop it down and plant your seedlings right through it. The dying roots of the cover crop leave channels in the soil and the decomposing tops act as a free mulch.
The Easiest Thing You Can Do for Your Soil Today
Seriously, if you do nothing else, do this: stop leaving your soil naked. Bare soil is a magnet for weeds and gets baked by the sun, losing moisture and life. Covering any bare patch with a layer of mulch—grass clippings, shredded leaves, straw, even cardboard—instantly starts protecting and feeding your soil. It’s the ultimate quick win.
Picking the Right Mulch for the Job
Different mulches have different superpowers. Here’s a quick rundown:
- Straw: This is my top pick for the vegetable garden. It’s light, suppresses weeds, and breaks down in about a season, adding organic matter as it goes. A word to the wise, learned the hard way: make sure you buy STRAW, not HAY. Hay is full of seeds and will turn your garden into a weedy meadow overnight.
- Shredded Leaves: This is a fantastic, free resource every fall. If you can, run them over with a lawnmower first to chop them up. They break down into a gorgeous, nutrient-rich material called leaf mold that worms absolutely adore.
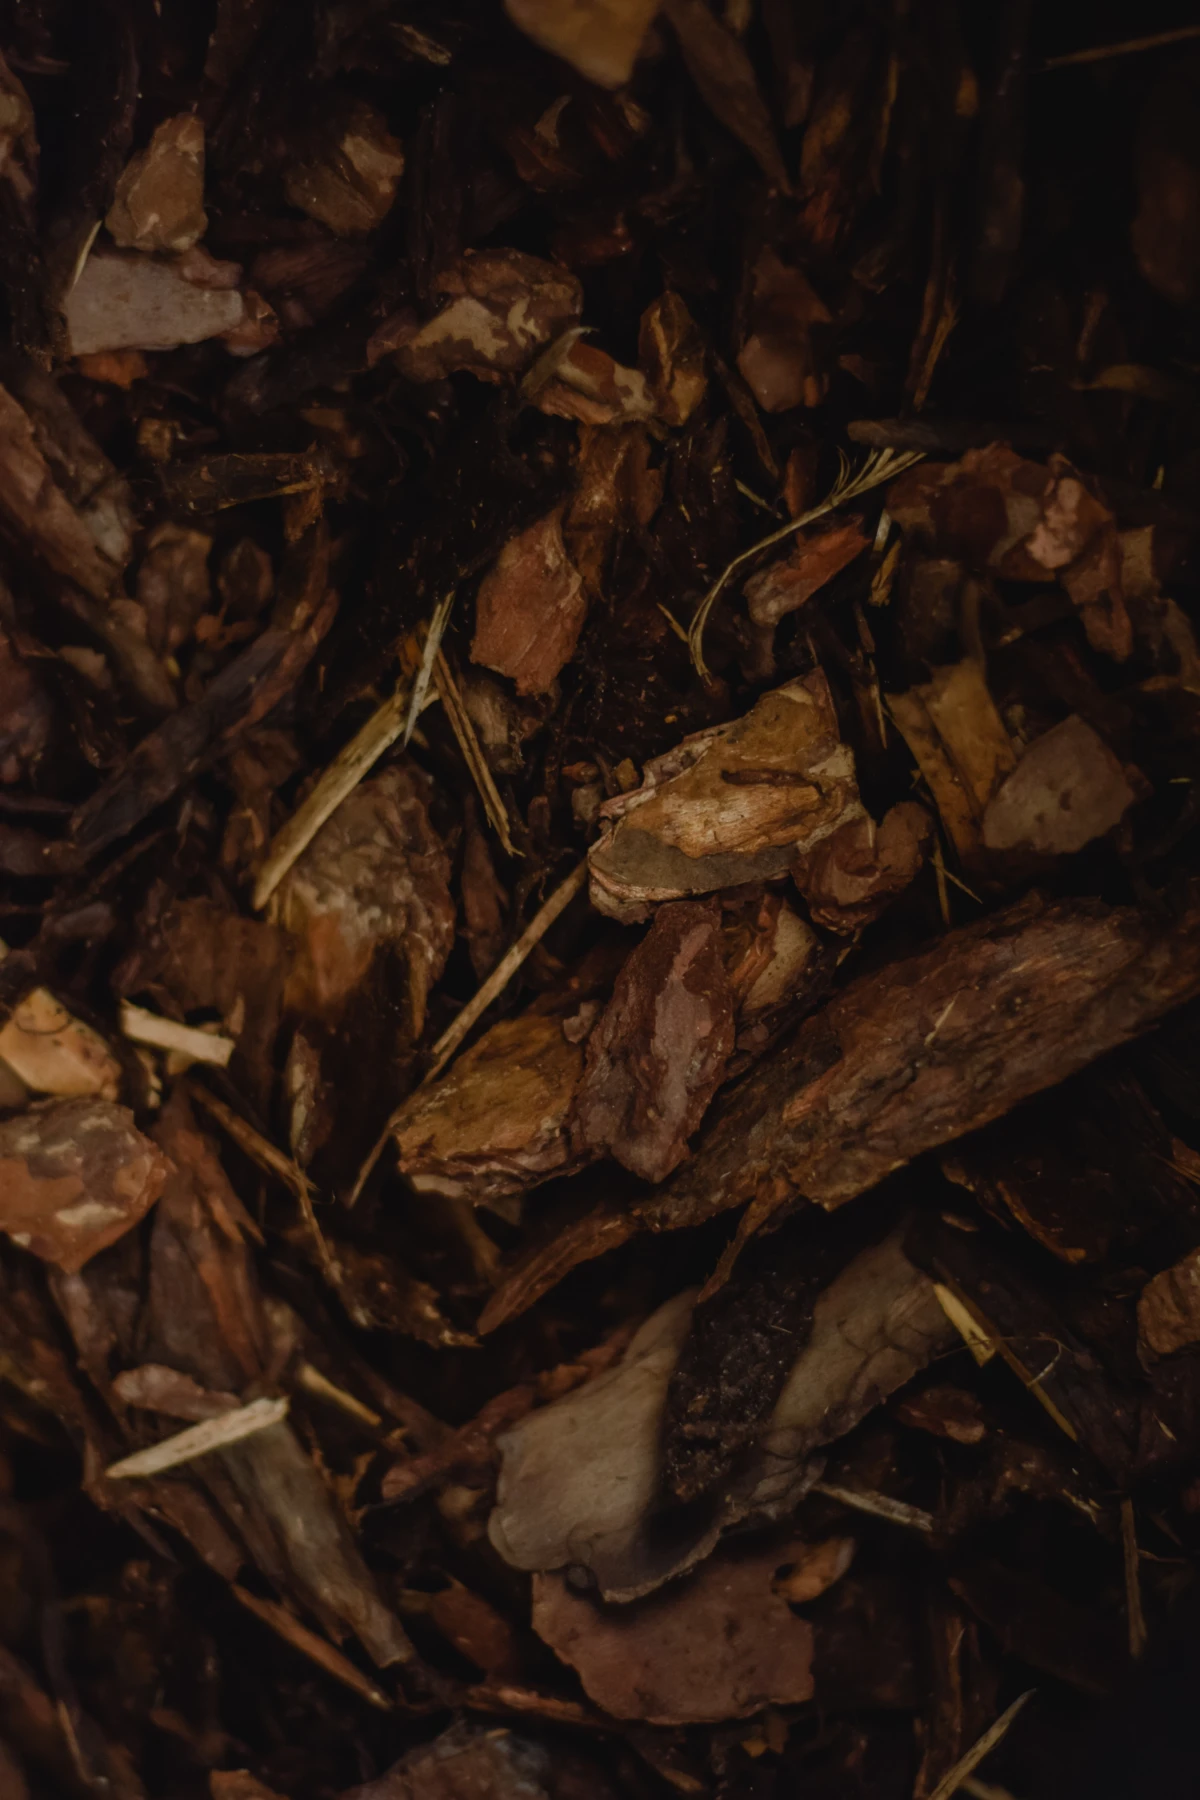
- Wood Chips: These are best for perennial beds, pathways, and around trees and shrubs. They break down very slowly and encourage a healthy fungal network in the soil. Pro-tip: Never mix fresh wood chips into your soil. The microbes that decompose them will temporarily suck up all the available nitrogen, starving your plants. Always leave them on the surface as a top dressing.
No matter what mulch you use, always leave a little 2-inch gap around the stems of your plants to prevent moisture from getting trapped against the stem, which can cause rot.
One Critical Safety Check
Okay, this is important. If you live in an urban area, near a busy road, or on land that might have had old painted buildings on it, you need to consider the risk of heavy metal contamination. Things like lead from old paint and gasoline can stick around in soil for a very, very long time and are toxic.
Before you plant anything you plan to eat, please get your soil tested specifically for heavy metals. This is not a test to skip. If the levels come back high, the safest route is to build raised beds and fill them with a known, clean source of soil and compost.
It’s a Partnership
Building incredible soil doesn’t happen overnight. It’s a continuous process, a partnership. You provide the food and create the right conditions, and the soil’s vast, unseen ecosystem does the rest. The reward is so much more than bigger tomatoes. It’s the deep satisfaction of plunging your hands into a bed of dark, fragrant, living soil that you helped create.


