Your Guide to Amazing Geraniums All Summer Long
I’ve been around the garden block a few times, and I’ve seen trends bloom and wilt away. But one plant is always there, shining on porches and in garden beds: the classic geranium. Well, sort of. Here’s a little secret most people don’t know: the plant we all call a geranium is actually a Pelargonium, a sun-lover from South Africa. This isn’t just trivia; it’s the key to everything. Understanding their origin story is how you learn to make them happy. Their slightly thick, water-holding stems? A brilliant adaptation for surviving dry spells back home.
In this article
Honestly, when I first started out, I treated them like any other flower. I gave them tons of water and rich soil, then wondered why I was constantly fighting mushy stems and sad, yellowing leaves. It was a classic case of killing them with kindness. I was giving them what I thought they wanted, not what their nature actually demanded. This guide is built on all those lessons learned the hard way, so you don’t have to make the same mistakes.
Your Geranium Starter Kit
Before we dive in, let’s talk about shopping. If you’re starting from scratch, here’s a quick list of what you’ll need. It’s an investment that pays off in gorgeous blooms all season.
- Geranium Plants: Can be anywhere from $4 for a small starter plant to $25 for a large, pre-planted hanging basket.
- A Good Potting Mix: Don’t cheap out here! A quality bag from a brand like Miracle-Gro or Espoma will cost about $10-$15 and is worth every penny.
- Perlite: This is essential for drainage. A medium-sized bag is usually under $10 and will last you a long time. You can find it at any garden center or places like Home Depot.
- Compost or Aged Manure: Adds a slow-release nutrient boost. A bag usually runs between $8 and $12.
- Water-Soluble Fertilizer: A box of something like a 20-20-20 formula will cost around $10-$15 and should last the whole summer.
- A Good Container: Make sure it has drainage holes! Terracotta pots are great because they breathe, but any pot with holes will do.
Think Like a Geranium
To get this right, you have to understand what’s happening below the surface. A geranium’s stems are semi-succulent, meaning they hold onto water. And its roots have one non-negotiable demand: they need to breathe. When soil gets soaked and waterlogged, it fills up all the tiny air pockets, and the roots literally start to drown. They can’t take up nutrients and become a perfect target for rot.
That’s why the most common mistake is overwatering. A wilting plant on a hot afternoon doesn’t always mean it’s thirsty. Sometimes, it’s a sign that the roots are already drowning and can’t function properly. It’s a tough plant, but it has its limits.
Oh, and what about those scorching hot days when the flowers just seem to… stop? When temps climb above 90°F (32°C), the plant goes into self-preservation mode. It slows down photosynthesis and closes the pores on its leaves to conserve water. It’s not dying; it’s just waiting for the heatwave to pass. Our job isn’t to force it to bloom but to help it chill out until things cool down. A little afternoon shade can be a lifesaver.
How the Pros Handle Watering and Feeding
In professional landscaping, you learn to be efficient and effective. We have some dead-simple methods that you can easily use at home.
Watering: Ditch the Schedule
Forget watering every day at 5 PM. Your plant’s needs change based on heat, humidity, and sun. Instead, learn to check. There are two foolproof ways:
1. The Finger Test: The classic for a reason. Stick your index finger into the soil right up to your second knuckle. If it feels damp down there, walk away. If it feels dry, it’s time to water.
2. The Lift Test (for pots): This is my favorite. After you’ve watered a pot thoroughly, lift it. Get a sense of how heavy it feels. The next day, lift it again. You’ll be surprised how much lighter it is. That change in weight is your most reliable signal.
When you do water, do it right. Water deeply at the base of the plant, letting it soak the soil until you see it drain from the bottom holes. Try to avoid splashing the leaves and flowers—wet foliage is just asking for fungus, especially in humid weather.
Soil: The Foundation of a Happy Plant
In a container, the soil you choose is everything. A heavy, cheap mix will turn into a dense brick, suffocating the roots. You can buy a pre-made mix for cacti and succulents, or you can make a fantastic blend yourself. I recommend a simple recipe of:
- One part high-quality potting mix
- One part perlite (for drainage and aeration)
- One part compost (for slow-release nutrients)
By the way, what’s a “part”? Don’t overthink it. It’s just a ratio. For a standard 12-inch pot, I’ll use a large garden trowel as my measure. So, that’s one big scoop of potting mix, one of perlite, and one of compost. Mix it all up, and you’re golden.
Quick tip: Forget the old advice about putting gravel at the bottom of the pot. It’s a myth! It actually creates a waterlogged zone right where the roots are. Good soil and plenty of drainage holes are all you need.
Fertilizing: Fuel for the Flowers
Geraniums are hungry plants. All those vibrant blooms take a ton of energy, and frequent watering flushes nutrients out of the soil. You need to replenish them.
I swear by the “weekly, weakly” method. I use a balanced, water-soluble fertilizer (like a 20-20-20) but mix it at half the strength recommended on the box. Then I feed the plants with this diluted mix once a week. It gives them a steady diet without burning their roots. If you can only find a 10-10-10 fertilizer, that’s totally fine! Since it’s already half as potent as a 20-20-20, you can likely mix it at full strength and still follow the weekly schedule.
Heads up! This is important: NEVER apply liquid fertilizer to bone-dry soil. This is a rookie mistake that can scorch the roots. The salts in the fertilizer will literally pull moisture out of the plant. Always water thoroughly with plain water first, wait an hour or so, and then apply the fertilizer solution.
Smart Care for Your Local Climate
Where you live drastically changes the game. A strategy for a dry climate will fail miserably in a humid one.
If you live in a hot, dry area (like the Southwest): The sun’s intensity is your main challenge. Give your plants afternoon shade—an east-facing wall or under a tree is perfect. Mulch is also your best friend. A two-inch layer of shredded bark will keep the soil moist and the roots cool. And please, avoid black plastic pots! They become little ovens in the sun. Go for terracotta or light-colored containers.
If you live in a hot, humid area (like the South or Midwest): Here, your enemy is fungus. Air circulation is CRITICAL. Don’t crowd your plants; give them space to breathe. This helps foliage dry off quickly. Always water in the morning so the leaves have all day to dry before nightfall. And be ruthless about removing any fading flowers or yellow leaves, as they rot fast in high humidity.
How to Prune for a Fuller, Happier Plant
Left on its own, a geranium will get long and “leggy.” A little strategic snipping will keep it compact, bushy, and covered in blooms.
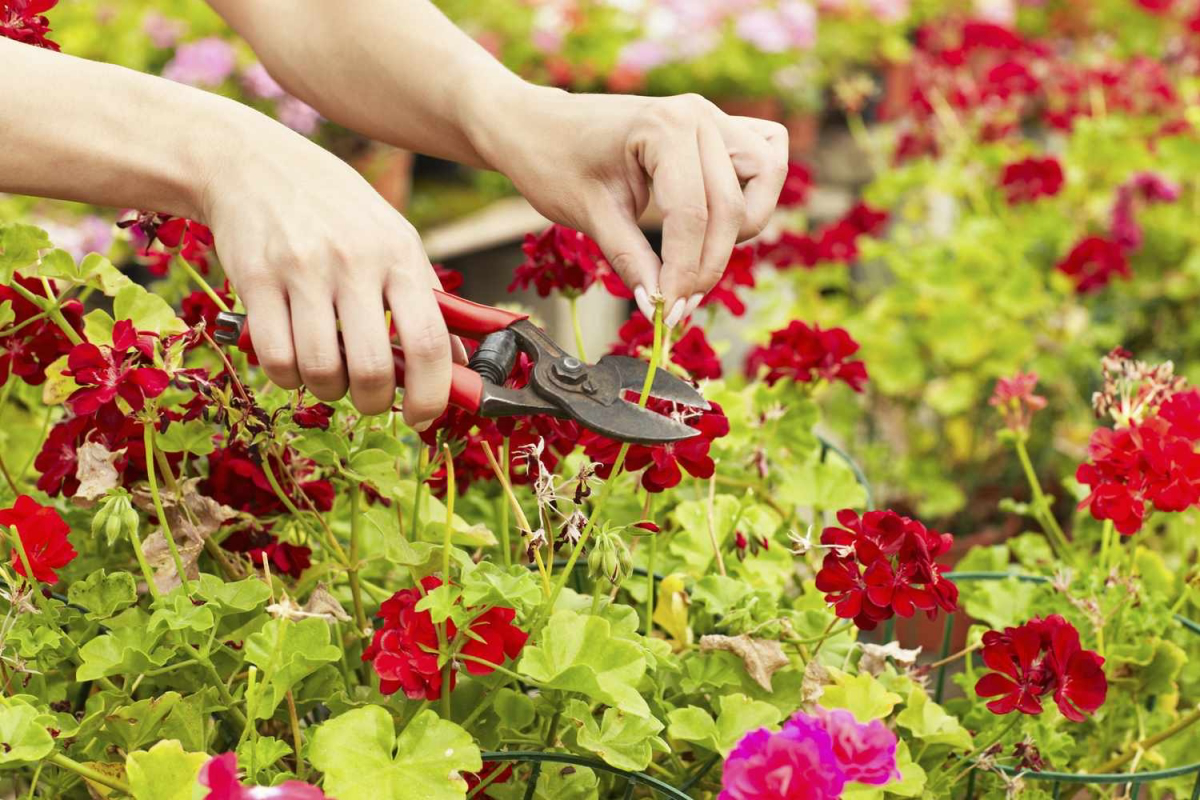
Deadheading for More Flowers
When a flower cluster fades, don’t just pick off the petals. Trace that flower stalk all the way back to the main stem. You’ll feel a little swollen joint there. Snap it off cleanly at that point. It’s so satisfying! If it just bends and doesn’t snap, grab a pair of clean scissors or snips to make a clean cut. Tearing it can create a wound that invites disease. Each stalk you remove sends a signal to the plant: “Make more flowers!”
Pinching for a Bushy Shape
To stop a plant from getting lanky, you need to pinch it back. Look at a long stem and follow it back a few inches to a spot just above a leaf. Then, using your fingernails or snips, pinch off the tip of the stem. It feels wrong, I know! But here’s what happens: before, you had one long stem reaching for the sky. After pinching, you force the plant to branch out. In about 2-3 weeks, you’ll see two new, bushy side shoots growing right where you pinched. The result is a much fuller plant.
Okay, your mission, should you choose to accept it: Go find ONE leggy stem on your geraniums today and pinch it back. Just one. You’ll see how easy it is and how well it works.
Dealing with Pests and Winter
Even with the best care, you might run into trouble. The most common pest I see is the geranium budworm, a nasty little caterpillar that tunnels into flower buds. The telltale sign is tiny holes in the petals or buds that just never open. If you see one, pick that bud off immediately and get rid of it. For a bigger problem, look for a product containing BT (Bacillus thuringiensis) in the organic gardening aisle. It’s a bacterium that’s safe for people and pollinators but deadly to caterpillars.
For aphids or whiteflies, a strong spray of water can knock them off. If they’re stubborn, insecticidal soap is the next step. Just mix a teaspoon of mild dish soap (no degreasers!) into a quart of water, and spray the pests directly, especially on the undersides of leaves.
Keeping Your Favorites for Next Year
In colder climates, you don’t have to say goodbye to your geraniums. You can bring them inside for the winter. You have two main options:
1. The Dormant Method (Cool and Dark): This method requires less space and effort. Before the first frost, dig up your plants and gently shake the soil from the roots. Hang them upside down in a cool, dark place like a basement or garage that stays around 45-50°F. Honestly, the first time I did this, I was sure I just had a bag of dead sticks. They look awful! But don’t be discouraged. Once a month, give the roots a quick soak in water for an hour, let them dry, and put them back. In the spring, cut the stems back hard and pot them up. You might not get a 100% success rate—maybe 7 out of 10 will come back—but that’s still a huge win!
2. The Houseplant Method (Sunny Window): This is for if you have a bright, sunny spot. Before frost, cut the plants back by about half and pot them in fresh soil. Place them in your sunniest window (south-facing is ideal) and water sparingly all winter. Your goal isn’t flowers; it’s just keeping them alive. They’ll be ready to go back outside in the spring, bigger and better than new ones from the store.
A Few Final Words
Just a quick safety note: geraniums (Pelargoniums) are mildly toxic to cats and dogs if they eat them, so keep them out of reach of curious pets. Also, if you have sensitive skin, you might want to wear gloves, as the leaves can cause a slight rash for some people.
And remember, gardening is a journey. I’ve been doing this for years, and I still lose a plant now and then. Sometimes the weather is just too much, or a pest shows up out of nowhere. Don’t let it get you down. Every success and every failure teaches you something new. These plants are tough, and with a little bit of the right kind of care, they’ll give you a spectacular show all summer long.
Inspirational Gallery
A tell-tale sign of trouble: If you see perfectly round holes in your geranium buds, you likely have a visitor—the geranium budworm. These tiny caterpillars tunnel inside and eat the flower before it can even open. A gentle application of Bacillus thuringiensis (Bt), a natural pesticide found in products like Bonide’s Thuricide, can solve the problem without harming pollinators.
Tired of buying new geraniums every spring?
You don’t have to! Overwintering is easier than you think. In the fall, before the first hard frost, cut the plants back by about half. Knock the soil from their roots, let them dry for a day, and place them in a paper bag or cardboard box. Store the dormant plants in a cool, dark, and dry place like a basement or garage (around 45-50°F / 7-10°C). In early spring, pot them up, water them, and watch them come back to life.
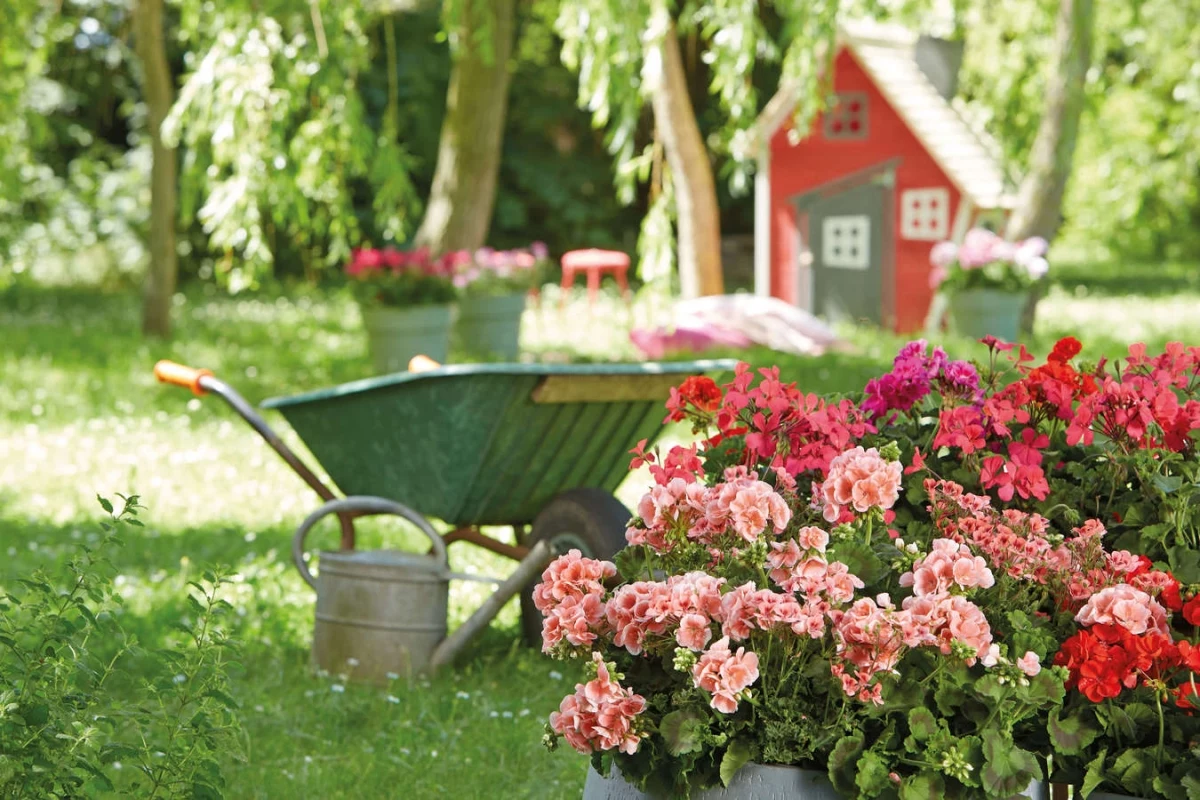
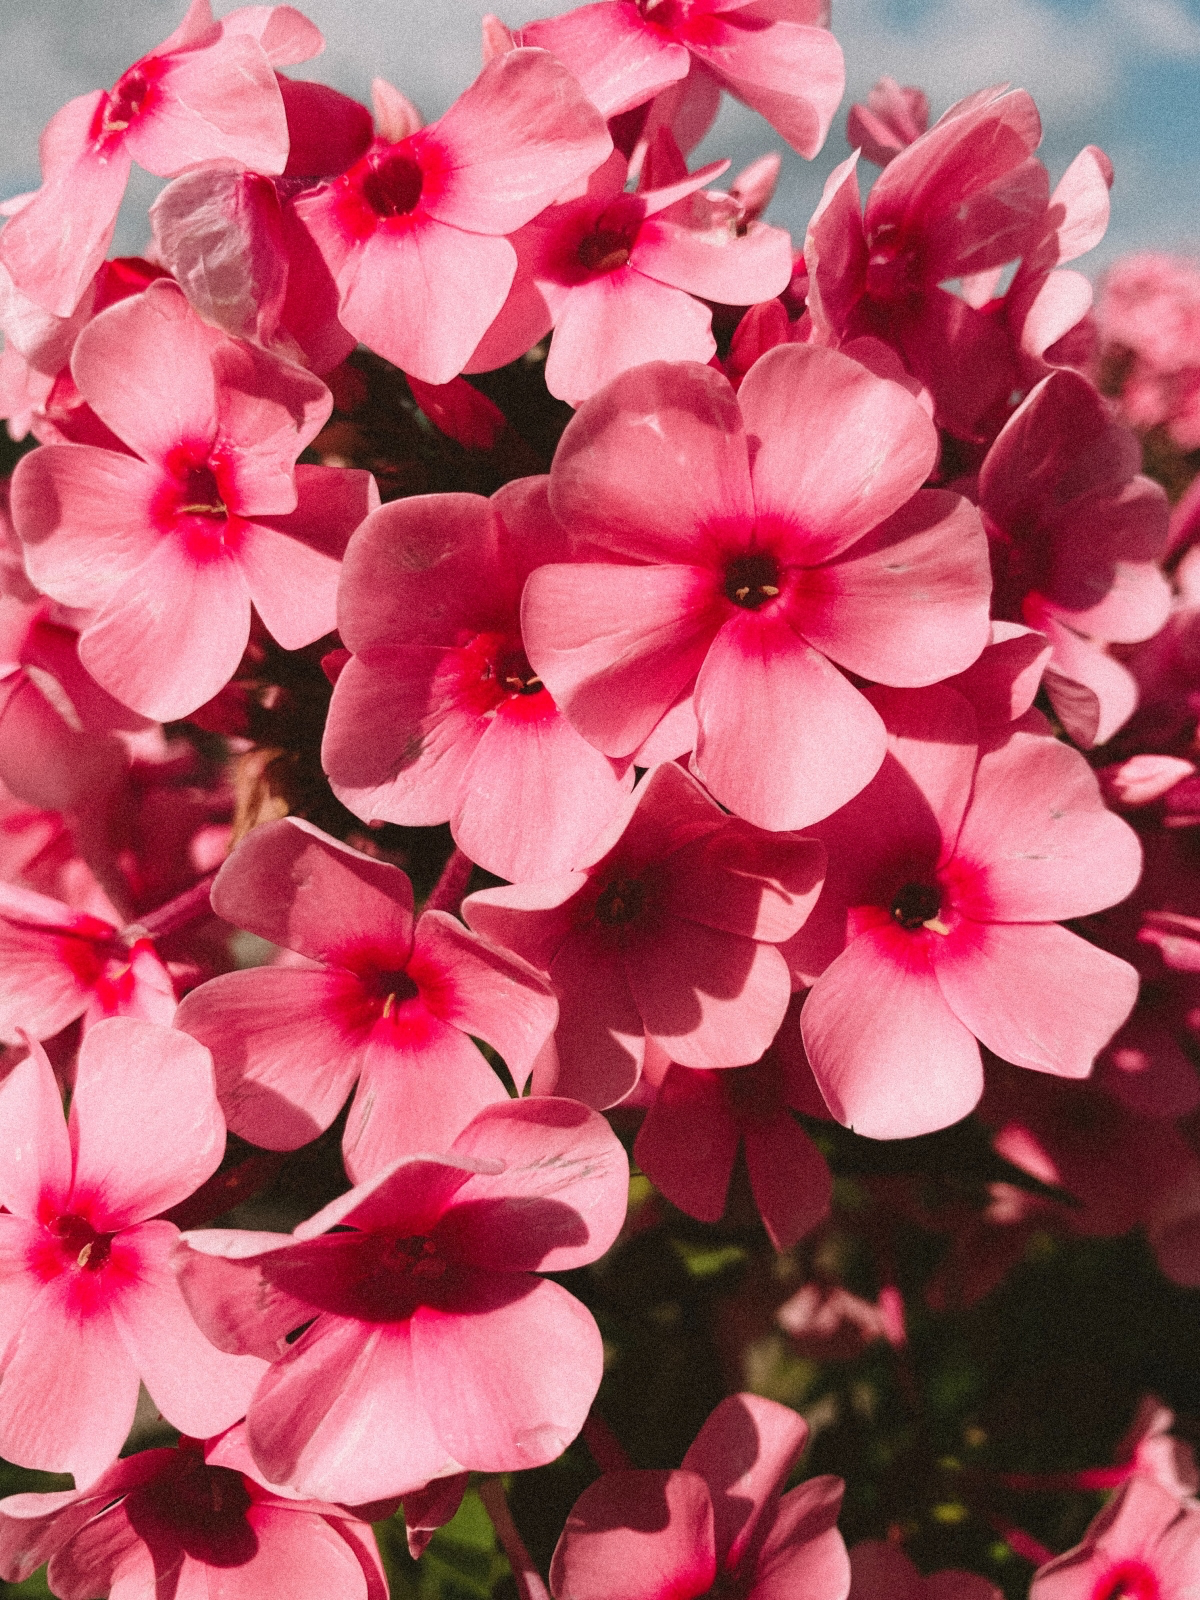
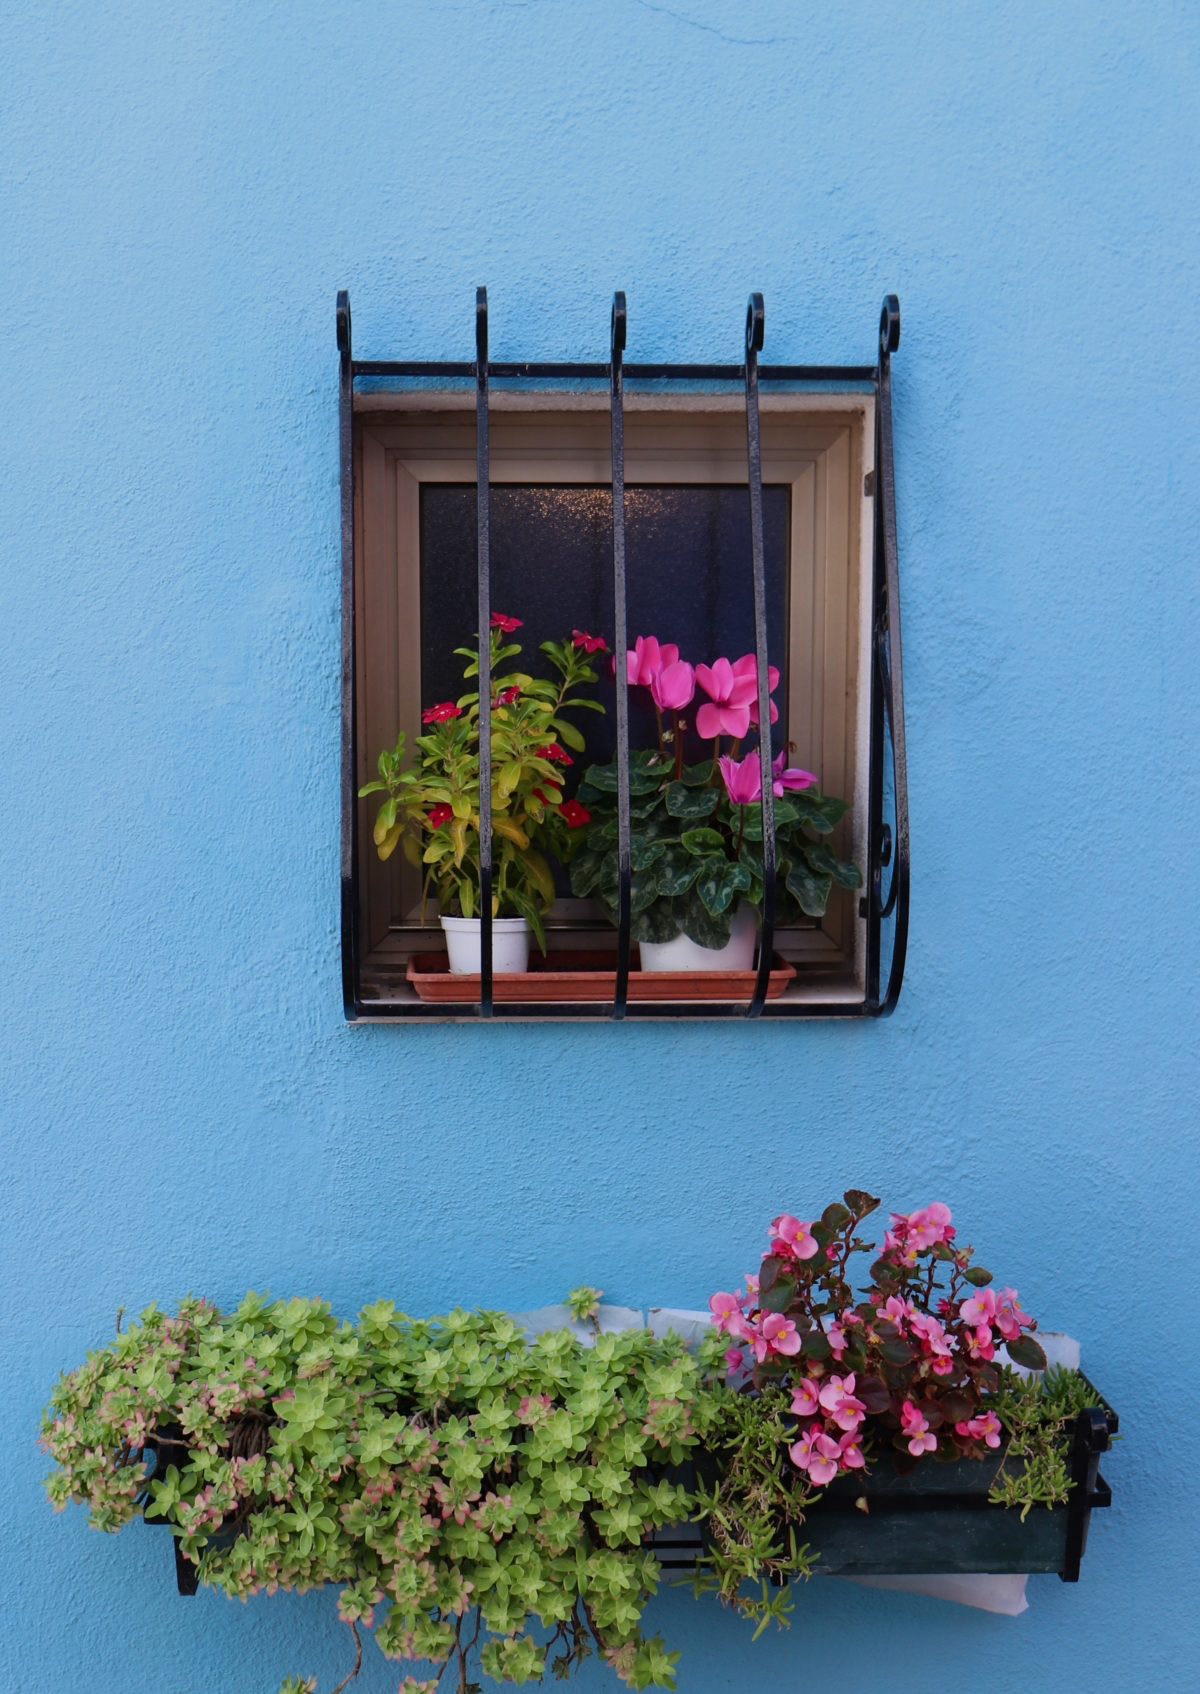
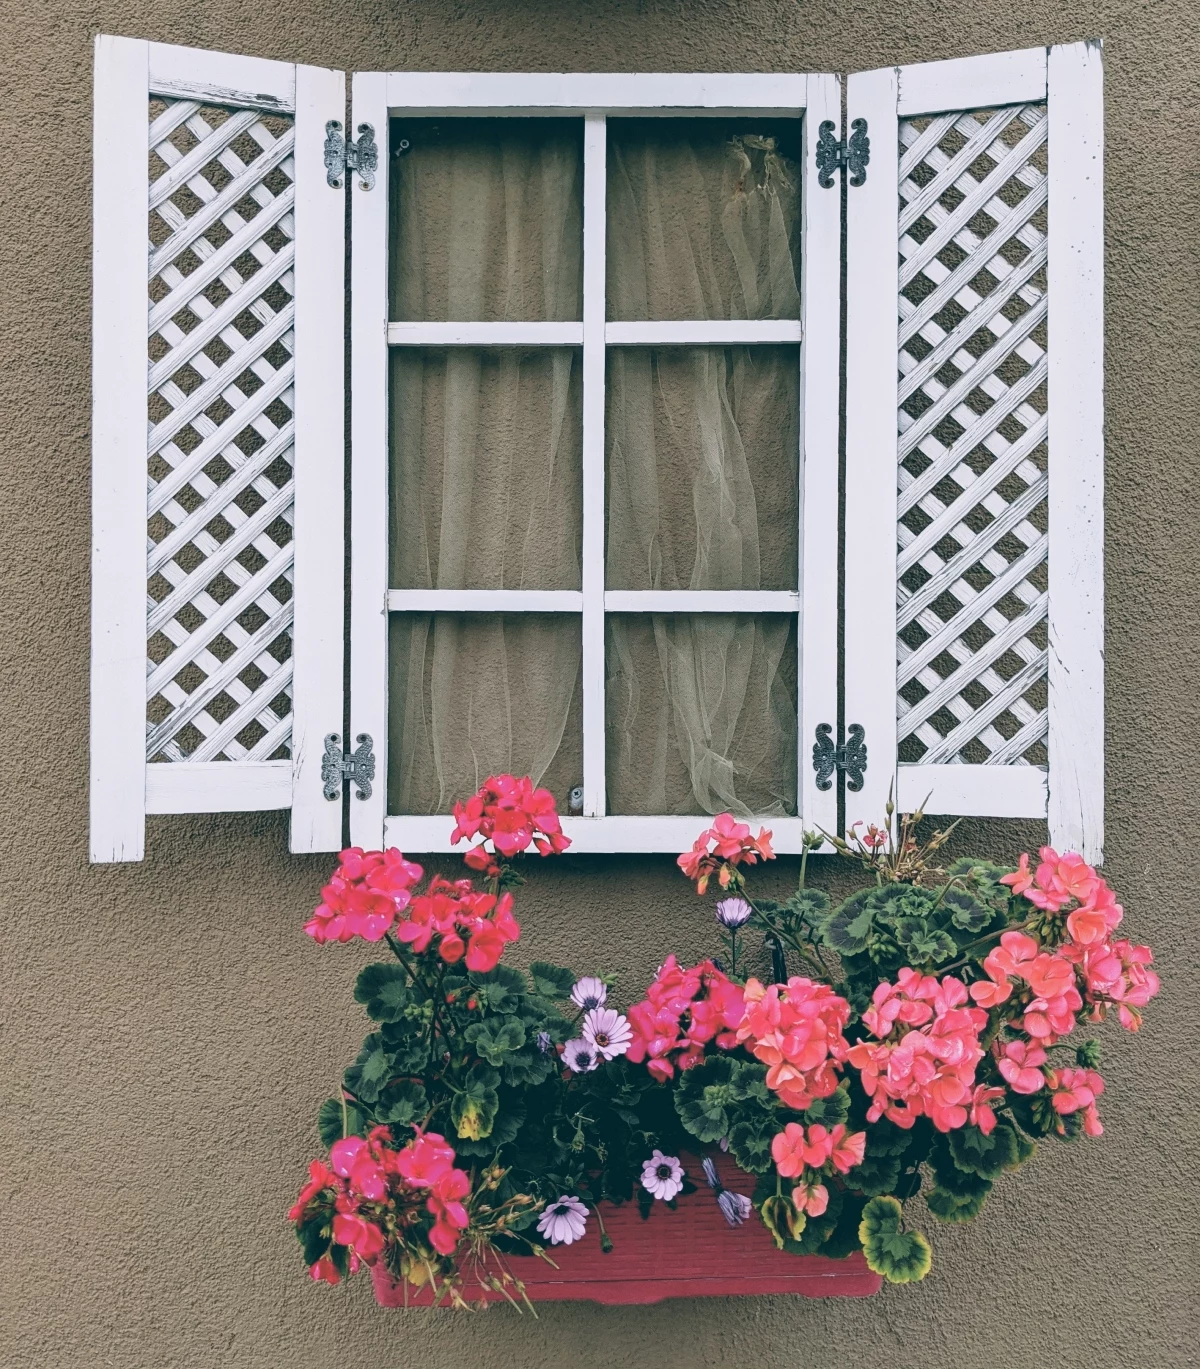
From the balconies of Austria to the terracotta pots of Italy, the vibrant Pelargonium is a symbol of European summer charm.
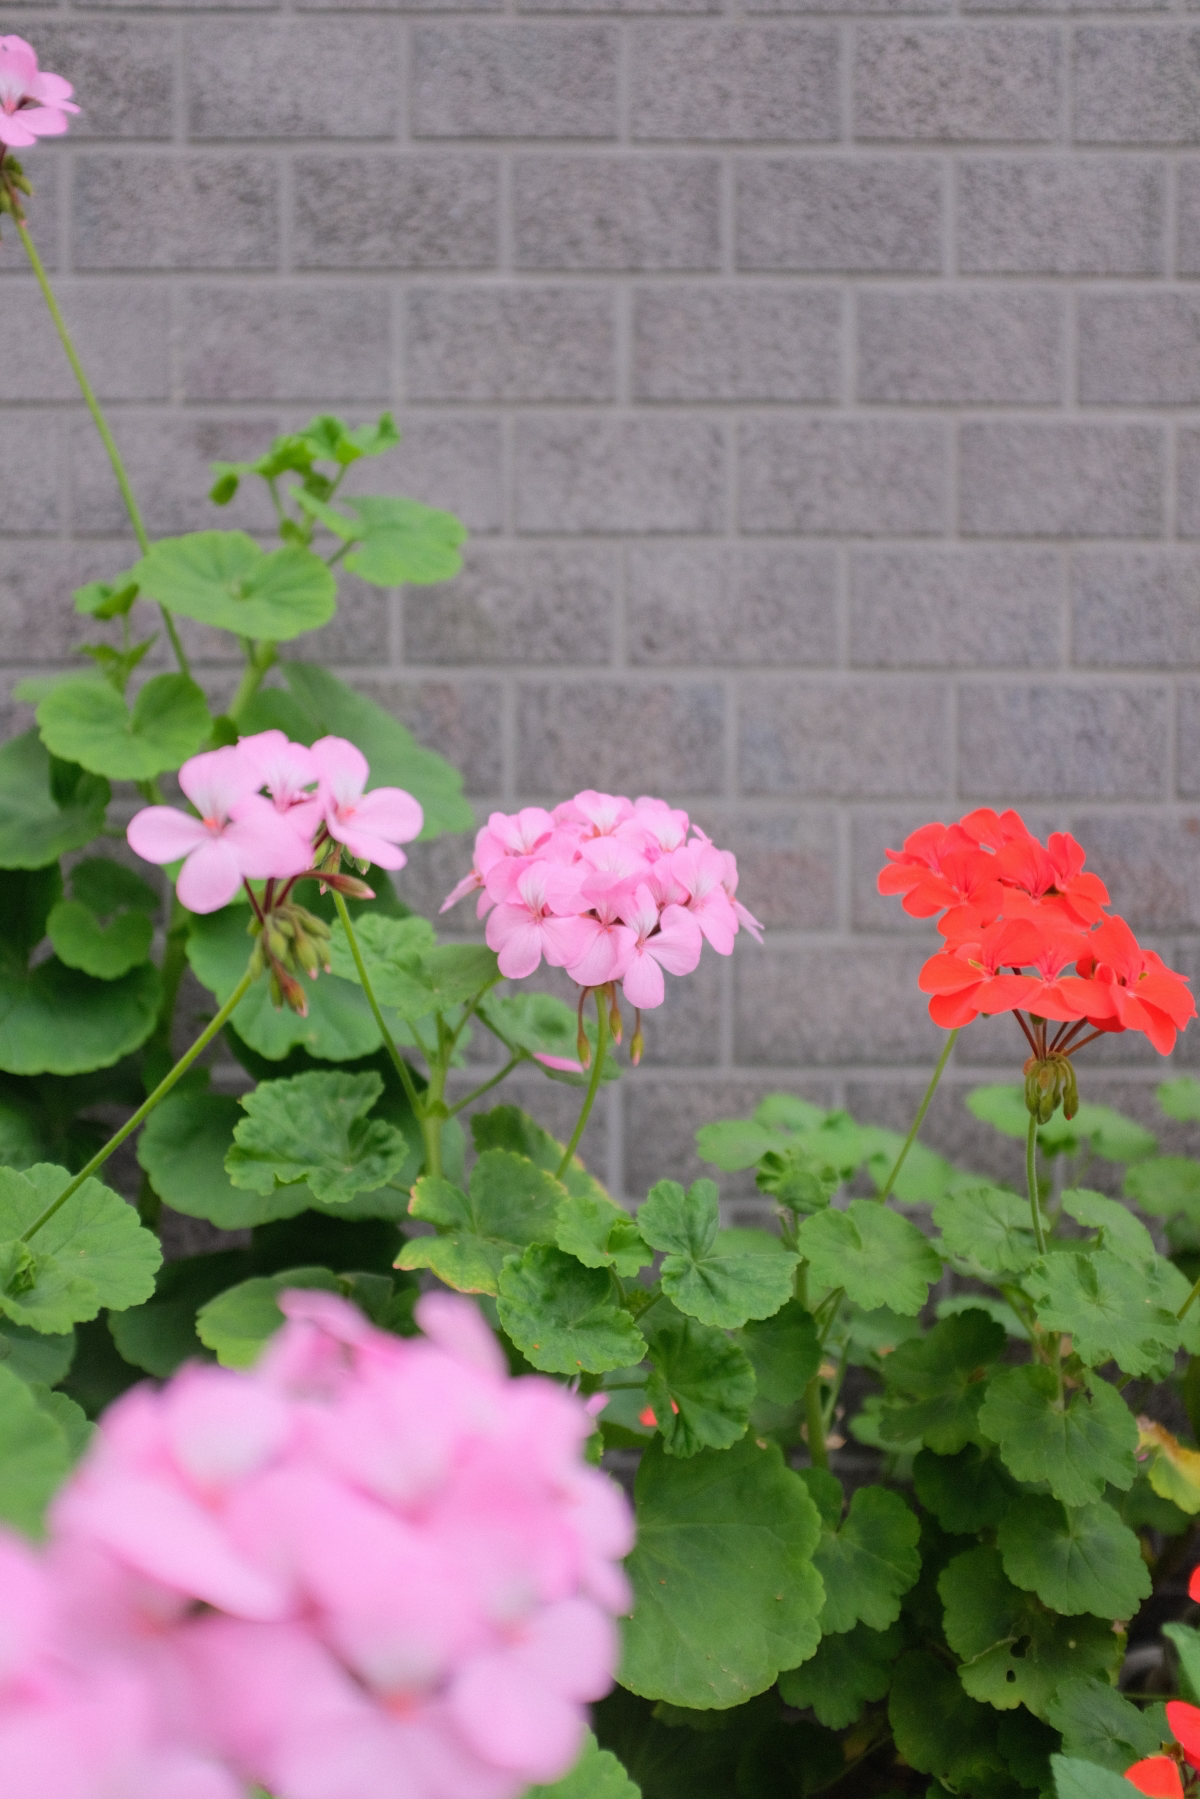
Zonal Geraniums (Pelargonium x hortorum): These are your classic, upright geraniums with fuzzy, often patterned leaves. They are perfect for creating bold statements in pots and garden beds.
Ivy-Leaf Geraniums (Pelargonium peltatum): With their smooth, glossy leaves and trailing habit, these are the stars of hanging baskets and window boxes, cascading beautifully over the edges.
For a lush, multi-layered look, try planting both in one large container!
Propagating geraniums is surprisingly simple and a great way to multiply your favorite plants. Here’s the quick-start guide to taking cuttings:
- Select a healthy, non-flowering stem and cut a 4-inch section just below a leaf node.
- Carefully remove all but the top two or three leaves to direct energy to rooting.
- Place the cutting in a small pot with a mix of perlite and seed-starting soil.
- Keep it moist and in indirect light. Roots should form in 3-4 weeks.
Did you know? The ‘P’ in N-P-K fertilizer stands for Phosphorus, the key nutrient responsible for vigorous flower development.
While an all-purpose fertilizer works well, switching to a ‘bloom booster’ formula like Jack’s Classic 15-30-15 during peak season makes a huge difference. This targeted feeding encourages your geraniums to produce a spectacular, non-stop show of flowers.
Don’t just look at your geraniums—smell them! Scented-leaf varieties offer an incredible sensory experience. Crush a leaf of ‘Citronella’ for a sharp, lemony aroma, or try ‘Chocolate Mint’ for a surprisingly rich scent. Plant them along a pathway or in a pot on your patio table where you can brush against them and release their fragrance.
- A fuller, bushier plant instead of a tall, leggy one.
- Significantly more flower clusters throughout the season.
The secret to achieving this?
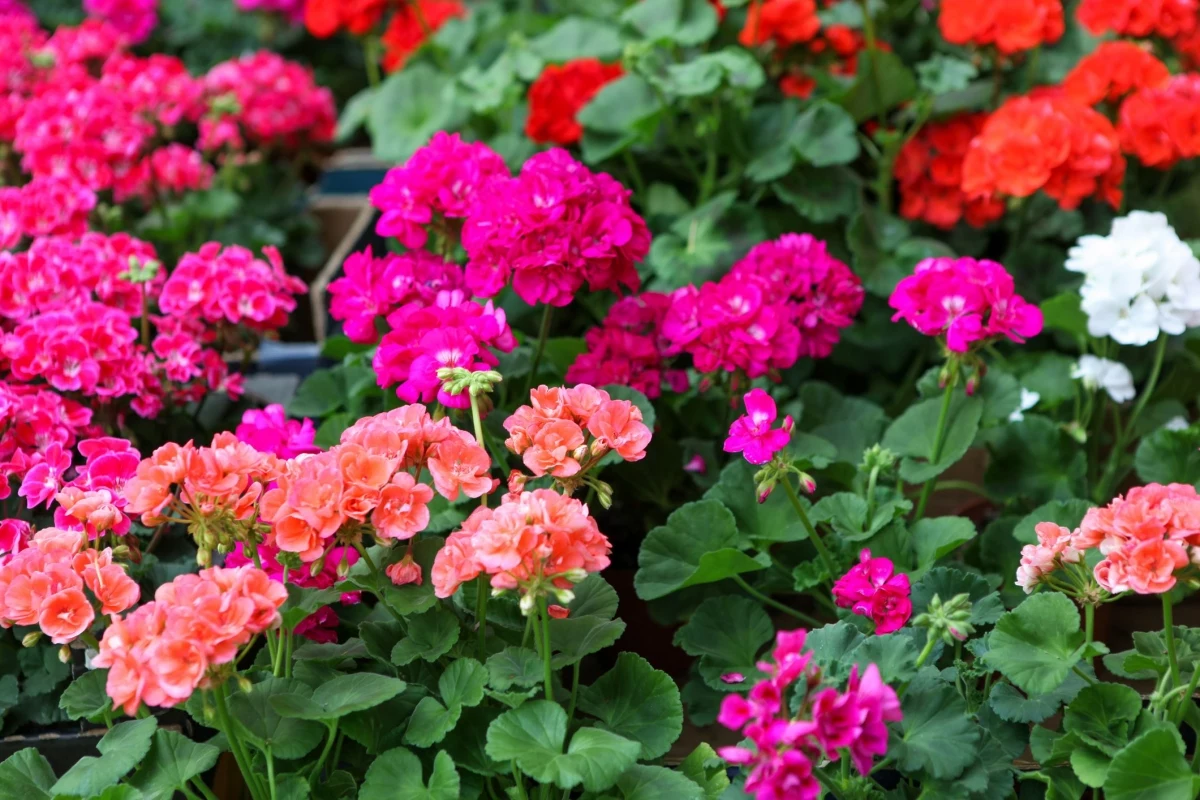
Modern plant breeding has given us geraniums that are tougher and more spectacular than ever. The ‘Calliope’ series, an interspecific hybrid, is a game-changer for gardeners.
- Vigorous Growth: They have the trailing habit of an ivy geranium but with the large flowers of a zonal.
- Heat Tolerance: Unlike older varieties, they perform exceptionally well even through intense summer heat.
- Weather-Proof: The velvety, semi-double flowers are surprisingly resilient to rain.
Look for them in shades from deep red to magenta at your local garden center.
For the budget-conscious gardener, patience pays off. Keep an eye out for end-of-season sales at nurseries, where you can often find unique geranium varieties for a steal. These discounted plants are perfect for taking cuttings to build your stock for the following year—turning a single purchase into an entire collection.


