My Un-Killable Guide to a Lush String of Turtles Plant
I’ve been around plants my entire life, from the run-of-the-mill to the super exotic. But every once in a while, a plant just… sticks with you. For me, that’s the String of Turtles. My first encounter wasn’t some perfect, cascading beauty from a magazine. It was a sad little thing in a 4-inch pot at a local nursery, with sparse, faded leaves. I bought it anyway.
In this article
Honestly, nursing that plant back to health taught me everything. It’s not a difficult plant, but it’s incredibly specific. It has particular needs that tie directly back to how it grows out in the wild. To grow it well, you have to forget its cute name for a second and think about its biology: it’s a semi-succulent that naturally grows on trees in rainforests. Every single tip I’m about to share comes from that one fact. This isn’t just a care guide; it’s the full playbook.
First Things First: Your Shopping List
Before you even bring one home, let’s talk about setting you up for success. It’s better to have the supplies ready than to scramble later. Here’s what you’ll need and a rough idea of the cost:
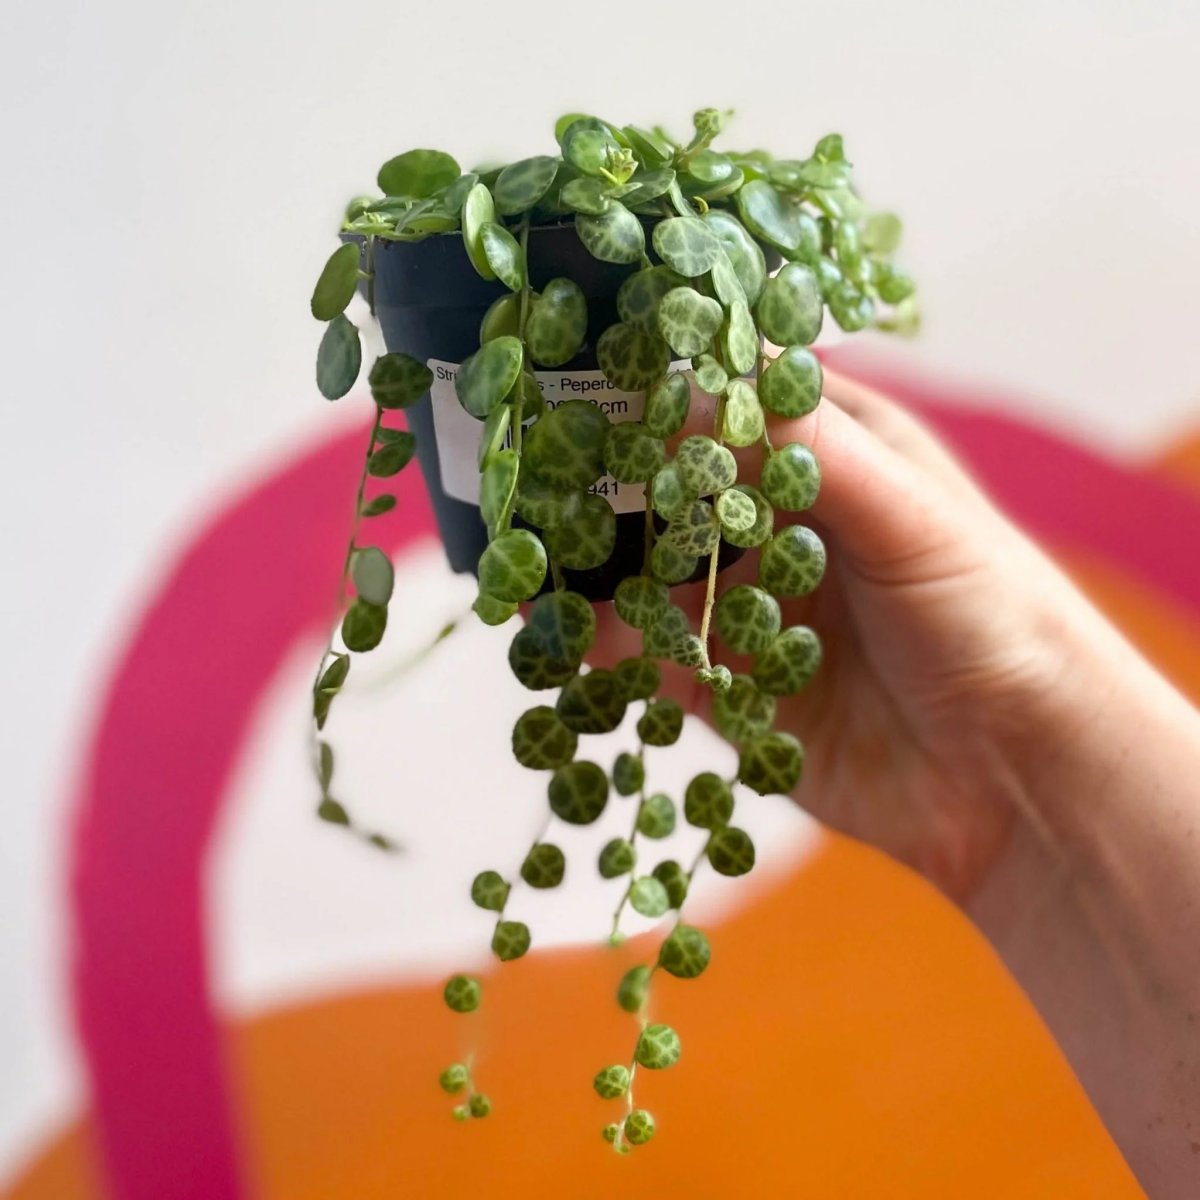
- A String of Turtles Plant: For a decent starter plant in a 4-inch pot, you’re probably looking at $15 to $30, depending on your local nursery or online shop.
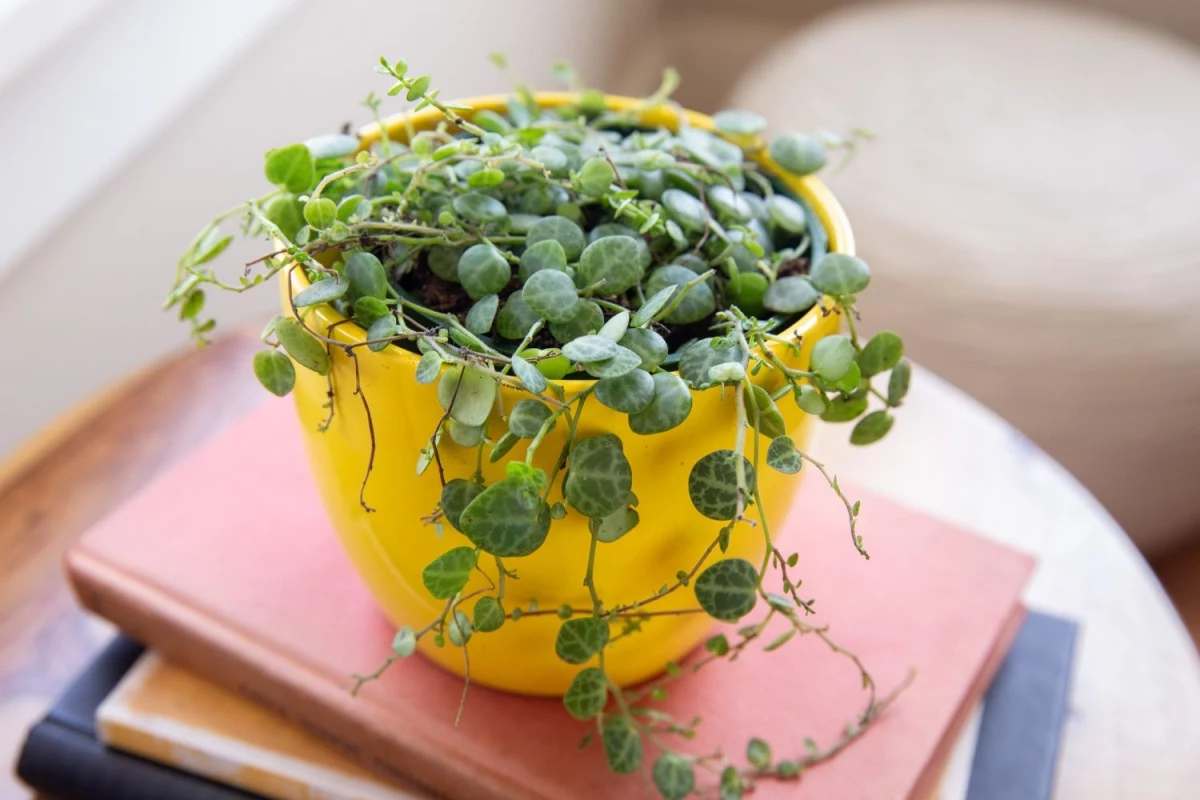
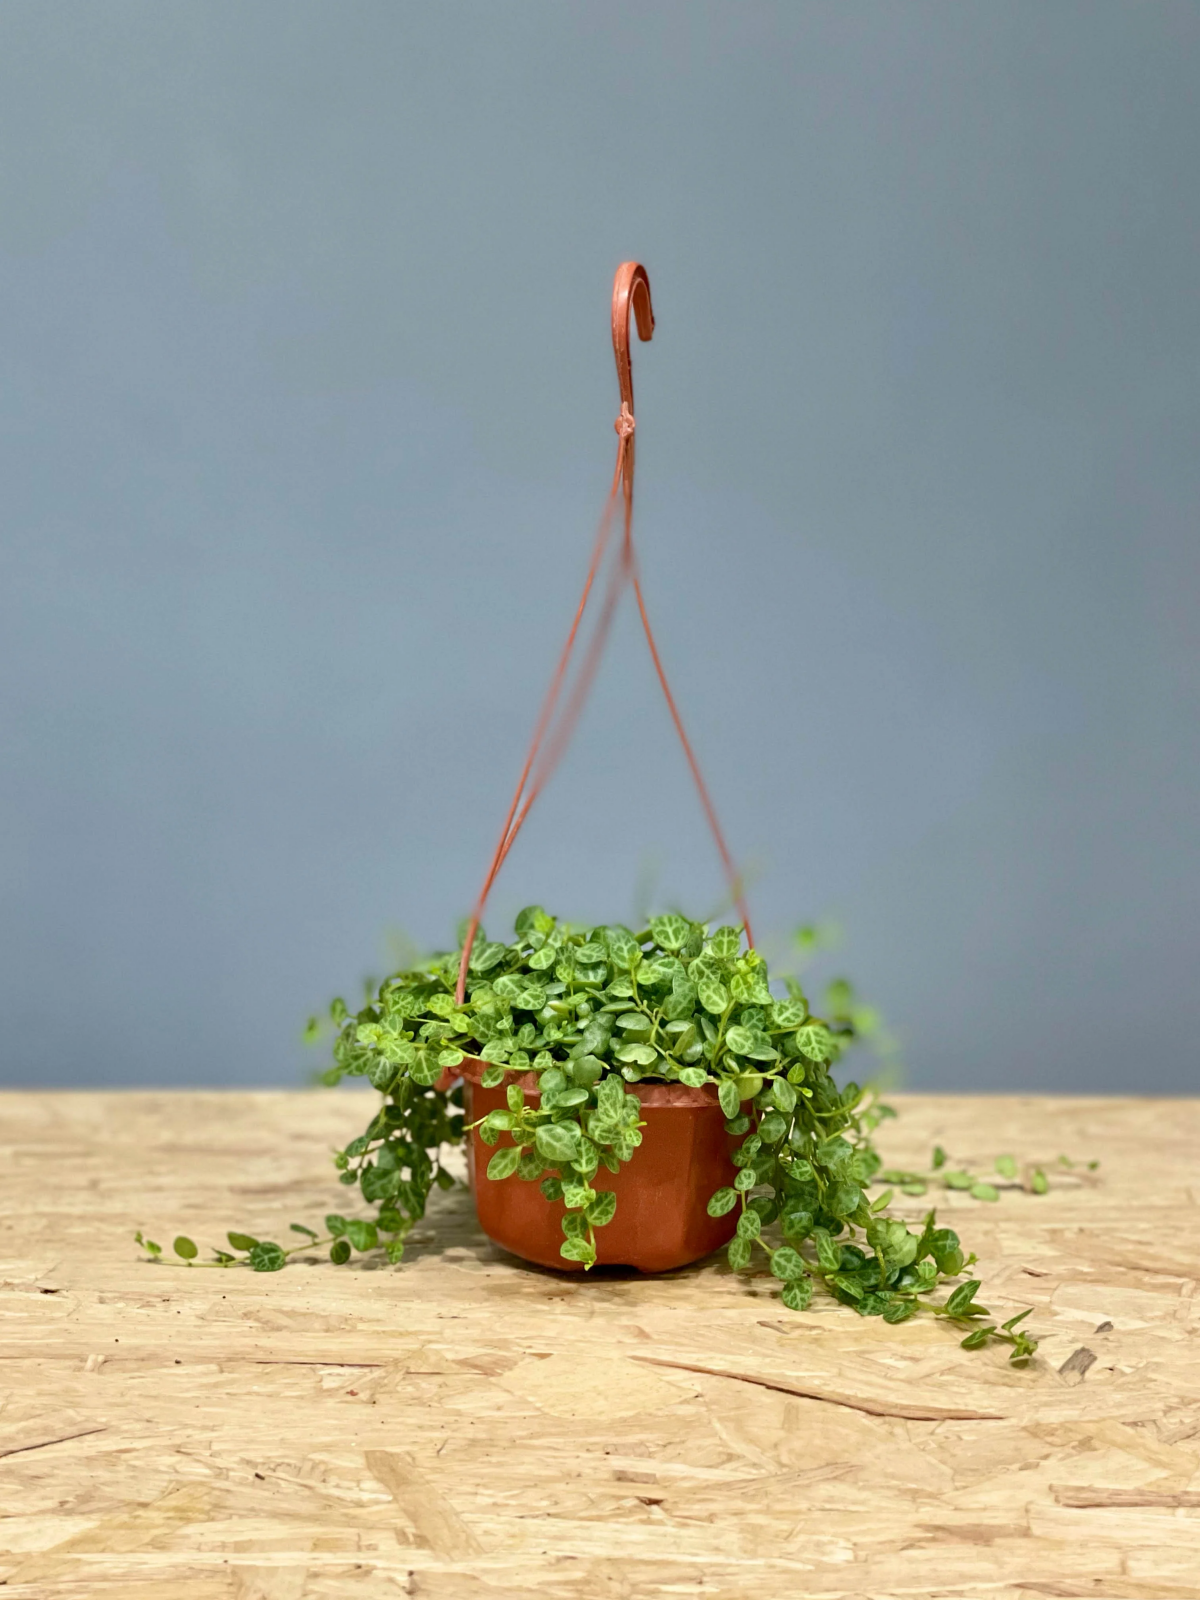
- The Right Pot: Grab a 4 or 5-inch terracotta pot. The shallow ‘azalea pot’ style is even better. This should only set you back about $5.
- Soil Ingredients: You’re going to make your own mix (it’s easy, I promise). You’ll need a small bag of quality indoor potting mix ($8), a small bag of perlite ($8), and a small bag of fine-grade orchid bark ($8). You can find all of this at big-box stores like Home Depot or Lowe’s, or at any local garden center.
So, all in, you can be perfectly set up for around $40-$50. A fantastic investment for a plant that will give you so much back.
The First 24 Hours: A New Plant Parent Checklist
Okay, you’ve got your new plant home. Don’t just stick it on a shelf and hope for the best! Here are the first three things you should do:
- Pest Check: Gently inspect the plant, especially under the leaves and where the stems meet the soil. Nurseries can be a hotspot for pests, so it’s good to catch any tiny unwanted guests early.
- The Water Question: Use the ‘Taco Test’ right away. Gently squeeze a mature leaf. Is it firm and resistant? It’s hydrated, so leave it alone. If it’s soft and folds easily, it’s thirsty. If so, give it a good bottom watering.
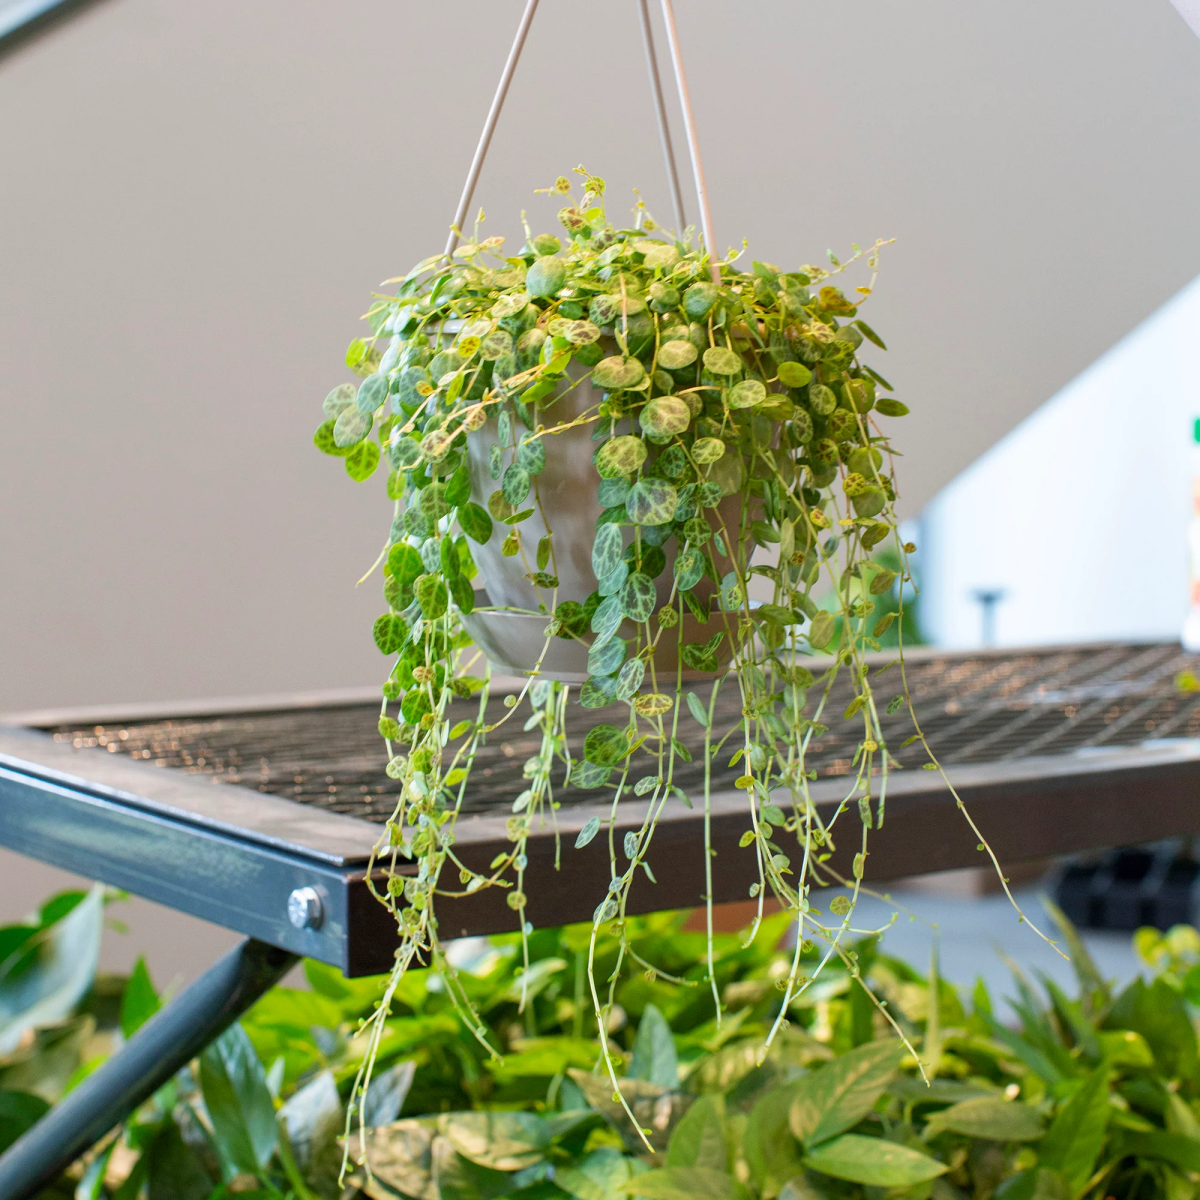
- Find Its ‘Forever’ Spot: The perfect spot is near an east-facing window for that gentle morning sun. A few feet back from a brighter south or west window works too. The goal is bright, all-day light without the harsh, direct sunbeams.
Why This Plant Is So… Particular
Understanding why it needs what it needs is the key. People struggle because they treat it like a regular succulent or a typical leafy plant. It’s a quirky hybrid of both.
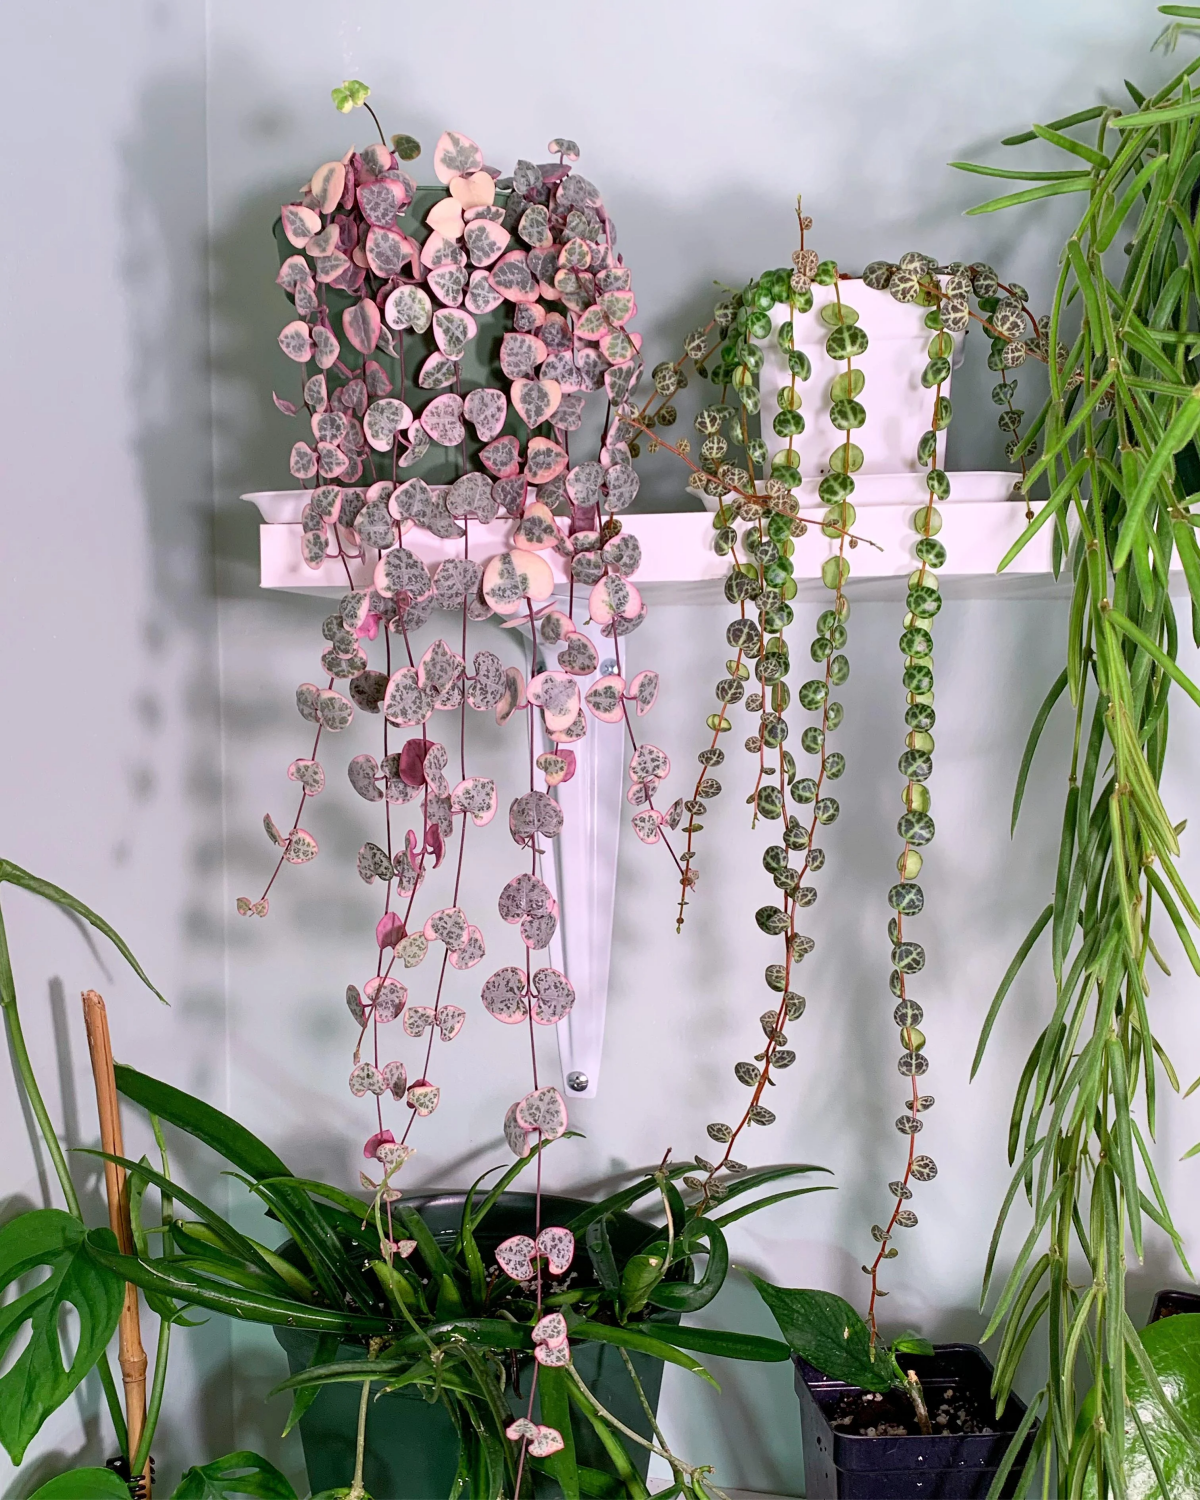
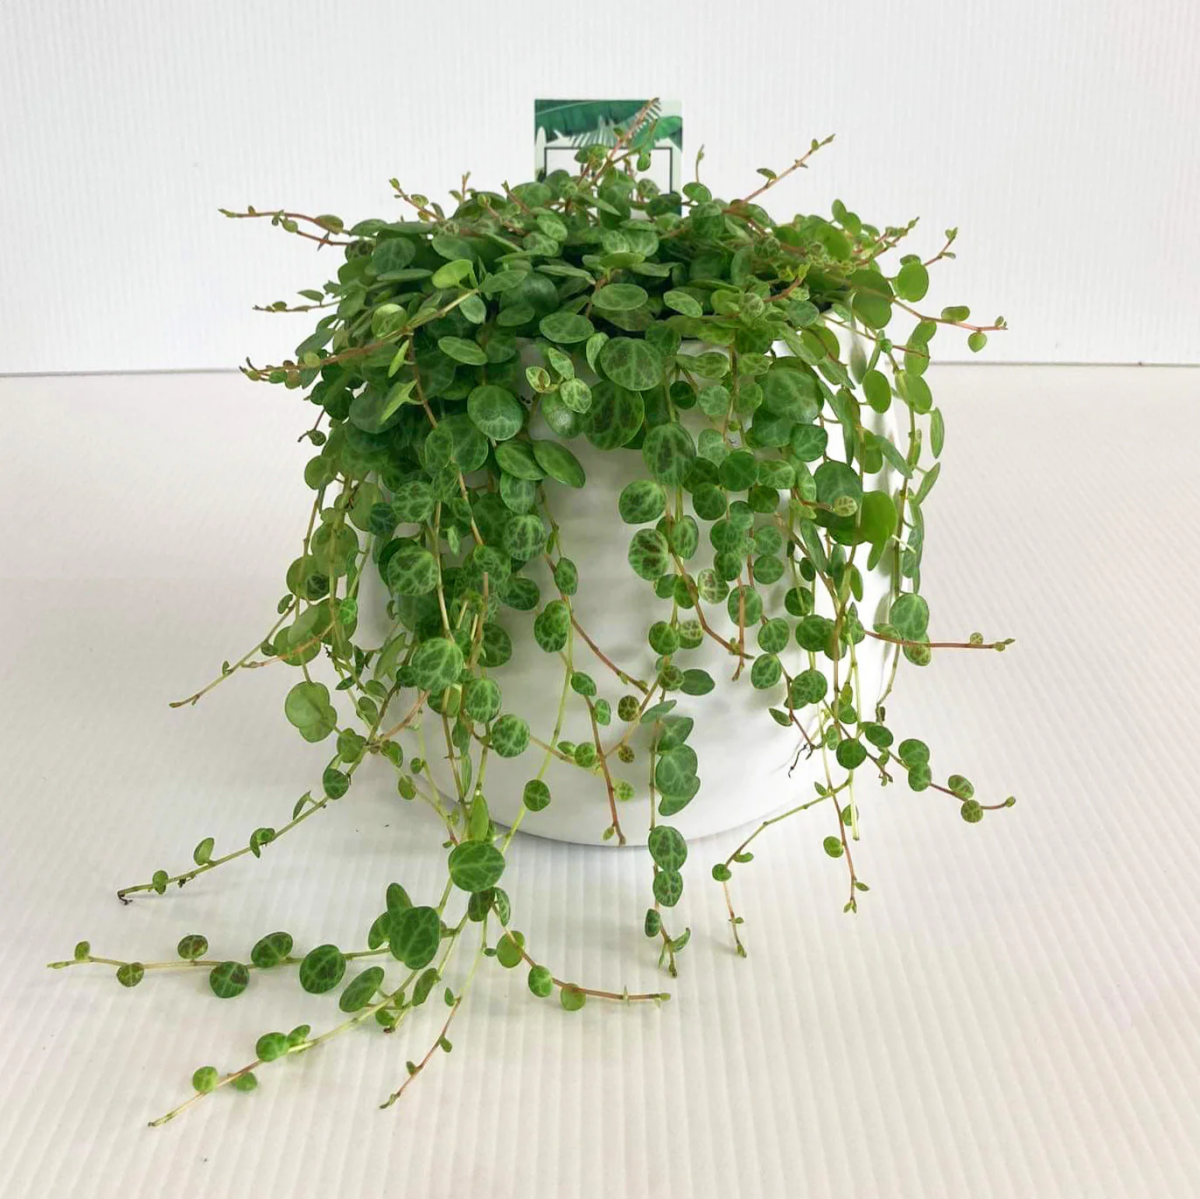
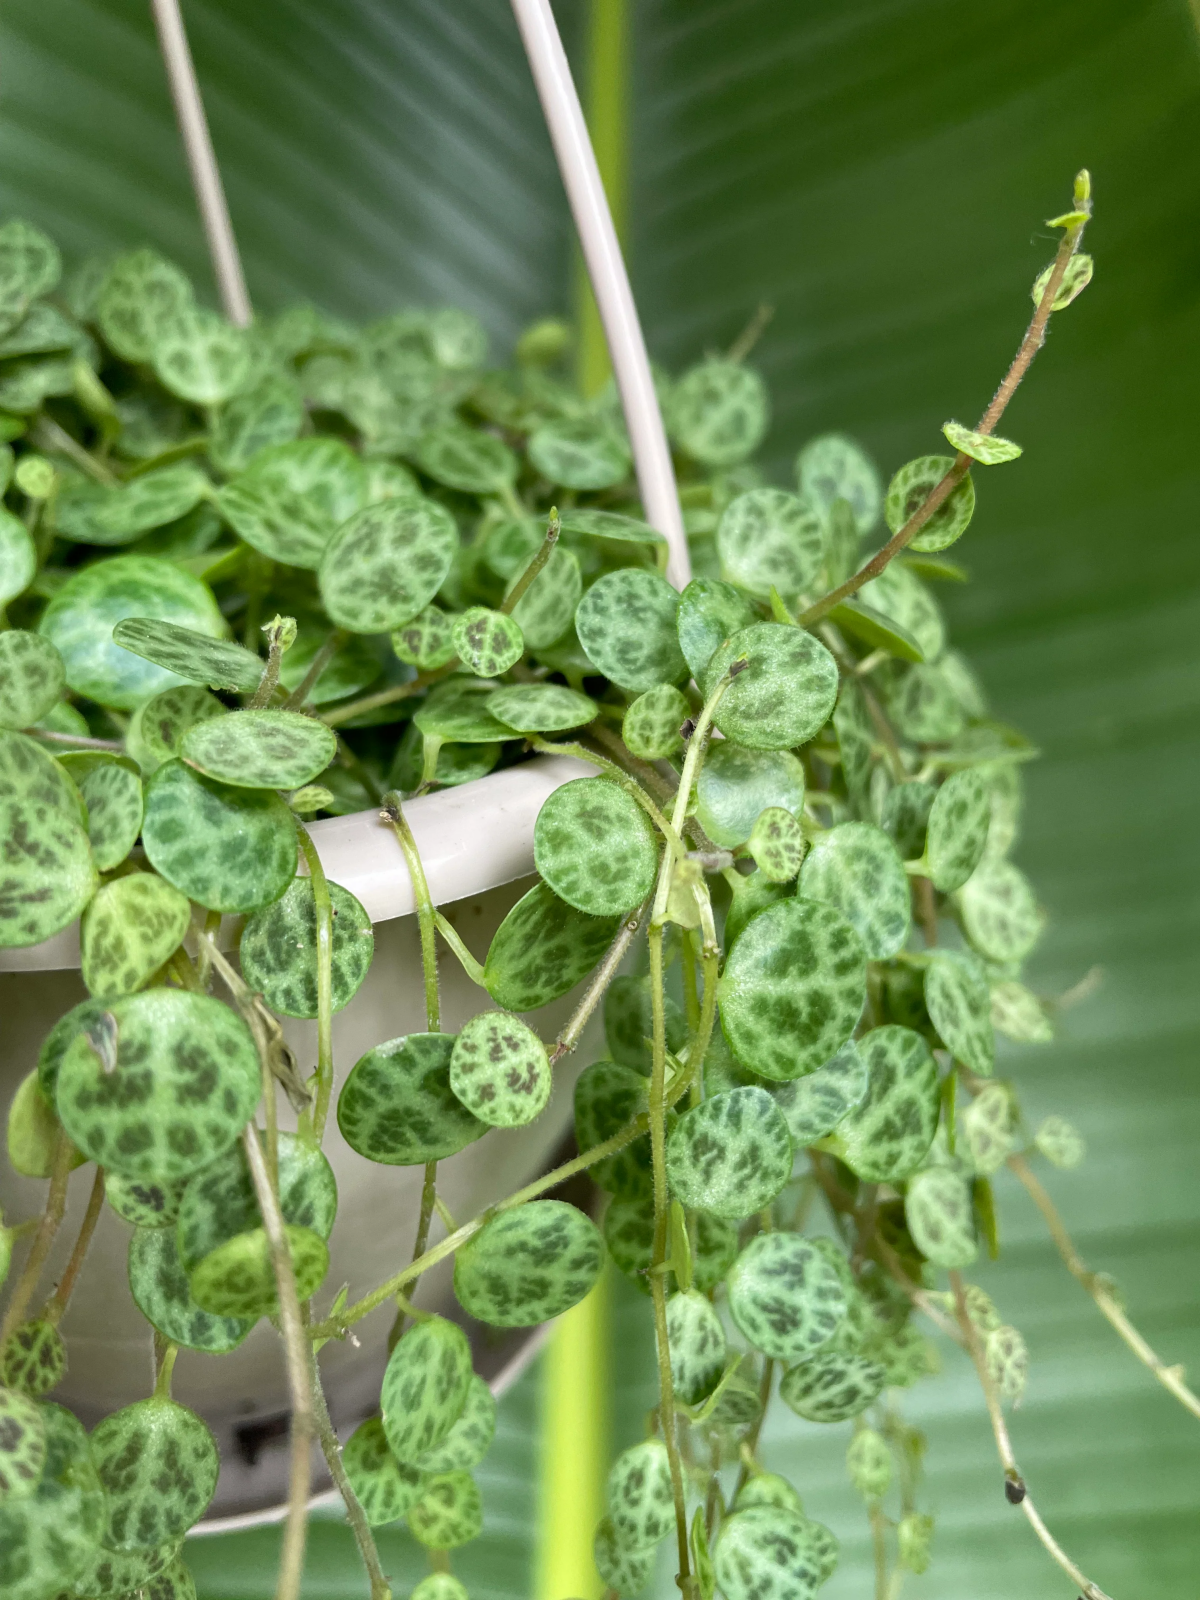
In its natural habitat, it doesn’t grow in deep dirt. It’s an epiphyte, meaning it clings to the sides of trees, pulling nutrients from rain and bits of bark. This tells you its roots HATE being smothered. They are fine, delicate, and designed for gripping and breathing air. Standard potting soil is a death sentence; it’s too dense and holds water, leading to the dreaded root rot. This is why it thrives in shallow pots—its root system just isn’t built to go deep.
Now, look at those cute little leaves. They’re plump for a reason. They store water, just like a succulent. This is how it survives dry spells between rainfalls. But it also means if you water it when the leaves are already full and the soil is wet, the plant has nowhere to put the excess moisture. The roots just sit there and rot. It’s the number one killer of these guys, for sure.
Getting the Care Just Right
Once you understand its nature, the care routine practically writes itself.
Lighting: Beyond ‘Bright Indirect’
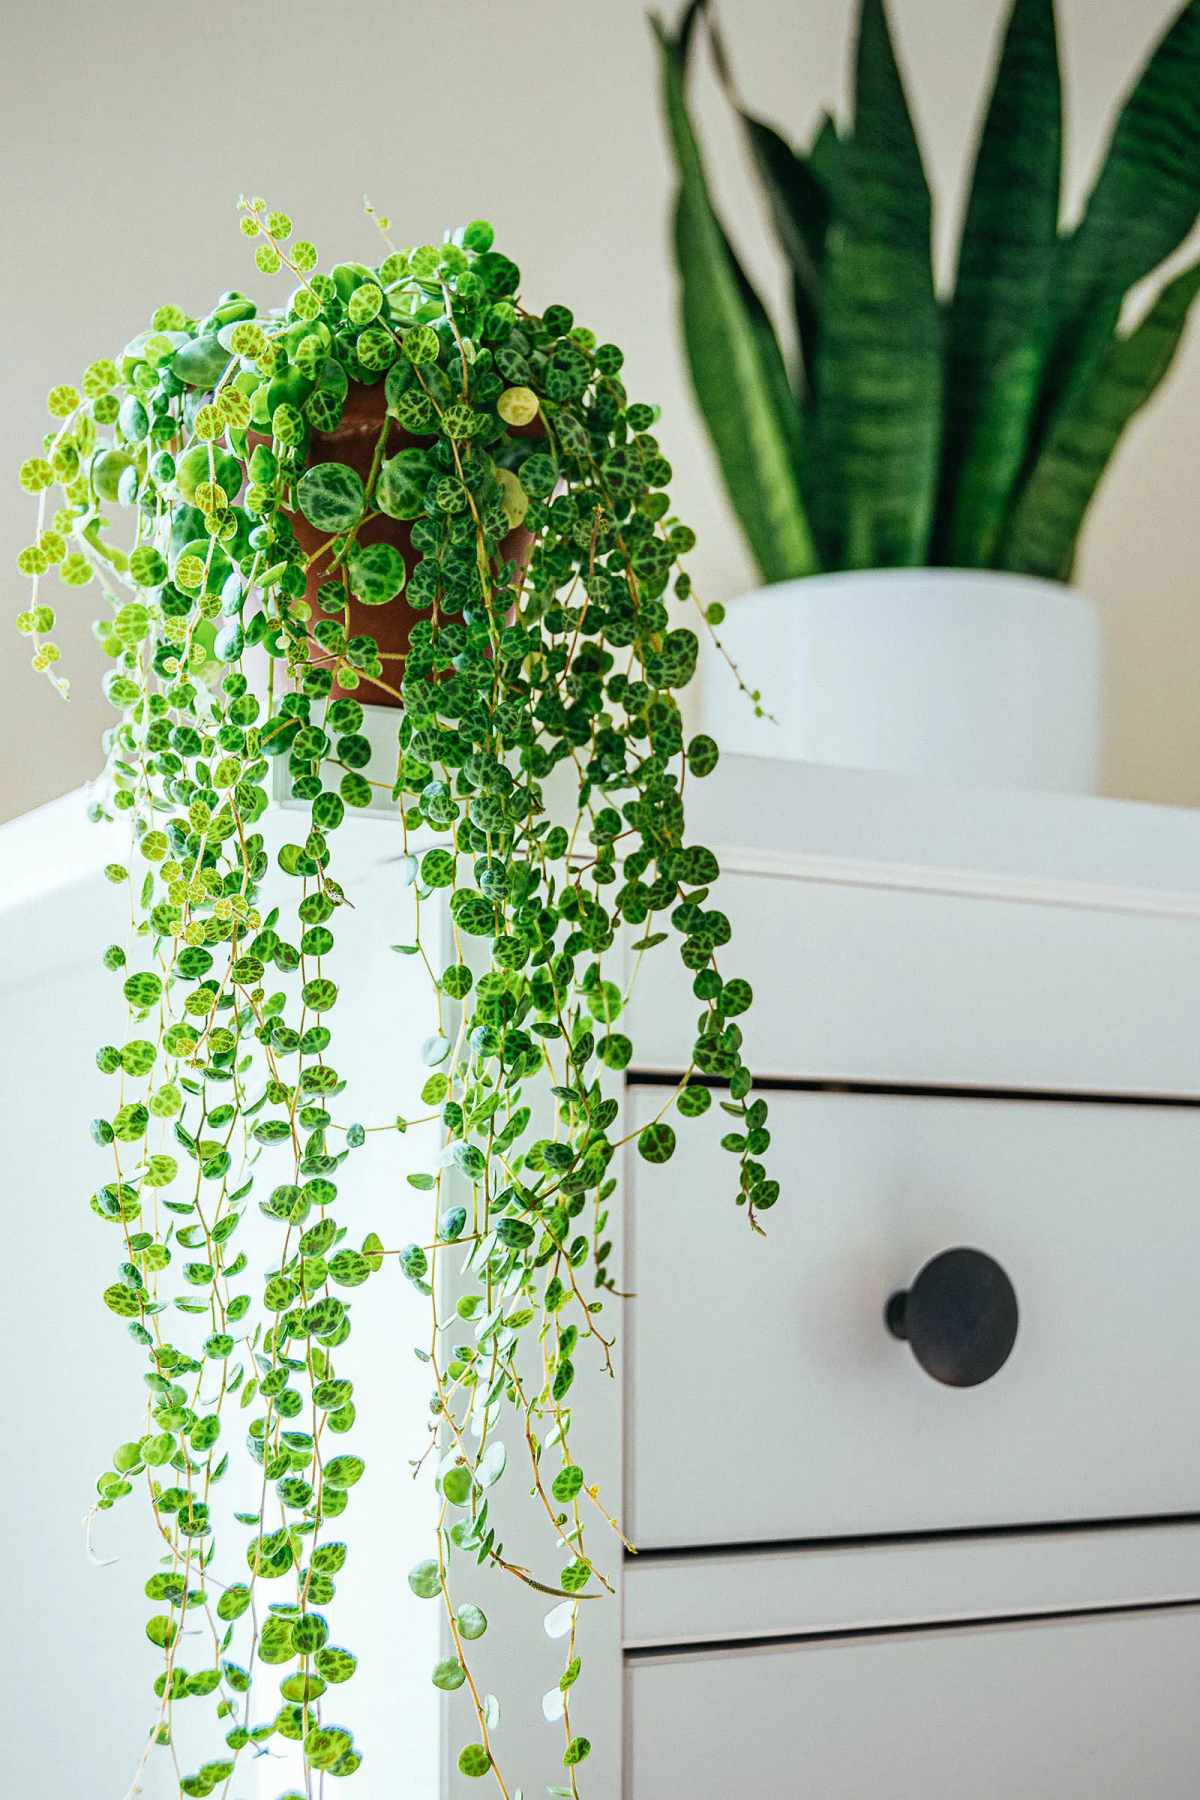
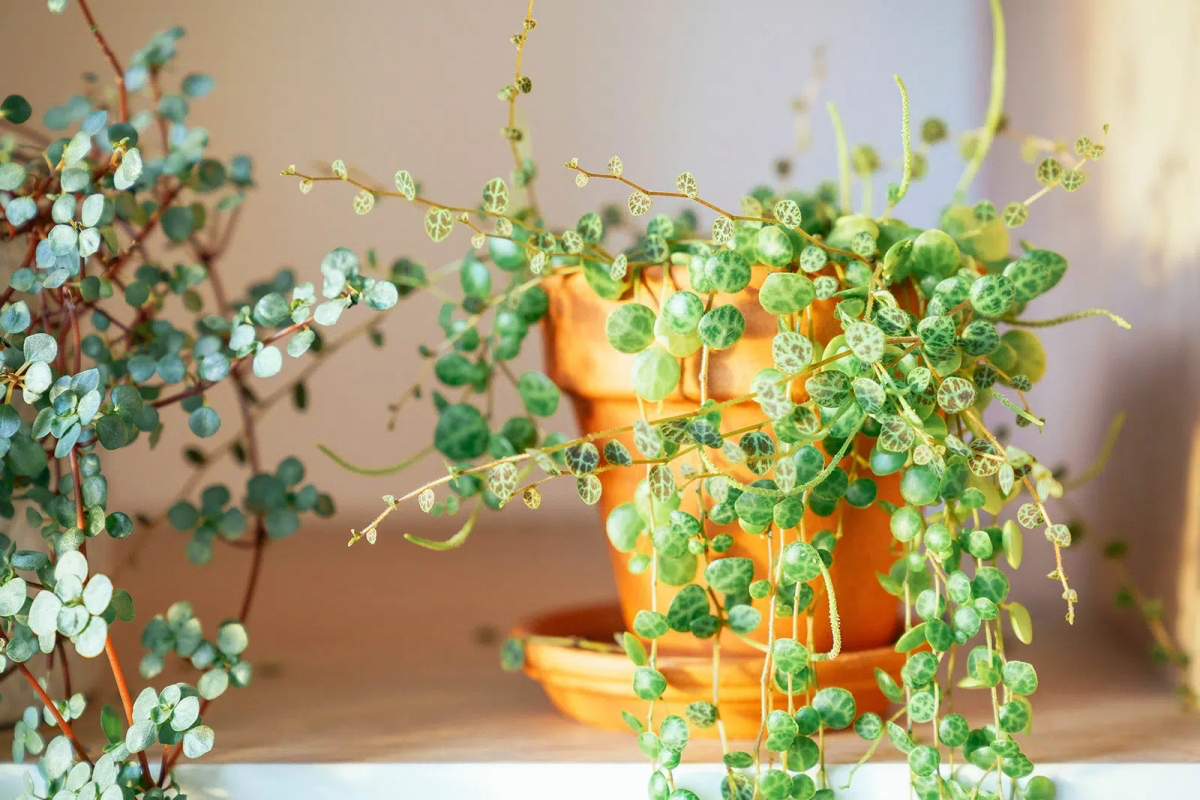
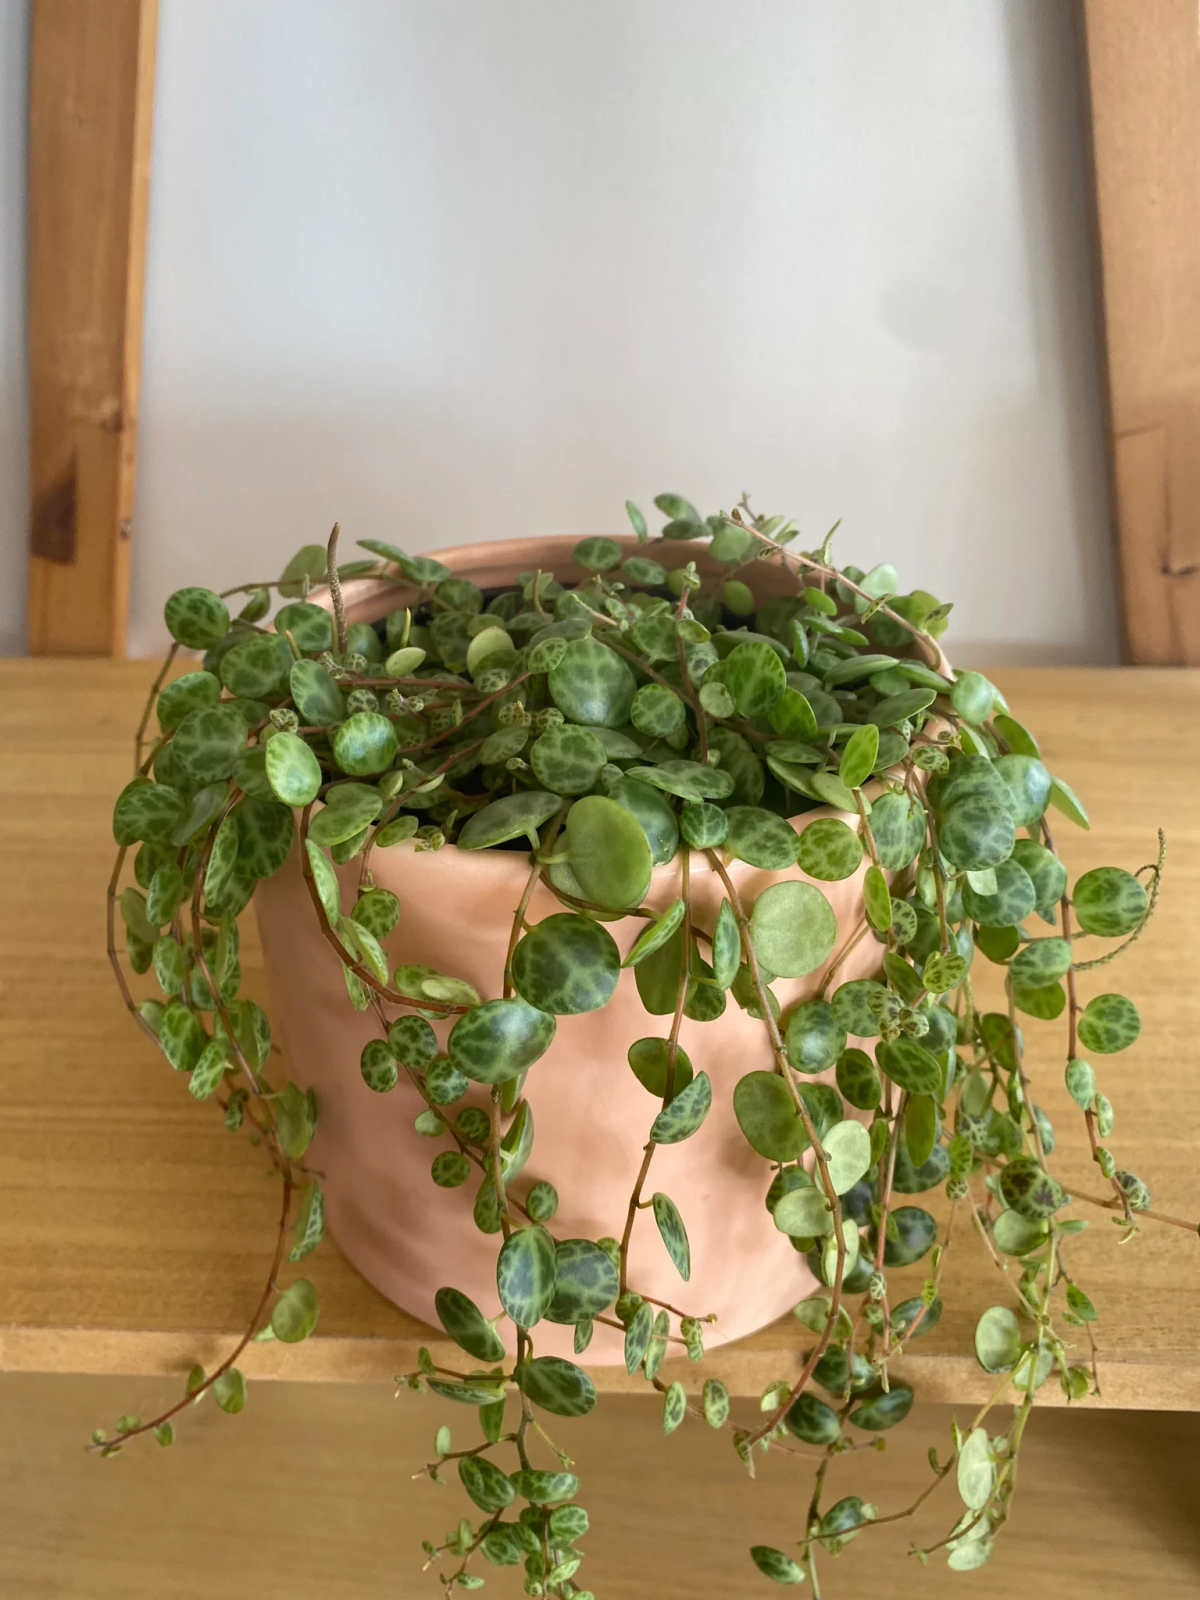
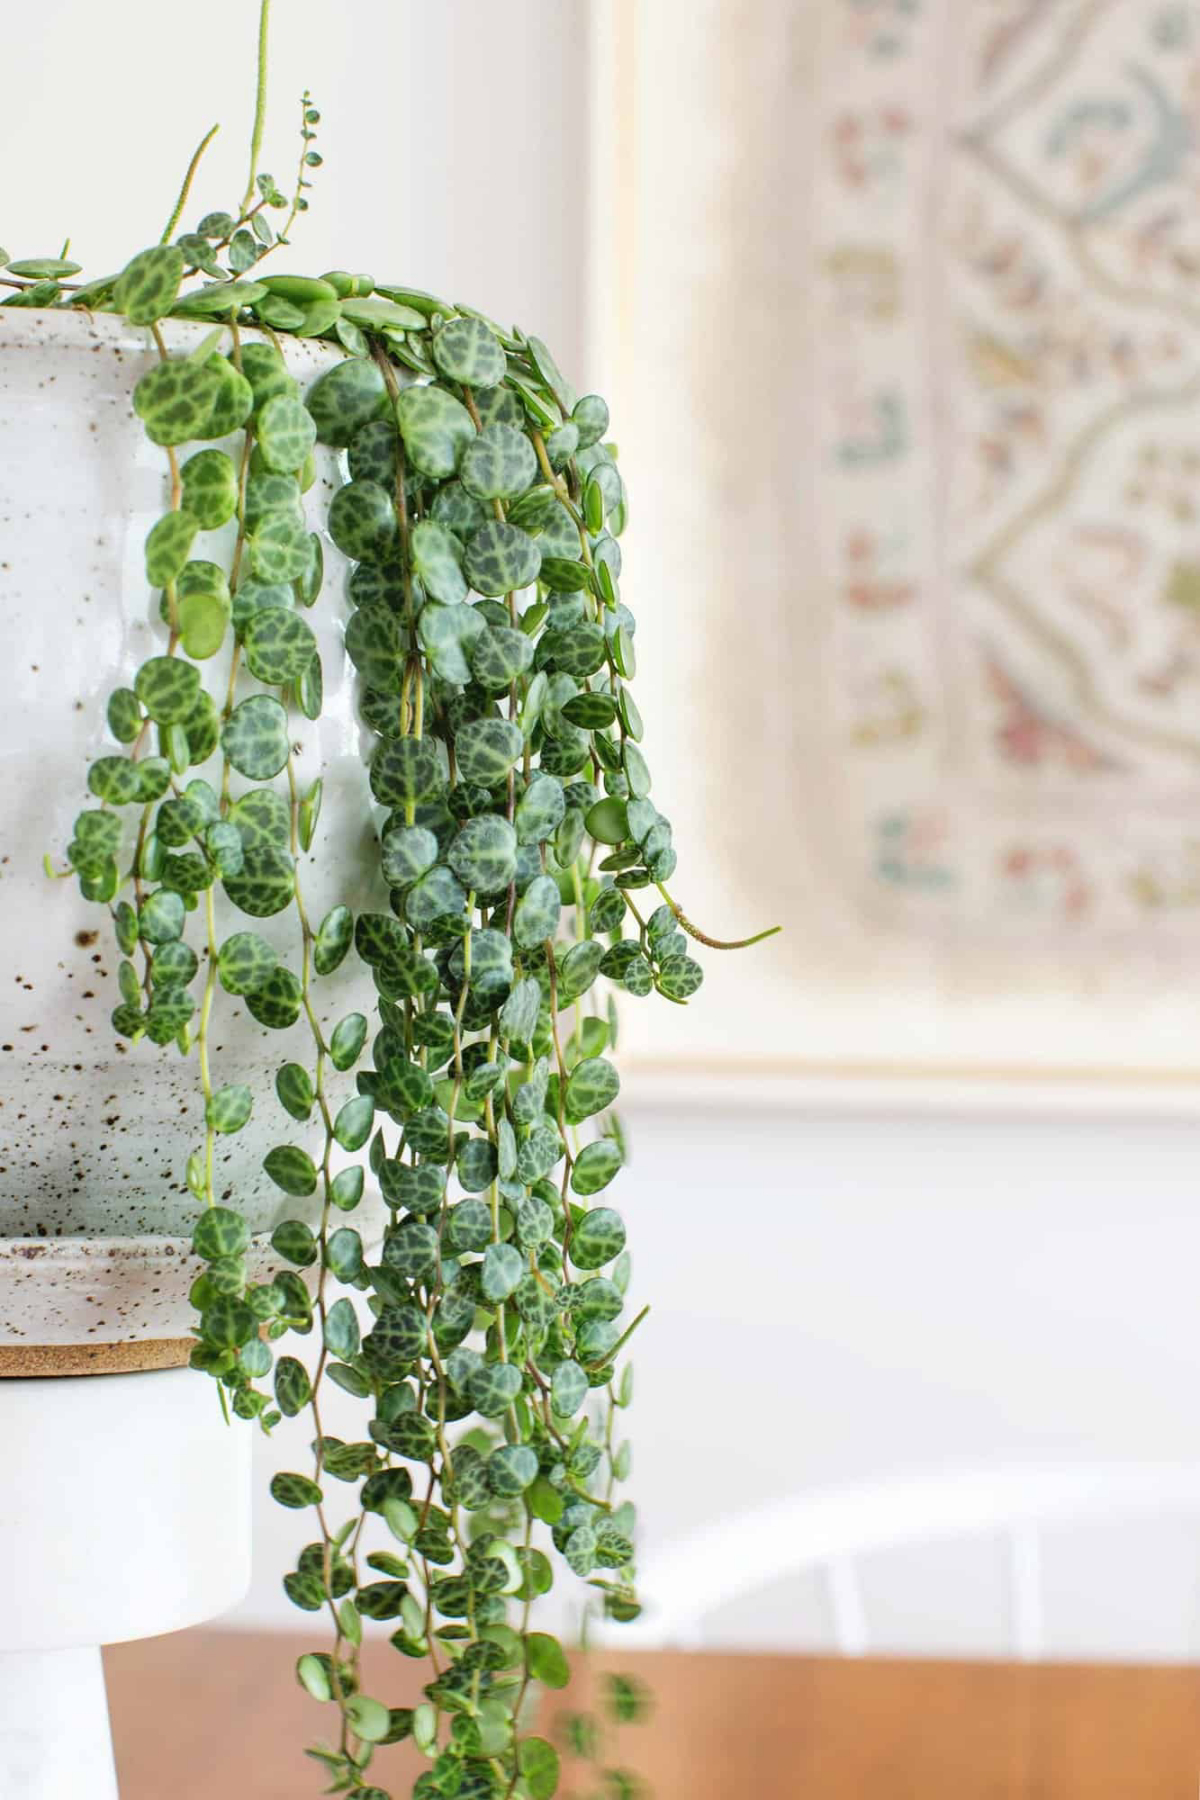
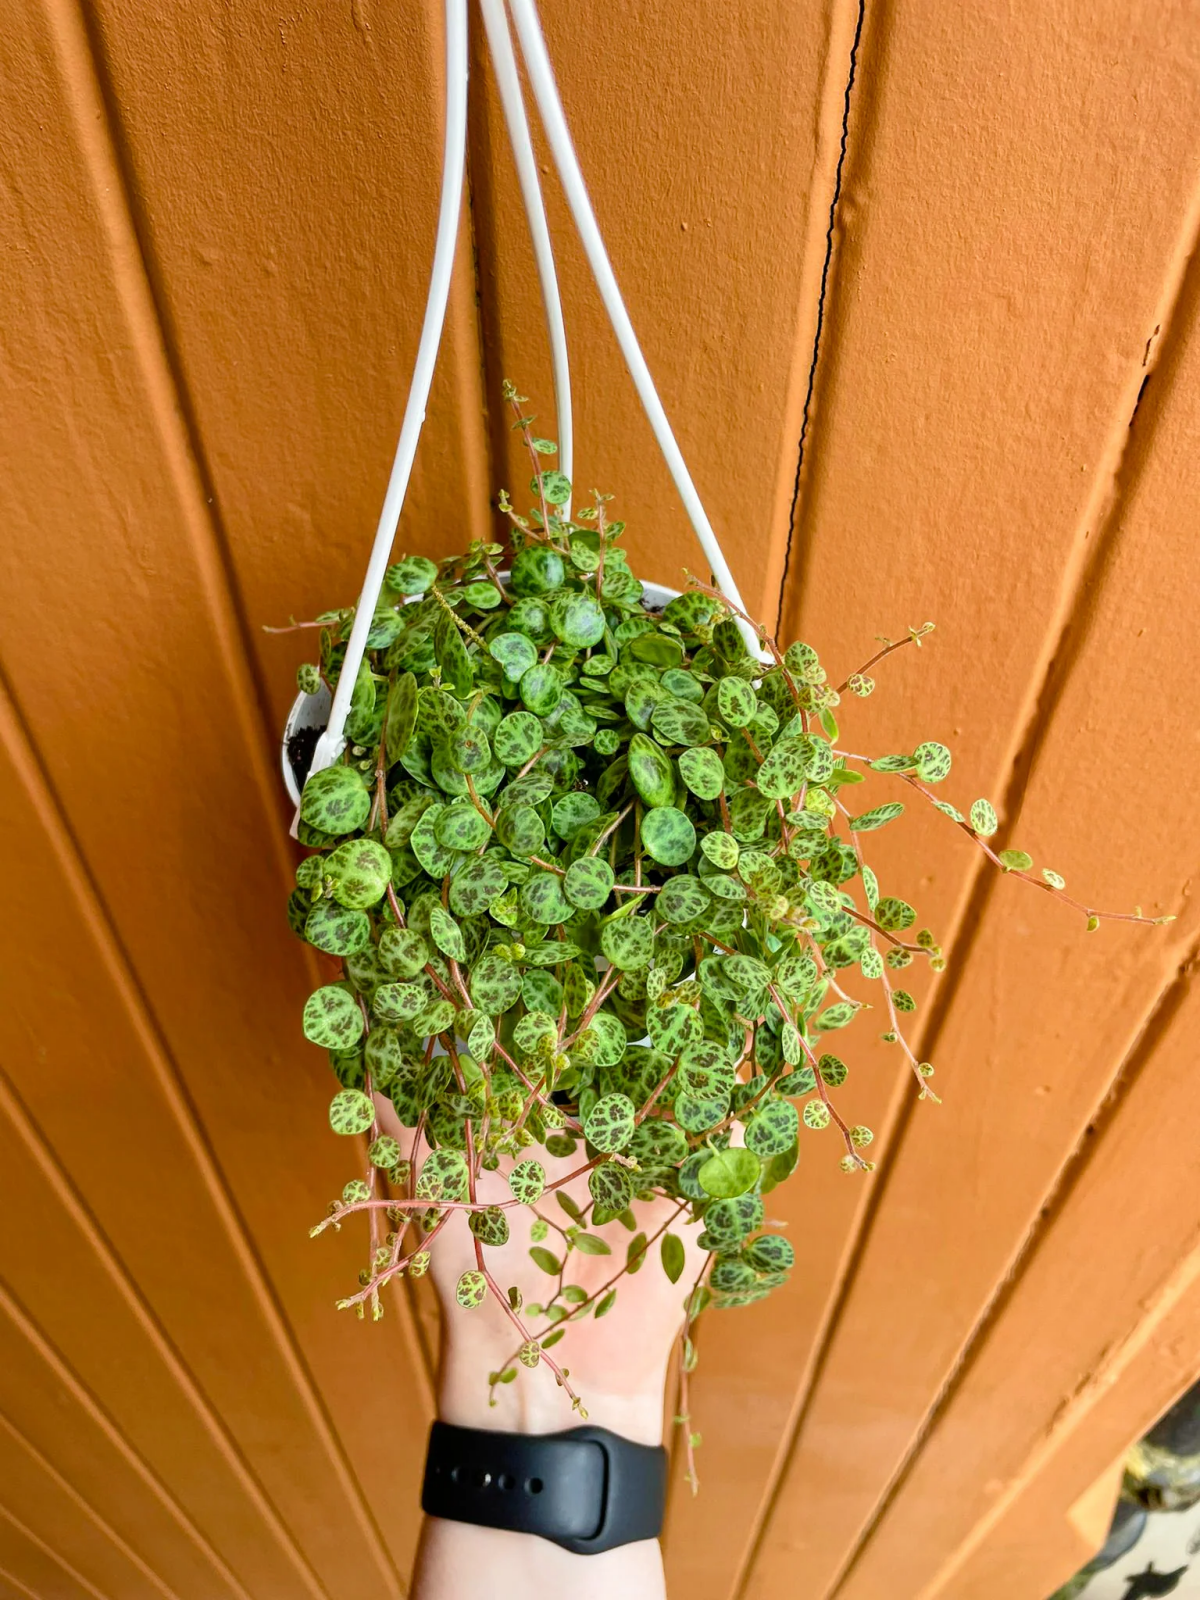
That phrase is so vague, isn’t it? For this plant, you need sustained but gentle brightness. Direct afternoon sun will scorch the leaves, turning them brown and crispy. An east-facing window is the sweet spot. You’ll know the light is perfect when new leaves are a deep, rich green with a sharp, silvery pattern, and the stems might even have a nice reddish hue. That’s a sign of a happy, well-lit plant!
If the light is too low, you’ll see it immediately. The space between the leaves will get longer (this is called ‘leggy’ growth), and the leaves will be smaller and paler. It’s like the plant is stretching to find more light. For example, a struggling plant might have pale leaves the size of a dime with an inch of bare stem between them. After a few months in good light, you’ll see new growth with deep green, quarter-sized leaves packed so tightly you can barely see the stem. If your home is dark, a simple full-spectrum LED grow light is a game-changer. Position it 8-12 inches above the plant and run it on a timer for 12-14 hours a day.
Watering: Throw Away the Schedule
Do not water this plant every Saturday. Water it when it tells you it’s thirsty. Forget the ‘top inch of soil’ rule, too; its roots are too shallow for that to be accurate. Here are two foolproof methods:
- The Weight Method: After you water, pick up the pot. Feel how heavy it is. A few days later, pick it up again. When it feels noticeably lighter, almost airy, it’s time to water. This is the most reliable method once you get the hang of it.
- The ‘Taco Test’: As I mentioned, this is my go-to. Gently pinch an older, mature leaf. If it’s firm, don’t water. If it’s soft and pliable, it’s using up its water reserves and is ready for a drink.
When you do water, I highly recommend bottom watering. Set the pot in a dish of water for about 20 minutes and let it soak up moisture from the bottom. This encourages strong roots and keeps water off the delicate crown of the plant. Afterward, let it drain completely. Never, ever let it sit in a saucer of runoff water.
Soil: The Secret Recipe for Happy Roots
Bagged potting soil is too heavy. You need to create a chunky, airy mix that mimics what it would grow on in nature. It’s super simple. Here’s my go-to recipe:
Mix equal parts of high-quality potting mix, fine-grade orchid bark, and perlite. That’s it. The end result should feel light and chunky, and when you water it, the water should zip right through. If you absolutely must buy a pre-made mix, get one for succulents, but do yourself a favor and add a few extra handfuls of orchid bark to it.
Temperature & Humidity
It’s happy in normal household temperatures (65-80°F). Just keep it away from cold drafts or windows in the winter, as it’s not cold-hardy at all. While it tolerates average humidity, it will really flourish with a bit more (think 50-60%). If you see crispy leaf edges, the air is too dry. Misting isn’t a great solution. Instead, group it with other plants or use a small humidifier nearby. That’s the best way to provide the consistent moisture it loves.
Making More Plants (It’s So Easy!)
One of the best parts of owning this plant is how simple it is to propagate. Any broken piece is just a new plant waiting to happen!
- The ‘Lay Down’ Method: This is the easiest way to make a new pot look full, fast. Take a long strand (4-5 inches) and lay it coiled on top of a pot of your airy soil mix. Use a bent paperclip to gently pin the stem so the little nodes (where leaves grow out) are touching the soil. Keep the soil lightly moist—think of a wrung-out sponge, not soaking wet. A light spritz from a spray bottle every couple of days is perfect. In a few weeks, you’ll see new roots and growth.
- Water Propagation: Snip a 3-inch cutting, pull the leaves off the bottom inch, and stick it in a small jar of water. Change the water every few days. Once the roots are about an inch long, you can plant it in soil.
Troubleshooting the Common Issues
Even the best of us run into problems. Here’s how to diagnose and fix them.
EMERGENCY: Yellowing, Mushy Leaves
This is the classic sign of overwatering and root rot. You need to act fast. This is basically plant surgery.
- Unpot & Rinse: Gently take the plant out and wash all the old soil off the roots.
- Inspect & Snip: Get a clean pair of scissors. Cut off any root that is brown, black, mushy, or smells bad. Healthy roots are white and firm. Be ruthless.
- Repot: If you have healthy roots and stems left, repot them in a pot with fresh, completely DRY, airy soil mix.
- Wait: DO NOT water it for at least a week. Let it recover. If the whole root system was a lost cause, it’s better to just take healthy cuttings and start over.
Problem: Bald Spot on Top & Dropped Leaves
This usually means the top of the plant isn’t getting enough light, often because the cascading foliage is shading it. To prevent this, make sure the top of the pot gets light, too! Lower your hanging basket or add a small grow light above it. To fix a bald spot, just take a few long strands, coil them on top of the soil, and pin them down. They’ll root and fill in the patch.

Problem: Faded Patterns & Leggy Growth
This is a super easy one: not enough light. Move it to a brighter spot or get a grow light. The old growth won’t change, but all the new leaves will come in dense, vibrant, and beautiful.
A Few Final Pro-Tips
Picking the Perfect Pot
The pot you choose really matters. I almost always recommend terracotta. Because it’s porous, it breathes and helps the soil dry out evenly, which is a huge safeguard against overwatering. Plastic or glazed ceramic pots can work, but they hold moisture much longer, so you have to be way more careful with your watering. And remember, only go up one pot size (1-2 inches wider) when you repot. A tiny plant in a huge pot is a recipe for root rot.
How to Feed Your Plant
This plant isn’t a heavy feeder. During the spring and summer, you can give it a boost with a balanced liquid fertilizer diluted to 1/4 strength, maybe once a month. Always water the plant before you fertilize to avoid burning the roots. Skip fertilizer entirely in the fall and winter when its growth slows down.
By the way, if you have pets, you’re in luck. According to the most reliable animal safety groups, plants from this family are considered non-toxic to cats and dogs. Of course, it’s still best to keep them out of reach of a curious nibbler.
The most important thing I can tell you is to simply watch your plant. These guidelines are a fantastic starting point, but your plant will tell you what it needs. Learning its language is the real secret to growing something spectacular.
Galerie d’inspiration
My leaves are falling off! Is my String of Turtles thirsty or drowning?
This is the most common dilemma. Unlike true succulents, Peperomia prostrata doesn’t want to dry out completely, but its fine roots rot easily. The key is to check the top inch or two of the soil; if it’s dry to the touch, it’s time to water thoroughly. Another pro tip is the
Did you know? The tiny, patterned leaves aren’t just for show. In their native Brazilian rainforests, this pattern provides camouflage on the forest floor, protecting the plant from herbivores.
This natural design is a great reminder to mimic its preferred environment: dappled, indirect light. Placing it directly in a south-facing window can scorch the delicate leaves, causing the turtle-shell pattern to fade. An east-facing window or a spot a few feet back from a brighter window is often the sweet spot.
Terracotta Pot: The classic choice. Its porous nature wicks away excess moisture, preventing root rot, which is the number one killer of this plant. Perfect for beginners.
Glazed Ceramic Pot: A stylish option that retains more moisture. A good choice if you’re a chronic under-waterer or live in a very dry climate. Just be extra sure your soil mix, perhaps with extra perlite from a brand like Miracle-Gro, is very well-draining.


