Your Spring Garden Wake-Up Call: A No-Nonsense Guide
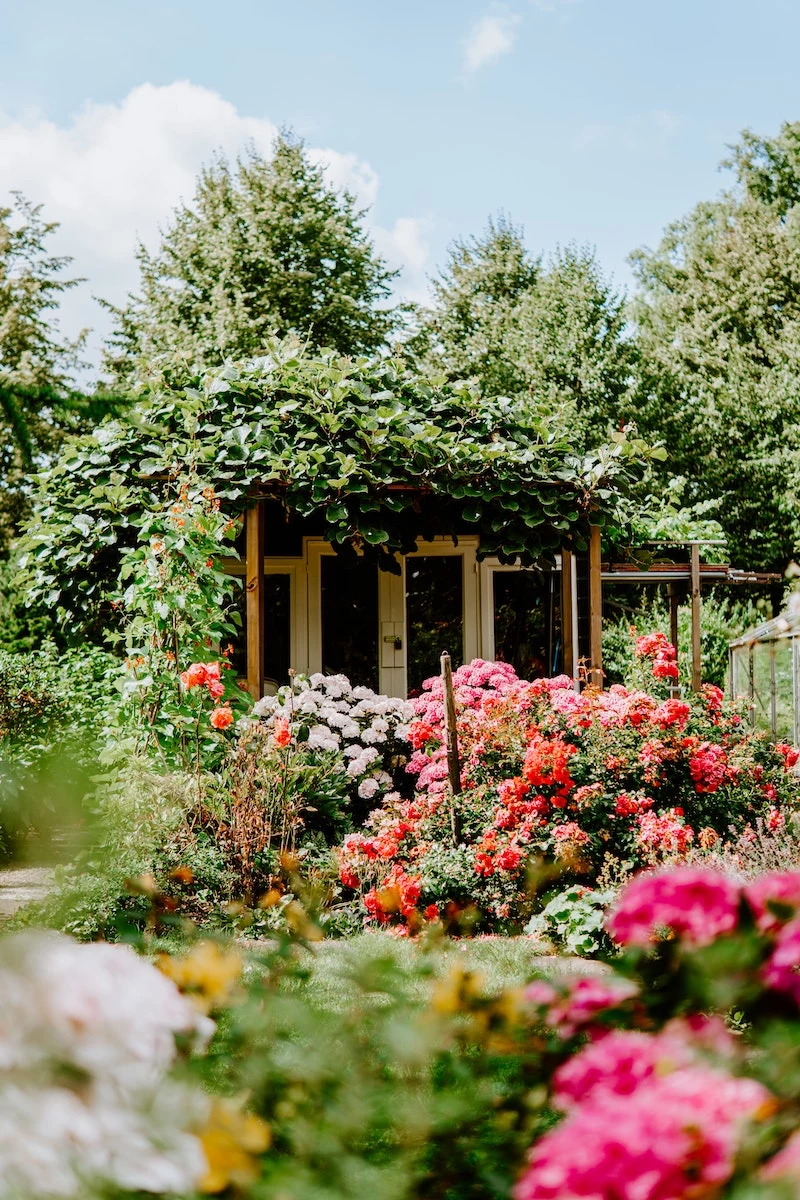
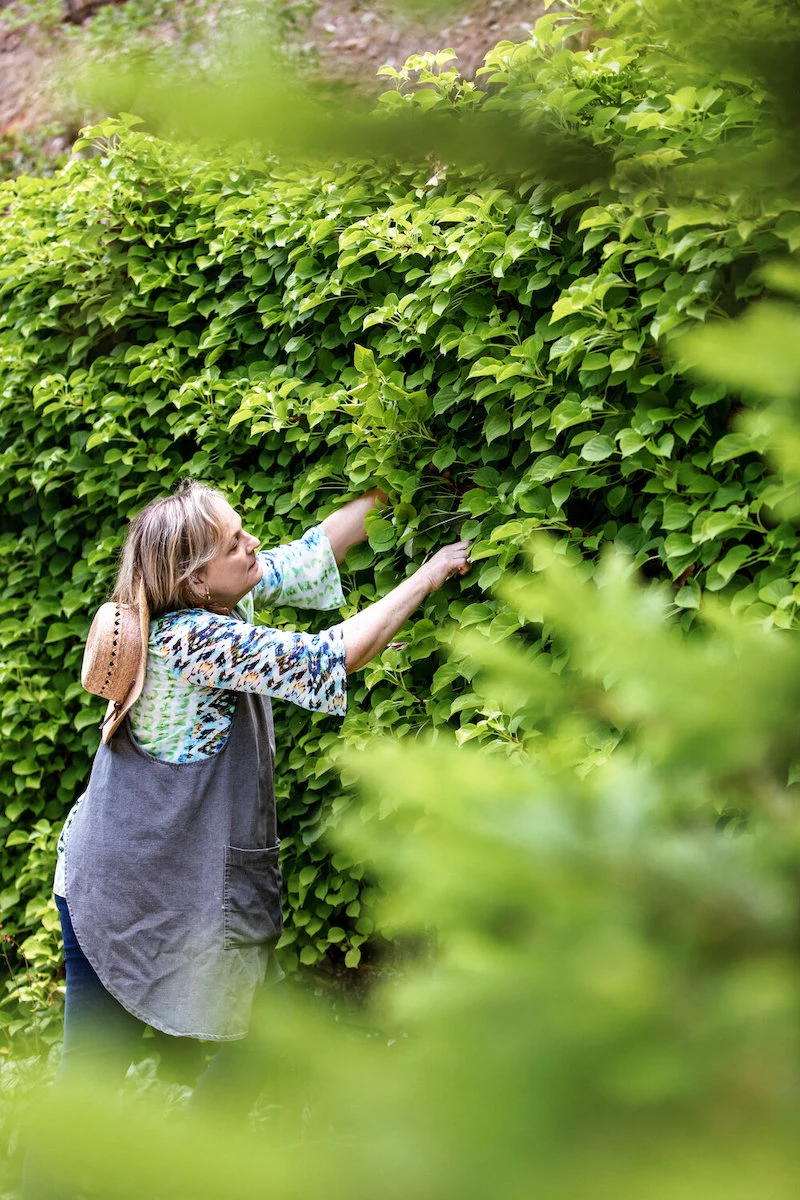
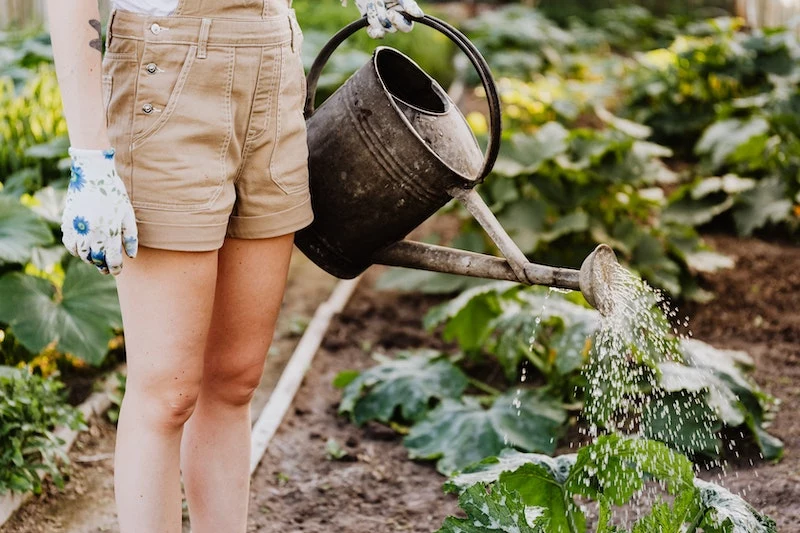
I’ve had my hands in the dirt for more years than I can count, and every single year, that first hint of spring sends a jolt of excitement through me. It’s not just the warmer air, you know? It’s the smell of the ground thawing out—that rich, damp scent that just screams new life is on the way. My first walk through the garden after the snow melts is a personal tradition. It’s a quiet moment to take stock, to see what winter left behind, and to start dreaming about the season ahead.
This isn’t about a frantic race through a checklist of chores. It’s about being methodical and really understanding why you’re doing each task. That’s the secret sauce. This guide is built on that very idea—to show you the pro techniques that make a huge difference, so you know not just what to do, but why it works. A little know-how is the foundation for a garden that’s healthy, tough, and a joy to be in all year long.
First Things First: The Spring Walk-Around
Before you even think about picking up a tool, just walk. Seriously. A slow, observant stroll around your yard is probably the most important hour you’ll spend in your garden all season. I sometimes bring a little notebook, but mostly I just use my eyes. Winter always leaves clues, and your job is to learn how to read them.
One of the first things I look for is frost heaving. When the ground freezes and thaws over and over, it can literally push shallow-rooted plants right out of the soil. You’ll spot the crowns of perennials like Coral Bells or some ornamental grasses sitting way too high, their poor roots exposed to the air. This is an emergency! Those roots will dry out and die on the first sunny, windy day.
Quick Tip: Don’t just stomp them back into the ground. That compacts the soil and can break the plant’s crown. Instead, grab a garden fork or a hand cultivator and gently loosen the soil around the plant. Then, use your hands to press it back down until the crown (where the stems meet the roots) is level with the soil. If you bury the crown, it can rot. A little layer of compost around the base afterward will give it some extra protection from any late frosts.
Next, get your detective hat on and look for pests and diseases. On the branches of your fruit trees or roses, check for tiny, round bumps—those could be overwintering scale insects. A good dormant oil spray, which you can find at any garden center, can take care of them. Look for something labeled ‘horticultural oil,’ like Bonide’s All-Seasons spray. Just be sure to apply it on a dry day when the temperature is above 40°F (4°C) to smother the insects before they wake up. Oh, and if you see any little gelatinous-looking pearl clusters under old leaves, that’s likely slug and snail eggs. Scrape ’em up and get rid of them.
Finally, check your structures. Winter is tough. I give my fence posts a good tug to see if they’re loose. I eyeball my wooden raised beds for bowing or rotting boards. A wobbly post can often be fixed by digging around it and packing a mix of gravel and soil at the base. It’s so much easier to fix this stuff now than in July when a giant tomato plant is in your way. A buddy of mine once skipped checking his irrigation system and turned it on, creating a geyser that washed away half his garden bed. Lesson learned.
The Big Spring Cleanup (Without Making More Work Later)
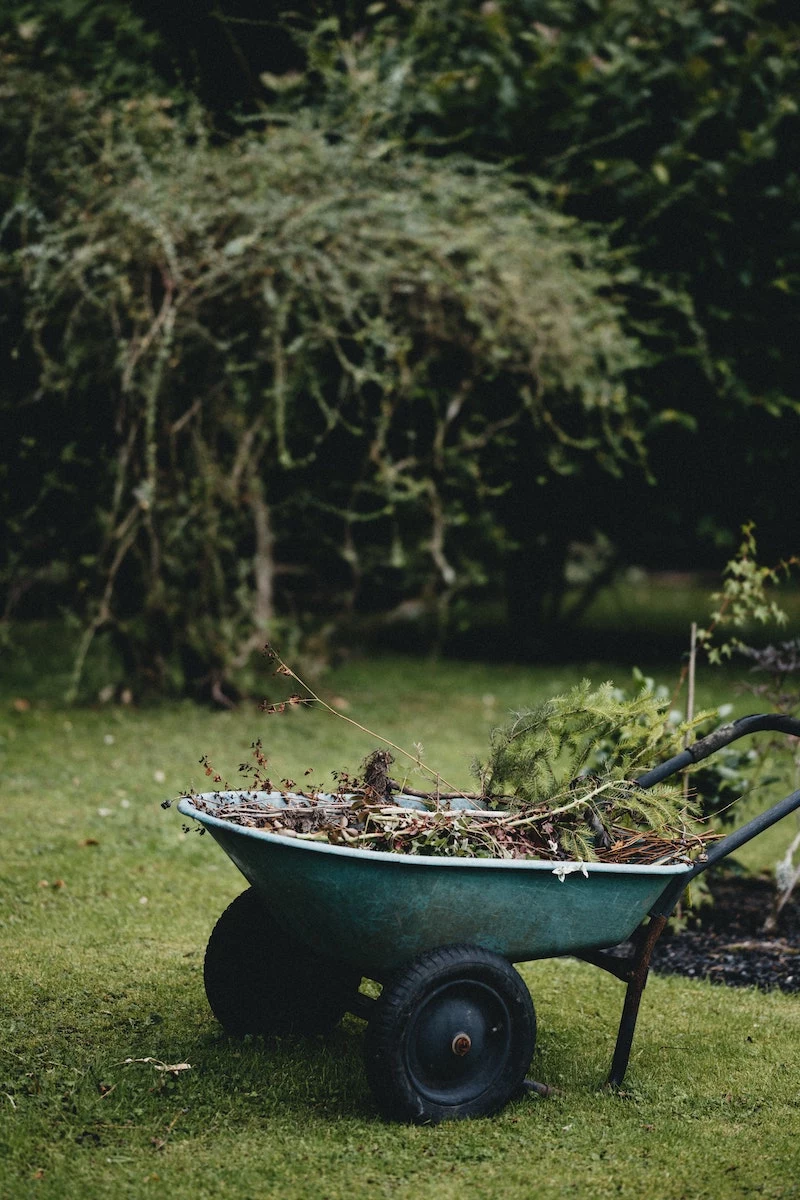
Okay, with your inspection done, it’s time for cleanup. But this isn’t about making your garden look sterile. A smart gardener knows what to take and what to leave. Fallen leaves and dead plant stalks can be a double-edged sword. If a plant was healthy last year, I just chop up its dead stalks and let them fall right where they are. It’s called the ‘chop and drop’ method, and it’s free mulch that feeds the soil.
However, if a plant had a disease—like black spot on your roses or blight on your peonies—that stuff has to go. Those leaves and stems are loaded with fungal spores that will just cause the same problem all over again. Don’t put it in your home compost pile, either; it probably won’t get hot enough to kill the pathogens. Bag it up and put it in the trash.
When cutting back perennials, don’t slice them all the way to the ground. Leave a few inches of stem. This does three things: it marks where the plant is so you don’t accidentally step on it, it protects the new little shoots emerging from the base, and some native bees will actually use those hollow stems to lay their eggs. Cool, right?
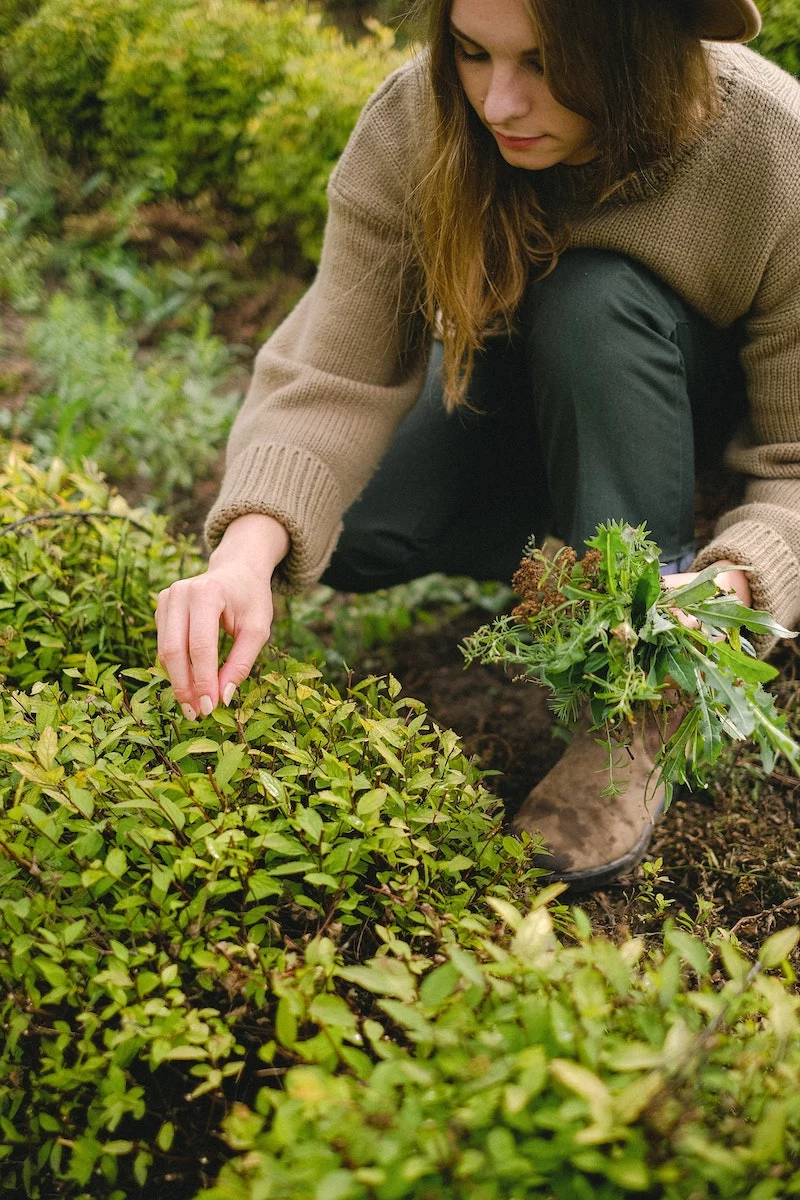
And while you’re at it, tackle the early weeds. Things like chickweed and henbit are easiest to pull from the cool, damp soil of early spring. A stirrup hoe is my go-to tool for this. It skims just under the surface and slices weeds off at the roots with minimal effort. For a typical 10×10 foot garden bed, this whole cleanup and weeding process should take about 45 minutes to an hour if you stay on task.
Pruning Like You Know What You’re Doing
Pruning seems to scare people, but it shouldn’t. The right cut is a gift to your plants. It promotes stronger growth, more flowers, and better health.
Game-changing tip: Before you start cutting on a big shrub, lay a cheap plastic tarp on the ground underneath it. All the clippings fall right onto the tarp. When you’re done, you just fold it up and drag it away. A 30-minute cleanup job turns into a 2-minute one. You’re welcome.
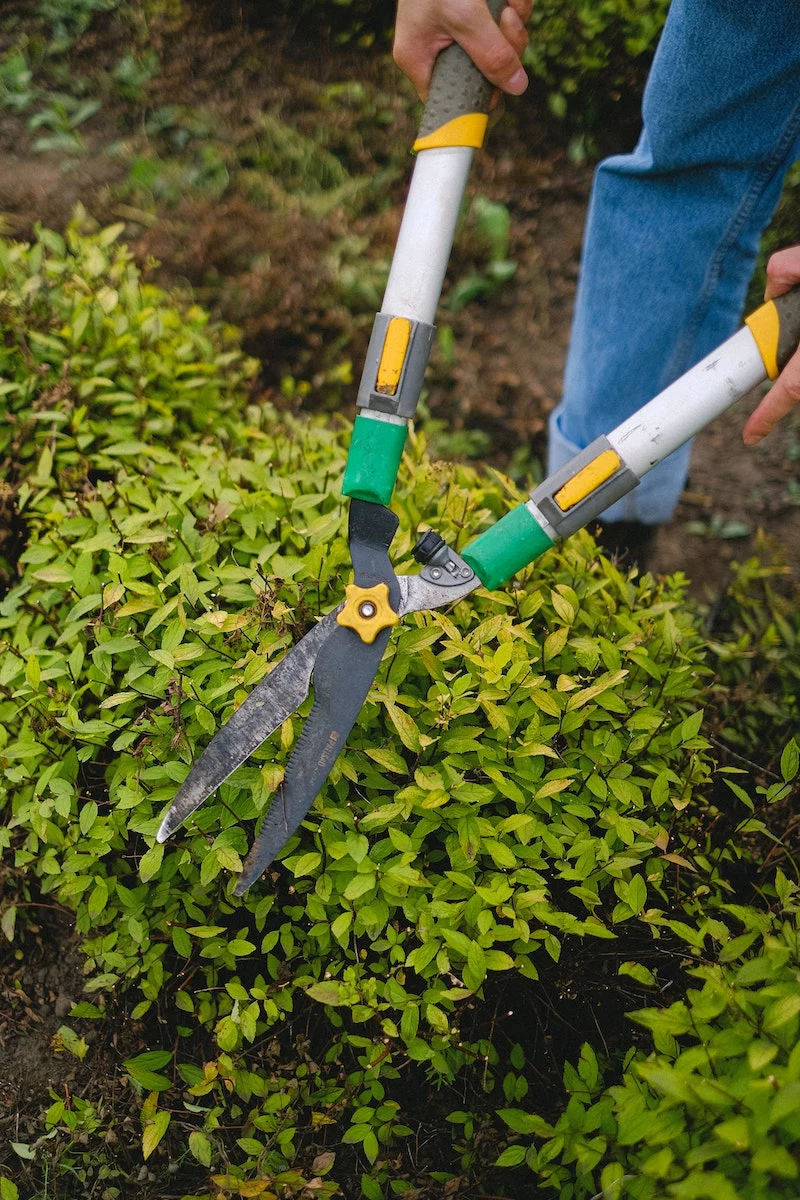
Your tools have to be sharp and clean. Dull pruners crush stems, leaving a ragged wound that’s an open invitation for disease. A quick sharpen each spring is non-negotiable. By the way, here’s my 10-minute method for sharpening pruners: You just need a simple diamond file (you can get one for under $15). First, clean the gunk off the blades. Second, hold the pruners open and run the file along the beveled edge of the top blade, matching the angle, about 10-15 times. Third, flip it over and gently file the flat back of the blade once or twice to remove any burrs. Done. Also, wipe the blades with a little rubbing alcohol between plants to avoid spreading problems.
For fruit trees like apples and pears, the goal is to create an open, vase-like shape so sun and air can get to everything. Start with the three D’s: cut out anything that’s Dead, Damaged, or Diseased. Then, remove branches that are growing inward or rubbing against each other.
When it comes to shrubs, here’s the golden rule that ends all confusion: if it blooms on last year’s branches (called ‘old wood’), prune it right after it flowers. If it blooms on this year’s new growth (‘new wood’), prune it in late winter or early spring.
- Shrubs that bloom on old wood include classics like Forsythia, Lilac, and Weigela. If you prune them in early spring, you’re cutting off all their flower buds for the year! Wait for them to finish their beautiful show, and then you can shape them up.
- Shrubs that bloom on new wood are ones like Panicle Hydrangeas and Butterfly Bush. Pruning these back hard in early spring encourages a ton of vigorous new growth, and that’s where the flowers will form. You can be pretty aggressive with these.
By the way, if you have an ancient, overgrown lilac that barely flowers, try renewal pruning. It sounds drastic, but it works wonders. Over three years, you remove one-third of the oldest, thickest stems each spring, cutting them right down to the ground. I did this for a client once, and by the third year, a shrub that hadn’t bloomed in ages was absolutely covered in fragrant flowers. It really works!
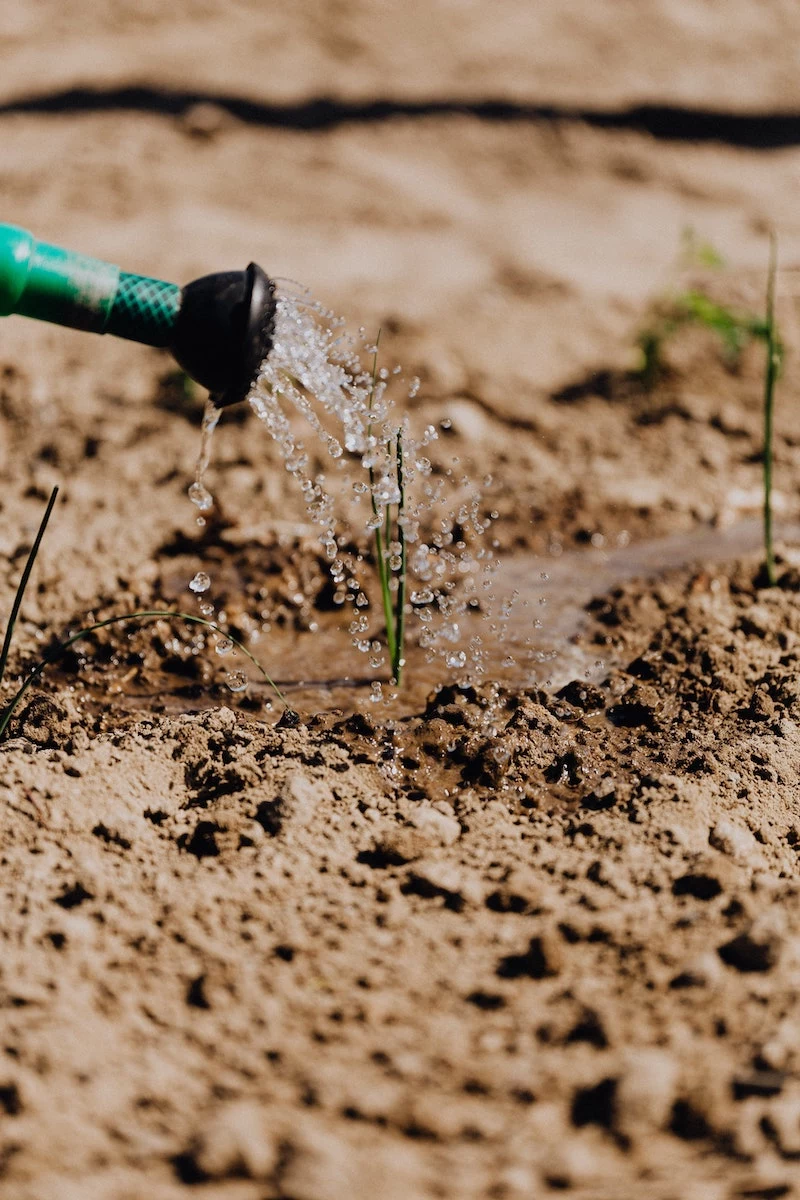
Let’s Talk About Soil (Because It’s Everything)
Before you do anything with your soil, you need to know if it’s even ready to be worked. Here’s the old-timer trick: grab a handful of soil and give it a firm squeeze. If water drips out or it forms a slick, muddy ball, it’s too wet. Go put your feet up and wait a few more days. If it crumbles apart like a good chocolate brownie, it’s go-time.
For years, people thought you had to fire up a rototiller every spring. We now know that intensive tilling can actually destroy soil structure. I much prefer using a broadfork to gently aerate compacted soil without mixing up all the layers. But for most established beds, I just add good stuff to the top and let the worms do the mixing for me.
But what should you add? Before you spend a dime, get a soil test. This is the single best investment you can make. Your local university cooperative extension office can help; you send them a soil sample, and for a small fee (usually between $15 and $30), they send you back a detailed report on your soil’s pH and nutrient levels. Working without a soil test is like a doctor prescribing medicine without a diagnosis—you’re just guessing.
No matter what the test says, your soil will almost always benefit from more organic matter. Good compost is the gold standard. Spread a 1- to 2-inch layer over your beds. And when it comes to manure, be careful. Fresh manure will burn your plants. You must use composted manure, which you can buy in bags at any garden center. Heads up: If you get manure from a local farm, always ask if their animals graze on pasture treated with persistent herbicides. These chemicals can pass right through the animal and can absolutely devastate your garden. I’ve seen it happen.
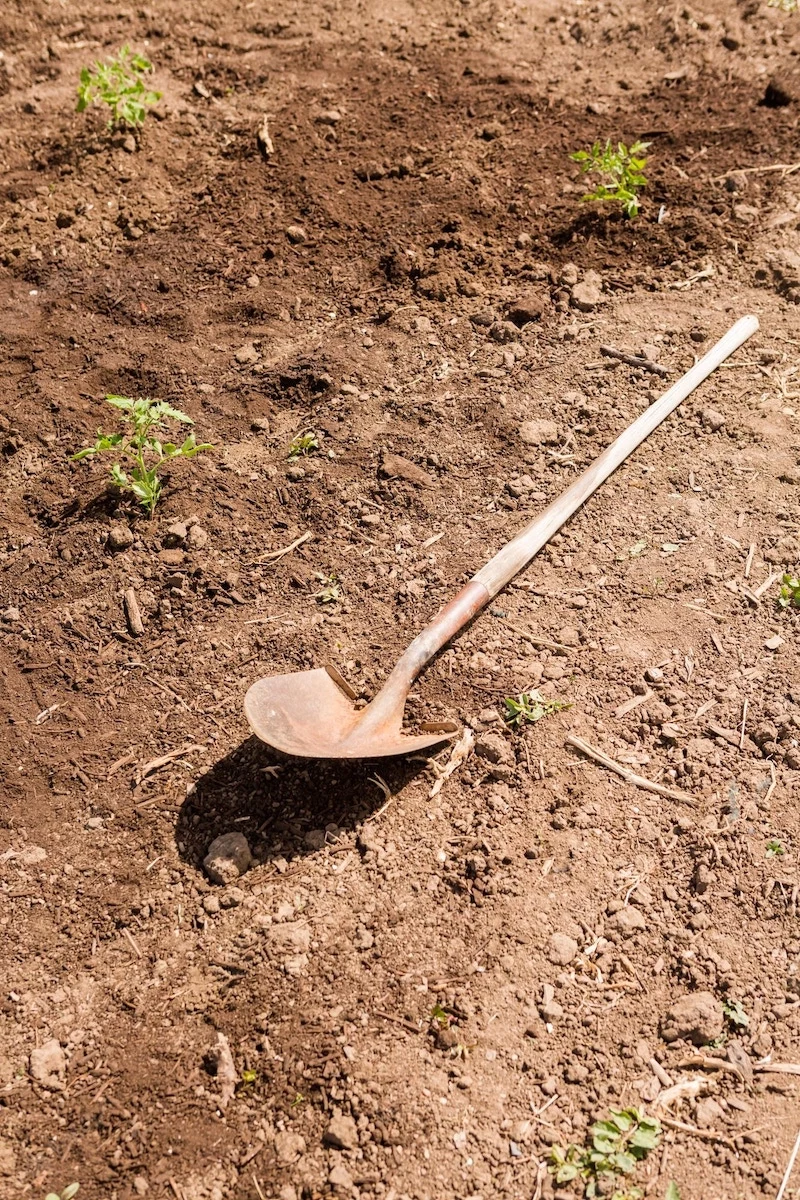
The Fun Part: Your Beginner’s Toolkit and Planting
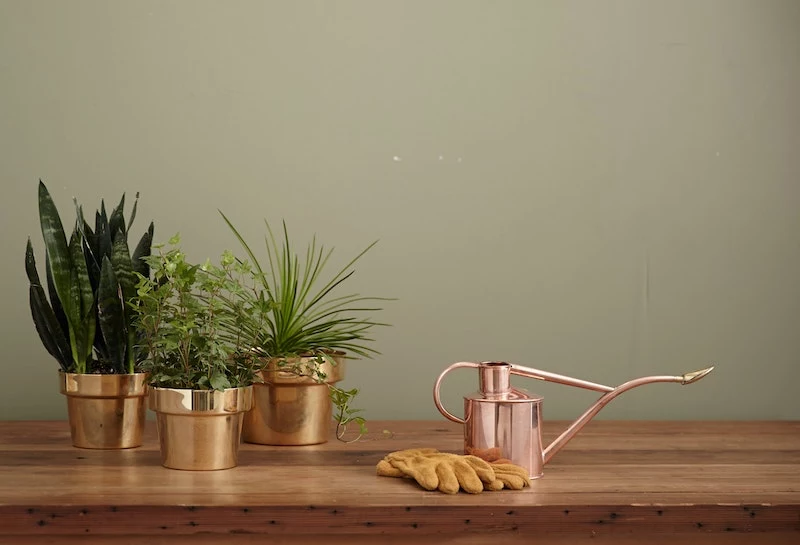
Alright, with the groundwork laid, it’s time for the joyful tasks. If you’re just getting started, you really only need a few essential tools. Don’t go crazy at the store. Here’s my must-have list:
- A solid pair of bypass pruners. Plan on spending $30 to $70 for a good pair like Felco or ARS. They’ll last a lifetime if you care for them.
- A sturdy garden fork for loosening soil and dividing plants.
- A stirrup hoe (or scuffle hoe) for weeding. It’s a back-saver.
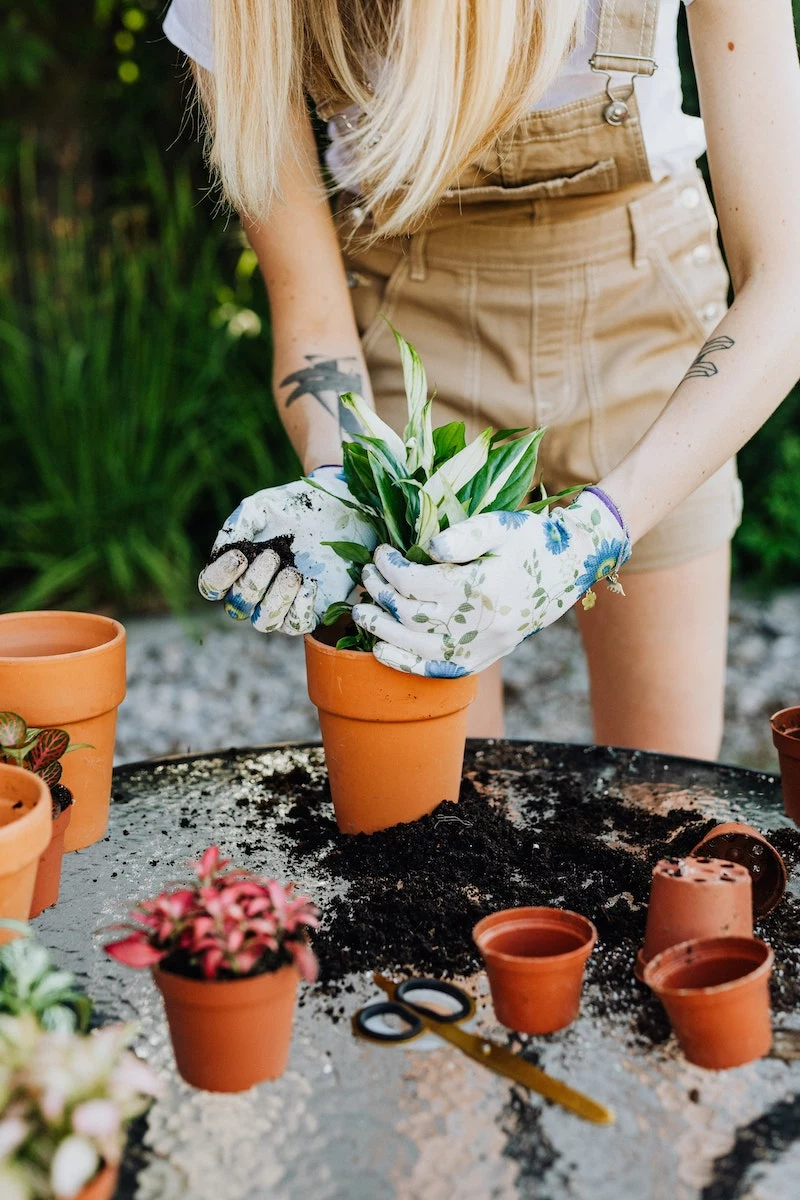
- A good pair of gloves that actually fit your hands.
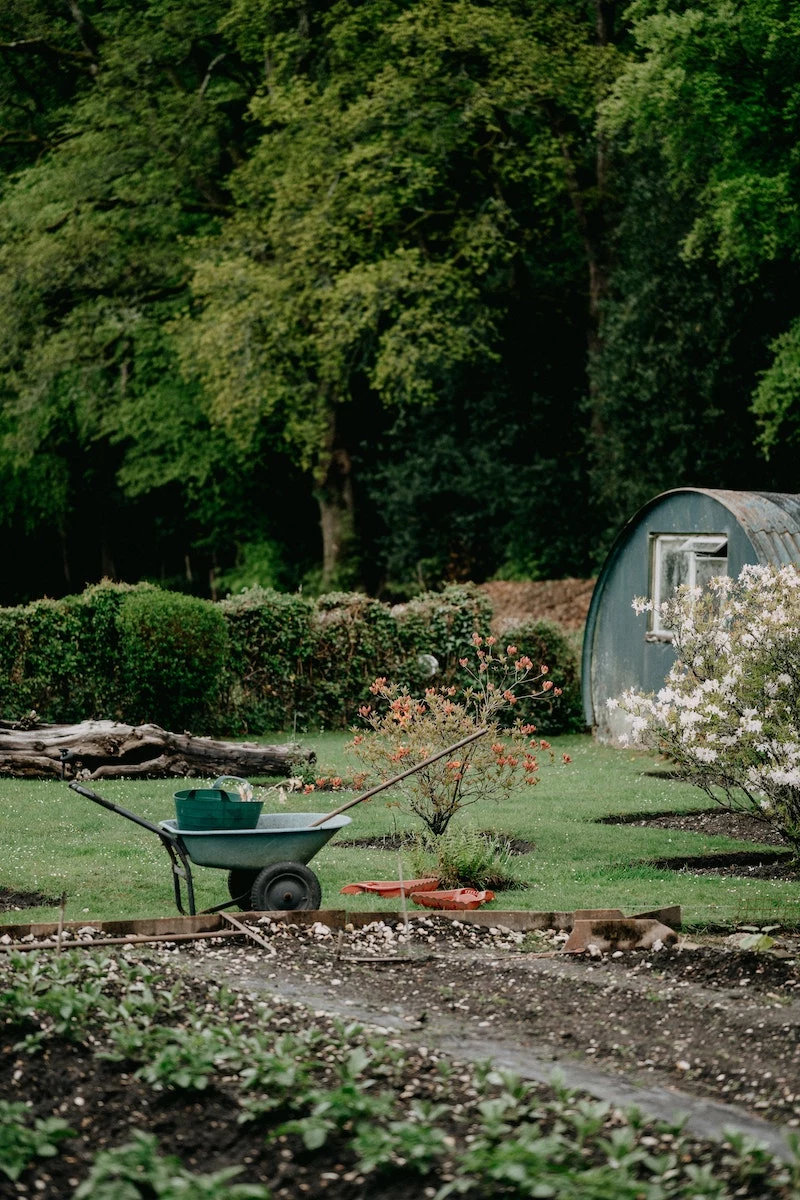
- A wheelbarrow or a tarp for moving stuff around. Makes cleanup a breeze.
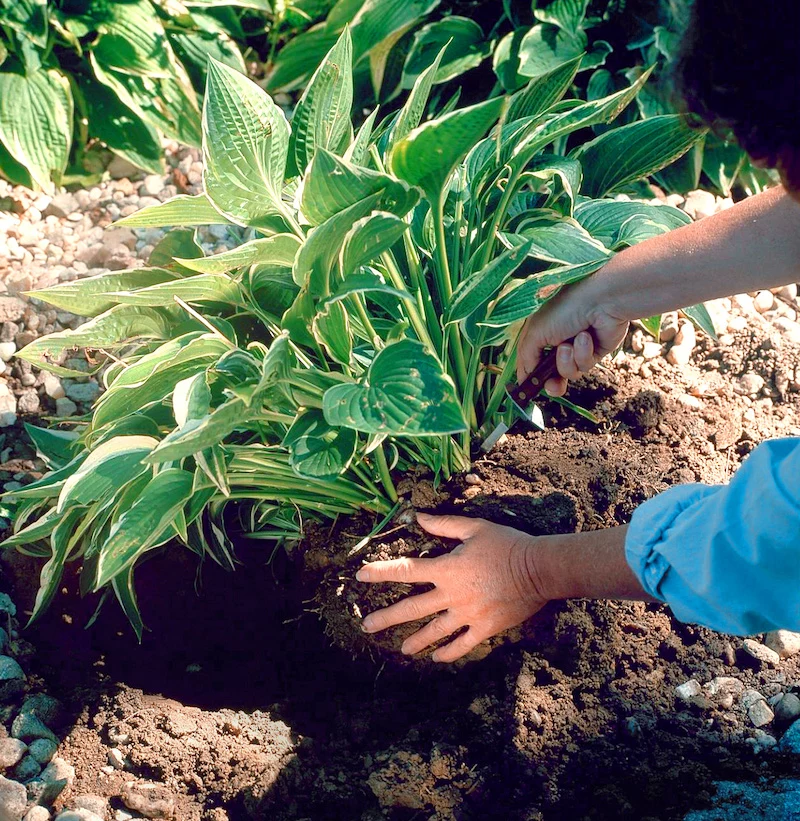
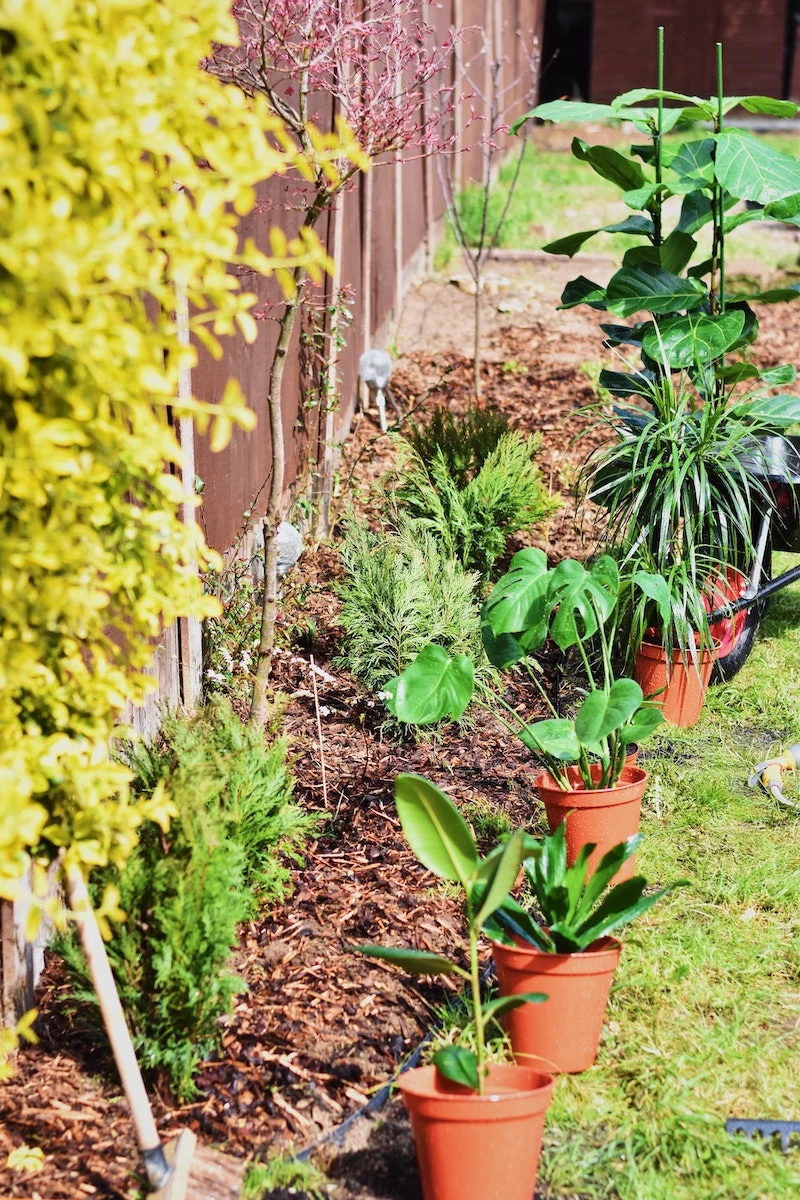
Early spring is also the perfect time to divide perennials like Hostas, Daylilies, and Bee Balm to get more plants for free. For fibrous-rooted plants like Daylilies, I lift the whole clump and then use two garden forks, back-to-back in the center, to pry it apart. For tougher plants like Hostas, an old serrated bread knife or a sharp spade works great. Just make sure each new piece has some roots and a few growth points (called ‘eyes’). But don’t try this with everything! Plants with a single deep taproot, like Baptisia, hate being disturbed.
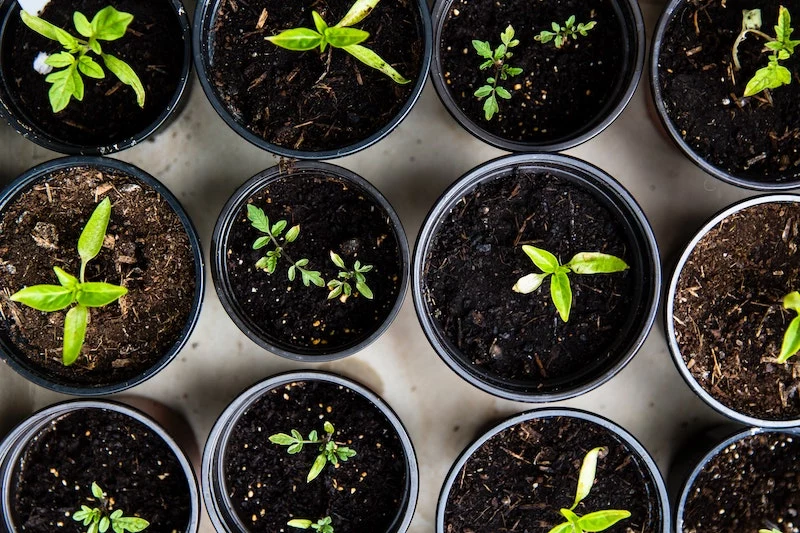
And if you started seeds indoors, you can’t just throw them outside. You have to ‘harden them off’ over about a week. Start by putting them in a shady, protected spot for an hour or two. Each day, gradually increase their time outside and introduce them to a little more direct sun. By the end of the week, they should be tough enough to handle a full day and even a mild night outside. When you finally plant, remember the golden rule: dig the hole twice as wide as the root ball, but no deeper. Planting too deep is one of the most common ways people kill new plants.
A Few Final (But Important) Things
Remember, gardening is always local. Your spring timeline depends entirely on where you live. Just look up your area’s average last frost date—that’s the most important date on your calendar. And be safe! Gardening is exercise. Lift with your legs, wear your gloves, and make sure your tetanus shot is up to date. Oh yeah, and before you do any serious digging for a new tree or fence post, please call 811. It’s the national ‘call before you dig’ number, and it could save you from hitting a buried utility line, which would be a very bad day.
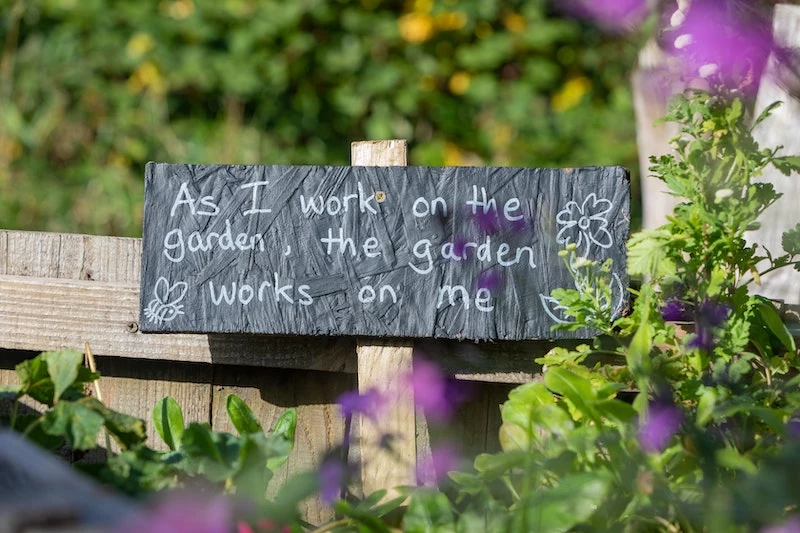
At the end of the day, gardening is a partnership. These tips are just the grammar for the conversation you’re having with your little patch of land. The real magic happens when you spend time out there, watching, learning, and getting your hands dirty.
Inspirational Gallery
Your tools are extensions of your hands, so treat them right. Before the season’s first real workout, give your pruning shears, loppers, and shovels a proper tune-up. A sharp blade makes for cleaner cuts that heal faster on plants. A few minutes with a sharpening stone and a rag with some camellia oil for the metal parts will make your work easier and your plants healthier. Investing in a quality pair of bypass pruners, like those from Felco or ARS, is a game-changer for precision and hand comfort.
- Reduced weeding throughout the season.
- Excellent moisture retention, cutting down on watering.
- A perfect, no-dig way to start a new garden bed on top of lawn.
The secret is a technique called ‘lasagna gardening’ or sheet mulching. By layering cardboard directly on the ground, followed by alternating ‘green’ (kitchen scraps, grass clippings) and ‘brown’ (leaves, shredded paper) materials, you build incredibly fertile soil right where you want to plant.
Bagged Compost: Convenient and ready to use. Brands like Black Kow or Coast of Maine offer consistent, nutrient-rich blends perfect for giving beds an immediate boost. Ideal when you’re short on time or starting from scratch.
Homemade Leaf Mold: The ultimate slow-gardening amendment. It costs nothing but time. While lower in nutrients than compost, it’s unparalleled for improving soil structure and water retention. Simply rake leaves into a pile and let them decompose for a year or two.
For a quick start, use bagged compost; for long-term soil health, nothing beats leaf mold.
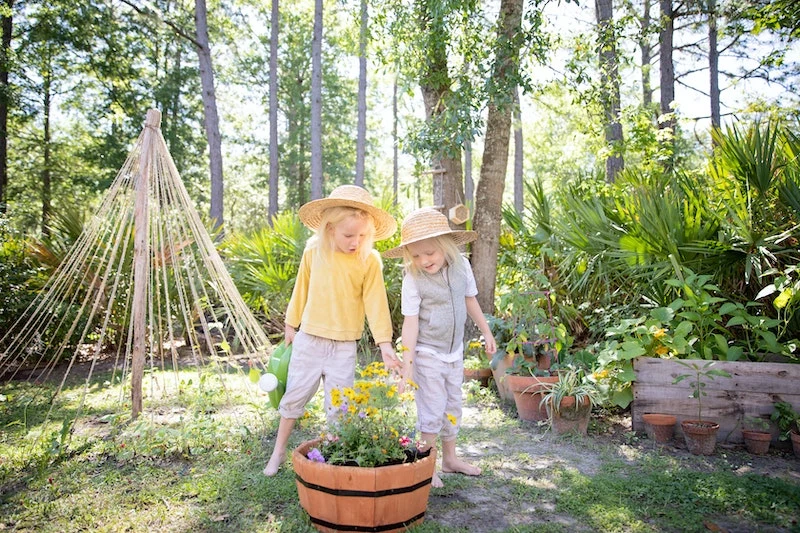
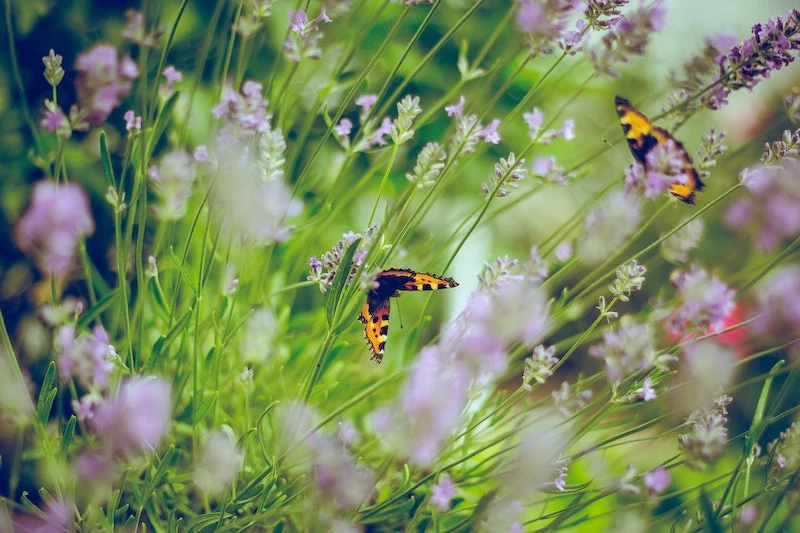
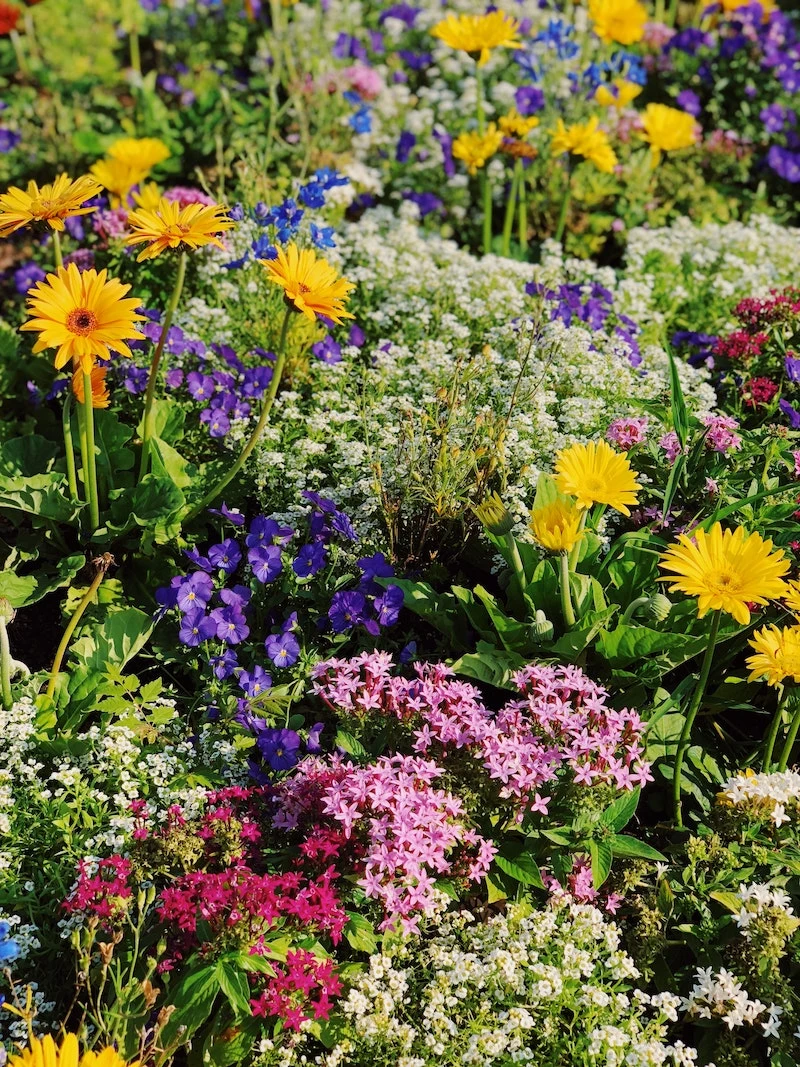
Did you know? A single queen bumblebee emerging from hibernation needs to visit up to 6,000 flowers per day to get enough energy to start her new colony.
This is why planting a carpet of early-spring bulbs is more than just a pretty sight. Crocuses, Siberian squill (Scilla siberica), and winter aconite are some of the very first nectar sources available. By planting them, you’re providing a critical lifeline for these essential pollinators when little else is in bloom.
When is my soil actually ready to be worked?
Forget the calendar—your soil will tell you when it’s ready. Grab a handful and give it a firm squeeze. If water drips out and it stays a dense, muddy clump, it’s too wet. Working it now will compact the soil structure, squeezing out air pockets vital for root growth. If it crumbles apart easily after you open your hand, it’s perfect. This simple ‘squeeze test’ is one of the most reliable indicators a gardener can use.
A word of caution for eager pruners: Hold off on trimming spring-flowering shrubs like Forsythia, Lilac, Rhododendron, and Weigela until *after* they’ve bloomed. These plants form their flower buds on last year’s wood. Pruning them now means you’ll be cutting off all of this spring’s spectacular flower show. The best time to shape them is right after the last petal falls.
To avoid a garden that blooms beautifully for two weeks and then is just green for the rest of spring, think in layers. Planning for ‘succession of bloom’ ensures you have waves of color from the first thaw to the start of summer.
- Early Spring: Hellebores (Lenten Rose), Crocus, Galanthus (Snowdrops)
- Mid-Spring: Daffodils, Tulips, Hyacinths, Virginia Bluebells
- Late Spring: Alliums, Peonies, Spanish Bluebells, Bearded Iris
Most cool-season vegetable seeds, such as spinach and radishes, require a minimum soil temperature of 40°F (about 4.5°C) for germination.
- Last fall’s leftover leaves (shred them with a mower first to speed up decomposition).
- Used coffee grounds and paper filters from your kitchen.
- Crushed eggshells (a great source of calcium).
- Shredded newspaper and cardboard (non-glossy only).
- Vegetable and fruit scraps (avoiding meat, dairy, and oily foods).


