How to Build a Rock Garden That Doesn’t Look Like a Pile of Rubble
I’ve been playing with stone and soil for a couple of decades now. In that time, I’ve seen some rock gardens that look like they were carved straight from the earth by nature itself. And honestly? I’ve seen a lot more that look like someone just dumped a truckload of rocks onto their lawn. The difference isn’t about spending a ton of money or having fancy materials. It’s about getting the fundamentals right.
In this article
A real rock garden is like a miniature mountain landscape. It’s a special little world built for specific plants that need fantastic drainage and gritty soil to be happy. Let’s be clear: this isn’t a quick, ‘no-maintenance’ fix for a problem spot in your yard. It’s a living, breathing project that takes a bit of work upfront but pays you back for years. Before you even think about lifting a single stone, we need to talk about what makes these gardens work… or fail spectacularly.
The Hidden Science That Makes It All Work
Most people think a rock garden is all about the rocks you can see. From my experience, the success of the entire project is determined by what’s hidden underneath—the drainage and the soil structure. Getting this part right is the secret handshake. It’s what prevents you from wasting money and ending up with a bunch of sad, dead plants.
Why ‘Wet Feet’ Will Ruin Your Day
The number one enemy of a rock garden plant is soggy roots, or ‘wet feet.’ It’s when water just sits there, drowning the roots and causing rot. Think about it: most of these plants, especially the alpine types, come from windy, stony slopes where water vanishes almost instantly. Your job is to recreate that environment in your backyard.
This is why just plopping rocks on top of your lawn or heavy clay soil is a recipe for disaster. Water will hit that dense layer of clay and just pool up, creating a hidden swamp right under your beautiful rocks. To do this right, you have to dig. For a decent-sized garden, I really recommend excavating down at least 12 to 18 inches. This creates a deep reservoir that water can flow through freely. The whole digging and prep phase for a small 8×10 foot garden could take you a full weekend, so plan for it!
The bottom of this hole should be filled with coarse stuff like broken bricks, large gravel, or any rubble that won’t turn to mush. This is your main drainage channel.
Choosing Rocks Like a Pro
The type of rock you pick does more than just set the visual style; it actually affects the soil and the health of your plants. It’s good to know what you’re working with.
Some rocks, like granite, are super hard and non-porous. They don’t mess with your soil chemistry much, making them a safe, neutral choice for creating bold, structural features. They’re heavy and stay put.
Then you have sedimentary rocks. A classic example is limestone, which is more porous and will slowly raise the pH of your soil over time, making it more alkaline or ‘sweet.’ This is absolutely perfect if you want to grow plants that love that kind of soil, but it can be a real problem for acid-loving plants. Sandstone is another popular sedimentary choice that gives a wonderful, natural-weathered look and is generally a bit more neutral than limestone.

Finally, there are metamorphic rocks like slate. Slate is fantastic for creating a layered, ‘strata’ effect, making it look like a natural rock formation is jutting out of the ground. It splits into flat pieces, which is great for stacking, but you have to bed them carefully so they don’t wobble.
Quick tip: Try to use a single type of local stone if you can. A garden with a jumble of different rock types often looks chaotic. Using stone from a local quarry just feels more authentic, like it belongs right where you put it.
Techniques for a Look That Feels Natural
Getting a rock garden to look like it wasn’t just built yesterday is all about process. The real beauty comes from getting the structure right, not from trying too hard to be ‘artistic.’
Site Prep Is Everything
I can’t stress this enough: prepare your site properly. Before you even look at rocks online, clear the ground. A client once insisted we build on a patch of ground full of bindweed to save time. Total nightmare. We spent the next three years fighting that weed as it popped up between hundreds of heavy rocks. We eventually had to take half the garden apart to put in a proper weed barrier.
Get rid of every single weed, especially the stubborn ones with deep roots. If it’s a real mess, you might even want to cover the area with black plastic for a season to kill everything off. It’s a slow start, but it saves you an incredible amount of frustration later. Once it’s clear, mark out your shape and start digging.
The Perfect Soil Recipe
Bagged topsoil from the garden center is usually way too rich and holds too much water for a rock garden. You’ve got to make your own special blend. My go-to formula is a simple one-to-one-to-one ratio:
- One part loam or quality topsoil: This provides a few nutrients.
- One part coarse horticultural sand: And I mean coarse! Do NOT use builder’s sand or play sand; it’s too fine and will clog everything up. You can grab a 50lb bag of horticultural sand for about $8-$12 at a good garden supply store.
- One part grit: This is the key to sharp drainage. Use 10mm pea shingle or horticultural grit. It keeps the soil open and airy.
So, what’s a ‘part’? Just use a consistent measure, like a 5-gallon bucket or a wheelbarrow. For a small 4×6 foot garden, that might mean mixing 3 big buckets of each component on a tarp before you fill the hole.
Quick Math: To figure out how much mix you need, just multiply the length x width x depth of your hole. A 10ft x 10ft garden dug 1ft deep is 100 cubic feet. You’ll need about 3.5 cubic yards of material to fill that! An online volume calculator can be your best friend here.
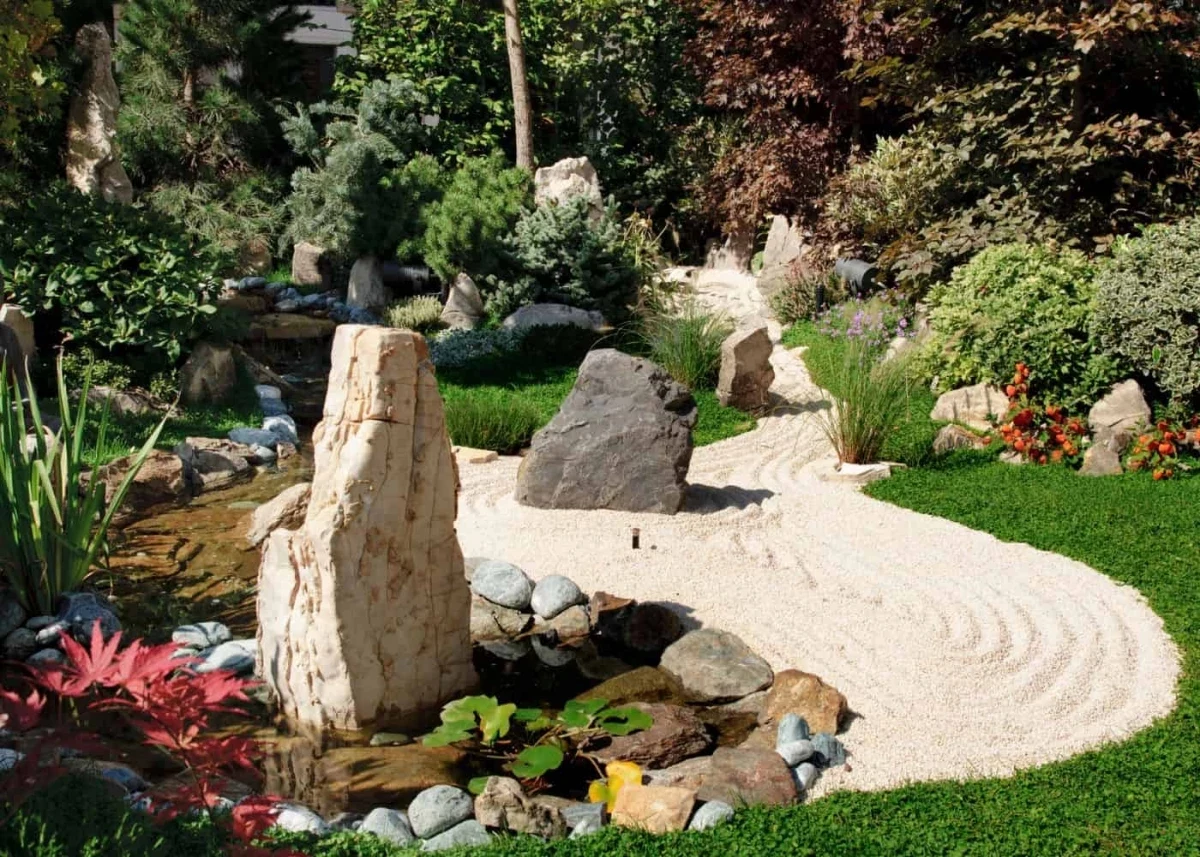
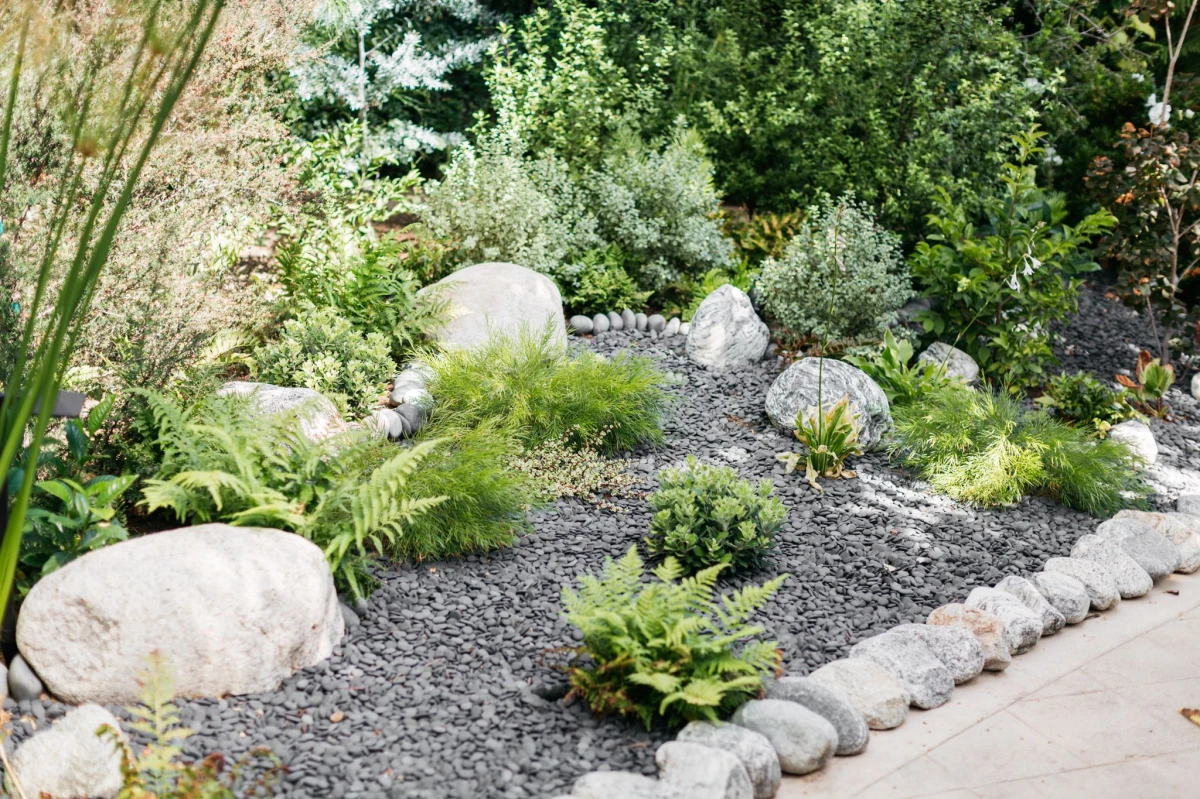
Placing Stones: Think Like a Mountain
This is the fun part where it all comes together. The goal is to make the stones look like a single, natural outcrop. Here are the rules I live by:
- Place Your ‘Keystones’ First. These are your biggest, most interesting rocks. They set the tone and anchor the whole design.
- Bury the Evidence. A rock sitting on the grass looks fake. You should bury at least one-third of every large stone. This makes it look like it’s emerging from the earth and, more importantly, makes it stable.
- Follow the Grain. If you’re using a layered rock like slate or sandstone, look at the lines (the strata). Try to keep those lines running in the same general direction throughout the garden. It’s a subtle trick that creates a huge sense of unity.
- Use the ‘Two-on-One’ Rule. When setting smaller rocks, make sure each one rests firmly on at least two points below it. After you place a rock, give it a good, firm shove. If it wobbles, reset it.
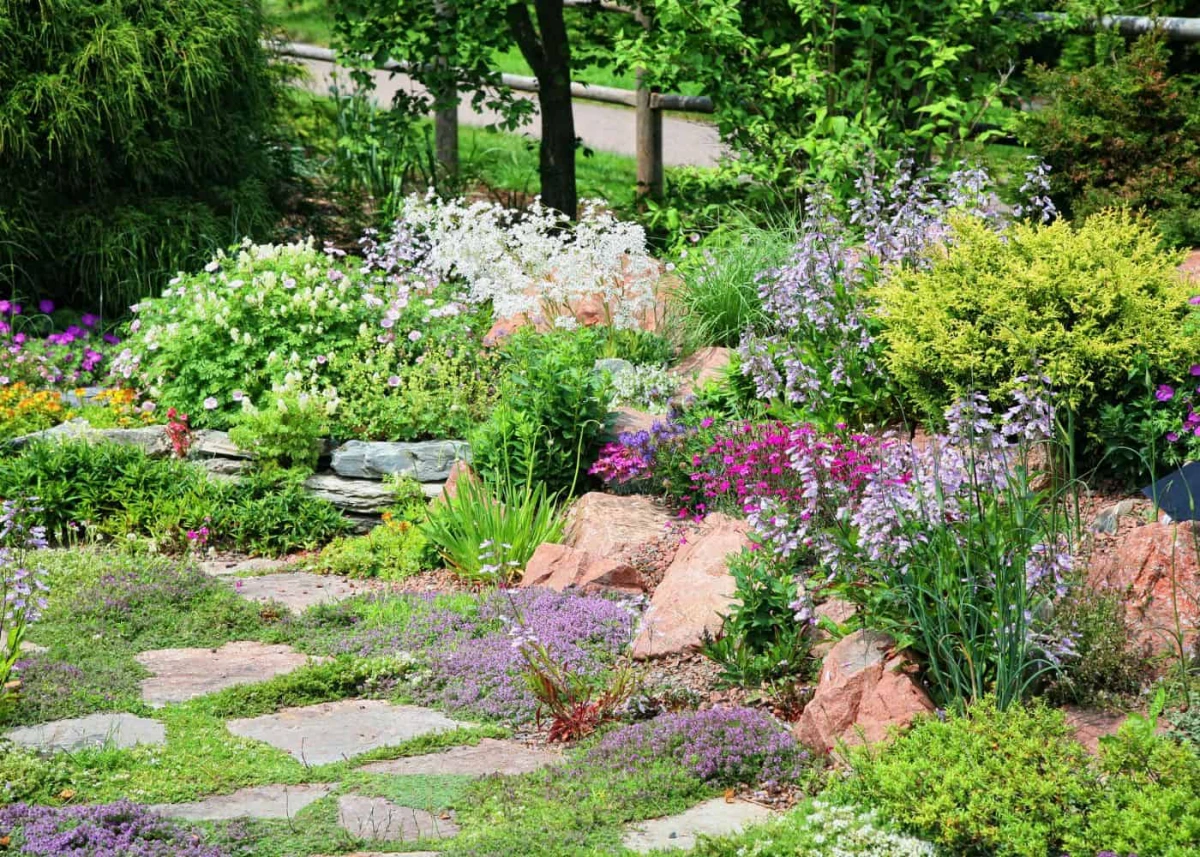
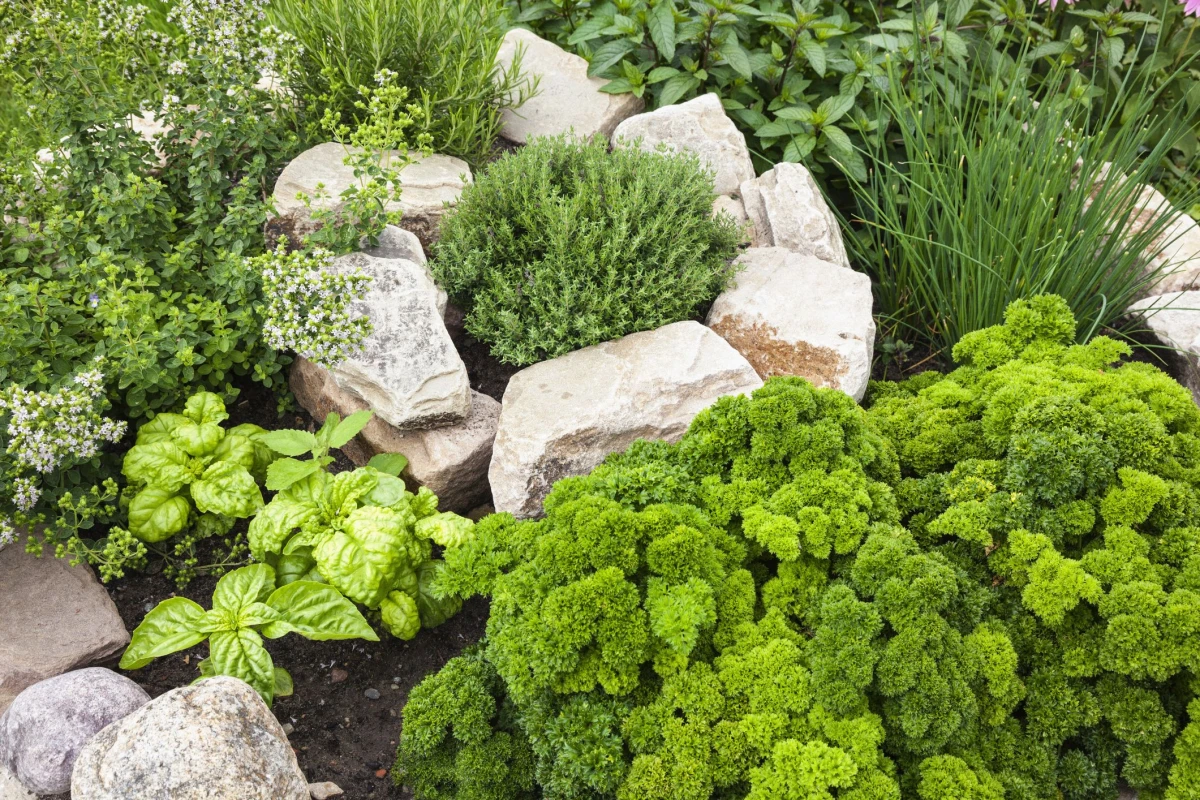
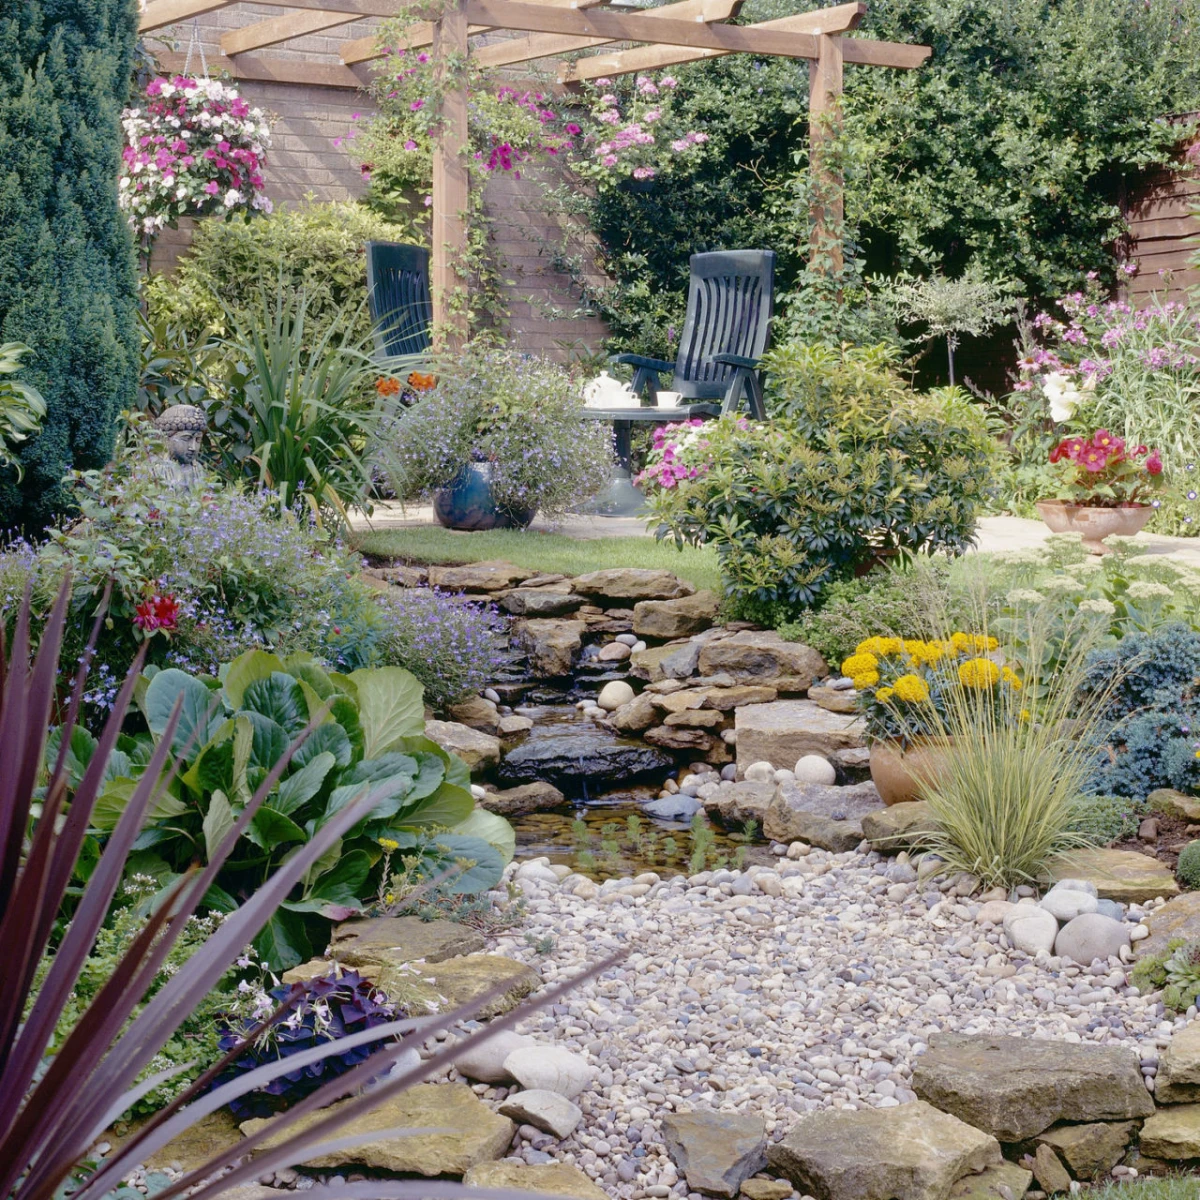
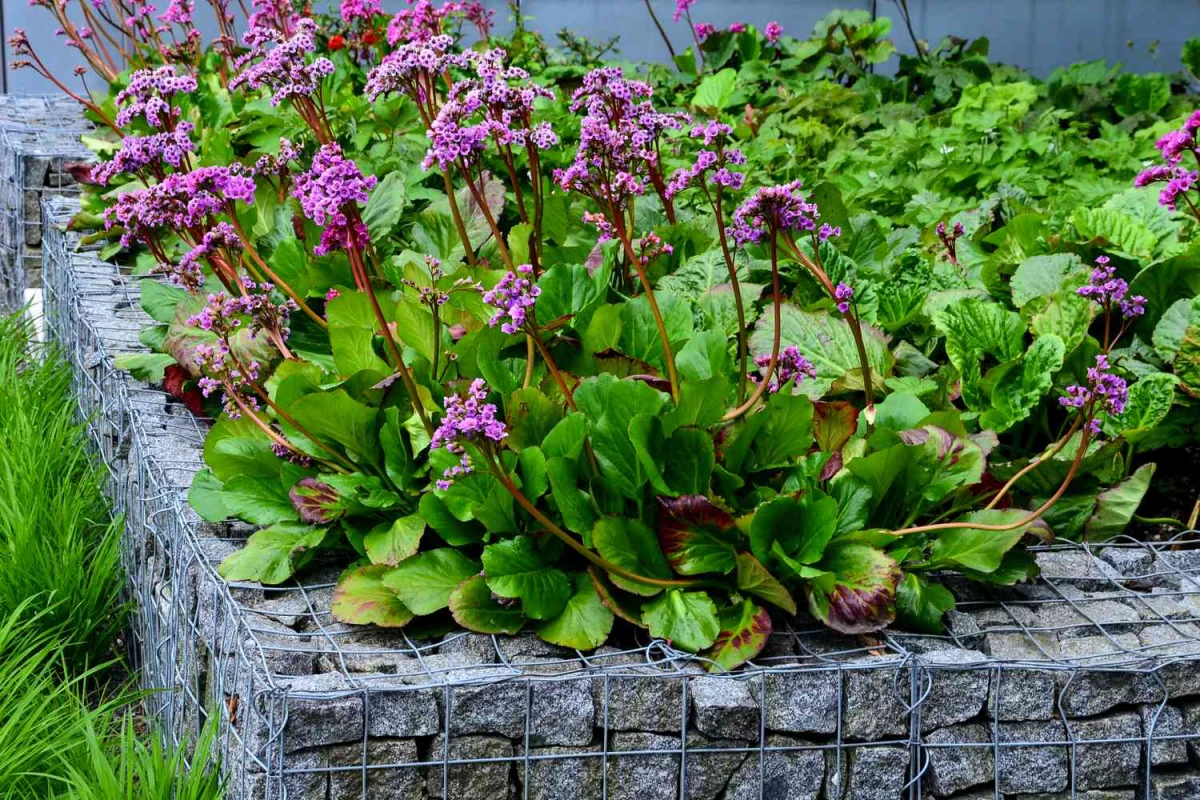
- Create Planting Pockets. As you build, leave gaps and crevices between the stones on purpose. These are where your plants will live. A pro move is to angle the rocks so they naturally channel rainwater toward these pockets.
Oh yeah, and think about sun exposure! A south-facing slope will bake all day, which is perfect for sun-worshippers like succulents and thyme. A north-facing slope will be much cooler and shadier, a better home for delicate woodland alpines.

Bringing It All Home
You don’t need a massive property or a huge budget to enjoy a rock garden. The same principles apply whether you’re building on a hillside or just filling a small trough on your patio.
A Beginner’s First Rock Garden
Feeling intimidated by all the digging? You can start small! Get a large pot or an old stone trough. Drill extra drainage holes if you need to. Fill the bottom with a layer of gravel, then add the same gritty soil mix we talked about. Tuck in a few interesting, smaller rocks and plant a handful of hardy plants. It’s a fantastic way to get a feel for the process, and you get a beautiful feature for your deck or patio. For a project like this, you’re looking at maybe $50-$100 in materials and a single afternoon of fun.
Sourcing Materials & Costs
Stone is heavy, and let’s be frank, the delivery cost can be a real shock. A pallet of beautiful sandstone from a garden center might cost $400-$600, but getting it delivered could easily add another $150. This is why checking out local quarries is my number one tip. You get stone that’s native to your area, and you might be able to haul it yourself in a truck over a few trips to save a ton of cash. For a medium-sized DIY project, you could reasonably budget between $500 and $1,500, depending heavily on that stone and delivery cost.
Planting and Finishing Touches
Once your structure is built, let it settle for a week or two, then the real magic begins. When planting in those tight crevices, use a small trowel or an old spoon. Gently pop the plant out of its pot and tease the roots apart. For something sunny and tough to kill, try a mix of Sedum ‘Angelina’, Hens and Chicks (Sempervivum), and Blue Fescue grass. They’re practically bulletproof and offer great color and texture.
After planting, apply a top dressing of gravel or grit about an inch deep. This isn’t just for looks! It keeps the plant crowns dry, stops weeds from sprouting, and gives the whole garden a finished, cohesive look. A bag of matching grit is usually under $10 and is worth every penny. Water everything in gently to settle it.
A Dose of Reality: Safety and Maintenance
Building with stone is serious business. Please, don’t take shortcuts with safety.

Heads up! Lift with your legs, not your back. Never, ever work under a rock that’s being held up by a lever. If you need to move a rock that feels too heavy, it IS too heavy. Renting a mini-excavator for a day is way cheaper than a lifetime of back pain. And wear your gear—steel-toed boots and heavy-duty gloves are not optional.
And what about the ‘no-maintenance’ myth? A well-built rock garden is definitely lower maintenance than a lawn, but it’s not zero maintenance. You’ll still need to do some weeding, especially in the first couple of years. It’s a living system that changes and evolves, and that’s a huge part of its charm. It’s a project that truly rewards you for the care you put into building it right.
Galerie d’inspiration
The right rock for the right plant: It’s not just about looks; the type of stone you choose affects the soil’s pH. Porous, craggy limestone or tufa rock will slowly leach lime, creating alkaline conditions perfect for alpine plants like Dianthus and certain saxifrages. In contrast, granite, basalt, and slate are inert or slightly acidic, making them an ideal choice for acid-loving species such as heathers (Calluna vulgaris) or dwarf rhododendrons. Testing your chosen rock with a few drops of vinegar is a simple way to check for lime – if it fizzes, it’s alkaline.


