Let It Grow: The No-Nonsense Guide to Rewilding Your Backyard
I’ve spent a couple of decades with my hands in the dirt, designing everything from perfectly manicured formal gardens to sprawling community restoration projects. And through all of it, one thing has become crystal clear: the most stunning and resilient spaces are the ones where we finally decide to work with nature, not against it. We call this “rewilding.”
In this article
Now, I know what you might be thinking. Rewilding sounds like letting your yard turn into a chaotic, weed-choked mess that’ll get you angry letters from your neighbors. But that’s not it at all. To be frank, that’s the biggest misconception out there. Rewilding is about making smart, intentional choices to bring a functioning ecosystem back to life, right in your own space. It’s about shifting from being a garden’s ruler to being its partner. You can still have your tomato patch and your favorite flowers; you just learn how to weave them into a living system that supports birds, bees, and happy soil.
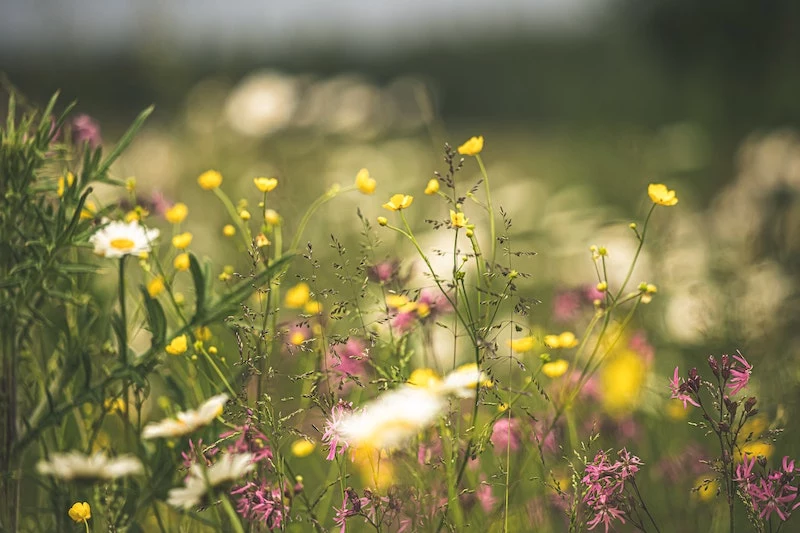
This guide is built on years of trial and error—I’ve seen what works in heavy clay and what thrives in sandy loam. I’ve watched dead lawns transform into humming, buzzing meadows. So let’s dig in and bring that same energy back to your patch of earth, no matter the size.
First Things First: Get to Know Your Land
Before you buy a single plant, the most important thing you can do is just watch. The pros call it a “site analysis,” but really, it’s just about getting acquainted with your yard. Spend some time outside. Where does the sun hit in the morning versus the afternoon? Where does rainwater puddle up after a storm? This is the kind of stuff you can’t learn from a book.
It All Starts with the Soil
Your garden’s potential begins and ends with its soil. Healthy soil isn’t just dead dirt; it’s a bustling underground city filled with billions of bacteria, fungi, and earthworms. This invisible crew is responsible for cycling nutrients and helping your plants stay healthy. So much traditional gardening, with its constant digging and chemical treatments, basically demolishes this city.
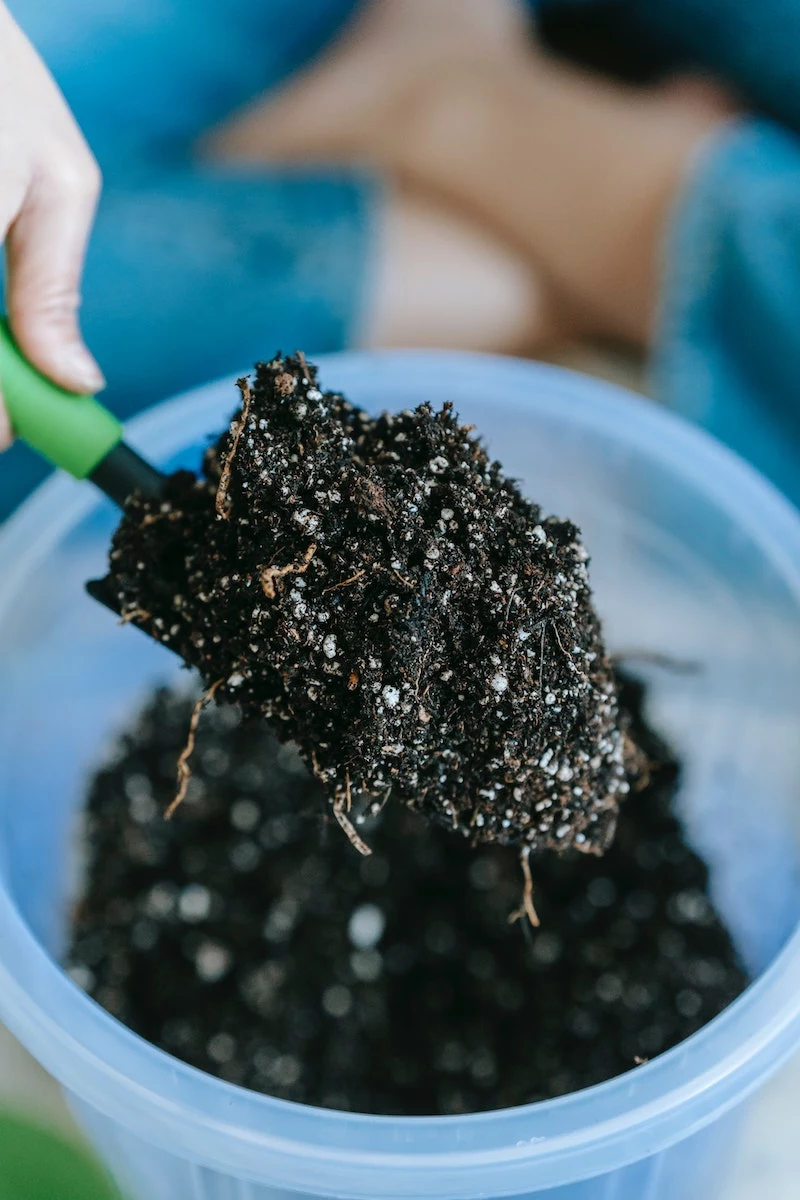
I once took on a property where the soil was like concrete from years of chemical lawn services. It was sterile and compacted, and water just ran right off it. My first move wasn’t planting. It was feeding the soil. We immediately stopped all chemicals and started spreading a half-inch layer of high-quality compost every spring and fall. And by high-quality, I mean the dark, rich, earthy-smelling stuff—not the cheap bags of “topsoil” from the big box store, which are often just filler. After two years, that concrete slab turned into dark, crumbly earth full of worms. It now drinks up rainwater like a sponge.
Quick tip: You don’t need a fancy bin to make your own compost. Find a corner of your yard and start a “lazy compost pile.” Just heap up your kitchen scraps (no meat or dairy), fall leaves, and grass clippings. Turn it with a pitchfork once a month if you feel like it, or just let it be. In about a year, the stuff at the bottom will be black gold for your garden.
You can even do a simple soil test yourself. Dig down six inches, grab a handful, and feel it. Is it gritty (sand), silky (silt), or sticky (clay)? For a better look, try the jar test. Fill a big mason jar about a third of the way with your soil, top it off with water, screw the lid on tight, and shake it like crazy for a full minute. Then let it sit for 24 hours. The layers will tell you everything: the heavy stuff that settles first on the bottom is sand, the middle layer is silt, and the fine stuff on top is clay. This helps you understand what plants will naturally be happy there.
Why “Native” is a Magic Word
A huge part of rewilding is using native plants—the species that grew in your region long before we showed up. The local insects, birds, and critters evolved alongside these specific plants and depend on them. A butterfly might happily sip nectar from an exotic Butterfly Bush, but its caterpillars can often only eat the leaves of a native plant, like Milkweed for Monarchs. Without those host plants, the entire life cycle just grinds to a halt.
Honestly, using native plants is a major shortcut. They’re already adapted to your rainfall and soil, which means way less watering, fertilizing, and fussing once they’re established. They just work. A great first step is to Google “native plant nursery [your state].” Reputable national suppliers like Prairie Moon Nursery or American Meadows are great, but a local expert will know exactly what thrives in your specific corner of the world. Expect to pay anywhere from $4-$8 for a small perennial plant and maybe $30-$50 for a native shrub. It’s an investment that pays you back in resilience (and saved water bills!).
Ready to Start? Let Go Before You Add On
The journey to a rewilded garden starts with subtraction. You have to stop doing the things that hurt the ecosystem before you can really start helping it. For a lot of people, this is the hardest part.
Start Rewilding in 10 Minutes – No, Really!
Feeling overwhelmed? Try one of these today.
1. Put out a shallow dish of water with a few rocks in it. The rocks give bees and other insects a safe place to land and drink.
2. Let it be. Decide to let the violets and clover in your lawn live. They’re a fantastic food source for early pollinators.
3. Pick one corner of your yard and just… stop tidying it. Let the leaves lie where they fall. You’ve just created a five-star hotel for insects.
1. Ditch the Chemicals, All of Them
This is the big one, and it’s non-negotiable. Pesticides, herbicides, and synthetic fertilizers are absolute poison for a garden ecosystem. I had a client whose roses were constantly swarmed with aphids. Every year, they sprayed. Every year, the aphids came back with a vengeance. I convinced them to stop spraying and instead plant dill and alyssum among the roses. These tiny flowers attracted hoverflies and lacewings, whose larvae are voracious aphid-eaters. Problem solved, no poison needed. We just invited the predators to the party.
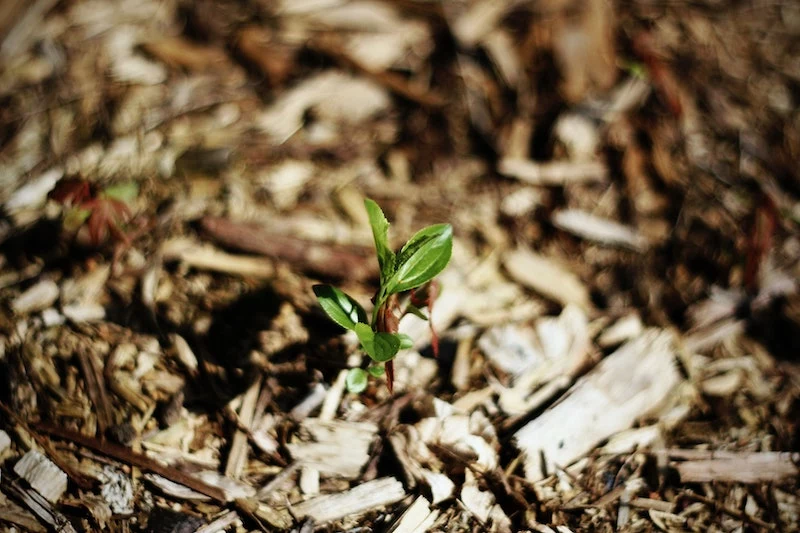
Instead of weed killers, use a 3-4 inch layer of mulch (shredded leaves or wood chips work great) to smother most weeds. For the stubborn ones, a good weeding fork and a little persistence are your best friends.
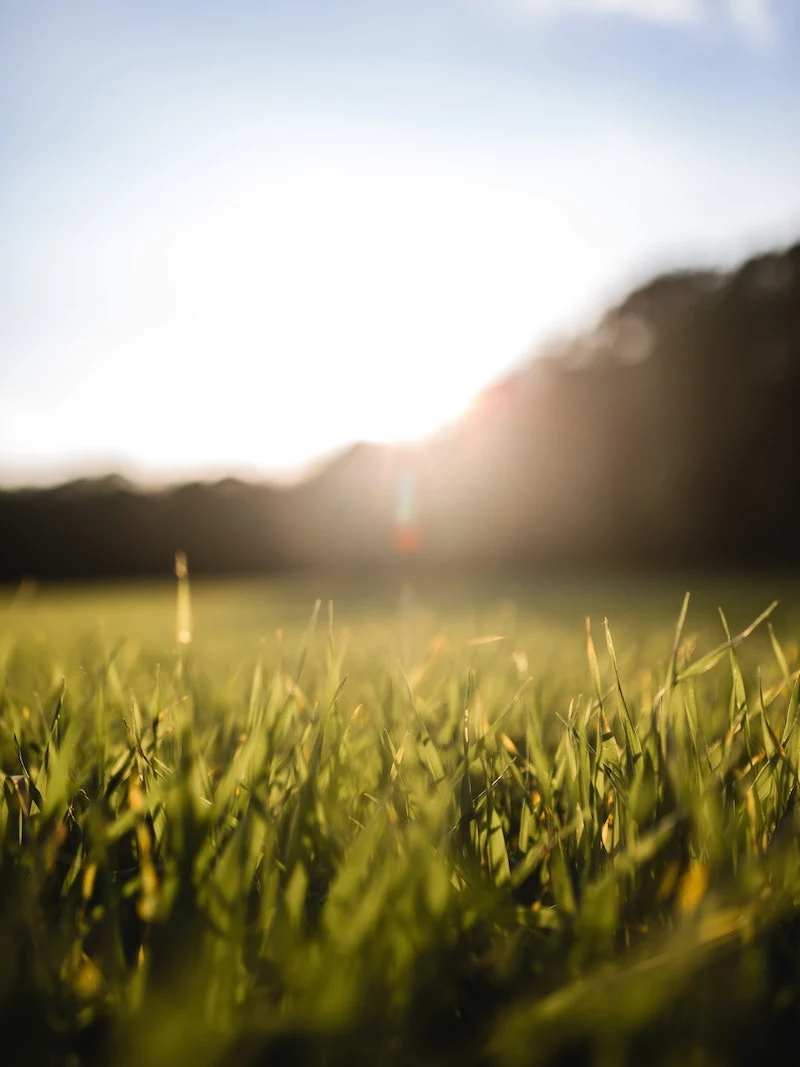
2. Rethink the Great American Lawn
That perfect green lawn? It’s pretty much an ecological desert. It offers almost nothing for wildlife and demands a ton of water and fertilizer. But you don’t have to rip it all out tomorrow.
Start small. Just stop mowing a section of it and see what shows up. You might be surprised. Or, try overseeding your existing lawn with White Clover. It’s a powerhouse plant that fixes nitrogen (a natural fertilizer), stays green in droughts, and feeds bees.
Heads up! If you have a strict HOA, a full-blown meadow might be a no-go. But you can still make a huge difference. Try mowing less often—maybe once a month—and always on the highest blade setting (at least 4 inches). This allows low-growing flowers to bloom. Another trick is to create neatly mown, sharp borders around slightly wilder areas. It signals that the space is cared for and intentional, not just neglected.
Building a Thriving Habitat
Okay, once you’ve stopped harming the ecosystem, you can get to the fun part: actively building it back up. Wildlife needs three main things: food, water, and shelter.
Plant in Layers, Like a Forest
A healthy habitat has layers. Think of a forest: you’ve got tall trees, smaller shrubs, flowers, and groundcover. You can mimic this at home.
- Canopy: If you have room, a native oak, maple, or birch tree is a game-changer. A single oak can support hundreds of species of caterpillars—which are essential food for baby birds.
- Shrubs: Native shrubs like Serviceberry, Elderberry, or Viburnum provide flowers, berries, and dense cover for nesting birds.
- Perennials: This is your pollinator buffet. Plan for blooms from spring to fall. Coneflowers, Bee Balm, Asters, and Goldenrods are all-stars.
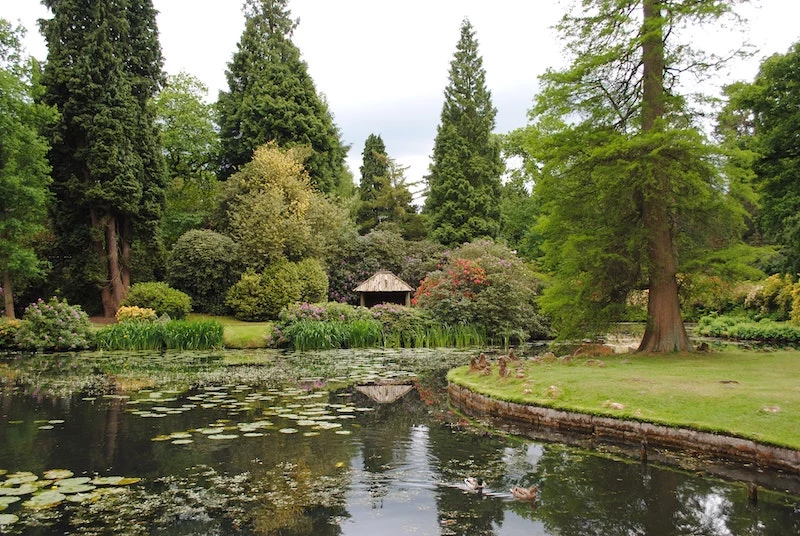
Add Water (It’s a Wildlife Magnet)
Adding a water source is the fastest way to bring life to your garden. It doesn’t have to be a huge pond. A simple birdbath is fantastic. You can find one for around $20, or just use a large terra cotta plant saucer for $5. The key is to keep it clean and put a rock or two inside so insects can drink without drowning.
If you do put in a small pond, please, please, please make sure it has a gently sloping side or a stable ramp (like a log or some stacked rocks). I’ve seen too many ponds become unintentional death traps for critters that fall in and can’t get out.
Create Shelter and Safe Spaces
A super tidy garden offers no place for wildlife to hide or raise a family.
- Build a Brush Pile: This is my favorite trick. Find an out-of-the-way corner and start a pile. For a really effective one, start with a base of a few larger logs to create open pockets underneath—perfect for rabbits or toads. Then, layer smaller branches on top.
- Leave the Leaves! In the fall, resist the urge to get every last leaf. Leaf litter is a vital habitat where countless butterflies, moths, and even fireflies spend the winter. Rake them off your lawn if you must, but pile them onto your garden beds as a free, life-giving mulch.
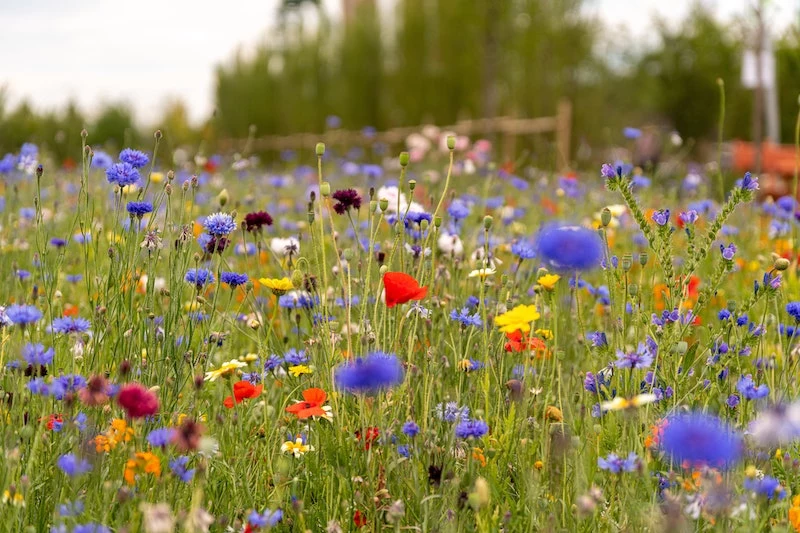
Ready for the Next Level? Creating a Meadow
Want to turn a big section of lawn into a wildflower meadow? Awesome. But here’s a common pitfall: you can’t just toss seeds onto your existing grass and expect a meadow. The grass will win every time.
The pros use a technique called solarization, and you can too. It’s a chemical-free way to start fresh.
Here’s how to do it:
- In the spring, mow the area you want to convert as short as you possibly can.
- Water it thoroughly.
- Cover the entire area with a sheet of clear plastic (4-6 mil thickness works well, you can get it at any hardware store). Pin it down tightly at the edges with rocks or bricks so no air gets in or out.
- Wait. Let the sun bake everything underneath for 6-8 weeks during the hottest part of the year. By late summer, the grass and most weed seeds will be cooked.
- Remove the plastic, lightly rake the surface, and you’re ready to sow your native meadow seeds in the fall.
The first year, your new meadow might look pretty weedy. This is normal! You’ll actually need to mow it high (about 6-8 inches) a few times to prevent fast-growing annuals from shading out your slow-growing perennial wildflowers. It feels counterintuitive, but it’s the key to long-term success.
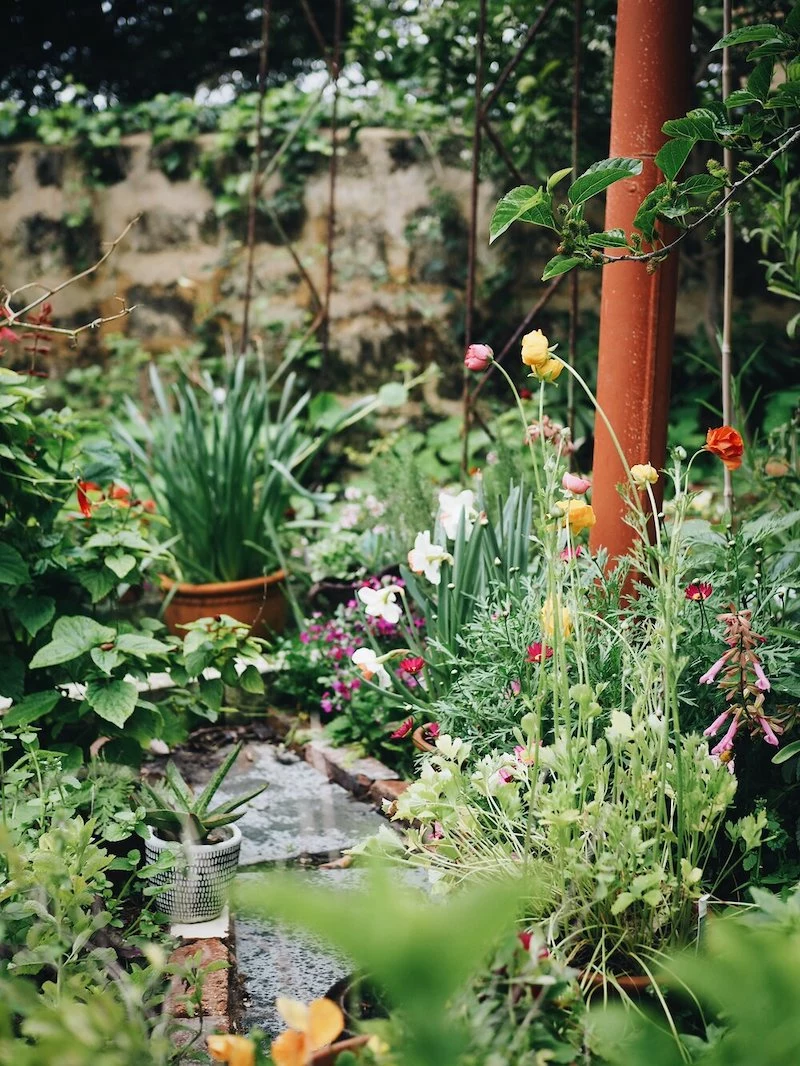
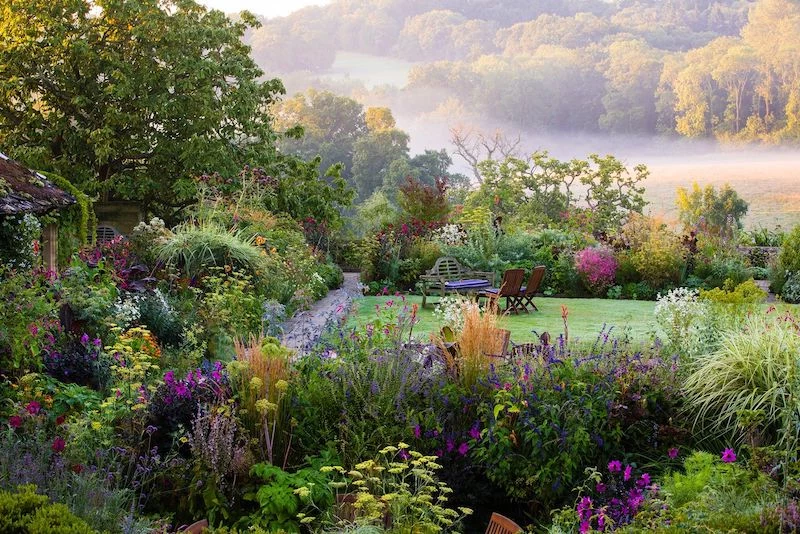
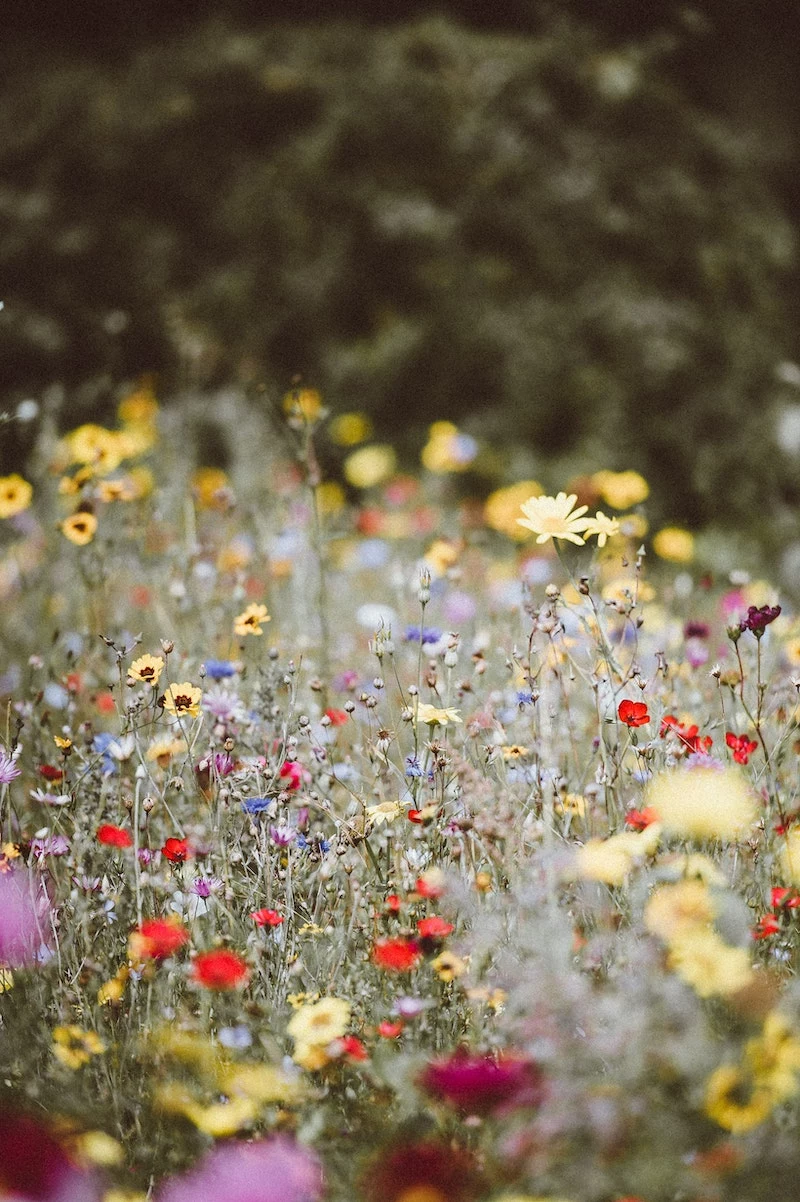
Inspirational Gallery
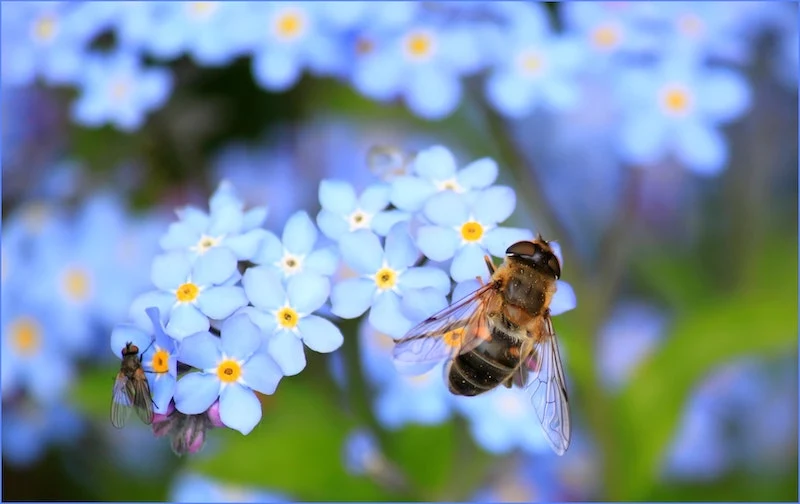
Beyond planting flowers, what’s a simple, hands-on way to support my garden’s pollinators?
Create a “bug hotel” for solitary bees. These gentle, non-aggressive bees are super-pollinators and need nesting spots. Forget fancy kits; you can make one in an afternoon. Find an untreated block of wood (old firewood works great) and drill holes of varying depths and diameters (from 3 to 10mm). Alternatively, bundle together hollow stems like bamboo or raspberry canes, cut to about 15cm long, and place them in a tin can or small wooden box. Mount your hotel on a sunny, south-facing wall, about a meter off the ground, and watch your new residents move in.


