The Brutally Honest Guide to Building Raised Beds That Last
I’ve spent countless seasons with my hands in the dirt, building gardens for myself and for others. In that time, I’ve put together hundreds of raised beds—some with beautiful, fragrant cedar, others with recycled bits and pieces, and a few with cheap pine that I knew was on a ticking clock. And let me tell you, you learn way more from the failures than the successes.
In this article
Most gardening articles give you the fluffy advice: pick a sunny spot, use good soil. While that’s not wrong, it barely scratches the surface. The real, gut-wrenching problems that lead to disappointment start way before you plant a single seed. They’re foundational mistakes in how you build, what you build with, and what you fill it with.
I remember one of my first big projects helping a community group. We built these huge, gorgeous beds, fueled by pure good intentions. But we cut corners. We used cheap wood, ignored a slight slope in the terrain, and filled them with questionable bulk soil to save a buck. The first year was… okay. By year three, the boards were bowing out, the soil was a compacted brick, and water puddled in one end of every single bed. We had to tear it all out. It was a tough lesson, but it taught me that a great raised bed garden isn’t about luck. It’s about getting the foundation right from day one.
Mistake
1: Bad Placement & Structural Goofs
Where you put your bed is the one decision that’s a massive pain to undo. People get hyper-focused on sunlight, but it’s a bigger puzzle involving sun, water, wind, and how you’ll actually use the thing.
Misjudging the Sun
Everyone shouts “full sun!” which generally means 6-8 hours of direct light. But not all sun is created equal. The gentle morning sun is worlds apart from the scorching afternoon blast. Before you even think about buying lumber, spend a full day just watching your yard. Where are the shadows from your house or your neighbor’s giant maple tree at 9 a.m.? What about at 2 p.m.? A spot that looks perfect in the morning might be in deep shade by the time your plants need that afternoon boost.
Heads up: Fruiting plants like tomatoes, peppers, and squash are sun hogs. They really do need 8+ hours to give you a great harvest. On the other hand, leafy greens like lettuce and kale can get by with 4-5 hours and will actually thank you for some afternoon shade in hotter climates to keep them from bolting (flowering and turning bitter).
Ignoring How Water Moves
This is probably the most critical and overlooked step. I once consulted on a garden with stunning, expensive steel beds placed right in a low spot. After a heavy rain, the beds were sitting in a 3-inch-deep pond. The soil inside became a swampy mess, and the plant roots literally drowned. Raised beds are designed for great drainage, but they can’t defy gravity. If the area around them is a bog, they will fail.
Before you build, go outside during a rainstorm and see where the water goes. Avoid any spot that turns into a puddle. If you have to build on a slight slope, level the ground first. Just use a shovel and a level to create a flat pad. For really soggy areas, you might need a simple French drain, which is just a fancy name for a small trench you dig and fill with gravel to give water an escape route away from your garden.
Forgetting You Have to Work In It
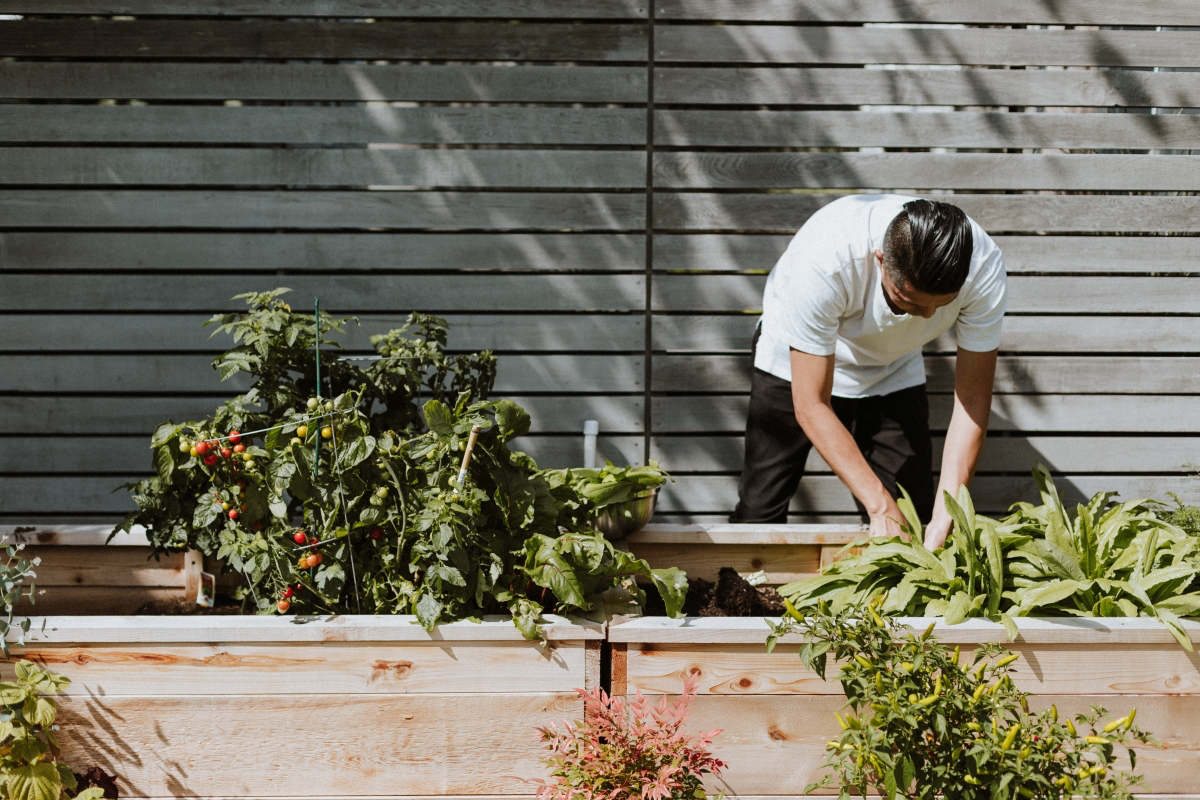
A garden bed you can’t easily work in is just a pretty box. I see it all the time: beds that are way too wide or shoved right up against a fence. You should be able to reach the center from every side without ever stepping in the bed. Stepping on the soil crushes it, ruining the structure and choking out roots.
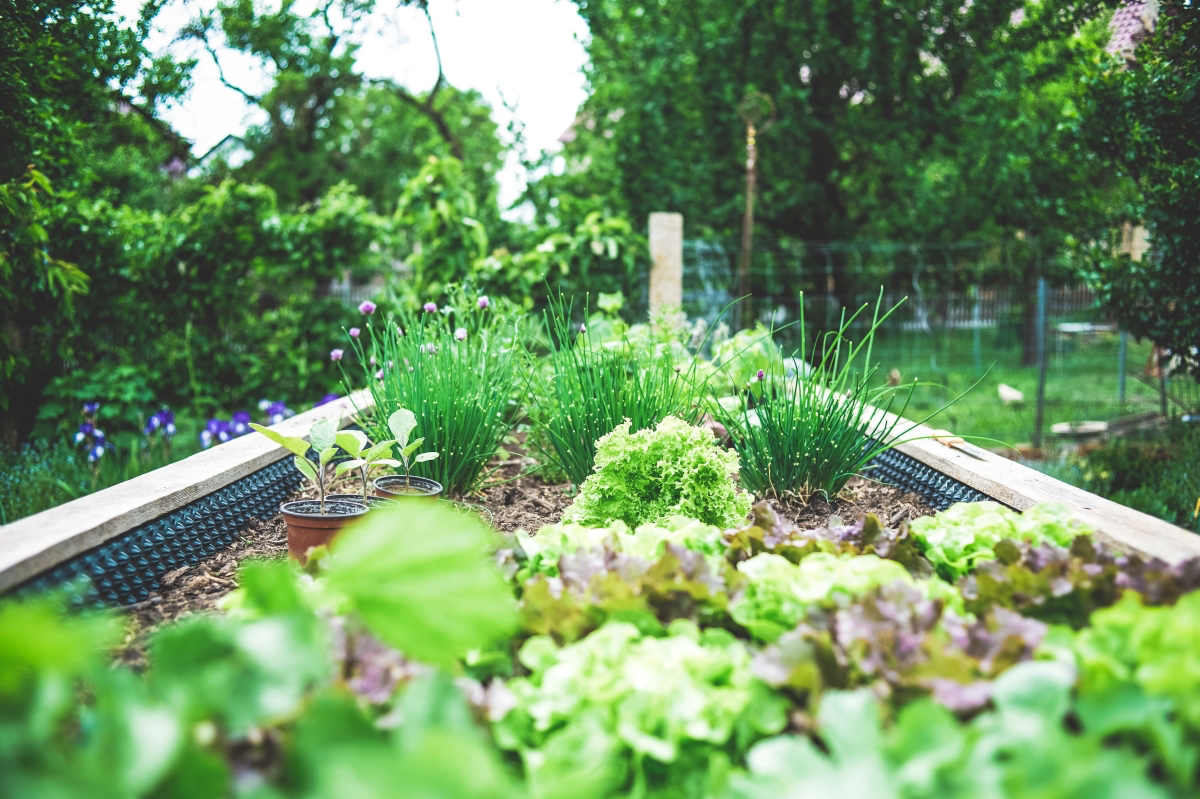
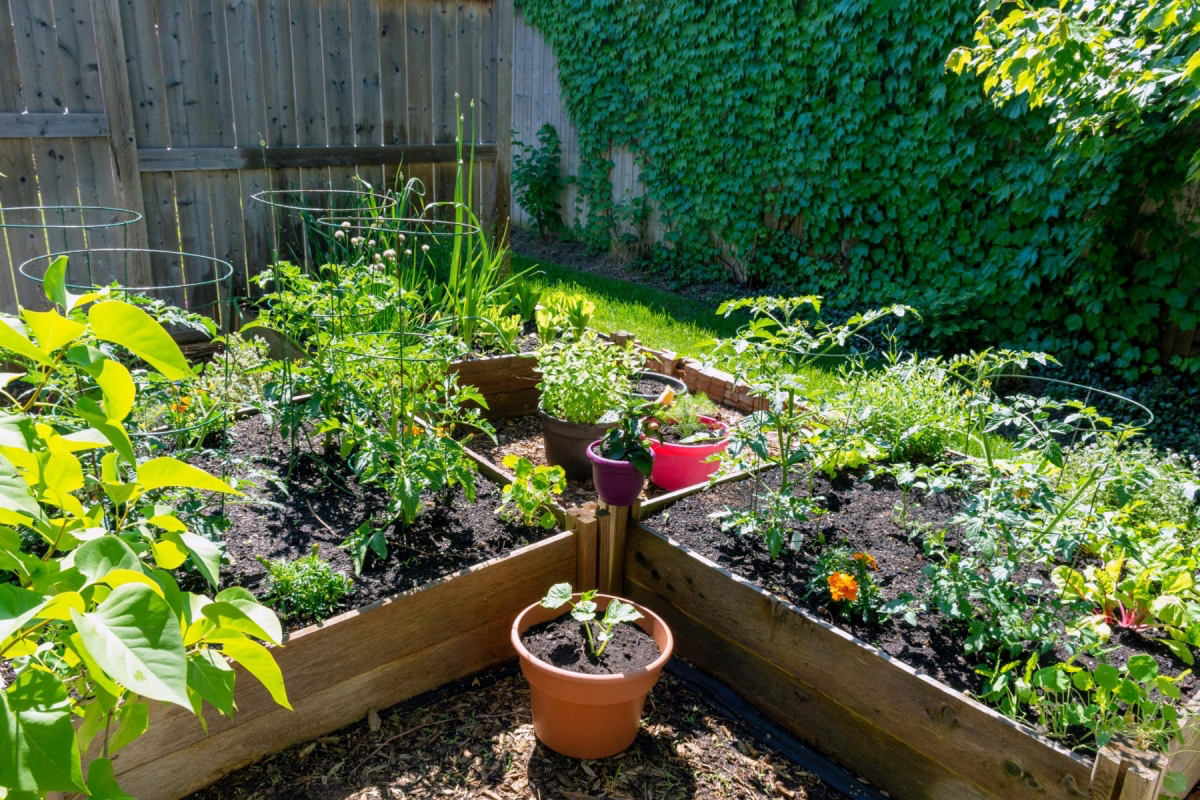
Here’s the rule of thumb: If you can walk all the way around it, don’t make it wider than 4 feet. If it’s against a wall, keep it to 2.5 feet max. And please, leave yourself some room to move! Aim for at least 3 feet for pathways between beds so you can easily get a wheelbarrow through.
Oh, and what about height? I recommend making beds at least 11-12 inches deep. An easy way to do this is by stacking two standard 2×6 boards. This gives most plant roots plenty of room to grow and, honestly, saves your back from bending over so far!
Mistake
2: Choosing the Wrong Materials
The frame is the skeleton of your bed. Your choice here impacts how long it lasts, your soil’s health, and your wallet. Let’s break down the real-world options.
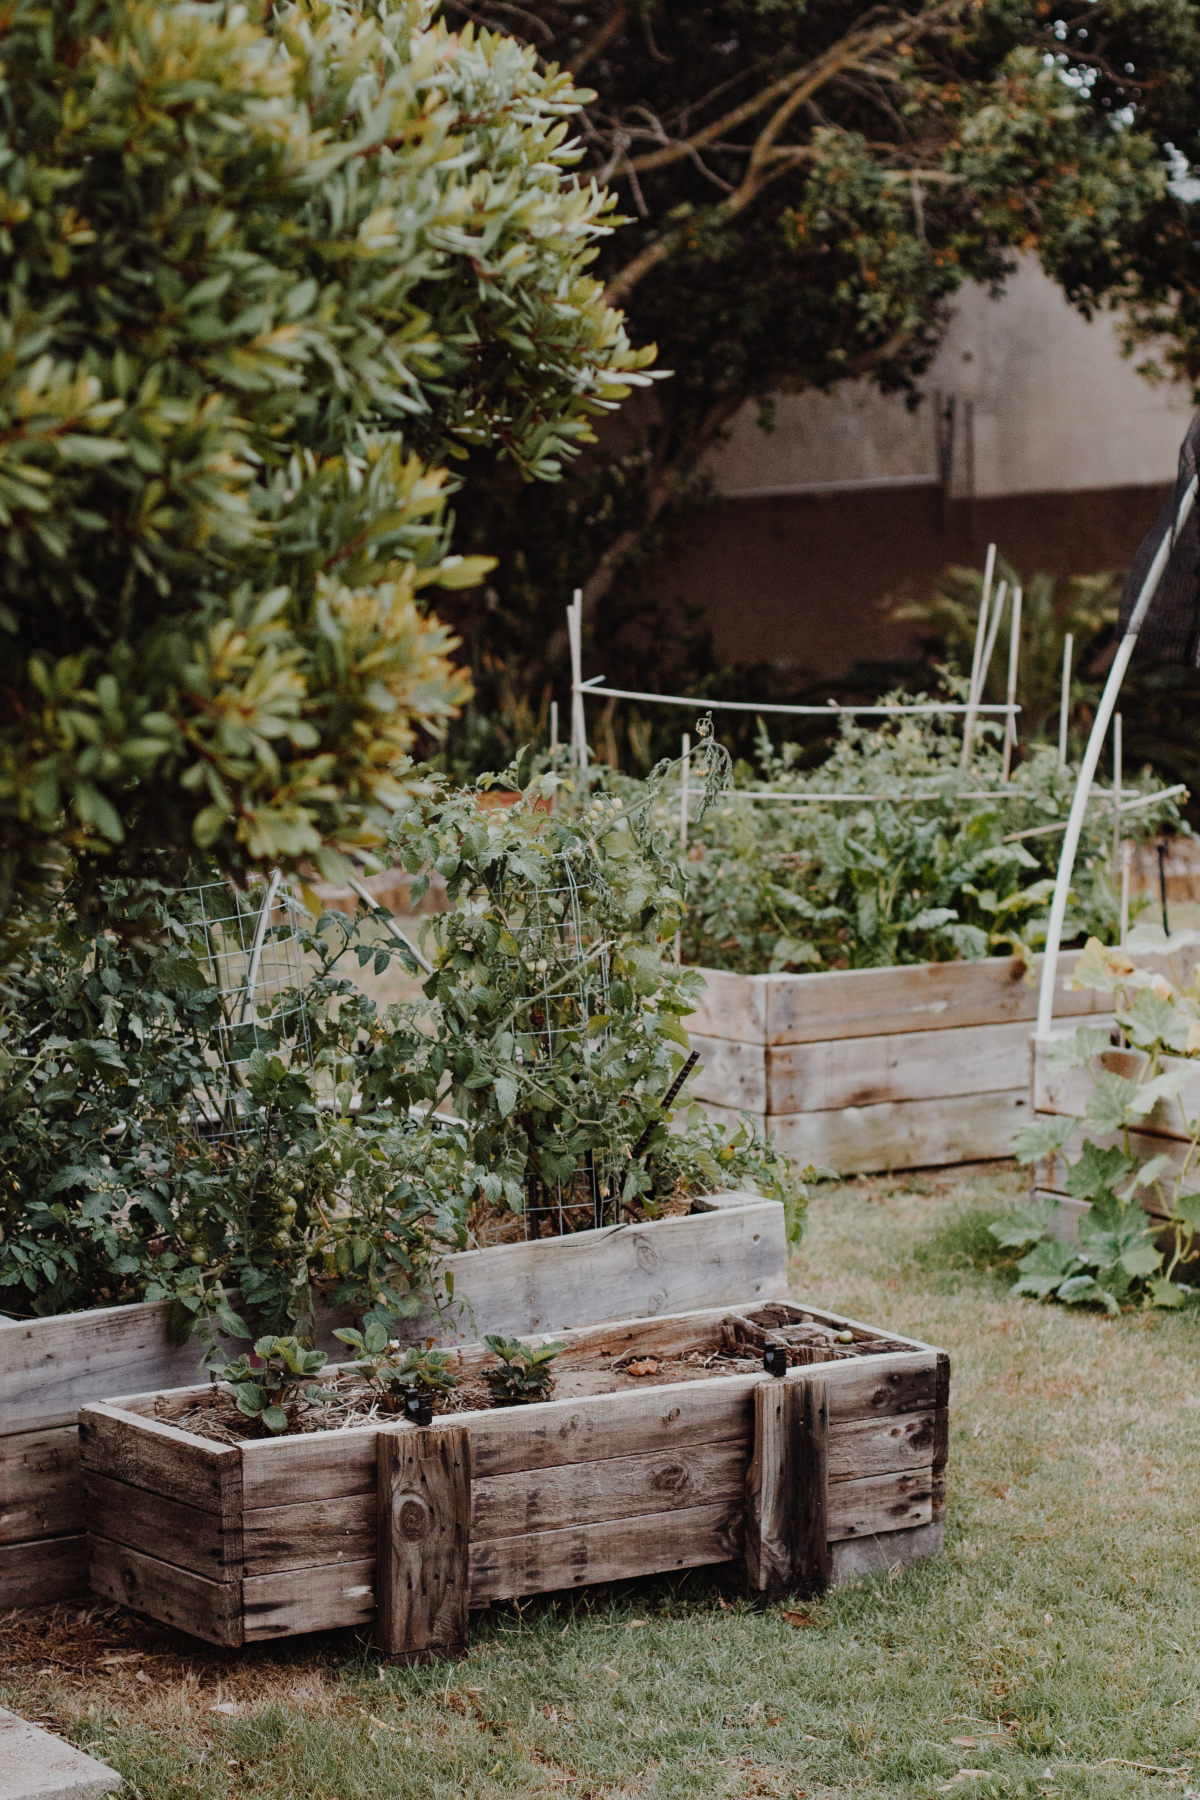
- Untreated Pine: The False Economy. Look, I get it. Untreated pine or fir boards are cheap. You can probably build a standard 4×8-foot bed for between $50 and $75. But you’ll be rebuilding it in 3-5 years, guaranteed. The constant moisture from the soil just rots it away. It’s a ton of work to replace, and you have to disturb your beautiful soil ecosystem every time.
- Pressure-Treated Wood: The Debate. Modern pressure-treated wood is much safer than the old stuff. The older formulas contained arsenic, which was a valid concern. Today’s wood uses copper-based compounds, and studies have shown that any leaching is minimal and not a health risk. It’s a personal choice, but many organic gardeners still avoid it. A 4×8 bed might cost you $80-$120 and will easily last 15+ years. A good middle-ground is to line the inside with heavy, food-grade plastic if you go this route.
- Cedar or Redwood: The Gold Standard. These woods are naturally rot-resistant. A well-built cedar bed can last 15, even 20 years. Yes, it’s a bigger upfront investment—expect to pay between $200 and $275 for that same 4×8 bed. But since you won’t be replacing it for a couple of decades, it’s often cheaper in the long run.
- Galvanized Steel or Stone: The Forever Options. Metal beds are fantastic. They don’t rot, they warm up faster in the spring, and pests can’t eat them. A good quality 4×8 steel kit will run you anywhere from $150 to $300 and last over 20 years. People worry about them getting too hot, but once plants grow and shade the soil, it’s not a huge issue. Stone or cinder blocks are even more permanent, but the labor and cost can be high. Quick tip on cinder blocks: they can make your soil more alkaline over time, so you may need to add amendments to balance the pH.
Mistake
3: Filling It with the Wrong Stuff
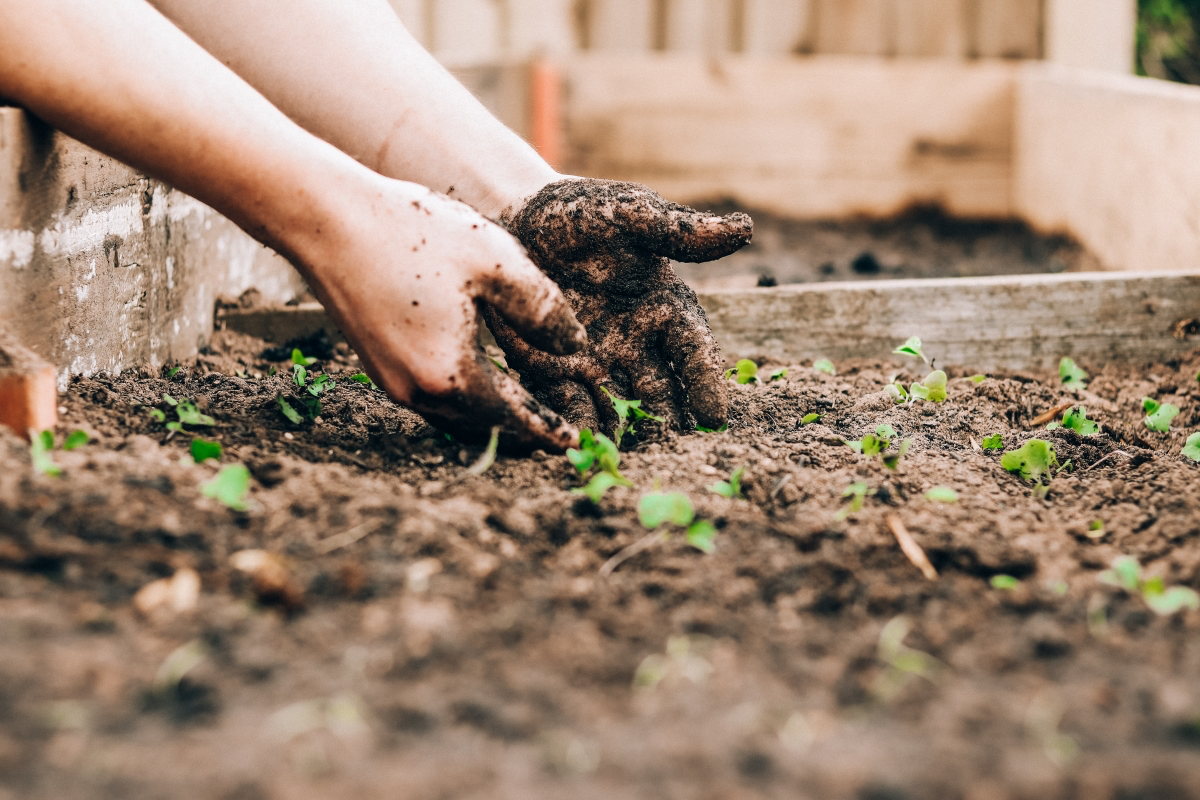
This is it. This is, without a doubt, the most damaging and common error. People build a perfect frame and then fill it with 100% bagged compost or, even worse, clay-heavy dirt from their own yard. A raised bed is basically a giant container, and it needs a special recipe to thrive.
Yard soil, when dug up and dumped in a box, loses all its structure and compacts into concrete. Pure compost, while nutritious, is too light, breaks down too quickly, and can either hold way too much water or dry out and actually repel it.
Did you know? One single tablespoon of healthy, living soil can contain billions of beneficial microbes! That’s why we don’t just use any old dirt—we’re trying to build a brand new, super-charged ecosystem from scratch.
My Go-To Soil Recipe That Just Works
After years of trial and error, this is the mix I swear by. It’s the perfect balance of structure, drainage, and nutrition.
The Pro Mix: 60% Topsoil / 30% Compost / 10% Aeration
- 60% High-Quality Screened Topsoil: This is the mineral base. Get it from a reputable landscape supply company, not your backyard.
- 30% Finished Compost: This is the engine. It provides nutrients and feeds the soil life.
- 10% Aeration: This is the secret to preventing compaction. Use perlite, vermiculite, or coarse sand to create air pockets for happy roots.
So, how much do you actually need? Let’s do some quick, real-world math. A standard 4-foot by 8-foot bed that’s 1 foot deep needs 32 cubic feet of material (4 x 8 x 1 = 32). Using our recipe, you’d need:
– About 19 cubic feet of topsoil (60%)
– About 10 cubic feet of compost (30%)
– About 3 cubic feet of perlite (10%)
Depending on your area, expect a pro-level mix like this to cost between $100 and $180 for that one bed. It’s an investment, but it’s the single most important one you’ll make.
Mistake
4: Overcrowding Your Plants
It’s so tempting to cram as much as possible into your pristine new bed. Don’t do it. Overcrowding is a recipe for disaster, leading to disease, lower yields, and a lot more work for you.
Plants Need to Breathe, Too
When plants are jammed together, moisture gets trapped between their leaves. This is a five-star resort for fungal diseases like powdery mildew. I’ve seen entire squash harvests wiped out because the plants were just too close. Good spacing is your best defense against disease.
Respect the Final Size
That tiny zucchini seedling looks so lonely now, but in a month it will be a monster. A single healthy zucchini plant can easily take over a 3-foot by 3-foot area. If you plant three in that same space, they’ll choke each other out competing for sun and water. You’ll end up with fewer zucchinis than if you had just planted one. Trust the spacing guide on the seed packet. If it says 18 inches apart, do it. It’ll look silly at first, but you’ll be glad you listened.
A great way to maximize space is to grow vertically. Use a sturdy trellis for vining plants like cucumbers, pole beans, or small melons. This gets the leaves up into the air, improving circulation and making harvesting a breeze.
Mistake #5: Watering All Wrong
Raised beds dry out much faster than in-ground gardens. The soil is exposed to the elements on five sides, not just one. Inconsistent, shallow watering is a classic beginner mistake. It encourages weak, shallow roots and wets the plant leaves, inviting disease.
The best methods deliver water directly to the soil.
- Drip Irrigation: This is the gold standard. It’s super efficient and you can put it on a timer. You can find starter drip kits online or at hardware stores like Home Depot for about $40-$60. They have everything you need to set up a few beds in an afternoon.
- Soaker Hoses: A cheaper, simpler alternative. These porous hoses weep water right at the soil line. Not as precise, but way better than a spray nozzle.
And don’t forget the gardener’s best friend: mulch! A 2-inch layer of straw, shredded leaves, or wood chips on top of your soil will suppress weeds, keep the soil cool, and slash the amount of water you need. Seriously, a mulched bed might only need watering half as often as an unmulched one. It’s a non-negotiable step for me.
A Final Word on Safety
This is fun, but let’s be smart. Before you dig for any reason, call your local utility locating service (in the US, that’s the 811 “Call Before You Dig” number). Hitting an underground gas or electric line is a very bad day. And please, when you’re cutting wood, wear safety glasses and a mask. Those bags of soil are heavy—lift with your legs, not your back.
Building a garden is a journey. You’re not just building a box for dirt; you’re creating a tiny, thriving ecosystem. Get these foundations right, and it will pay you back with amazing, healthy harvests for years to come.
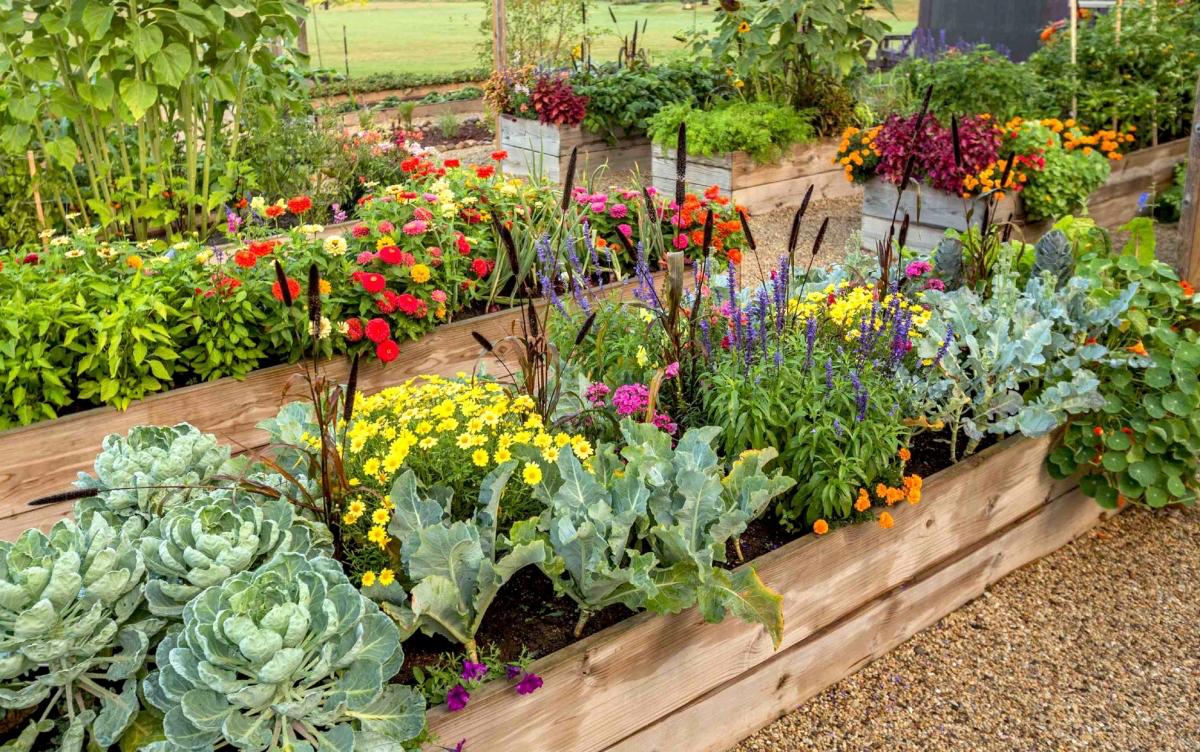
Inspirational Gallery
Classic Wood vs. Modern Metal: The timeless choice is Cedar, prized for its natural rot resistance and beautiful aging. It’s a significant investment upfront but can last 15-20 years. On the other hand, galvanized or powder-coated steel beds, like those from Vego Garden or Birdies, offer incredible longevity and modularity. They won’t rot, warp, or crack, and they assemble quickly, but their industrial aesthetic might not suit every garden style. Your choice ultimately balances budget, desired lifespan, and visual harmony with your landscape.
A standard 4×8 foot raised bed, just 12 inches deep, can hold over 1,500 pounds (about 700 kg) of damp soil.
This immense weight is why the article’s warnings about cheap wood and poor joinery are so critical. The outward pressure, especially after heavy rain, is relentless. Skimping on board thickness or using flimsy corner brackets is a recipe for the dreaded “bowing” that can cause a bed to fail within a few seasons.
The unsung hero of a sturdy bed: the fasteners. Don’t build a beautiful cedar box only to have it pulled apart by rusting screws. For long-term strength, invest in high-quality, exterior-grade screws. Look for ceramic-coated deck screws from brands like Spax or GRK Fasteners, or go for the gold standard: stainless steel. They cost more, but they’re the only way to ensure your joints hold tight season after season, resisting both moisture and wood tannins.
What’s the best way to fill a new, deep bed without breaking the bank on soil?
Think in layers, like a lasagna. This method, often called Hugelkultur-lite, builds incredible soil fertility while saving money. Start at the bottom with a layer of cardboard to smother weeds, then add bulky organic materials like logs, branches, and twigs. Follow with a thick layer of “browns” (fall leaves, straw), then a layer of “greens” (kitchen scraps, grass clippings). Top it all off with a final 6-8 inches of high-quality compost and topsoil for planting.
- Prevents soil compaction from foot traffic.
- Improves drainage and aeration for healthier roots.
- Warms up faster in the spring for a longer growing season.
The secret? No-till gardening. A raised bed is the perfect environment for a no-till approach. By simply adding a fresh layer of compost each year instead of digging, you preserve the delicate soil structure and microbial life that your plants depend on.
One of the biggest ergonomic mistakes is building a bed that’s too wide. A four-foot width is the absolute maximum for most people. This allows you to comfortably reach the center from either side without having to step into the bed, which compacts the soil and can damage plants. For beds placed against a wall or fence, keep the width to two or three feet for easy access.
For a modern, rustic aesthetic that lasts a lifetime, consider Corten steel. Here’s what makes it unique:
- It arrives as plain grey steel but develops a stable, rust-like patina over 6-12 months of exposure to weather.
- This rust layer isn’t decay; it’s a protective barrier that halts further corrosion, making the material incredibly durable.
- It’s a high-end choice often used in architectural landscaping for its striking color and longevity.
Modern pressure-treated wood (post-2003) uses Alkaline Copper Quaternary (ACQ) or Copper Azole (CA), which are considered safe for food gardens by most agricultural extension services.
The old villain was Chromated Copper Arsenate (CCA), which contained arsenic and was phased out for residential use. While ACQ is much safer, some purists still prefer to line the inside of a treated-wood bed with a heavy-duty, food-grade plastic liner as an extra precaution to prevent any copper from leaching into the soil.
Don’t forget the bottom! If you live in an area with gophers, voles, or moles, lining the bottom of your raised bed is non-negotiable. Before you add any soil, staple a layer of sturdy 1/2-inch or 1/4-inch galvanized hardware cloth to the inside base of your frame. It’s an invisible step that provides an impenetrable barrier against burrowing pests that could otherwise destroy your entire harvest from below.
- A comfortable place to perch while weeding or harvesting.
- A handy, wide surface to set down tools, seed packets, or a drink.
- A clean, finished look that elevates the bed from a simple box to a piece of garden furniture.
The secret? Add a cap rail. Simply screwing a 2×6 or 2×8 board flat across the top edge of your raised bed frame is a simple upgrade that dramatically improves its usability and appearance.


