Ready for Rain? A Practical Guide to Harvesting Water at Home
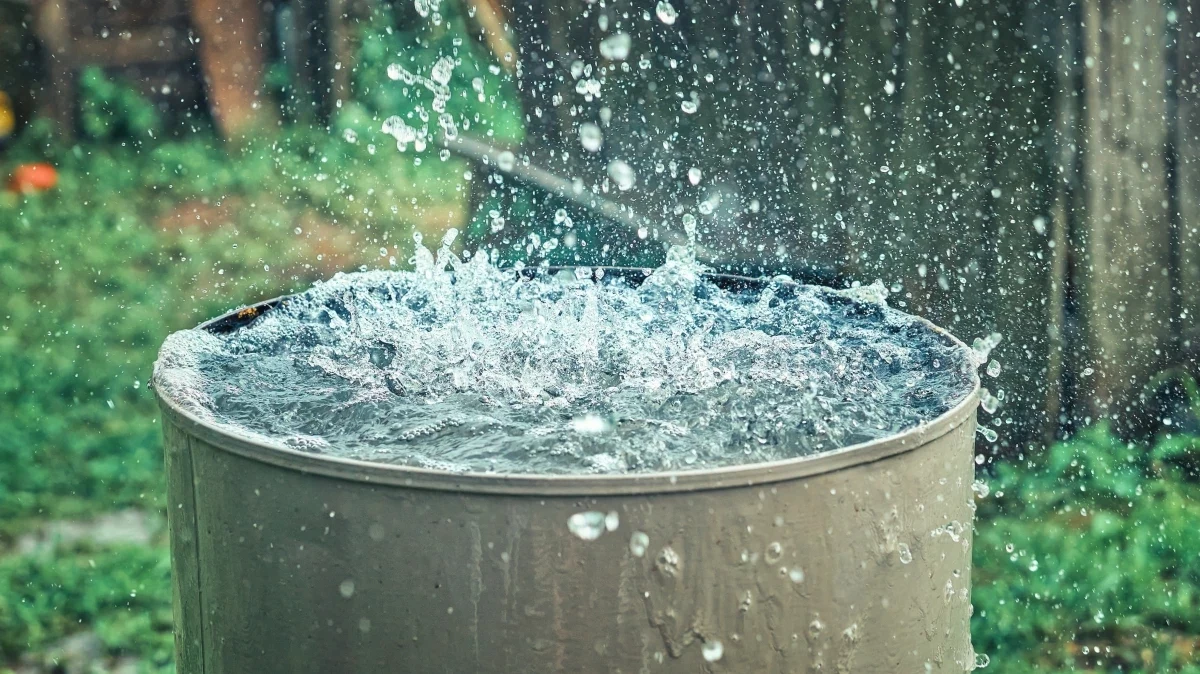
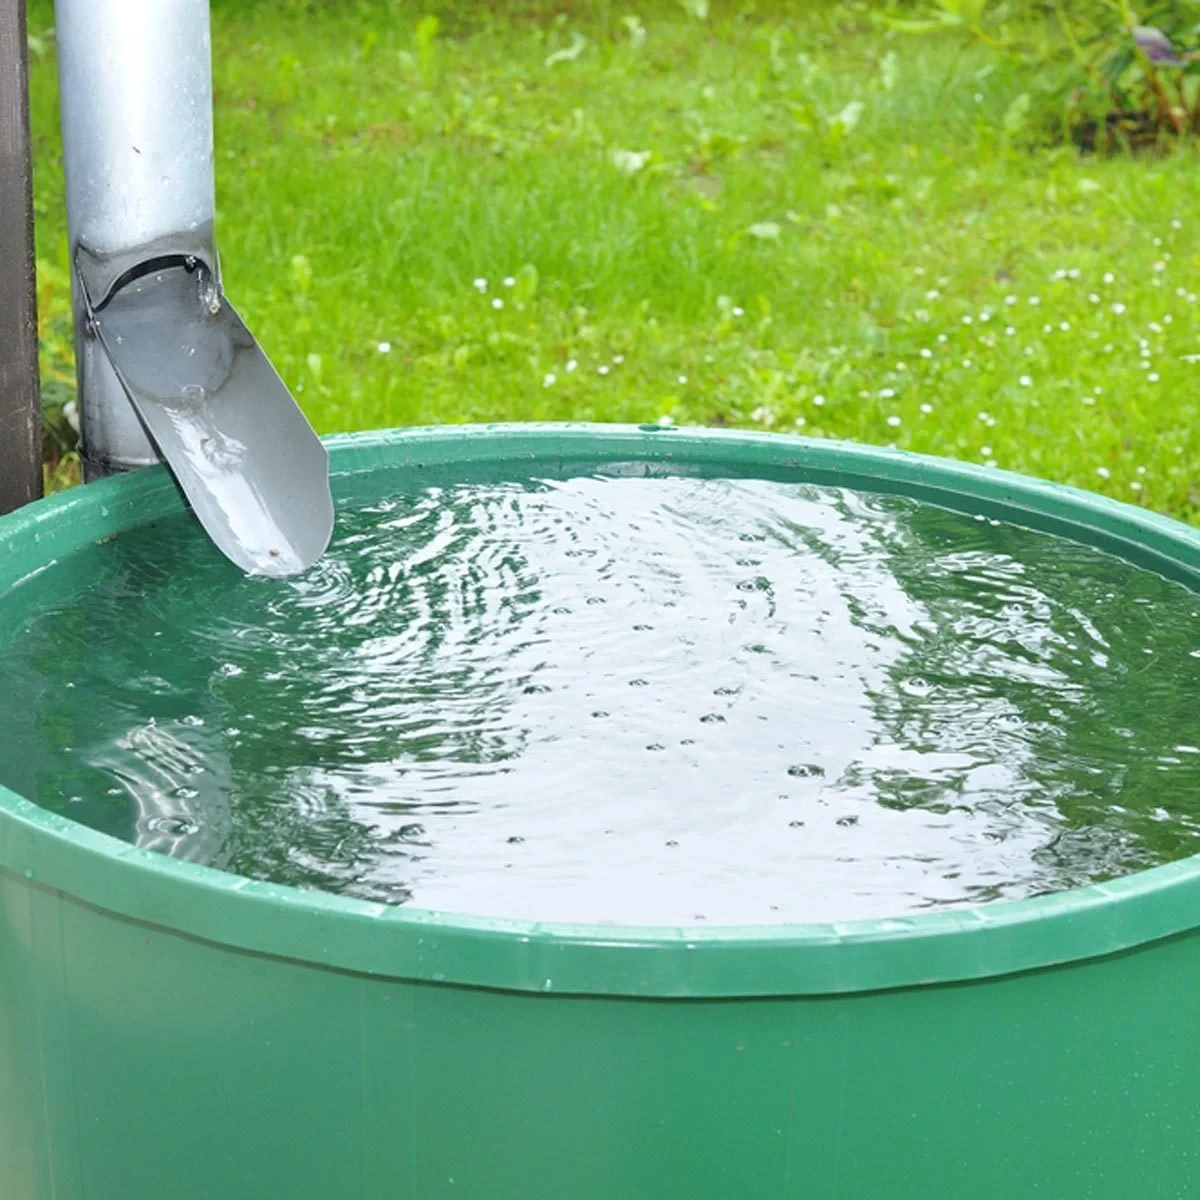
My first rainwater system was nothing fancy. Just a simple, dark green 55-gallon barrel I tucked under a downspout at the corner of my workshop. But when the first summer dry spell hit and I could still water my thirsty tomato plants with that collected rain, it clicked. This wasn’t just about saving a few bucks on the water bill. It was about being more resourceful and working with nature.
In this article
Since then, I’ve gotten my hands dirty with systems of all sizes, from those simple garden setups to complex systems that supply entire homes. This guide is built on all that experience—the wins, the mistakes, and the hard-won lessons. We’re going to walk through how to build a system that’s safe, effective, and perfectly suited for your home.
Your First Rain Barrel: The Easiest Way to Start
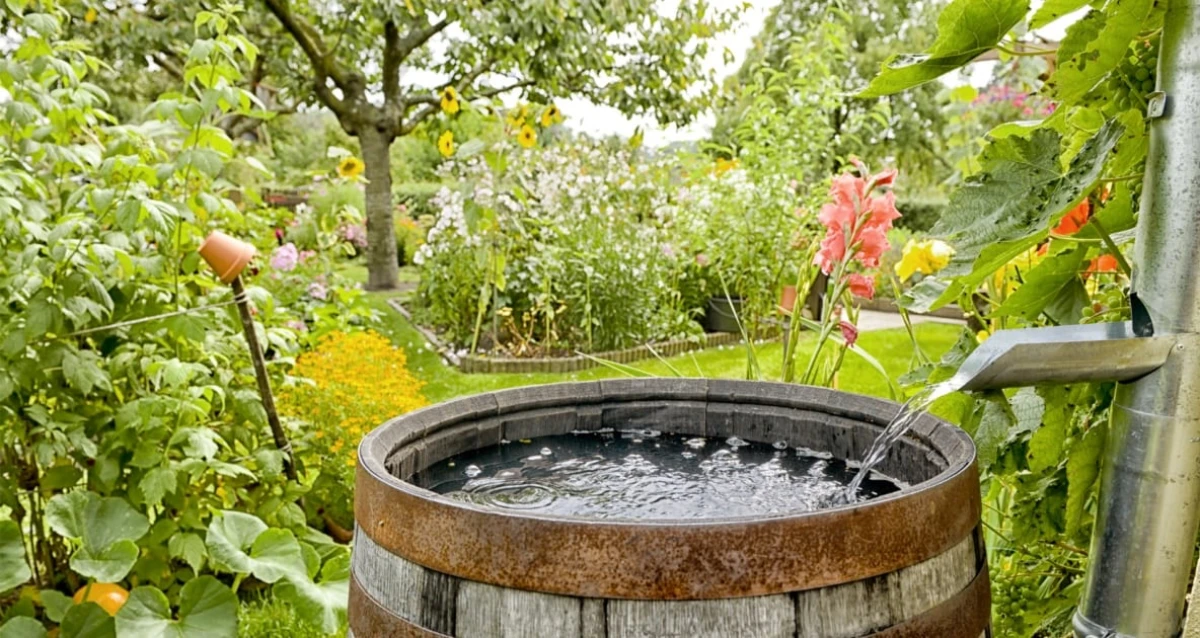
Look, the whole process can seem overwhelming. So before we dive deep, let’s talk about the easiest win: a basic rain barrel for your garden. This is a perfect weekend project that gets you started without a huge investment.
Honestly, you only need a few things to get going:
- A 55-Gallon Food-Grade Barrel: This is key. You want a barrel made from plastic that’s safe for contact with water you’ll put on your food garden. You can often find these repurposed online or from food distributors for $50 to $150. Make sure it’s opaque (not see-through!) to prevent algae growth.
- A Downspout Diverter Kit: This is a clever little device you cut into your existing downspout. It channels water into your barrel until it’s full, then automatically sends the rest down the spout like normal. A decent kit will run you about $30 at any home improvement store.
- A Brass Spigot: Don’t cheap out with a plastic one that will crack in the sun. A solid brass spigot costs around $10 and will last forever. You’ll install this near the bottom of the barrel to hook up your hose.
For under $200 and an hour or two of work, you can have a functional system. It’s a fantastic way to understand the basics and start saving that sweet, soft rainwater for your plants.
So, What Are You Actually Collecting?
Before you get too far, it helps to know what you’re working with. Rainwater is naturally ‘soft’ water. As it falls, it’s basically distilled and pure, free of the hard minerals like calcium that you find in most tap or well water. Your plants will absolutely love it, and it won’t leave spots on your car after a wash.
But the second it hits your roof, it’s not so pure anymore. It picks up whatever is sitting up there—dust, pollen, bird droppings, and maybe even pollutants from the air. This is the most important thing to grasp: your system isn’t just for storing water, it’s for managing it.
By the way, have you ever wondered how much water you can actually collect? It’s a pretty simple calculation. You just need your roof’s footprint (the square footage of your house, not the angled surface of the roof) and your local rainfall. A 1,500-square-foot house can collect about 900 gallons of water for every single inch of rain. Knowing this helps you figure out if that giant tank you’re eyeing is overkill or just right.

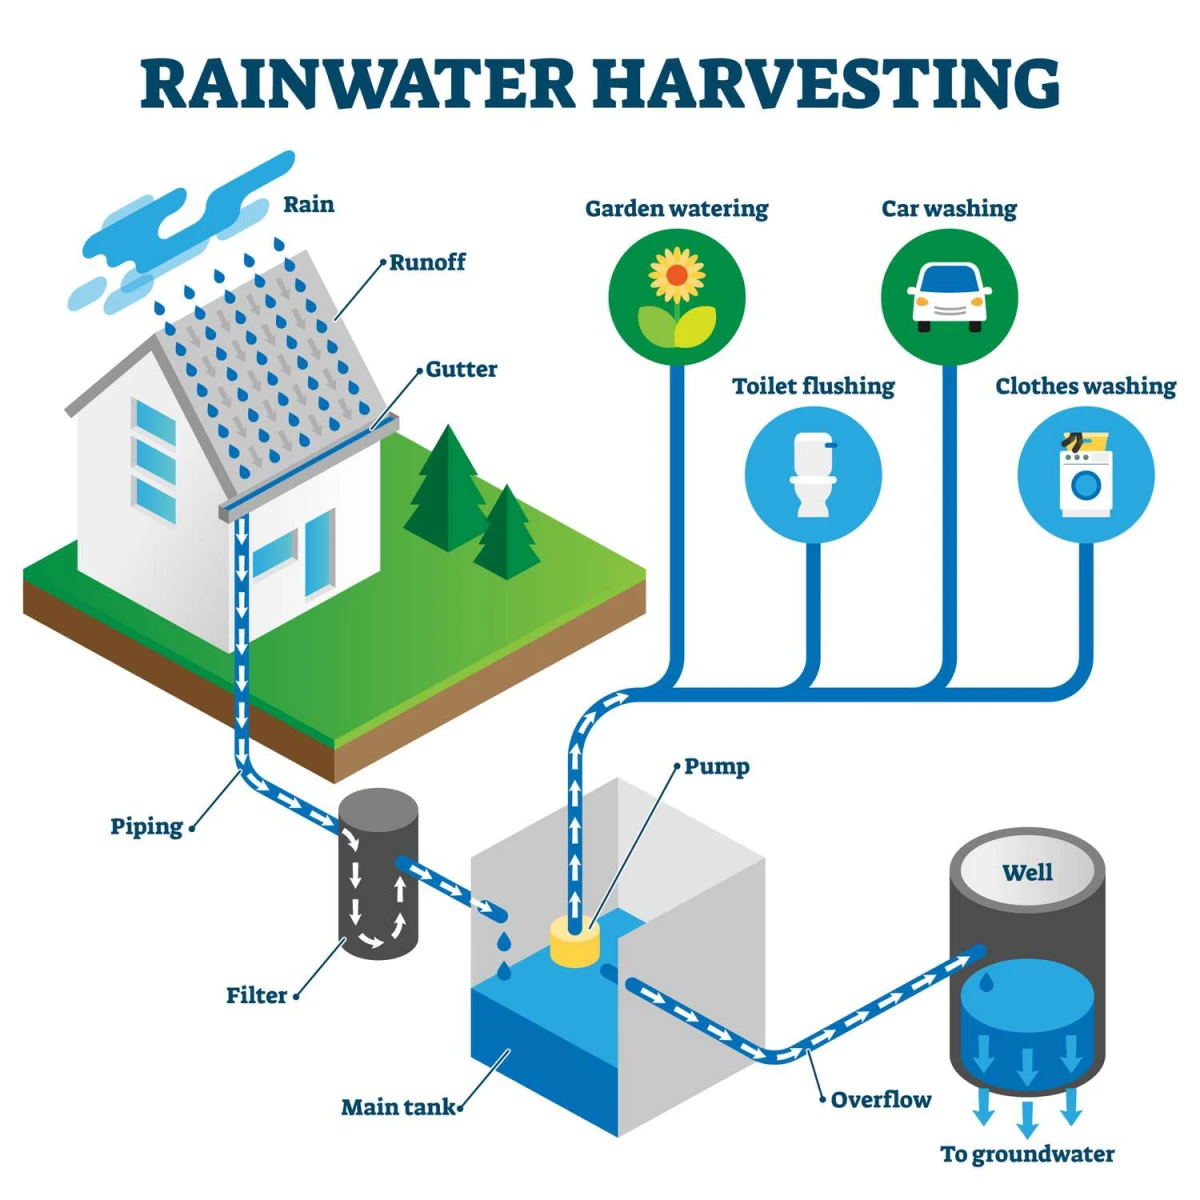
The Core Components: A Real-World Breakdown
A good rainwater system is like a chain; every link has to be strong. I’ve seen people spend thousands on a tank only to have the water spoiled by cheap, poorly maintained gutters. Let’s look at each link.
1. The Catchment Surface (Your Roof)
The best roof surfaces for collecting clean water are smooth and non-porous. Standing-seam metal roofs are the gold standard—they’re clean, durable, and shed leaves easily. Clay or concrete tiles are also great choices.
Heads up, though: I would never, ever collect drinking water from a standard asphalt shingle roof. They constantly shed little granules and can leach hydrocarbons, especially when they’re new. If you have an asphalt roof, you can absolutely still collect water for your garden, but you’ll need better filtering to keep that grit out of your system. And no matter what, a clean roof is step one.

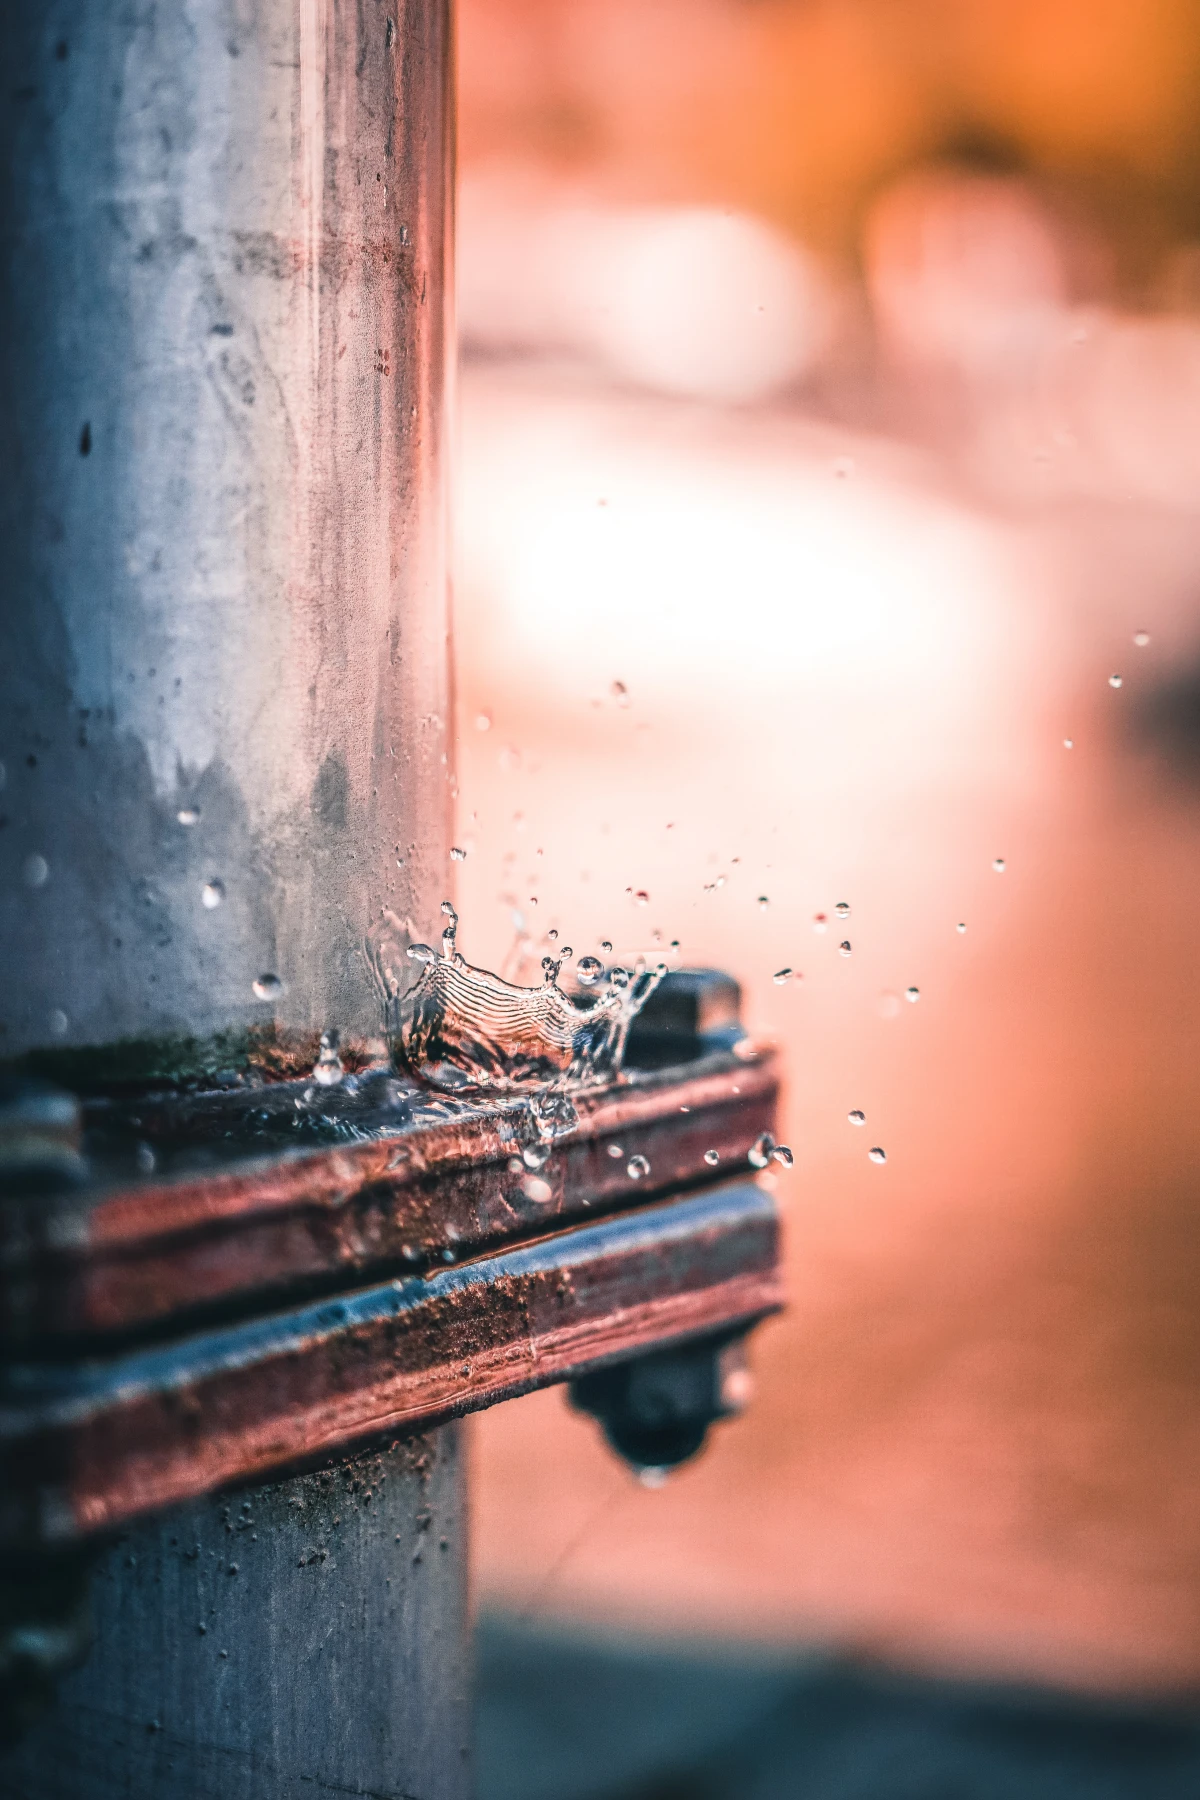
2. Conveyance (Gutters & Downspouts)
Your gutters are the highways for your water. They need to be sized for the heaviest downpour your area gets. For most homes, a standard 5-inch K-style gutter is fine, but if you have a huge roof in a rainy climate, you might need 6-inch gutters and bigger 3×4 inch downspouts to keep up. Make sure they have a slight, steady slope so water doesn’t pool and become a mosquito breeding ground.
Gutter guards are your first line of defense. The cheap plastic mesh you can get for a dollar a foot often clogs or gets brittle in the sun. From my experience, it’s worth spending more on high-quality metal micro-mesh or solid-top guards. They might cost $5-$10 per foot, but they save you from the dangerous and annoying job of climbing a ladder to clean gunk out of your gutters every fall.
3. Pre-Filtration (The First-Flush Diverter)
Skipping this step is a classic rookie mistake. The first few minutes of rain wash the biggest load of gunk off your roof. A first-flush diverter is a simple device that sacrifices this initial ‘dirty’ water, sending only the cleaner rain that follows to your tank. It’s maybe the single most important part for keeping your tank water clean.
You can buy commercial units, but a DIY version works great and is pretty cheap. A good rule of thumb is to divert about 10 gallons for every 1,000 square feet of roof. For a simple standpipe diverter, you just need a length of 4-inch PVC pipe (maybe 5-6 feet long), a T-junction for the top, and a cap for the bottom. Drill a tiny 1/16-inch hole in the bottom cap. The first rush of water fills the pipe from the bottom up. Once it’s full, the cleaner water flows over the T-junction and into your tank. After the rain, the water in the pipe slowly drips out of the tiny hole, resetting the system for next time.
4. Storage (The Tank or Cistern)
This is the heart of your system. Water is seriously heavy (8.34 pounds per gallon!), so a 2,500-gallon tank weighs over 10 tons when full. It absolutely must sit on a perfectly level, solid base. I’ve seen tanks split and fail because they were put on uneven ground. Aim for a 4-inch thick reinforced concrete slab or a 6-inch deep bed of compacted 3/4-inch gravel.

So what kind of tank should you get? They aren’t a one-size-fits-all deal.
- Plastic (HDPE) Tanks: These are the most popular for a reason. They are cost-effective (usually $0.80 to $1.50 per gallon), pretty durable, and the most DIY-friendly. Just make sure it’s an opaque, food-grade model to block sunlight and prevent algae.
- Concrete Tanks: These are beasts. They’re incredibly durable and can be buried underground to keep water cool and dark. But they are expensive—easily several thousand dollars—and require professional installation. Not a DIY project.
- Metal Tanks: Galvanized steel tanks have a great traditional look and are a solid mid-range choice, often running $1.50 to $3.00 per gallon. They must have a food-grade liner inside to keep the water pure and prevent corrosion.
- Fiberglass Tanks: Often used for underground setups, these are strong and won’t corrode. They tend to be more expensive than plastic but are a fantastic long-term option if your budget allows.
Oh yeah, and how big should you go? A common mistake is buying a tank that’s too small for the roof or too big for the local climate, so it never fills. Check your water bill for your average monthly usage. For context, a typical family of four might use around 3,000 gallons a month for indoor needs. Match that against your roof’s collection potential to find your sweet spot.

From Garden Hose to Drinking Glass: Matching Filtration to Use
The level of filtration you need depends entirely on what you’re doing with the water. Let’s break it down.
Level 1: Garden Use
For watering plants or washing your car, you don’t need much. Good gutter screens, a first-flush diverter, and a mesh screen on your tank’s inlet are plenty. The biggest issue here is preventing mosquitoes from turning your tank into a five-star resort. Make sure every single opening is sealed or covered with a fine mesh screen. A common mistake is forgetting to screen the overflow pipe!
Level 2: Indoor Use (Toilets & Laundry)
Now we’re getting more serious. To use rainwater for flushing toilets or washing clothes, you’ll need a pump and pressure tank to get the water into your house. You’ll also need a sediment filter (a 5-micron filter is a good start) after the tank to protect your appliances from grit.

CRITICAL SAFETY WARNING: This is where you MUST hire a licensed plumber. Connecting another water source to your home’s plumbing can be dangerous if done wrong. You could accidentally contaminate the public water supply. A plumber will install the necessary backflow prevention devices required by code. Depending on the job, this could cost anywhere from $500 to $2,000. It is not a place to save money.
Level 3: Potable Water (Drinking & Cooking)
Making your rainwater safe to drink is an advanced setup that requires zero shortcuts. Anyone who tells you it’s simple is giving you dangerous advice. A proper system needs a multi-stage approach after the tank:
- Sediment Filter: First, a 5-micron filter to catch any fine particles.
- Carbon Filter: Next, an activated carbon block filter to remove chemicals, pesticides, and organic compounds. This is what gets rid of weird tastes and smells.
- Sterilization: This is the non-negotiable final step. The best method is an Ultraviolet (UV) sterilizer. It uses a special lamp to zap bacteria, viruses, and other nasty bugs, making them harmless. A good whole-house UV unit costs between $400 and $800, with an annual bulb replacement of around $70. It’s far better than dealing with chemicals like chlorine.
And if you go this route, you have to commit to testing your water at a certified lab at least twice a year. Trust me, you want to verify that your system is working, not just hope it is.

Final Thoughts on Climate and Maintenance
Remember that a system for rainy Seattle will look different from one in sunny Arizona. In dry areas, you need massive storage. In cold climates, you have to winterize everything to prevent pipes from bursting—a lesson some learn the hard way. Always drain exterior pipes and components before the first hard freeze.
Before you spend a single dollar, make a quick call to your local building department. Regulations vary everywhere, and they can tell you what’s allowed and what permits you might need.
Finally, a rainwater system needs a little love to keep working. It’s not complicated. Every fall, clean your gutters and pre-filters. Every spring, check your filters and take a peek inside the tank for sediment (it usually only needs a full clean-out every 5-10 years). And give the whole thing a quick look once a month to make sure nothing is leaking or clogged. It’s a small price to pay for the security and satisfaction of using this amazing resource.

Galerie d’inspiration

Your garden will love the soft, chlorine-free rainwater, but don’t stop there! This captured resource is incredibly versatile for household chores where treated tap water isn’t necessary. Think of it as your all-purpose outdoor utility water.
- Vehicle Washing: Rainwater is naturally soft, meaning it won’t leave mineral spots on your car’s paint job.
- Cleaning Tools & Outdoor Furniture: Perfect for rinsing off muddy boots, garden tools, or grimy patio chairs.
- Topping Up Ponds: A much healthier choice for fish and aquatic plants than chlorinated city water.

But won’t my rain barrel become a five-star hotel for mosquitoes?
It’s a valid concern, but easily managed. Mosquitoes need access to still water to lay eggs. The key is to block their entry. Ensure your barrel’s intake is covered with a fine mesh screen. For extra peace of mind, you can use Bti products like
In the U.S. Virgin Islands, building codes have long required that most new homes be constructed with a cistern to capture rainwater for household use.
This isn’t a trendy new hobby; it’s a time-tested strategy for water security in many parts of the world. From the ancient underground cisterns of Istanbul to the modern building requirements in Bermuda and Australia, harvesting the rain is a fundamental way communities have adapted to their environment. Your backyard barrel is part of a long and practical global tradition.
A pro tip for cleaner water: Consider a


