The Real Deal on Growing Poppies (Without the Headaches)
I’ve been playing in the dirt for more than a few decades, and if there’s one thing I’ve learned, it’s that some plants want to be fussed over, and others just want to be understood. Poppies are definitely in that second camp. They don’t want your constant attention; they just want you to respect their wild-at-heart nature.
In this article
My first go-round with poppies was a total disaster, by the way. I treated them like fragile little things, starting them in fancy seed trays with rich soil. And every single one of them withered and died. It was a tough lesson, but a good one: I wasn’t growing a greenhouse flower, I was trying to domesticate a piece of a meadow. And you just can’t do that.
So, this guide is built on those hard-won lessons. It’s less about ‘hacks’ and more about getting the fundamentals right so you can create a little slice of that meadow magic in your own yard. We’ll get into what makes them tick, how to choose the right one for your space, and the simple techniques that actually work.
So, Why Do Poppies Seem So Finicky?
To get poppies right, you have to think like a poppy. It all boils down to two things: their root system and how their seeds wake up.
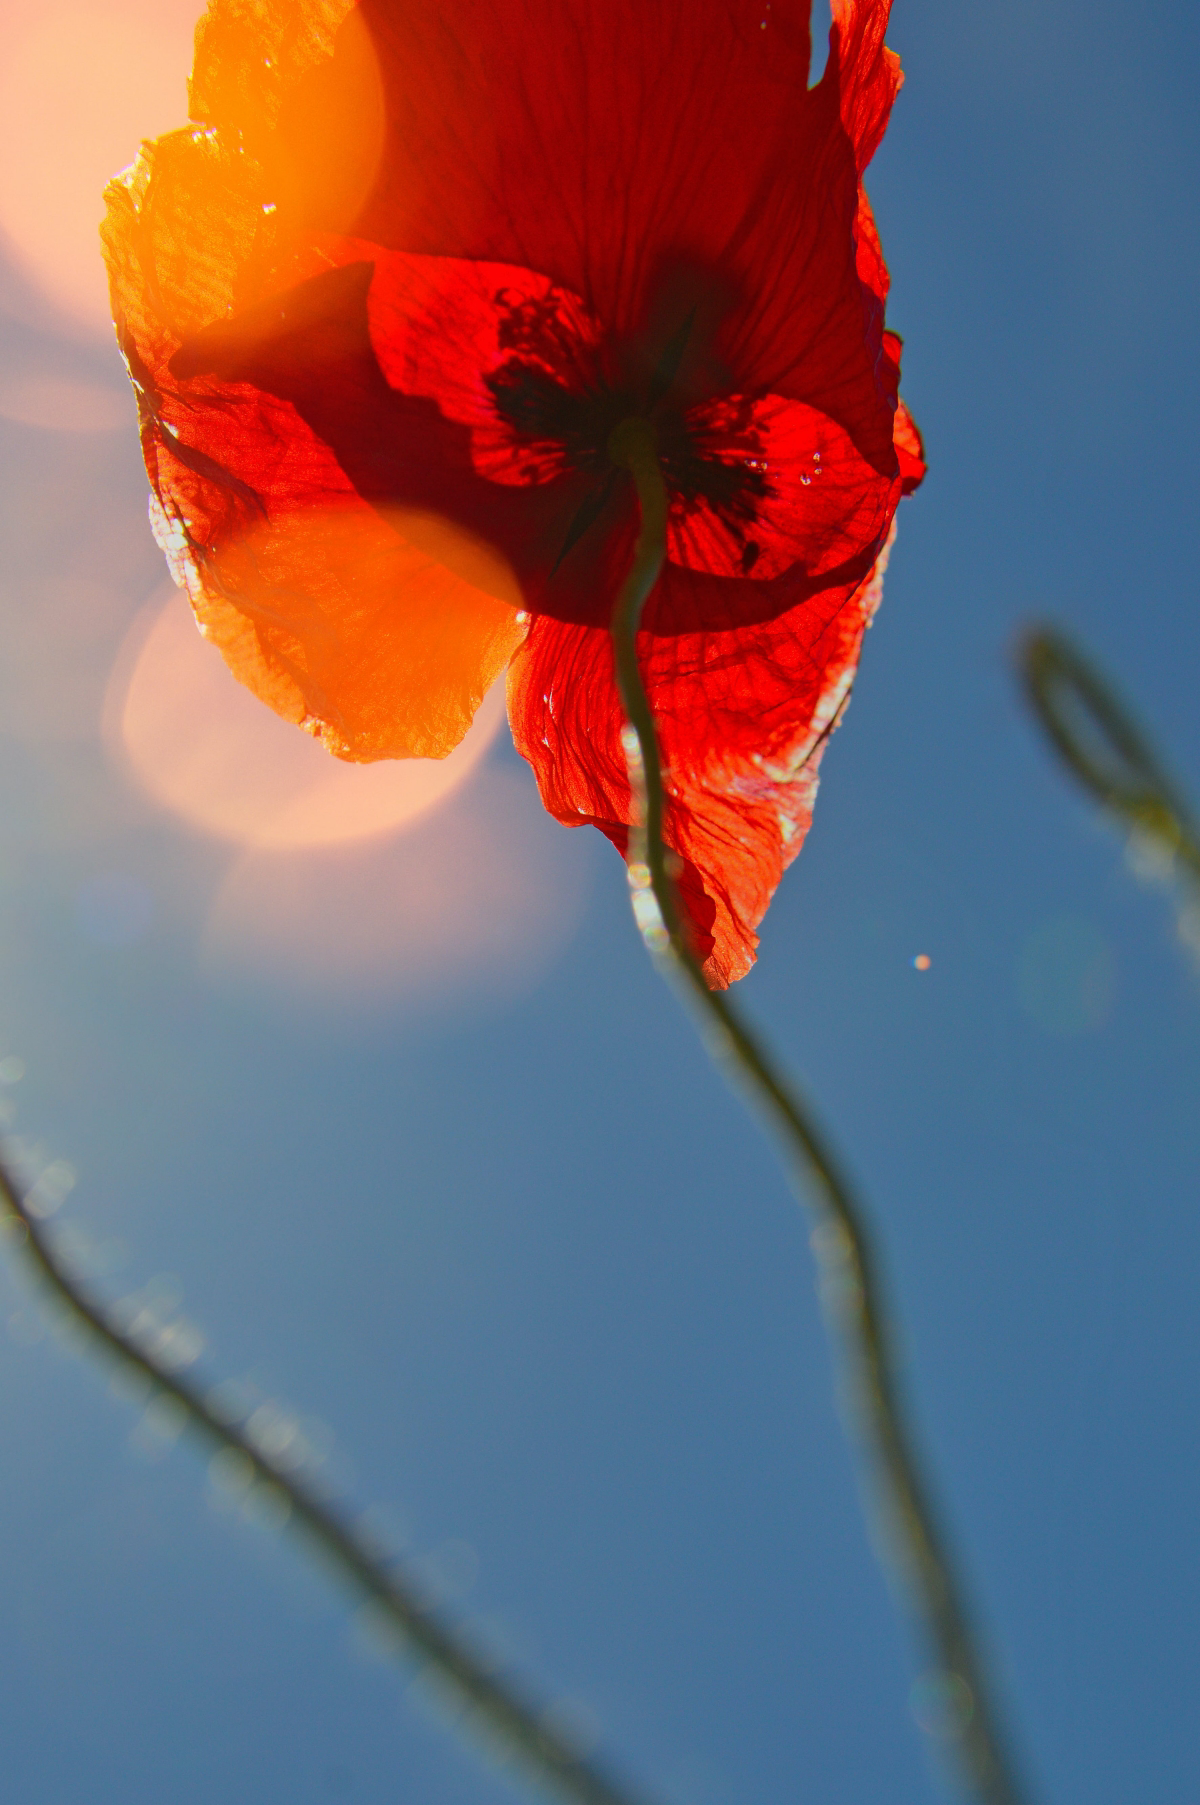
Most of the poppies you’ll find in a garden catalog share a very specific feature: a long, sensitive taproot. Picture a skinny carrot plunging straight down into the soil. That’s its lifeline, searching for water deep underground, which is why mature poppies can handle dry spells like champs. But here’s the catch—that taproot is incredibly fragile. The moment you try to transplant a poppy seedling, you almost guarantee you’ll damage that crucial root, and the plant simply can’t recover. That’s exactly what happened to my first batch. I broke their lifelines.
The bottom line: Poppies need to be sown directly where you want them to grow. Don’t even think about starting them in little pots to move later. It’s a complete waste of time and seed, I promise.
Their seeds also have a couple of simple requests: they need light and they need a period of cold. The seeds are tiny and need to sit right on the soil surface to get the light that tells them it’s time to germinate. If you bury them, they’ll just sit there, waiting. On top of that, many types require a chilly, damp period—a process called cold stratification—to break their dormancy. This mimics winter and signals that spring is on its way. It’s why sowing in the fall is the secret weapon for so many amazing poppy displays.
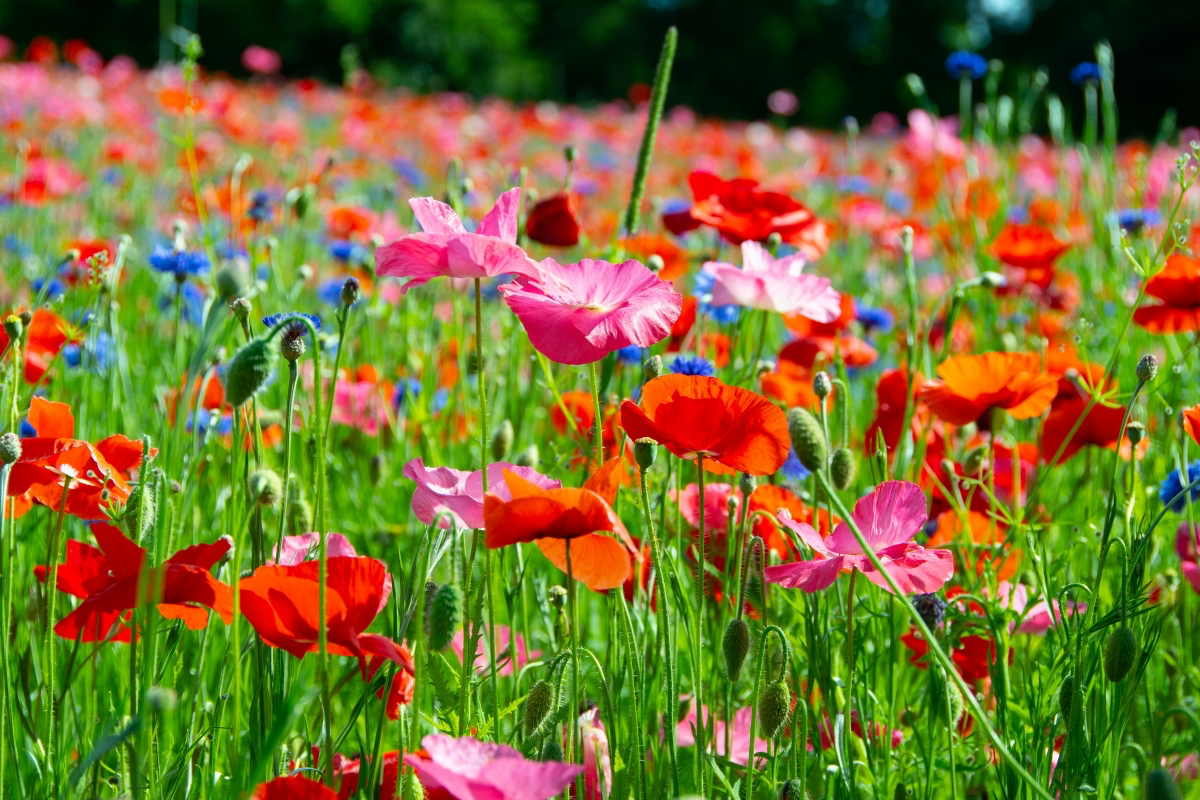
Choosing Your Poppy: A Quick Field Guide
The word “poppy” gets thrown around a lot, but different types have totally different personalities. Picking the right one for your climate and garden is step one.
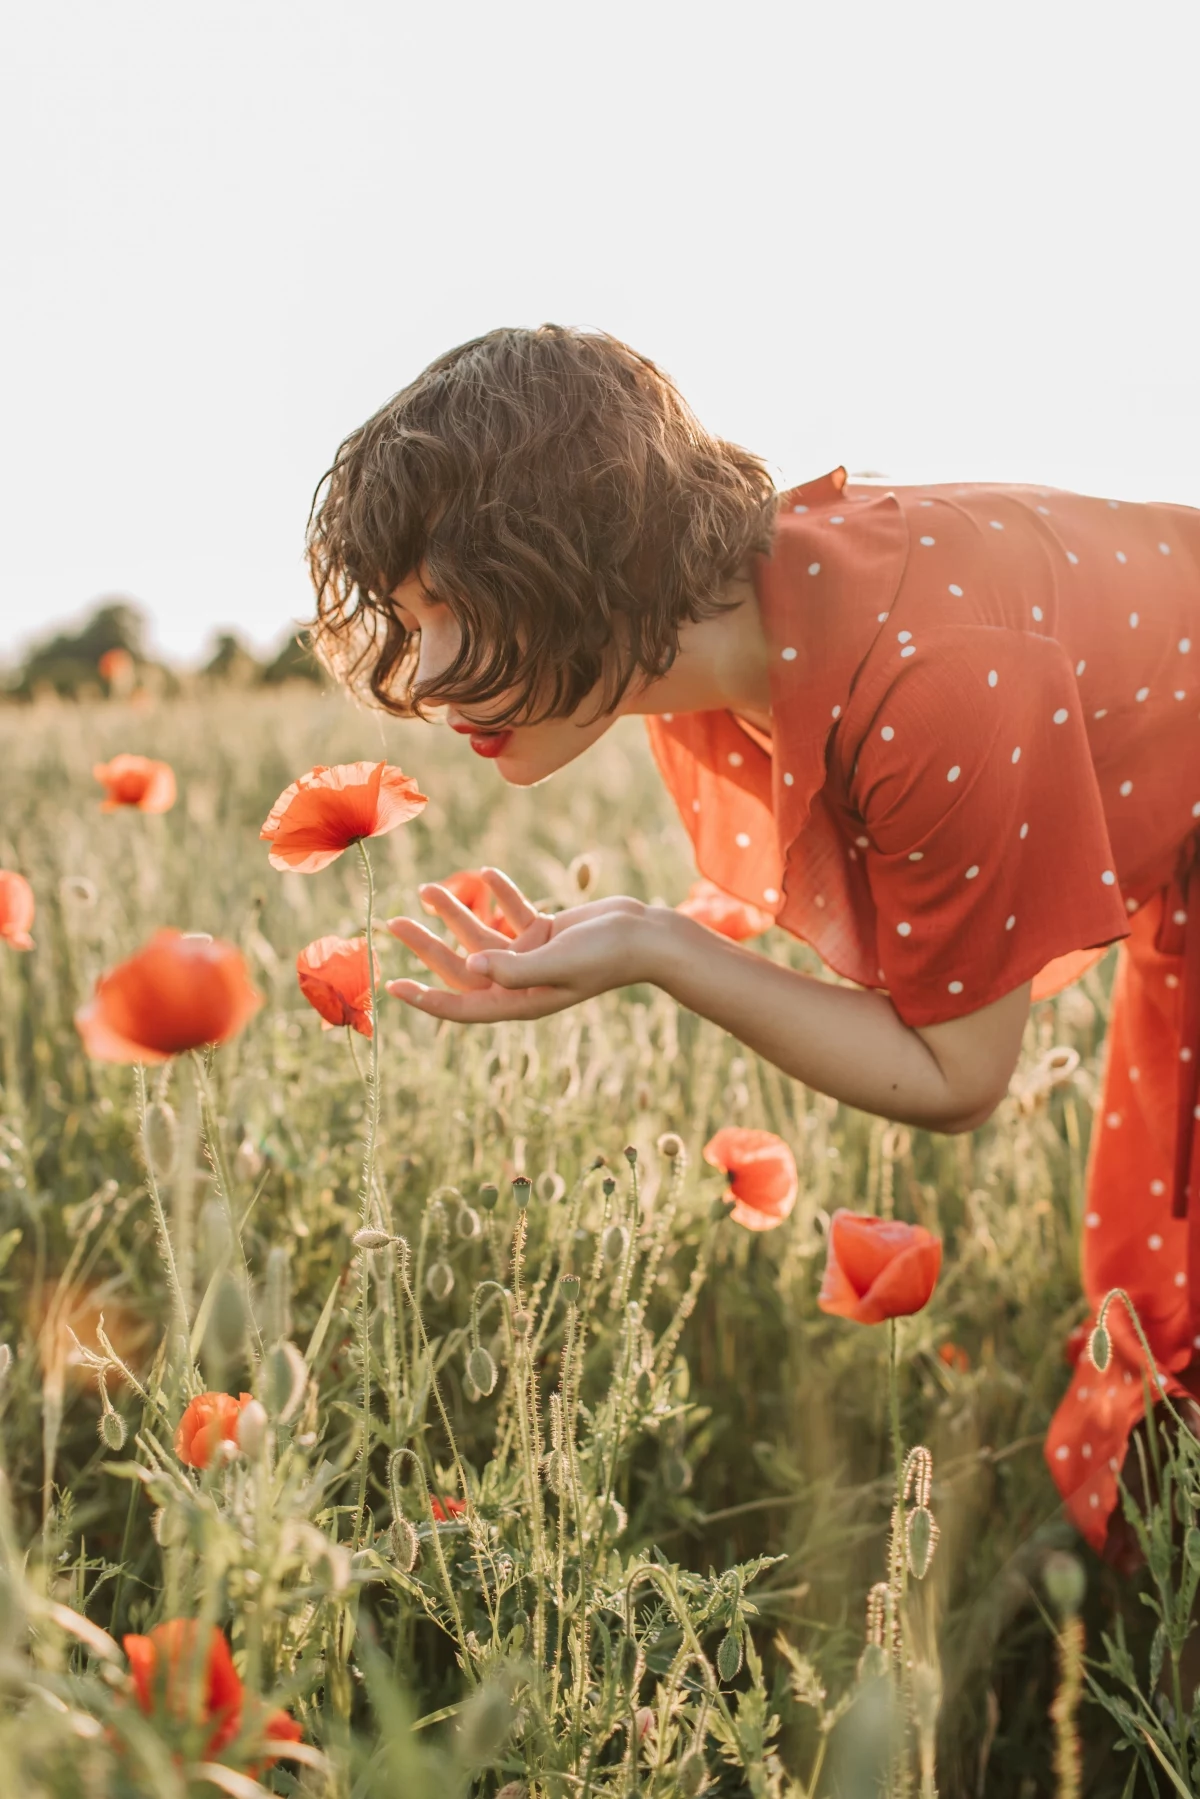
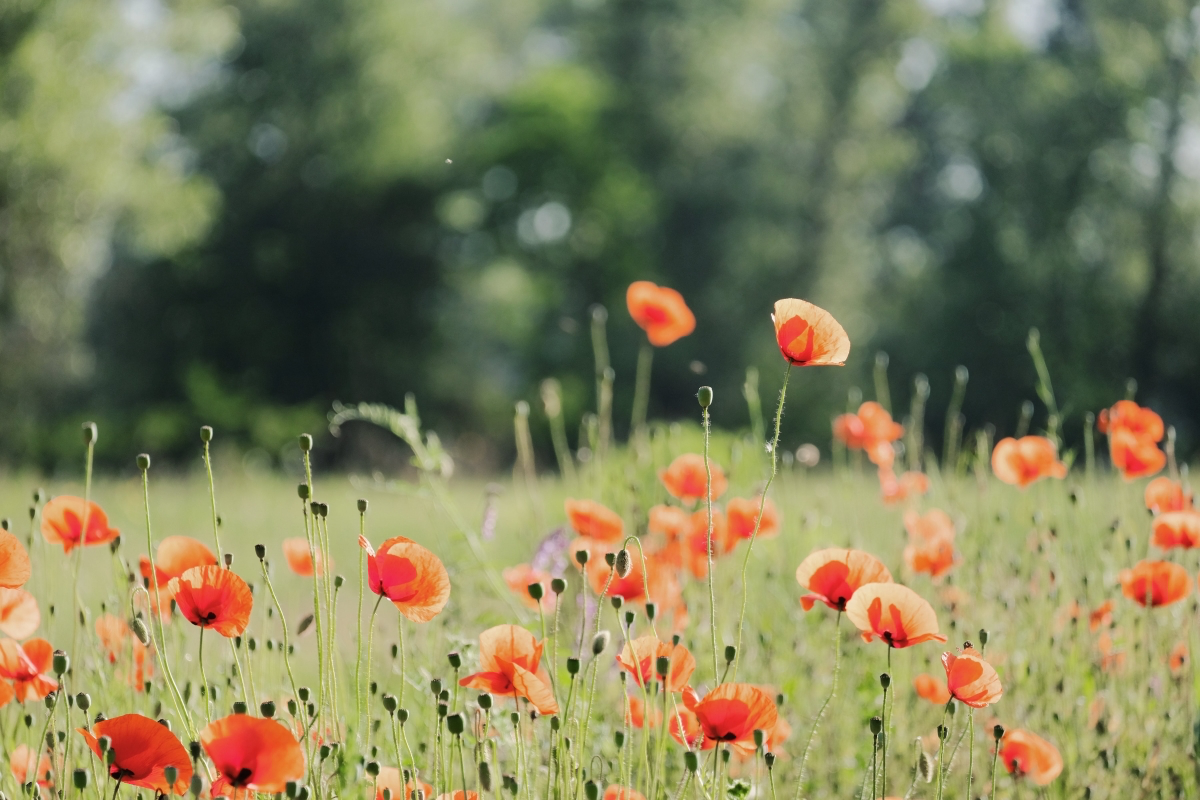
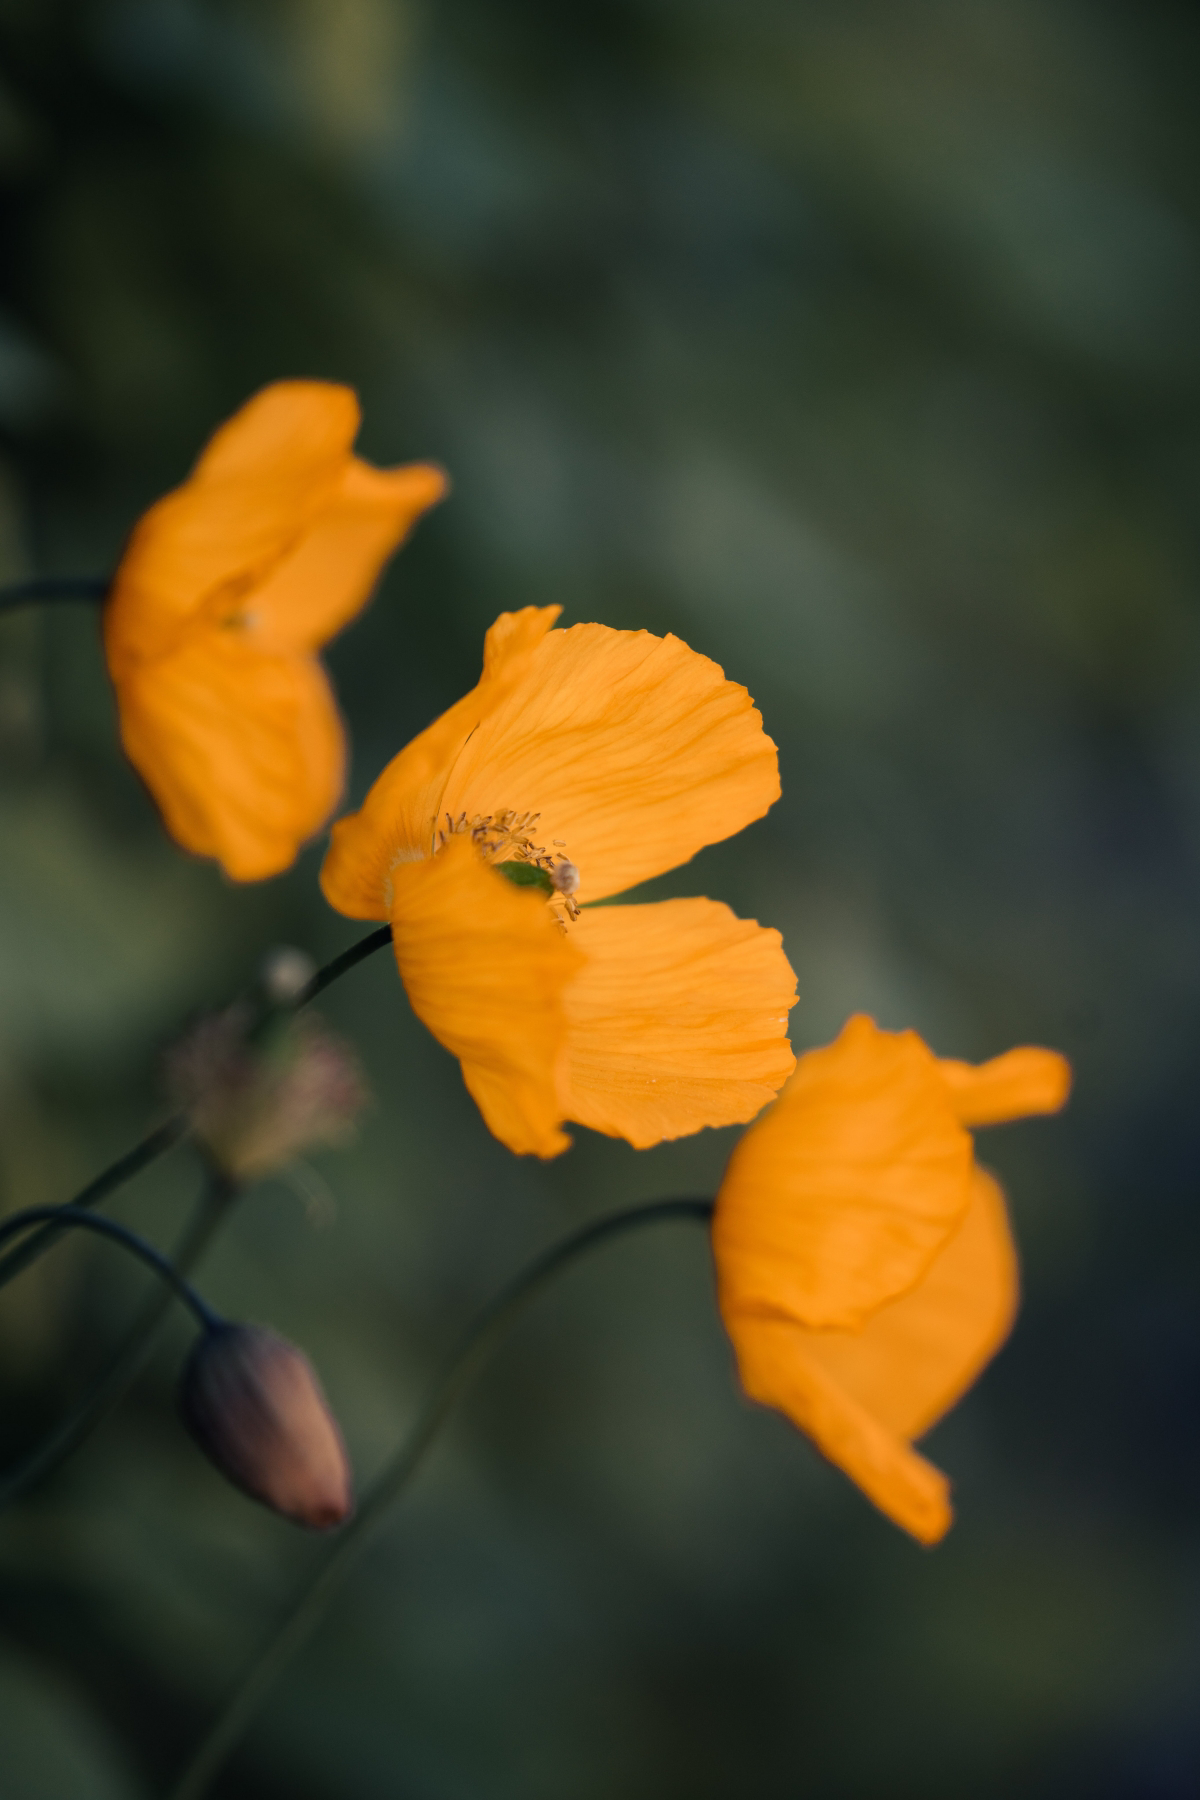
- California Poppy: Okay, first things first—this isn’t technically a “true” poppy, but we grow it for the same reasons. It absolutely thrives on neglect. Give it a hot, sunny spot with terrible, rocky soil, and it will explode in a blaze of orange. If you treat it too nicely with rich soil and fertilizer, you’ll get tons of pretty foliage but very few flowers. It’s an annual that often reseeds itself, especially in milder climates.
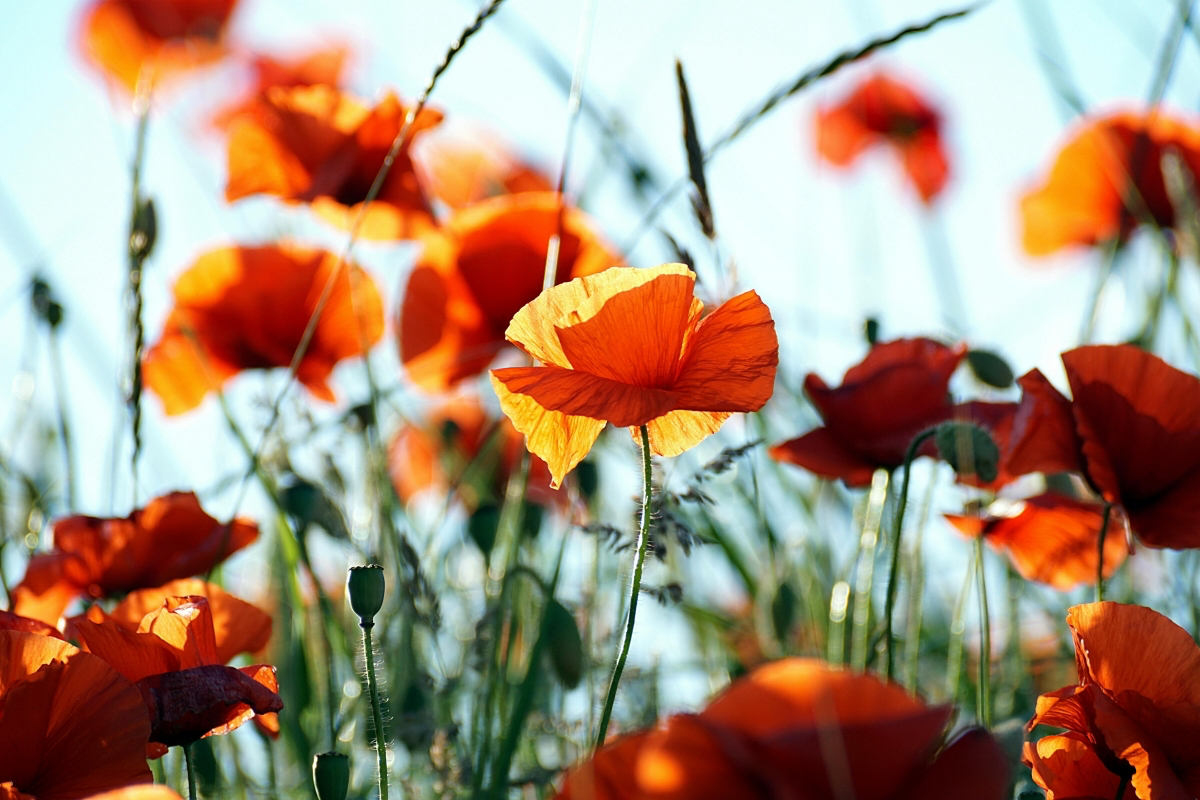
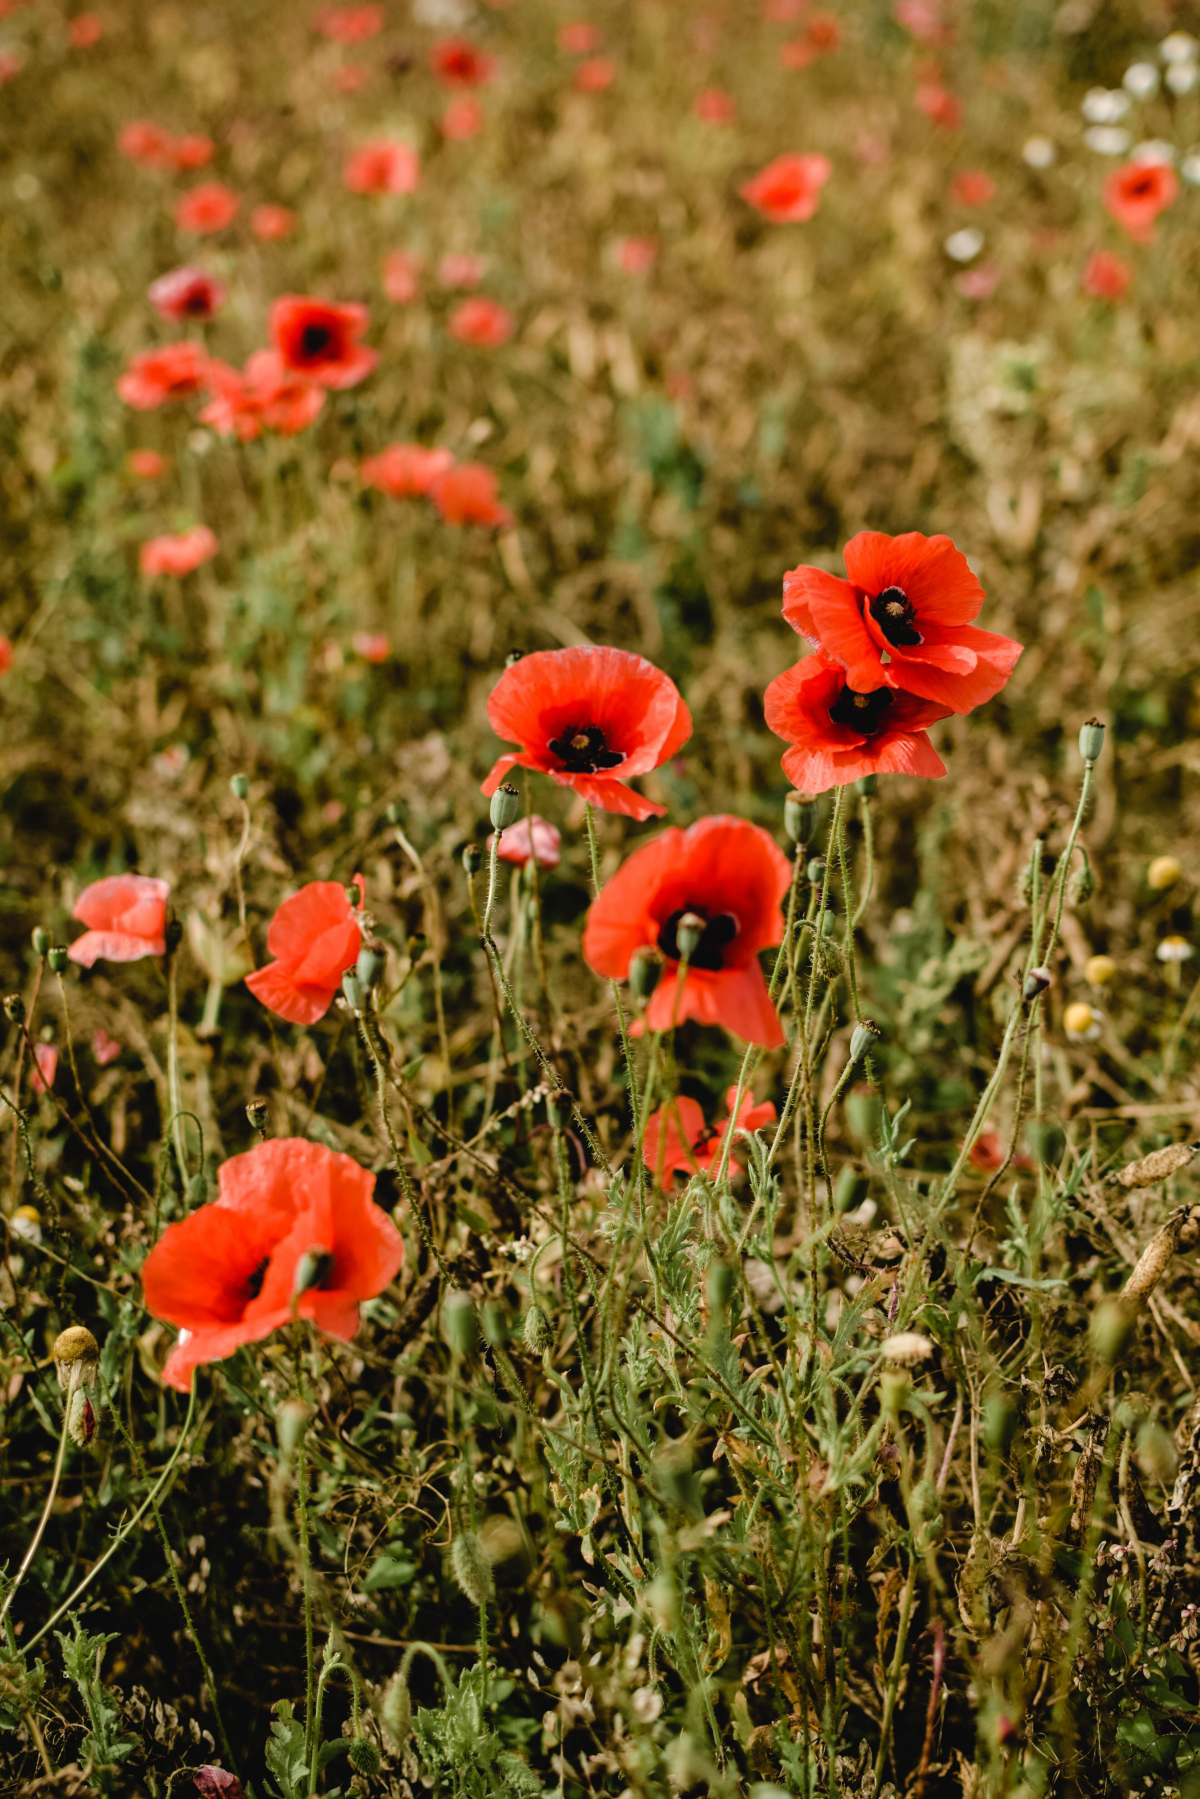
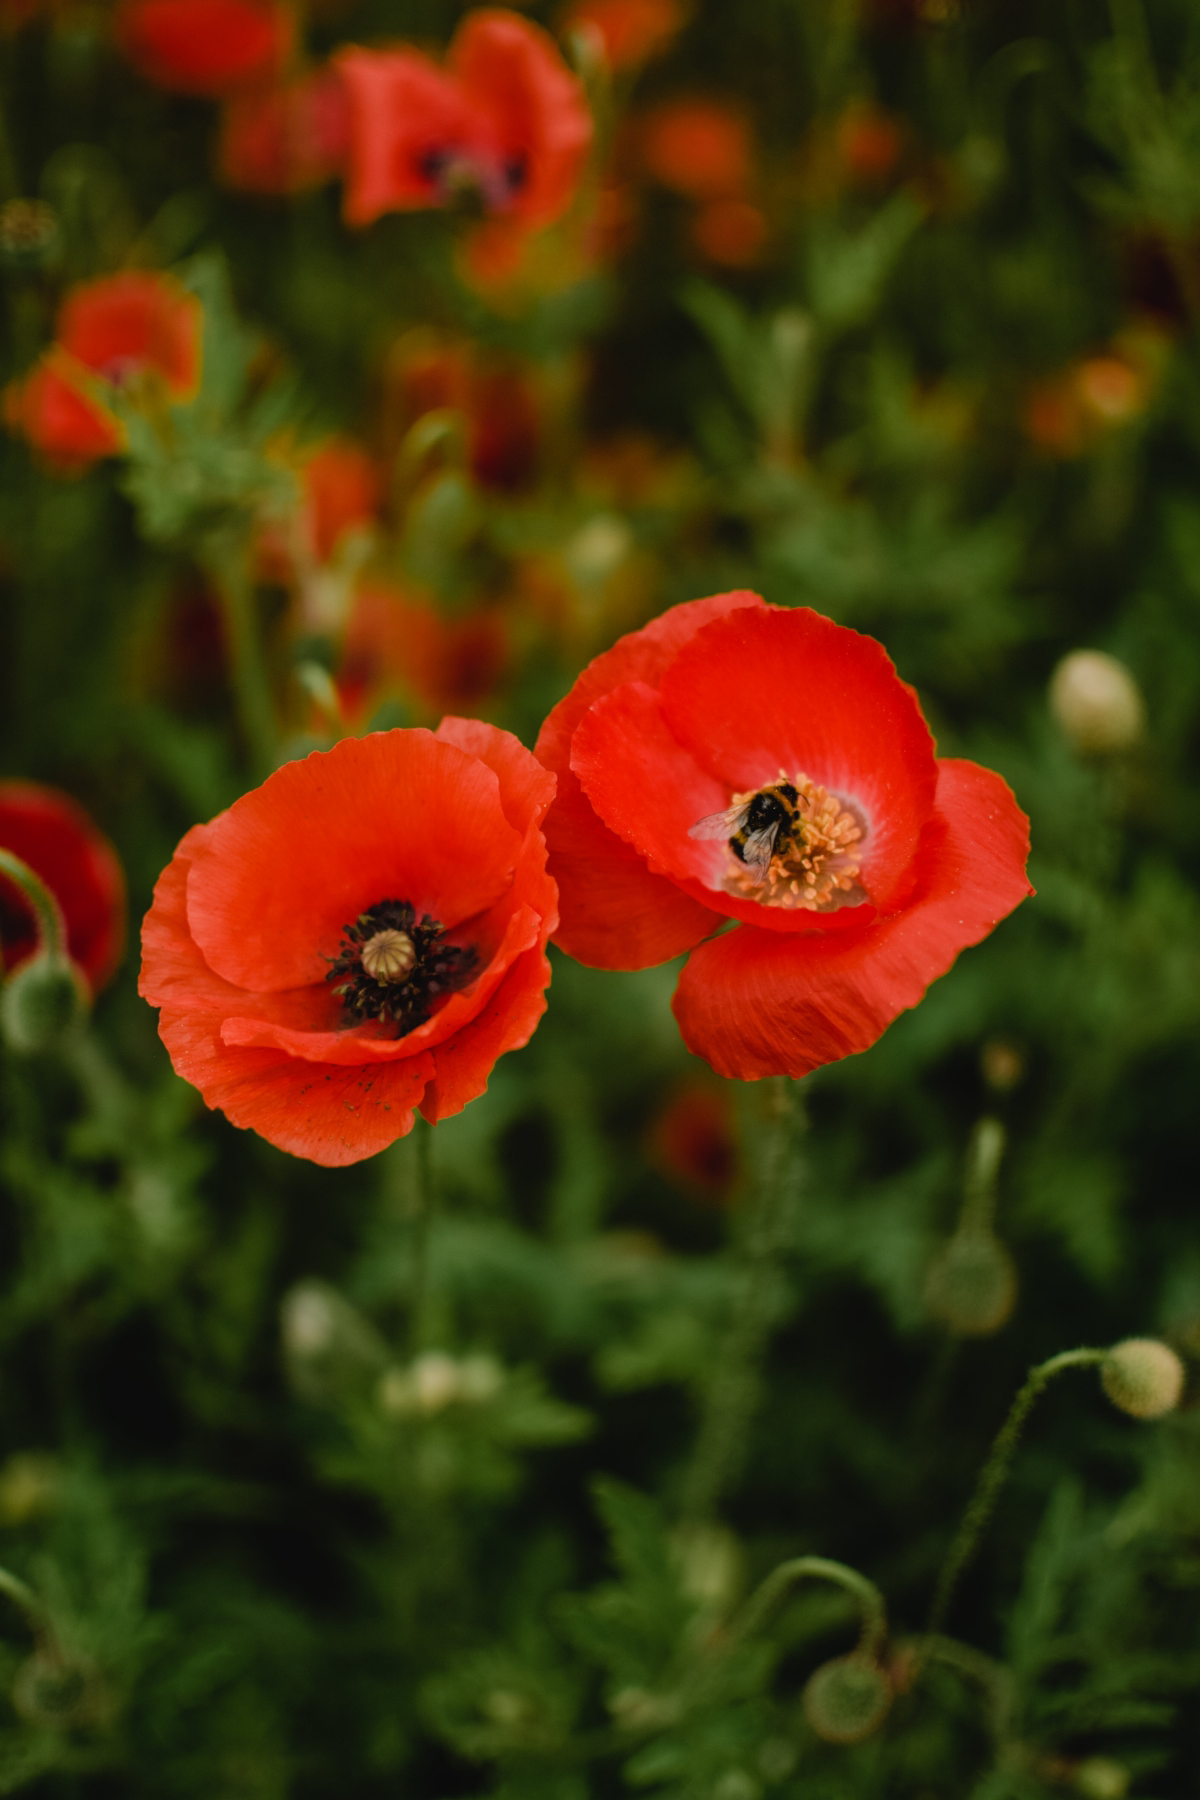
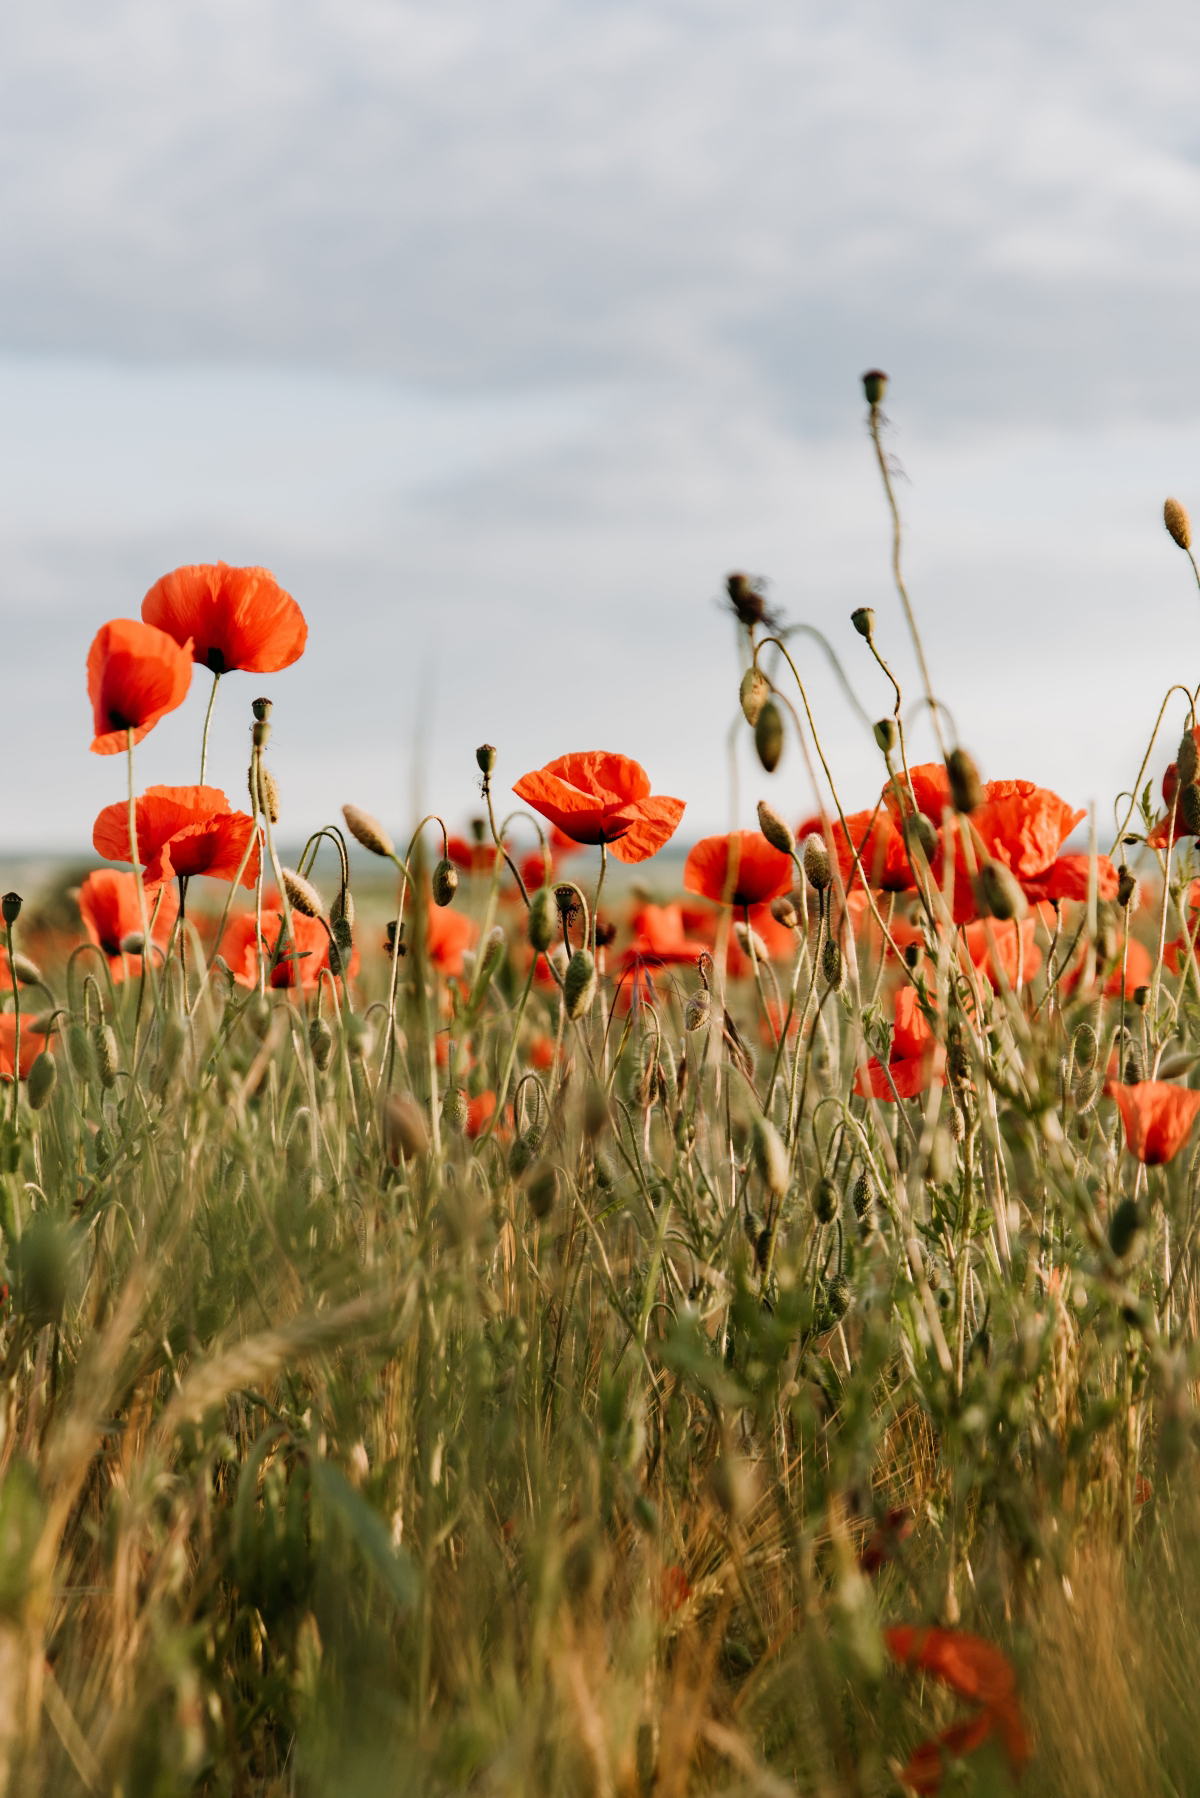
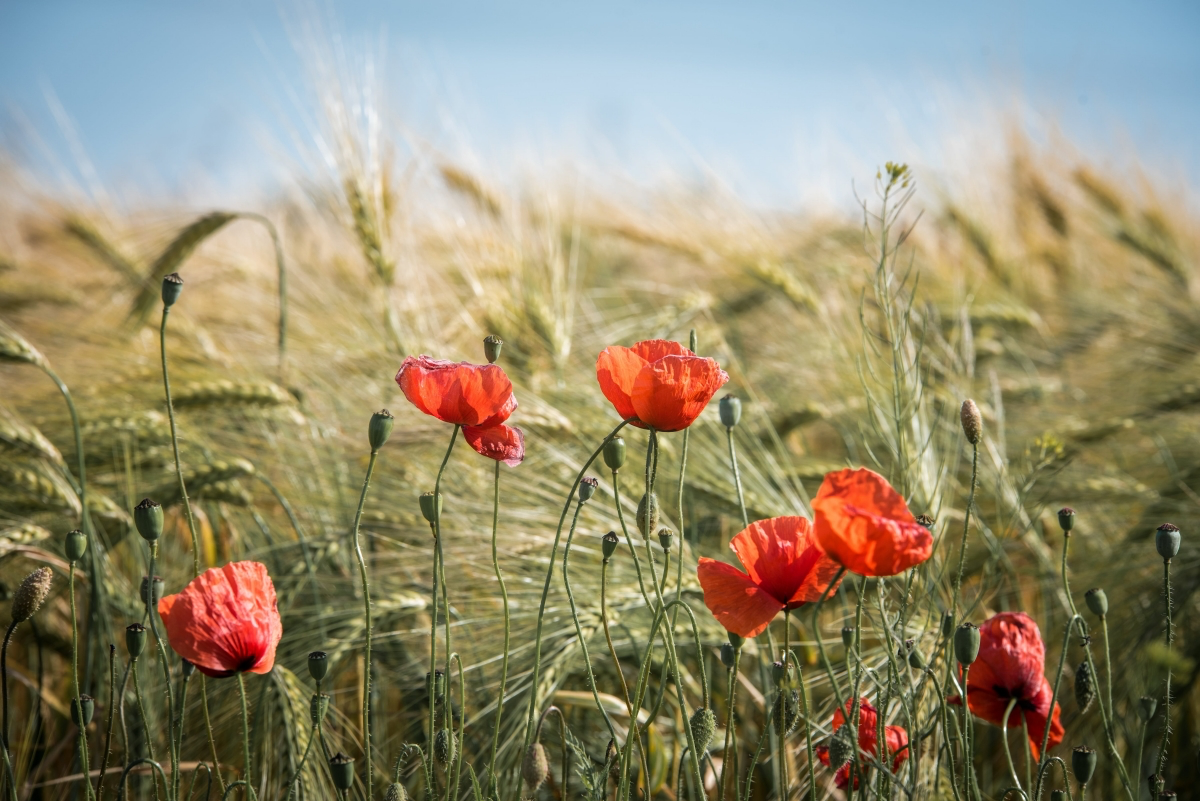
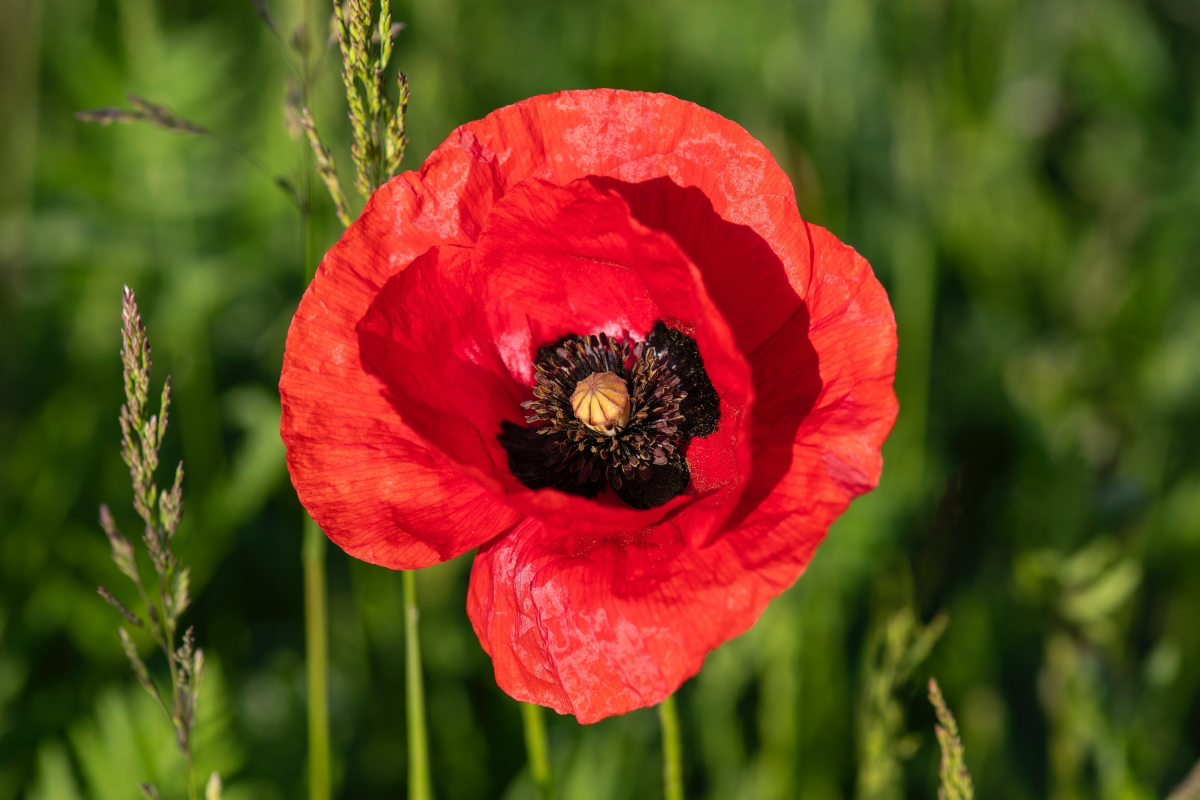
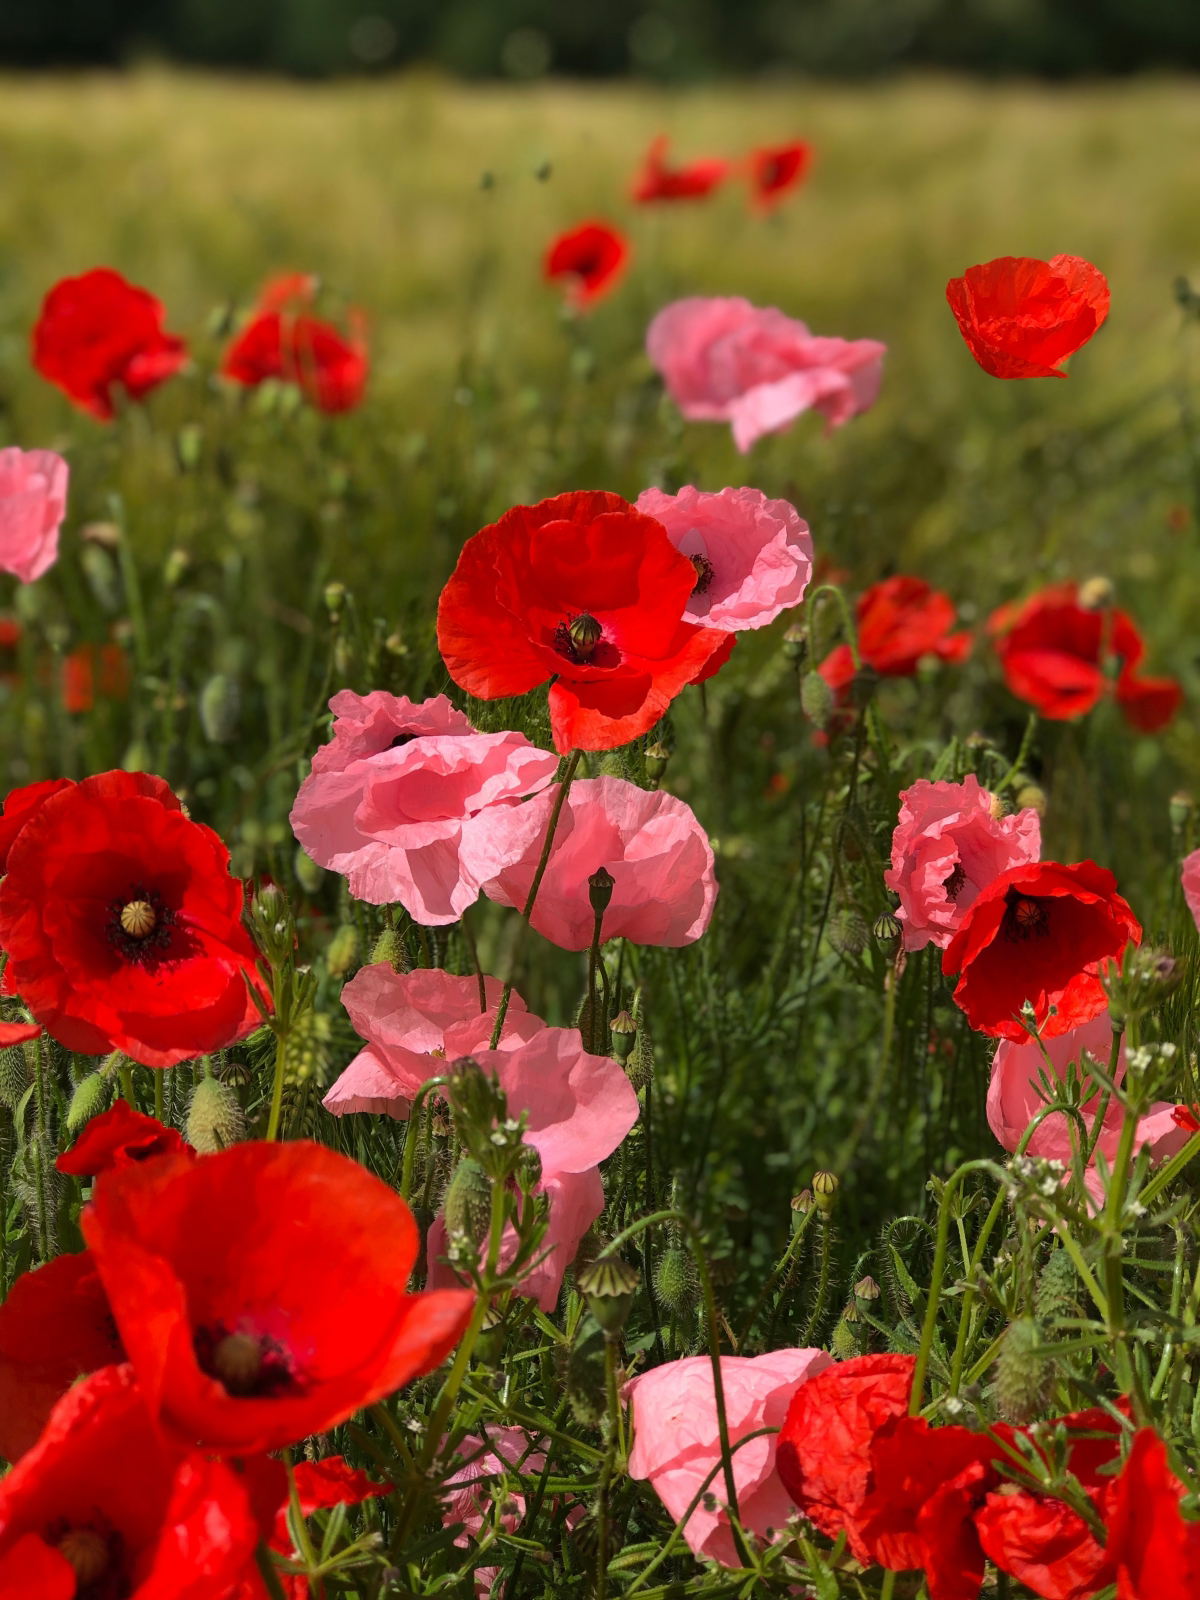
- Common or Flanders Poppy: This is the classic, tissue-paper-delicate red poppy. These are true annuals that live their whole life in one season. For most places (Zone 7 and up), I seriously recommend sowing the seeds in the fall. In colder regions, just scatter the seeds as soon as the ground thaws in spring, even on top of a late snow. You can find these in all sorts of beautiful colors, from white to pink to soft coral.
- Oriental Poppy: If you want drama, this is your plant. These are true, long-lived perennials that form a big, bold clump and can live for decades. They put on a massive show with huge, vibrant flowers in late spring. Heads up! After they flower, the foliage turns yellow and dies back completely. Don’t panic; your plant isn’t dead! It’s just taking a summer nap (called dormancy). A pro-tip is to plant them near something like Baby’s Breath, which will grow up and fill the empty spot in mid-summer. The one thing they demand is excellent drainage, because they hate having wet feet in the winter.
- Icelandic Poppy: These are a little confusing. They’re technically short-lived perennials, but in most places, it’s best to just treat them as very cool-weather annuals. They absolutely hate summer heat. They’re fantastic for a quick, dazzling burst of spring color, and their long stems make them incredible cut flowers. For best results, sow them in late fall or even late winter.
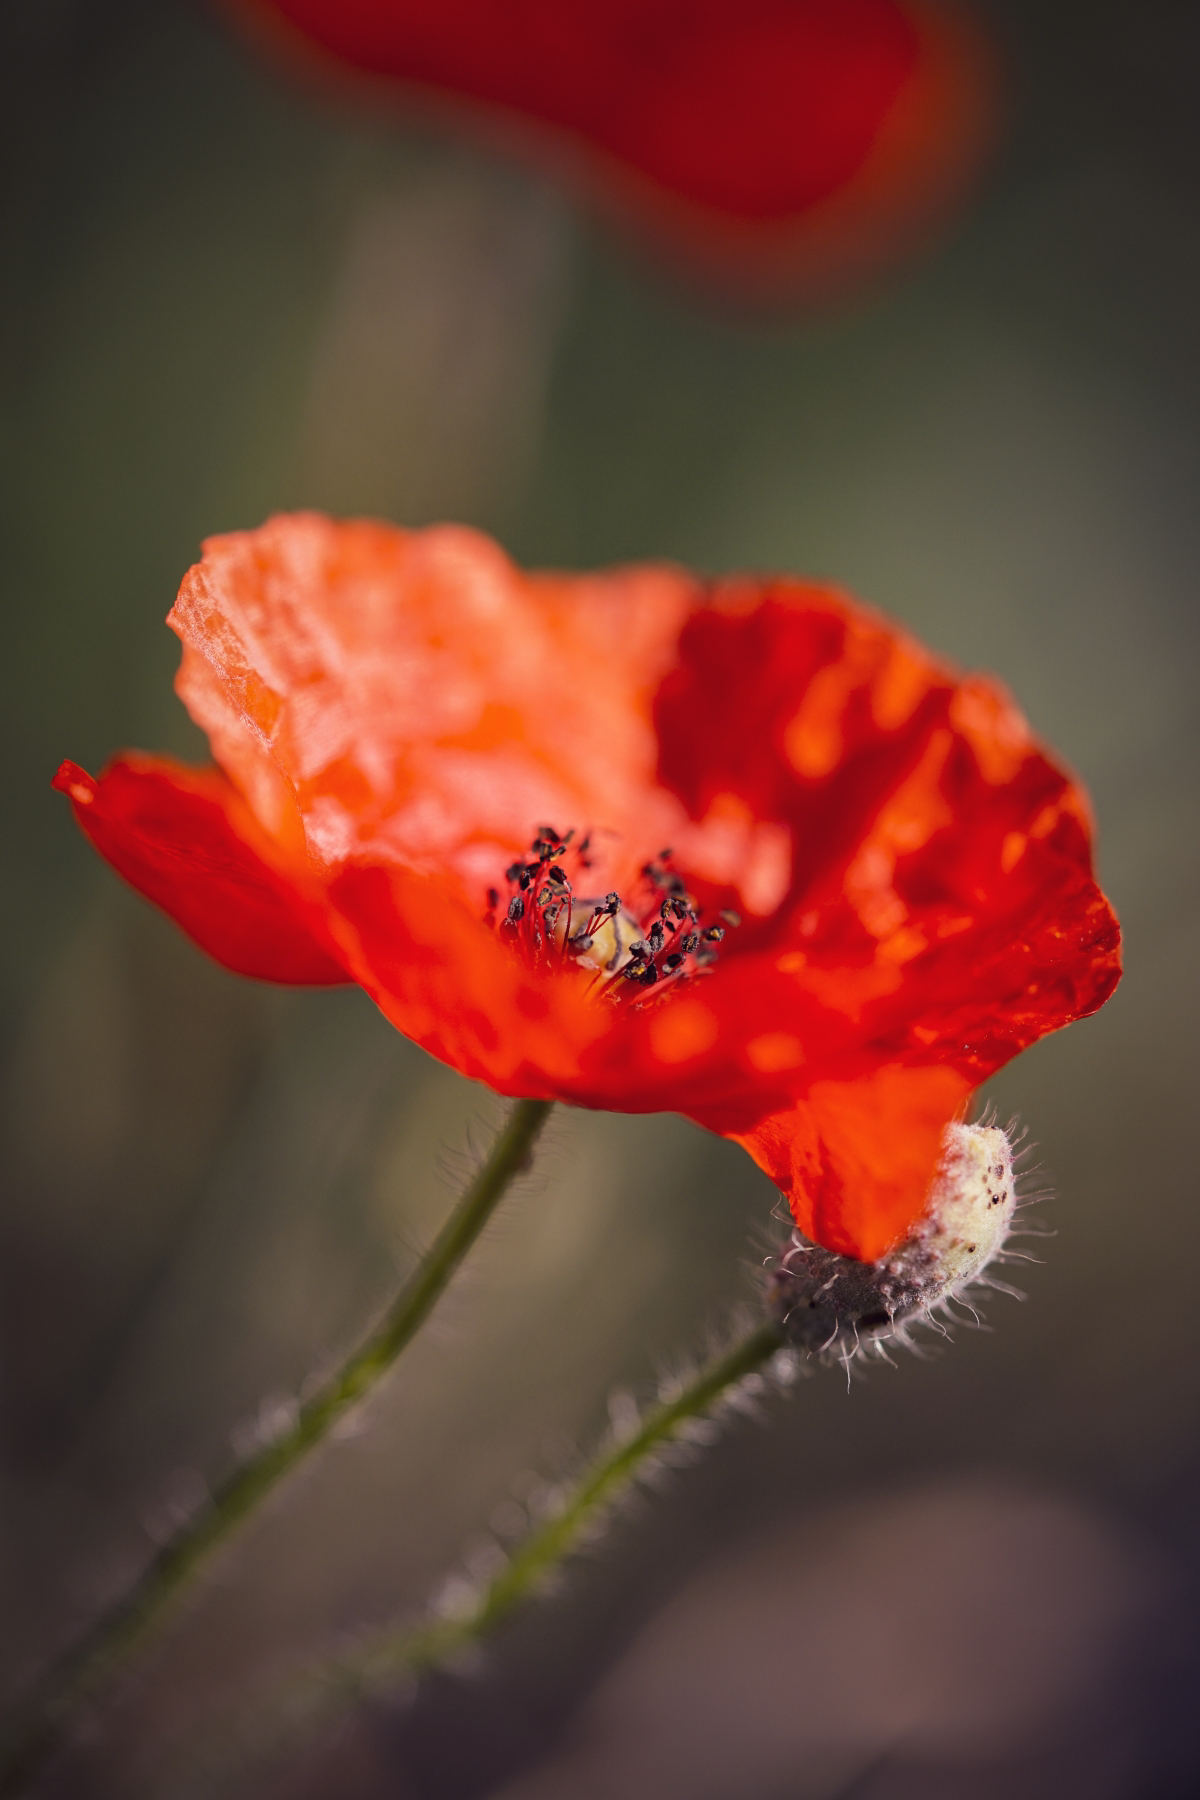
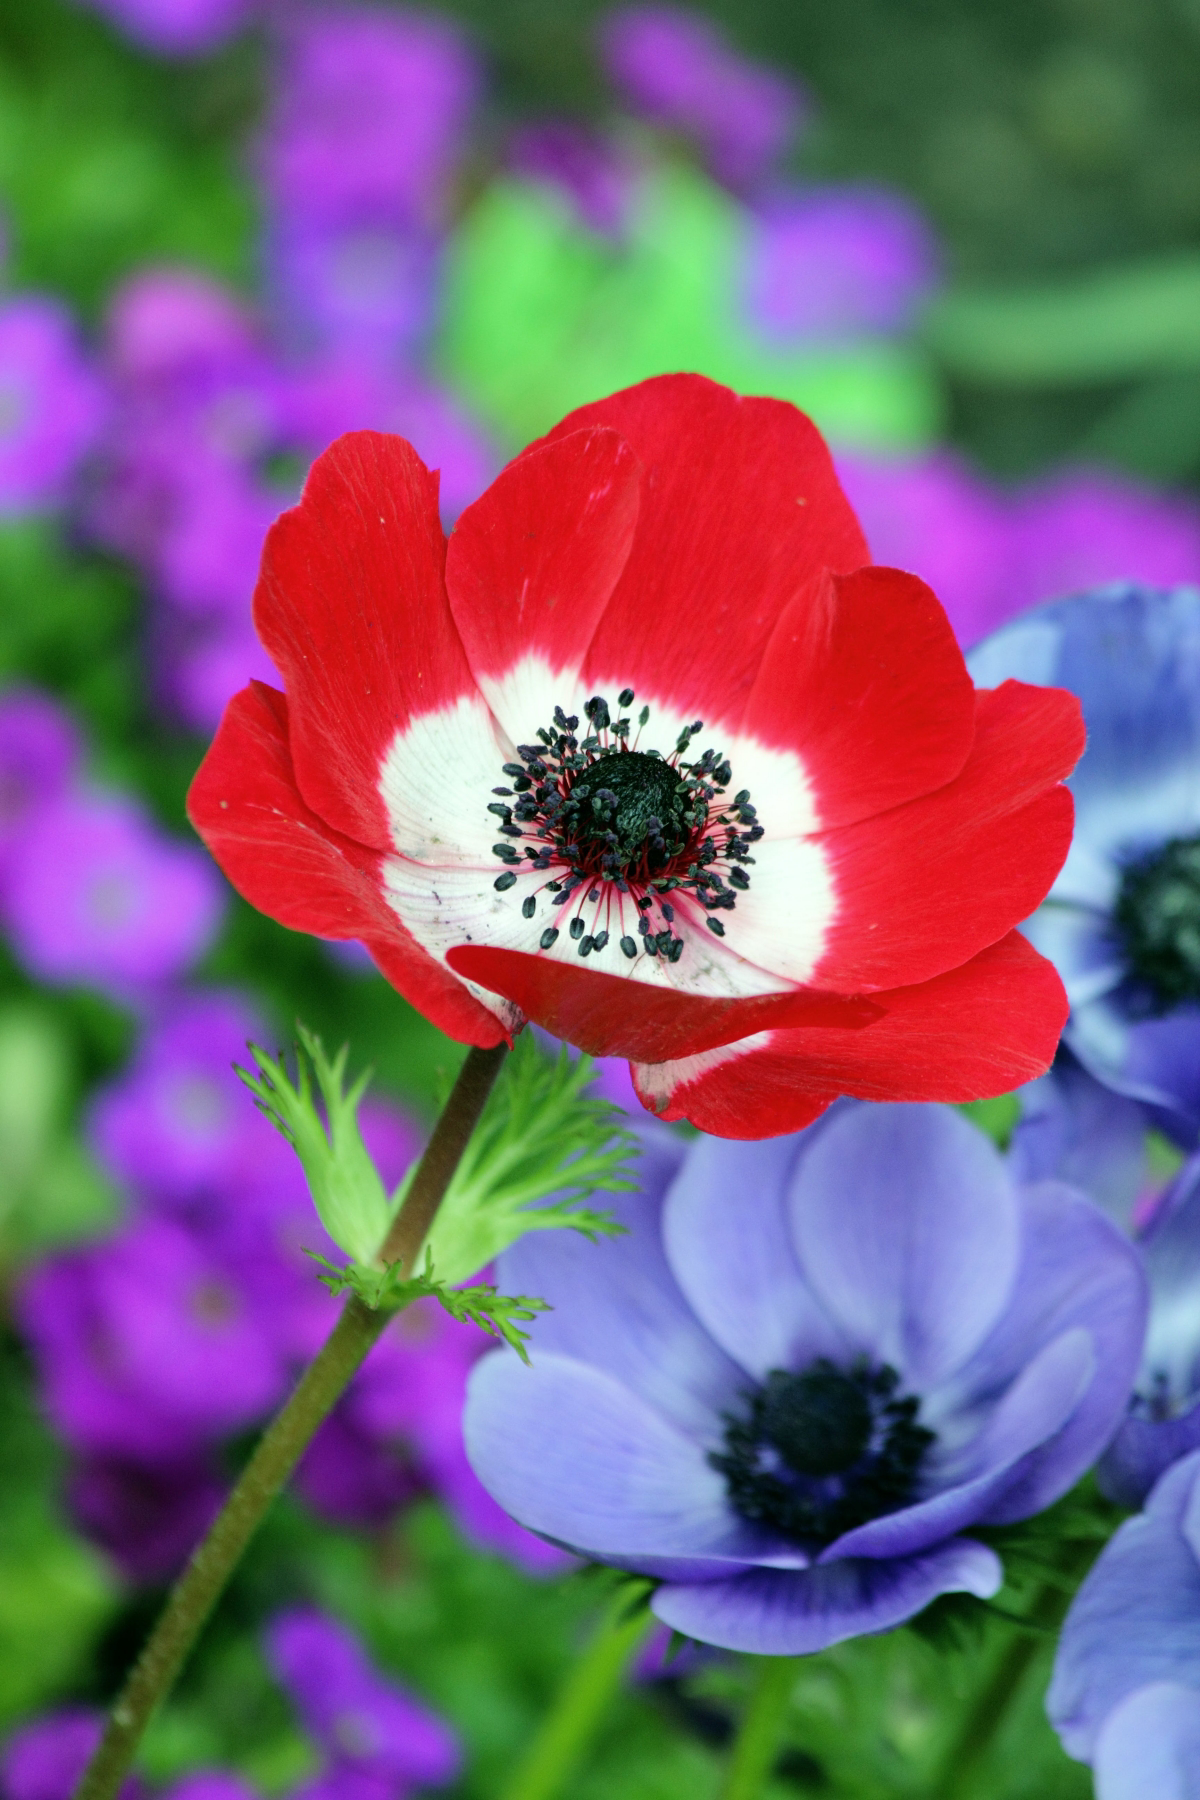
- The ‘Somniferum’ Poppy: We have to talk about this one responsibly. The flowers are stunning—from massive, frilly peony-like blooms to deep, moody purples. They are also the source of culinary poppy seeds. However, the legality of growing them is very complex and changes from place to place. In some areas, it’s fine to grow them for their beauty, but illegal to process them. Before you even think about planting these, you absolutely must check your local and national laws. Seriously. I’m a gardener, not a lawyer, and ignorance isn’t an excuse. If you grow them legally, treat them just like a Flanders poppy—they’re annuals that do best with a fall or super-early spring sowing.

How to Actually Grow Poppies: My Step-by-Step Method
Getting poppies to thrive is all about nailing a few key moments. Get the sowing right, and you’re 90% of the way there.
First, let’s talk supplies. Honestly, this is one of the cheapest projects in the garden.
My Poppy Starter Kit:
- One packet of poppy seeds (usually $3-$5 from a good supplier like Botanical Interests or even on Etsy).
- One small bag of cheap play sand from any hardware store (about $5).
- Maybe a small box of bone meal ($8-$10), but only if your soil is really poor.
That’s it! You can get thousands of seeds for less than a fancy coffee.
Step 1: Prep the Perfect Spot
Poppies need sun. Period. Find a location that gets at least 6 hours of direct sun a day. Then, check your drainage. Dig a hole about a foot deep and fill it with water. If it’s still full an hour later, you’ve got a problem. To fix it, you’ll need to work in some aged compost and coarse sand to help the water move through. Rake the area smooth and get rid of every single weed—poppy seedlings are tiny and can’t handle any competition.
Step 2: Sowing the Seeds (The Right Way)
Poppy seeds are like dust, making them a pain to spread evenly. Here’s the trick I swear by: take a small bowl and mix one part poppy seed with about five parts dry sand. This bulks up the mix and lets you see where you’re scattering. For a 3×3 foot patch, you only need about a quarter-teaspoon of actual seeds. A little goes a very long way!
Now, just broadcast that mix over your bare, prepared soil. Don’t rake it in! Just gently walk over the area or press it down with the back of a rake to ensure the seeds make good contact with the soil. Water gently with a fine mist so you don’t wash them all away.
As for timing, “fall” means late October for me here in Zone 6. If you’re in a warmer spot like Zone 8, you might be sowing in November or December. The goal is just to give the seeds that winter chill they need.
Step 3: The Hardest Part: Thinning
Okay, deep breath. This is the step that separates success from failure. Your seeds will sprout into a thick green carpet. And you have to thin them. I know, it feels like plant murder to snip all those tiny, hopeful seedlings. But trust me, it’s an act of mercy. You’re trading a hundred weak, spindly plants for a dozen spectacular ones. Be brave!
Once they’re about an inch tall, go in with tiny scissors and snip the extras at the soil line. Don’t pull them up, or you’ll disturb the roots of the ones you want to keep.
- Flanders & California Poppies: Give them about 6-8 inches of space.
- Icelandic Poppies: Aim for 8-10 inches apart.
- Oriental Poppies: These get big, so give them a generous 18-24 inches of room.
Step 4: The Waiting Game: A Rough Timeline
Gardeners are always asking, “Okay, so when does the magic happen?” It varies, but here’s a general schedule for fall-sown poppies:
- Sowing Time: October – December
- First Sprouts: March – April (tiny green specks)
- Active Growth: April – May (they’ll form rosettes of leaves)
- First Blooms: Late May – June
Step 5: Watering and Feeding
Keep the soil lightly moist while the seedlings are getting established. Once they’re a few inches tall, you can back off. Deep, infrequent watering is much better than a daily sprinkle. For fertilizer, less is more. If your soil is decent, you don’t need any. If it’s poor, a small handful of bone meal scratched into the soil around the plants in early spring is plenty. Too much fertilizer just gives you floppy green plants with no flowers.
But Can I Grow Them on My Balcony?
Ah, the container question! Because of that deep taproot we talked about, most poppies are not happy campers in pots. It’s just not deep enough for them to do their thing. To be frank, it’s a challenge.
If you’re absolutely determined to try, your best bet is the California poppy. You’ll need a VERY deep pot—I’m talking 18-24 inches deep, like a whiskey barrel planter. Fill it with a sandy, fast-draining soil mix, not rich potting soil. Sow the seeds directly on top and thin them aggressively. It might work, but just know you’re fighting their natural instincts.
Quick Fixes for Common Problems
- My seeds didn’t sprout! This usually means they were buried too deep, the soil was too warm, or the seeds were old. Always get fresh seeds!
- My plants are tall and floppy! This is a classic sign of too little sun, too much fertilizer, or—you guessed it—failing to thin them properly.
- My Oriental poppies vanished in winter! They rotted. This is purely a drainage issue. When planting them, I sometimes toss a handful of gravel in the bottom of the hole just to be safe.
By the way, did you know that some poppy seed pods are natural salt shakers? When the pod dries, little vents open up under a ‘cap.’ When the wind blows, it shakes the pod and sprinkles the seeds out, just like a salt shaker would. Nature’s pretty clever, huh?
Finally, a quick but important note on safety. Except for the culinary seeds from the right variety, all parts of most poppies are toxic if eaten. It’s just good practice to plant them away from curious pets and small children, and teach kids never to put garden plants in their mouths. Healthy, well-spaced poppies rarely have pest problems, but if you see aphids, a sharp blast of water from the hose usually does the trick.
In the end, growing poppies is like a partnership. You provide the basics—sun, space, and decent drainage—and they provide the jaw-dropping beauty. There’s nothing quite like seeing a patch of dirt you prepped in the fall suddenly erupt in color. It’s simple, honest gardening at its best.
Galerie d’inspiration
There are over 100 species in the Papaver genus, but the secret to a painterly, multi-hued garden lies in mixing varieties of a single species.
For a soft, romantic look that mimics a watercolor painting, combine different cultivars of the Shirley Poppy (*Papaver rhoeas*). Blend ‘Angel’s Choir’ for its pastel picotee edges with the pure white ‘Bridal Silk’ and the soft pink ‘Mother of Pearl’. Sown together, they create a harmonious, dreamy effect rather than a jarring clash of colors.
Struggling to sow those dust-like seeds evenly?
The professional gardener’s trick is simple: mix your seeds with a cup of fine, dry sand before broadcasting them. This adds volume, making it much easier to see where you’ve sown and helps prevent the dense clumps that lead to weak, competing seedlings. It’s the key to achieving that natural, effortless meadow look.
The biggest mistake after sprouting: Overzealous watering. Poppy seedlings have delicate roots and are highly susceptible to ‘damping off’—a fungal disease that rots stems in soggy, cool soil. Resist the urge to dote on them. Water gently only when the top inch of soil feels dry to the touch, and always in the morning so the surface can dry before nightfall.
- You get free plants for next year, perfectly adapted to your garden’s microclimate.
- It provides a valuable food source for birds and other wildlife.
- You can easily share your garden’s beauty with friends and neighbors.
The secret? Master the art of harvesting. After the petals fall, leave the seed pods on the stalk. Wait until they are dry, tan, and you can hear the seeds rattle inside like a tiny maraca. Snip the pods off, turn them upside down over a paper bag, and give them a good shake.
For a truly dramatic flair, look beyond the classic red. Seek out unique heirloom varieties from specialty suppliers like Baker Creek Heirloom Seeds or Botanical Interests. The ‘Lauren’s Grape’ (*Papaver somniferum*) offers an astonishingly deep, velvety purple, while frilly ‘Peony’ poppies in black or salmon shades bring a level of texture and opulence you won’t find in a standard mix.
Poppies are the ultimate low-budget, high-impact flower. A single $3 seed packet can produce hundreds of blooms.
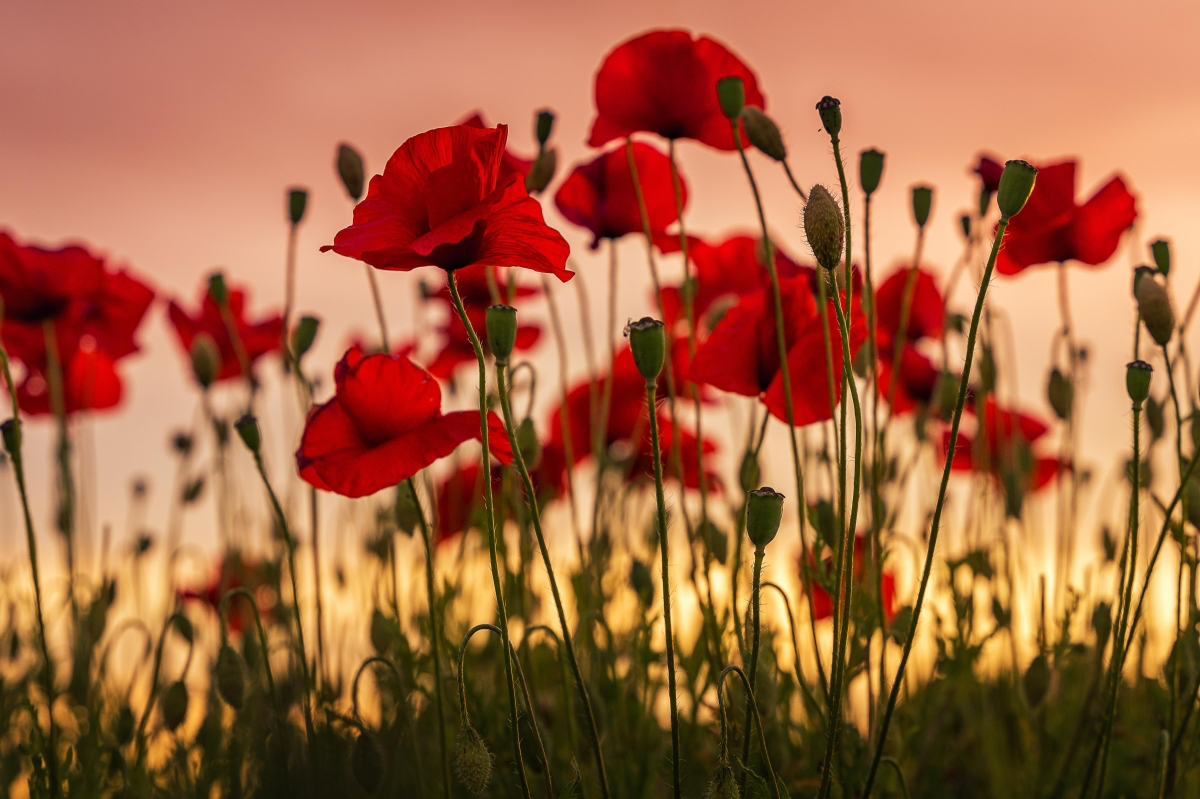
Flanders Poppy (*Papaver rhoeas*): The iconic, simple red poppy of remembrance. Delicate, single-petal blooms on wiry stems. It’s the classic choice for a wildflower or cottage garden look.
Iceland Poppy (*Papaver nudicaule*): The crepe-paper jewel. Known for its crinkled petals in a wide array of colors from yellow and orange to champagne and pink. It prefers cooler weather and can act as a short-lived perennial in some zones.
For a classic meadow, choose Flanders; for vibrant, sherbet colors, go with Iceland.
Don’t just think about flowers; consider foliage. The feathery, blue-green leaves of most poppies are gorgeous in their own right. They make a fantastic companion for plants with bold, contrasting leaves.
- Try planting them near the deep burgundy foliage of a ‘Palace Purple’ Heuchera.
- Let them weave through the silvery leaves of Lamb’s Ear (*Stachys byzantina*) to make their flower colors truly sing.
There’s a quiet magic in a poppy’s daily rhythm. Unlike other flowers that simply stay open, many poppy varieties close their petals each evening and unfurl them again with the morning sun. It’s a slow, deliberate performance that turns your garden into a living timepiece, marking the passage of the day.

It feels cruel, but thinning your seedlings is the most important act of kindness for your poppy patch. Once they are an inch or two tall, use a small pair of scissors to snip the weaker ones at the soil line, aiming for a final spacing of about 6 to 8 inches apart. Don’t pull them out, as this can disturb the fragile roots of the seedlings you want to keep. This single step ensures each plant has the resources to grow large and produce a profusion of blooms.
Want a fun project for planting in bare spots?
Make poppy seed balls. In a bowl, mix one part seeds, three parts sifted compost, and five parts powdered clay (bentonite is ideal). Slowly drizzle in water and mix until you can form a firm, truffle-sized ball. Let them dry completely in the sun. The clay protects the seeds from birds and the elements until a good rain melts the ball and triggers germination.


