Thinking About a Living Wall? Here’s the No-BS Guide to Getting It Right
I’ve spent a lot of time with living walls, putting them everywhere from big corporate offices to tiny city apartments. I’ve seen how they can absolutely transform a room, but I’ve also been the guy called in to fix a project that’s gone south. And trust me, a living wall is so much more than just a bunch of plants hanging on a wall. It’s a living, breathing ecosystem that needs the right balance of structure, water, light, and biology to work.
In this article
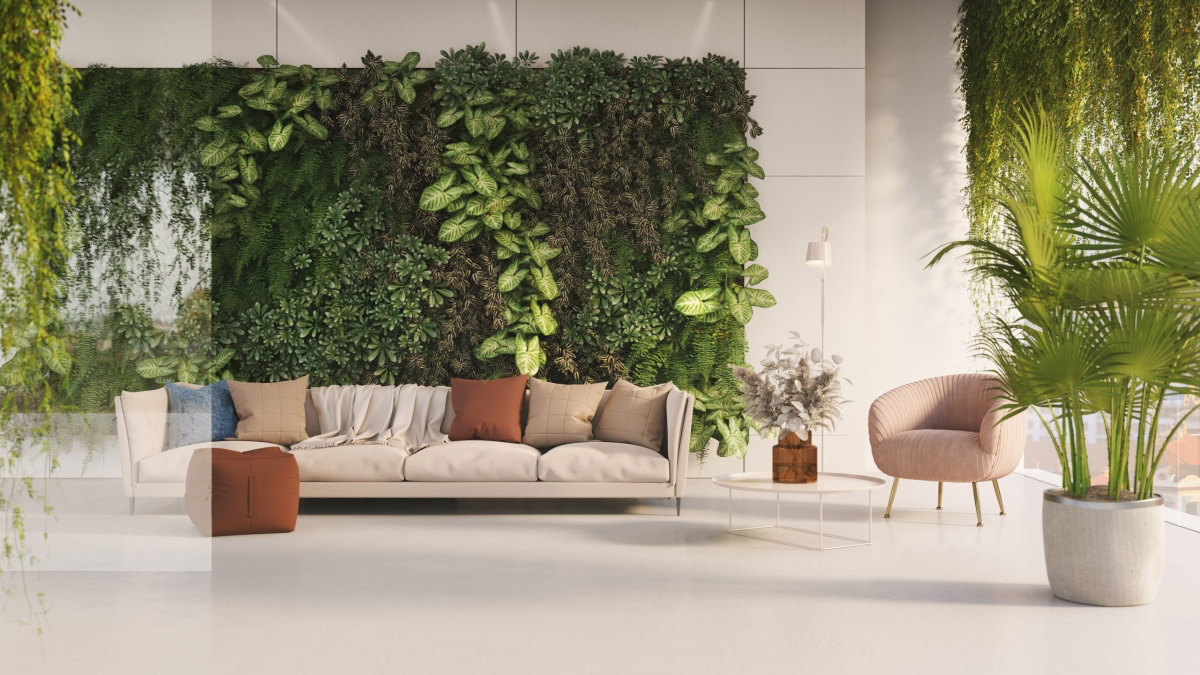
When most people see a gorgeous green wall, they just see the beauty. But I see the engineering and the plant science that’s keeping the whole thing alive. A lot of guides you’ll find online only focus on the pretty final picture, and they don’t really prepare you for the actual work involved.
This isn’t just another piece of decor; it’s a serious long-term commitment. Get it right, and your wall can look amazing for a decade or more. But if you cut corners? You could be looking at a total failure in just a few months, complete with water damage, pests, and a whole lot of regret. My goal here is to give you the practical, hands-on knowledge you actually need—the same stuff I teach my own team.
First Things First: It’s a System, Not Just a Garden
Before you even think about which plants to buy, you have to wrap your head around the physics of it all. A living wall is a dynamic system. Its weight literally changes when you water it. It breathes, it eats, and it affects the air in your home. Honestly, ignoring these fundamentals is the number one reason these projects fail.
The Hidden Weight Problem
The first thing to consider, always, is weight. A living wall is heavy, and it gets WAY heavier when it’s full of water. A standard modular system can weigh between 12 and 25 pounds per square foot once you add the soil, plants, and water. So, a relatively small 4-foot by 8-foot section could easily top 800 pounds. This isn’t something you can just hang up with a couple of drywall anchors.
Your wall absolutely has to support this load. For any wall bigger than a small picture frame, you need to anchor the mounting hardware directly into the wall studs. No exceptions. If you’re in an older home or a building with metal studs, you might even need to add a plywood backer board that’s secured across several studs to distribute the load. For any really big walls (think over 100 square feet), the pros always consult a structural engineer. It’s just not worth the risk.
Controlling Water and Humidity
Water is the lifeblood of your wall, but it’s the enemy of your house. Every single professional-grade living wall system comes with a waterproof backing, and this is completely non-negotiable. This barrier is what stops moisture from seeping into your drywall and causing mold and rot. And mold isn’t just ugly; it’s a genuine health hazard. The most common issue I find on failing DIY walls is moisture damage from using a cheap, flimsy barrier.
By the way, a living wall will also increase the humidity in the room. This is great for the plants, but you need good air circulation to keep the air from feeling damp and stagnant. For most homes, just making sure the room isn’t sealed shut is enough, but it’s something to keep in mind.
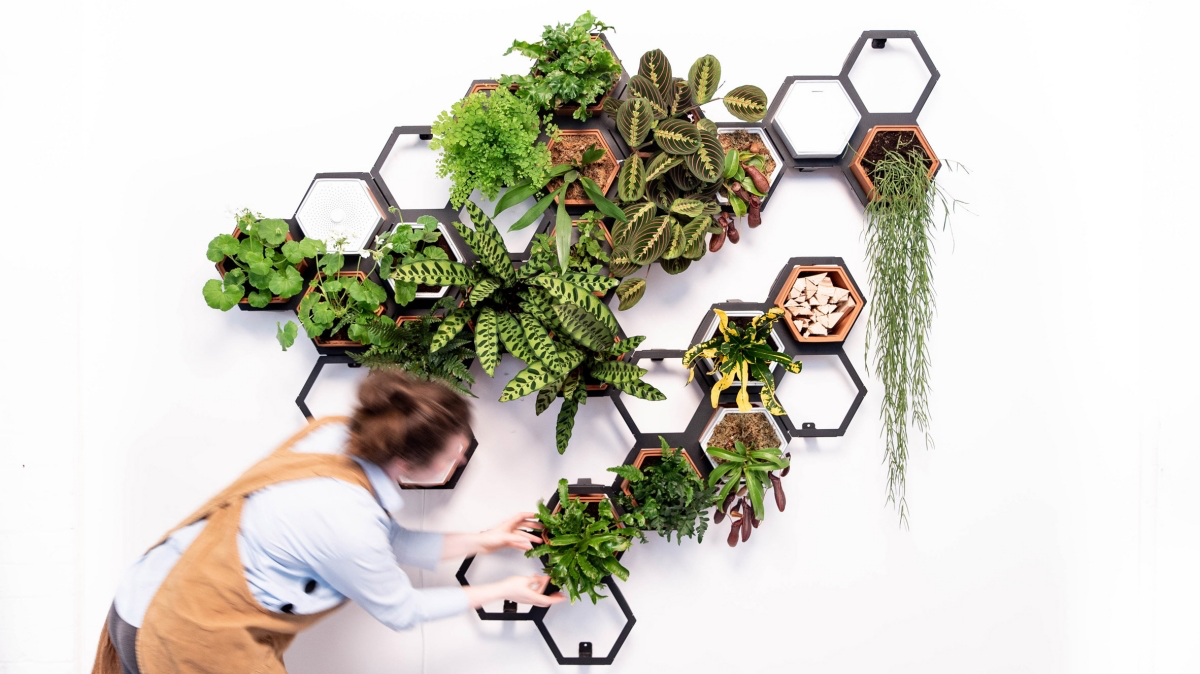
Choosing Your System: A Pro’s Breakdown
There are a few different types of systems out there, but they generally fall into two camps: felt pockets and modular panels. The right one for you really depends on how big you want to go, your budget, and how much maintenance you’re willing to do.
So, felt or modular? Let’s look at the real-world differences:
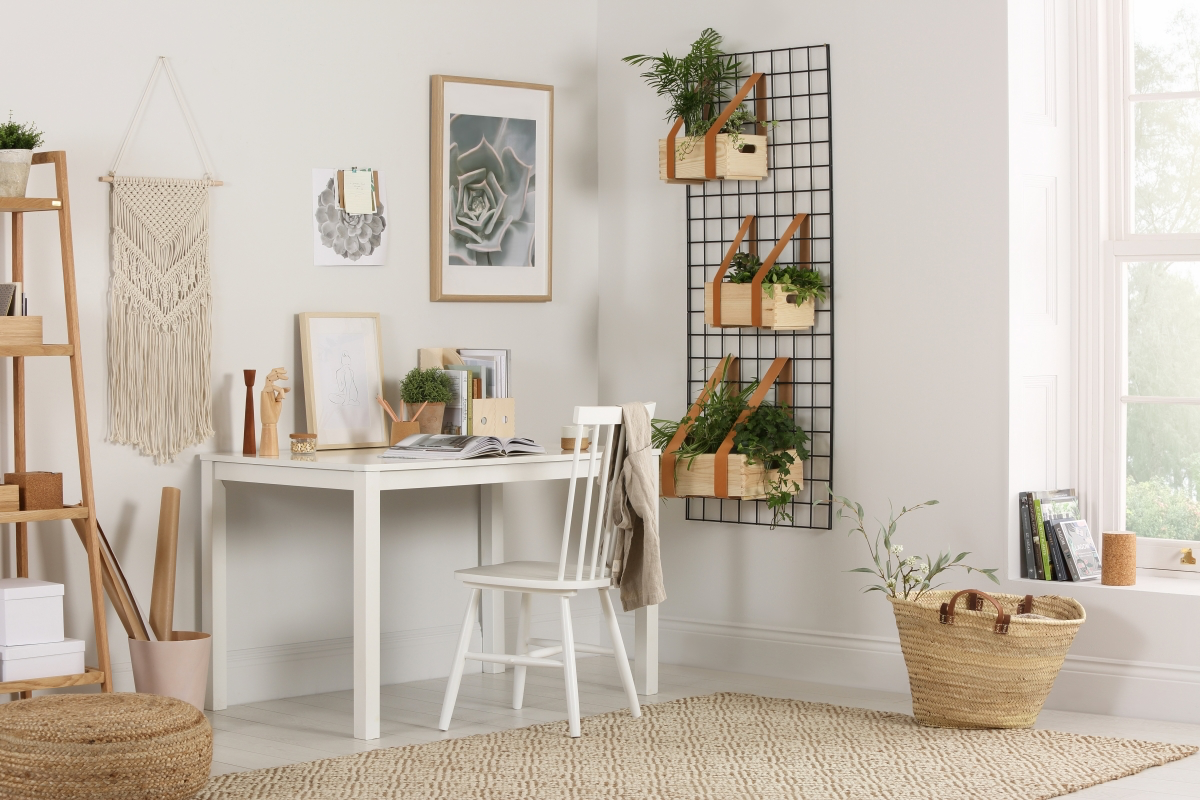
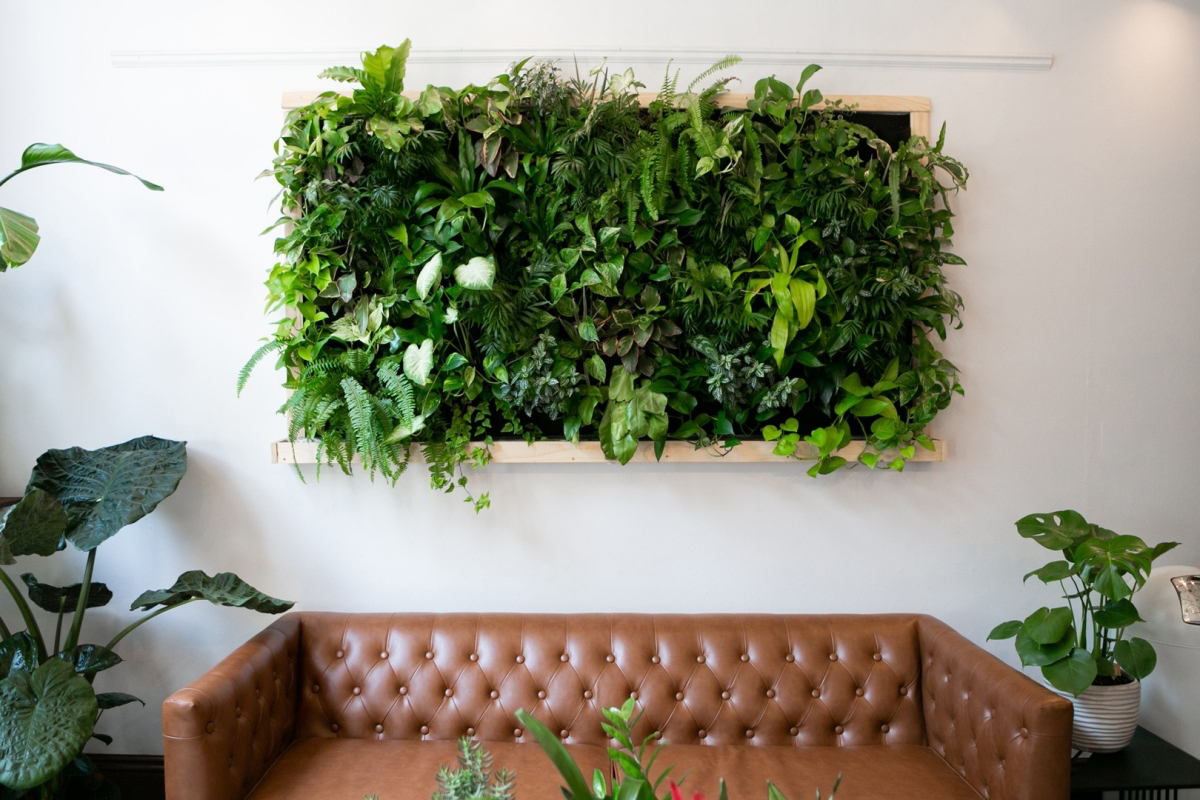
- Felt Pocket Systems: Inspired by the work of pioneering European botanists, these systems use layers of synthetic felt stretched over a waterproof frame. You cut little pockets into the felt and tuck the plants inside. Water drips from the top and wicks down, watering the roots as it goes. Systems like those from Florafelt are a common example. They create a stunning, seamless look where the plants can grow together and totally hide the structure. The downside? They’re less forgiving. The roots are more exposed, and the felt can dry out in a flash if your irrigation has a hiccup. They also require more skill to plant correctly, as you have to carefully wrap the root ball. They’re often a better fit for serious plant experts or projects with a professional maintenance contract.
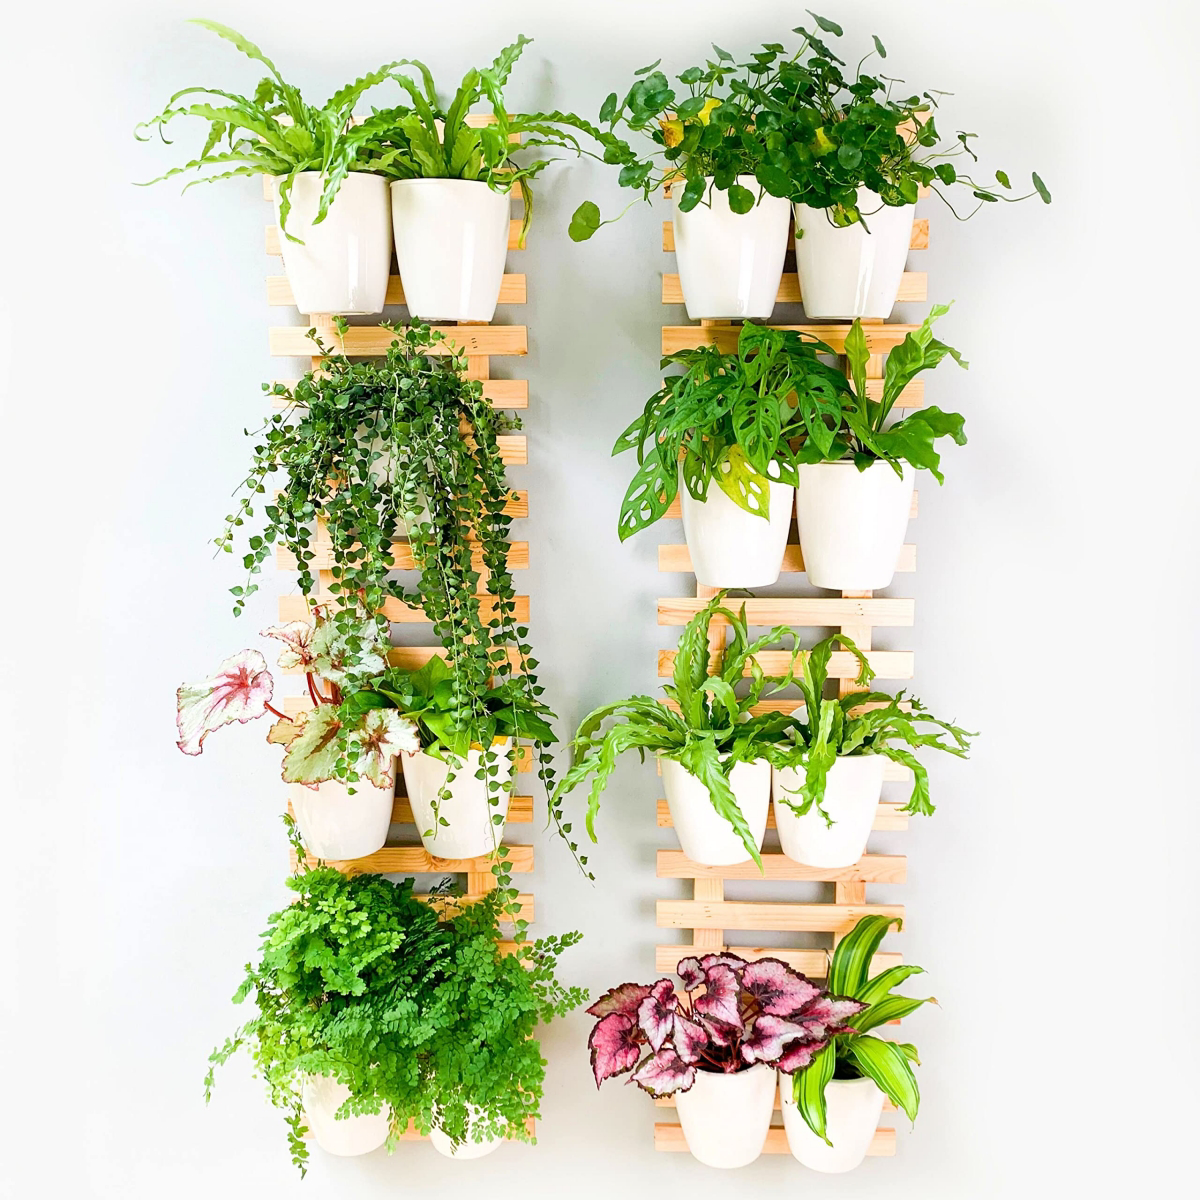
- Modular Panel Systems: These are, by far, the most common choice for both homes and businesses. They use a grid of individual plastic trays or panels that hold the growing medium and plants. These panels then hook onto a mounting rack on the wall. Think of it like a grid of super-specialized pots. For DIYers, I’ve seen good results with systems like WallyGro or Plants On Walls, which you can easily find online. The big win here is maintenance. If one plant dies, you can just pop out that one panel and replace it without messing up the whole wall. But a word of warning: quality varies wildly. Cheap panels can crack, and their built-in water channels clog easily. The pros use systems made from thick, UV-stabilized plastic that won’t get brittle and fail after a few years.
Quick Tip: Be very wary of those small, all-in-one “picture frame” living walls you see online. They look fantastic for a few weeks, but many of them don’t have enough room for roots or proper drainage. The plants quickly become root-bound and starved for nutrients.
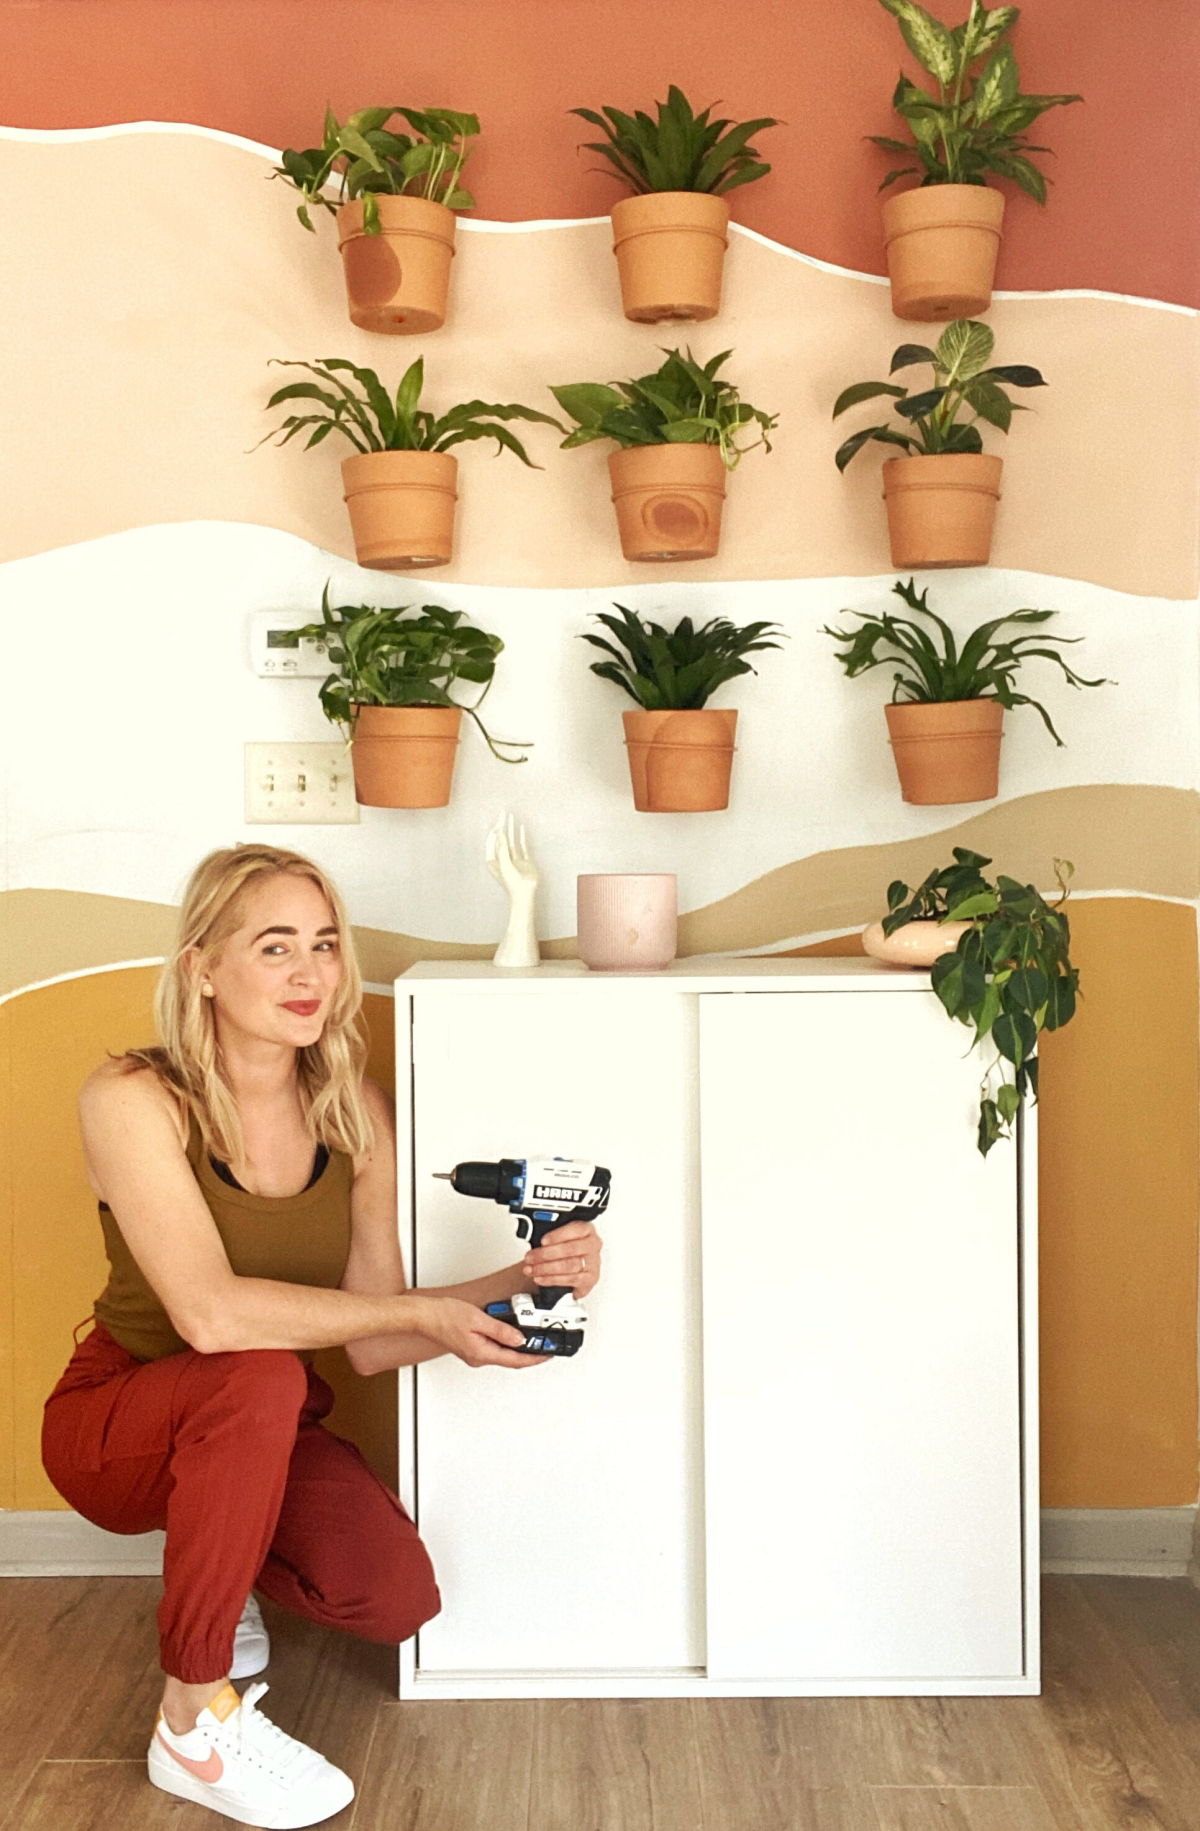
The Nuts and Bolts of the Install
A successful living wall is all in the details. Getting the support systems perfect before you add a single plant is what separates a thriving wall from a constant headache.
Mounting and Framework
Like we talked about, you have to anchor to studs. And use a laser level to get the mounting rack perfectly horizontal. Seriously, don’t eyeball this. If the rack is even slightly uneven, water will pool on one side, drowning some plants while the others wither. For all your hardware, use stainless steel screws. They won’t rust or corrode, which is a big deal in a system that’s constantly wet.
Irrigation: The Heart of the Wall
You absolutely need an automated irrigation system. Hand-watering is a recipe for disaster on any wall bigger than a couple of square feet. It’s just too hard to be consistent.
You’ll typically use a closed-loop system for a home setup. This means you have a reservoir (a tank or basin) at the bottom. A small submersible pump, hooked up to a timer, pushes water up to a drip line at the top. The excess water drains back down into the reservoir to be used again. For a typical 4×8 foot wall, a small pump rated for around 250 GPH (gallons per hour) is plenty, and you can pick one up for about $30.
Pro Tip: Use pressure-compensating drip emitters. This ensures every plant gets the same amount of water, whether it’s at the start or the end of the line. I usually set the timer for a new wall to run for 15 minutes, twice a day, and then adjust based on how the plants are doing.
A Hard-Earned Lesson: Early in my career, I installed a beautiful wall in an office with very hard water. Six months later, mineral deposits had clogged half the emitters, and the wall was a mess. Now, I always test the water quality first. If you have hard water, an in-line filter is a cheap and easy way to prevent a massive headache down the road.
Lighting: The Energy Source
Unless your wall is parked in front of a huge, unobstructed south-facing window, you’re going to need supplemental lighting. Your regular ceiling lights just won’t cut it. Plants need a specific spectrum and intensity of light (called PAR) to thrive.
We use dedicated LED grow lights. They’re super energy-efficient and give the plants the full spectrum they need without generating a lot of heat that could burn the leaves. For a clean look, track lighting on the ceiling aimed at the wall works great. The lights should be on a timer for 10-14 hours a day. And don’t worry about the power bill; a modern LED setup and a small pump will probably only add about $5 to $10 a month to your electricity costs.
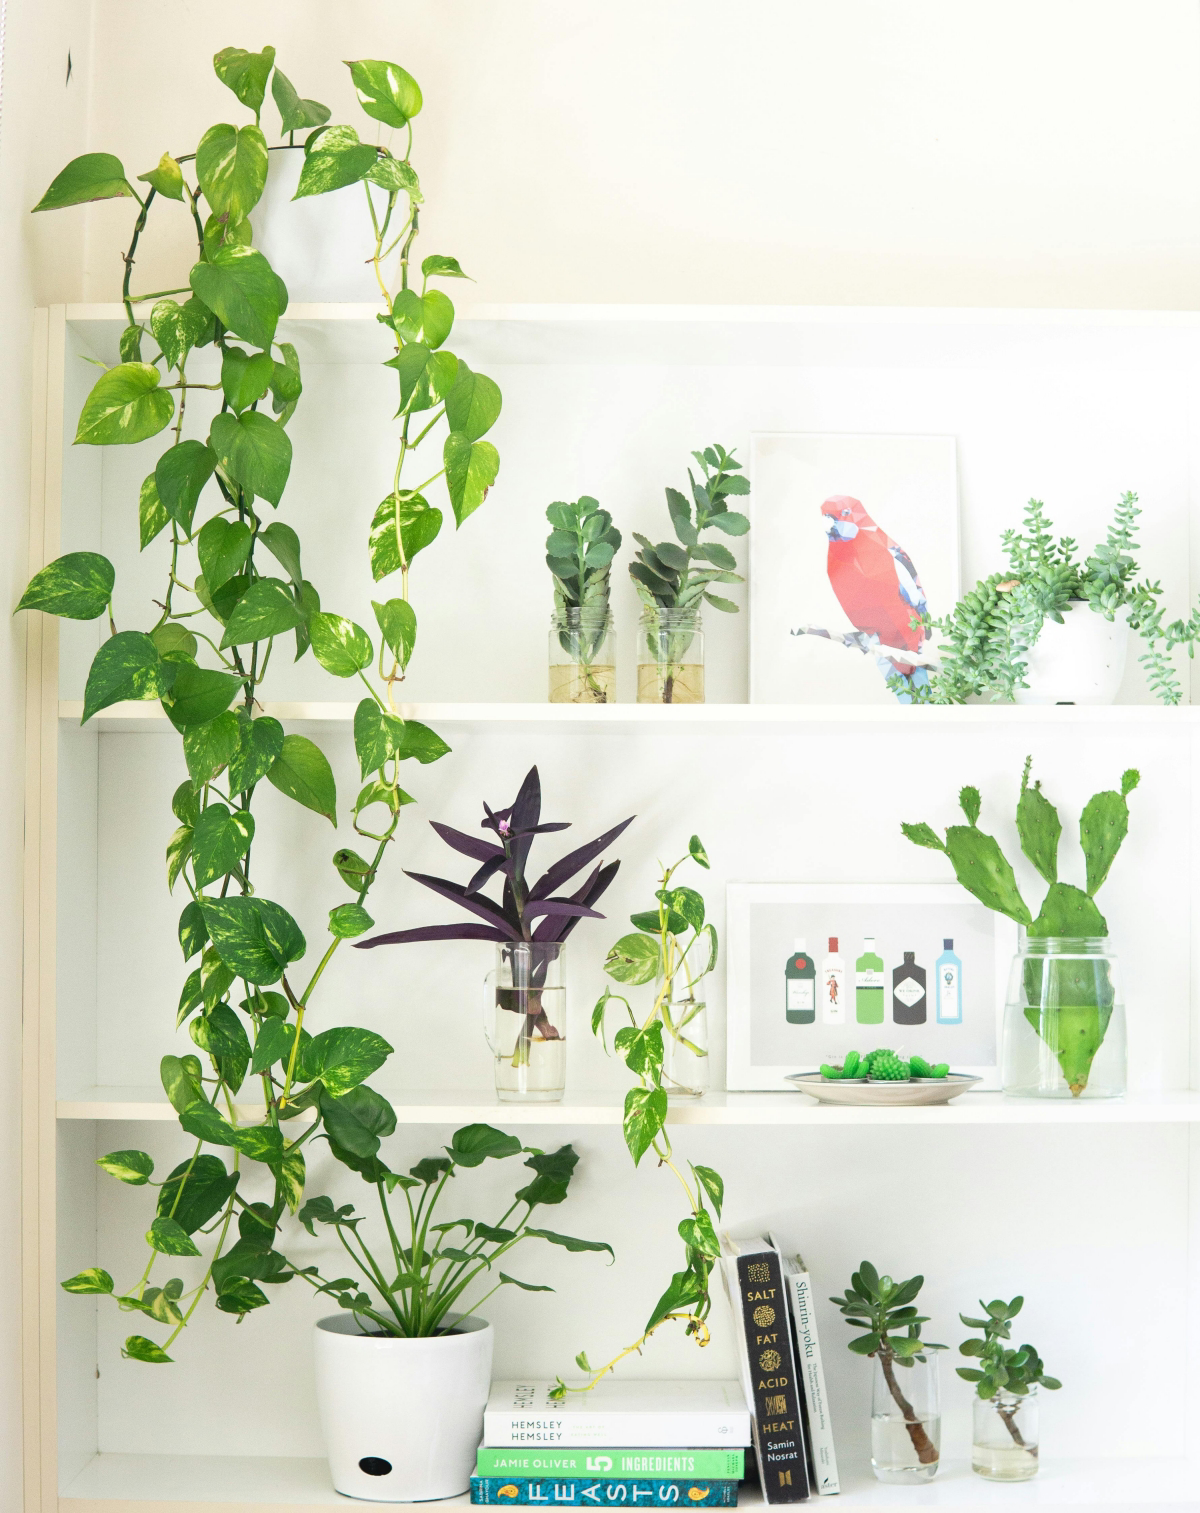
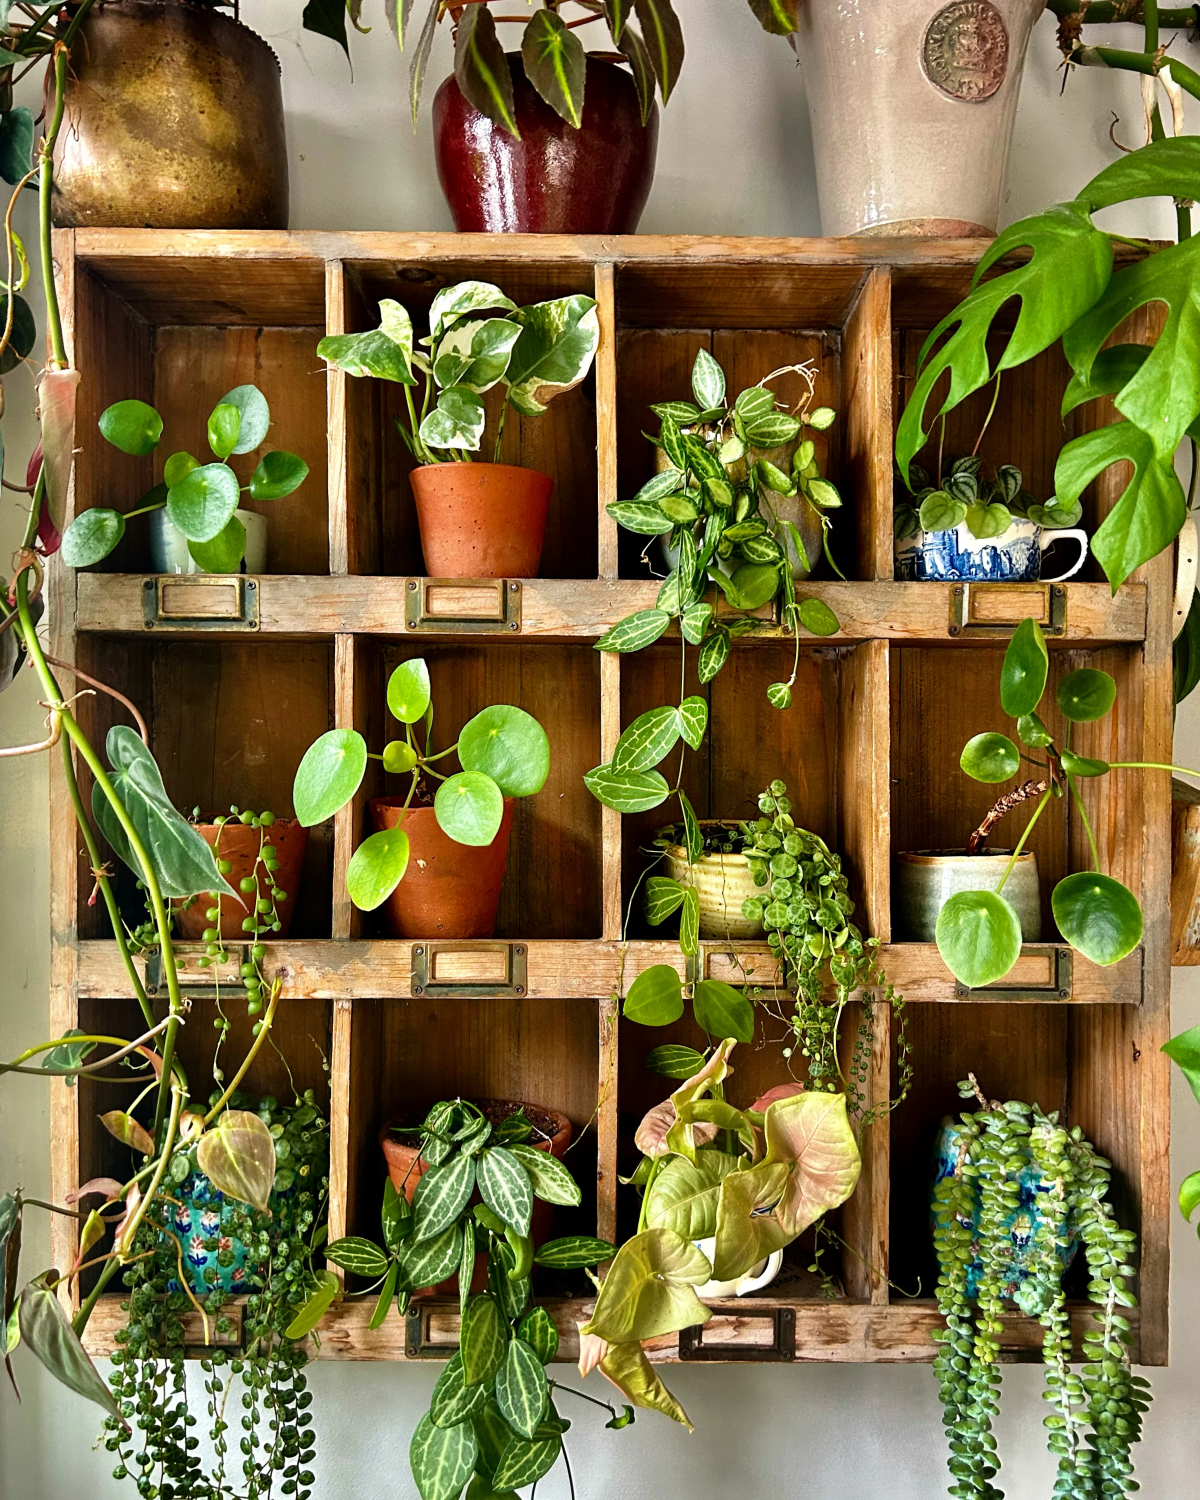
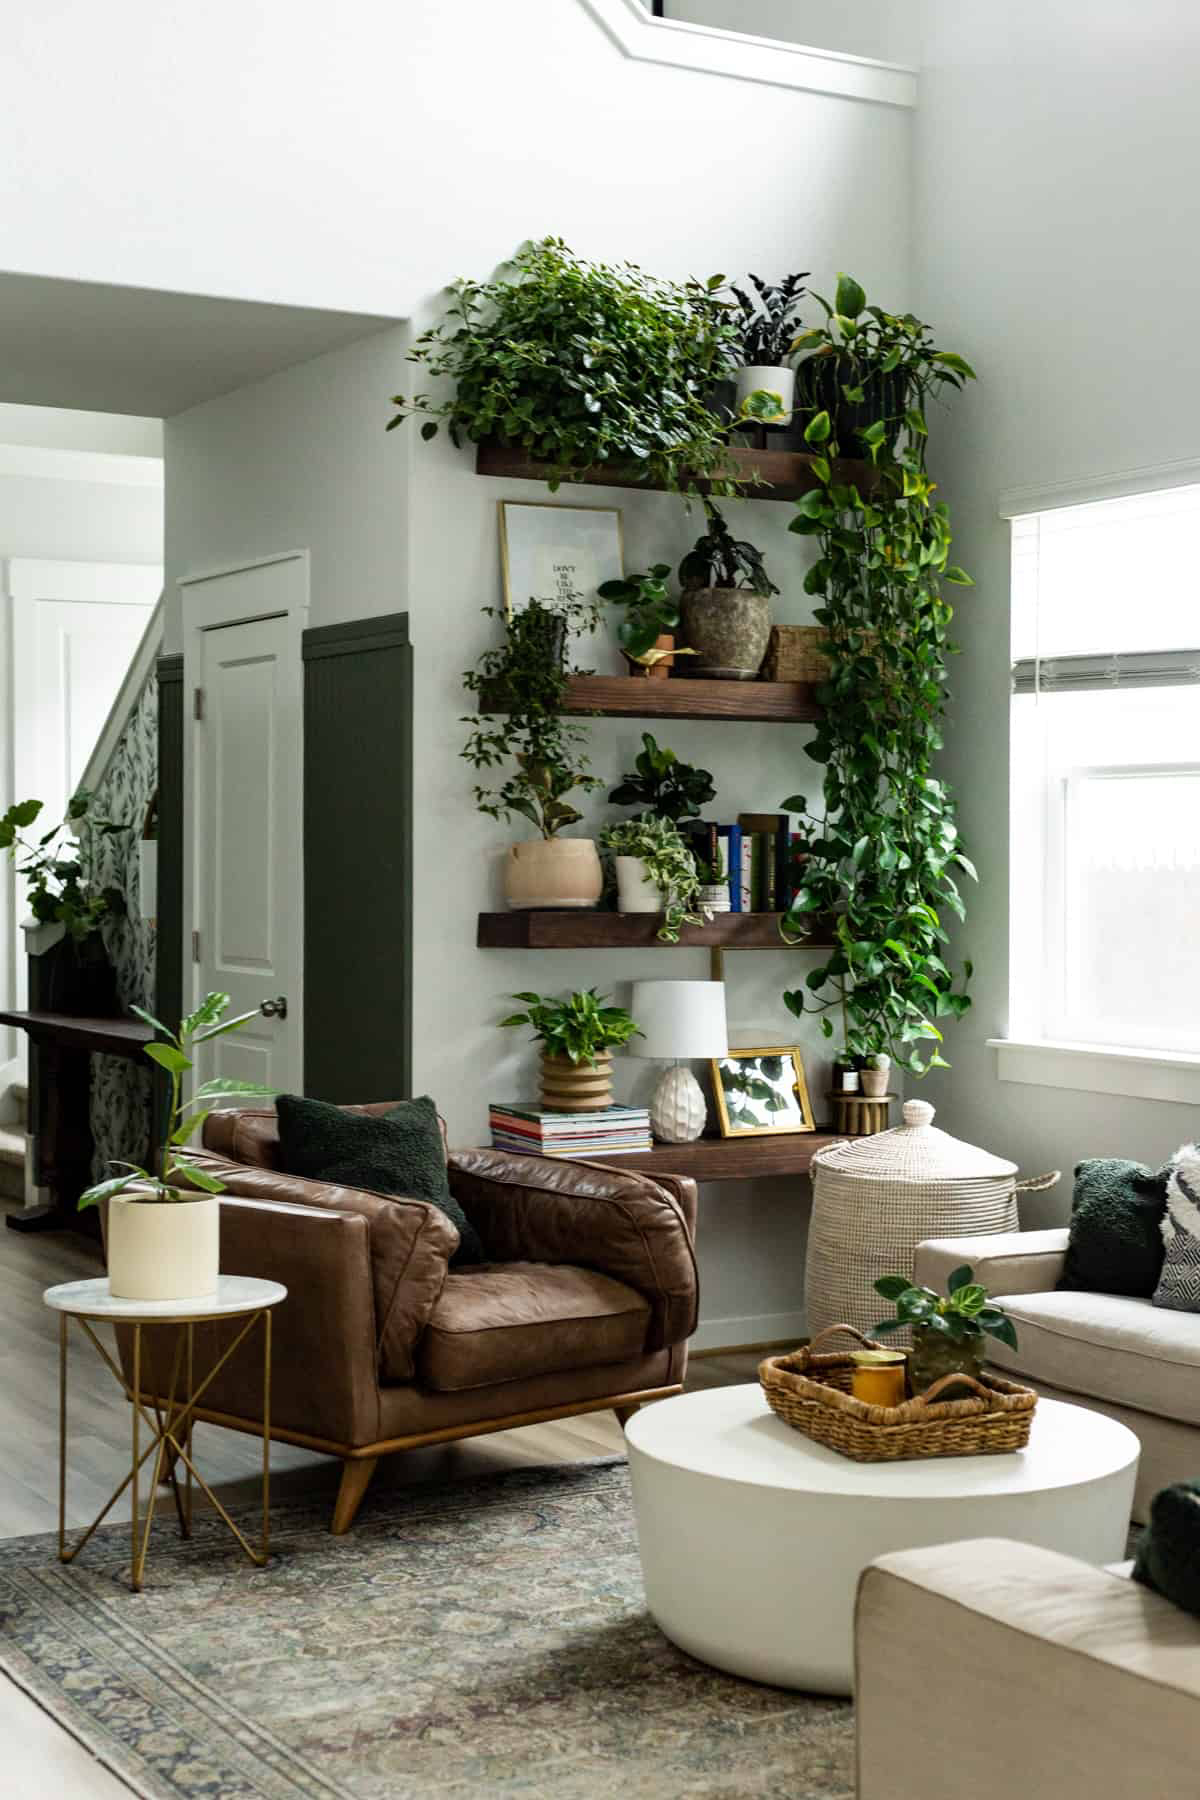
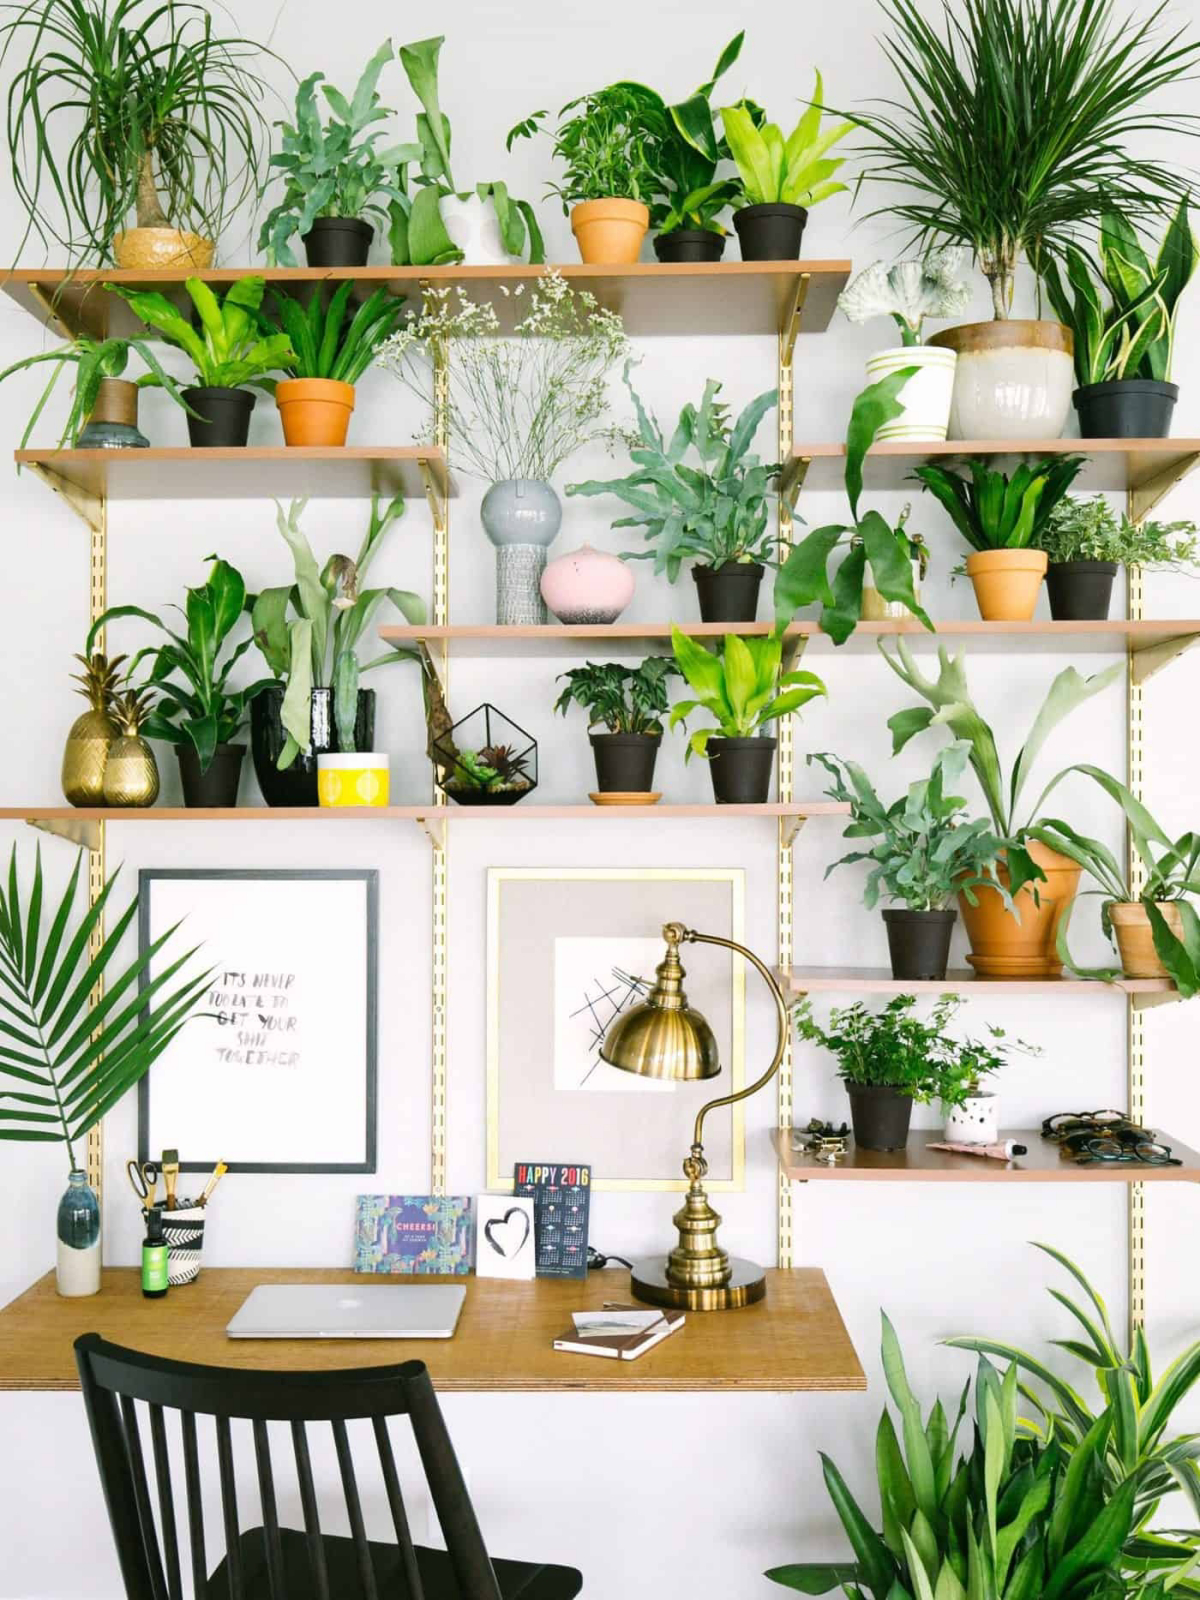
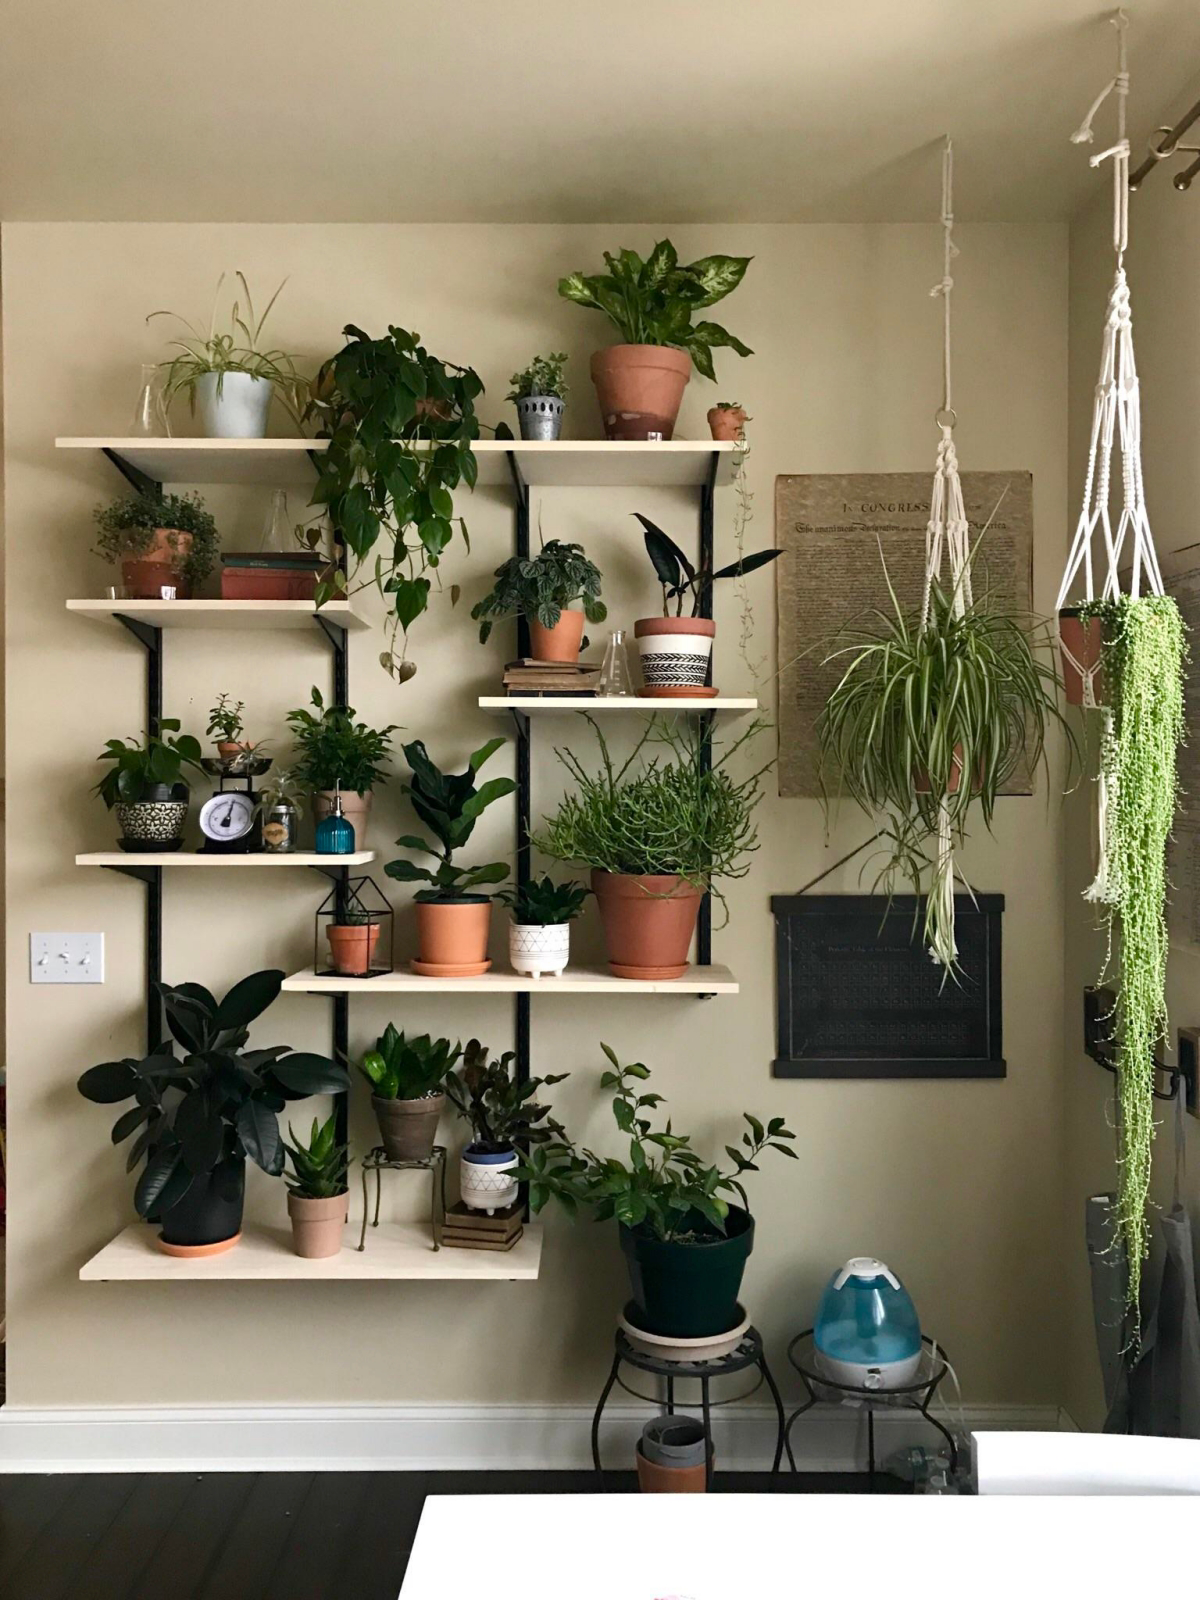
Plant Selection and Getting Them In the Wall
Choosing the right plants is part art, part science. You need plants that look good together but also have similar needs for light, water, and humidity.
Creating a ‘Plant Map’
I always map out where each plant will go before I start. A simple plant map for an 8-foot-tall wall might look something like this:
- Top Section (gets the most light and dries out fastest): This is a great spot for hardier plants like Snake Plants or Spider Plants.
- Middle Section (the sweet spot with even moisture): Perfect for lush plants like Golden Pothos, Philodendrons, and Bird’s Nest Ferns.
- Bottom Section (stays the wettest): Ideal for moisture-lovers like Creeping Fig or delicate Maidenhair Ferns.
Some other reliable choices include Lipstick Plants and Prayer Plants. But please, avoid plants that get huge or have deep taproots. I’ve actually seen someone try to put a Fiddle Leaf Fig in a living wall. It… did not end well.
The Planting Process
This part is delicate. Don’t just cram the plant and all its nursery soil into the panel. Instead, gently remove about 50-70% of the original soil from the root ball. This seems scary, but it encourages the roots to grow out into the new growing medium. If you leave the root ball too dense, it can actually repel water, and the plant will die of thirst in a perfectly wet wall.
Backfill the panel with a lightweight, well-draining mix—usually a blend of coco coir, perlite, and a bit of peat moss. Then give the whole thing a good watering and let it settle for a week or two before you install it. This helps the plants acclimate and reduces shock.
Long-Term Care: Keeping Your Wall Happy
A living wall isn’t a ‘set it and forget it’ deal. It needs regular check-ins, especially in the first six months. A weekly maintenance check shouldn’t take more than 15-20 minutes, and it’s crucial.
The Routine Checklist
- Water & Food: Check your reservoir weekly and top it off. Every month, add a balanced liquid fertilizer (a hydroponic formula is best) diluted to half-strength.
- Pruning: Snip off any yellow or dead leaves right away. Regular trimming encourages fuller growth and improves air circulation, which helps prevent fungus.
- Pest Patrol: Check your plants for common pests like spider mites or fungus gnats. It’s way easier to treat a small problem before it becomes an infestation. A simple insecticidal soap or neem oil usually does the trick.
- System Check: Once a month, watch a full watering cycle to make sure all the emitters are dripping and the water is spreading evenly.
The Crucial System Flush (Every 3-6 Months)
In a closed-loop system, salts from fertilizer and tap water will build up over time. You’ll see it as a white crust on the panels. This buildup can harm the roots. Flushing the system is easy and essential. Here’s how:
- Turn off the pump and timer.
- Siphon or drain all the old water out of your reservoir.
- Refill the reservoir with fresh, un-fertilized water.
- Run the pump for a full cycle, letting the fresh water wash through the system. Drain this flush water completely (don’t let it go back in the tank).
- Refill the reservoir one last time with your normal water and diluted fertilizer solution.
This simple process prevents so many long-term problems. Don’t skip it!
Costs, Safety, and When to Call in a Pro
My last bit of advice is to be realistic. This is a big project, and it’s better to do it right than to do it twice.
Heads Up! Safety First
- Structural: If you have any doubt about your wall’s strength, please hire someone to check it. A collapsing wall is no joke.
- Electrical: Your pump and lights MUST be plugged into a GFCI (Ground Fault Circuit Interrupter) outlet. This is the special kind of outlet with the ‘test’ and ‘reset’ buttons, usually found in kitchens and bathrooms. It shuts off the power instantly if it detects a short, which can save your life.
- Water Damage: Even the best systems can leak. I’d think twice before installing a huge wall directly over priceless hardwood floors or expensive electronics without a serious collection gutter and a leak detector.
What This Actually Costs
Costs are all over the place. So, what’s a realistic budget for a beginner? Let’s say you want to build a 4×4 foot wall yourself. You’re probably looking at something like this:
- Modular Panels (4): ~$150
- Submersible Pump (250 GPH): ~$30
- Vinyl Tubing & Emitters: ~$25
- Digital Timer: ~$15
- Plants: ~$120+
- Total Starting Cost: Around $340
For a professionally designed and installed wall, the investment is much bigger, often starting around $150 to $250 per square foot. If you get a quote that seems way too good to be true, it probably is—they’re likely using cheap materials that won’t last.
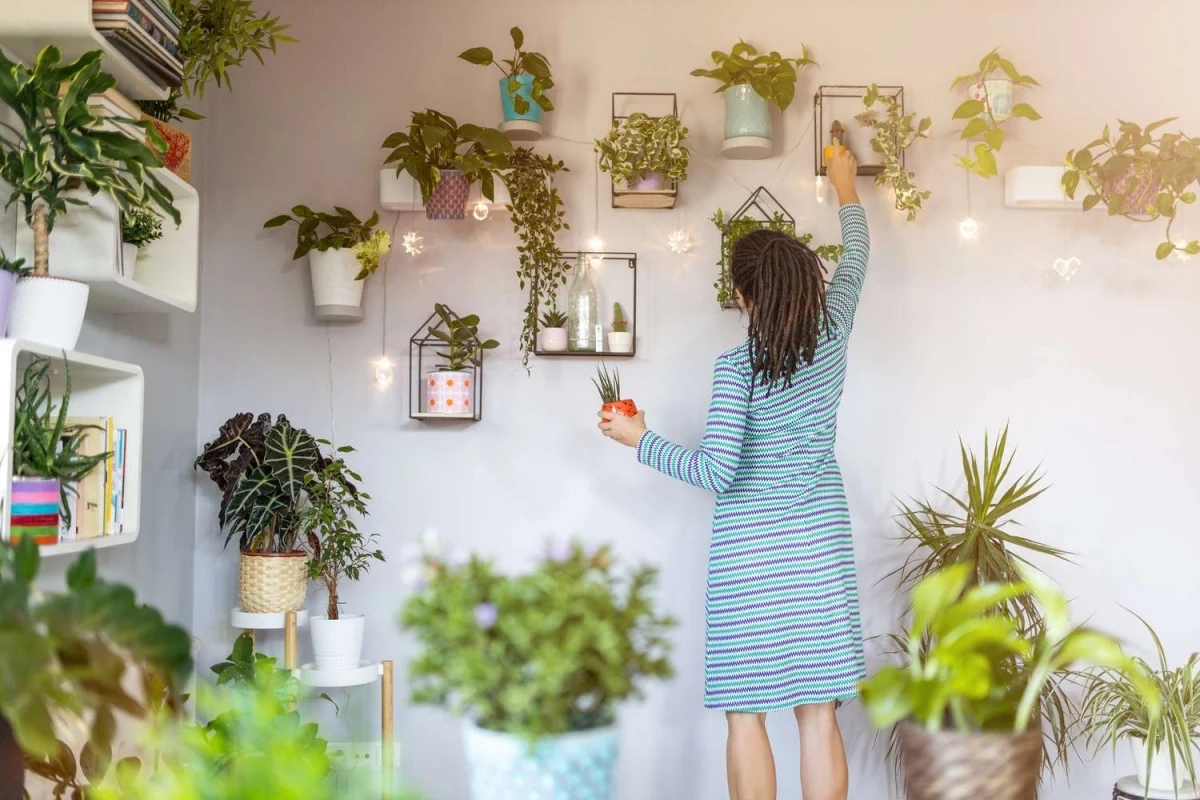
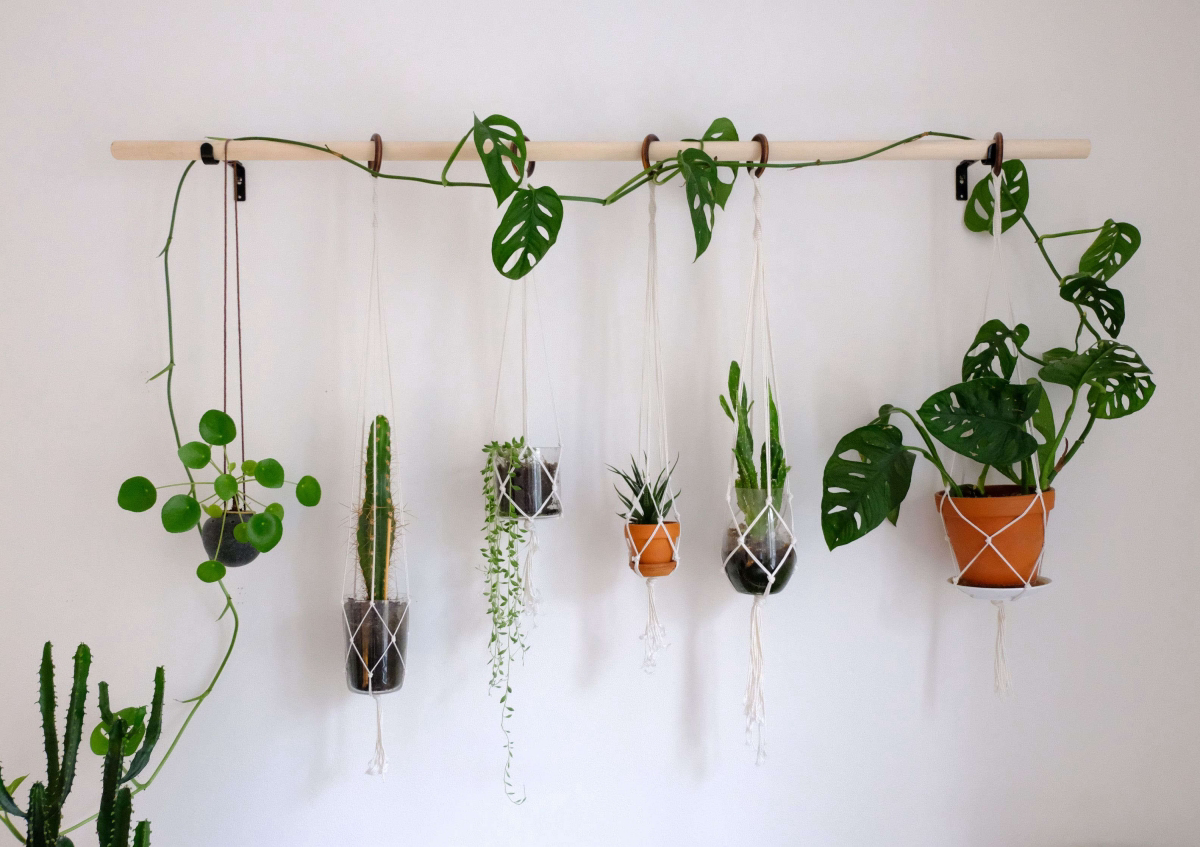
Feeling Overwhelmed? Start Smaller.
If a full wall feels like too much, here’s a quick win. Start with three high-quality, self-watering wall planters. This lets you get a feel for the light in your space, your plant choices, and the watering routine before you commit to a major installation.
A living wall is an incredible project that can bring so much life to a space. But that reward comes from respecting the systems that keep it alive. If you understand the mechanics, commit to the care, and are honest about the challenges, you can create something truly beautiful and lasting.
Galerie d’inspiration
My room doesn’t get a ton of natural light. Is a living wall out of the question?
Absolutely not, but your plant selection is crucial. This is where many DIY walls fail. Forget the sun-loving succulents and focus on the shade champions. Golden Pothos (Epipremnum aureum) and Heartleaf Philodendron (Philodendron hederaceum) are incredibly resilient and will cascade beautifully. For upright texture, add in some Snake Plants (Dracaena trifasciata). The key is choosing plants that thrive in the exact conditions you can offer, not the ones you wish you had.
Manual Watering: Ideal for smaller, accessible walls (under 20 sq. ft.). Felt pocket systems, like the popular ones from WallyGrow, use a wicking method where you water the top pockets and moisture slowly distributes. It’s simple and affordable but requires consistent, weekly attention.
Automated Drip Irrigation: For larger walls or a true ‘set-it-and-forget-it’ system, this is a must. Professional setups from brands like Florafelt or GSky use a hidden pump and timer to deliver precise amounts of water. It’s a bigger upfront investment but is the secret to long-term health for ambitious projects.


