Your Backyard Playset Shouldn’t Be a Gamble: A Pro’s Guide to Getting It Right
I’ve spent the better part of my life working with wood, building everything from custom cabinets that demand perfection to massive decks meant to brave the elements for decades. But a while back, the real challenge came home. My own kids hit that age where every piece of furniture suddenly became a mountain to be conquered. The signal was loud and clear: it was time for a climbing frame.
In this article
Looking at these playsets with my professional eye was a totally different game. I wasn’t just seeing a slide and some swings; I was seeing structural loads, wood rot potential, hardware integrity, and ground stability. It’s a big investment, and not just in money—it’s about the trust you place in it to keep your kids safe day after day.
Honestly, a lot of the kits you can buy today are pretty decent. But the little details are what separate a playset that looks tired in five years from one that’s still going strong in fifteen. This is everything I’ve learned, both as a carpenter and a dad, to help you make the right call. We’ll walk through checking your yard, what materials actually last, and how to make sure the final product is rock-solid.
First Things First: Your Yard is the Real Boss
Before you even think about two-story forts or twisty slides, you need to take a long, hard look at your backyard. I’ve seen people buy gorgeous, expensive sets that were completely wrong for their space, leading to a nightmare installation or, worse, an unsafe setup. An hour of planning here will save you a world of hurt later.
Give It Room to Breathe: The All-Important “Use Zone”
Every playset has its footprint—the ground it sits on. But what really matters for safety is the “use zone.” Think of it as a safety bubble around the entire structure where a kid could potentially fall. This area needs to be completely clear of obstacles like fences, trees, or your prize-winning rose bushes.
The golden rule is a clear space of at least 6 feet in every single direction from the frame. But here’s where a lot of people mess up: swings need even more room. You need that 6 feet on the sides, plus a clear zone that is twice the height of the swing chain, both in front of and behind the swing. So, for an 8-foot-high swing beam, you’re looking at a 16-foot clear path in front and another 16 feet behind. That’s a huge chunk of yard, so measure it out!

Is Your Ground Level? (It Better Be)
A climbing frame must be on level ground. This isn’t a friendly suggestion; it’s a critical safety requirement. An uneven base puts constant, uneven stress on all the joints and posts. I once saw a frame that was visibly leaning after just one year because it was installed on a barely noticeable slope. The constant strain was literally pulling the main bolts out of the wood.
To check your spot, grab a long, straight board and a carpenter’s level. If you only have a slight slope, maybe an inch or two over 8 feet, you can probably get away with digging down on the high side to level things out. For anything more significant, you’ll need to do some real site prep, like building a small retaining wall to create a level pad. Also, watch where water pools after a rainstorm. A soggy spot will rot the base of the posts, even if they’re treated wood.
Don’t Forget to Look Up… and Down
Look up. Are there any low-hanging branches or power lines? A kid on top of a 10-foot-high fort won’t be looking for those. Then, think about what’s underground. Before you dig any holes for anchors, you absolutely have to check for buried utility lines. In the US, you can call 811 for free, and they’ll send someone to mark the location of any buried gas, water, or electric lines. Hitting one of those is a disaster you don’t want.
The Great Materials Debate: Wood vs. Metal vs. Plastic
The material you choose will dictate how long your playset lasts, how much work it is to maintain, and its overall safety. They all have their pros and cons, but my experience points me strongly in one direction for long-term value.
- Plastic Sets: These are great for the little ones, maybe ages 1 to 3. They’re low to the ground with no sharp corners. But let’s be realistic: they’re a temporary solution. The sun’s UV rays will make the plastic brittle over a few years, leading to cracks. They’re also lightweight, so a determined toddler might just tip one over. Think of them as a starter set, not a permanent fixture.
- Metal Sets: Powder-coated steel is strong, no doubt. It won’t rot. The huge downside? Heat. On a hot summer day, a metal slide or grab bar can get hot enough to cause serious burns. I’ve measured temps over 140°F on dark metal playsets. The other enemy is rust. The second that protective coating gets scratched, rust starts to creep in, often at the joints where you can’t see it until it’s too late.
- Wood Sets: This is the professional’s choice for a reason. Wood looks great in a yard, it’s incredibly strong, and it doesn’t get scorching hot. But not all wood is created equal.
Pressure-Treated (PT) Pine: This is your budget-friendly workhorse. The wood is chemically treated to fight off rot and insects. It’s effective and affordable, with a decent medium-sized kit running you somewhere between $700 and $2,000. The trade-off is maintenance. It’s prone to cracking and splintering as it weathers, so you’ll need to apply a good water sealant every year or two to keep it safe and smooth.
Cedar or Redwood: If the budget can stretch, this is the way to go. These woods have natural oils that make them resistant to rot and bugs right out of the box. They’re also less likely to warp or split than pine. While they cost more upfront—a cedar set similar in size to a PT one will start around $2,500 and go up from there—they often require less heavy-duty maintenance over their lifespan, saving you time and headaches down the road.
What a Safe Playset Actually Looks Like
A good playset is a masterpiece of simple physics. It’s all about spreading weight around and resisting force. When you’re looking at a kit, pay attention to the little things that hold it all together.
Hardware: The One Place You NEVER Cut Corners
The nuts, bolts, and screws are the lifeblood of the structure. They should all be hot-dip galvanized or stainless steel to prevent rust. And please, use the hardware that comes with the kit! The designers specified that exact size and length for a reason. I once fixed a swing set for a neighbor who used random deck screws to reattach the main beam. The constant motion of the swings was slowly wiggling them right out. It was a ticking time bomb.
Oh yeah, a quick tip on stability: Most kits come with ground stakes, which are fine for perfectly level ground. But if your soil is a bit soft or you’ve got a crew of older, very active kids, I strongly recommend setting the main posts in concrete for bomb-proof stability. Just dig an 8-inch wide, 12-inch deep hole for each main post and use one bag of something like Quikrete per post. It’s a weekend project that adds years of safety.
Strong Joints and Smart Design
Look at how the big pieces connect. The best designs use notched joints and heavy steel brackets, which create a much stronger connection than just butting two pieces of wood together. The classic A-frame on a swing set is a perfect example of a strong design—the angles and braces work together to stop it from swaying side-to-side.
Good to know: Reputable makers follow safety standards that dictate things you’d never think of, like the size of openings to prevent a child’s head from getting trapped. Any enclosed opening has to be either smaller than 3.5 inches or bigger than 9 inches. That in-between space is a serious hazard.
The Big Question: Build It Yourself or Hire a Pro?
This is where you need to have an honest chat with yourself. Assembling a big climbing frame is a major project, not like putting together a bookshelf from IKEA. For a medium-sized kit, I’d block out a full weekend and make sure you have a reliable helper.
If you’re going the DIY route, here’s a massive time-saving hack: Before you start, get a bunch of plastic cups or containers and sort all the different nuts, bolts, and screws. Label each cup with the part number from the manual. Trust me, this will save you hours of frustrated searching later.
And when you’re building, get all the bolts for a section in place and just hand-tighten them. Once the whole section is assembled, then you can go back and crank them all down. If you tighten the first bolt all the way, it can pull the frame just enough out of square to make the other holes a nightmare to line up.
Of course, there’s zero shame in hiring a pro. In fact, it’s often the smartest move. If your yard has a tricky slope or you just don’t have 15-20 hours to spare, call someone. Expect to pay a professional installer anywhere from $500 to $1,200, depending on the size and complexity of the set. They’ll get it done fast, right, and without the headache.
The Unsung Hero of Playground Safety: The Ground Cover
Kids are going to fall. It’s a fact. What makes the difference between a laugh and a trip to the emergency room is what they land on. And I’m telling you right now, grass is not a safe surface. It gets compacted into something as hard as concrete under swings and at the bottom of a slide.
You need a deep, shock-absorbing material in that entire “use zone” we talked about. Here are the common options:
- Wood Mulch or Chips: This is a popular DIY choice. You need a 9-inch depth to be safe for falls from up to 10 feet. It’s fairly cheap, maybe $40-$70 per cubic yard, but it decomposes over time and you have to constantly rake it back into place.
- Engineered Wood Fiber (EWF): This isn’t just regular mulch; it’s specially ground wood that knits together to form a more stable surface. It’s a bit more expensive than standard mulch but is a better, more reliable material. A 9-inch depth is the standard here, too.
- Pea Gravel: A 9-inch depth of pea gravel can protect from falls up to 5 feet, so it’s only suitable for smaller sets. It’s affordable but has a knack for getting tracked into the house.
- Shredded Rubber Mulch: This stuff offers fantastic shock absorption—a 6-inch depth can handle a 10-foot fall. It doesn’t decompose or compact, which is a huge plus. The downside? It’s the priciest option by far, often $250 or more per cubic yard, and it can get pretty hot in direct sun.
To figure out how much you need, just multiply the length and width of your use zone to get the square footage. Then multiply that by the depth you need (in feet, so 9 inches = 0.75 feet). The result is the cubic feet of material you’ll need to buy.
Keeping It Safe for the Long Haul
Once it’s built, your job isn’t quite done. A little check-up each spring will keep it safe for years.
Quick Tip: Go out there right now and give your current playset the “Wiggle Test.” Grab a main support post and give it a good shake. If it moves more than an inch or two, it’s time to grab a socket wrench and tighten every single bolt on the structure. It takes five minutes and is the most important check you can do.
Every spring, go over all the hardware, check the wood for splinters or rot, and inspect the swings and ropes. Most importantly, re-apply a quality waterproof sealant with UV protection every couple of years. I usually reach for something reliable you can find at any home improvement store, like a Behr Premium Waterproofing Stain & Sealer or a Thompson’s WaterSeal product. This single step is the best thing you can do to protect your investment from sun and rain, no matter where you live.
At the end of the day, choosing and building a climbing frame is about more than just fun features. It’s about building a safe space for adventure. When you take the time to get the foundation right, you give yourself the peace of mind to pour a cup of coffee, sit back, and just watch them play, knowing they’re as safe as can be.
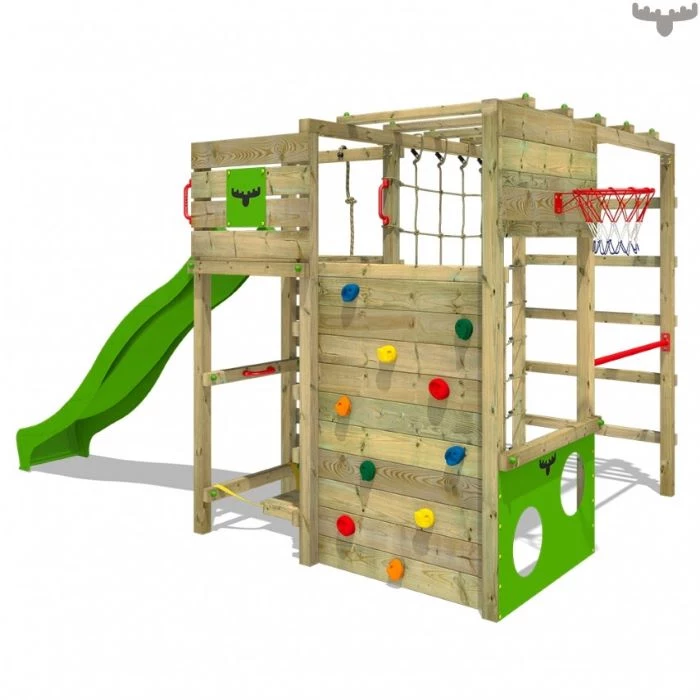
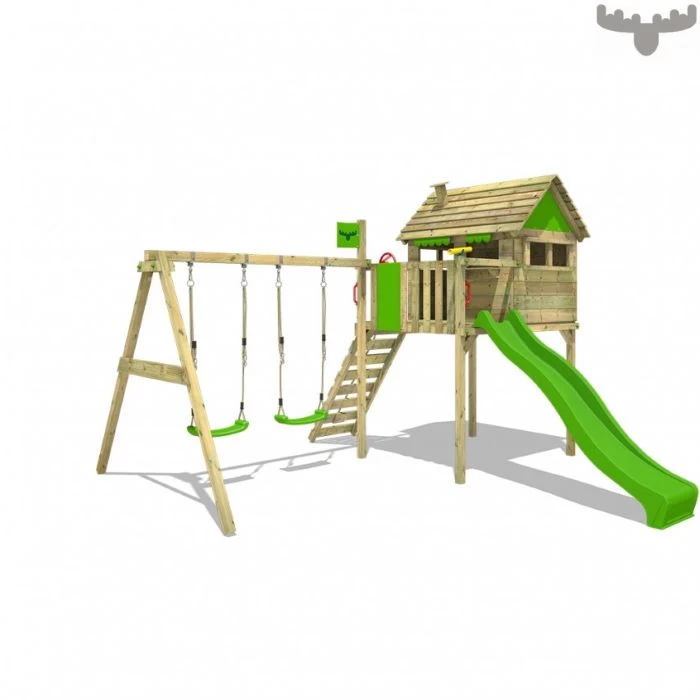
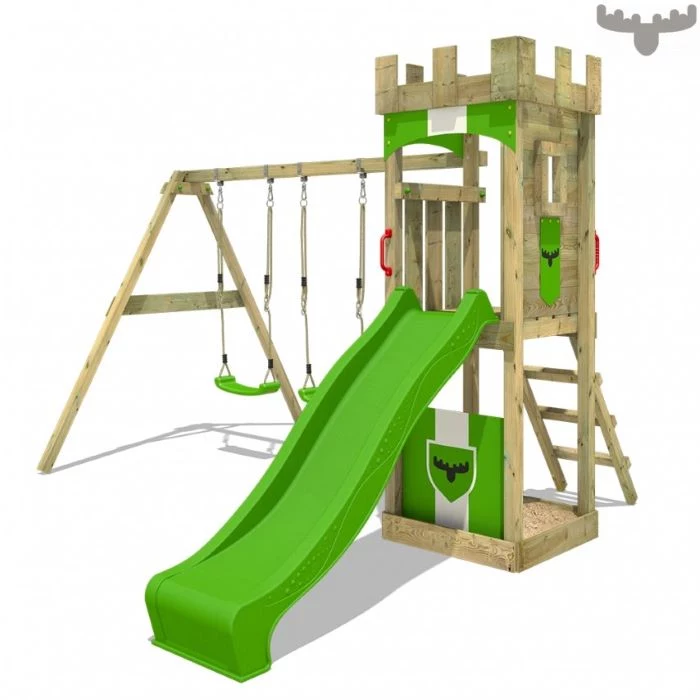
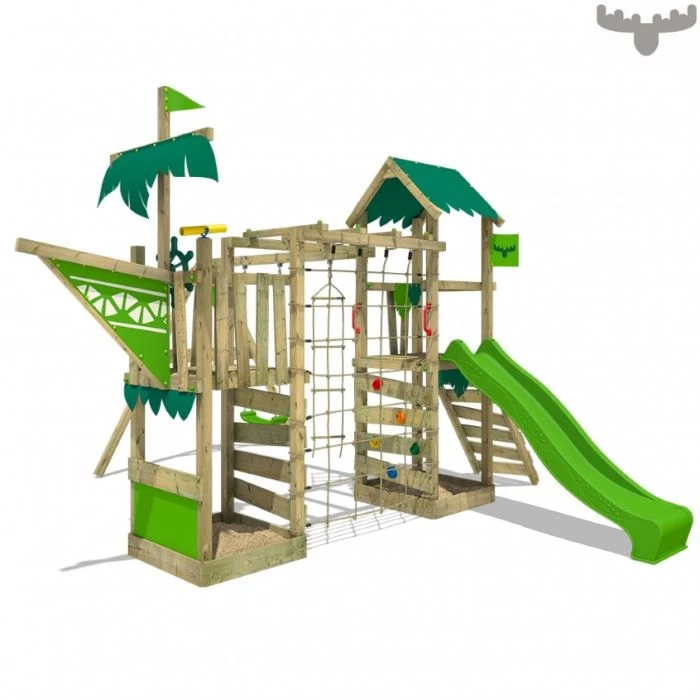
Inspirational Gallery
Cedar vs. Pressure-Treated Pine: Cedar is the premium choice, naturally resistant to rot, decay, and insects, which means no harsh chemicals are needed. It’s lighter and less prone to warping. Pressure-Treated (PT) Pine is a more budget-friendly and sturdy alternative, but it’s treated with chemicals to resist decay. Always ensure your PT wood is rated for “ground contact” for the posts and that all hardware is hot-dip galvanized to prevent corrosion.
According to the U.S. Consumer Product Safety Commission, falls are the most common hazard on playgrounds, accounting for nearly 80% of all injuries.
This is why the surface *under* the playset is just as important as the structure itself. A simple layer of grass is not enough. For residential playsets, experts recommend a minimum depth of 9 inches of loose-fill material like wood chips, shredded rubber mulch, or sand, extending at least 6 feet out in all directions within the use zone.
Can I future-proof my playset for growing kids?
Absolutely. Think modular. Brands like Rainbow Play Systems or Gorilla Playsets specialize in expandable designs. You can start with a basic fort and a small slide for a toddler, then later add a rock wall, a taller slide, or swap the baby bucket swing for a trapeze bar. This approach turns a single purchase into an evolving play space that remains challenging and engaging for a decade or more.
- Prevents the wood from turning a dull, weathered grey.
- Creates a smooth surface, minimizing the risk of splinters.
- Provides a crucial barrier against moisture and UV damage.
The secret? An annual coat of high-quality sealant. Look for a penetrating oil-based stain, like Cabot’s Australian Timber Oil or a semi-transparent stain from Behr’s Premium line, which protects the wood from within rather than just forming a film on the surface.
A critical detail often overlooked: The hardware. All those bolts, screws, and brackets are what hold everything together. Using standard hardware from a big-box store is a major safety risk. It will rust and weaken over time. Insist on kits that provide hot-dip galvanized or stainless steel hardware, which is specifically designed to resist corrosion and stand up to the elements for years.
Beyond the slides and swings, think about the small details that spark imagination. A simple, non-magnifying plastic telescope, a ship’s wheel, or a built-in chalkboard can transform a wooden structure into a pirate ship, a castle turret, or a secret clubhouse. These inexpensive add-ons often provide the most creative and long-lasting play value.
Your Annual Safety Checklist
- Tighten Up: Go over every bolt and screw. Wood expands and contracts, so hardware can loosen over a season.
- Splinter Patrol: Run your hand over all wooden surfaces, railings, and floors. Sand down any rough spots immediately.
- Ground Cover Check: Rake and fluff up loose-fill surfacing like wood chips or rubber mulch to ensure it hasn’t become compacted, which reduces its shock-absorbing quality.
- Rope & Chain Inspection: Look for any signs of fraying on ropes or rust on swing chains.
“The best playgrounds don’t look like playgrounds.” – Richard Dattner, Architect
This idea is inspiring a new trend: natural playscapes. Instead of a standalone structure on a flat lawn, consider integrating your playset with the landscape. Use a natural slope for a slide, connect a bridge to a small earth mound, or surround the area with durable native grasses and logs for balancing. It creates a more immersive and aesthetically pleasing play environment.
Engineered Wood Fiber (EWF): Made from shredded wood, it’s a cost-effective and highly-rated safety surface that knits together to provide a stable, accessible surface. It does require annual top-ups as it decomposes.
Shredded Rubber Mulch: Typically made from recycled tires, it offers superior shock absorption and doesn’t decompose or compact as quickly as EWF. However, it’s more expensive upfront and can get hot in direct sun.
For most families, EWF provides the best balance of safety and cost, while rubber mulch is a lower-maintenance, premium option.


