Stop Dreaming, Start Digging: A No-Fail Guide to Your First Organic Garden
I still laugh thinking about my first garden. I grabbed a few tomato plants from the store, dug some sad-looking holes in my clay-heavy backyard, and basically just crossed my fingers. What a disaster. Within a month, the leaves were a sickly yellow, I had bugs I couldn’t identify, and my grand harvest was… three small, cracked tomatoes. It was a total failure. But it taught me the single most important lesson in gardening: a great garden isn’t built on plants. It’s built on the soil underneath them.
In this article
- First Things First: Get to Know Your Dirt
- The Magic of Compost (And How to Make It for Free)
- Where Should Your Garden Live? Site & Structure
- Your Weekend Project: A First-Timer’s Shopping List
- Choosing the Right Plants for Success
- Watering and Weeding the Smart Way
- A Final Word on Patience and Paying Attention
- Inspirational Gallery with Photos
For years now, I’ve been helping people set up their own gardens, and the message is always the same. If you want a thriving, beautiful organic garden, you have to become a student of your soil first.
Organic gardening isn’t really about what you don’t do (like spraying synthetic chemicals). It’s about what you do—creating a healthy, living ecosystem from the ground up. The core idea is simple: you feed the soil, and the soil feeds the plants. Healthy plants are naturally tougher and can shrug off many pests and diseases on their own. This guide is built on that very principle. It takes a bit more thought upfront, but trust me, it saves you from the frustration and cracked tomatoes I started with.
First Things First: Get to Know Your Dirt
Before you even think about buying a single seed packet, you need to understand what you’re working with. Think of it like the foundation of a house. You wouldn’t build on a shaky foundation, right? Soil is a fascinating mix of minerals, air, water, and all the good organic stuff, and its personality determines how well your plants can get the food and water they need.
You can get a rough idea of your soil’s texture pretty easily. Just grab a handful of moist (not soaking wet!) soil and rub it between your fingers.
- Feels gritty? You’ve likely got sandy soil. Water zips through it super fast, taking valuable nutrients along for the ride.
- Feels sticky and smooth? That’s clay. It holds onto water like a champ—sometimes too well—and can get dense and compacted, making it hard for roots to breathe.
- Feels silky or floury? You’re looking at silty soil. It’s a decent middle ground but can still get compacted.
The dream soil, by the way, is called loam. It’s that perfect, balanced mix of sand, silt, and clay that feels just right. Most of us don’t have it naturally, so the whole point of prepping your garden is to add organic matter to nudge your soil closer to that loamy ideal.
Why a Soil Test is Your Secret Weapon
Here’s a pro tip that will save you time and money: get a soil test. You can’t see nutrient levels or pH just by looking. Guessing is a recipe for failure. A soil test, which usually costs between $20 and $50, gives you a detailed blueprint of exactly what your soil needs. Seriously, it’s the best money you’ll spend on your garden this year.
I once had a client who was ready to drop hundreds of dollars on fancy fertilizers. The soil test came back and showed their soil was already great on phosphorus; it just needed a bit of nitrogen and some lime to adjust the pH. That test saved them a bundle and kept them from accidentally creating a nutrient imbalance.
To get started, just search online for your local university cooperative extension office. They offer easy-to-use kits. You’ll take a few small samples from your garden spot, mix them up, and mail them in. The report you get back is gold. It will tell you your pH and nutrient levels (N-P-K), and—here’s the best part—it gives you specific recommendations on what to add and how much.
Quick tip: Seeing N-P-K on a report can be confusing. Just think of it this way: – N (Nitrogen) is for ‘UP’ – it helps with leafy, green growth. – P (Phosphorus) is for ‘DOWN’ – it fuels strong roots, flowers, and fruits. – K (Potassium) is for ‘ALL AROUND’ – it’s for overall plant health and resilience.
The Magic of Compost (And How to Make It for Free)
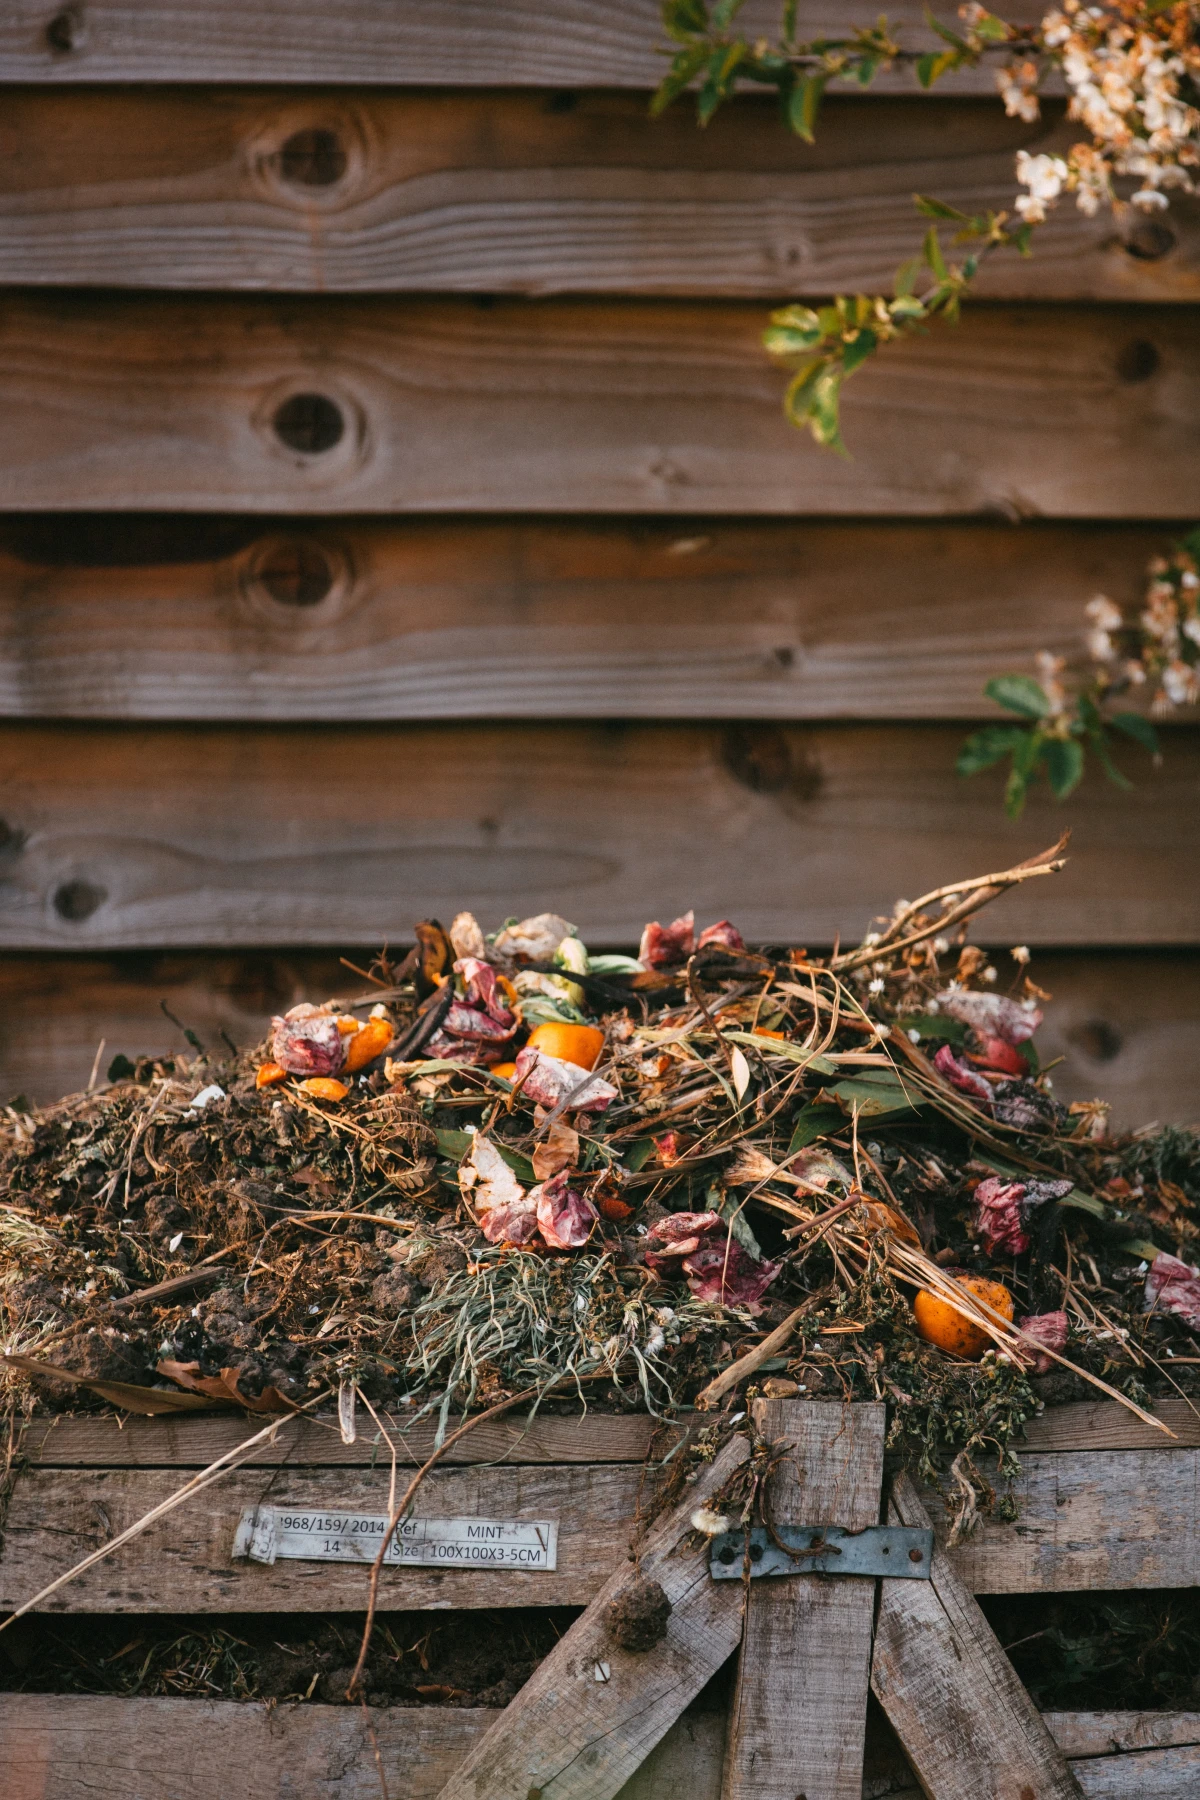
If you only add one thing to your garden, make it compost. It’s the absolute heart of organic gardening. It fixes soil structure, adds a slow-release buffet of nutrients, and feeds the microscopic good guys that help your plants thrive. You can buy it in bags, but making it yourself is ridiculously easy, totally free, and a great way to reduce kitchen waste.
The Simple Recipe: Browns + Greens
Good compost is all about balancing two types of ingredients. We call them “browns” and “greens.”
- Browns (Carbon): These are the dry, woody things. Think dried leaves, straw, shredded cardboard (without the glossy ink!), paper towel tubes, and egg cartons. They’re the fuel.
- Greens (Nitrogen): These are the fresh, moist things. Think fruit and veggie scraps from the kitchen, coffee grounds, crushed eggshells, and fresh grass clippings. They’re the engine.
A good rule to follow is to aim for about three parts brown material to one part green material. If you have too many greens, your pile can get slimy and smelly. Too many browns, and it will take forever to break down. It’s a bit of a dance, but you’ll get the hang of it.
Heads up! Never add meat, bones, dairy, or oily foods to a backyard pile. They smell awful and attract critters you don’t want. And please, avoid adding cat or dog waste, as it can contain pathogens you definitely don’t want in your food garden. Stick to plant-based stuff and you’ll be golden.
Where Should Your Garden Live? Site & Structure
Okay, you know your soil and you’re making compost. Now, where do you actually put the garden? The location is just as crucial as the soil itself.
Follow the Sun
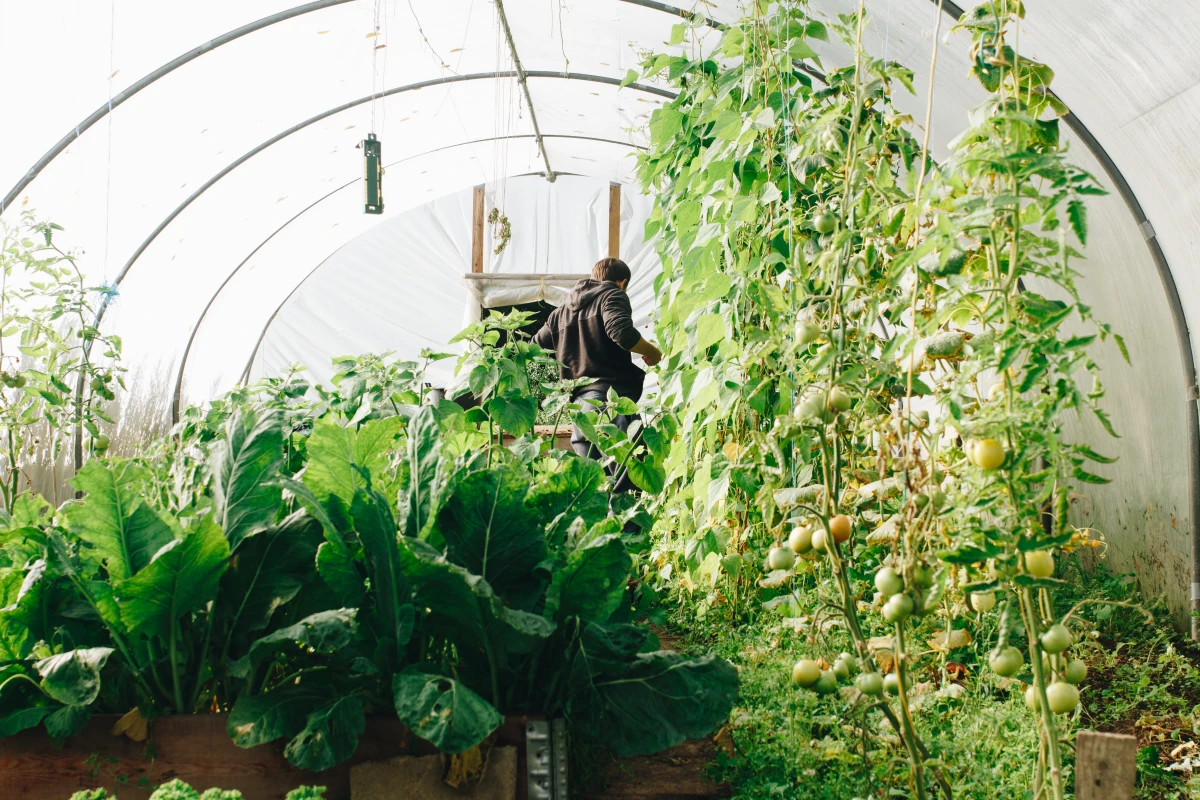
Most vegetables and fruits are sun-worshippers. They need what we call “full sun,” which means at least 6 to 8 hours of direct, unfiltered sunlight every day. Before you build anything, spend a day being a sun detective. Watch how the light moves across your yard. Remember, the sun’s path is lower in the sky in spring and fall, so a spot that’s sunny in May might be shaded by your house in July. I learned that the hard way when my beautiful spring lettuce got fried by an intense summer sun I didn’t account for.
Which Garden Type is Right for You?
You’ve got a few choices for how to structure your garden, and there’s no single right answer. It’s all about your space, budget, and how much control you want.

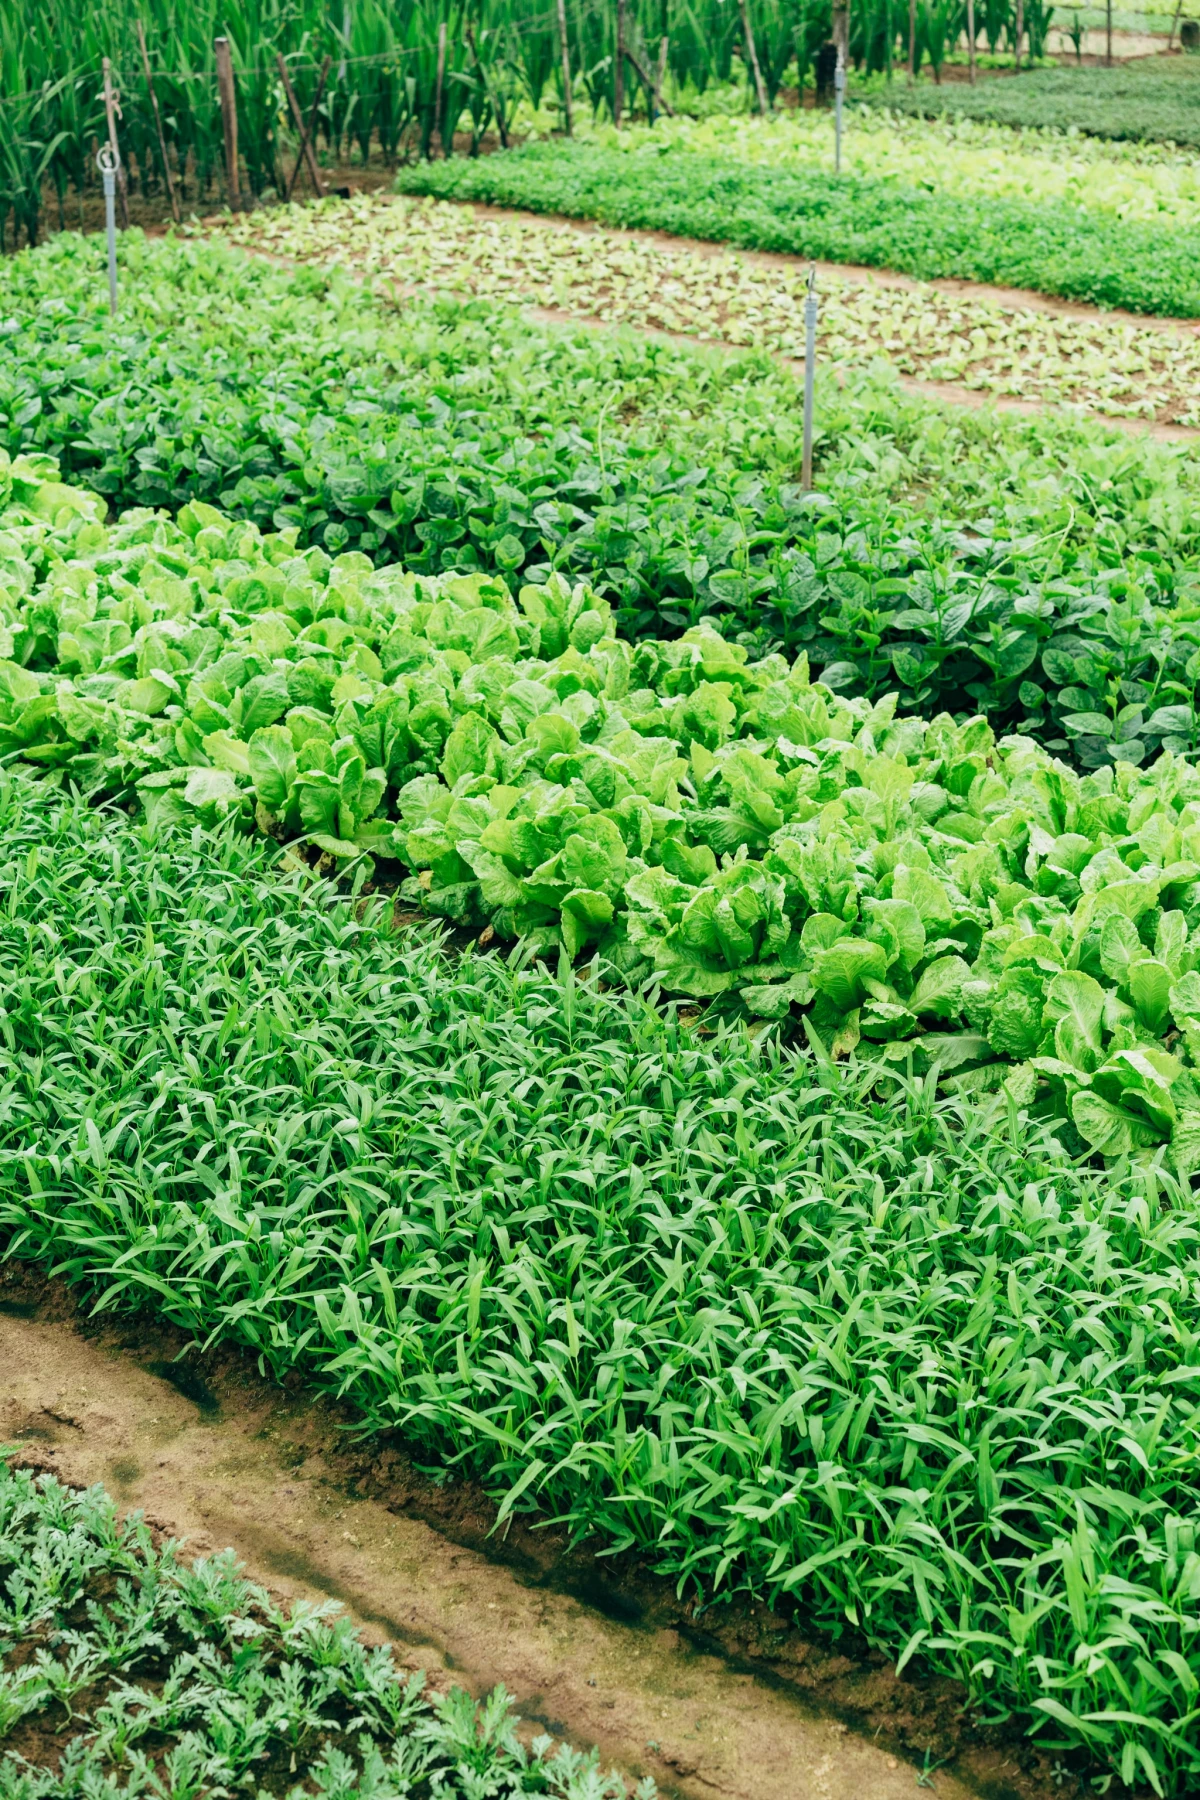
- In-Ground Gardens: This is the classic, most budget-friendly option. You’re working directly with the soil you already have. If your soil test comes back looking pretty good, this is a fantastic way to go. The main downside is that you might have more weeds to deal with, and it can be tough work if you have very rocky or heavy clay soil. You’ll spend a weekend amending the soil with compost before you plant.
- Raised Beds: Honestly, this is what I recommend for most beginners. A raised bed is just a frame you set on the ground and fill with a perfect soil mix. You get total control over your soil from day one, plus they have great drainage and warm up faster in the spring. A key tip is to make them no more than 4 feet wide so you can reach the middle from either side without ever stepping in the bed and compacting your beautiful, fluffy soil.
- Container Gardening: Don’t have a yard? No problem! You can grow a surprising amount of food on a patio or balcony. The golden rule here is to go big. A happy tomato plant needs at least a 5-gallon pot. Small pots dry out in a flash and cramp the roots. Oh yeah, and never fill pots with dirt from your yard. It gets dense and waterlogged. You absolutely need to use a lightweight, fluffy potting mix designed for containers.
A Deeper Dive into Raised Beds
Since raised beds are so popular, let’s talk specifics. For an organic garden, you want to use untreated wood. Cedar is fantastic because it’s naturally rot-resistant, but it’s pricey. Untreated pine is a great budget choice; it just won’t last as many seasons. The big no-no is using old railroad ties or modern pressure-treated wood, which can leach chemicals into your soil.
As for filling them? For a standard 4×8 foot bed that’s 10 inches deep, you’ll need about 25 cubic feet of material. A killer, all-purpose mix is one-third high-quality compost, one-third peat moss or coco coir (to hold moisture), and one-third coarse vermiculite or perlite (for aeration and drainage). This blend is a game-changer. Expect a simple bed to cost between $75 and $150 for the wood and soil, and plan for a solid afternoon to build and fill it.
Your Weekend Project: A First-Timer’s Shopping List
Feeling overwhelmed? Don’t be. To make it concrete, here’s a simple shopping list to build one 4×4-foot raised bed—a perfect size to start with:
- Lumber: Two 8-foot-long, 2×8-inch untreated boards (which you’ll cut in half).
- Hardware: A box of 3-inch deck screws and a cordless drill.
- Weed Blocker: A few large, plain cardboard boxes to lay on the ground inside the frame. This smothers grass and weeds.
- The Soil Mix: About 6 cubic feet of compost, 6 cubic feet of peat moss or coco coir, and a large bag of vermiculite or perlite.
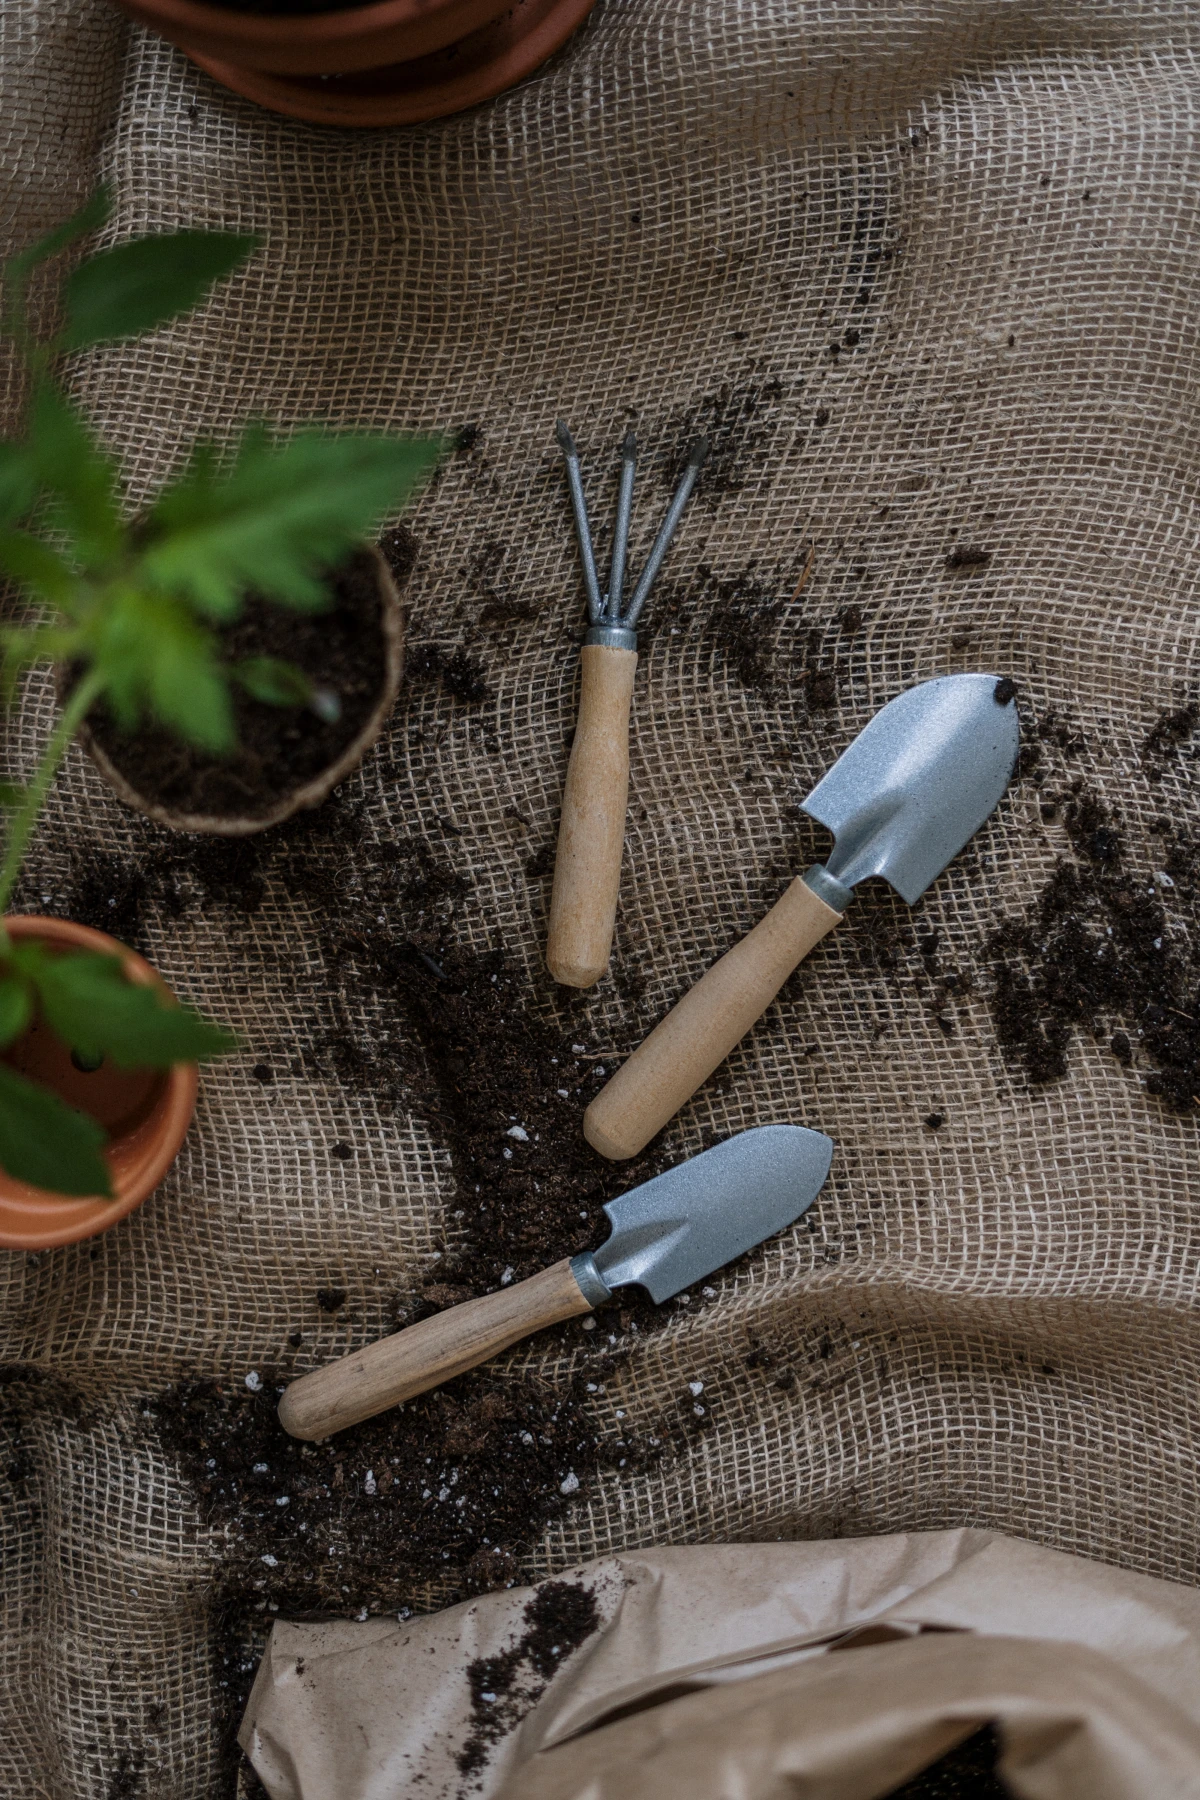
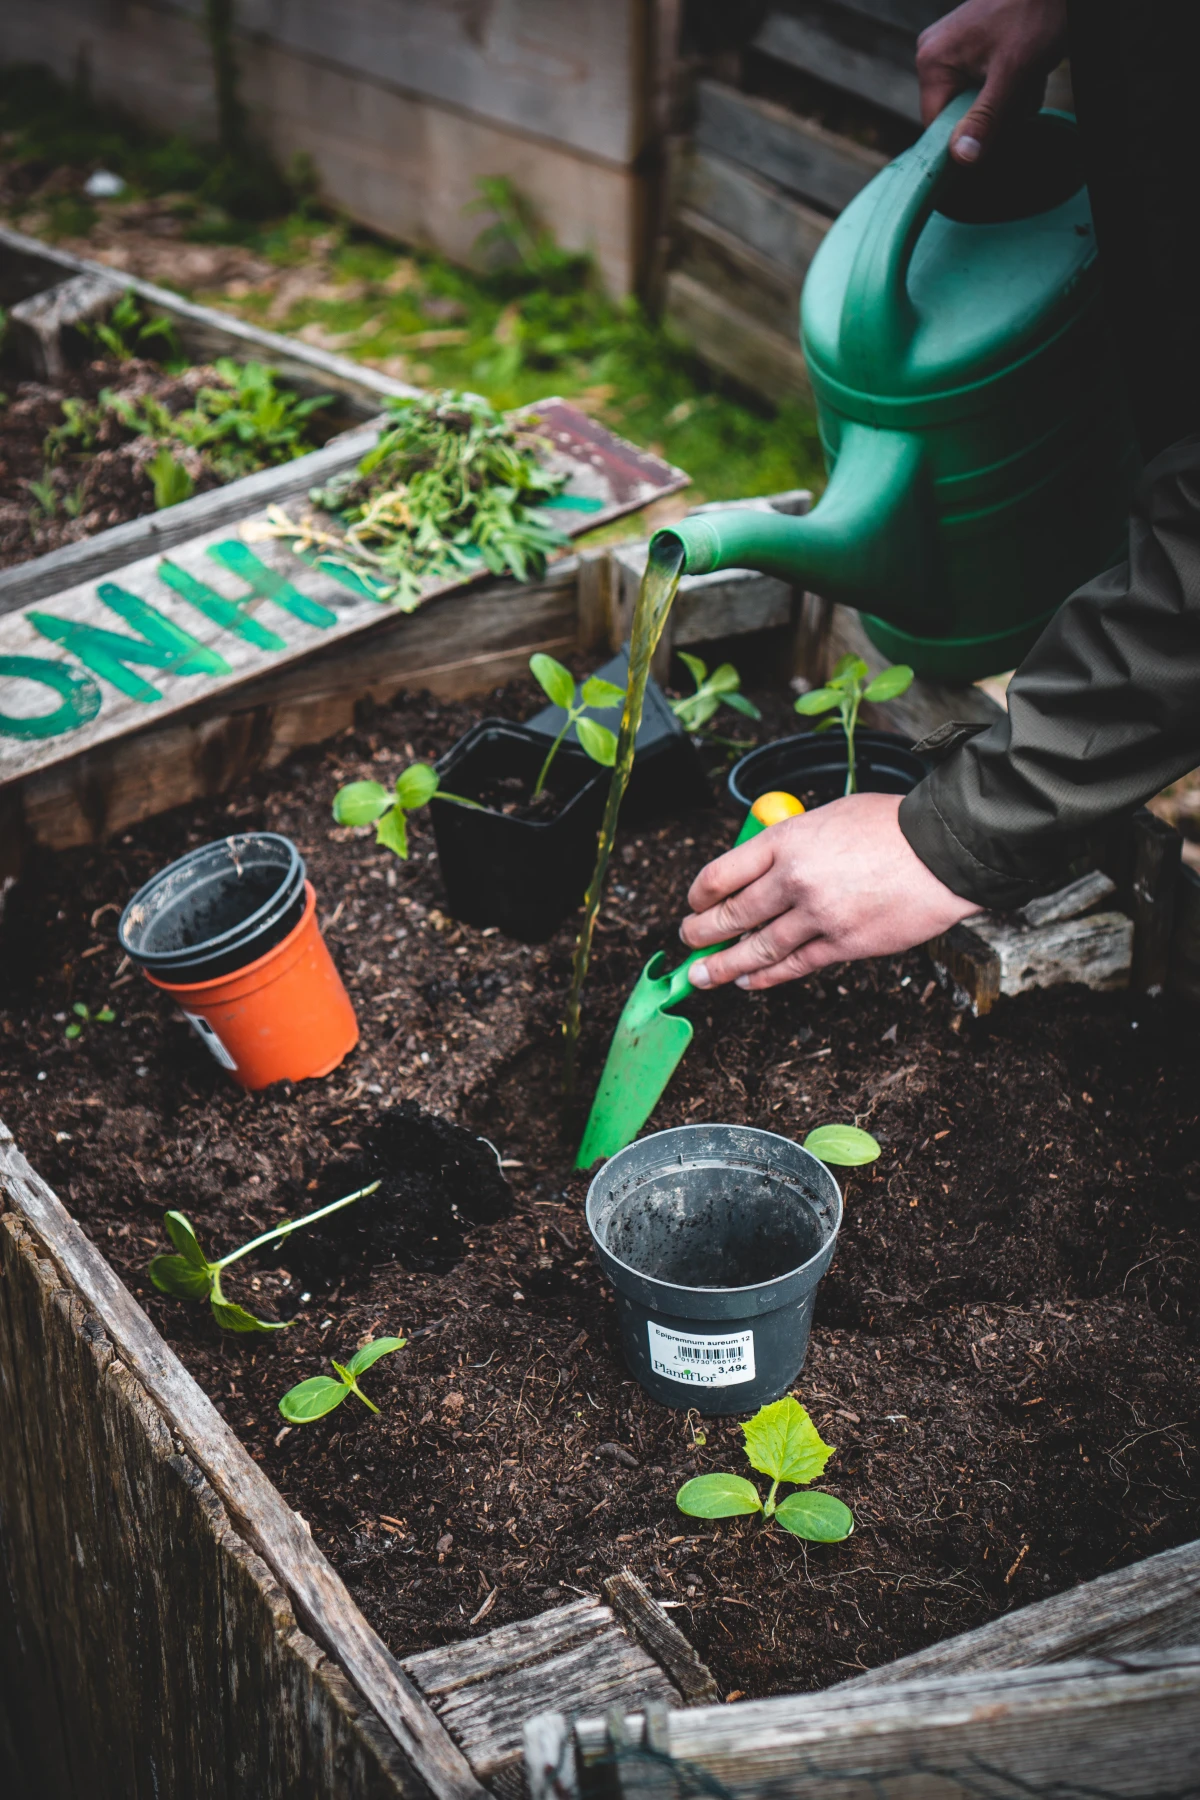
- Basic Tools: A good hand trowel, sturdy gardening gloves, and a watering can or hose with a gentle spray nozzle.
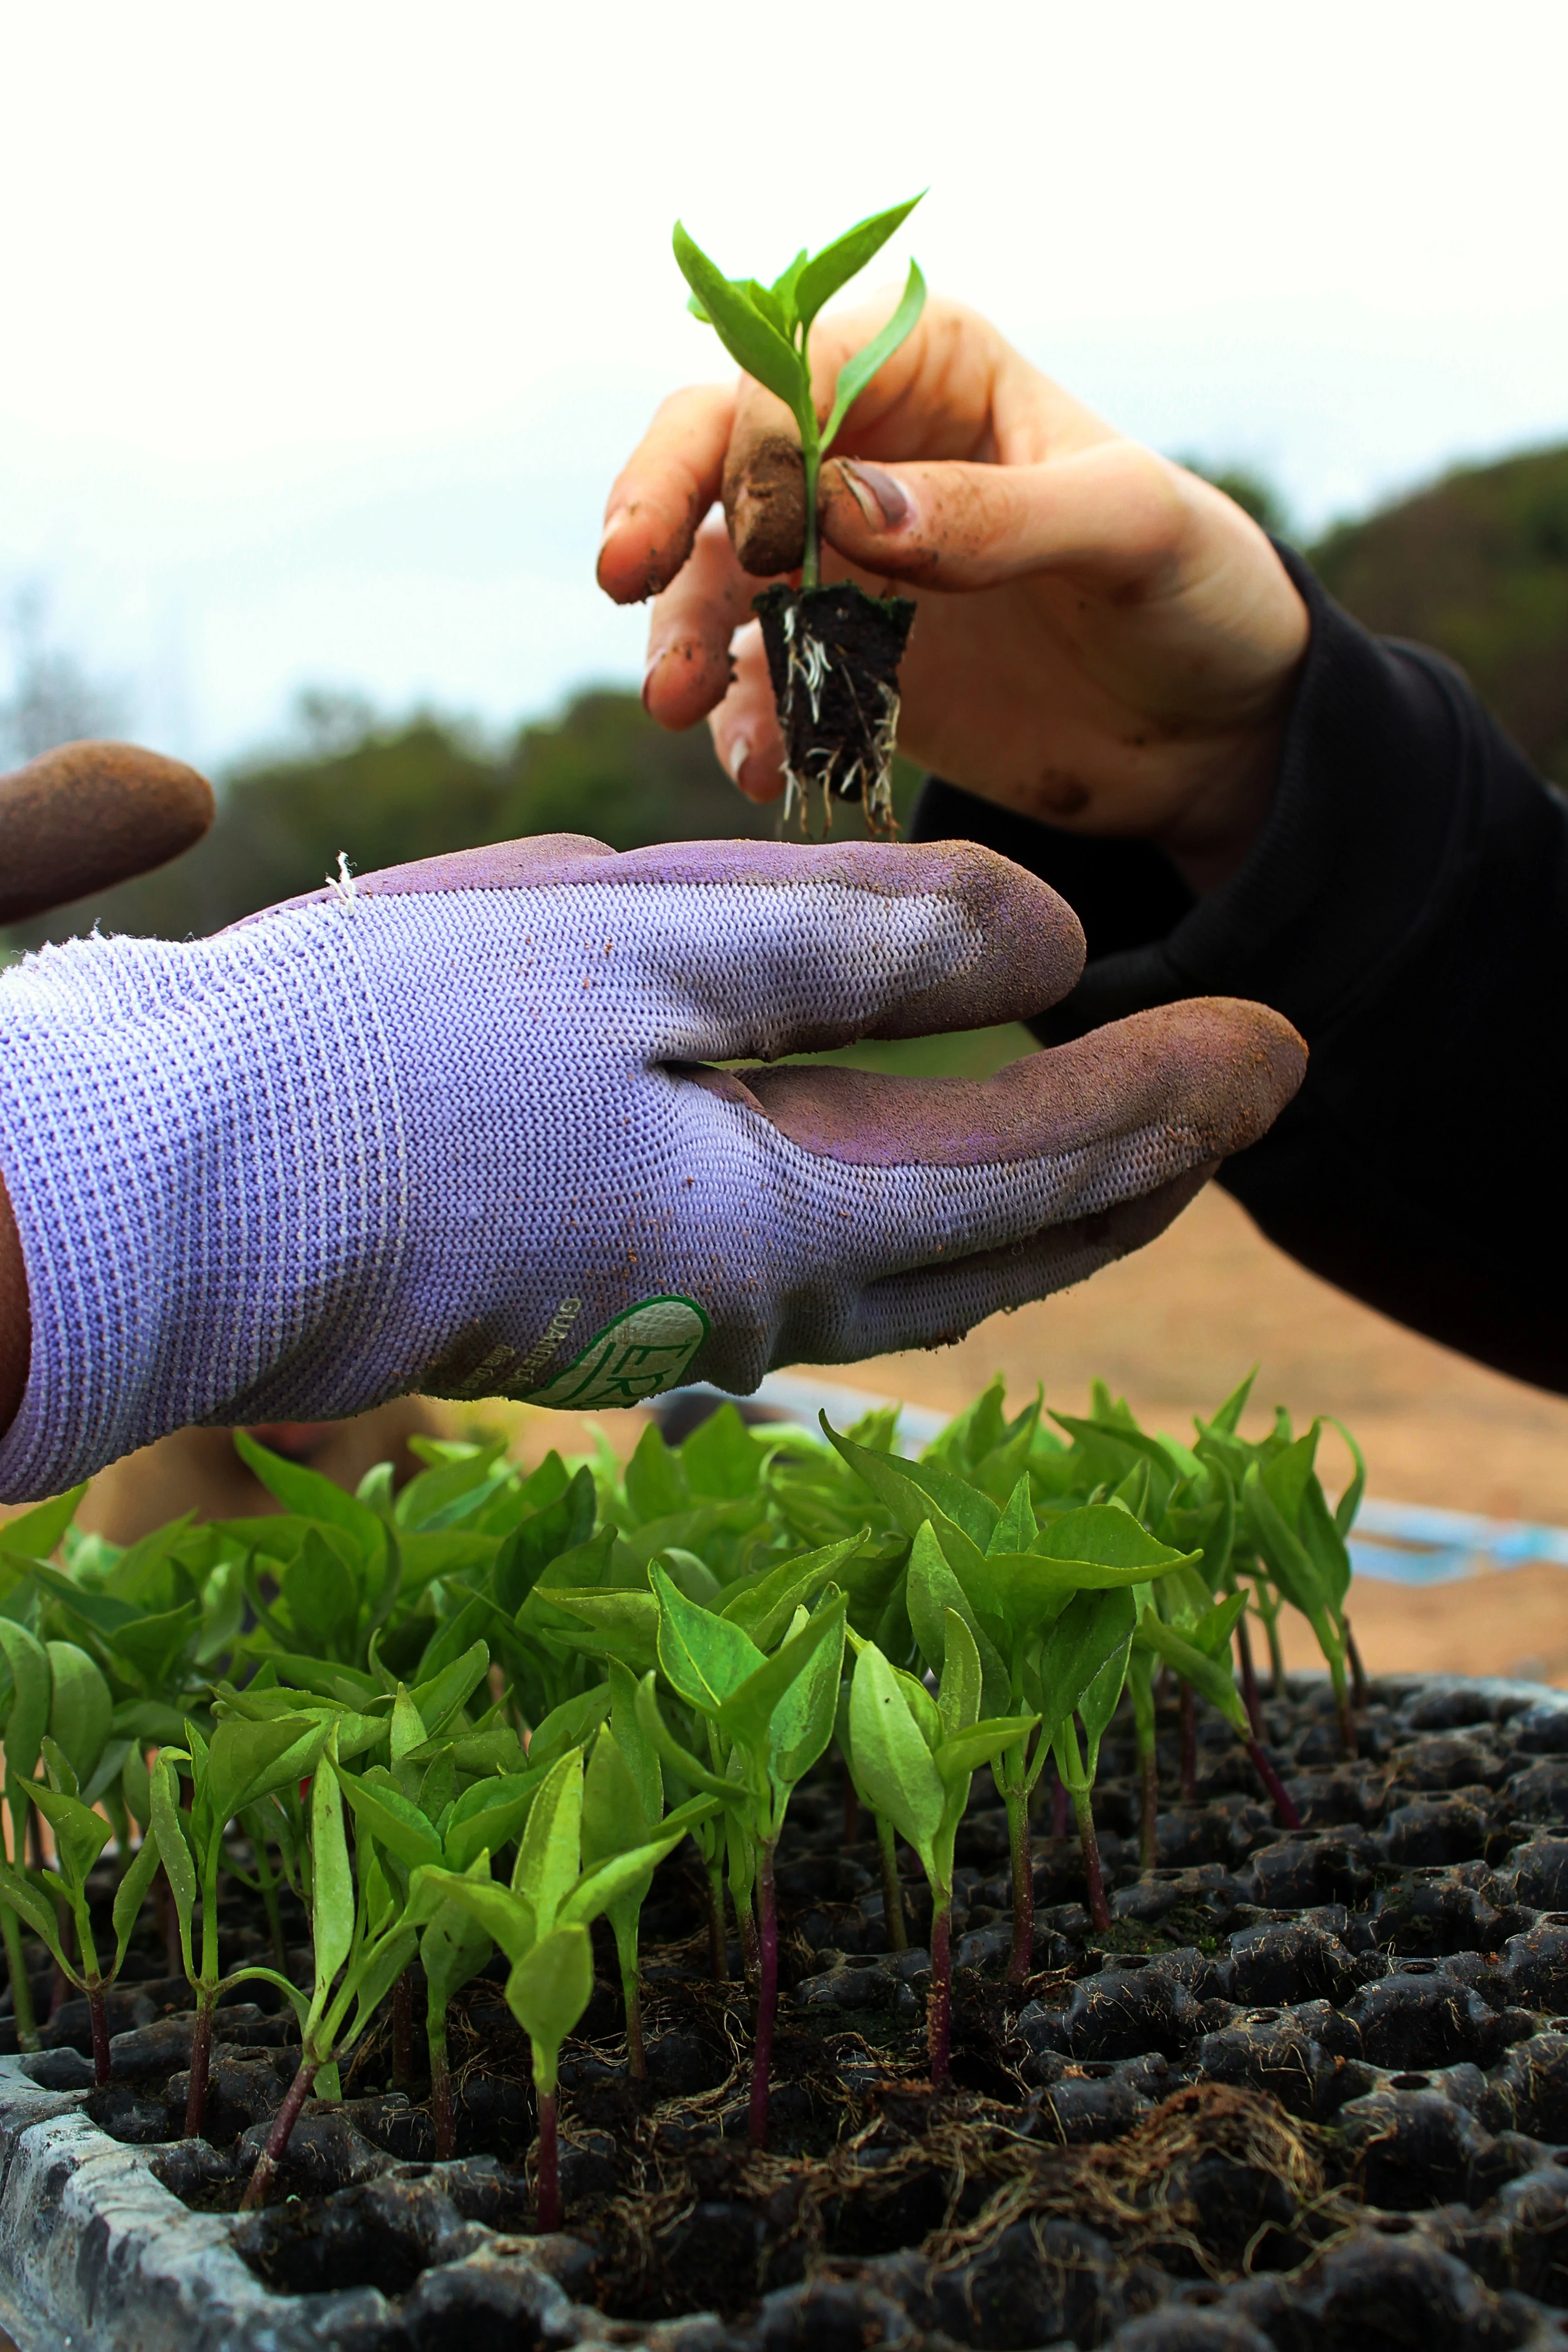
- The Plants! A few healthy starter plants from a local nursery.
Choosing the Right Plants for Success
This is the fun part, but it’s also where your enthusiasm can get you into trouble. Trying to grow a plant that isn’t suited for your climate is a constant struggle you’re likely to lose. The secret is to work with your local environment, not against it.
Look at the plant tag or seed packet for “days to maturity.” This number tells you roughly how long it takes to get a harvest. If you live somewhere with a short growing season, like the Northeast or high elevations, you need to pick varieties with a shorter days-to-maturity. A tomato that needs 110 days just won’t have time to ripen before the first frost, but a 75-day variety will do great.
My Advice: Start with Easy Wins
For your first year, build your confidence by growing things that are famously reliable. I always recommend these to beginners:
- Leaf Lettuce: It grows fast, and you can snip leaves as you need them.
- Bush Beans: Super productive and pretty low-maintenance.
- Zucchini: You’ll have so much you’ll be giving it to your neighbors. It’s a classic for a reason.
- Radishes: The ultimate gratification. They go from seed to salad in less than a month.
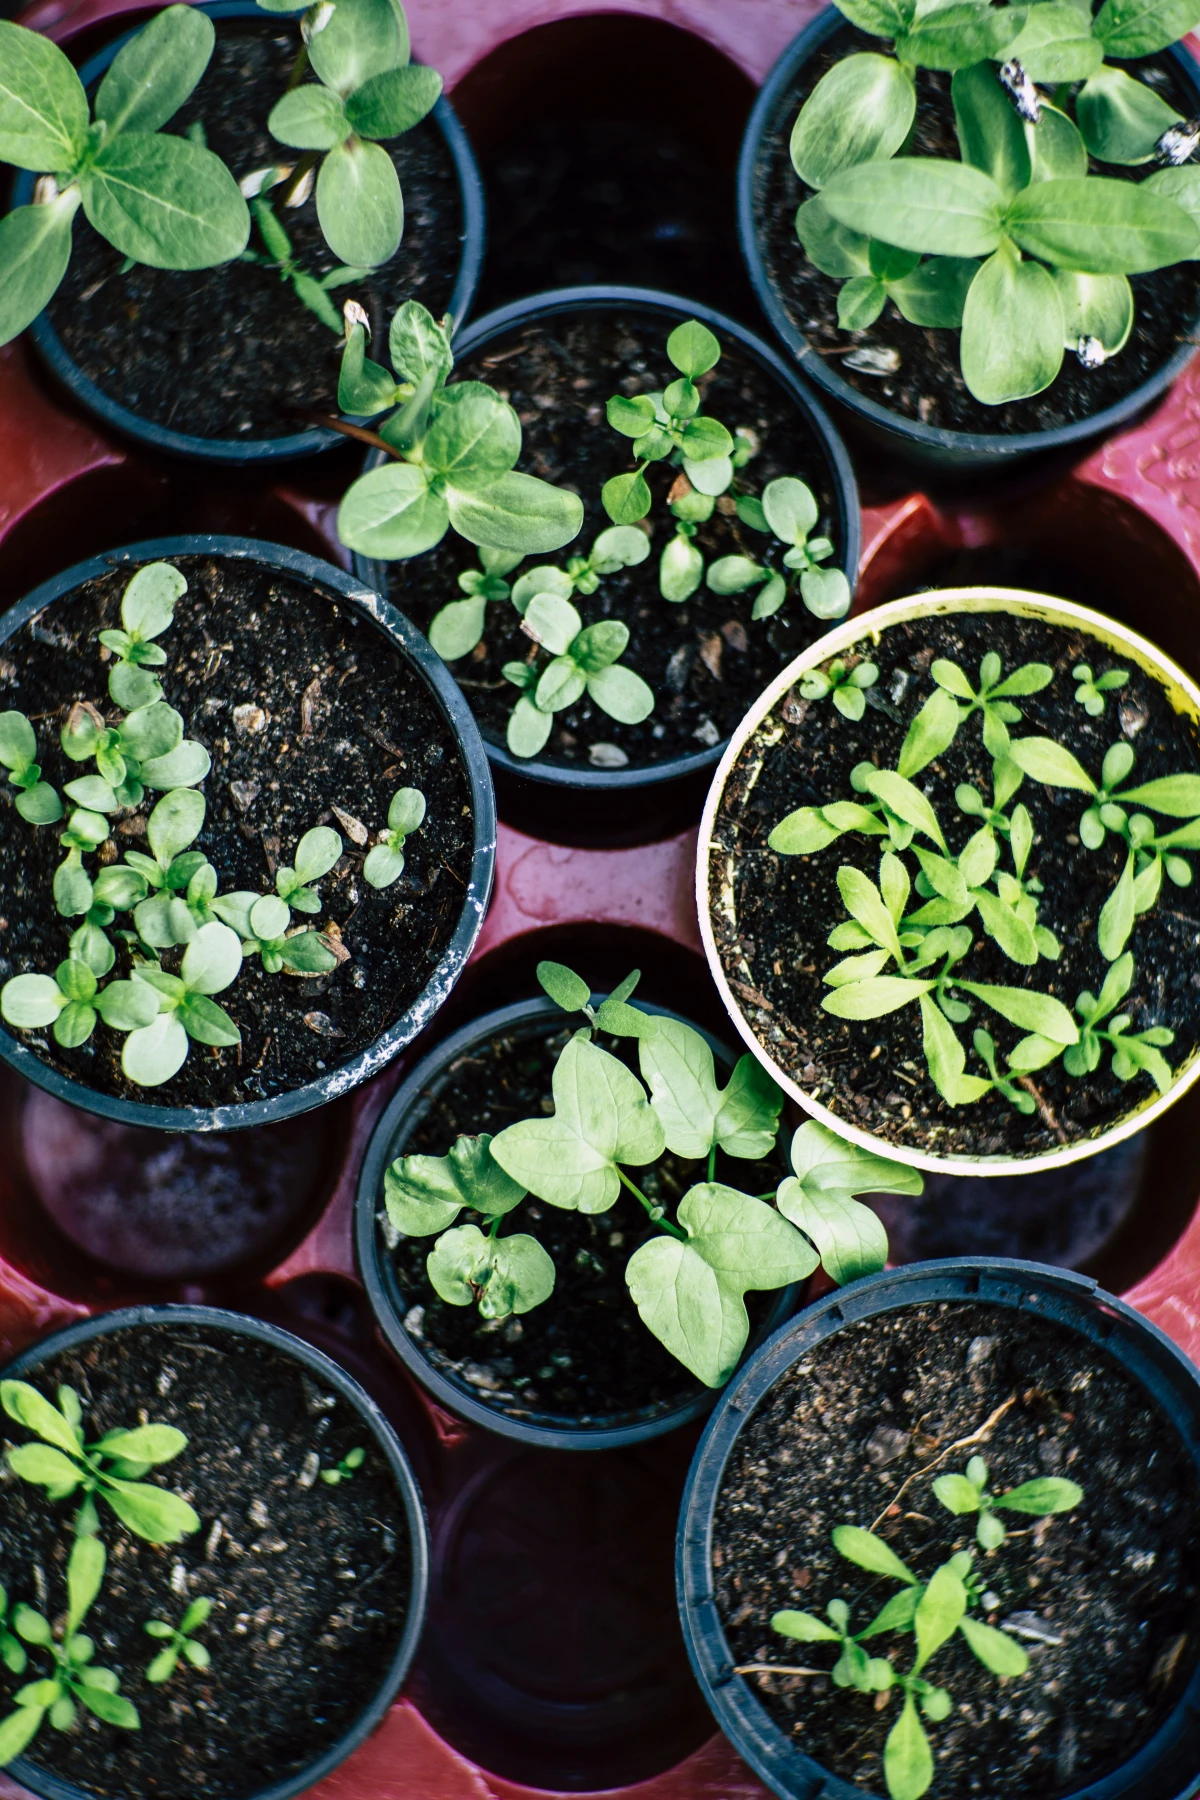
I also strongly suggest buying healthy starter plants (transplants) from a reputable local nursery instead of starting everything from seed. Local nurseries are pros at growing varieties that are proven winners in your specific area, giving you a huge head start.
Watering and Weeding the Smart Way
The daily chores of gardening don’t have to be a drag. Doing them right saves time and keeps your plants happy.
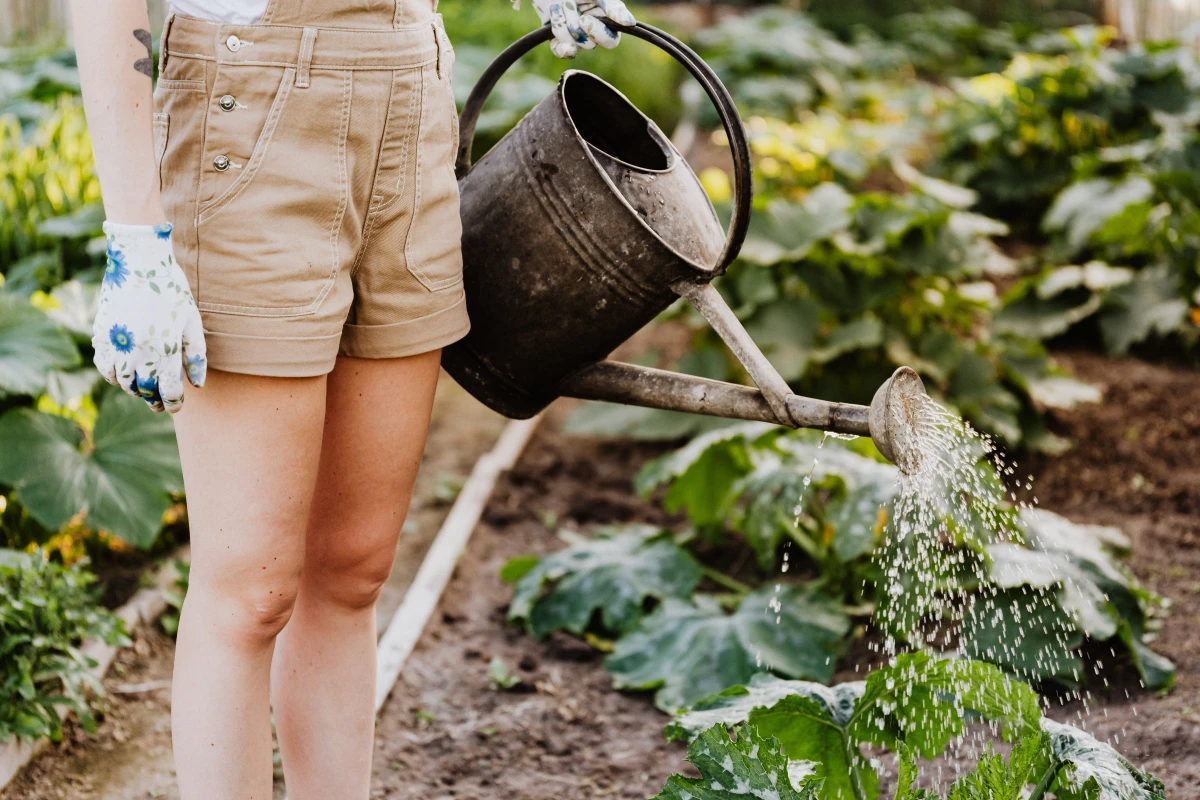
Water Deeply, Not Daily
The most common rookie mistake is giving plants a light sprinkle every day. This just encourages shallow roots, making plants weak. It’s far better to water deeply and less often. Your goal is to soak the soil down to about 6 inches, which encourages roots to grow deep where the soil stays moist longer. As a rule of thumb, aim for the equivalent of one inch of rain per week, either from the sky or your hose.
The best way to know when to water? Just stick your finger two inches into the soil. If it feels dry, it’s time. If it’s moist, check again tomorrow. And try to water in the morning so the leaves have all day to dry, which helps prevent fungal diseases.

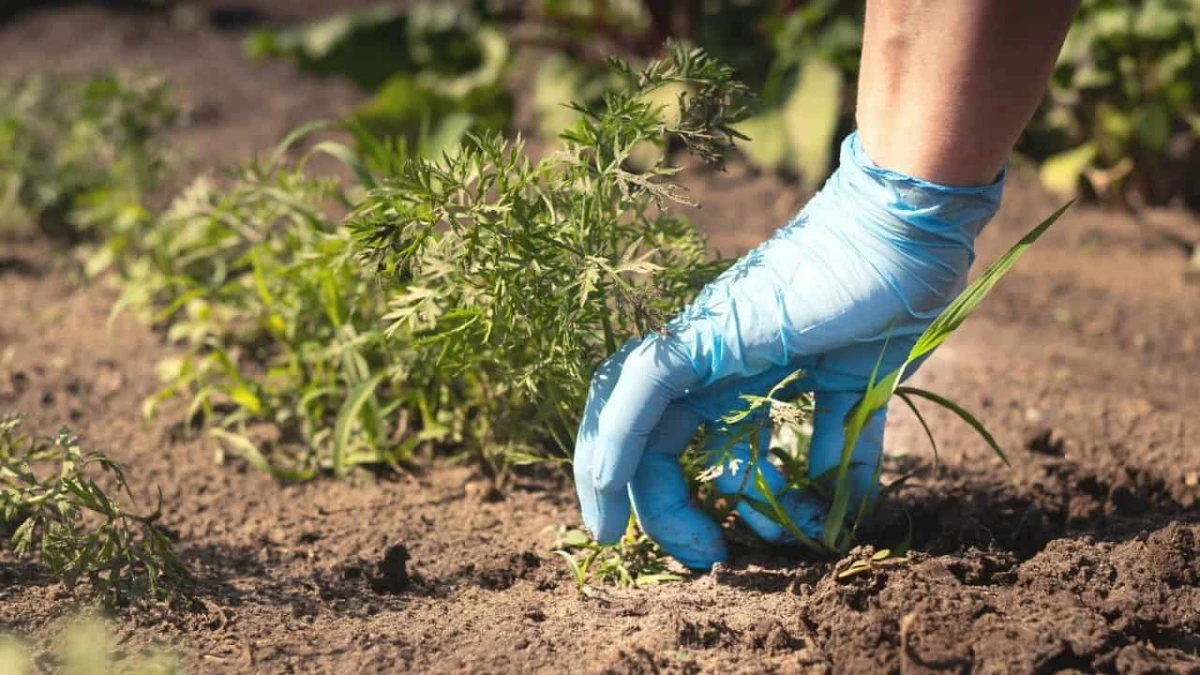
Mulch: Your Best Friend for Weed Control
Weeds are thieves—they steal water, sunlight, and nutrients from your plants. The best defense is a good offense: mulch. Once your plants are a few inches tall, apply a 2- to 3-inch layer of organic mulch like straw, shredded leaves, or pine bark. This layer blocks sunlight, preventing most weed seeds from ever sprouting. As a bonus, it also conserves moisture and slowly feeds the soil as it breaks down.
A Final Word on Patience and Paying Attention
Your garden is going to be your best teacher. I promise you, things will go wrong. A plant will die for no reason. A weird bug will show up. That’s just gardening. The trick is to walk through your garden for a few minutes every day. Look at the leaves. Feel the soil. Notice what’s happening. This daily observation is how you build intuition.
The reward isn’t just the amazing taste of a tomato you grew yourself. It’s the connection you build with that little patch of earth. It’s a process of learning, and it’s incredibly satisfying. So go on, get your hands dirty. You’ve got this.
Inspirational Gallery with Photos
Bagged Compost: Incredibly convenient for beginners. Brands like Black Kow or Coast of Maine offer consistent, ready-to-use organic matter that can be instantly added to your garden beds. It’s a quick fix for poor soil.
Homemade Compost: The ultimate in recycling. It costs nothing but time and effort, turning your kitchen scraps and yard waste into nutrient-rich ‘black gold.’ It’s a living amendment, full of beneficial microbes that bagged versions can’t match.
For a fast start, buying a few bags is fine. For long-term sustainability and soil health, starting a compost pile is the goal.
A single acre of healthy farmland can be home to more than a million earthworms.
These wriggly engineers are your garden’s best friends. They’re not pests; they are a sign of life. Their tunnels aerate the soil and create channels for water, while their castings are one of nature’s most perfect fertilizers. Encouraging them is simple: add organic matter like compost and avoid chemical pesticides that harm them.
Is it true some plants actually help each other grow?
Absolutely! This is the principle behind ‘companion planting.’ It’s a classic organic strategy where certain plants are placed near each other to deter pests, attract beneficial insects, or improve growth. The most famous example is planting aromatic basil next to tomatoes to help repel tomato hornworms. Another great pair is rosemary near carrots, as its strong scent can confuse the carrot root fly.
- Protects soil from drying out in the sun.
- Suppresses weed growth significantly.
- Slowly breaks down, adding nutrients to the soil.
The secret? A thick layer of organic mulch. After planting, apply a 2-3 inch layer of straw, shredded leaves, or wood chips around your plants (but not touching the stems). This simple step saves water and a lot of weeding time.
Beyond the soil, one of the biggest rookie mistakes is planting too close together. That tiny seedling will grow! Overcrowding leads to a battle for sunlight, water, and nutrients, and poor air circulation can encourage fungal diseases like powdery mildew. Always check the final spacing recommendations on your seed packet or plant tag—and trust them.
Pollinators like bees and butterflies are responsible for 1 out of every 3 bites of food we eat.
An organic garden isn’t just about vegetables; it’s about creating a habitat. Planting a small patch of flowers like zinnias, cosmos, or borage will not only make your garden beautiful but will also attract these essential helpers, ensuring your squash, cucumbers, and tomatoes produce a bountiful harvest.
For an ultra-low-effort start that builds incredible soil, look into the ‘no-dig’ or ‘lasagna gardening’ method, championed by gardeners like Charles Dowding. The idea is to layer materials directly on top of your lawn or weedy patch. Start with a layer of cardboard to smother the grass, then pile on compost, leaf mold, and other organic matter. You can plant directly into the top compost layer, letting the soil food web do all the hard work of breaking everything down underneath.
Important tip: When you water, aim for the base of the plant, not the leaves. Wet foliage, especially overnight, is an open invitation for fungal diseases. Watering deeply but less frequently encourages roots to grow down into the soil in search of moisture, creating stronger, more drought-resistant plants. A soaker hose is an excellent tool for this targeted approach.
Building rich garden soil doesn’t have to be expensive. Your community is full of free resources if you know where to look.
- Ask local, independent coffee shops for their used coffee grounds; they’re a great nitrogen source.
- In the fall, collect bagged leaves from neighbors to create valuable leaf mold.
- Check with local tree-trimming services, who are often happy to dump a load of free wood chips for mulch.
Don’t just focus on the harvest; embrace the process. There’s a unique satisfaction in plunging your hands into cool, dark earth, in the scent of soil after a light rain, and in the quiet observation of a bee moving from one squash blossom to the next. This connection is the real, often unexpected, reward of tending a garden.


