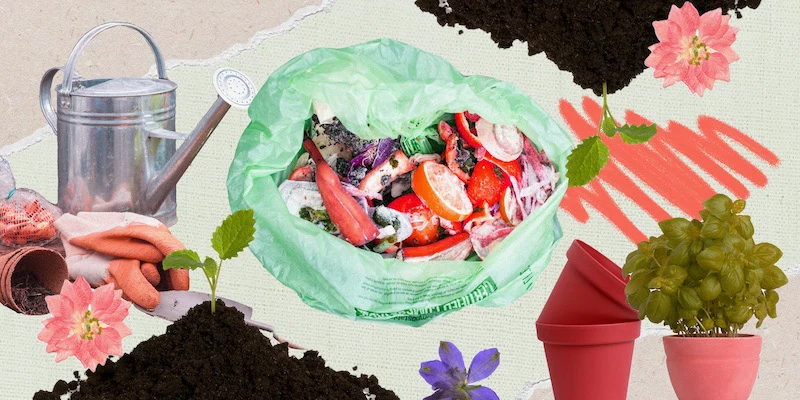
The Art of Black Gold: Your No-Nonsense Guide to Real Composting
I’ve been making compost for what feels like a lifetime. I learned the basics from my grandfather, who had a forgotten pile of grass clippings and potato peels behind his shed. It worked, I guess. We’d get usable soil from it… eventually. But when I started my own market garden, “eventually” just wasn’t going to cut it. I needed a mountain of the good stuff, and I needed it fast. That’s what pushed me to go beyond the simple “heap it and leave it” method and really dive into the craft of an active, hot compost system.
In this article
So many guides just give you lists of what to throw in a pile. They don’t get into the why. They don’t explain the engine that drives the whole process. This isn’t just about trashing your kitchen scraps; it’s about creating the single most valuable thing you can add to your garden. It’s about literally building life in your soil. Let’s dig into the techniques that actually work, the ones that turn waste into black gold efficiently.
What’s Actually Happening in There?
Before you even think about building a pile, you need to get what’s going on inside. Compost isn’t just rot. It’s a bustling city of microorganisms, and if you give them the right food, air, and housing, they do all the heavy lifting for you. Get it wrong, and you end up with a slimy, stinking mess.
The Carbon and Nitrogen Balancing Act
This is it. The single most important concept. Think of it like building a campfire: Carbon is the big log that provides the long-burning fuel, and Nitrogen is the match that gets the fire roaring. You need a whole lot more log than you do matches.
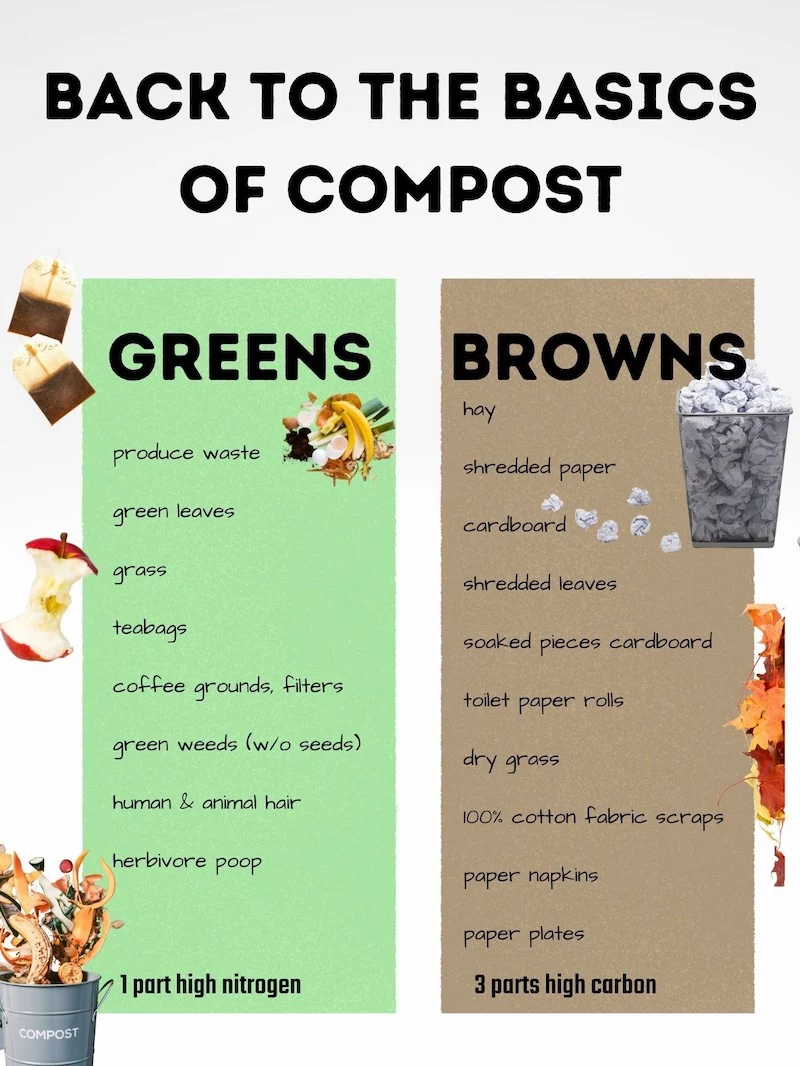
- Carbon Materials (the “Browns”): These are your dry, woody, or fibrous things. We’re talking dried leaves, straw, wood chips, and shredded cardboard. They are pure energy for your microbe workforce.
- Nitrogen Materials (the “Greens”): These are the fresh, moist, and lively materials. Think kitchen scraps, fresh grass clippings, coffee grounds, and herbivore manure (from chickens, rabbits, etc.). They provide the protein the microbes need to multiply like crazy.
The pros aim for a ratio of about 25 to 30 parts carbon for every 1 part nitrogen. But honestly, who has the time to calculate that? In the real world, just aim for a visual mix of about two or three big shovelfuls of “browns” for every one shovelful of “greens.”
I’ll never forget the time I learned this lesson the hard way. I’d just mowed a huge, lush lawn and, thinking I was being efficient, dumped the entire giant bag of wet clippings onto my pile. The next day, the smell of ammonia was so strong it could knock you over. That smell was precious nitrogen literally escaping into the air. A total waste. That’s how you learn to always, always mix your greens and browns!
The Microbe Workforce
Your pile is a temporary home for billions of tiny workers. First, the initial crew (mesophilic bacteria) starts breaking down the easy stuff, and as they work, they generate heat. Once the pile’s core gets nice and toasty, the heavy-hitters (thermophilic bacteria) take over. These are the heat-lovers, and they are powerhouse workers. They can drive the core temperature of your pile up to a scorching 130-160°F (that’s 55-70°C). This heat is your secret weapon. It’s hot enough to kill most weed seeds and nasty pathogens, which is the key difference between a fast, clean hot pile and a slow, weedy cold one.
Air and Water: The Essentials
The good microbes we want are aerobic, meaning they need oxygen to breathe. If a pile gets too dense or waterlogged, it goes anaerobic (oxygen-free). That’s when you get that foul, rotten-egg smell. A healthy compost pile should smell earthy and sweet, like a forest floor after it rains. Never stinky.
Moisture is just as crucial. The microbes need a damp world to live in. The perfect moisture level is about 40-60%. There’s a classic way to check this: the squeeze test. Grab a handful of compost and squeeze it hard. If a few drops of water come out, like a well-wrung-out sponge, you’ve nailed it. If water streams out, it’s too wet. If it’s crumbly and dry, the whole process has stalled.
Let’s Build a Hot Pile: The Fast-Track Method
Look, a simple heap will eventually compost. But if you want rich, beautiful compost in 1 to 3 months, you need to build and manage an active pile. It’s more work upfront, but the results are night and day.
Step 1: Get Your Materials Ready
You can’t build a hot pile one kitchen bucket at a time. The trick is to gather enough material to build the entire pile at once. To get those high temperatures, you need a minimum size of about 3 feet wide, 3 feet deep, and 3 feet high. Anything smaller just can’t hold onto its heat.
A quick tip for city or suburban folks: Finding enough “browns” can be the biggest hurdle. Start a holding pile! Get a separate bin or a corner of your yard and just toss your shredded cardboard, Amazon boxes, and junk mail in there all year. Ask neighbors for their bagged autumn leaves. When you finally have a good amount of kitchen scraps or grass clippings, your carbon source is ready and waiting.
Oh yeah, and size matters. Smaller particles break down faster. You don’t need a fancy $500 chipper-shredder, by the way. Your lawnmower is a fantastic leaf shredder! Just make a pile of dry leaves on the lawn and run over them a few times. It works perfectly.

Step 2: Build It Like a Lasagna
This layering method ensures a great mix right from the start.
- The Foundation: Start with a 6-inch layer of coarse stuff like small branches or corn stalks. This creates air channels at the bottom.
- Brown Layer: Add a 4 to 6-inch layer of your shredded leaves or cardboard. Water it lightly until it’s damp, not soaked.
- Green Layer: Add a 2 to 3-inch layer of your kitchen scraps or fresh grass clippings.
- The Activator (Pro Tip!): Sprinkle a thin layer of finished compost or just some rich garden soil over the greens. This is like adding a sourdough starter—it inoculates the new pile with a healthy dose of microbes to kickstart the process.
- Repeat, Repeat, Repeat: Keep layering browns and greens, watering the brown layers as you go, until the pile is at least 3 feet high. Always finish with a 4-inch “cap” of browns on top. This helps keep odors in and pests out.
Step 3: Managing the Pile
Your pile should start heating up within a day or two. This is where a long-stem compost thermometer comes in handy. It’s not a luxury; it’s the best $20-$30 you’ll spend on this project, available at most garden centers or online. Within a week, the core should be hitting that 130-150°F sweet spot.
Once it peaks, it’s time to turn it. The goal is to move the cooler material from the outside edges into the fiery center. This gets air into the pile and makes sure everything gets cooked evenly. I just use a standard pitchfork. A good rhythm is to turn it for the first time after about 4-7 days, and then every few days for the next couple of weeks. After that, the intense heat will die down, and you can switch to turning it about once a week.
Choosing Your Composting Style
The hot pile is my go-to, but it’s not for everyone. The best method really depends on your space, time, and goals. Here’s a quick rundown:

- The Hot Pile (Active Method): This is the one we just built. It’s a bit of work, but it’s fast, producing compost in 1-3 months. The high heat is fantastic because it reliably kills weed seeds and most plant diseases. This is for the gardener who wants top-tier compost, and lots of it.
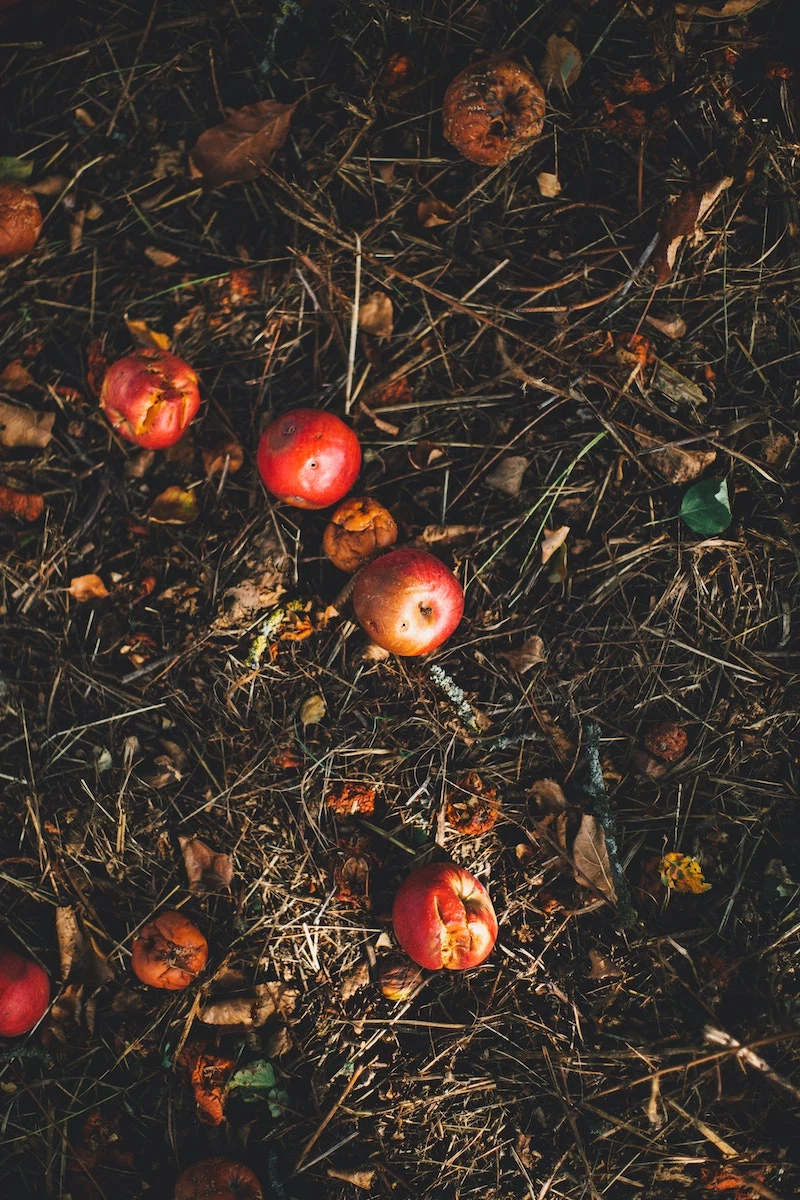
- The Cold Pile (Passive Method): This is my grandfather’s technique. You just add materials as you get them and let time do the work. It’s almost zero effort, but it’s slow—often taking a year or more. And because it never gets hot, it won’t kill weeds or pathogens. If you use this method, be extra careful not to add diseased plants.
- Contained Systems (Bins and Tumblers): These are great for keeping things tidy, especially in smaller yards or urban settings where appearances matter. Heads up! Most commercial tumblers are too small to get genuinely hot. Think of them as a neat container for a slower composting process, not a shortcut to a hot pile.
- Worm Composting (Vermicomposting): This is a whole different ballgame. It uses specific worms (Red Wigglers, not your garden-variety earthworms) to process kitchen scraps in a bin. It’s a fantastic option for apartment dwellers and produces an incredibly rich fertilizer called worm castings.
The “Good List” vs. The “NEVER Add” List
Getting this right is critical for avoiding a smelly, pest-ridden disaster.
Go For It (The Good Stuff)
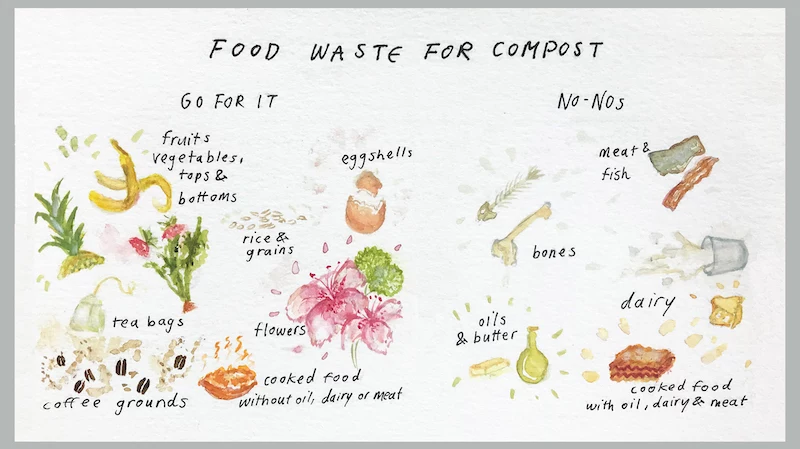
- Greens (Nitrogen): Kitchen scraps (fruit/veg peels, coffee grounds, tea bags), fresh grass clippings (in thin layers!), manure from herbivores (chickens, cows, rabbits), and green plant trimmings.
- Browns (Carbon): Dried leaves are the absolute best. Stockpile them in the fall! Straw, shredded non-glossy paper and cardboard, and small amounts of sawdust from untreated wood are also fantastic.
Seriously, Don’t Add These to a Home Pile
- Meat, Fish, Bones, & Dairy: These will rot instead of compost, and they will attract every raccoon, rodent, and stray dog in a five-mile radius.
- Fats, Grease, & Oils: They coat everything, cutting off air and water and making the pile a slimy, anaerobic mess.
- Dog or Cat Waste: This is a major health risk. Their waste can carry parasites and pathogens that are harmful to humans and may not be killed in a home compost pile.
- Diseased Plants: While a perfect hot pile can kill pathogens, it’s a huge risk. You don’t want to accidentally re-infect your garden next season. A good rule of thumb for beginners: when in doubt, throw it out.
- Treated or Painted Wood: This is a huge no-no. Sawdust or chips from this wood can leach toxic chemicals like arsenic and lead straight into your beautiful compost.

Troubleshooting 101
Even experienced composters run into issues. Here’s how to fix them:
- Smells like ammonia? It’s screaming “too many greens!” Break the pile apart and mix in a ton of carbon-rich browns like shredded leaves or cardboard.
- Smells like rotten eggs? The pile is suffocating. It’s either too wet or too compacted. Turn it immediately to get air in there, and mix in some dry, bulky browns as you go.
- Not heating up? It’s one of three things: too small, too dry, or not enough nitrogen. Make sure it’s at least 3x3x3 feet. Do the squeeze test; if it’s dry, water it. If size and moisture are good, it needs a nitrogen kick. Mix in some grass clippings or manure.
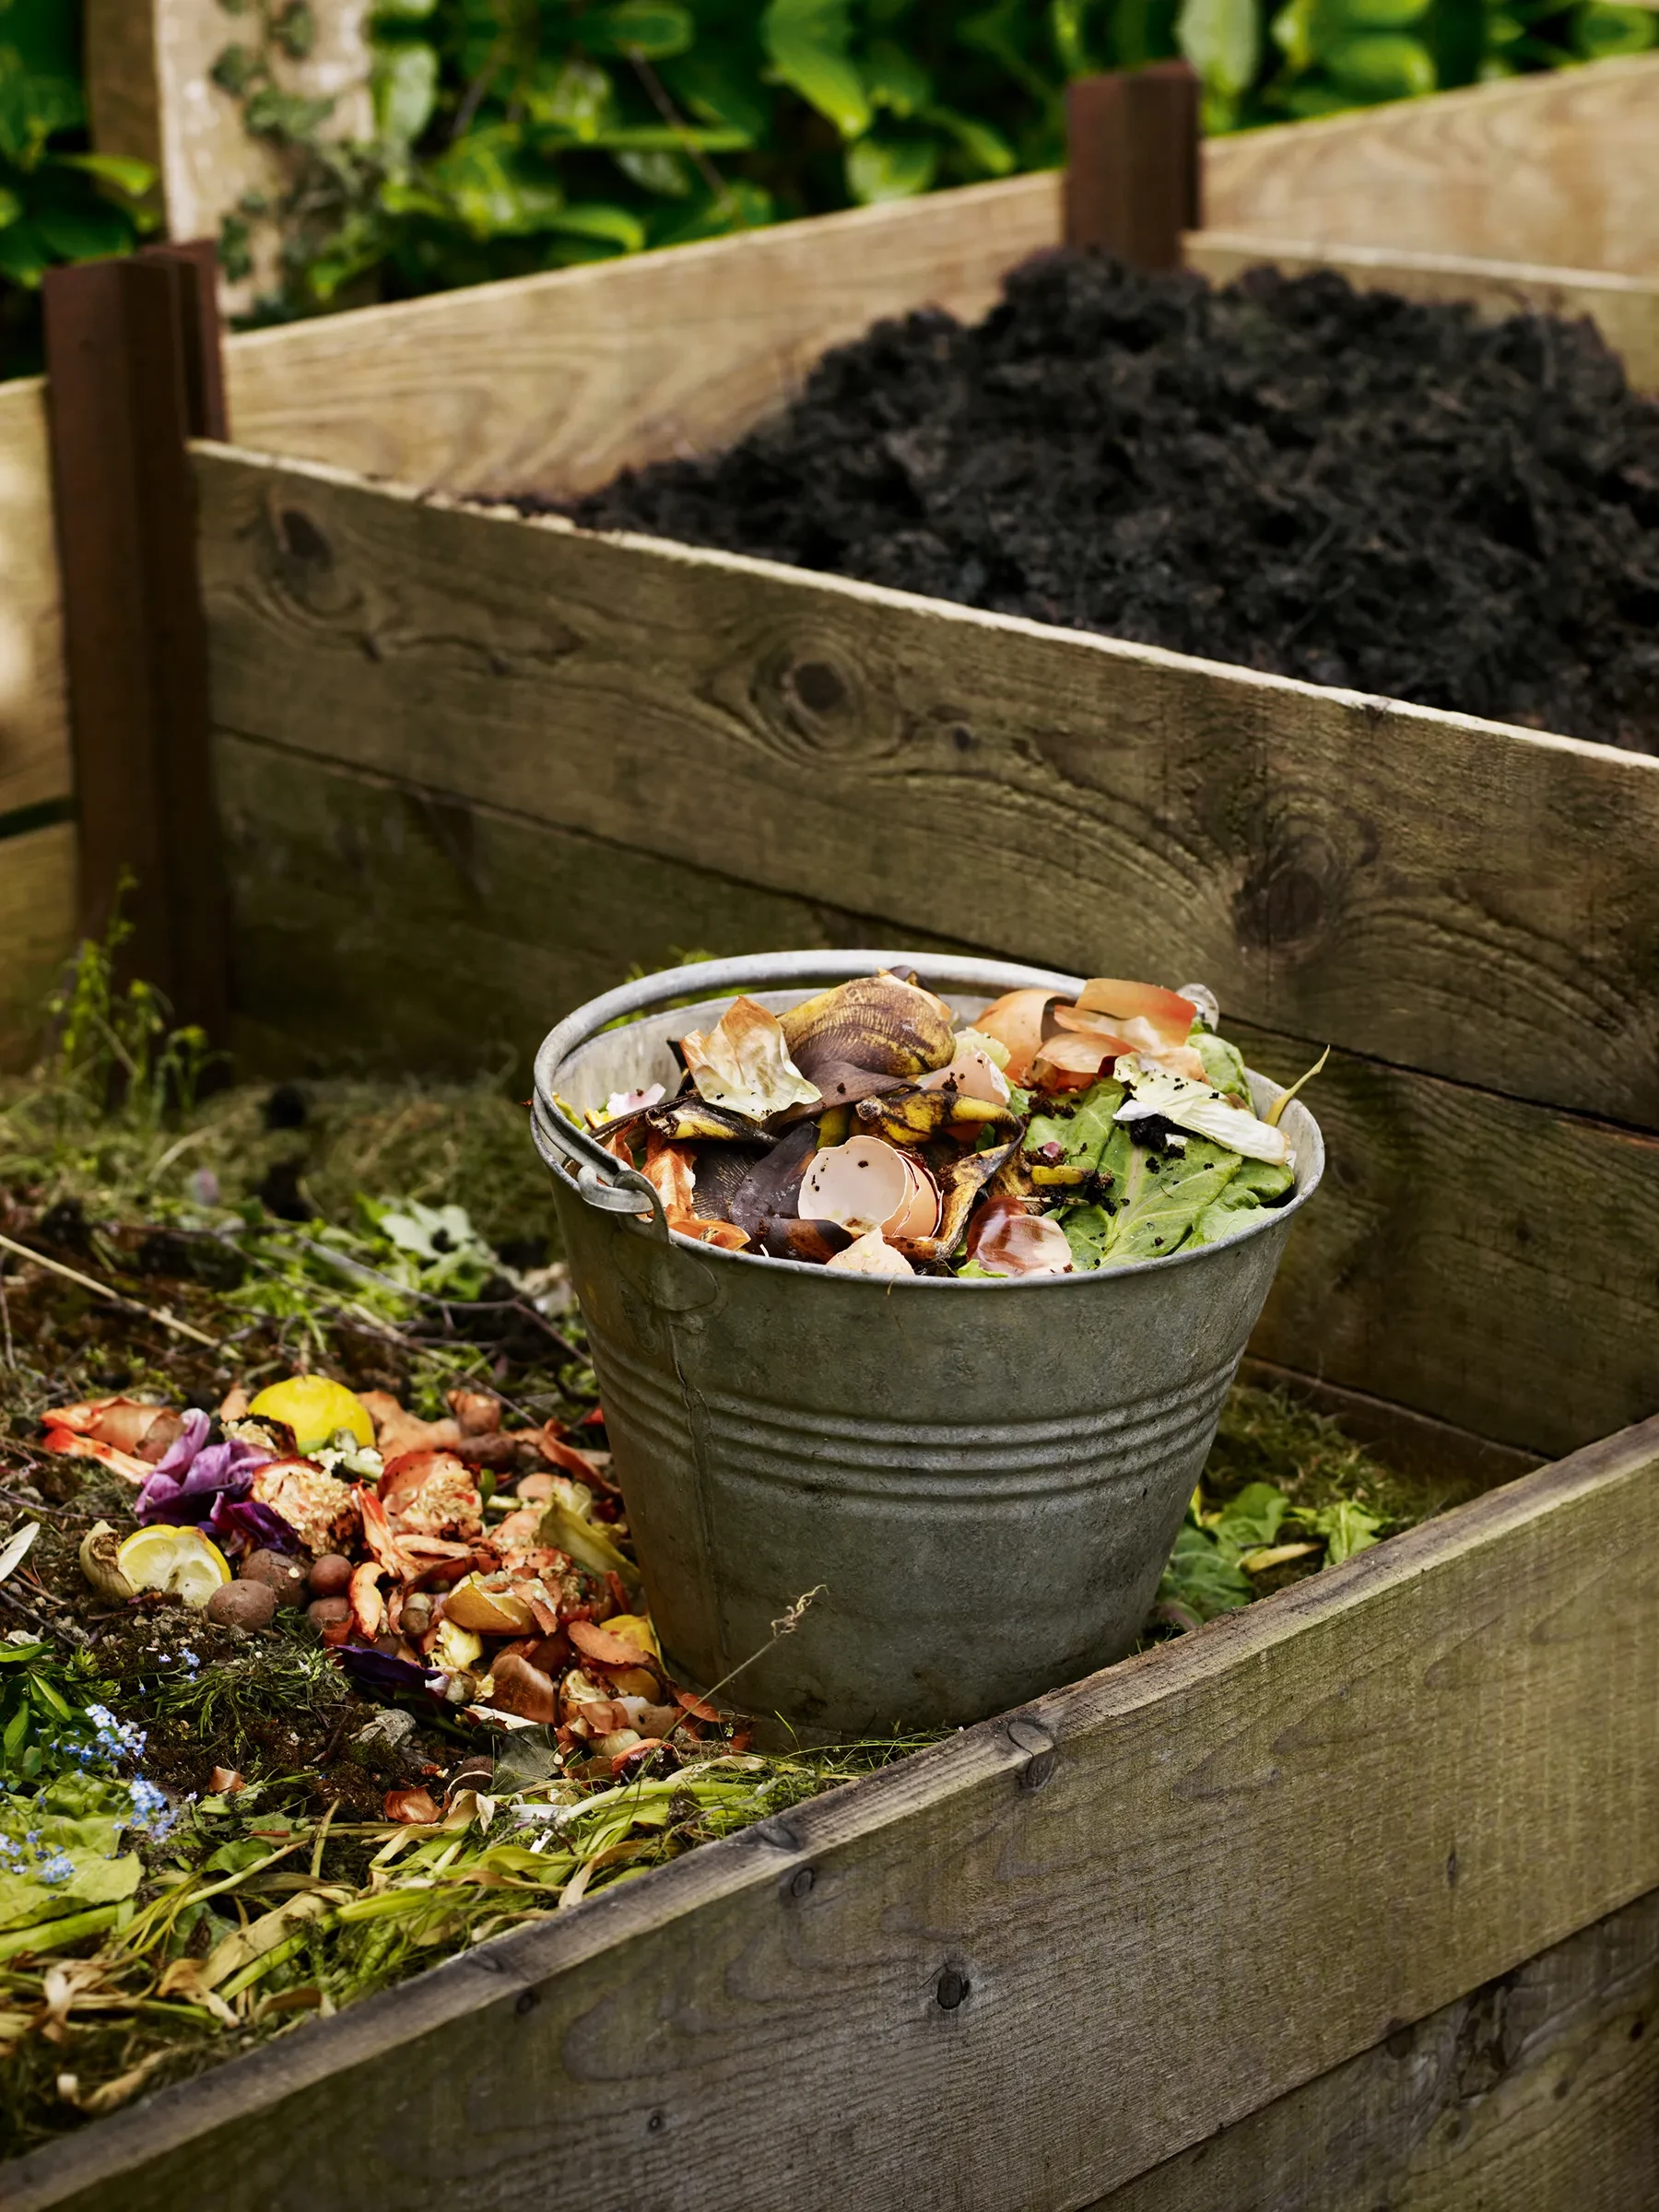
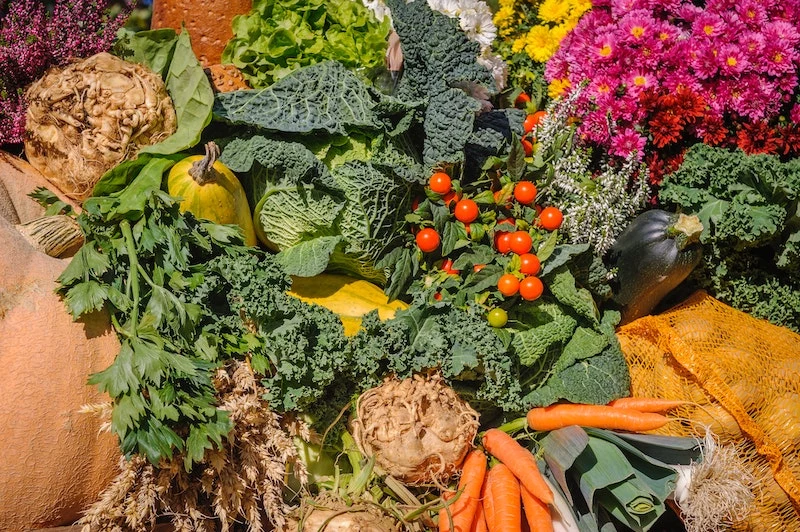
The Payoff: Is It Ready and What Do I Do With It?
Finished compost is unmistakable. It’s dark brown or black, has a fine, crumbly texture, and no longer looks like the things you originally put in. Most importantly, it has a rich, pleasant, earthy smell. If it smells sour, it’s not done yet. Let it sit for a few more weeks to cure.
So you’ve made black gold. Now what?
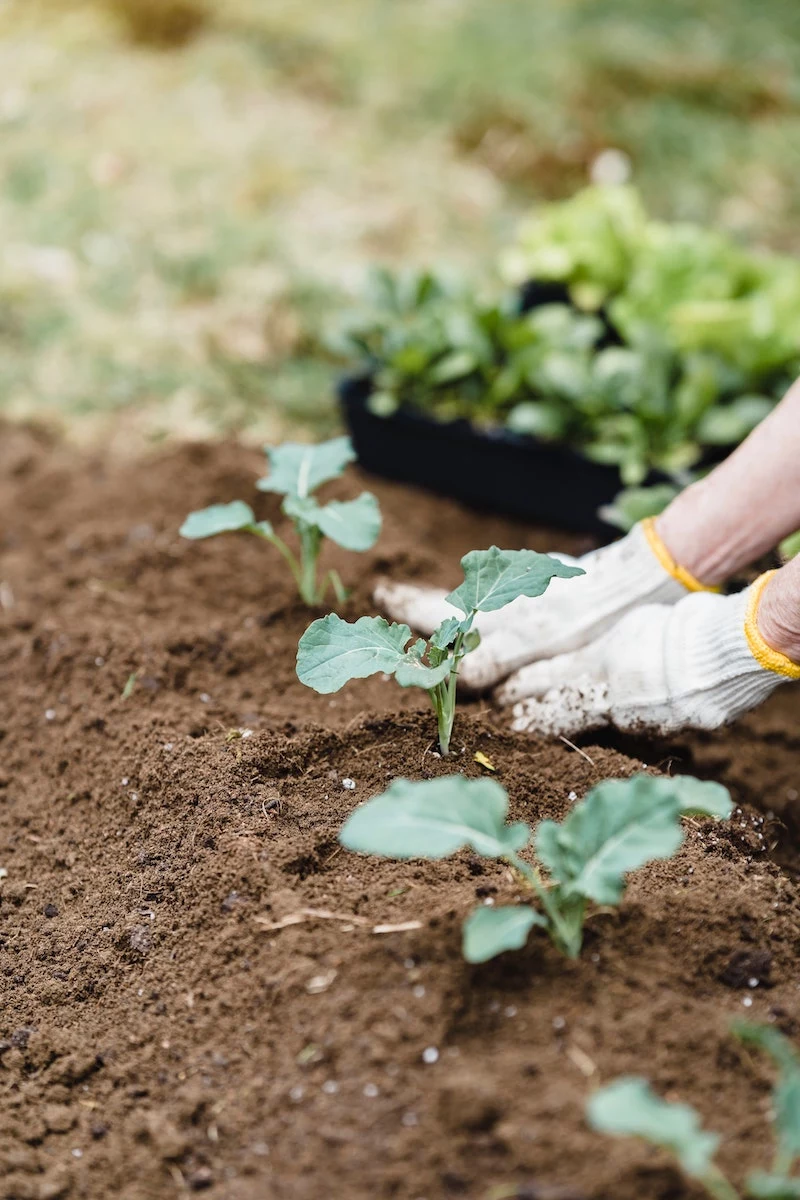
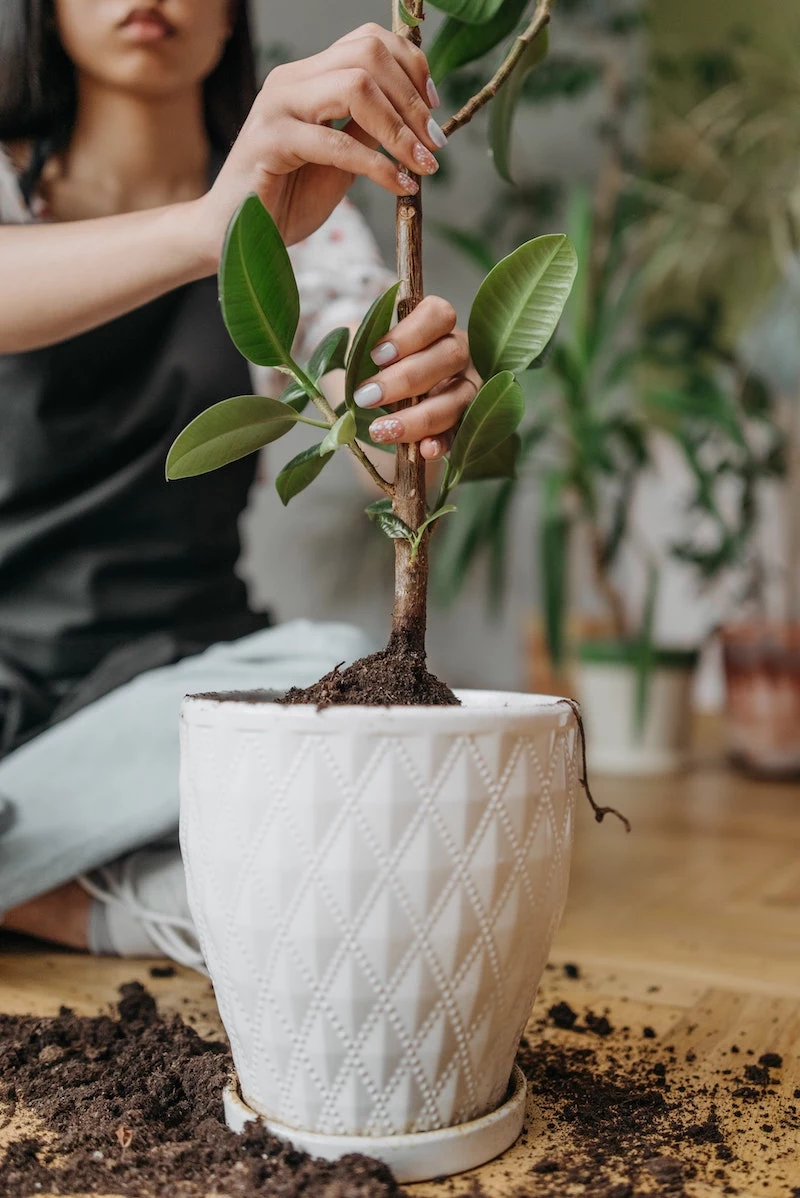
- For Garden Beds: The easiest way is to top-dress. Just spread a 1-2 inch layer directly on top of your soil in the spring or fall. The worms and rain will do the rest.
- For Potting Mix: Make your own super-charged potting soil. A great recipe is 1 part finished compost to 3 parts potting soil or a mix of peat/coir and perlite.
- For a Quick Boost: Make a “compost tea.” Put a few shovelfuls of compost in a burlap sack, let it steep in a 5-gallon bucket of water for a day, and use the liquid to water your plants for a quick nutrient feed.
Making your own compost is one of the most rewarding things a gardener can do. You’re actively participating in nature’s recycling program, building the long-term health of your soil, and growing healthier plants because of it. It takes a little effort, but holding that dark, rich, finished compost in your hands makes it all worth it. Believe me.
Inspirational Gallery

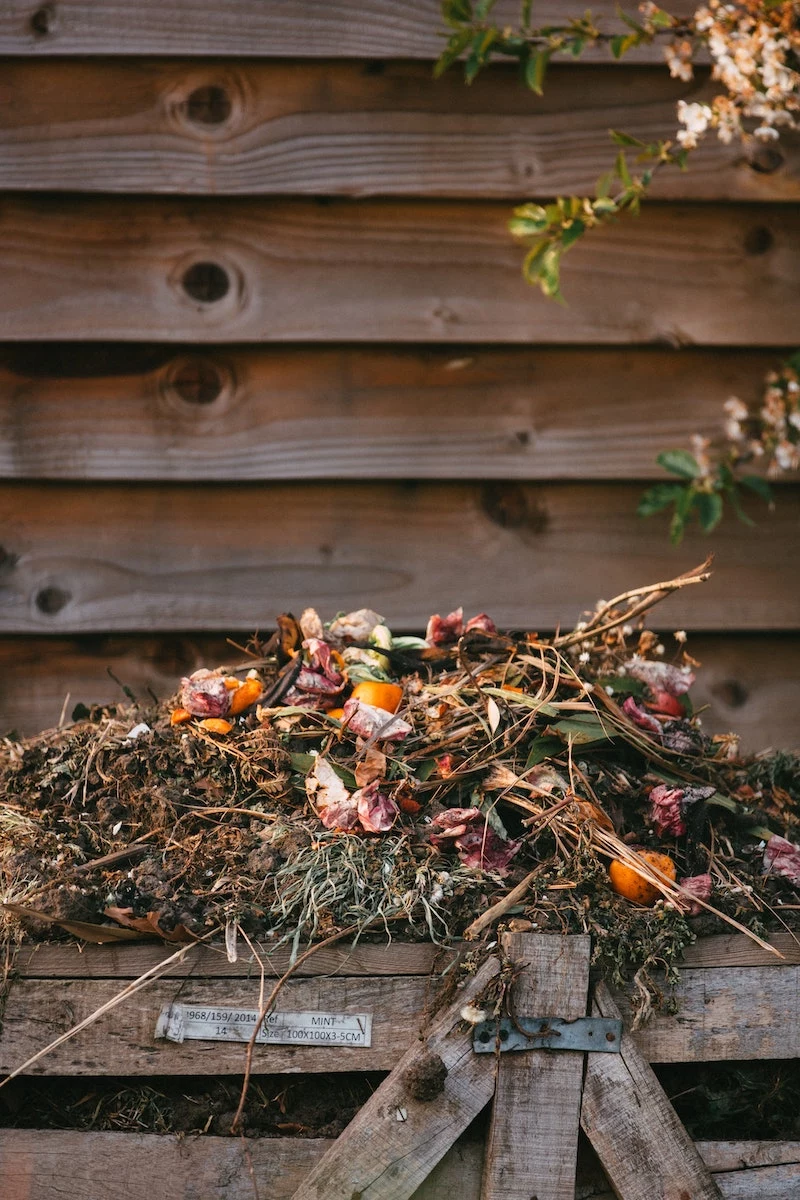
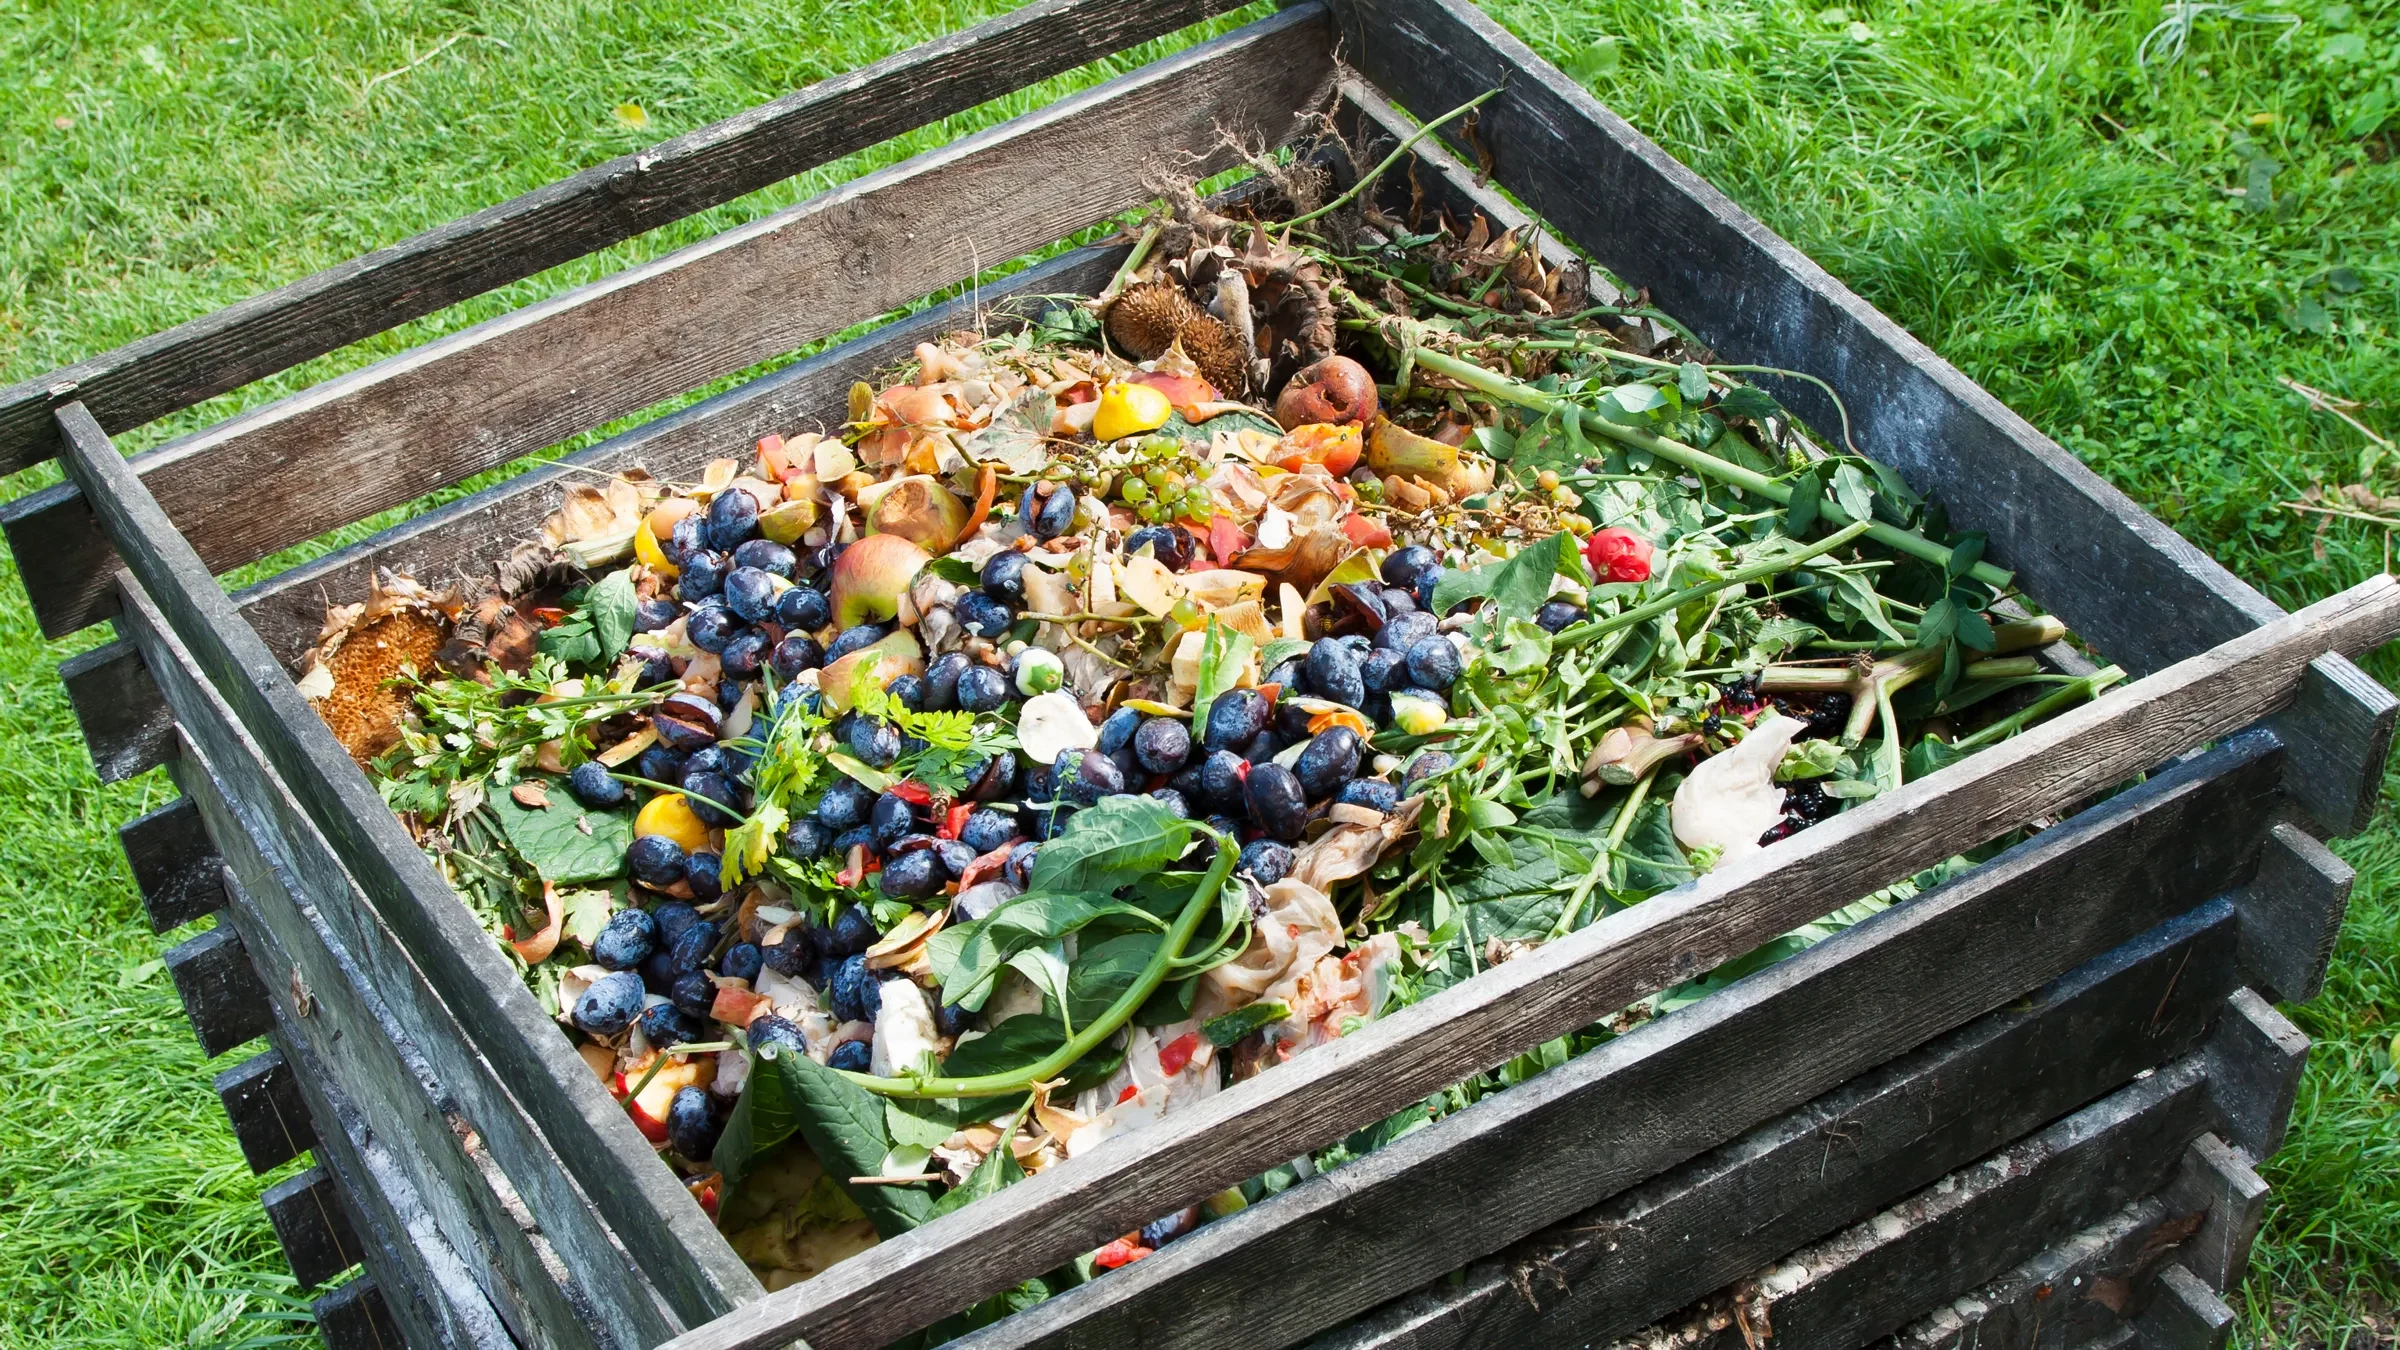
Open Pile: The classic, no-fuss method. It’s fantastic for large volumes of garden waste like leaves and grass clippings. It requires more space and manual turning with a pitchfork for aeration, but the cost is virtually zero. Best for gardeners with a bit of elbow grease and room to spare.
Compost Tumbler: A sealed, rotating drum like the models from Mantis or Joraform. They heat up faster, keep pests out, and make turning effortless—just give it a spin. They’re ideal for smaller yards or urban settings where neatness is key, but they have a limited capacity.
The choice depends on your space and how much material you generate.
A single teaspoon of healthy, mature compost can contain up to one billion beneficial bacteria and several yards of fungal hyphae.
My compost pile stinks of ammonia! What did I do wrong?
That sharp, unpleasant smell is a clear signal that your C:N ratio is off—you have too much nitrogen (the
Beyond the obvious no-nos like meat and dairy, some seemingly ‘natural’ items can ruin your pile. Avoid these troublemakers:
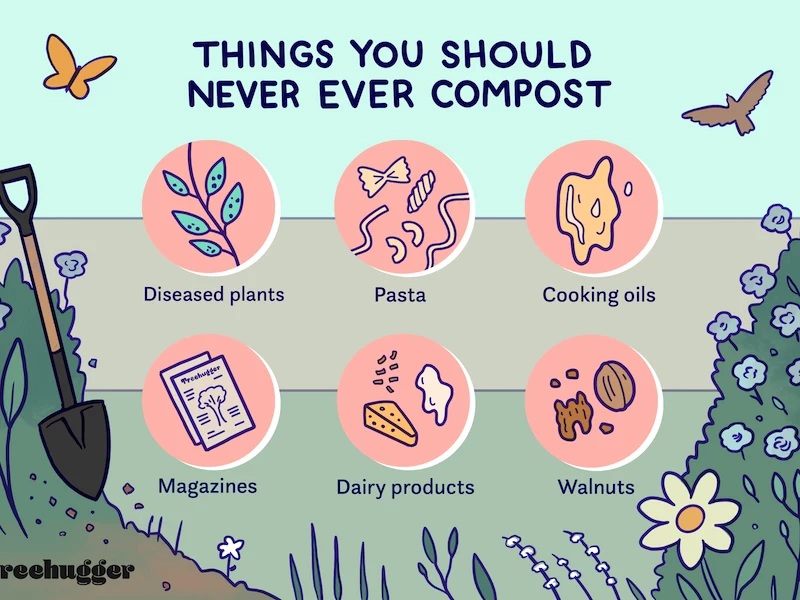
- Black Walnut Leaves/Twigs: They contain juglone, a natural compound that is toxic to many common garden plants.
- Treated or Painted Wood: Sawdust is great, but not if it comes from wood treated with chemicals like arsenic or creosote.
- Glossy or Coated Paper: The shiny coating on magazines or junk mail often contains plastics and heavy metals that you don’t want in your soil.
- Diseased Plants: While a hot compost pile can kill many pathogens, it’s a risk. If you’re not carefully monitoring your pile’s temperature, you could reintroduce diseases like blight or mildew to your garden.
Since 1995, Starbucks has given away over 90 million pounds of used coffee grounds through its ‘Grounds for Your Garden’ program.
Don’t underestimate the power of your daily brew. Coffee grounds are considered a ‘green’ material, rich in nitrogen, and are a fantastic activator for your compost pile. They have a near-neutral pH and worms absolutely love them. Next time you’re at Starbucks or your local café, ask if they have any grounds to give away—it’s a free, high-octane fuel for your compost.

You know your compost is ready when it stops producing heat and takes on a deep, dark, crumbly texture. But the real test is the smell. Forget the sour odor of kitchen scraps or the sharpness of ammonia. Finished, healthy compost has a uniquely pleasant, rich aroma. It’s the smell of a forest floor after rain—earthy, clean, and alive. It’s the fragrance of pure potential, the scent of the ‘black gold’ your garden is craving.
- It delivers nutrients directly to plant leaves for rapid absorption.
- It helps suppress common fungal diseases like powdery mildew.
- It populates leaf surfaces with beneficial microbes, creating a protective barrier.
The secret? A simple brew called ‘compost tea’. Just steep a shovelful of your finished compost in a bucket of dechlorinated water (let tap water sit out for 24 hours) for a day or two, aerating it if possible. Strain the liquid and use it as a powerful foliar spray or soil drench.
The forgotten ingredient: Oxygen. Without air, your pile won’t get hot; it’ll turn into a sludgy, anaerobic mess. Turning your compost with a pitchfork every week or two is crucial. For an easier time, a specialized compost aerator tool, with ‘wings’ that open as you pull it up, can inject air deep into the core of the pile with much less effort. It’s a game-changer for maintaining a healthy, fast-working system.


