Growing Trees from Seed: A Pro’s Guide to Getting It Right
I’ve spent more than two decades with my hands in the dirt, working with trees. I know the feel of countless seeds, from the fine dust of a birch to the hefty pit of a peach. I’ve run a specialty nursery, and honestly, the first thing I always teach is this: growing a tree from a seed isn’t magic. It’s a craft. It’s about understanding a process, having a ton of patience, and paying close attention.
In this article
- First, You Have to Understand a Seed’s Internal Clock
- Where to Get Your Seeds (And How to Know They’re Any Good)
- Your First Propagation Kit: What’s This Hobby Going to Cost?
- The How-To: Stratification and Scarification in Your Own Home
- From Seed to Seedling: The Nursery Phase
- The Final Steps: Hardening Off and Planting Out
- A Final Word of Advice
- Galerie d’inspiration
So many people get excited about the idea of taking a tiny seed and raising a mighty tree. I get it! But it’s a bit more involved than just sticking it in some soil. That seed is a living thing, just sleeping, and it has some very specific needs. My goal here isn’t to give you a fluffy hobby guide, but to pull back the curtain on the professional methods we use in the nursery trade. These are the techniques that give you the absolute best shot at turning that seed into a strong, healthy sapling that could outlive you.

First, You Have to Understand a Seed’s Internal Clock
Before you even grab a pot, you need to know what’s going on inside that little seed. Most tree seeds from places with real winters won’t sprout if you just plant them. They’re in a state called dormancy, which is basically a survival mode. It stops them from sprouting during a warm spell in October, only to be zapped by the first hard frost. Smart, right?
As pros, we don’t fight this dormancy—we work with it. There are two main types you’ll run into.
One is a deep, internal dormancy controlled by chemicals. Think of it like a brake pedal inside the seed that stops it from growing. To release that brake, the seed needs to go through a period of cold, damp conditions, just like a natural winter. We call this process cold stratification. Without it, the seed’s internal clock never gets the signal that spring is here, and it will just sit in the soil and rot. You’re essentially tricking it into thinking it survived a winter.
The other type is like a suit of armor. Some seeds have a super hard, waterproof shell. Think of black locust or Kentucky coffeetree seeds. You could plant them and wait a decade for anything to happen. Water can’t even get inside to kick things off! In nature, this shell gets broken down by tumbling in a stream, microbes in the soil, or even passing through an animal’s stomach. We have to mimic this manually, which is called scarification. Until you crack that armor, the seed is locked up tight.
Where to Get Your Seeds (And How to Know They’re Any Good)
Your success starts and ends with the quality of your seeds. I’ve watched apprentices waste months on seeds that were never going to sprout. You have a few options for sourcing them.
So which path is for you? It’s really a trade-off:
- Reputable Seed Suppliers: This is my go-to for consistent results. For my own projects, I often turn to places like Sheffield’s Seed or F.W. Schumacher. They test their seeds for viability and provide crucial info about their “provenance”—the geographic origin. Why does this matter? An oak seed from Georgia isn’t built to survive a Minnesota winter. Using seeds with a local provenance gives your tree the right genetic tools for your climate.
- Wild Collection: Collecting your own is rewarding, and hey, it’s free! But you have to be 100% sure you’ve identified the parent tree correctly. You also need to collect at the right time, usually in the fall as seeds start to drop. Heads up: check local rules about collecting on public land. Just know you’re taking a gamble on viability.
- Store-Bought Fruit/Nuts: To be frank, this is mostly a fun experiment. Many commercial fruits like apples are hybrids. A seed from a Honeycrisp apple won’t grow a Honeycrisp tree; it’ll grow a new, totally unpredictable apple tree. Plus, many nuts are roasted or treated with heat, which kills the embryo. It’s fun for the kids, but not a reliable way to get a specific tree.

A Quick Reality Check on Success Rates
Before you go all-in, let’s set some realistic expectations. This is a numbers game. Even with perfect technique, not every seed will make it. If you start with 100 acorns, and you get 10 to 20 strong, healthy saplings, you should be celebrating! That’s a huge win. The goal isn’t 100% germination; it’s to end up with a handful of fantastic trees.
The Pro’s Quick Viability Test
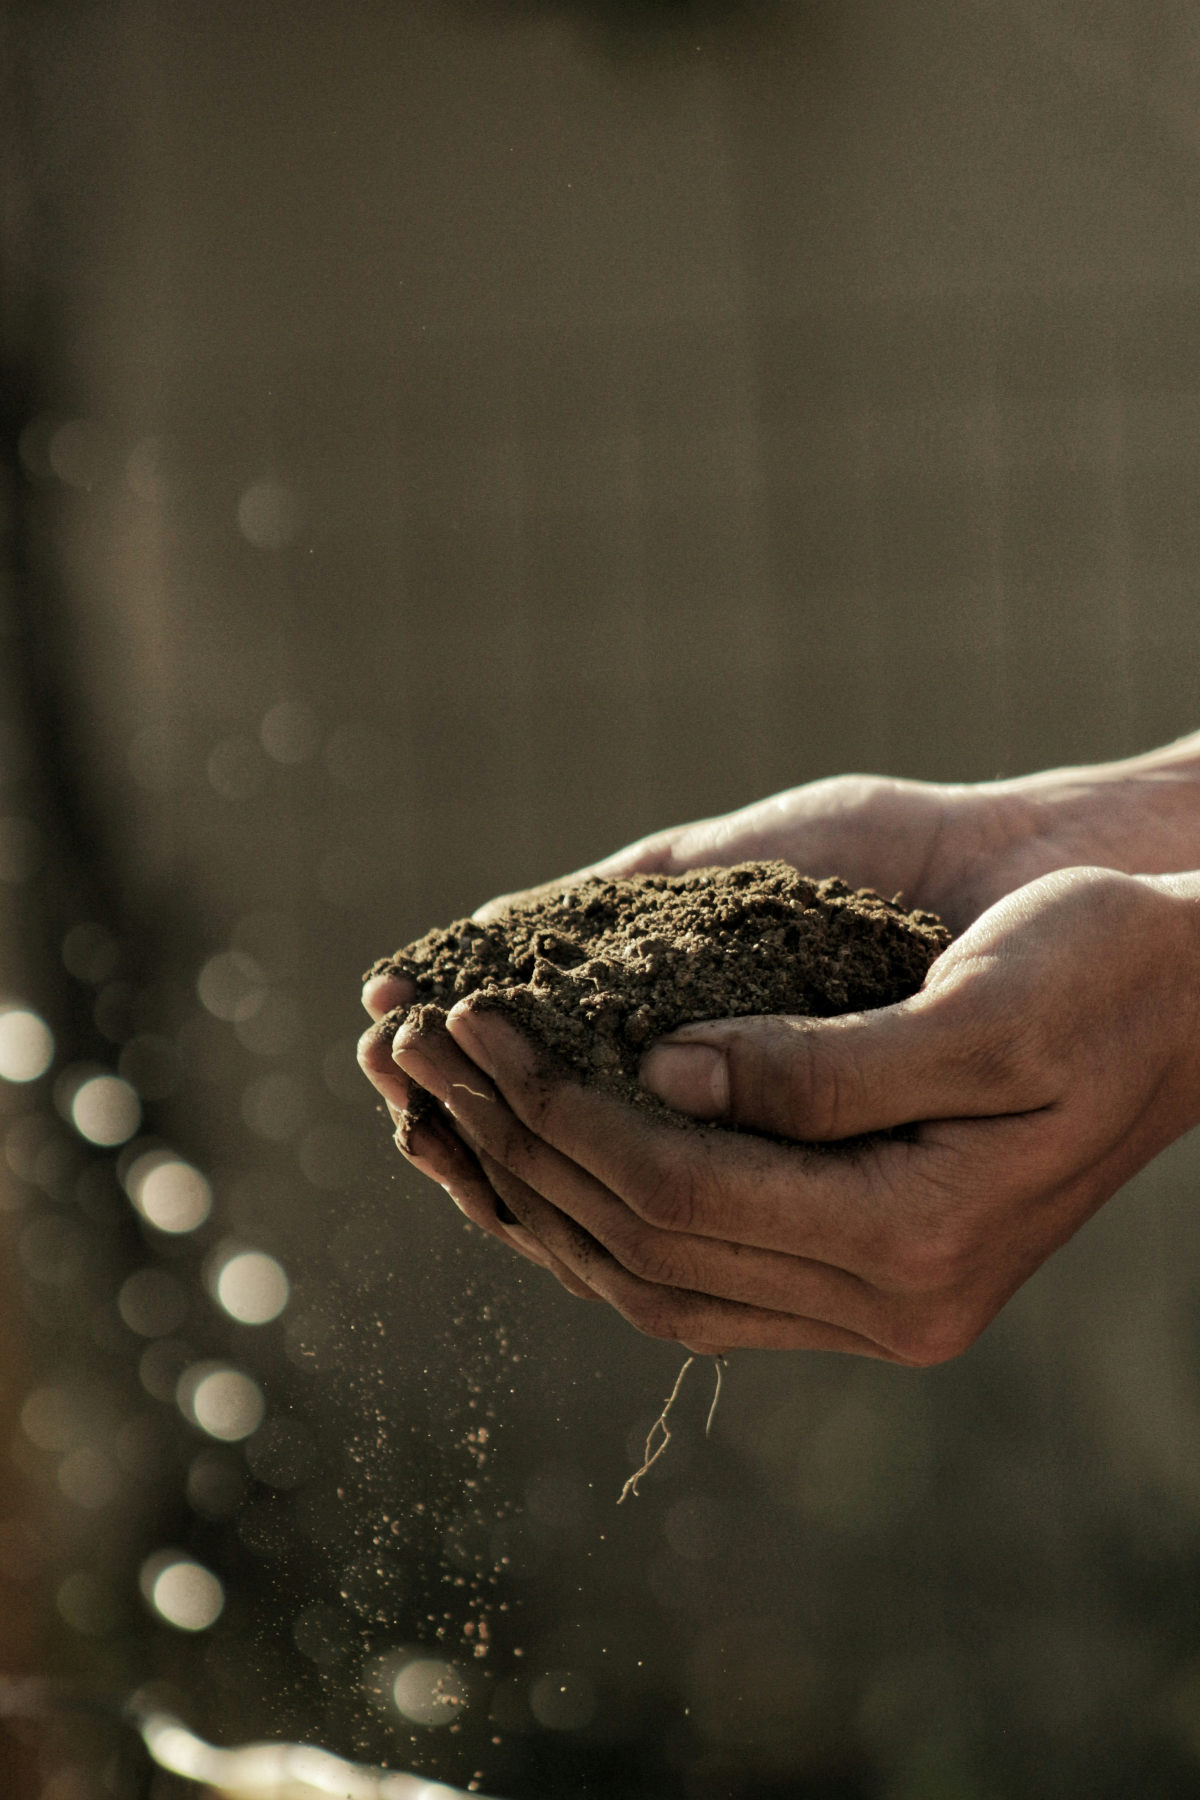
Don’t waste time on duds. For bigger seeds like acorns or walnuts, the float test is your best friend. Plop them in a bucket of water. The healthy, dense seeds will sink. The ones that float are often empty, dried out, or have been munched on by insects. Toss the floaters. For smaller seeds, you might have to sacrifice one or two for a “cut test.” Carefully slice one open with a sharp utility knife. A good seed will have a firm, moist, creamy-white embryo inside. If it’s mushy, brown, or hollow, the batch is probably no good.
Your First Propagation Kit: What’s This Hobby Going to Cost?
People always wonder if this is a cheap hobby or a money pit. Good news: you can get started for a very reasonable amount. Here’s a sample shopping list to give you an idea:
- Seeds (100 acorns or maple seeds): Free if you collect them, or about $10-$15 from a supplier.
- Small bag of coconut coir: Around $10. It’s a great sterile medium.
- Bag of coarse sand (like play sand): About $5 from any hardware store.
- Root-training pots (pack of 10): These are a great investment and run $15-$25. Look for brands like “Cone-tainers” or “Deepots.”
So, you can get a serious setup going for under $50. Not bad for a hobby that can produce trees worth hundreds of dollars down the line!
The How-To: Stratification and Scarification in Your Own Home
This is where the hands-on skill really comes into play. Pay attention to the details here.
Cold Moist Stratification: The Recipe for a Fake Winter
Here’s the recipe I’ve used for years. The goal is to keep things consistently damp, but never soggy.
First, grab a sterile medium. My favorite is a 50/50 mix of coarse sand and peat moss or coconut coir. Don’t use garden soil—it’s full of nasty stuff that will rot your precious seeds. Lightly dampen the mix so it feels like a wrung-out sponge.
Next, find a sealable plastic baggie or a Tupperware-style container. And for the love of all that is green, LABEL IT. Write the species and the date you started. I learned this the hard way after mixing up red maple and sugar maple seeds once. Whoops.
Now, combine your seeds with about three times their volume of the damp mix. Shake it all up so every seed is cozy. Seal the container and pop it in the fridge (not the freezer!). You’re aiming for a temperature between 34-41°F (1-5°C), which is perfect for a standard refrigerator.
The chilling duration is different for every tree. You’ll have to look it up for your specific species, but here are some common ones: Sugar Maple (90-120 days), Red Oak (30-60 days), and Apple (60-90 days). Check the bag every few weeks for moisture and mold. A little white fuzz isn’t a disaster; you can try sprinkling in some cinnamon, which is a natural antifungal. If it’s a full-on mold invasion, you can often still save them! Gently rinse the seeds, get a new bag with fresh, slightly drier medium, and start again. It happens!
To Make This Real: Timeline for a Red Oak
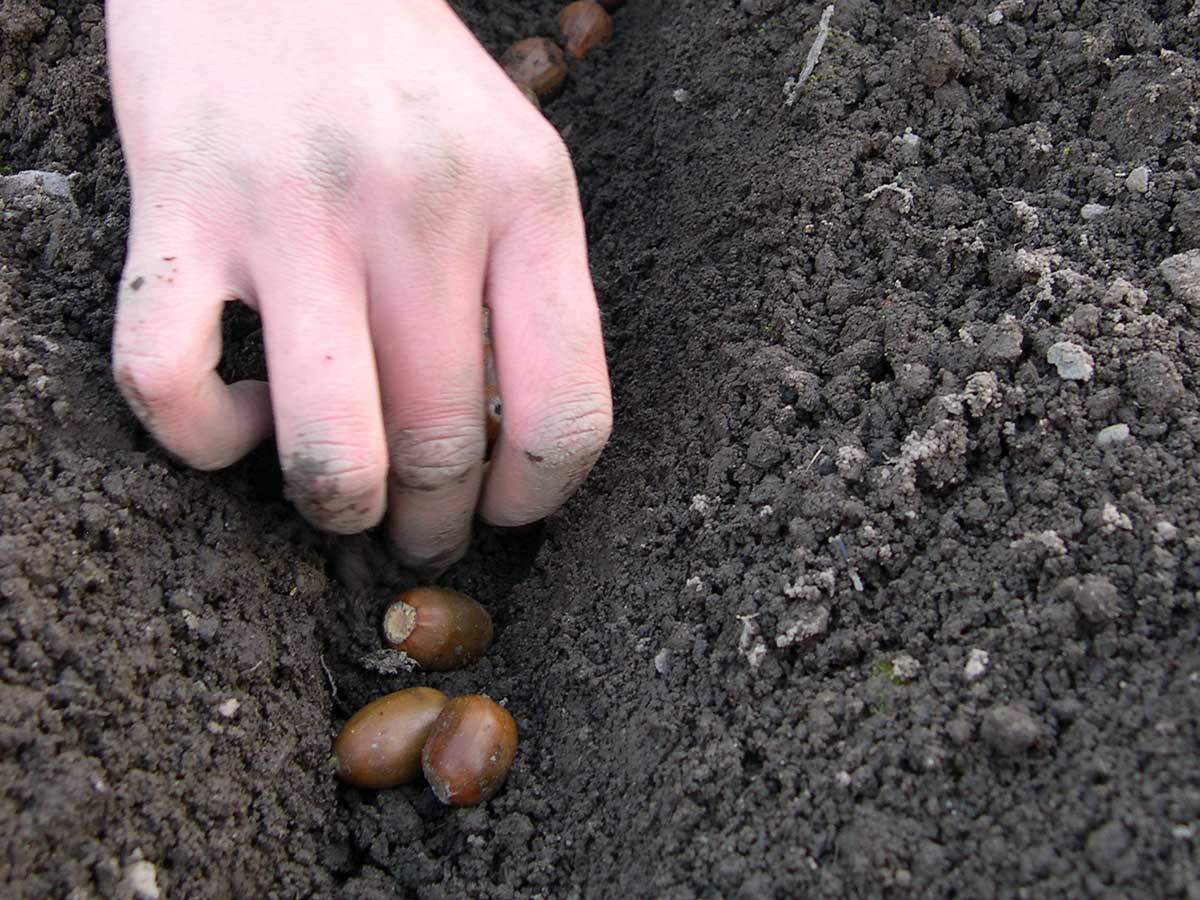
- October: Collect your acorns. Do the float test and toss the floaters.
- February 1st: Mix the keepers with damp sand/coir and start cold stratification in the fridge.
- April 1st: Check the bag. You might see tiny white roots emerging! It’s time to plant them in deep pots.
- Late May / Early June: Once they’ve sprouted and have a few leaves, start the hardening-off process outside.
Scarification: Cracking the Armor
Remember, for those super-hard seeds, you have to do this before you stratify them.
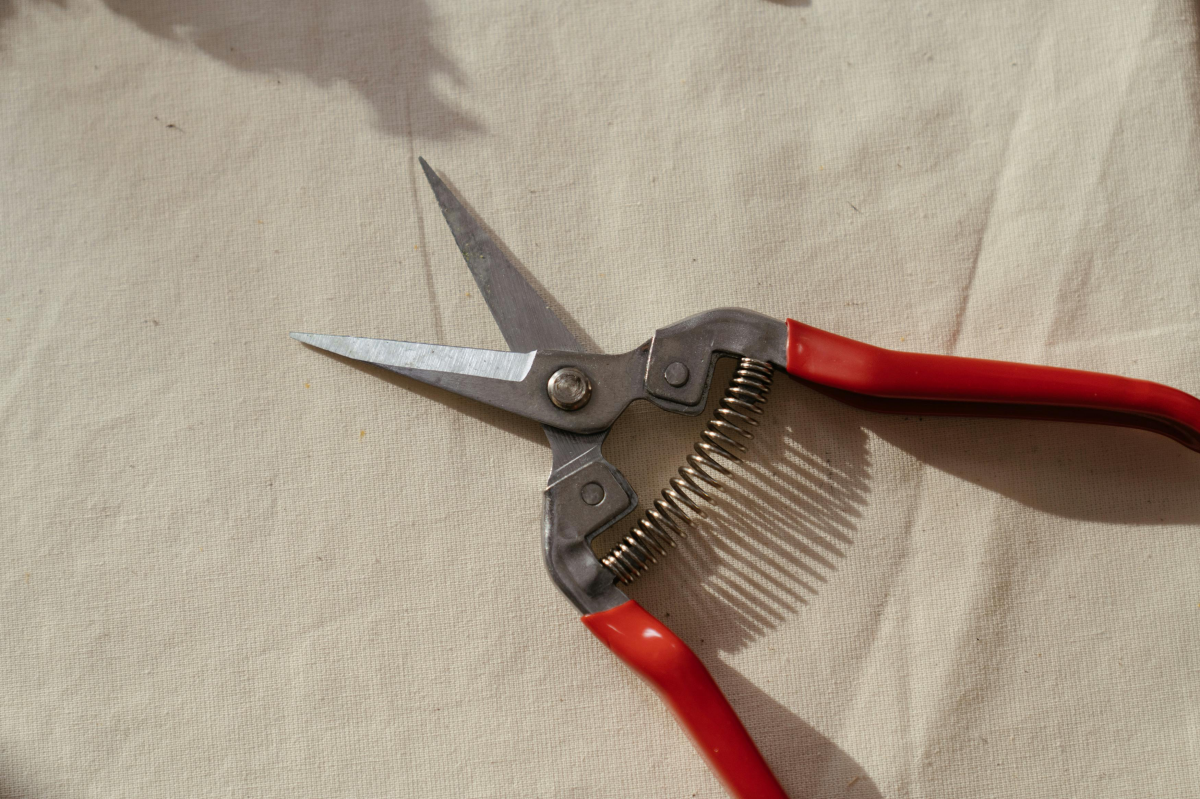
- Mechanical Method: This is the safest bet. For bigger seeds, I use a simple metal file to carefully nick the shell in one spot. Just rub until you break through the outer layer and see a different color. Don’t go so deep you damage the embryo inside! For smaller seeds, you can line a jar with sandpaper, toss the seeds in, and shake it like crazy for a few minutes.
- Hot Water Method: This works great for seeds in the legume family. Heat a pot of water to about 180°F (82°C)—hot, but not boiling. Take it off the heat, drop the seeds in, and let them soak for 12-24 hours as the water cools. The good seeds will swell up to double their size.
- A Word on Chemicals: In commercial nurseries, we sometimes use acid. This is not for home growers. It’s incredibly dangerous and requires special safety gear. I only mention it so you know the lengths pros go to. Stick to the file and hot water—they work great.
From Seed to Seedling: The Nursery Phase
Once your seeds are prepped, it’s planting time. The environment you create now is critical.
First off, never use garden soil in your pots. It’s too heavy, doesn’t drain, and is full of junk that will kill your seedlings. Buy a quality seed-starting mix, or make your own. A classic recipe is 2 parts peat moss/coir, 1 part perlite, and 1 part vermiculite. This combo holds moisture while allowing for great drainage and aeration.
For containers, I can’t stress this enough: use deep pots or specialized root-training cells (search for “Cone-tainers” or “Deepots”). These have vertical ribs that stop the main root from circling at the bottom of the pot. A circling root is a permanent defect that can kill the tree years later. It’s one of the biggest problems with cheap nursery trees, and it’s so easy to prevent.
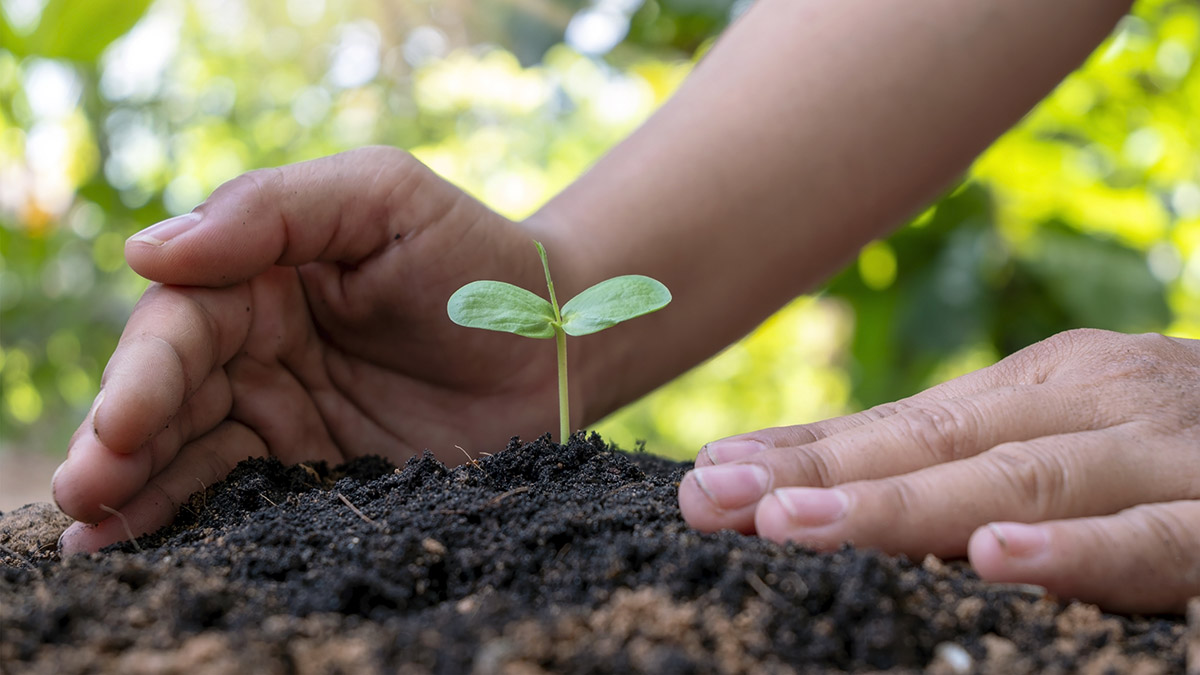
Plant your seeds to a depth of about 1-2 times their own diameter. Then, water gently. I like to bottom-water by setting the pots in a tray of water and letting them soak it up from below. This keeps the seeds from washing away. Once they sprout, they need a TON of light. And sorry, but a sunny window just won’t cut it. It causes weak, leggy growth. A simple fluorescent shop light or LED grow light kept just a few inches above the seedlings for 14-16 hours a day is the way to go. It makes all the difference.
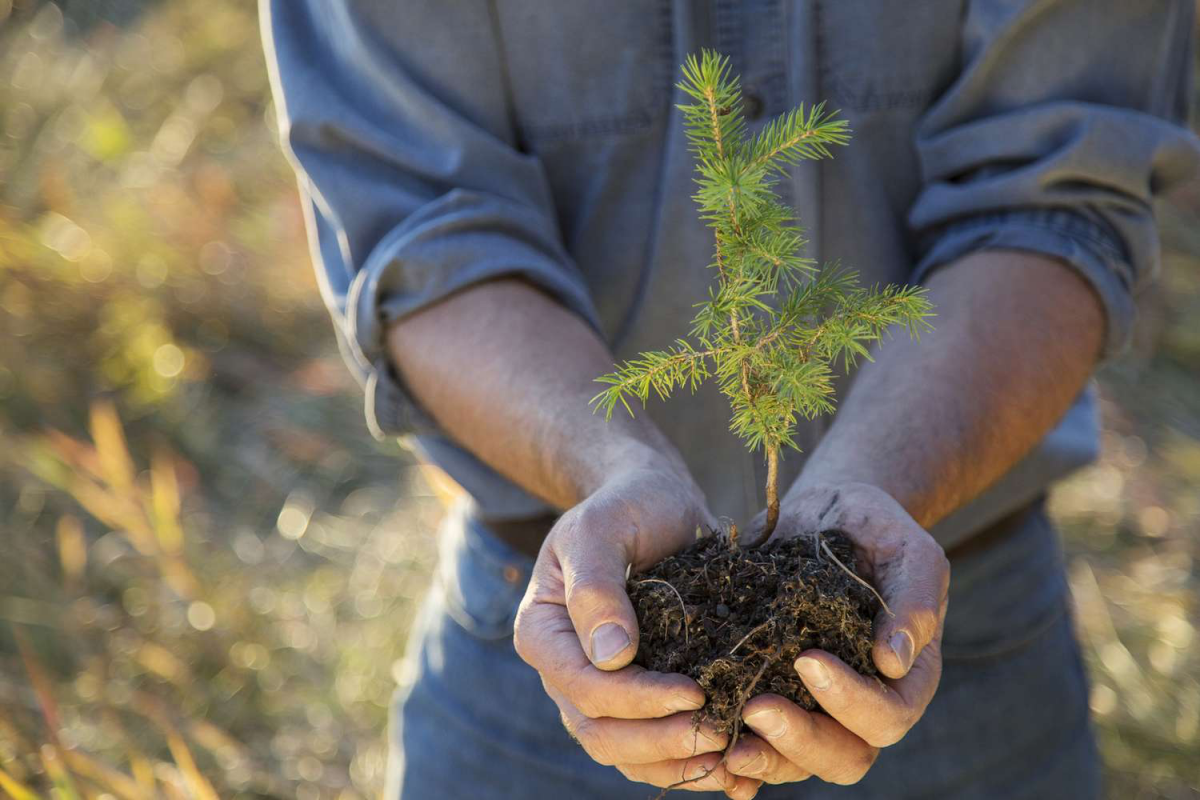
The Final Steps: Hardening Off and Planting Out
You can’t just move your baby trees from their cozy indoor setup to the great outdoors. The shock will kill them. You have to acclimate them over a week or two in a process called “hardening off.” This is a non-negotiable step.
Start by putting them outside in a fully shaded, protected spot for a couple of hours. The next day, do it again for a little longer. Over the next week, gradually increase their time outside and slowly introduce them to more sunlight, starting with the gentle morning sun. By the end of 7-10 days, they should be tough enough to handle a full day outside.
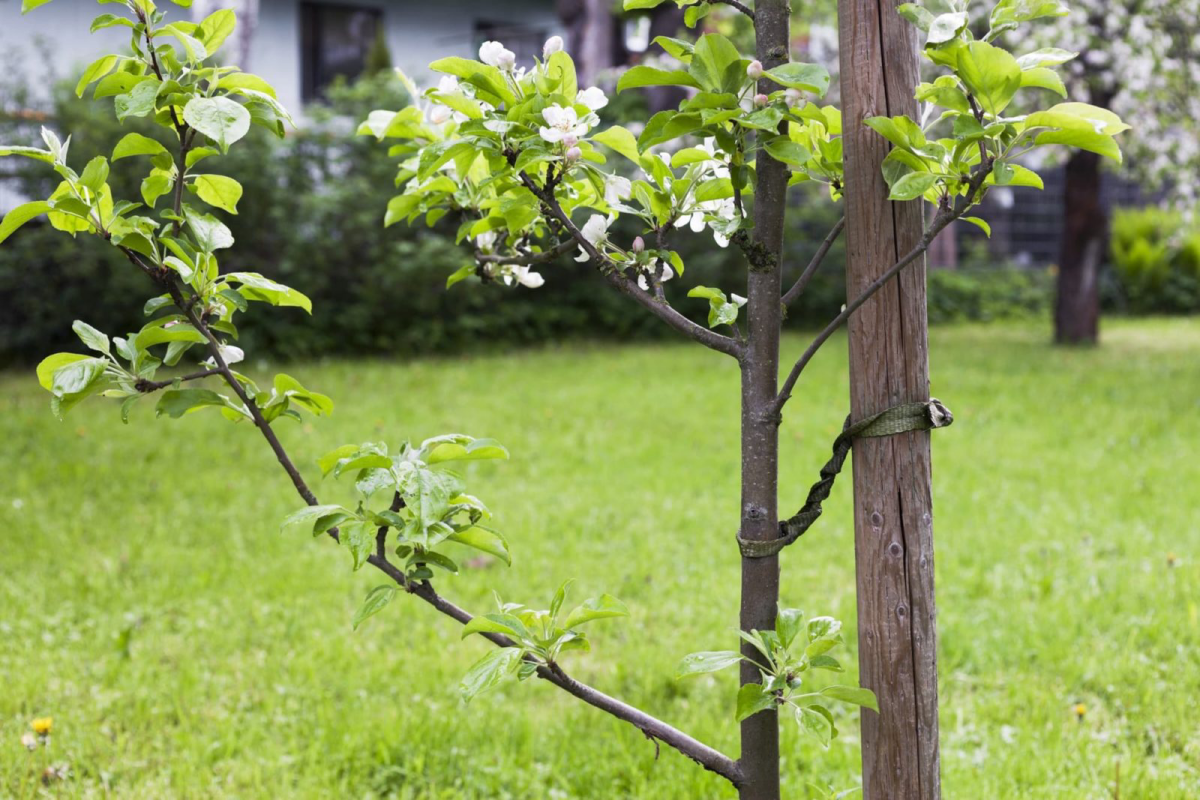
When you’re ready to plant in the ground, avoid the #1 mistake that kills young trees: planting too deep. Find the “root flare”—the spot at the base of the trunk where it starts to widen out into roots. This flare MUST be visible at or just above the soil level. Dig the hole two to three times wider than the root ball, but no deeper. Backfill with the native soil you removed, and water deeply.
For the first couple of years, water consistently and apply a 2-4 inch layer of organic mulch (like wood chips) around the base. Quick tip: keep the mulch a few inches away from the trunk itself to prevent rot. Mulch is a young tree’s best friend. And if you can get free wood chips from a local arborist or your town’s public works, even better!
A Final Word of Advice
These techniques are a solid foundation, but always adapt to your local area. The best thing you can do is study the trees that thrive naturally where you live. And here’s a golden resource: search online for “[your state] + cooperative extension service.” They offer free, professional advice tailored to your exact region. It’s like having an expert on call.
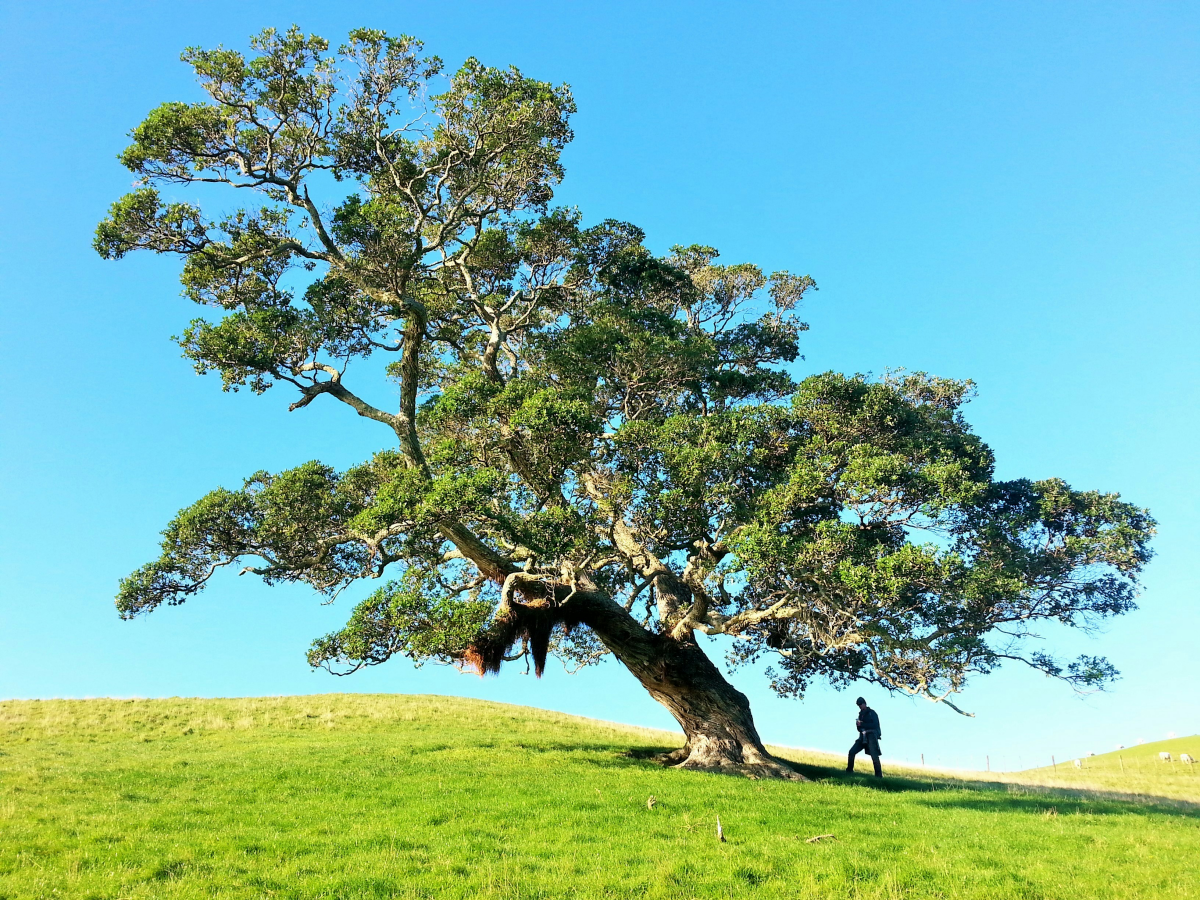
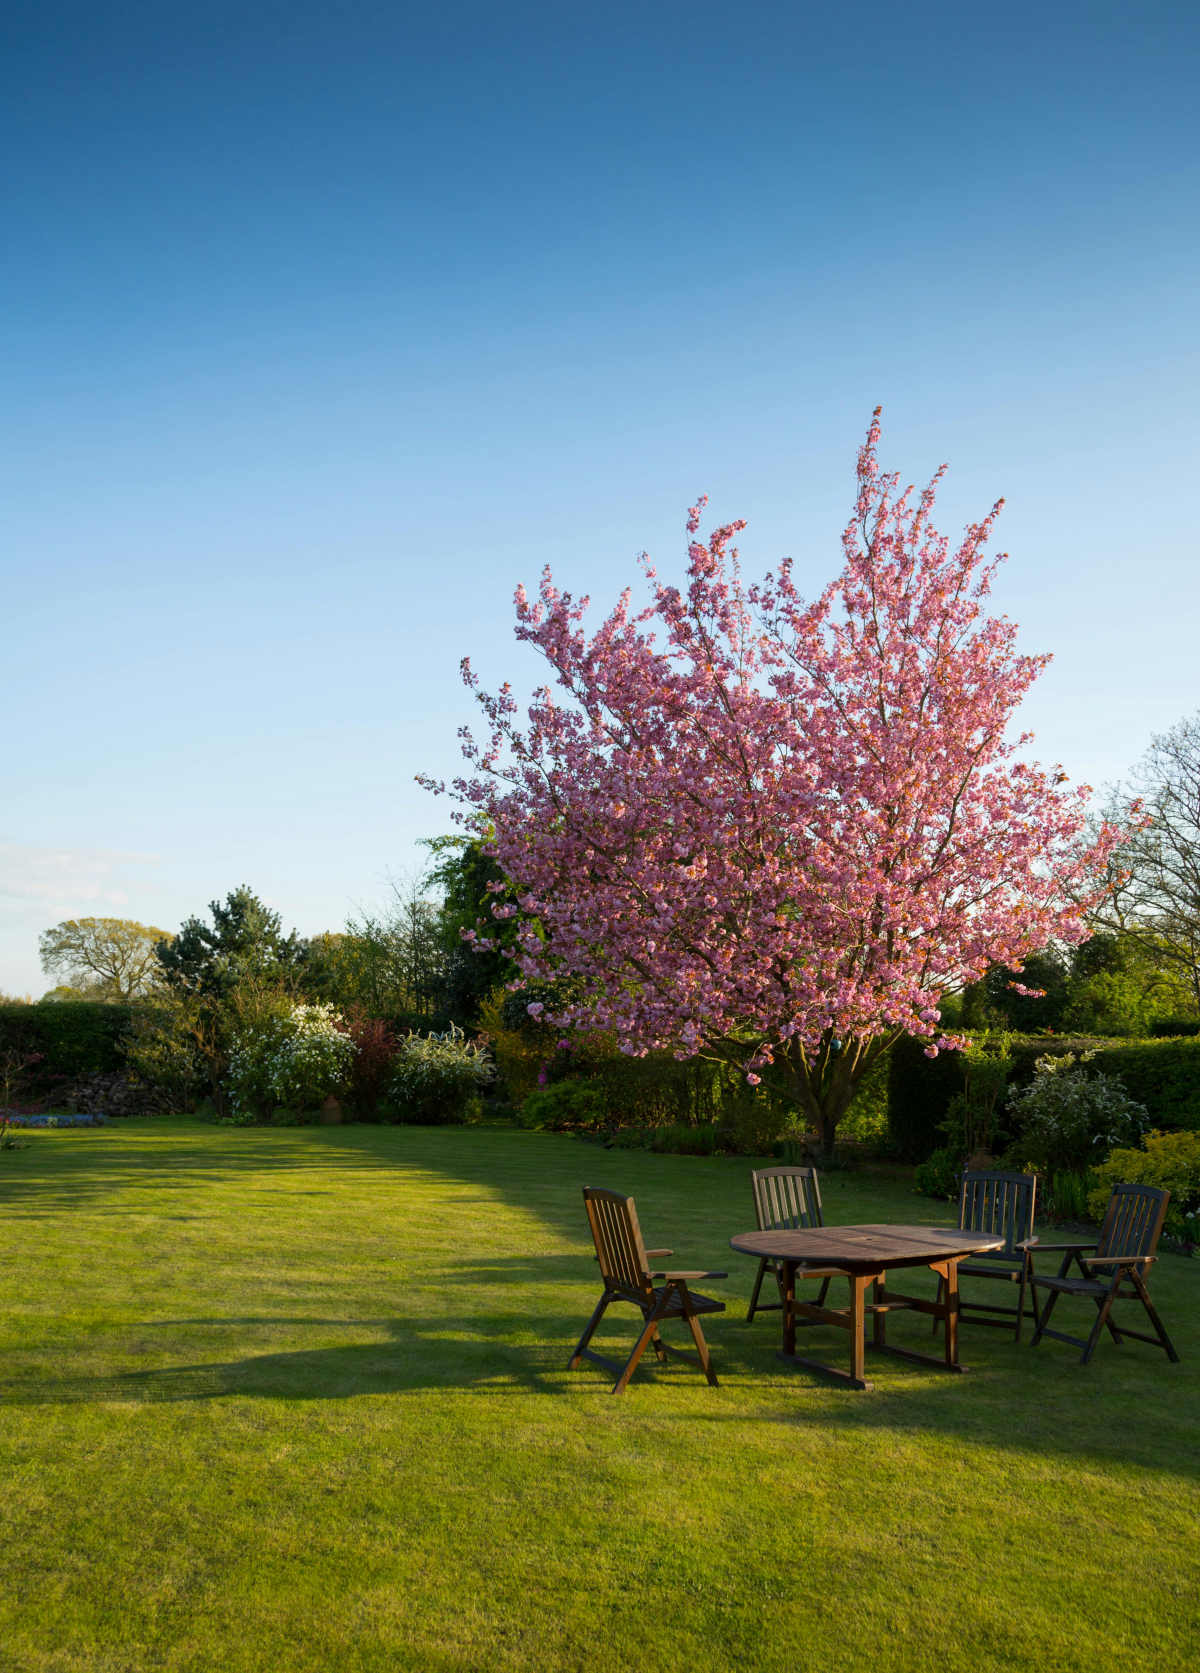
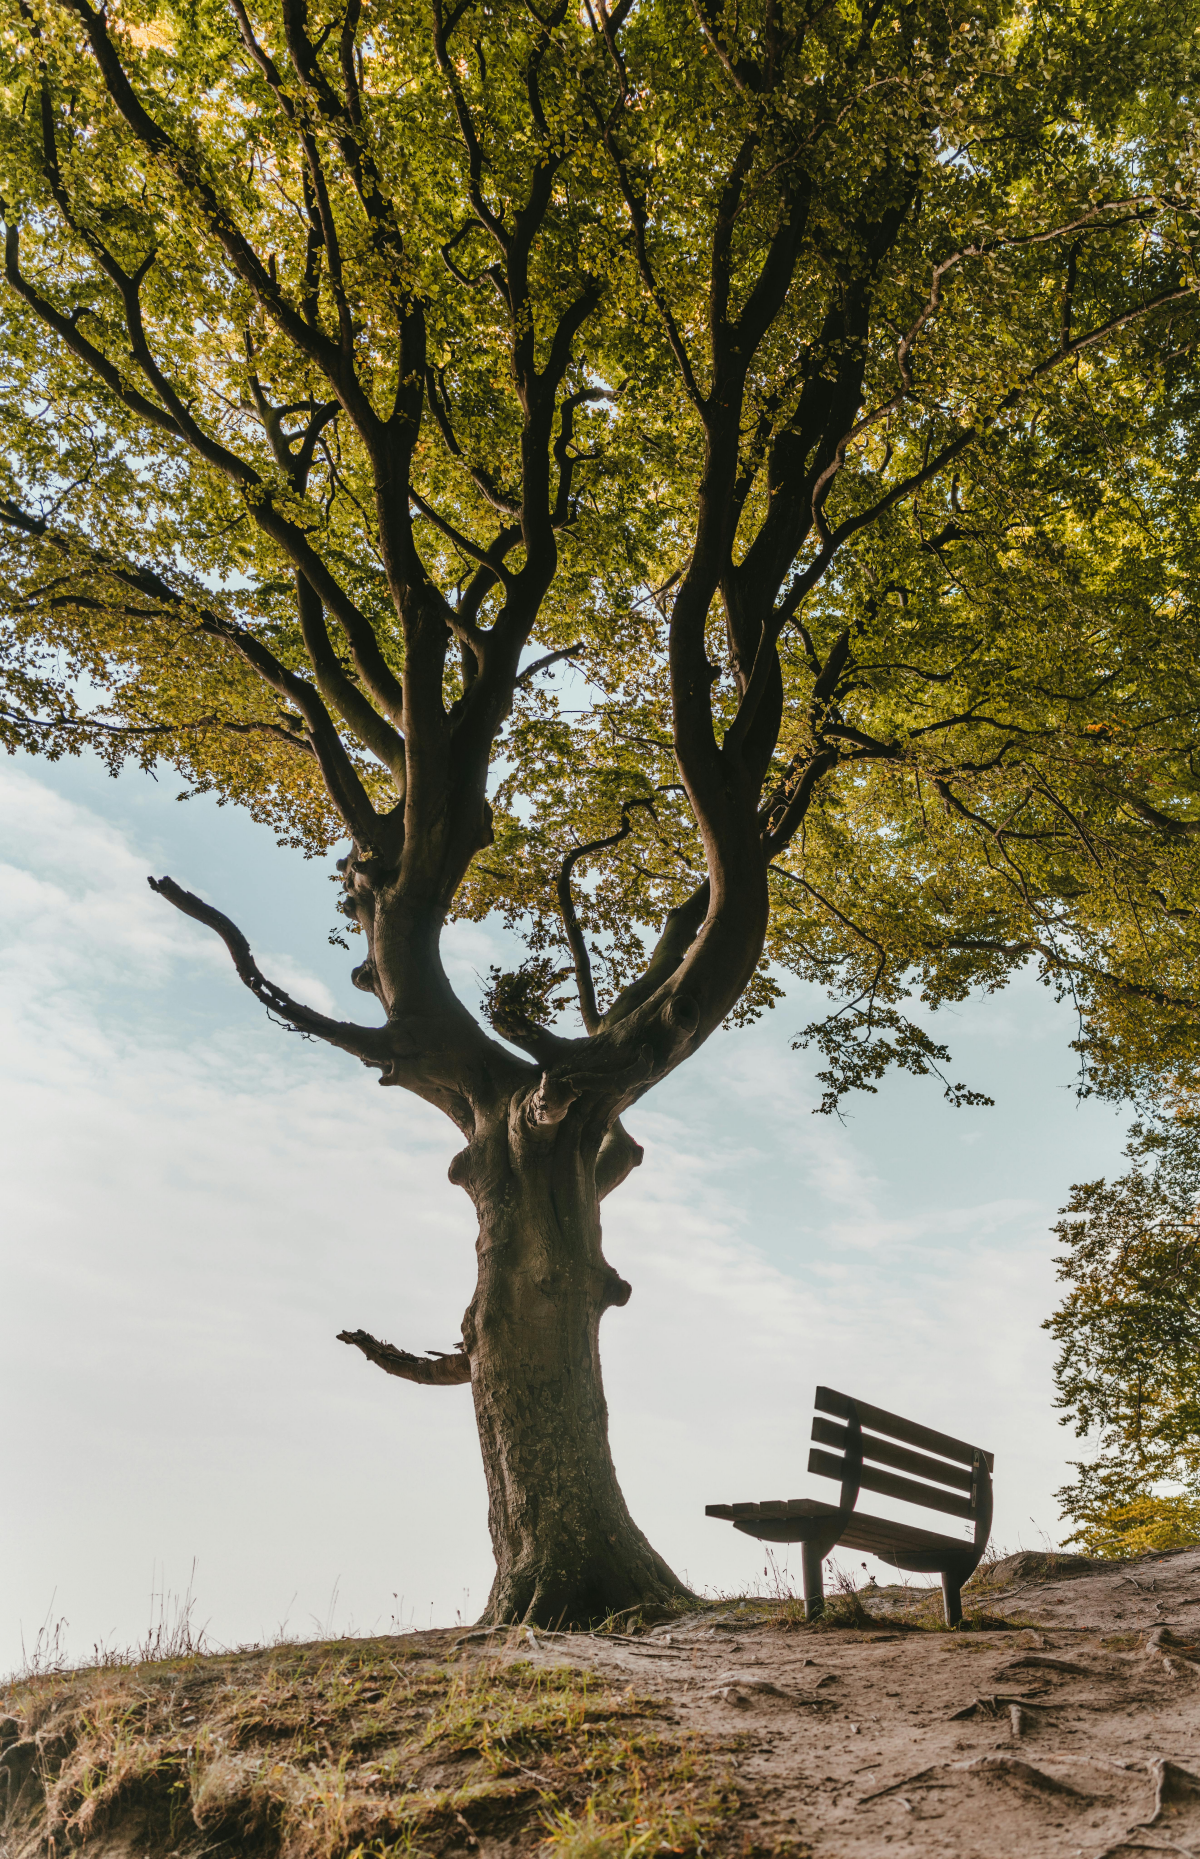
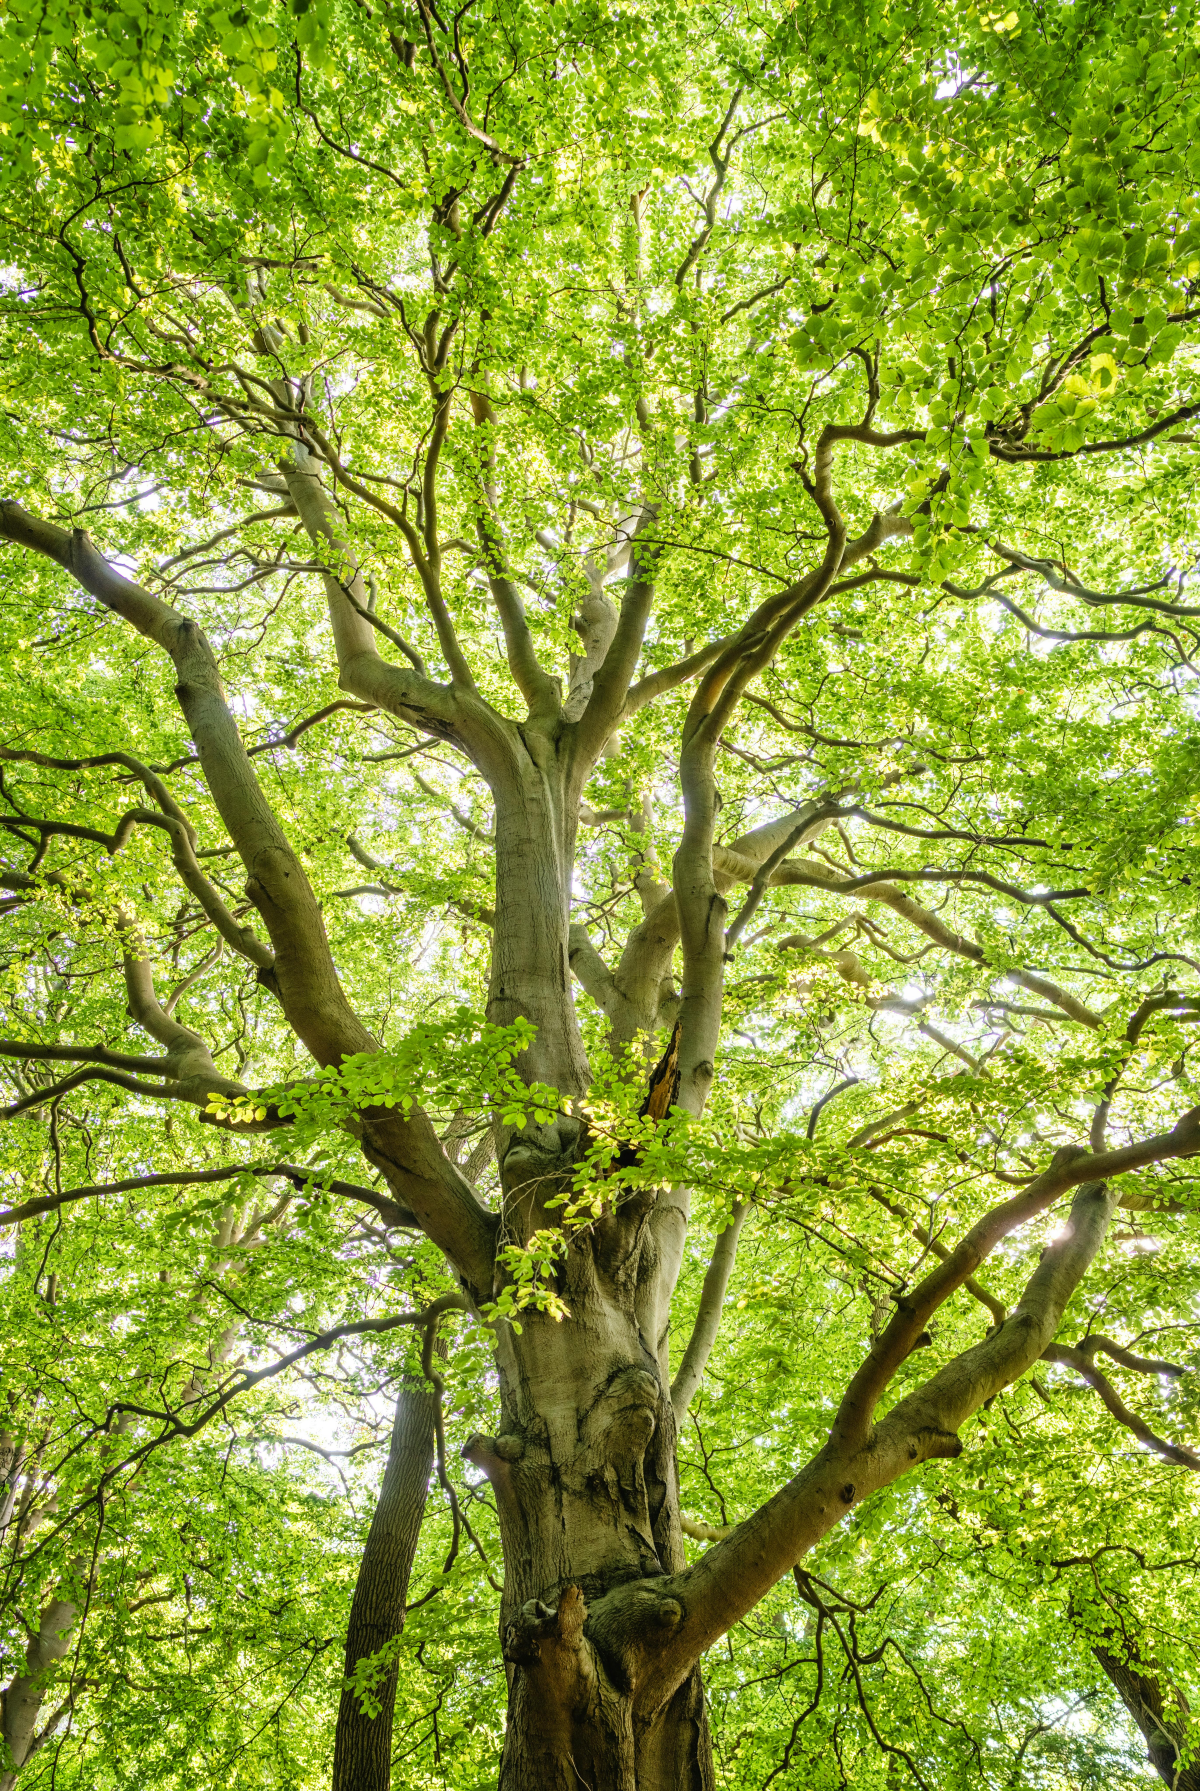
When you plant a tree, you’re making a decision that will last for decades. Know the mature size of your tree before you plant it near power lines or your house. And please, be aware of invasive species in your area. Growing a tree from a tiny seed is a slow, deeply rewarding process. It connects you to the world in a way few other things can. Enjoy the journey!
Galerie d’inspiration

Don’t just use garden soil: It’s the #1 rookie mistake. Soil from your yard is too dense, can harbor pathogens, and compacts easily in pots. A professional germination mix is non-negotiable. Look for a sterile, soilless medium like Pro-Mix HP (High Porosity) or Sunshine Mix #4, which provides the perfect balance of aeration and moisture retention for fragile new roots.
- A fine-mist spray bottle: For gentle watering that won’t dislodge tiny seeds or delicate new roots.
- Durable plant labels: Don’t trust your memory. Use plastic or metal tags and a UV-resistant marker to track species and planting dates.
- A dibber or a simple pencil: To create perfect planting holes without compacting the surrounding soil.
- A set of mesh sieves: A pro’s secret for creating a perfectly fine, uniform top layer of soil to ensure even germination.
The oldest tree grown from a seed was a 2,000-year-old Judean Date Palm seed, successfully sprouted in 2005. It was recovered from the ancient fortress of Masada.
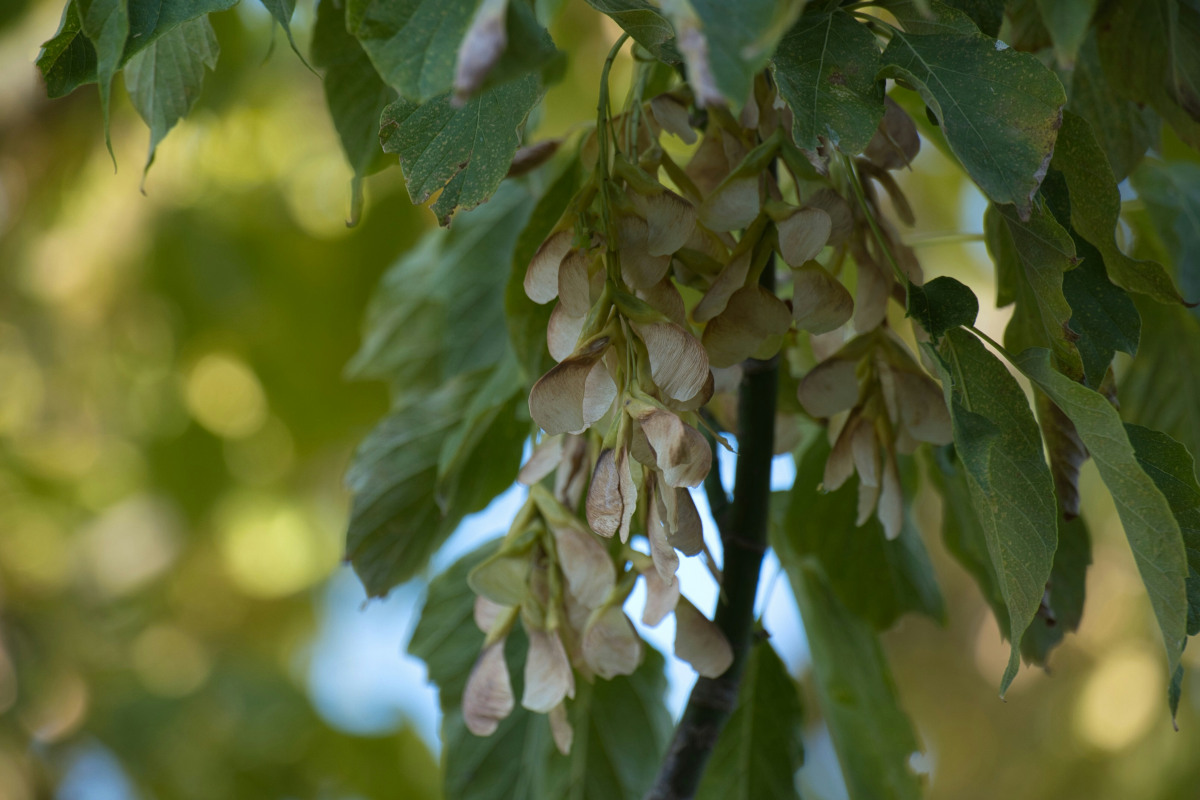
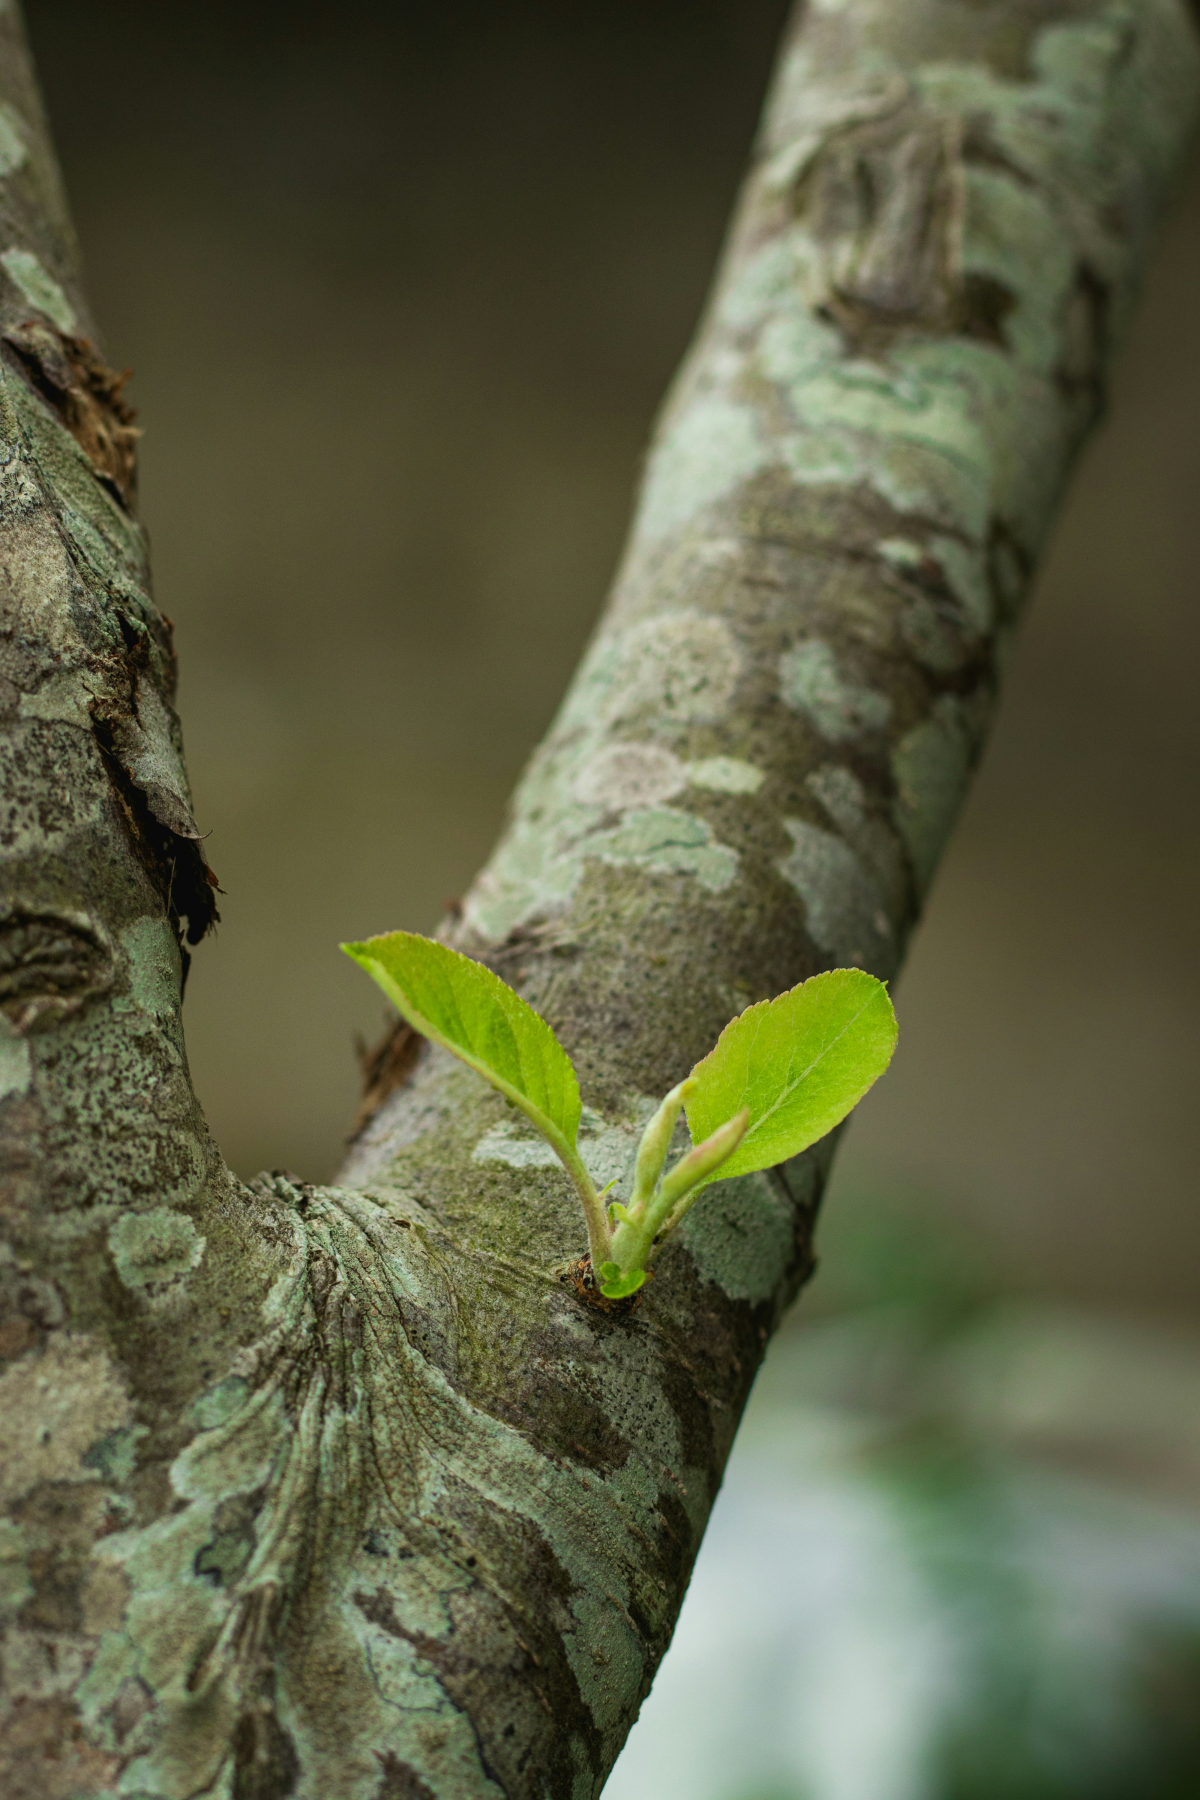
Beyond the science, there’s a tactile magic. Feel the papery wings of a maple samara, the polished heft of an oak’s acorn, or the almost weightless fluff of a cottonwood seed. Each one tells a story of its parent tree and its strategy for survival. This connection is a reward in itself, long before the first green shoot appears.

Ready to try, but not sure where to start? Some species are more forgiving than others for a first seed-growing project. For the best chance of success, look for seeds that are easy to collect and have relatively simple germination requirements.
- Oaks (Quercus): Acorns require cold stratification but are large, easy to handle, and germinate reliably.
- Ginkgo (Ginkgo biloba): A living fossil! The fleshy fruit smells awful, but the clean nut inside germinates readily after a cold period.
- Black Walnut (Juglans nigra): A very rewarding and fast-growing native tree. Just remember to wear gloves when handling the hulls!
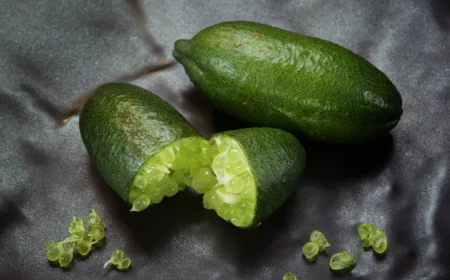
Can I really grow a tree from that avocado pit or lemon seed?
Yes, but manage your expectations. Many commercial fruits (like apples and peaches) come from grafted trees, meaning the seed won’t produce the same type of fruit you ate; it will grow a ‘wild’ version of the parent. Avocados and citrus are fun projects, but they are tropical and won’t survive outdoors in cold climates. Treat them as exciting houseplants and a great way to practice your germination skills.
- Prevents root circling, a common cause of failure in potted trees.
- Encourages a dense, fibrous root system instead of a few long, tangled ones.
- Reduces transplant shock when you finally plant it in the ground.
The secret? Using air-pruning pots. Containers like the RootMaker® or Superoots Air-Pots have perforated sidewalls that cause the roots to dehydrate and branch out when they reach the edge, creating a far superior root structure.

Tree Shelters: These plastic tubes (like Tubex Combitubes) create a mini-greenhouse, accelerating growth and protecting the main stem from small rodents and herbicides.
Wire Cages: A cylinder of hardware cloth offers superior protection against larger animals like rabbits and deer, while ensuring maximum air circulation.
For most backyard settings where deer are a concern, a sturdy wire cage is the more reliable long-term investment for a young sapling.
Over 90% of the world’s plant species, including most trees, form a symbiotic relationship with mycorrhizal fungi.
These are not pests; they are essential partners. These fungi colonize a tree’s root system, vastly increasing its ability to absorb water and nutrients. When you pot up your sapling, consider inoculating the soil with a mycorrhizal product like MycoApply or Root Maximizer. It’s a professional step that builds a resilient, healthy tree from the ground up.