Tired of Nosy Neighbors? Here’s How to Plant a Living Privacy Fence
I’ve been designing landscapes for a long time, and I’ve seen just about everything. I remember one couple in a brand-new neighborhood whose beautiful backyard faced a busy public path. They felt like they were living in a fishbowl, and every morning coffee came with an audience. They were this close to putting up a six-foot vinyl fence—a quick, but honestly, pretty soulless solution.
In this article
Instead, we mapped out a living fence. Sure, it took a few years to really fill in, but today their yard is a private green sanctuary, not a sterile compound. The ambient sound is softer, the air just feels cleaner, and they get a show of seasonal color that no plastic panel could ever match. That’s the magic of it.
A living wall of trees does more than just block a view. It breathes. It changes with the seasons. It creates a little habitat for birds. But here’s the deal: creating one that actually thrives requires more than just digging a few holes. It’s a long-term investment in your property and your peace of mind. Getting it right from day one saves you years of frustration and disappointment.
So, this isn’t just another list of the “top 7” trees. This is the real-deal process the pros use to choose, plant, and care for privacy screens that last. Let’s dig in.
First Things First: Your Game Plan for a Perfect Privacy Screen
The single biggest mistake I see homeowners make is rushing to the nursery without a plan. They grab the fastest-growing tree on the tag, plant the saplings three feet apart like fence posts, and then wonder why half of them are dead or diseased five years later. A successful screen starts with a little homework on your own backyard.
What Exactly Are You Hiding?
First, get specific. The solution for hiding a neighbor’s second-story window is way different from the one for muffling street noise.
- Just Blocking a View? Think about the height you need. Are you trying to screen your patio (a low view) or block the view from an upstairs deck (a high view)? The tree’s mature height is your number one consideration here.
- Need to Reduce Noise? While no tree brings total silence, dense plantings can absolutely dampen sound. For this, broadleaf evergreens with thick leaves (like Hollies) tend to work better than conifers with fine needles.
- Trying to Block Wind? If you’re creating a windbreak, you actually want trees that are slightly porous. A solid wall can create weird wind tunnels on the other side. A slightly spaced row of flexible trees like certain cedars or pines works much better.
Get to Know Your Yard: Sun, Soil, and Water
Your property has its own unique personality. A tree that’s happy in your friend’s yard across town might completely fail in yours. Before you buy anything, you need to understand your own patch of ground.
Sunlight is everything. Seriously. Spend a day tracking the sun or use a simple sun calculator app. You need to know if your spot is:
- Full Sun: 6+ hours of direct, unfiltered sun. Most classic privacy trees love this.
- Part Sun/Shade: 4 to 6 hours of direct sun. Morning sun is usually gentler than the harsh afternoon sun.
- Full Shade: Less than 4 hours of direct sun. Creating a dense screen here is tough and requires very specific plant choices.
Good to know: Most privacy trees demand soil that drains well. If you have puddles that stick around for hours after a rain, you have a drainage problem. Here’s a super easy way to check:

The 1-Foot Drainage Test:
- Dig a simple hole, about 1 foot wide and 1 foot deep.
- Fill it to the top with water and let it drain completely.
- Fill it again, but this time, start a timer.
- If water is still sitting in the hole after 4-5 hours, you’ve got heavy clay soil that doesn’t drain well.
If your drainage is poor, you might need to plant your trees on raised berms (mounds of soil) or look into installing a French drain. For about $20, you can also grab a soil test kit from a garden center to check your pH, which will help you pick plants that will feel right at home.
When to Plant & What You’ll Need
Timing is huge for giving your new trees the best shot. Hands down, the best time to plant is in the fall. The soil is still warm, which encourages root growth, but the cooling air temperatures mean the tree isn’t stressed trying to produce a bunch of new leaves. Spring is the second-best choice. The one time to absolutely avoid planting is the peak of summer heat—it’s just too stressful for a young plant.
Before you head to the nursery, get your gear ready. Nothing’s worse than a mid-project trip to the hardware store.
Your Toolkit & Shopping List:
- Tools: A good pointed shovel, a wheelbarrow (to move soil and mulch), gardening gloves, a utility knife (for cutting roots/twine), and a long garden hose with a gentle spray nozzle.
- Materials: Your trees, of course! Plus, enough organic mulch (like pine bark or shredded hardwood) to make a 2-3 inch layer around each tree. For a 50-foot screen, you’ll probably need around 15-20 bags of mulch, which might run you $60-$100.
A Few Quick (But Important) Rules
Before you break ground, know exactly where your property lines are. It’s always safer and smarter to plant well within your own property to avoid future headaches with neighbors.
And here’s a non-negotiable step: Call 811. Do this today! It’s a free national service that contacts local utilities to mark any underground gas, water, or electric lines. Hitting one is incredibly dangerous and expensive. It takes five minutes online and is the one thing you absolutely must do.
Oh yeah, and it’s always a good idea to just chat with your neighbor. A friendly heads-up about your plan can prevent a lot of tension down the road, especially if your new trees might eventually drop leaves into their yard.
My Go-To Trees for Privacy That Actually Work
Okay, let’s talk trees. These are some of the reliable workhorses I’ve used for years. I’m giving you the good and the bad, because no tree is perfect for every single yard.
The Evergreen Backbone: Year-Round Screening
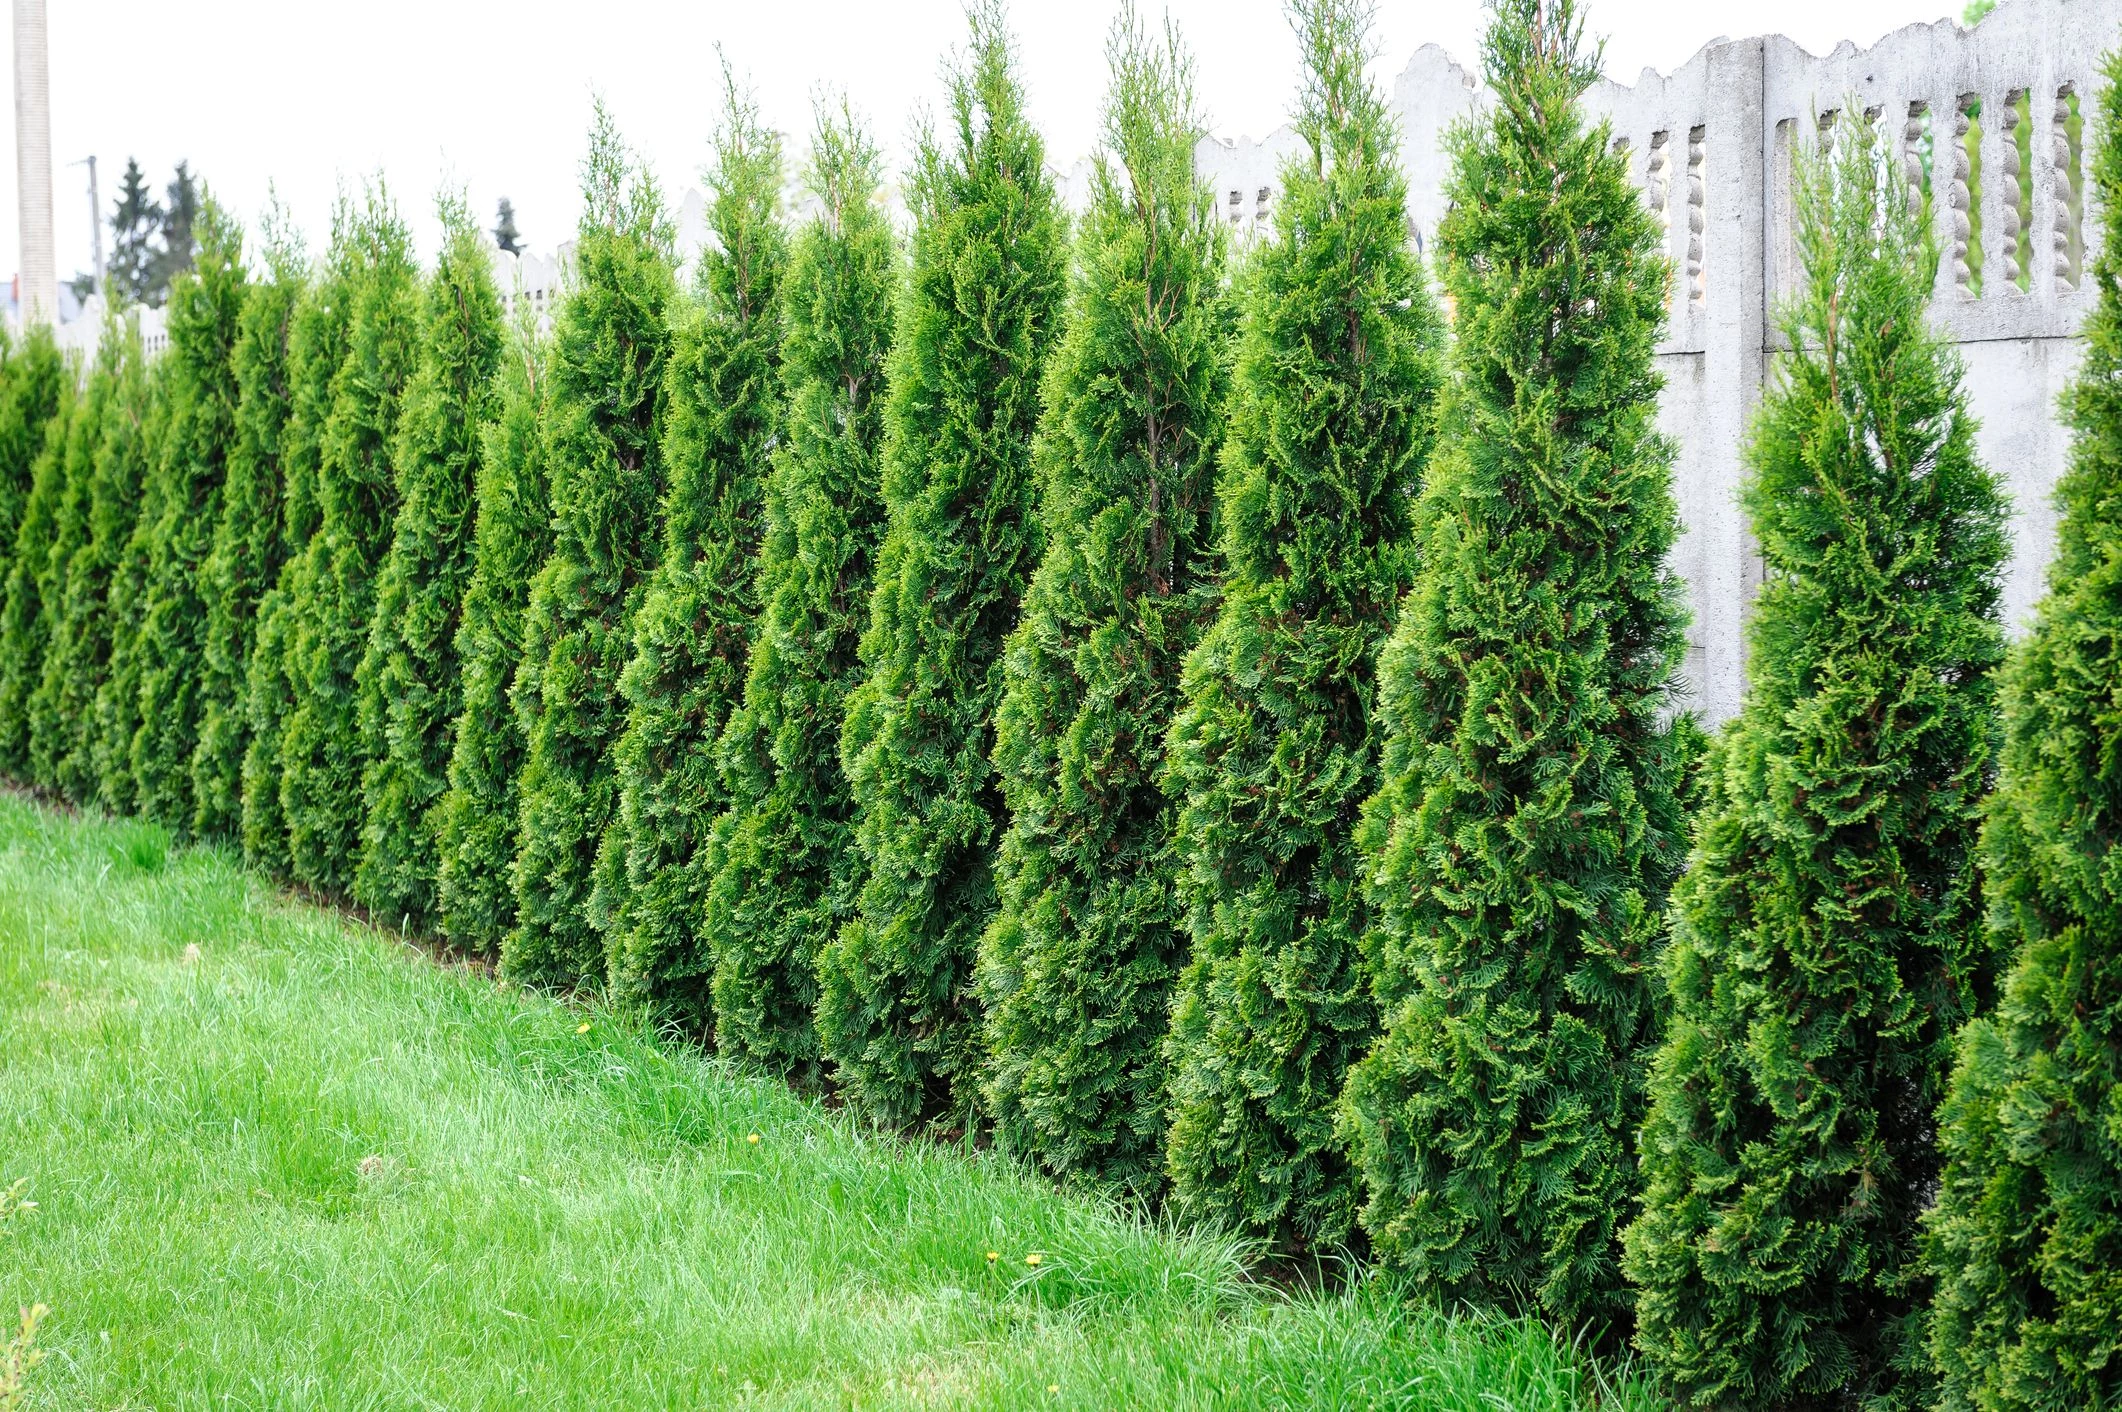
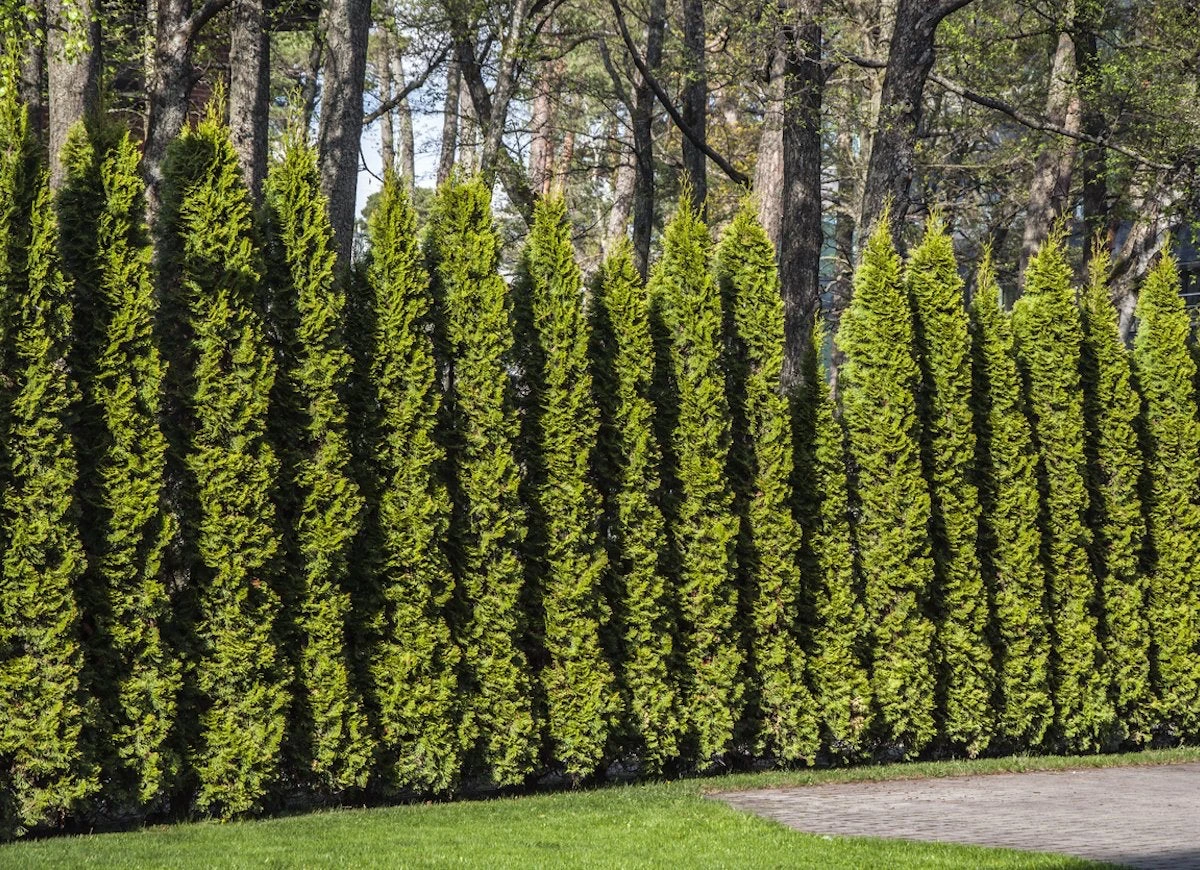
Arborvitae (Thuja species)
These are popular for a reason. They grow fast, stay relatively narrow, and create a lush green wall. My two favorites are the ‘Green Giant’ and ‘Emerald Green’ varieties.
- The ‘Green Giant’ is a beast, in a good way. It can shoot up 3 to 4 feet a year once it gets going, making it perfect for large properties that need a tall screen fast. It matures to a towering 40-60 feet, so don’t plant it under power lines! It’s also quite deer-resistant.
- For smaller yards, the ‘Emerald Green’ is a much better fit. It has a tidy, narrow shape, maxing out around 12-15 feet tall and only 3-4 feet wide. Its growth is more polite, maybe 1-2 feet a year. Heads up! Deer treat ‘Emerald Green’ like an all-you-can-eat salad bar in winter. If you have deer, you either need to go with the ‘Green Giant’ or fence your new trees until they’re too tall to be a snack.
- The Catch & The Cost: The biggest mistake I see is planting them too close. Give ‘Green Giants’ at least 8 feet of space between trunks, and ‘Emerald Greens’ 3-4 feet. As for cost, you can expect to pay around $80-$160 for a healthy 5-6 foot ‘Emerald Green’ from a good nursery. ‘Green Giants’ in a similar size might be slightly more.
Leyland Cypress

To be frank, I have a love-hate relationship with this tree. Clients love it because it grows at lightning speed—sometimes up to 5 feet a year. But it comes with major warnings. Leylands get enormous (60-70 feet tall and 20 feet wide) and are very prone to diseases that can kill off entire branches, leaving you with ugly, gappy holes. They also have shallow roots and can topple in high winds. I only recommend them for huge properties where their size isn’t a problem and losing one tree won’t ruin the whole look. The potential cost of removing a giant, diseased one down the line can be thousands of dollars.
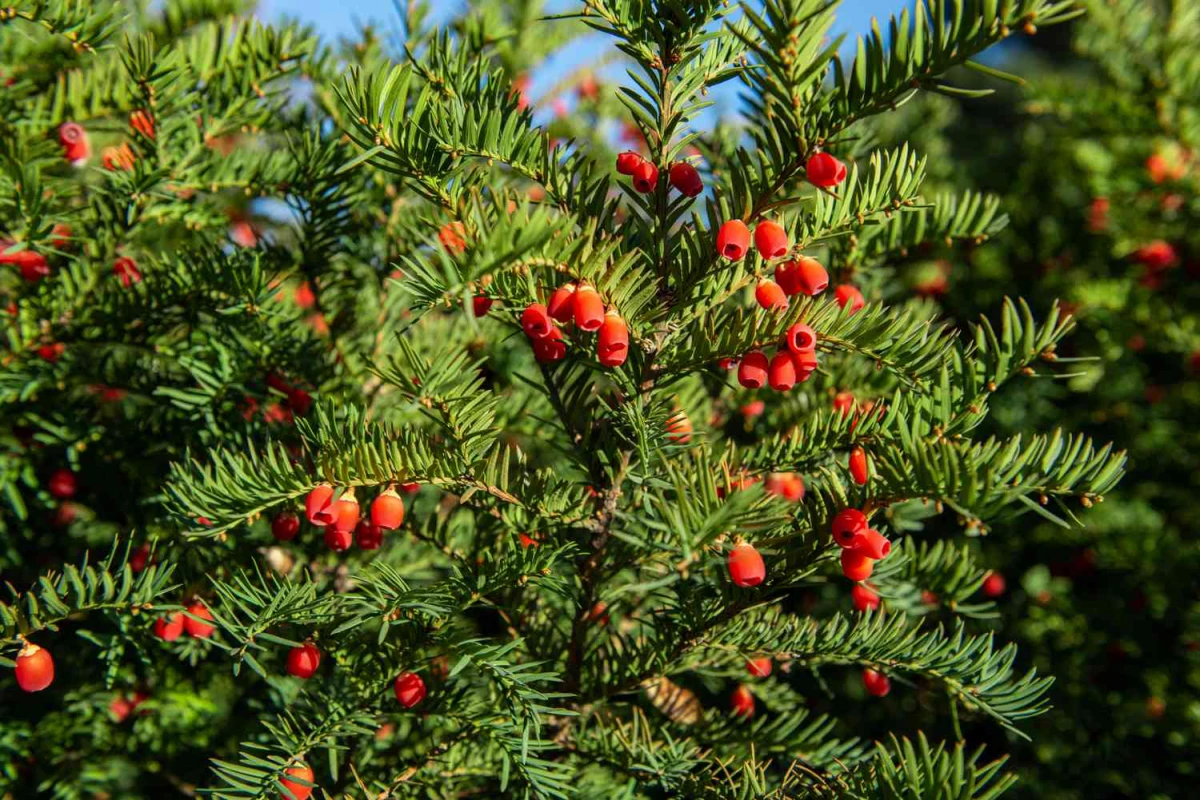
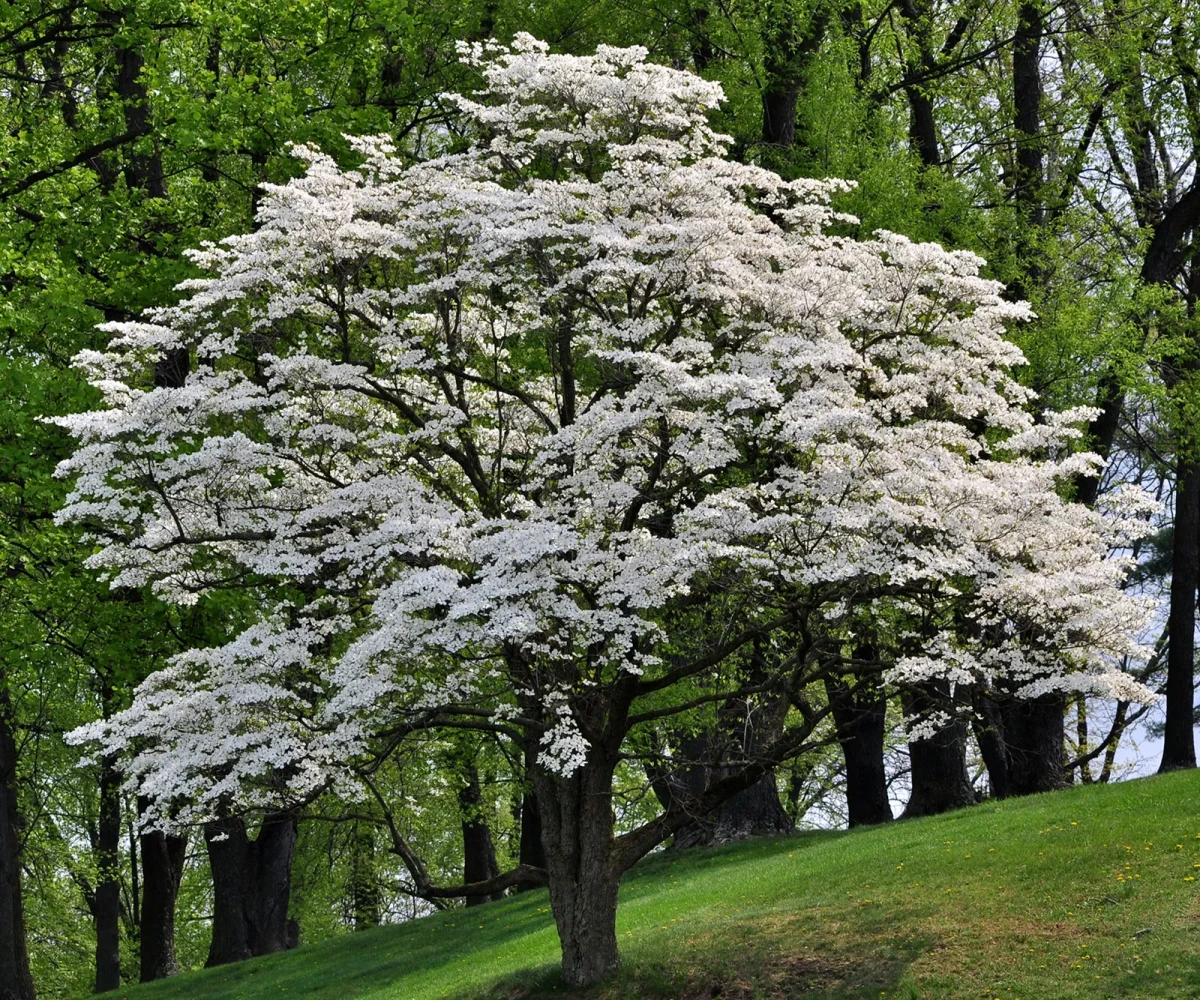
American Holly and its Hybrids
Hollies are fantastic. Their dense, spiny leaves create a screen you can’t see or get through. They’re tough, live for ages, and their red berries are a beautiful bonus in winter. A popular choice is the fast-growing pyramidal type that reaches 20-30 feet. They’re fairly low-maintenance, but they do prefer slightly acidic soil. The only trick is that for most varieties to produce those iconic berries, you need a male plant somewhere nearby to pollinate the female (berry-producing) ones. A good nursery can help you make sure you get the right pairing.
Columnar Trees: Privacy for Tight Spots
When you don’t have a lot of yard space to spare, these “skinny” trees are the perfect answer.
One of my favorites is the upright European Hornbeam. There are specific varieties bred to be very tight and narrow, staying around 10-15 feet wide while stretching up to 40 feet tall. It’s perfect for screening a tall house next door. It does lose its leaves, but—and this is a cool trick—it holds onto its dry, tan leaves all winter, so it still provides a decent visual block. It’s tough, adaptable, and has almost no pest problems.
Another option, if you live in the right climate, is the classic Italian Cypress. It gives you that dramatic, formal look, growing up to 60 feet tall but staying only 3-5 feet wide. However, this tree needs a Mediterranean climate (think California). I’ve seen countless people try to grow it in the humid South or cold North, and it almost always ends in failure from root rot or disease. Use it only where it belongs!
The Pro-Level Look: The Mixed Border
Honestly, the most beautiful and resilient privacy screens aren’t just a straight line of identical trees. They’re a layered mix of evergreens, deciduous trees, and large shrubs. This looks more natural and is less likely to be wiped out by a single pest or disease.
It sounds complicated, but it doesn’t have to be. Here’s a simple recipe for a 50-foot sunny border:
- The Backbone: Start with 5 ‘Green Giant’ Arborvitae, planted about 10 feet apart. This is your tall, evergreen background.
- The Mid-Layer: In the gaps in front of the Arborvitae, add 3 large Hollies for that glossy, dark green foliage and winter berries.
- The Front Row: For seasonal pop, plant a row of 5 large Panicle Hydrangeas in front of everything. They’ll provide huge, beautiful blooms all summer long.
This layered approach gives you depth, texture, and something interesting to look at all year long. It’s how high-end landscapes are designed.
The Right Way to Plant: Don’t Kill Your Investment
You can pick the perfect tree, but if you plant it wrong, you’ve wasted your money. Here’s how my crew does it.
- The Hole: Dig the hole two to three times WIDER than the root ball, but—and this is critical—NO DEEPER. The top of the root ball should sit either level with or even slightly above the surrounding ground. Planting too deep is the #1 way people kill new trees.
- Root Prep: If your tree is in a plastic pot, gently slide it out. If the roots are circling the bottom, take a sharp knife and make a few vertical cuts, then gently tease them outward. For balled-and-burlapped (B&B) trees, place the whole thing in the hole, then cut away all the twine and the wire basket. Quick tip: a lot of people leave the wire basket on. Don’t. It can strangle the tree years later. Cut away as much as you can.
- Backfilling: Use the dirt you dug out of the hole to fill it back in. I strongly advise against adding a bunch of fancy soil just in the planting hole. It can create a “bathtub effect” where water collects and rots the roots. Let the tree adapt to your native soil.
- Watering In: Water deeply right after planting. This settles the soil and gets rid of air pockets. Build a small ring of soil around the edge of the hole to act as a little reservoir that directs water right to the roots.
By the way, what does this all cost? If you DIY, your main expense is the trees. For that 50-foot mixed border we talked about, you might spend anywhere from $900 to $2,000 on plants and materials, depending on the size you buy. Hiring a professional crew to plant them for you? Expect to add $75 to $200 per tree for labor. It costs more upfront, but it saves your back and often includes a short-term warranty on the plants.
First-Year Care is Everything
The first year is all about establishing a healthy root system.
- Watering: A new tree needs consistent water. A long, slow soak once or twice a week is way better than a quick daily sprinkle. A good rule of thumb is 10 gallons of water per inch of the trunk’s diameter. Just stick your finger 2-3 inches into the soil; if it’s dry, it’s time to water.
- Mulching: Apply a 2-3 inch layer of mulch over the root zone, but DO NOT let it touch the trunk. That “mulch volcano” you see everywhere is a terrible practice that traps moisture and invites disease. Your mulch should look like a donut, not a volcano.
- Pruning: Don’t do any major pruning in the first year. The tree needs every leaf it has to make food for root growth. Just snip off anything that’s clearly broken or dead.
Keeping Your Green Wall… Well, Green
A living fence isn’t a set-it-and-forget-it project. One common problem is the bottom of the trees getting thin and bare. This usually happens because the top branches are shading out the lower ones. When you shear a hedge, always keep the base slightly wider than the top so sunlight can get all the way down.
And what if one tree in a formal row dies? First, try to figure out why. A drainage issue in that one spot? A pest? Replacing it with a small tree means it will take years to catch up. This is another reason why the informal, mixed screen is often a more resilient, lower-stress option.
When to Call for Backup
While you can handle most of the upkeep, there are times you need a pro. I always tell people to call a certified arborist if they see signs of serious disease (like big fungal growths or widespread dieback), structural problems like a heavy lean, or for any major pruning that involves a ladder or is near power lines. An arborist is a tree doctor, and their fee is a small price to pay to avoid the massive cost of a fallen tree.
Planting a living privacy screen is one of the most rewarding things you can do for your home. It’s a commitment, yes, but it pays you back every single day with beauty, solitude, and a little piece of nature right outside your door.


