The No-Nonsense Guide to Keeping Your Monstera Albo Alive (and Thriving)
So, you’re thinking about getting a Monstera Albo. Or maybe you already took the plunge and have one sitting in your house, looking beautiful and, let’s be honest, a little intimidating. I’ve spent years with my hands in the dirt, working with all sorts of tropical plants, and this one is still the talk of the town for a reason. It’s absolutely stunning.
In this article
- Why This Plant is So Fussy (The Science Bit)
- Your New Albo Owner’s Shopping List & Setup
- The Perfect Soil Mix (Don’t Skip This!)
- The Daily Grind: Light, Water, and Air
- Level Up: Feeding, Climbing, and Pruning
- Uh Oh… A Quick Troubleshooting Guide
- A Quick Word of Warning (Safety First!)
- Galerie d’inspiration
But its beauty comes with a catch. This isn’t your everyday, run-of-the-mill green Monstera. Treating it like one is the fastest way to turn your expensive investment into a sad, brown mess. Its care requires a whole different mindset, one that’s all about understanding what makes it so unique.
Honestly, this isn’t a plant for someone who just wants to water it once a week and walk away. It demands a bit of attention. I’ve seen countless folks drop serious cash on a gorgeous cutting only to watch it fail, and it’s heartbreaking. My goal here is to give you the real, practical know-how to skip the common mistakes and grow that little cutting into a showstopper.
Why This Plant is So Fussy (The Science Bit)
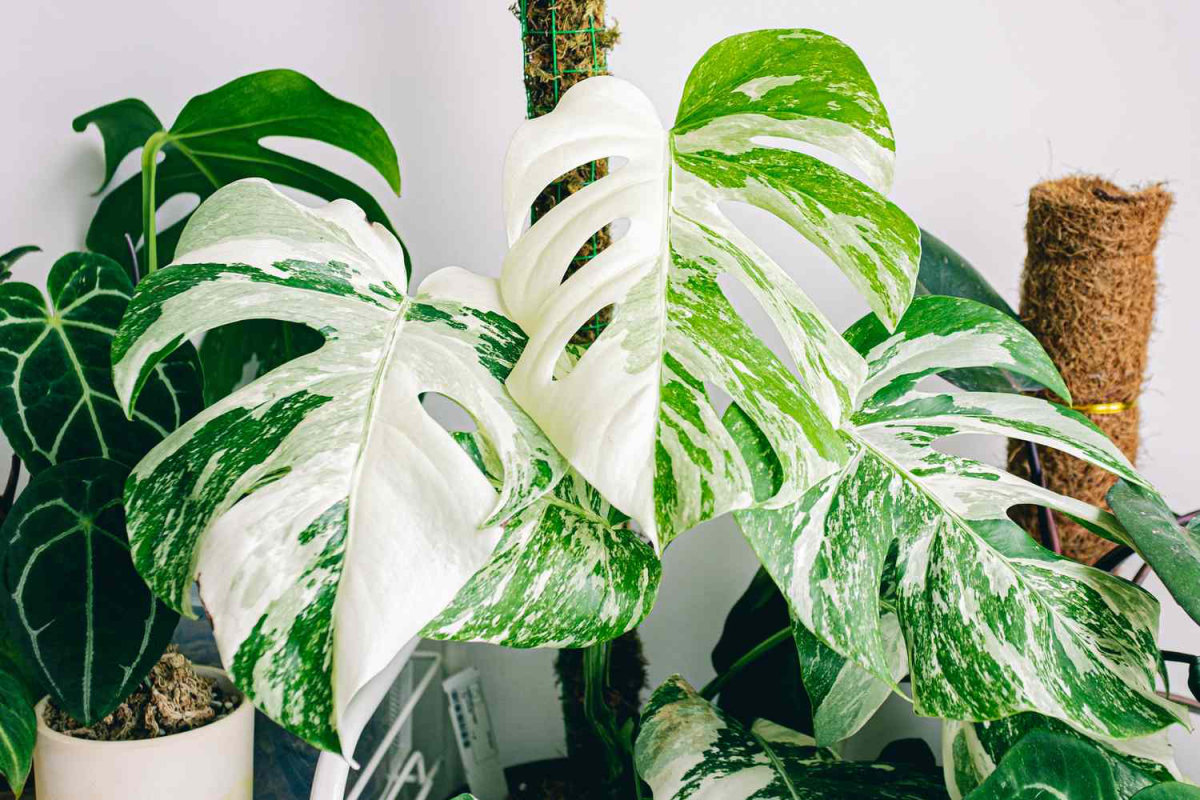
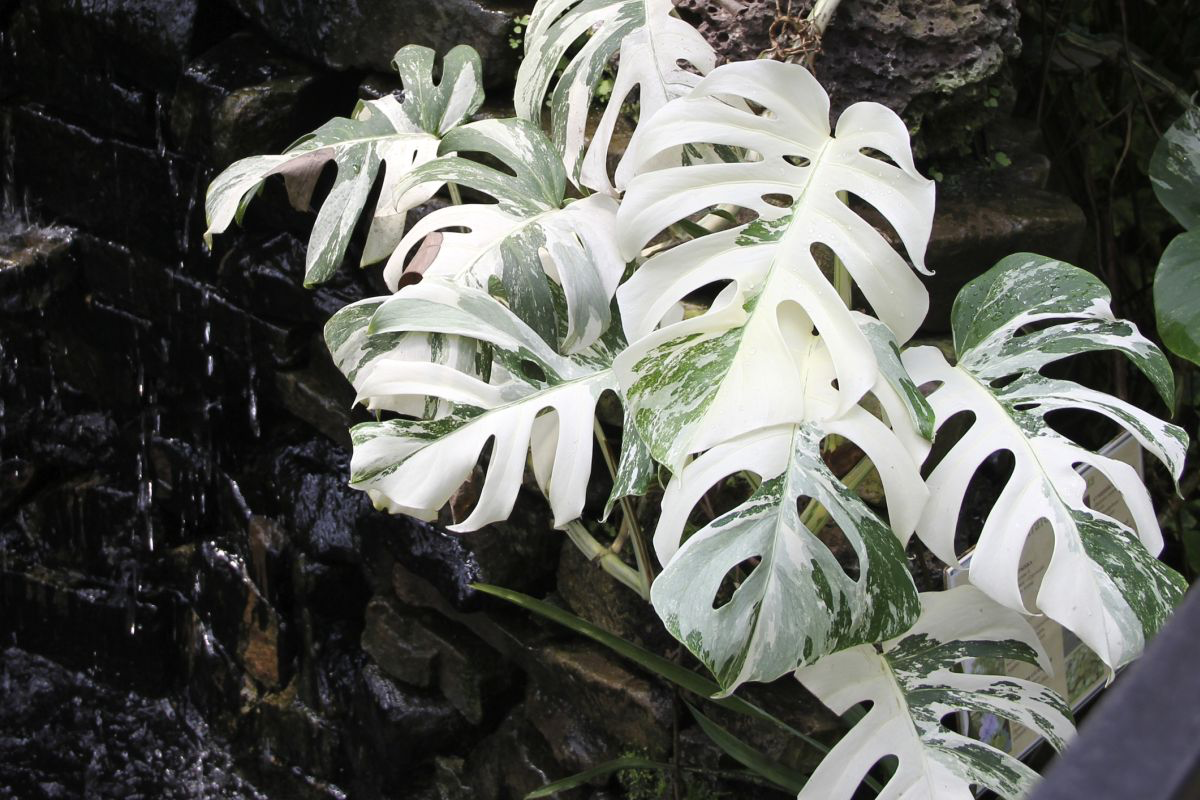
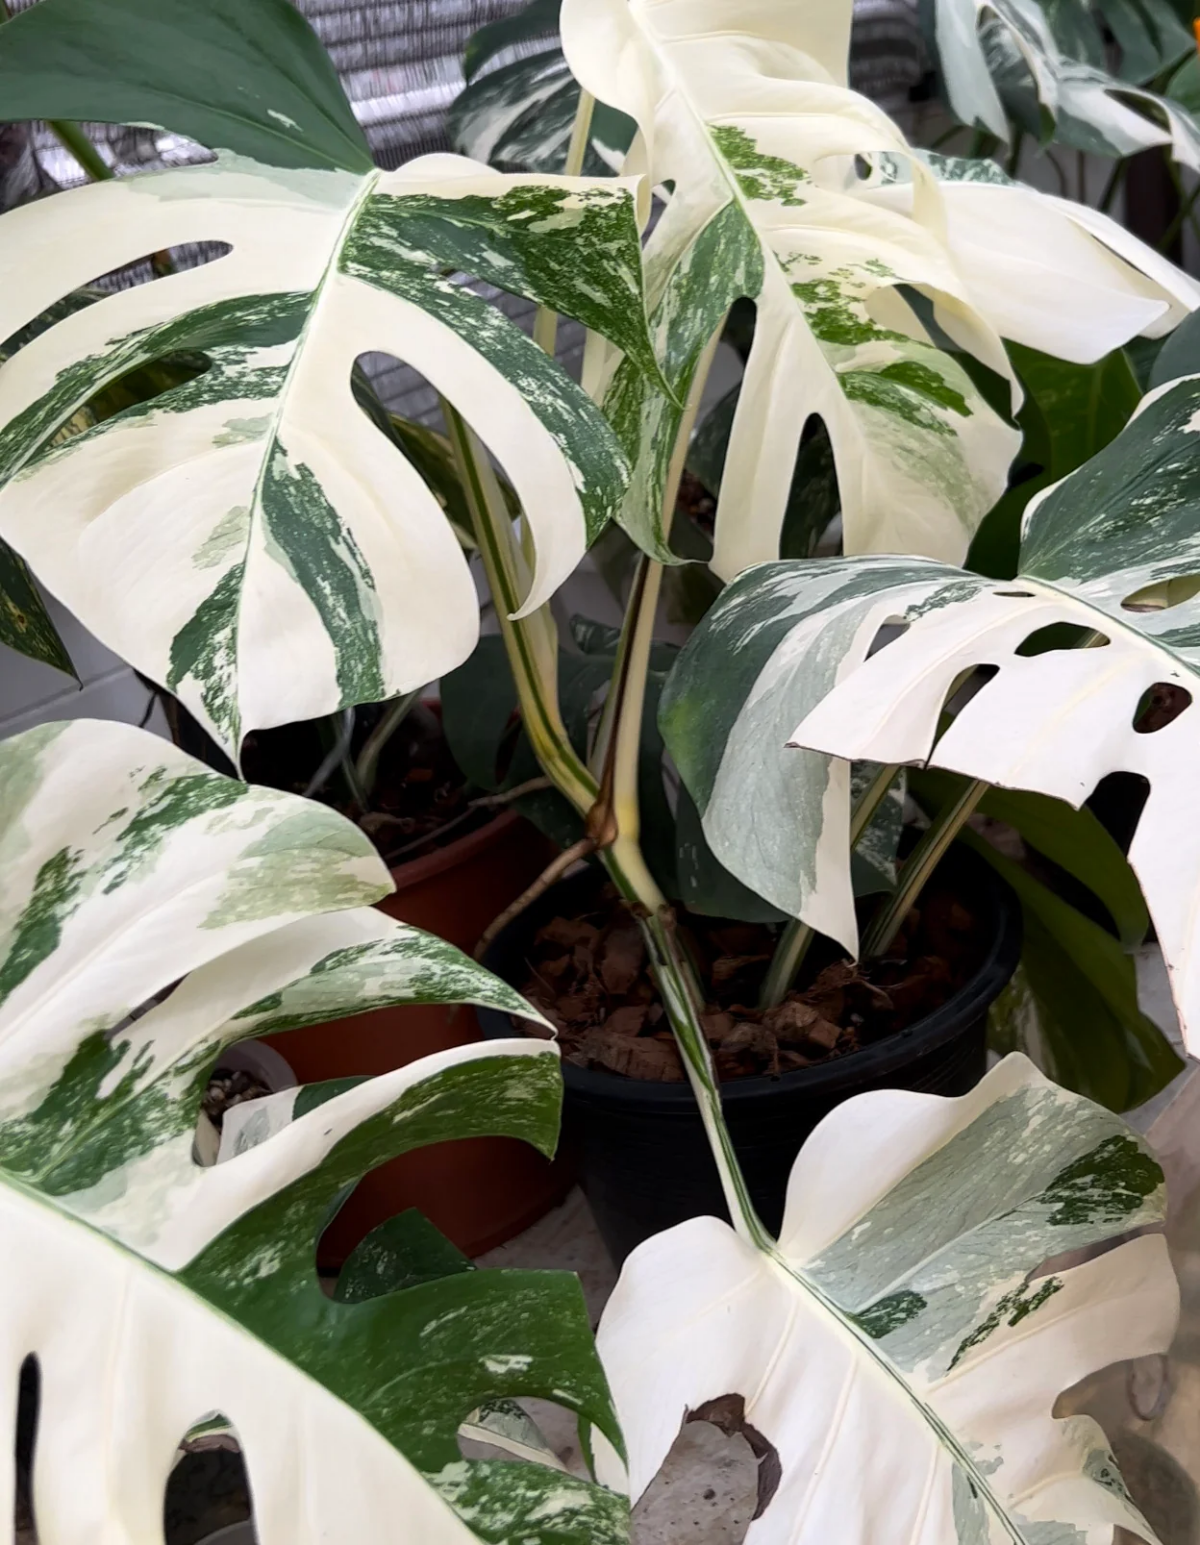
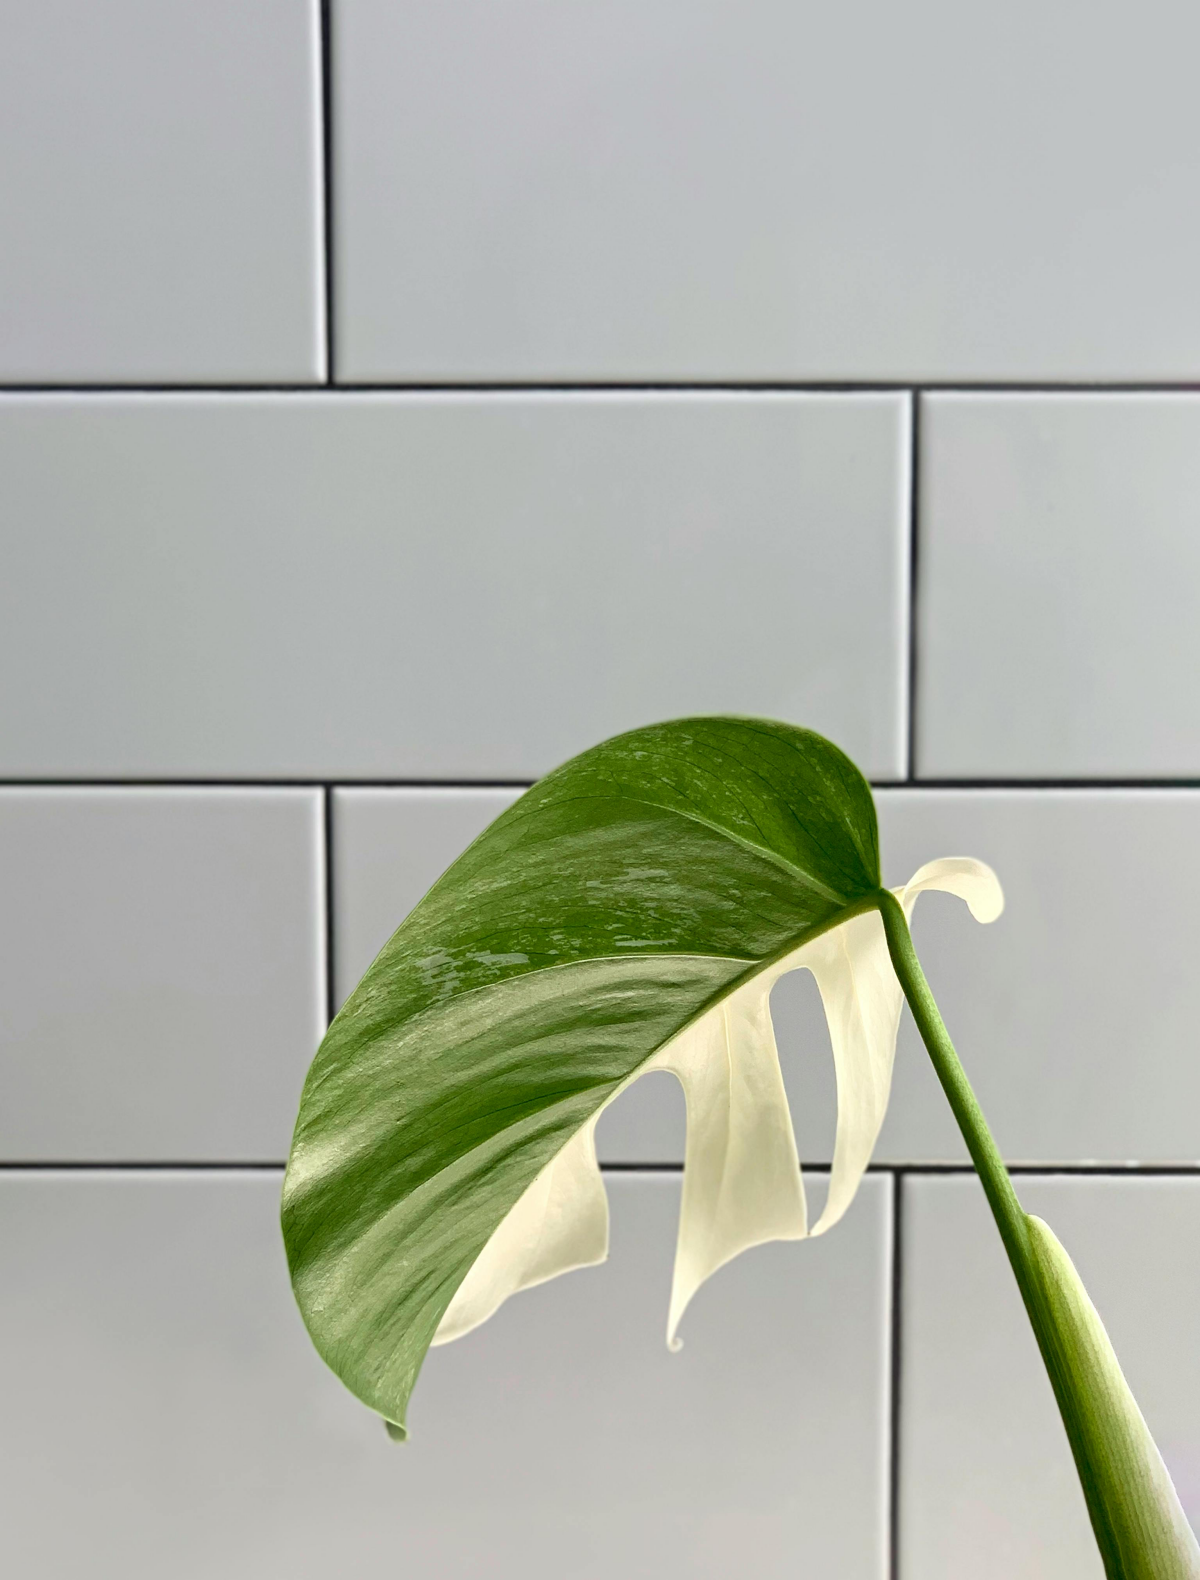
Before you even think about soil or pots, you need to get one thing straight: the white on those leaves is a beautiful genetic quirk. The plant has two sets of DNA—one that makes chlorophyll (the green, food-producing parts) and one that doesn’t (the white, purely decorative parts).
This is the heart of every single challenge you’ll face. The green bits are the powerhouses, soaking up light and making energy. The white bits? They’re freeloaders. They look amazing, but from the plant’s point of view, they just consume energy without giving anything back.
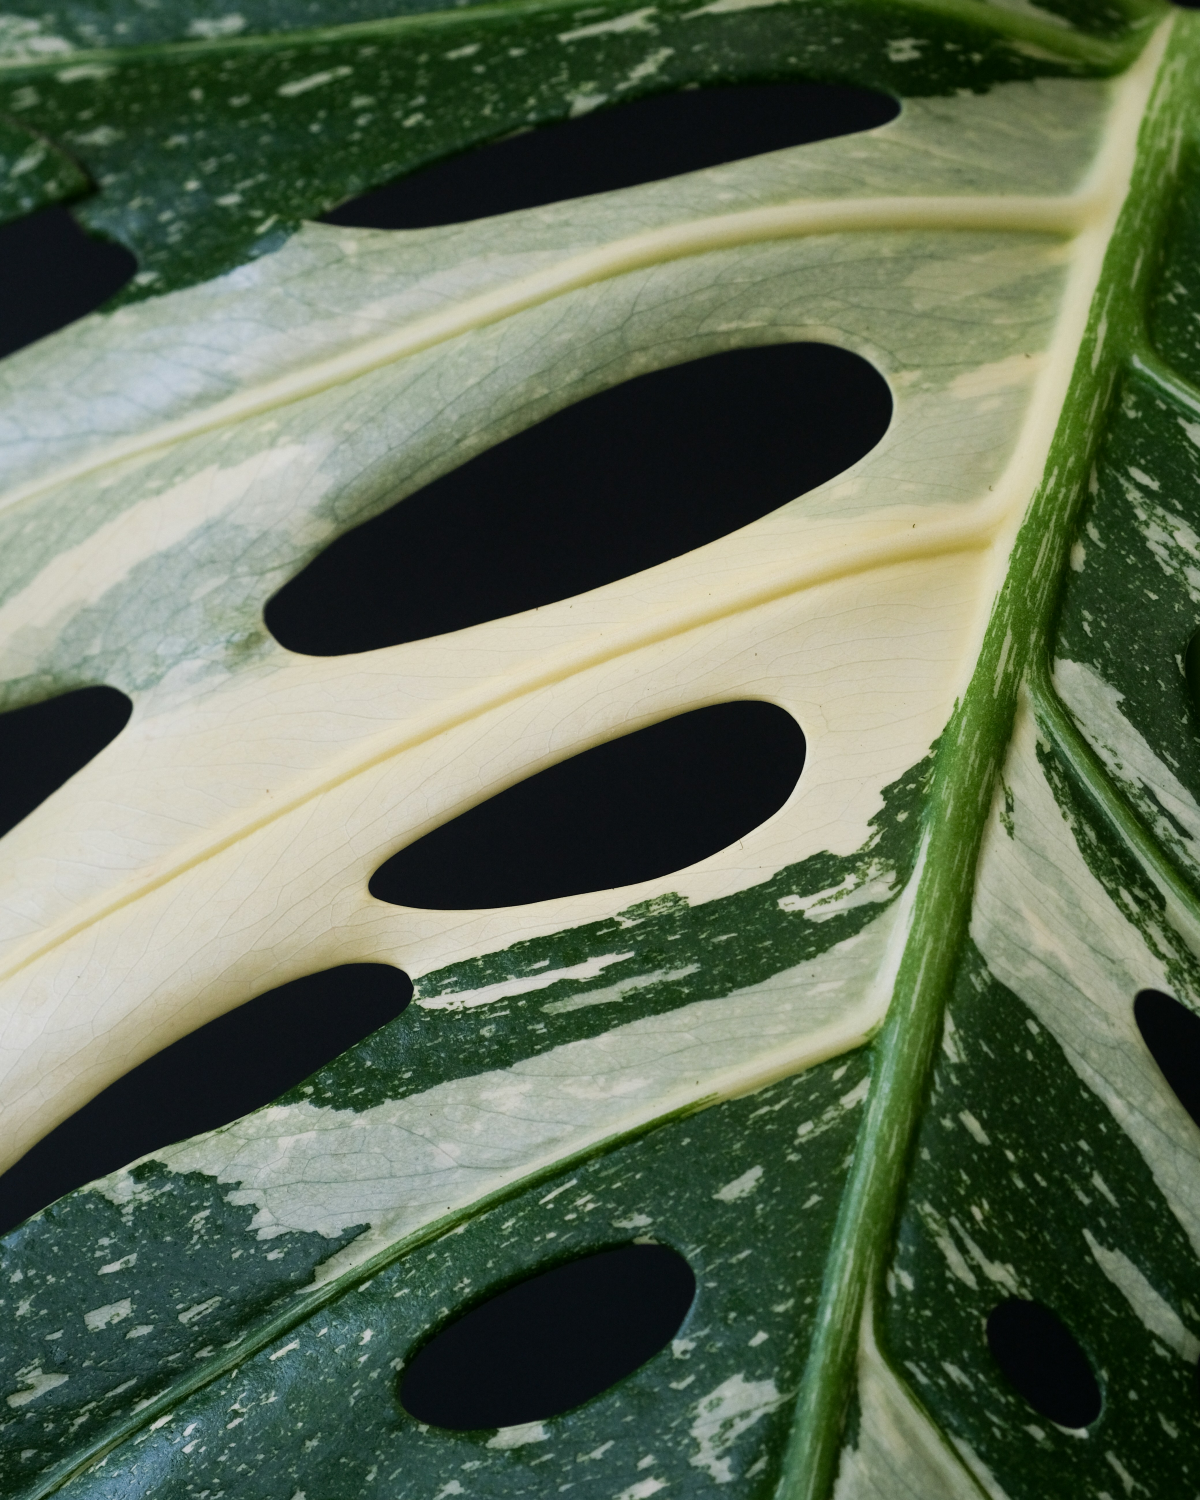
Your entire job is to be a balance keeper. You have to give the plant enough light to supercharge the green sections, but not so much that it scorches the delicate, defenseless white parts. Not enough light, and the plant will panic and start pushing out more green leaves to survive. This is called reversion, and you’ll lose that gorgeous marbling. Too much direct sun, and the white sections will literally burn like paper, turning brown and crispy in a flash.
Understanding this energy game is everything. Every choice you make, from placement to pruning, is about supporting this genetic diva.
Your New Albo Owner’s Shopping List & Setup
A good start is half the battle. I learned this the hard way, trying to rescue plants that were doomed from day one by a bad setup. Taking an hour to get this right will save you months of headaches.
First, Choose Your Player
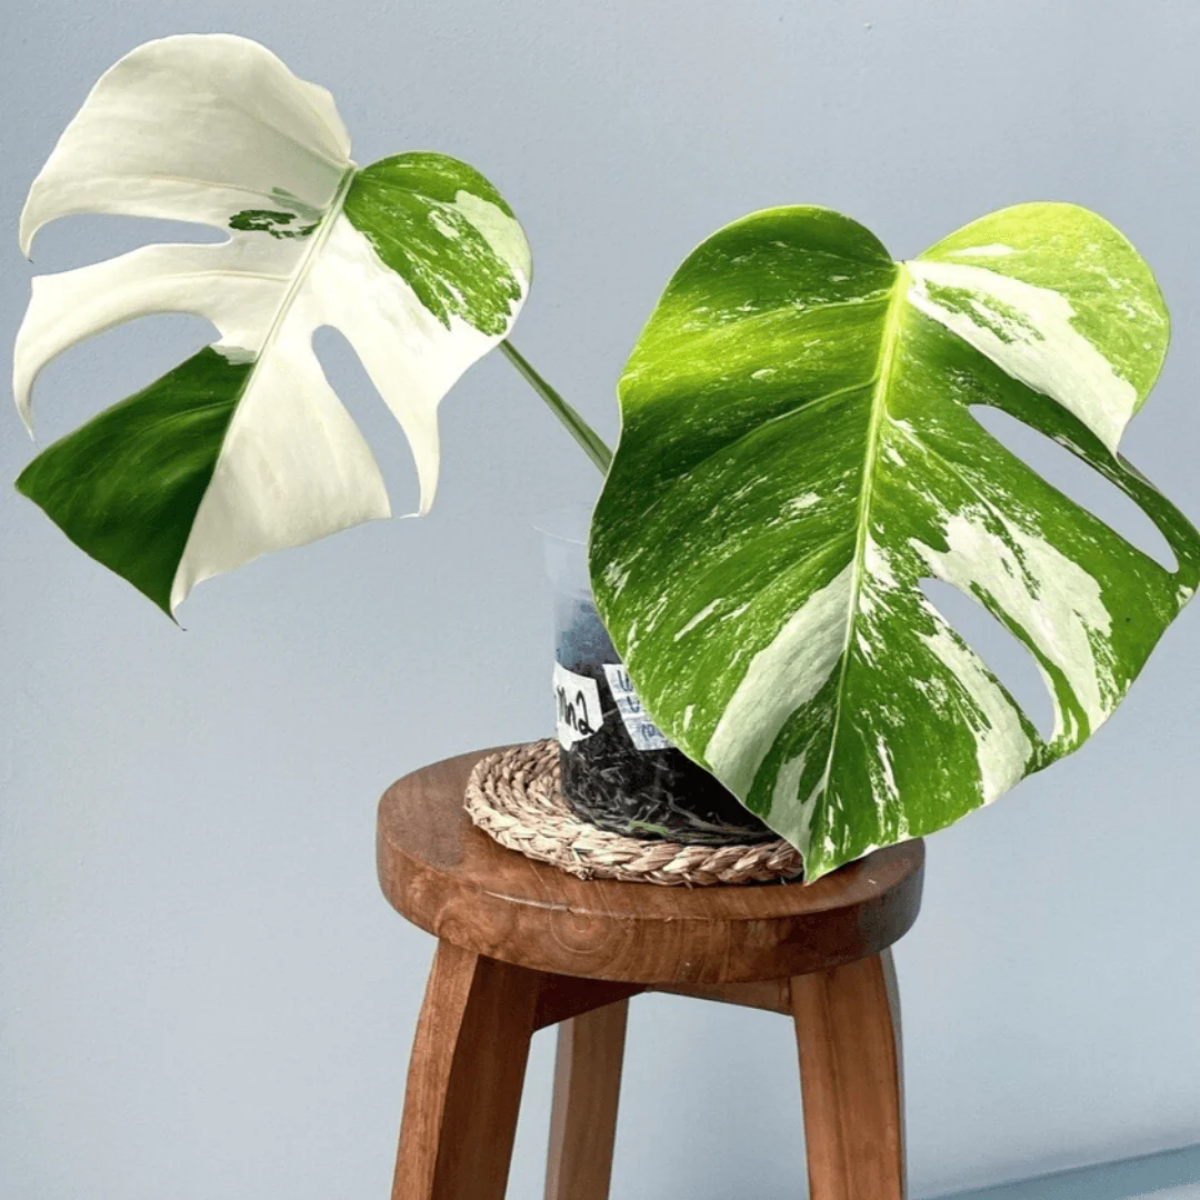
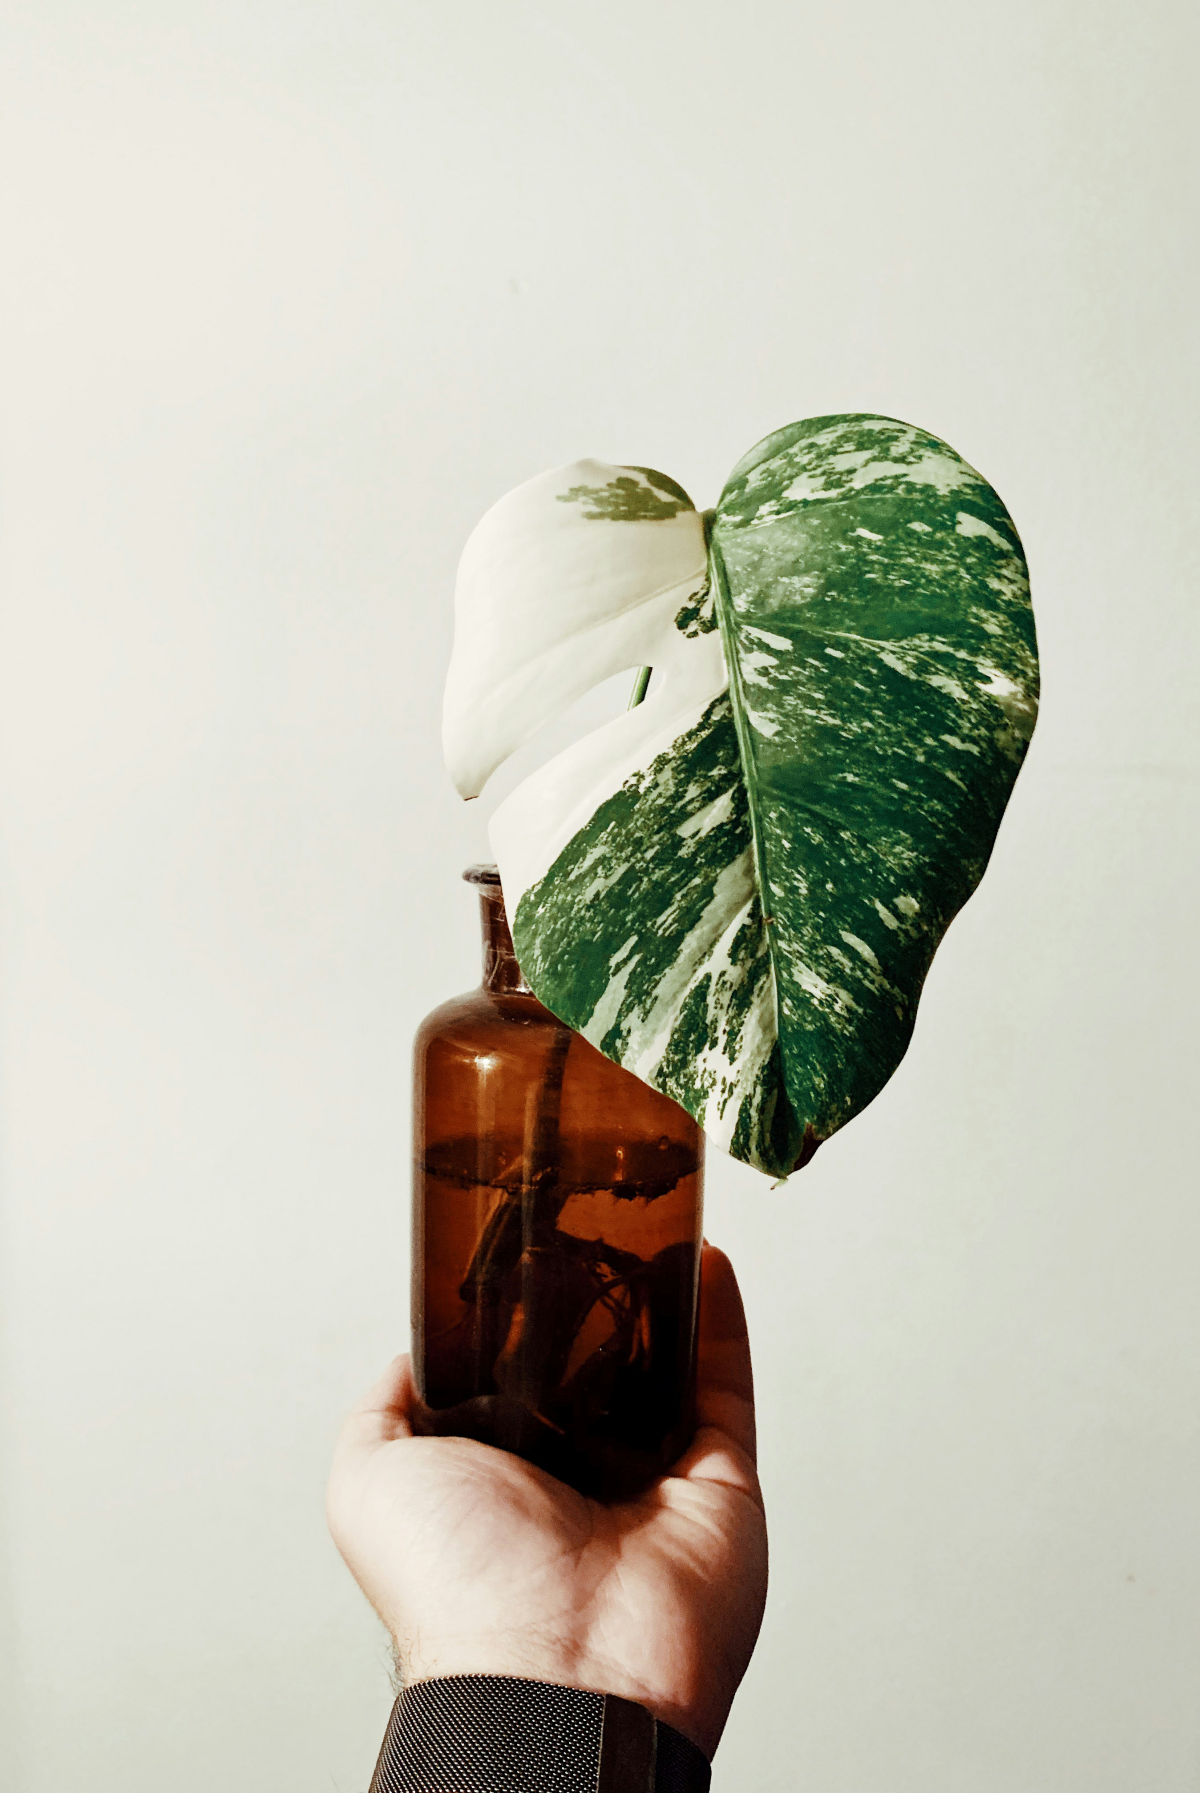
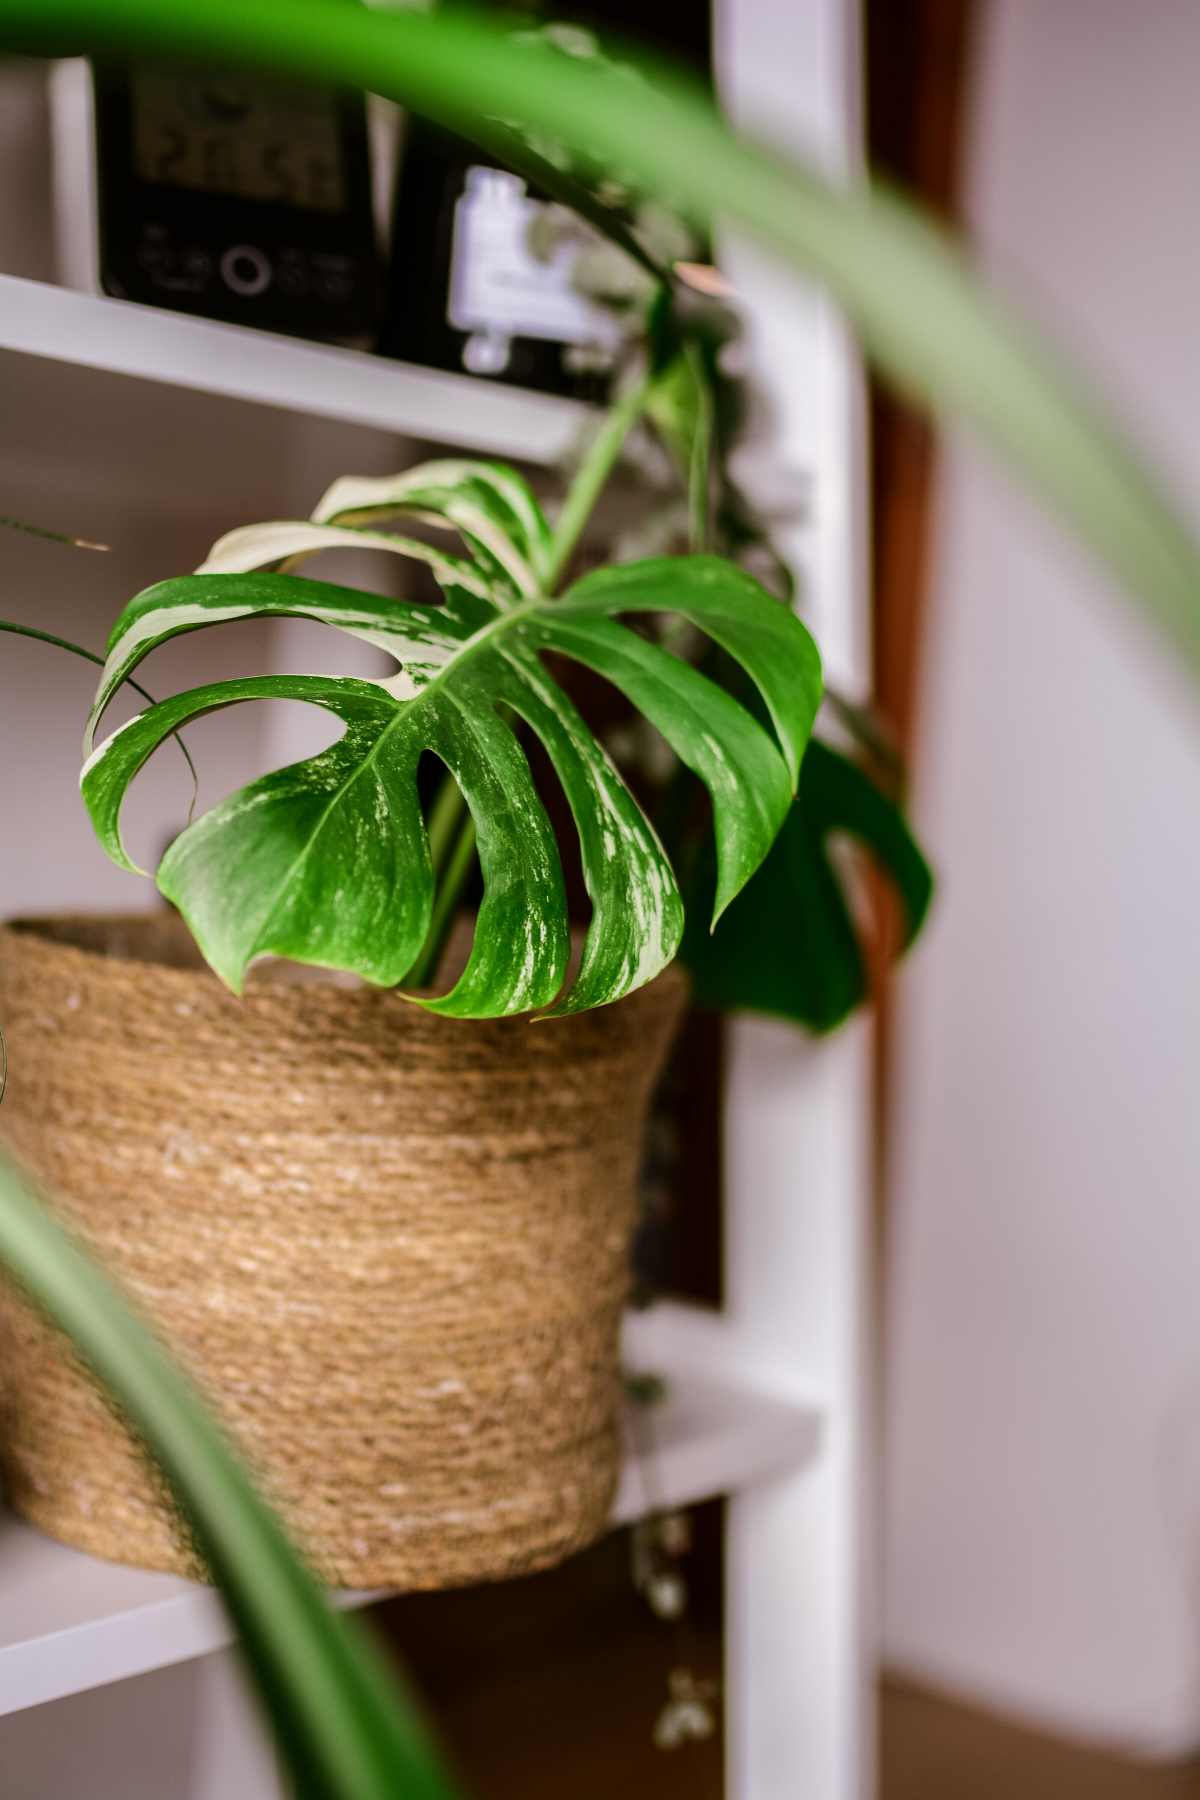
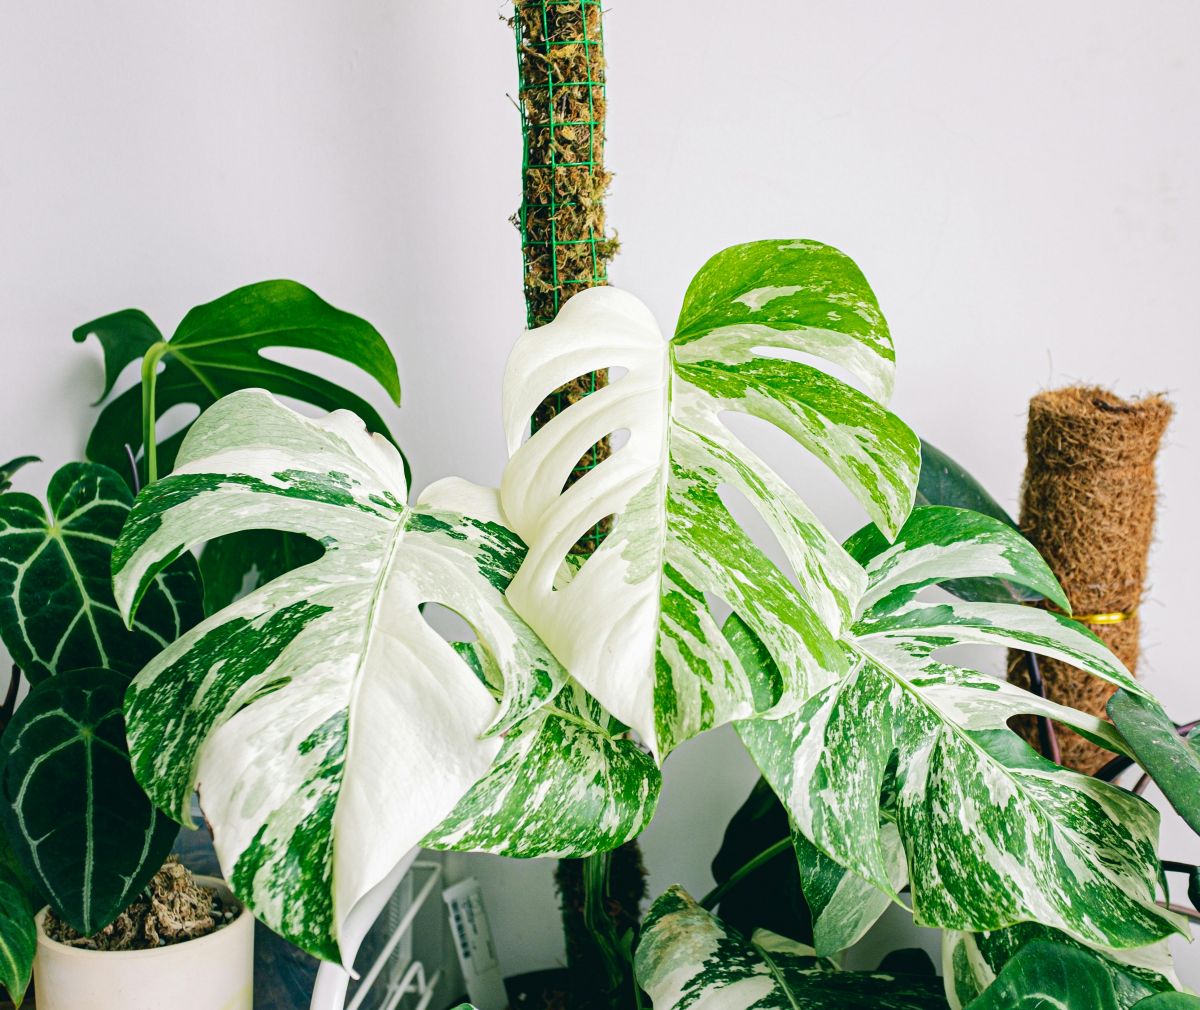
When you buy an Albo, you’re buying genetics. Look for a cutting or plant with a healthy balance of green and white on the leaves and—this is crucial—on the stem. See those stripes of green and white running up the main stem? That’s your money-maker. It shows the variegation is stable in the plant’s growth point.
Heads up! A cutting that’s mostly white is stunning but has a very high chance of failing. It just can’t make enough food to support itself. On the flip side, a mostly green one is safer but might not give you the dramatic leaves you’re dreaming of. Balance is key. And let’s talk price: be prepared. A single-leaf cutting can run you anywhere from $50 to over $200, while a small, rooted plant often starts around $150 and can go up to $500 or more depending on its size and variegation.

The Right Pot is a MUST
This all comes down to one word: drainage. Monstera Albo is incredibly prone to root rot. Never, ever let it sit in soggy soil. I usually grab a pot with several large drainage holes. Honestly, unglazed terracotta is a great choice if you tend to be an over-waterer; the clay breathes and helps the soil dry out. For most people, though, a standard plastic nursery pot tucked inside a nice decorative one is the perfect system. Just remember to pull the plastic pot out for watering, let it drain completely, and then pop it back in.
And when you size up, only go one or two inches bigger in diameter. A pot that’s too big holds a ton of extra soil that stays wet, suffocating the roots. It’s a classic mistake that kills more plants than any pest I’ve ever seen.
The Perfect Soil Mix (Don’t Skip This!)
You cannot, I repeat, CANNOT use standard potting soil from a bag. It’s like trying to make a gourmet meal with ketchup packets. It’s too dense, holds way too much water, and will choke the roots, which desperately need oxygen.
After years of tweaking, here’s my go-to recipe for a chunky, airy mix:
- 1 part high-quality indoor potting mix: This is your base. Look for something that isn’t super heavy on peat moss; a mix with coco coir and worm castings is a great start.
- 1 part orchid bark: This creates big air pockets, which is heaven for aroid roots.
- 1 part perlite or pumice: Keeps the mix light and fluffy and stops it from compacting over time.
- 1/2 part horticultural charcoal: This helps keep the soil ‘sweet’ and absorbs impurities.
- 1/2 part sphagnum moss (chopped): Just a little bit to hold moisture evenly throughout the mix.
Mix it all up. The cost to assemble these ingredients might be around $40-$50, but you’ll have enough for many, many repottings. A pre-made aroid mix from a specialty shop is a good alternative and will run you about $20-$30 for a bag, just check that the ingredients are similar. Oh yeah, and when you first bring your plant home, let it chill for a week or two before you even think about repotting. Give it time to acclimate to its new environment.
The Daily Grind: Light, Water, and Air
Consistency is your best friend here. These plants love a stable environment. Nail these three things, and you’re golden.
Light: The Make-or-Break Factor
‘Bright, indirect light’ is the most frustratingly vague phrase in plant care, isn’t it? Let’s be more specific. The sweet spot is usually a few feet back from an east-facing window that gets gentle morning sun. A north-facing window can work if the plant is right up against the glass. South or west windows are usually too intense, like a tanning bed, unless you diffuse the light with a sheer curtain.
A simple trick: hold your hand about a foot over the leaves. If the shadow it casts is soft and has fuzzy edges, you’re good. If it’s a sharp, dark shadow, the light is too direct and you risk scorching those white patches.
Honestly, a good full-spectrum LED grow light on a timer for 12-14 hours a day is a fantastic way to provide perfect, consistent light. It takes all the guesswork out of it, especially in winter.
Watering: Less is More
Overwatering is the number one killer of this plant. Period. Your chunky soil mix is your first line of defense, but your watering habits seal the deal. Don’t water on a schedule! Water when the plant tells you it’s thirsty. Stick your finger two or three inches down into the pot. If it feels dry, it’s time. If you feel any moisture at all, walk away and check again in a few days.
When you do water, do it properly. Take the plant to the sink and drench the soil until water pours out of the drainage holes. Let it drain for a good 15 minutes before putting it back. It absolutely cannot sit in a saucer of water.
Quick tip: To get a feel for it, pick up the pot right after you’ve watered it. Feel how heavy it is. Then pick it up again when it’s fully dry. The weight difference is huge. Soon you’ll be able to tell if it needs water just by giving it a little lift.
Humidity: The Secret to Perfect Leaves
Ever wonder why the white parts of the leaves get those ugly brown, crispy edges? It’s almost always a lack of humidity. These guys are tropical and want a humid environment—aim for 60% or higher. Most homes sit around 40-50%.
The best way to tackle this is with a small electric humidifier running nearby. Grouping plants together also helps create a little humid microclimate. A pebble tray is… okay, but the effect is minimal. Misting, in my opinion, is mostly useless. It only raises humidity for a few minutes and can lead to fungal spots if the water sits on the leaves.
Level Up: Feeding, Climbing, and Pruning
Once you’ve got the basics down, you can start encouraging bigger, better growth.
Fertilizing for Health, Not Speed
Because half the plant is essentially ‘off duty,’ it’s more sensitive to fertilizer burn. Use a balanced liquid fertilizer (like a 10-10-10), but dilute it to half or even a quarter of the strength recommended on the bottle. During the spring and summer growing season, I feed my plants every third or fourth watering. In the fall and winter, I stop completely. The plant is resting; let it rest.
Give It Something to Climb
In the wild, these plants are climbers. They latch onto trees with their aerial roots and head for the canopy. Giving your plant a moss pole isn’t just for looks; it’s a critical signal. When the plant feels secure and supported, it will reward you with bigger leaves that have more of those iconic splits (fenestrations).
By the way, there’s a vining variety of this plant, and it’s the one most of us have. That vining habit is exactly why giving it a pole to climb is non-negotiable if you want it to mature properly. I attach a young plant to the base with soft plant ties, making sure the back of the stem (where aerial roots emerge) is pressed against the pole. Keep the pole moist with a regular spray-down, and the roots will grow right into it.
Pruning for Perfection
Pruning is how you steer the ship. If your plant puts out an all-green leaf, and then another one, it might be reverting. Don’t panic! Trace the stem back to the last leaf that had good variegation, and using clean shears, cut the stem about a half-inch above that leaf’s node. This encourages a new growth point to emerge from a more stable spot.
The opposite is also true. If it puts out a completely white leaf, it’s beautiful but dangerous. It’s a major drain on the plant’s energy. One is okay, but if a second one follows, the plant might not be able to sustain itself. In that case, I do the same thing: prune back to a more balanced node.
Uh Oh… A Quick Troubleshooting Guide
Even with the best care, things can happen. Here’s a quick rundown of the most common issues.
- The Problem: Droopy leaves, but the soil is wet.
This screams root rot. The base of the stem might even be soft and dark. You have to act fast. Take it out of the pot, and trim away every single piece of brown, mushy root with sterile scissors. Healthy roots are firm and white or light tan. Before repotting in fresh, dry soil, I sometimes give the healthy roots a quick spray with a mix of one part hydrogen peroxide to three parts water to kill off any lingering bacteria. - The Problem: Silvery damage and tiny black specks on leaves.
You’ve got pests, most likely thrips. They are the absolute worst for Albos. Spider mites are another common foe, leaving fine webbing under the leaves. Check your plant weekly! For treatment, I start by wiping every leaf (top and bottom) with a cloth dipped in insecticidal soap. If they keep coming back, a systemic insecticide applied to the soil might be necessary—just follow the directions carefully. - The Problem: Brown, crispy leaf edges.
Nine times out of ten, this is a humidity issue. The white parts of the leaf lose water much faster than the green parts, and in dry air, they just can’t keep up. Get a humidifier or group your plants closer together.
A Quick Word of Warning (Safety First!)
Good to know: All parts of the Monstera are toxic if eaten by pets or people. They contain sharp little crystals that cause immediate pain and swelling in the mouth and throat. Please keep this beauty out of reach of curious cats, dogs, and kids.
Growing a Monstera Albo is a marathon, not a sprint. The high price reflects how slow and tricky it is to grow. Don’t get discouraged by a small brown spot or a slow patch. The key is to watch your plant, learn its language, and respond thoughtfully. When that new, perfectly marbled leaf finally unfurls, you’ll know every bit of effort was worth it.
Galerie d’inspiration
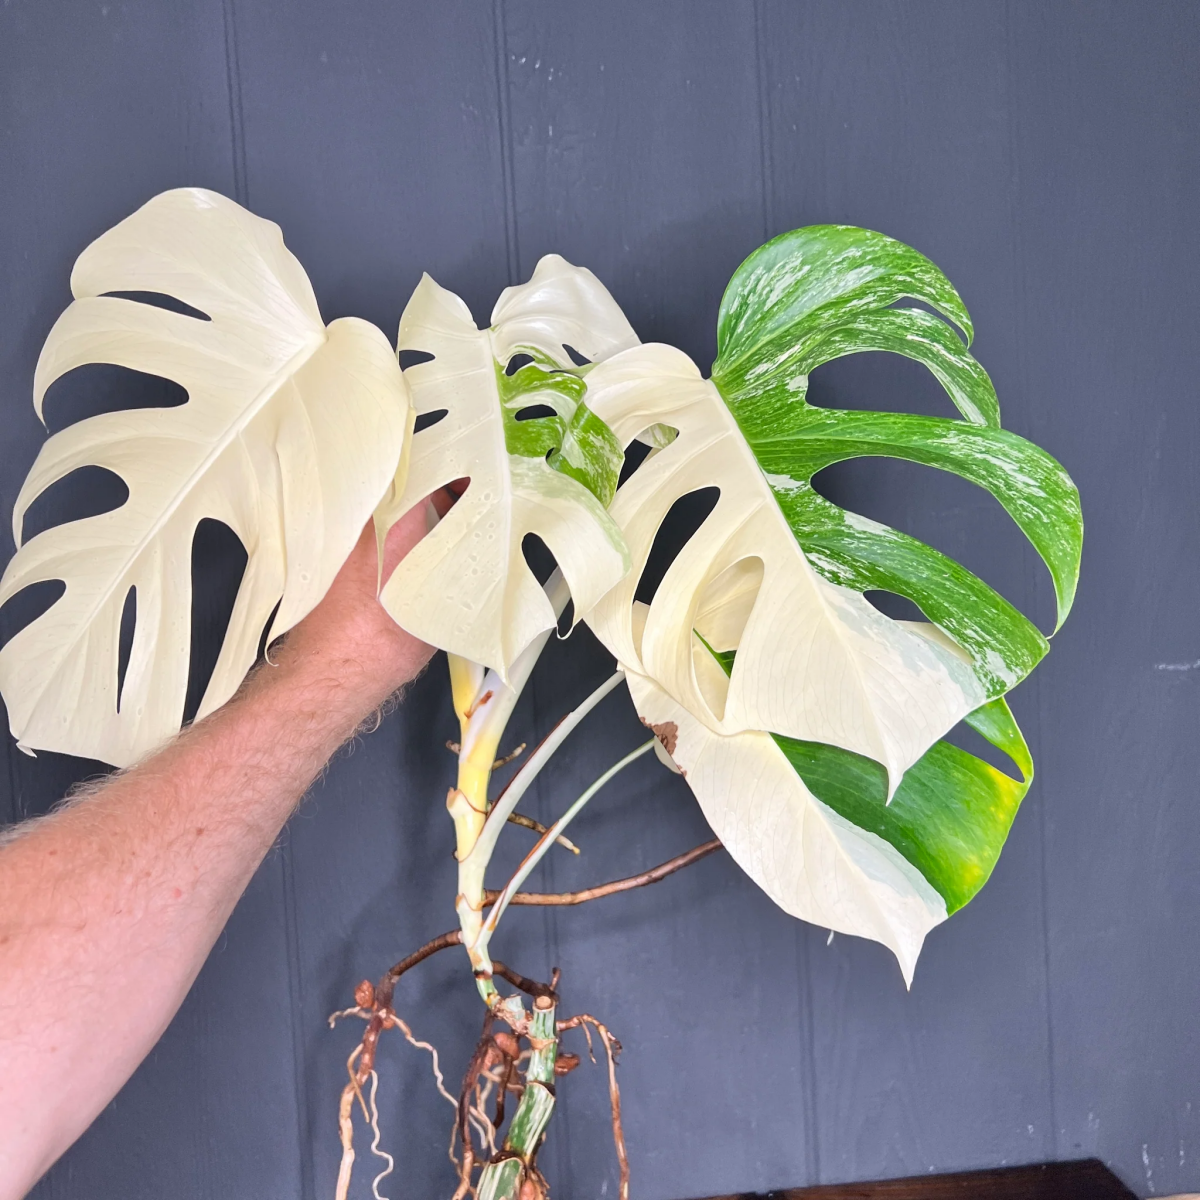
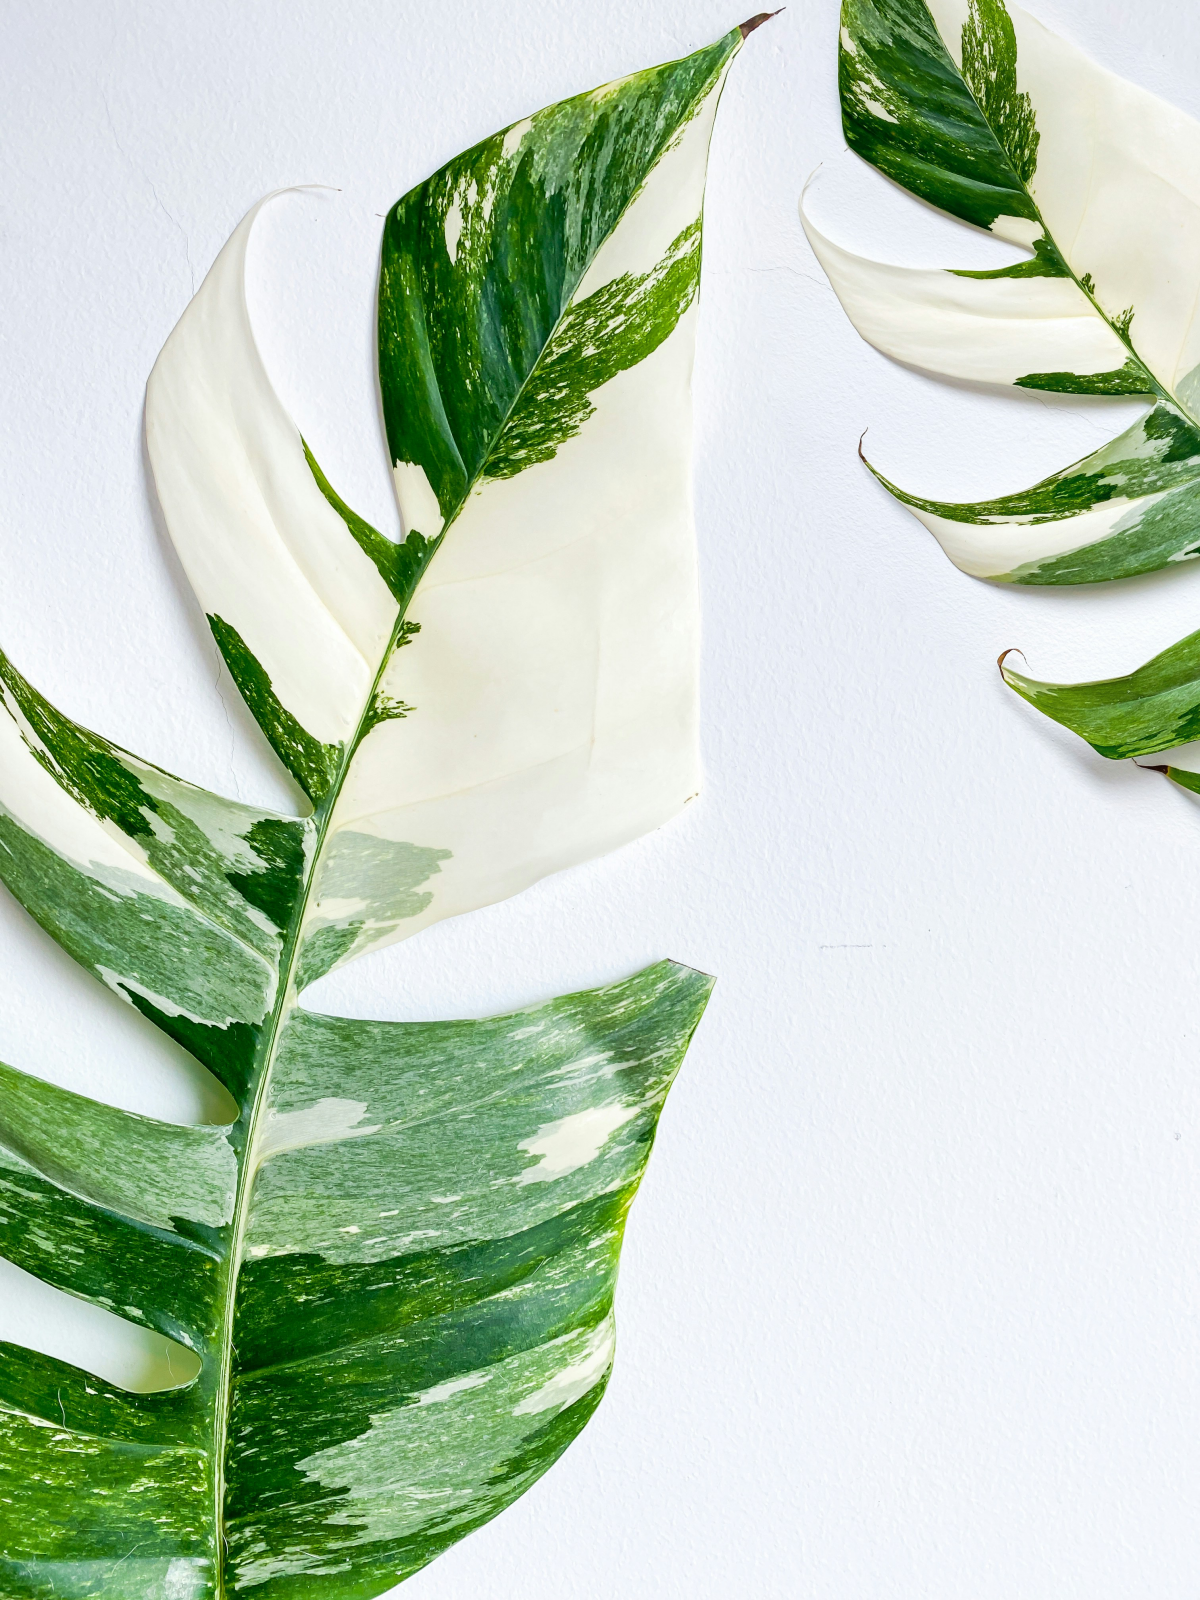
The value of a Monstera Albo is directly tied to the balance of its variegation. A cutting with a 50/50 split of green and white on its stem is often considered the ‘holy grail’ for propagation.
When you’re shopping, inspect the stem, not just the leaves. A heavily variegated leaf on a mostly green stem might produce more green leaves later. Conversely, a stem that’s almost entirely white may struggle to produce leaves with enough green to survive. Look for that candy-cane stripe for the best long-term potential.
Is it better to use a moss pole or a simple trellis?
It depends on your goal. A simple wood or metal trellis provides excellent physical support, guiding the plant upward and encouraging larger leaves. However, a quality moss pole, like one made with sphagnum from a brand like SuperMoss, offers more. As the plant’s aerial roots grow into the moist pole, it mimics its natural climbing habit. This not only provides stability but also gives the plant an extra source of hydration and nutrients, often resulting in faster growth and more impressive fenestrations (leaf splits).
The one mistake even experienced owners make: over-fertilizing. It’s tempting to feed your Albo to encourage growth, but the white parts of the leaves cannot process nutrients and are highly susceptible to chemical burn. This shows up as brown, crispy edges on the most beautiful sections of your plant.
- Use a heavily diluted, balanced fertilizer (like a 20-20-20, but at 1/4 strength).
- Fertilize only during the growing season (spring/summer).
- Always water the plant thoroughly *before* applying fertilizer to avoid shocking the roots.
That little brown nub emerging from the stem isn’t a sign of trouble—it’s an aerial root! In the wild, Monsteras are climbers, using these roots to latch onto trees. In your home, they are searching for support and humidity. You can gently guide them back into the potting mix or, even better, onto a moss pole. Don’t cut them off; they are part of the plant’s natural, healthy development.


