Your Go-To Guide for Making Hummingbird Nectar the Right Way
I’ve been setting out feeders for hummingbirds for as long as I can remember. My journey has taken me from the sweltering, humid summers down South, where nectar can spoil in a single day, to the cool, misty Pacific Northwest, where some hummingbird species might hang around all year. And through all that, one simple truth has never changed: the easiest nectar recipe is also the best and safest for the birds.
In this article
But honestly, making it right is about more than just splashing some sugar and water together. It’s about really understanding what these tiny, high-energy birds need and committing to their well-being. So many people with the best intentions make tiny mistakes that can accidentally harm them.
My goal here isn’t to sell you anything. It’s to share what I’ve learned from years of hands-on practice, from countless chats with wildlife rehabbers, and from the simple joy of watching these little jewels thrive. This is about being a good host. Let’s get it right.
The Simple Science: Why the Basics Matter Most
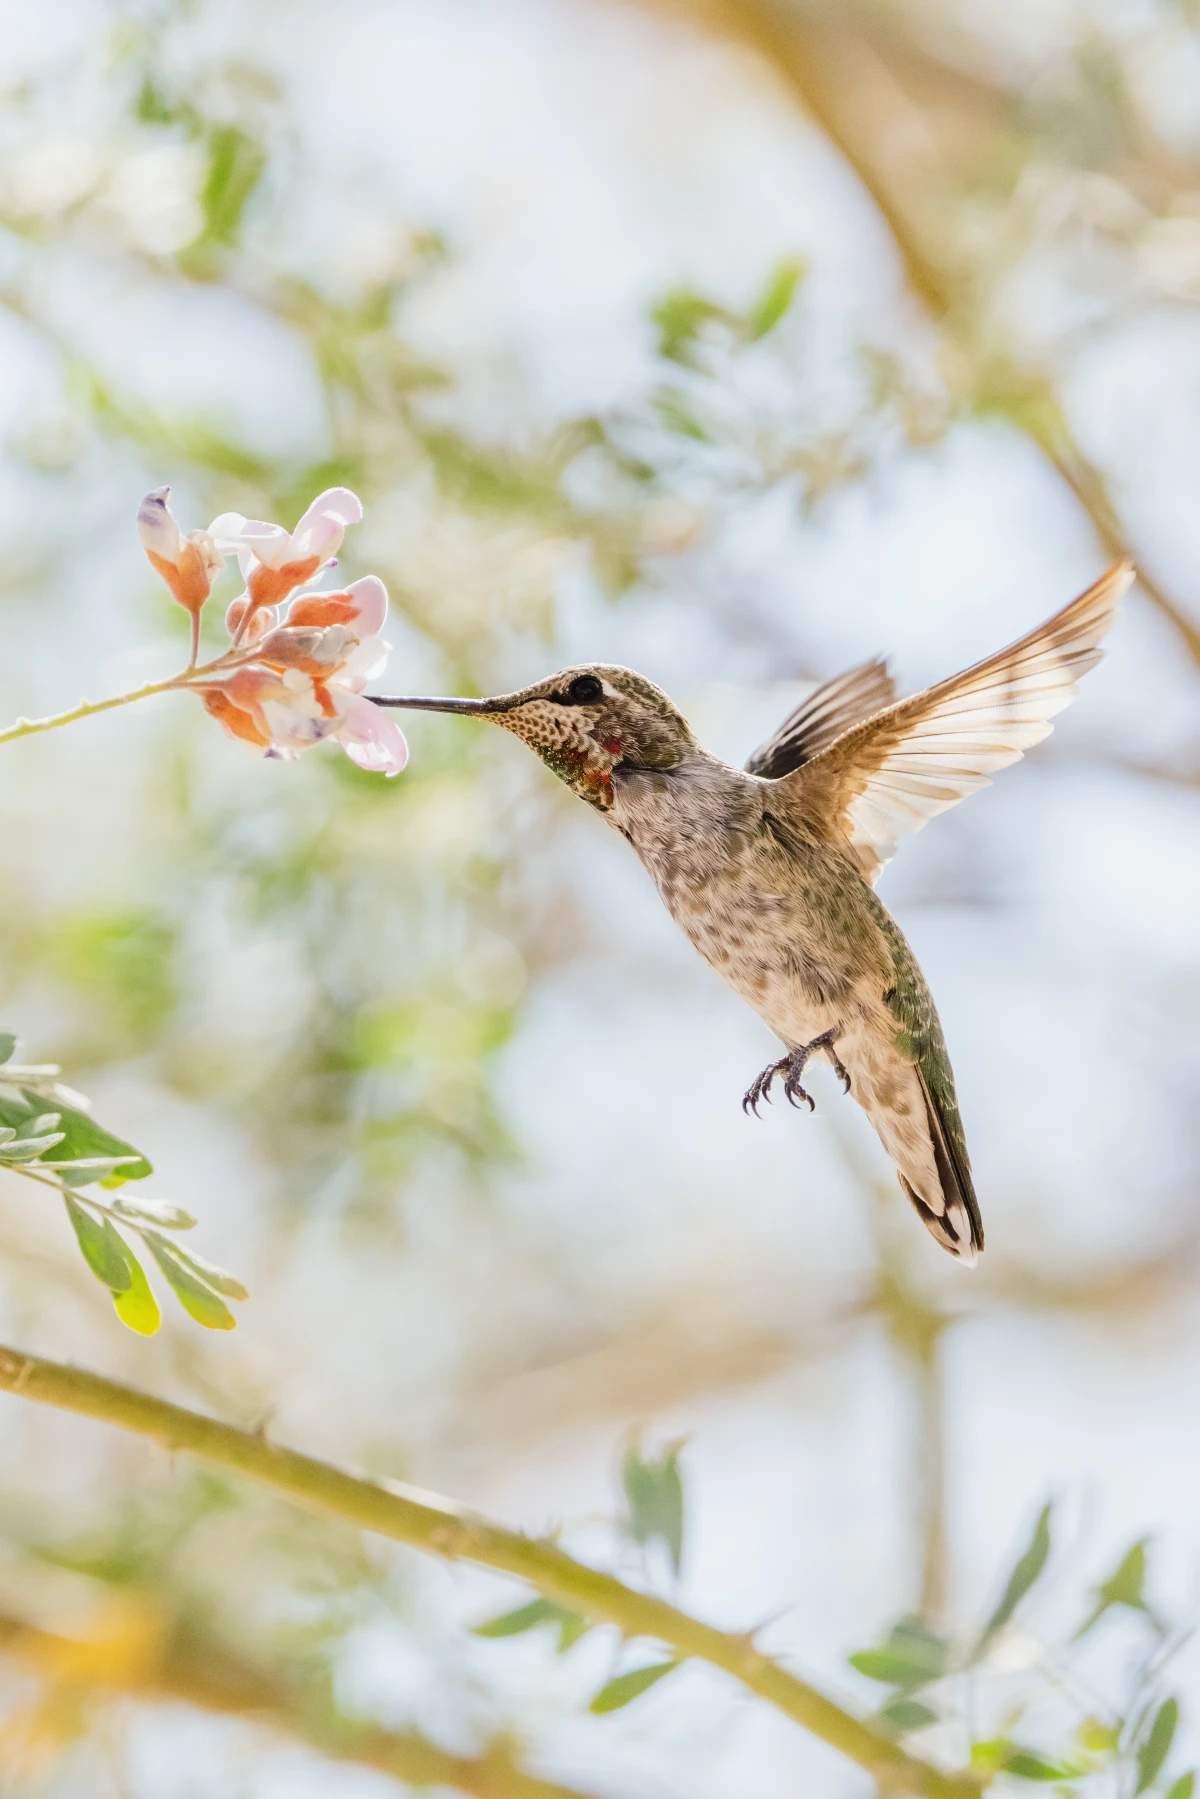
To feed hummingbirds safely, we first have to think about what they eat naturally. Their main fuel is flower nectar, which is basically sugar water. Our whole mission is to copy that natural food source as closely as we possibly can. Adding anything else just introduces unnecessary risks.
The 1:4 Ratio: The Gold Standard
The safest, most trusted recipe is a simple mix of one part plain white sugar to four parts water. That’s it. This creates a solution that’s about 20% sugar, which is the sweet spot—literally. Studies of flowers that hummingbirds love show that their nectar is usually between 20% and 26% sugar. Our 1:4 ratio hits that mark perfectly.
Why is this so important? Well, a mix that’s too sugary is tough for their little bodies to digest and can strain their kidneys. On the other hand, a mix that’s too weak just doesn’t provide enough calories, forcing them to work overtime just to get the energy they need. The 1:4 ratio is the time-tested, scientifically-backed balance that just works.
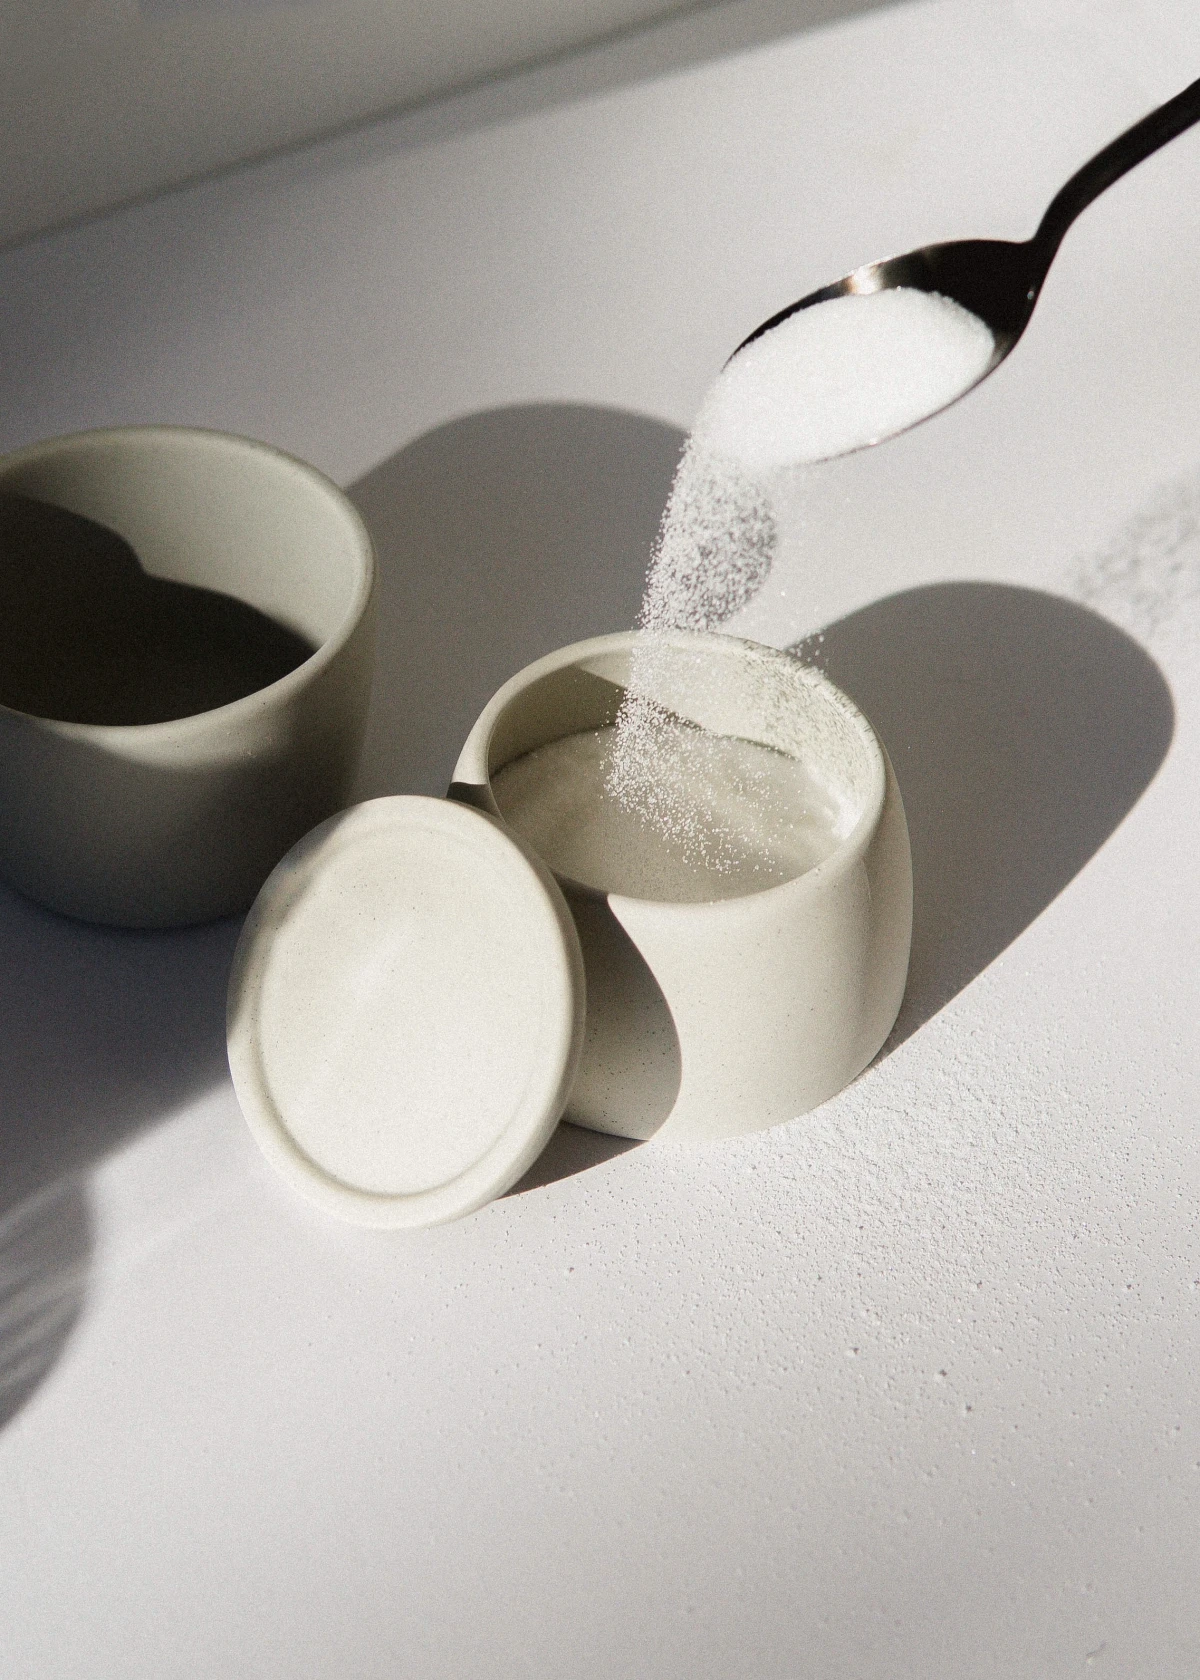
Heads Up: Only Plain White Sugar Will Do
This is the most critical rule, so I’m going to say it plainly: You must use only plain, refined white table sugar. Period. This regular cane sugar is pure sucrose, which a hummingbird’s digestive system is perfectly built to break down for a quick energy jolt.
Here’s why you can’t use other sweeteners:
- Honey (NEVER): Honey is a huge no-no. It can carry fungal spores that cause a fatal tongue infection in hummingbirds, making it impossible for them to feed. It also ferments incredibly fast, turning your feeder into a toxic trap.
- Brown, Raw, or Turbinado Sugar: These sugars get their color from molasses, which contains iron. Hummingbirds evolved on a low-iron diet and can’t process it. The iron builds up in their liver and causes a slow, painful, and fatal poisoning.
- Artificial Sweeteners: Things like Stevia, Splenda, or Equal are a death sentence. They offer zero calories. The birds drink the sweet liquid, get no energy, and will literally starve to death.
- Powdered Sugar: Don’t use this either. It almost always contains cornstarch to prevent caking, which can gum up the nectar and cause it to ferment faster.
There are no safe shortcuts or substitutes here. It’s what I’ve used exclusively for years, and it’s what every reputable birding organization recommends.
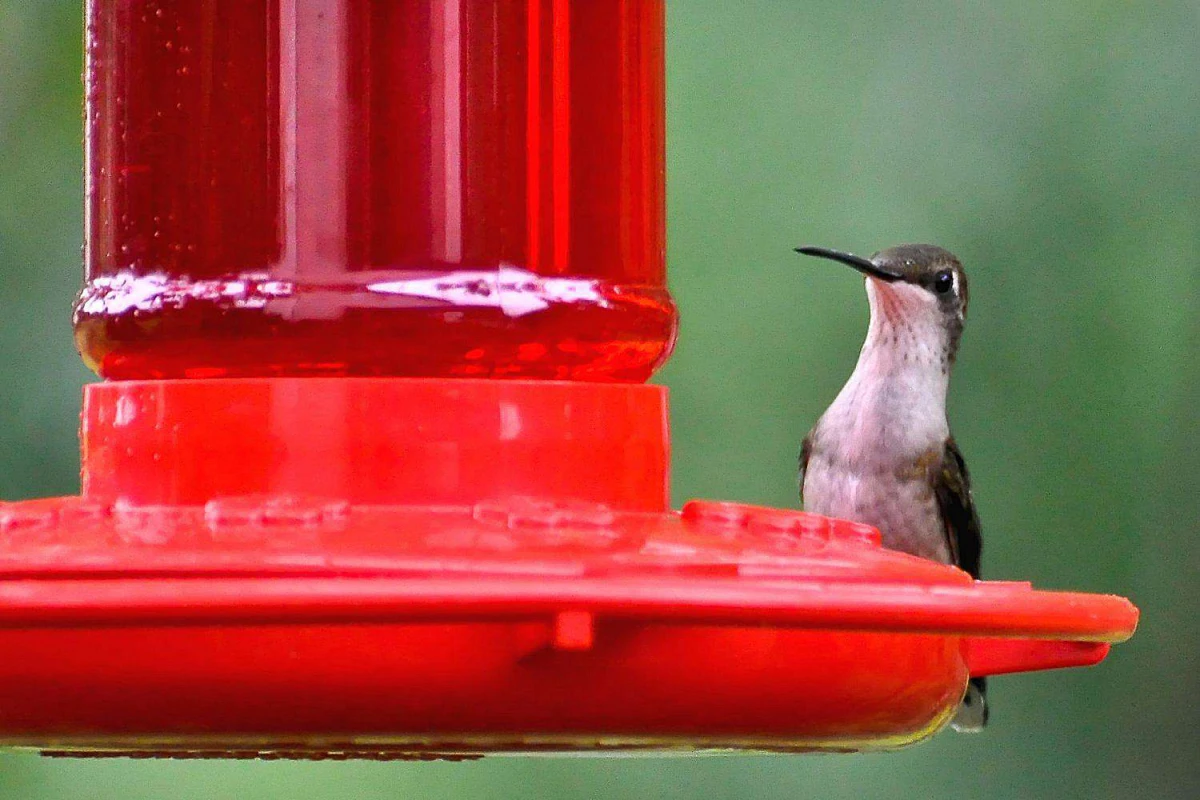
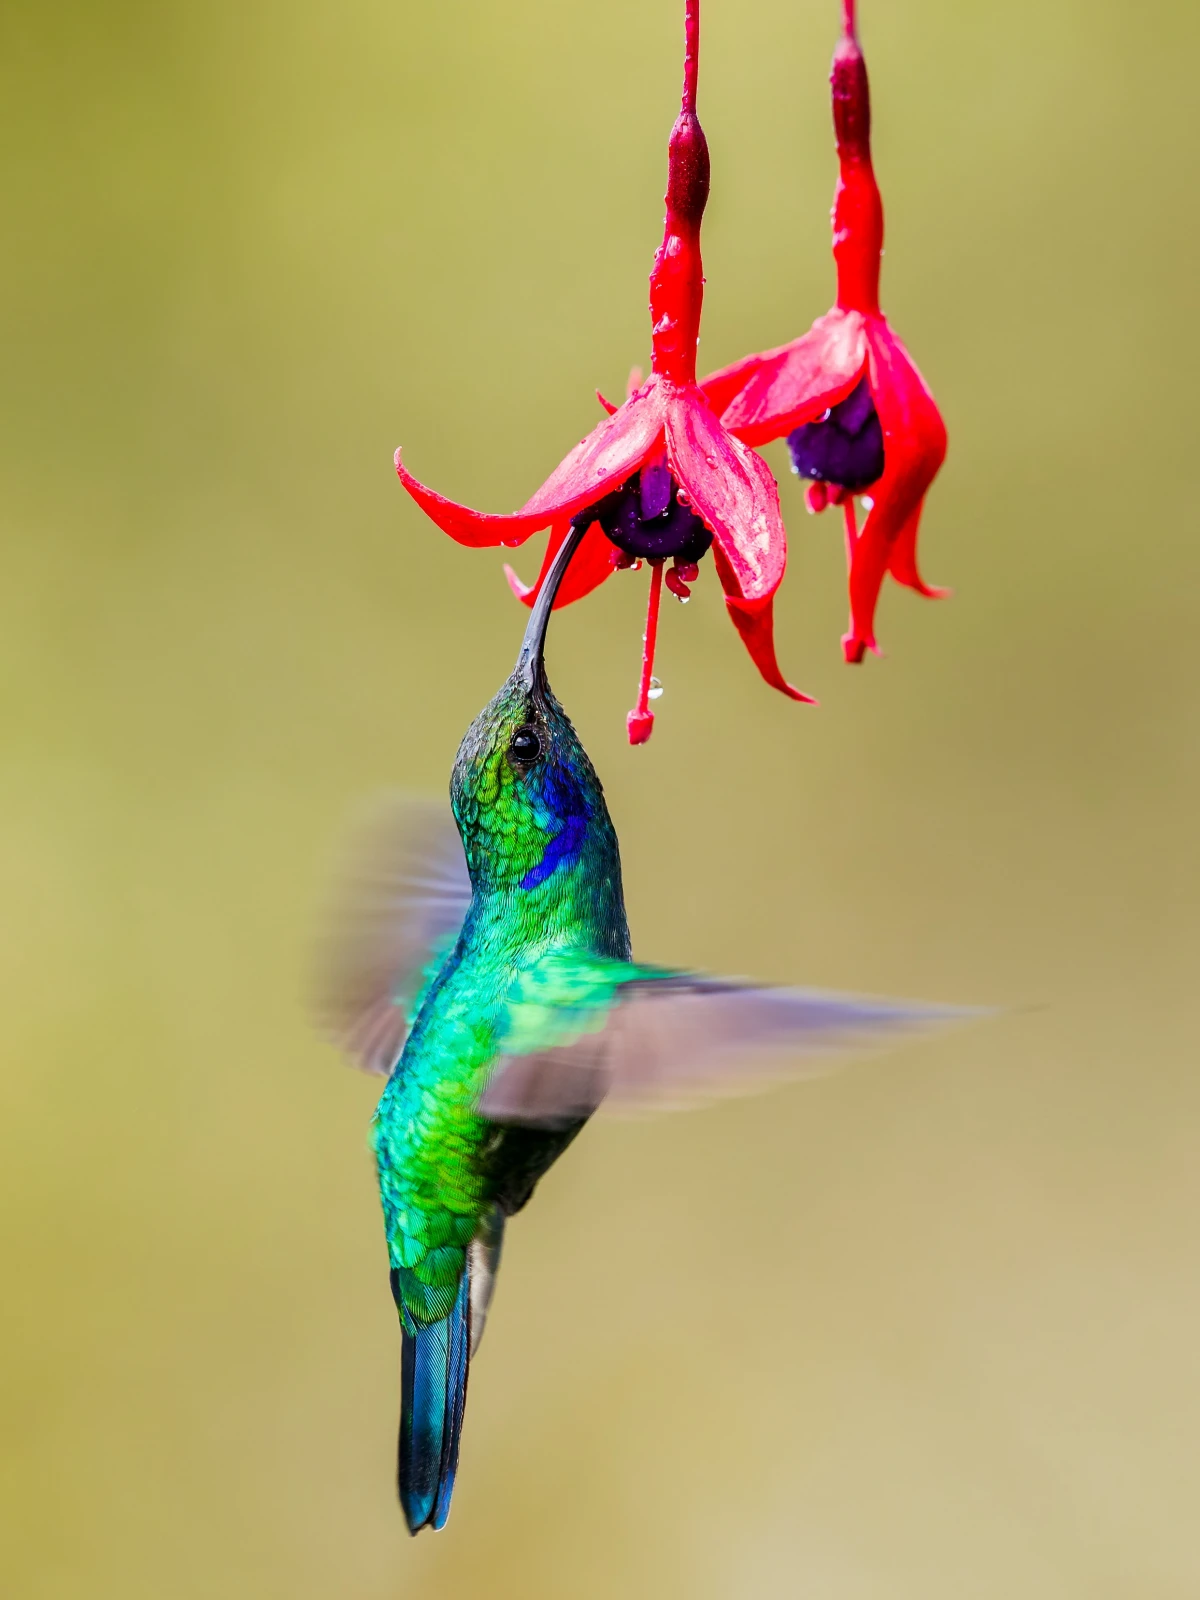
Let’s Bust the Red Dye Myth for Good
You’ve seen it, right? The bright red liquid sold in stores. This has led to a widespread belief that the nectar itself needs to be red. This is completely false and potentially harmful. Hummingbirds are attracted to the color of the feeder—the red flower-shaped ports, the red base—not the color of the liquid inside.
Think about it: red dye has zero nutritional value. Worse, we don’t really know the long-term effects of these artificial chemicals on their tiny, fast-moving bodies. It’s an unnecessary risk for no reward. A clear, fresh nectar in a clean, red-accented feeder is the safest and most effective way to go.
My Step-by-Step Method for Perfect Nectar
Over the years, I’ve dialed in my process to be as safe and efficient as possible. This method ensures the nectar is pure, clean, and ready for your feathered friends.
Your Hummingbird Starter Kit
First, let’s get your gear in order. You don’t need much, and it’s all pretty affordable.
- A good feeder: Plan to spend between $15 and $30 for a quality one that’s easy to clean.
- An ant moat: This is a non-negotiable accessory, in my opinion. They’re usually under $10 and save a ton of headaches.
- A set of bottle brushes: Essential for proper cleaning. You can find a decent set online or at a home goods store for about $10.
- The ingredients: Just plain white sugar and water!
The Boiling Debate: Why It’s a Crucial Step
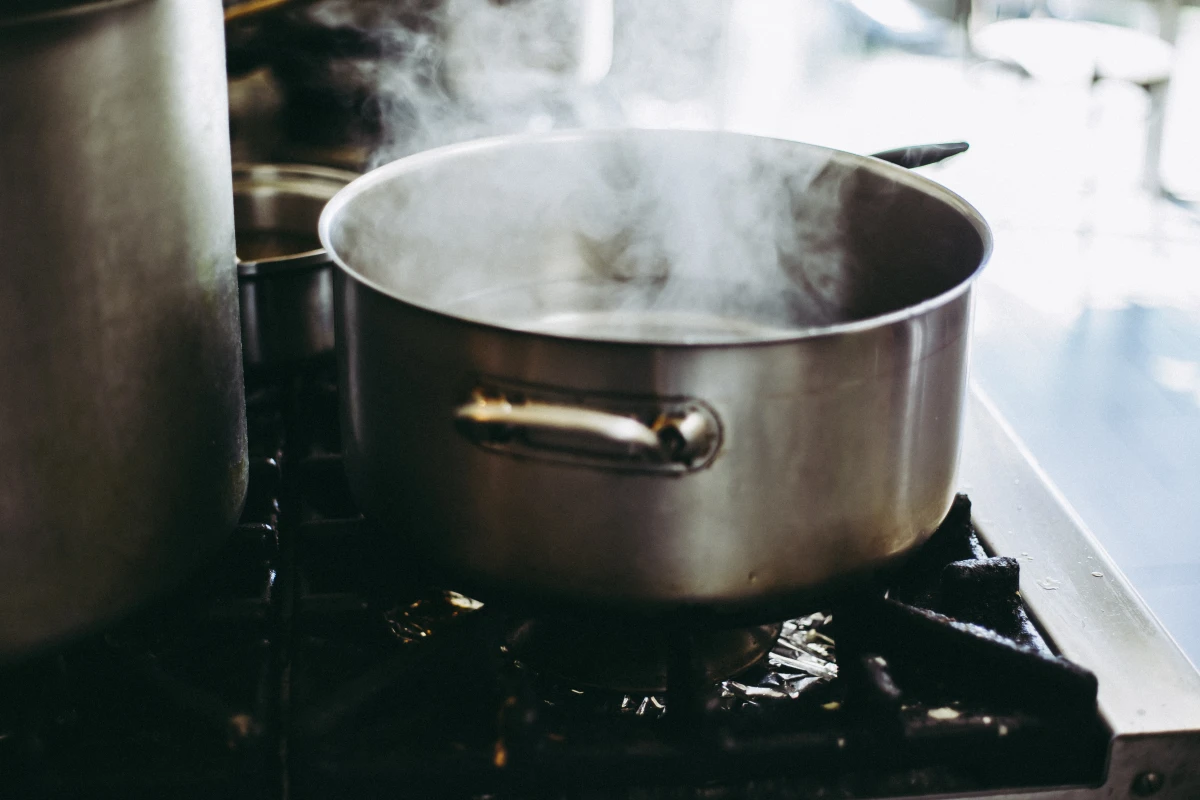
Some folks will tell you that boiling isn’t necessary because flower nectar isn’t boiled in nature. That argument misses a key point: our tap water and kitchens contain microbes that flowers don’t. I always boil the water, and I’ve seen the gross, cloudy results when people skip this step.
Boiling does two simple things: it helps the sugar dissolve completely, and more importantly, it kills any stray yeast or mold spores. This significantly slows down fermentation and keeps the nectar safer for longer. It takes maybe two extra minutes and is a huge safety win.
The Process: From Saucepan to Feeder
- Measure It Out: Stick to the 1:4 ratio. For a big batch, I use 1 cup of sugar and 4 cups of water. For a smaller feeder, a quick batch of 1/4 cup of sugar in 1 cup of water is perfect and reduces waste.
- Heat and Dissolve: Pour the water into a clean saucepan, add the sugar, and stir as it heats up. Bring it to a rolling boil and let it bubble for one to two minutes to make sure everything is sterilized and fully dissolved.
- COOL COMPLETELY: This is a non-negotiable step. Turn off the heat and let the nectar cool to room temperature. Be patient here; a full batch can take at least an hour to cool down. NEVER put hot nectar in a feeder. It can warp the plastic and, far worse, burn a hummingbird’s tongue.
- Fill and Store: Once it’s totally cool, fill your clean feeders. Any extra can be stored in a covered glass jar in the refrigerator for up to two weeks.
A lesser-known trick: For a real time-saver, pour your cooled nectar into an ice cube tray and freeze it. The cubes thaw quickly and are perfectly portioned for a fast, fresh refill!
Feeder Management: Your Most Important Job
Making perfect nectar is only half the work. If you put it in a dirty feeder, you’re putting the birds at risk. A clean feeder is everything.
Choosing the Right Feeder (Saucer vs. Inverted)
When you’re shopping for a feeder, prioritize ease of cleaning above all else. Looks and capacity come second. From my experience, there’s a clear winner here.
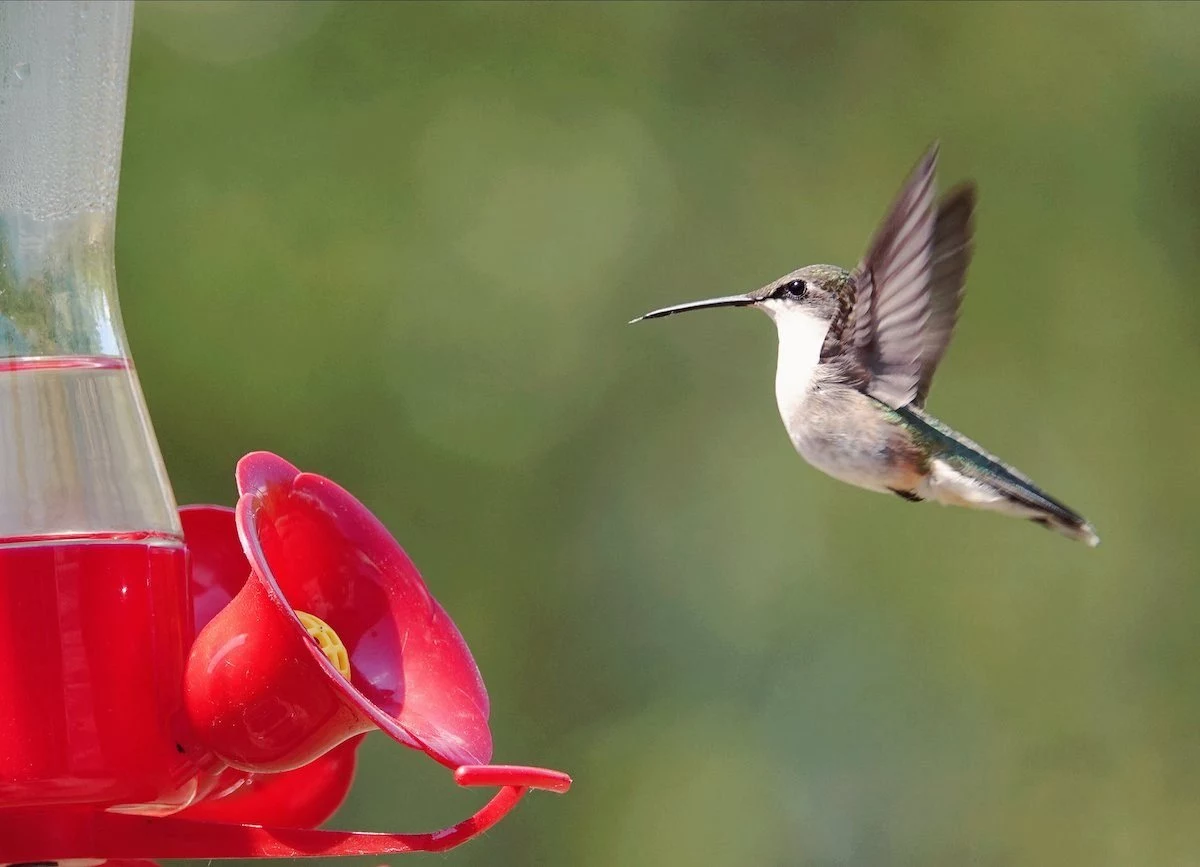
Saucer-style feeders are, hands down, my top recommendation. They are basically a shallow dish with feeding ports on top. This design has a few huge advantages. They are incredibly simple to take apart and scrub clean, with no hidden nooks for mold to grow. They also don’t leak, because the nectar level is below the ports. As a bonus, this makes them much less attractive to bees and wasps. I’ve personally used Aspects HummZinger feeders for years because they’re practically indestructible and so easy to sanitize.
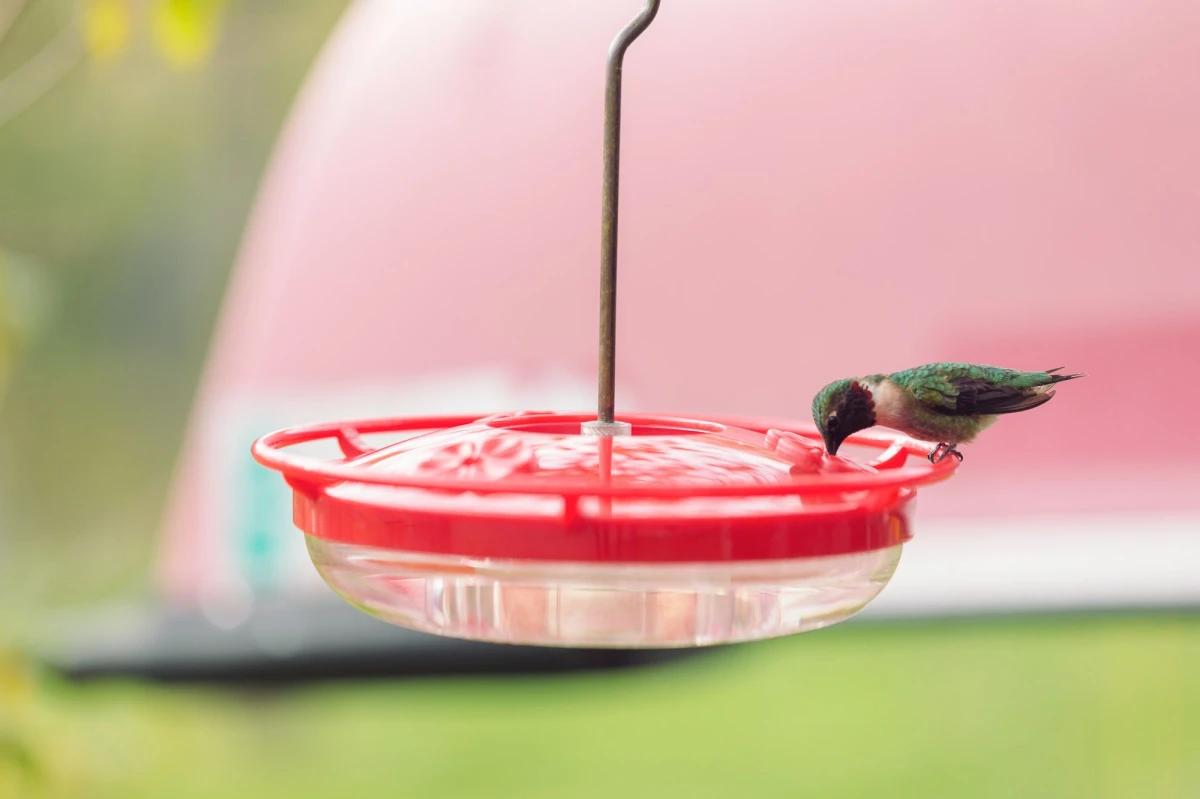
The other common type is the inverted or bottle-style feeder. While they often hold more nectar, they come with real downsides. They can be a nightmare to clean thoroughly, especially inside the little crevices of the base. They’re also notorious for leaking as the air inside heats and expands, pushing nectar out and creating a sticky mess that attracts every ant and bee in the neighborhood.
The Cleaning Schedule: Let the Temperature Be Your Guide
Heat is the enemy of fresh nectar. The warmer it is, the faster it will ferment and grow mold, often before you can even see that it’s gone bad. You have to be disciplined about this.
Here’s the schedule to follow:
- Above 90°F (32°C): Clean and refill every single day.
- 80-90°F (27-32°C): Change every two days.
- 70-80°F (21-27°C): Every three or four days is fine.
- Below 70°F (21°C): You can get away with changing it weekly.
That lesson about nectar spoiling in the Georgia heat? It stuck with me. Now, anytime the forecast calls for temps over 80°F, I just set a recurring alarm on my phone to remind me. It takes the guesswork out of it.
How to Clean a Feeder Properly
A quick rinse won’t cut it. You need to scrub away the invisible biofilm.
- Take it all apart. I mean everything—ports, perches, gaskets.
- Scrub with hot water. Use a set of bottle brushes to scrub every single surface. Pay special attention to the feeding ports, as that’s where mold often starts.
- Vinegar for mold. If you see any black spots, soak the parts in a solution of one part white vinegar to four parts water for about an hour before scrubbing again.
- Rinse, rinse, rinse. Get all the vinegar off so there’s no lingering smell.
- NO SOAP! Please, don’t use dish soap. It can leave a residue that’s harmful and makes the nectar taste bad, causing the birds to reject the feeder.
- Air dry completely before you put it back together.
Troubleshooting Common Feeder Problems
Once you’ve got the basics down, you might run into a few other challenges. Here’s how to handle them.
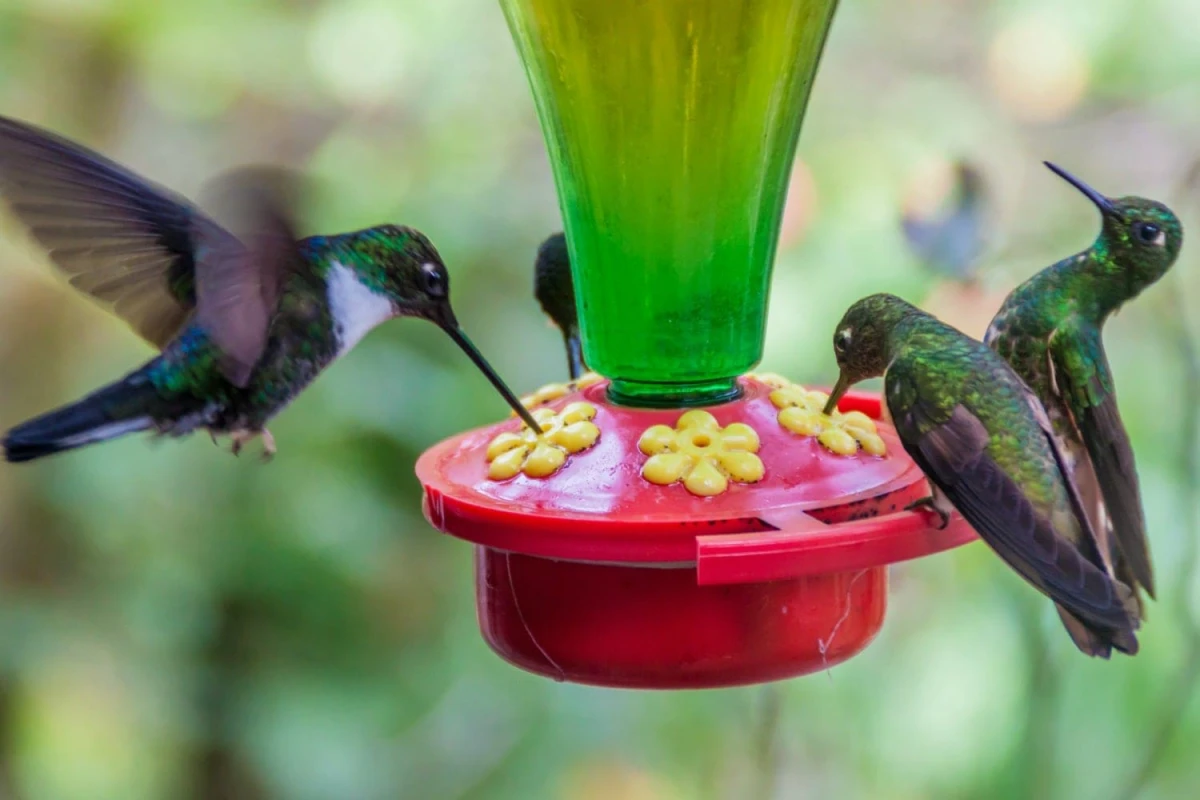
Dealing with Pests (Ants, Bees, and Wasps)
For ants, the solution is simple and effective: an ant moat. It’s a little cup that hangs between the hook and the feeder. You fill it with water, and the ants can’t swim across to get to the nectar. Just don’t ever use petroleum jelly or any sticky stuff on the hook—it can get on a bird’s feathers and be deadly.
For bees and wasps, choosing the right feeder is your best defense. As I mentioned, saucer-style feeders are naturally more bee-resistant. Many feeders also come with small, built-in “bee guards,” which are little plastic cages over the ports that are too small for bees to get through but are no problem for a hummingbird’s beak. Oh, and one more thing: bees are often drawn to the color yellow, so avoiding feeders with yellow parts can also help a lot.
Where Should I Hang My Feeder?
This is a question I get all the time! Placement is key for both attracting birds and keeping them safe.
- Safety First: Hang it high enough or far enough away from railings and branches where cats or other predators can’t easily reach it.
- Location, Location: Placing it near a window is great for viewing, but make sure it’s either very close (less than 3 feet) or far away (more than 10 feet) to help prevent window collisions. A few window decals can also work wonders.
- Go for the Shade: If you can, hang your feeder in a shady spot. This will keep the nectar from heating up too quickly, which slows fermentation and keeps it fresh longer.
“Help! No Birds Are Coming to My Feeder!”
This is so frustrating, but don’t give up! It happens to everyone. Here are a few things to try:
- Be Patient: It can sometimes take days or even weeks for hummingbirds to discover a new feeder.
- Make it Obvious: Try tying a few strands of bright red, non-metallic ribbon to the feeder to help catch their eye.
- Check Your Surroundings: If a neighbor has a ton of feeders or a huge, blooming garden, the birds might just be busy elsewhere. Keep your nectar fresh, and they’ll eventually find your reliable spot.
- Rule Out Problems: Double-check that your nectar is fresh, there are no leaks attracting pests, and the feeder is perfectly clean. Sometimes an off-taste we can’t detect will keep them away.
At the end of the day, feeding hummingbirds is one of the most rewarding things you can do in your own backyard. It’s a small act of stewardship that brings so much life and energy to your space. Take care of your feeders, and the birds will thank you for it.


