Forget Fall Cleanup: Why October Is the Secret to an Amazing Spring Garden
When October rolls around, most people think it’s time to pack it in. Out come the rakes and leaf blowers, and the garden tools get cleaned up for a long winter nap. But for those of us who have been doing this for a while, we know a secret: October isn’t an ending. It’s the most important beginning of the garden year.
In this article
- First Things First: Your Soil is Everything
- Planting Bulbs: The Easiest Investment for Spring Color
- Instant Gratification: Cool-Weather Annuals
- Planting Perennials: A Gift to Your Future Self
- ATTENTION: My #1 Winter Mulching Rule
- Your First Weekend Project: The Under $40 Spring Garden
- A Final Word on Safety
- Galerie d’inspiration
Honestly, the work you do now, in the cool, crisp air, is what sets the stage for a knockout performance next spring. The soil is still warm, but the air is cool, which is the absolute perfect combo for plants to focus on building strong roots instead of fussy leaves and flowers. This is the foundational work that pays you back for years to come.
First Things First: Your Soil is Everything
You can spend a fortune on the fanciest plants, but if you stick them in terrible soil, you’ve basically just thrown your money away. I’ve seen it happen more times than I can count. The problem almost always starts and ends with the soil. Getting this right is non-negotiable.
So, before you do anything else, you need to know what you’re working with. A simple soil test is the best money you’ll ever spend in your garden. You can grab a basic DIY kit from a garden center for about $15, but to be frank, I always recommend sending a sample to a local university extension office. It’ll run you between $25 and $50, but the detailed report you get back is worth every penny. It’s like a doctor’s diagnosis for your garden, telling you your soil’s pH and exactly what nutrients are missing.
For almost every garden bed, the answer is compost. Good, rich compost works wonders on both heavy clay soil (improving drainage) and sandy soil (helping it hold moisture). A 2-to-4-inch layer worked into the top 8 to 12 inches of soil is the goal. For a typical 5×5 foot bed, plan on spending about 2-3 hours on this, and it’ll cost you about $20-$30 for a few bags of quality compost. Your goal is loose, crumbly soil that smells rich and earthy. That’s the good stuff.
Planting Bulbs: The Easiest Investment for Spring Color
Fall-planted bulbs are the classic promise of spring. They’re little packages of potential that just need a cold winter to get the signal to grow. Planting them in October gives them plenty of time to get settled before the big chill.
A good rule of thumb is to plant a bulb three times as deep as it is tall. And please, don’t plant them in neat little soldier rows! For a natural, lush look, toss a handful of bulbs onto your prepped soil and plant them roughly where they land. This creates gorgeous, informal clusters.
Now, let’s talk about the big debate: Tulips vs. Daffodils.
- Tulips are absolutely stunning, but they’re basically a gourmet meal for deer and squirrels. I once planted 100 gorgeous, pricey tulips for a client. I came back the next day, and the garden bed looked like it had been attacked by tiny, furry bulldozers. Just holes everywhere. They also tend to fade after the first year, so think of them as a beautiful annual you have to protect.
- Daffodils (Narcissus), on the other hand, are the workhorses. They are toxic to pests, so squirrels and deer leave them completely alone. They are super reliable, coming back stronger and multiplying every year. For a long-term, no-fuss investment, daffodils are the clear winner.
For other pest-resistant powerhouses, look into Alliums (ornamental onions) with their cool, globe-shaped flowers, and tiny Crocus or Muscari (Grape Hyacinth) that are perfect for borders.

Heads up for warmer climates! If you’re in USDA zones 8 or higher, many bulbs won’t get the cold they need. You’ll have to buy “pre-chilled” bulbs or do it yourself by storing them in a paper bag in the fridge for 8-12 weeks. (By the way, if you’re not sure what your zone is, just Google ‘USDA Plant Hardiness Zone Map’ and type in your zip code. It takes ten seconds!)
Instant Gratification: Cool-Weather Annuals
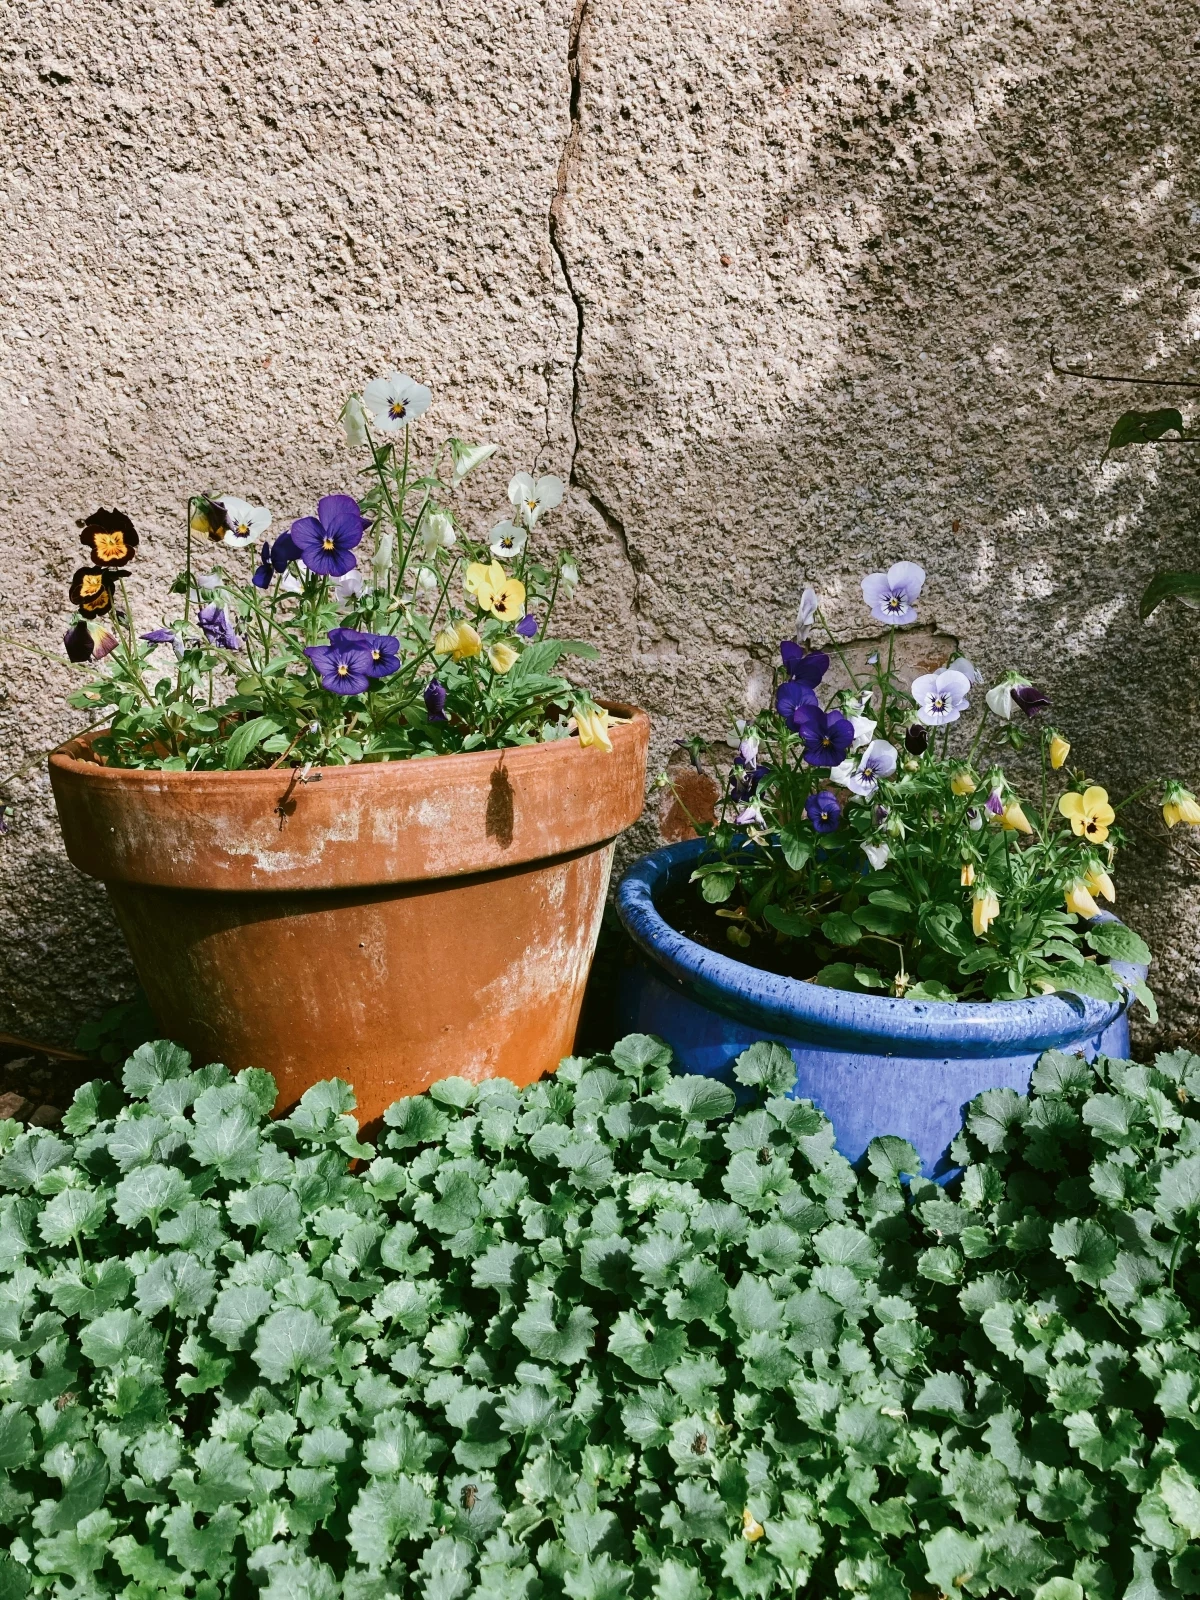
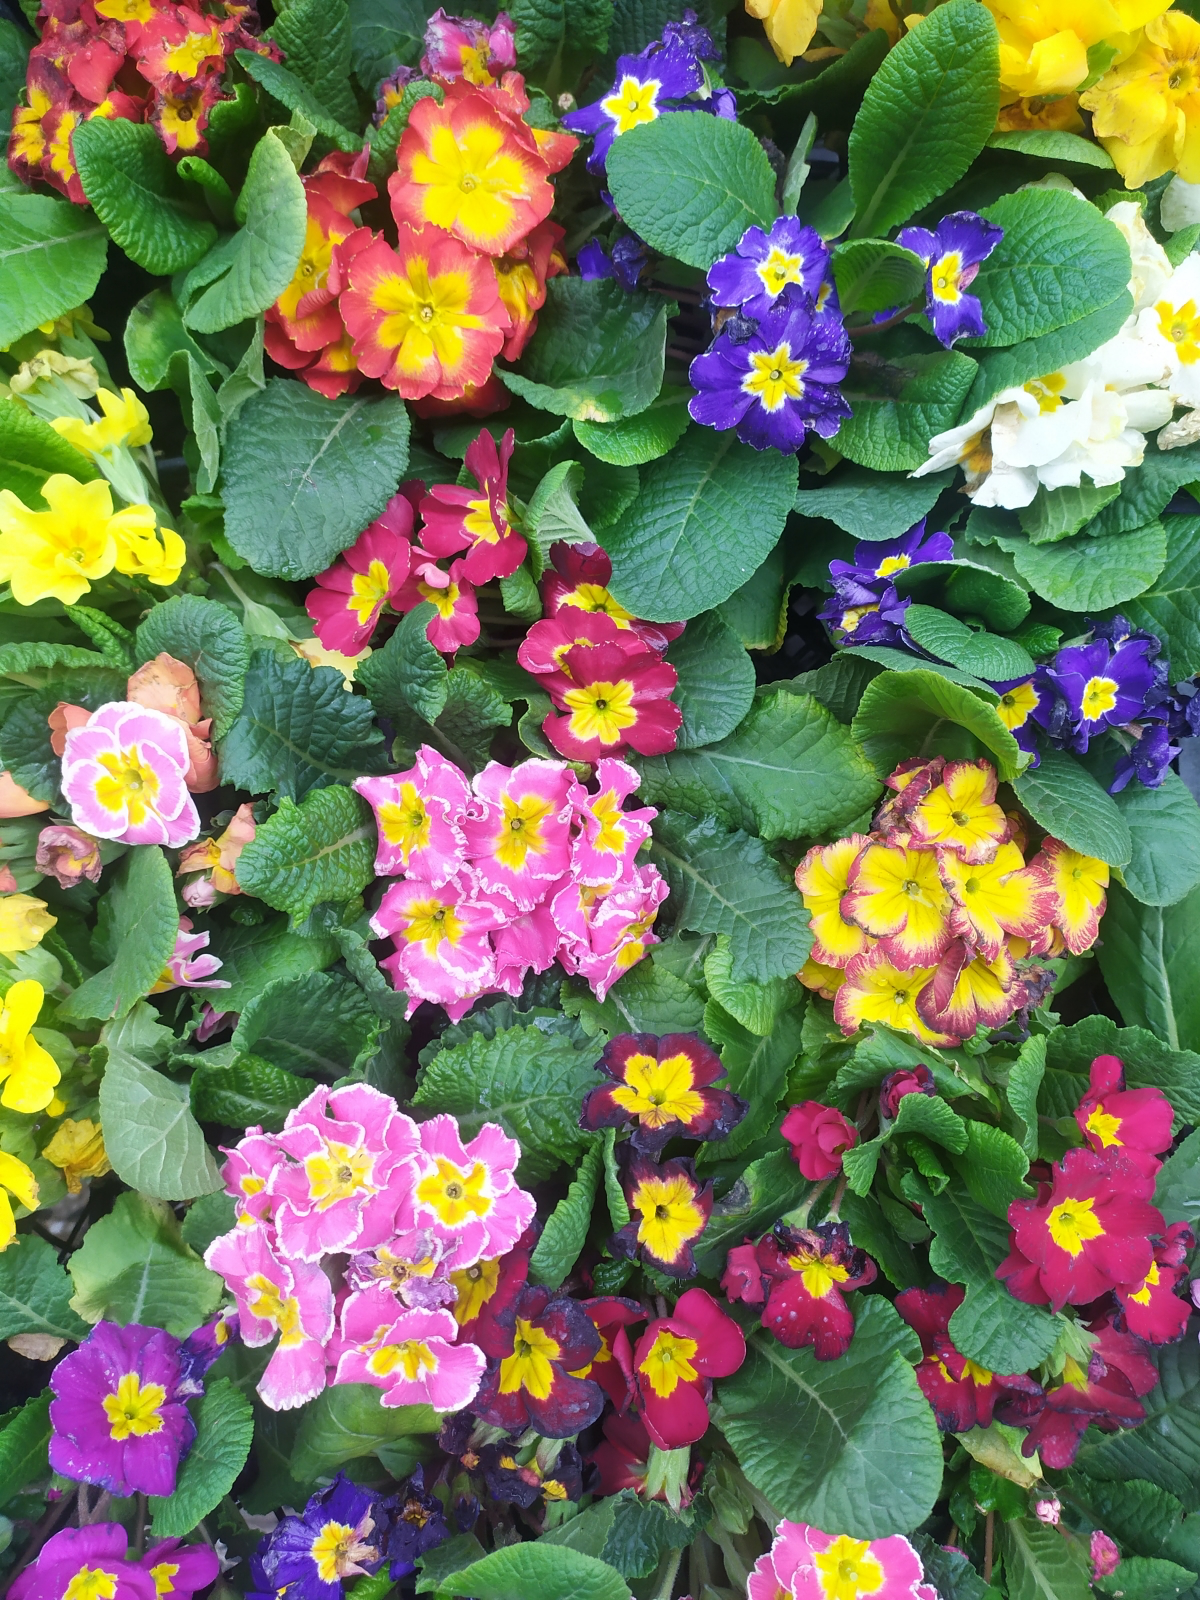
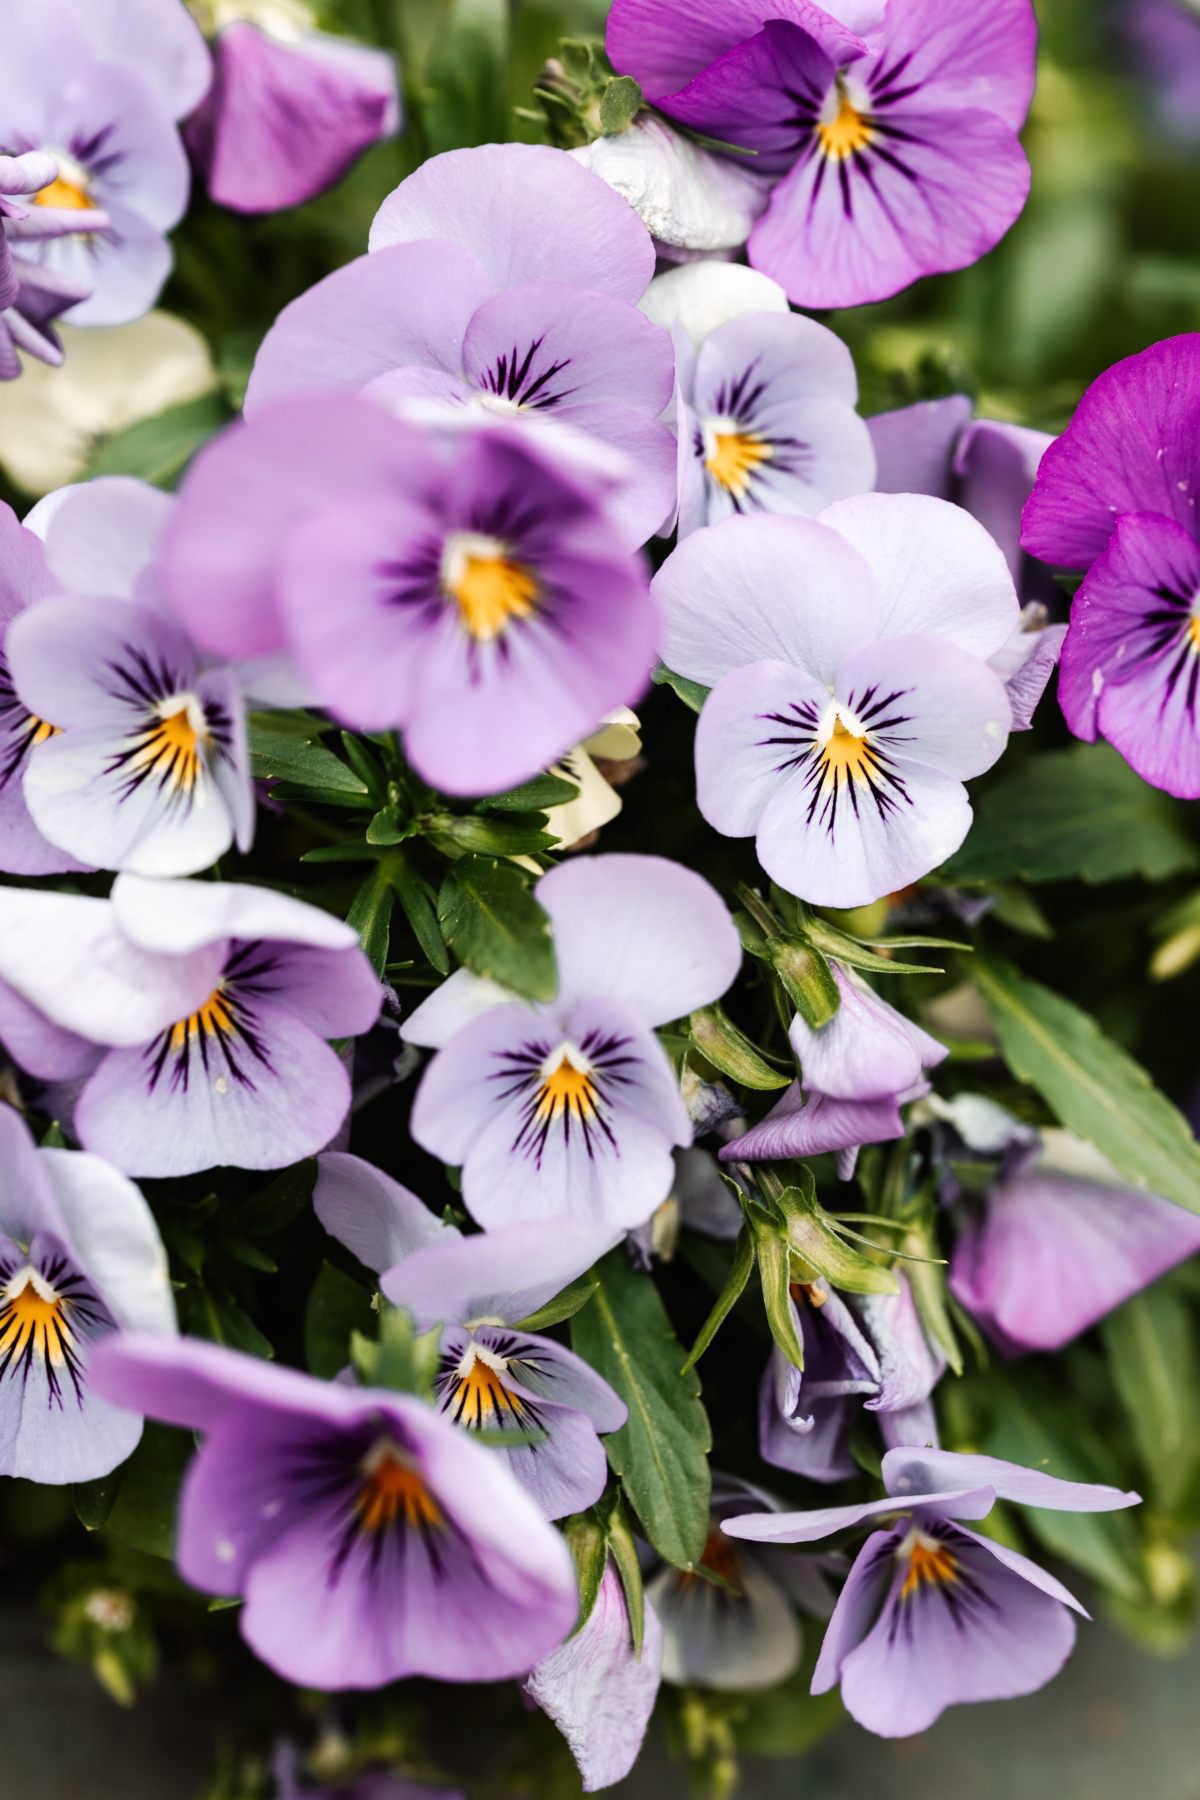
While bulbs are a future reward, you can get color right now with cool-season annuals. Pansies and their smaller cousins, violas, are the champs here. They’ll bloom through light frosts, go dormant in the dead of winter, and are often the first things to pop with color again in early spring. A six-pack will only set you back about $4-$6 at your local nursery.
Quick tip: When you pop them out of the plastic pack, gently tease the roots apart with your fingers before planting. If they’re all wound up, they’ll just keep circling and choke themselves out. This one little step makes a huge difference.
Planting Perennials: A Gift to Your Future Self
October is, without a doubt, the best time to plant hardy perennials. The warm soil and cool air create a perfect, low-stress environment for them to establish deep roots. A perennial planted in the fall has a massive head start on one planted next spring.
Peonies are the perfect example. You plant them in the fall as bare-root tubers, and there’s ONE rule you can’t break: planting depth. You need to look for the small growth buds on the root, which are called ‘eyes’. They look a bit like the eyes on a potato—little pink or white nubs. Those eyes must be pointed up and planted no more than 2 inches below the soil surface. Plant them any deeper, and you’ll get a lovely green bush that never, ever flowers. It’s the most common reason peonies fail to bloom.
ATTENTION: My #1 Winter Mulching Rule
Okay, listen up, because this is the tip so many people get wrong. Do NOT mulch right after you plant. Mulch insulates, and if you put it on warm soil, you trap the warmth, which can cause your new plants and bulbs to rot.
You apply winter mulch (like shredded leaves or pine straw) after the ground has already frozen solid. The goal of winter mulch isn’t to keep the ground warm; it’s to keep it frozen. This prevents the damaging freeze-thaw cycles that can push new plants right out of the soil.
Your First Weekend Project: The Under $40 Spring Garden
Feeling inspired? You can do this! Here’s a super simple shopping list for a small, guaranteed-to-succeed spring flower bed.
- 1 big bag of quality compost: ~$8
- 25 Daffodil bulbs (the reliable choice!): ~$20
- 1 six-pack of pansies for instant color: ~$5
For under $40 and a few hours of work on a Saturday afternoon, you can set yourself up for a spectacular spring show. It’s the best deal in gardening.
A Final Word on Safety
Gardening is wonderfully safe, but a couple of things are worth remembering. Before you dig any new area, especially with a power tool, please call 811. It’s a free service that marks underground utility lines. Hitting a gas or electric line is a mistake you only make once.
And take care of your body! Bend with your knees, not your back, when lifting those heavy compost bags. It’s advice that sounds cliché until you ignore it and feel it for the next three days. Finally, know when a project is bigger than a DIY. If you’re looking at major grading or drainage issues, calling in a pro is the smart move.
The quiet work you do in the garden now is a conversation with the future. It’s a little act of faith that, come spring, will reward you with more beauty than you can imagine.
Galerie d’inspiration
For a truly effortless, long-lasting spring display, think in layers. This technique, often called ‘lasagna planting,’ places bulbs at different depths in the same hole or container to create waves of continuous color. It’s the secret to a professional-looking garden bed.
- Bottom Layer (deepest): Large, late-blooming bulbs like Allium ‘Globemaster’ or ‘King Alfred’ Daffodils.
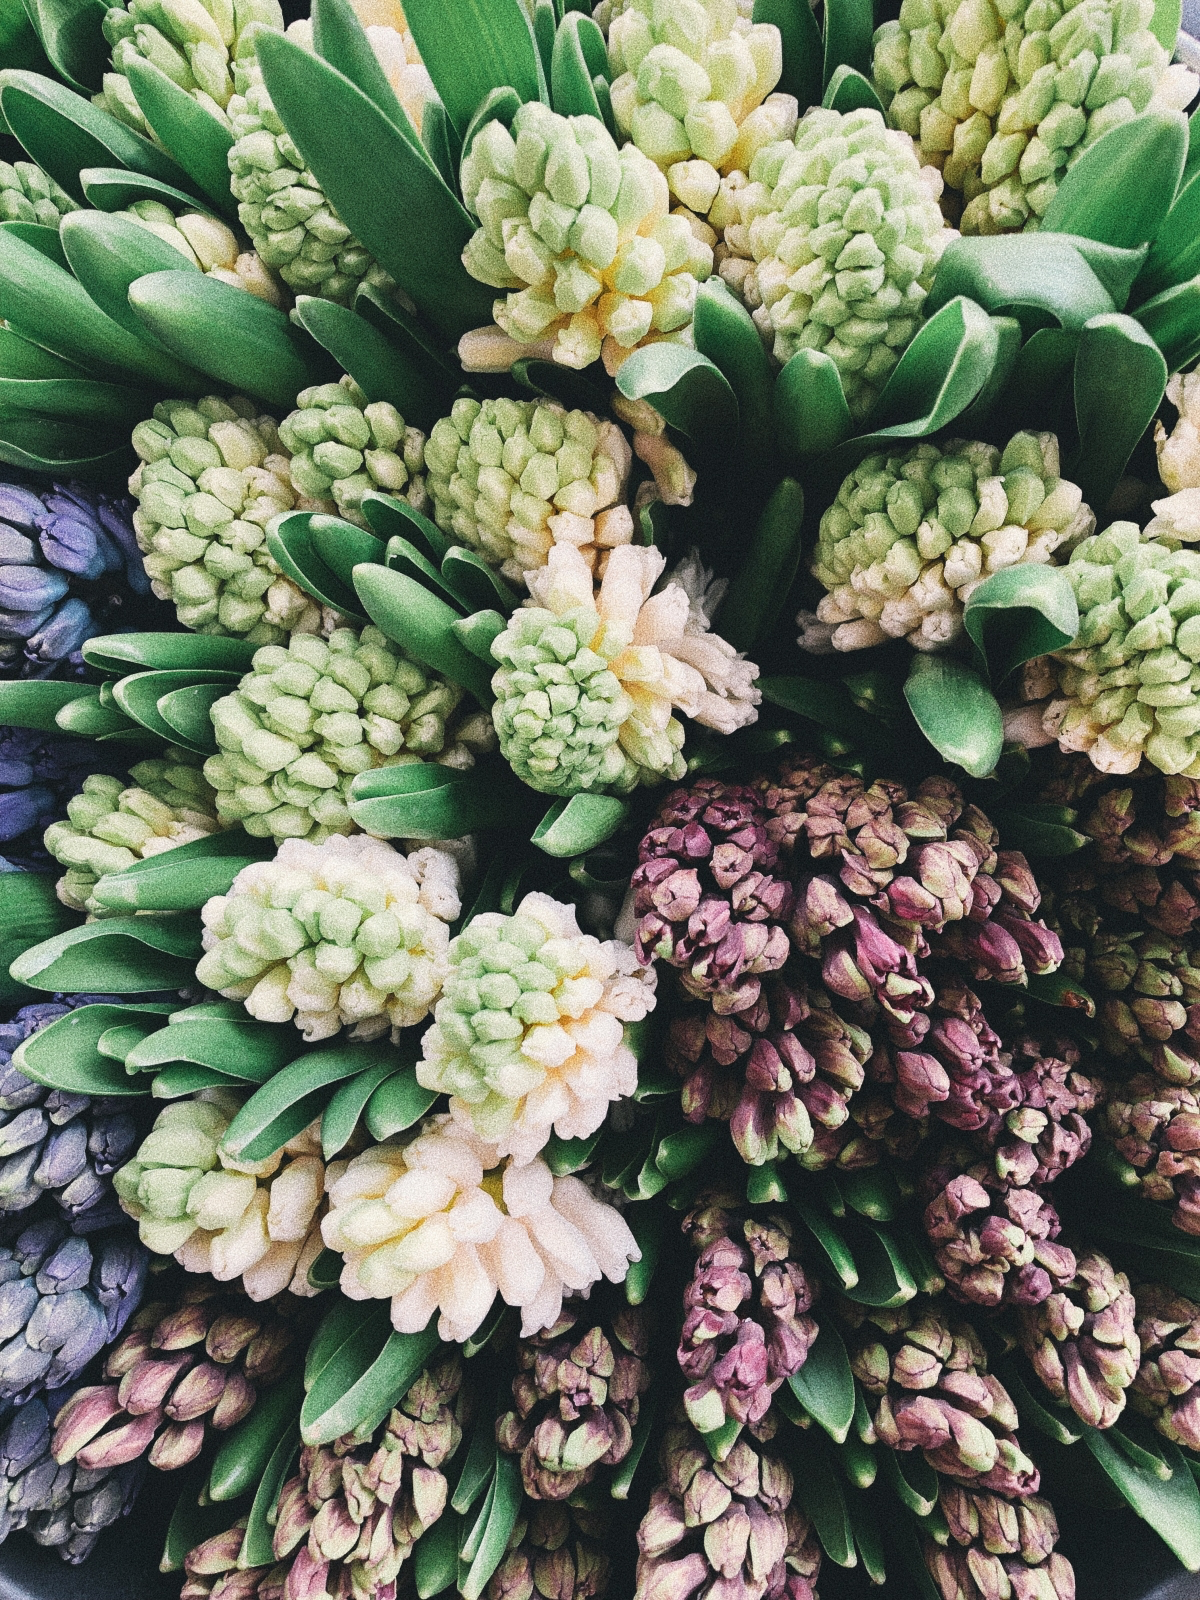
- Middle Layer: Mid-season bloomers such as ‘Red Emperor’ Tulips or Hyacinths.
- Top Layer (shallowest): Small, early bulbs like Crocus or Muscari (Grape Hyacinth).
The result? A seamless show from the first hint of spring until early summer.
One common mistake: applying a thick layer of winter mulch too early in the fall. While well-intentioned, this can trap excess moisture around your new plantings, leading to rot, and prevent the ground from freezing properly. Wait until after the first hard frost has hit. The goal of winter mulch isn’t to keep the soil warm, but to keep it consistently frozen, protecting roots from the damaging freeze-thaw cycles that can heave plants out of the ground.


