Don’t Kill Your Clematis This Winter: A Simple Guide to Pruning & Protection
I’ve been working in gardens for a long time, in all sorts of climates, from frosty northern regions to milder coastal areas. And let me tell you, I’ve seen clematis vines get treated in every way you can imagine. I’ve also seen the heartbreaking results when good intentions meet bad advice.
In this article
I once had a client who was so proud they’d neatly trimmed their prized, early-spring-blooming clematis all the way to the ground in the fall. A well-meaning neighbor had told them it was the right thing to do. The following spring, they were crushed when not a single flower showed up. The vine wasn’t dead, but its entire bloom potential for the year was sitting in a compost pile. It was a tough lesson, but a valuable one: winterizing a clematis isn’t a one-size-fits-all job. It’s a specific task that depends entirely on knowing its pruning group.
So, let’s toss out the generic advice. The real secret to helping your clematis survive winter and absolutely explode with flowers in the spring is to understand its natural rhythm. This guide is all about sharing the professional methods I use, broken down so you can do it with total confidence. We’ll figure out your vine’s type, cover the exact pruning cuts for each, and, most importantly, protect its roots—the plant’s true lifeline through the cold.
Why We Bother with Winter Protection
Before you even think about grabbing your pruners, it helps to know what we’re up against. A plant heading into winter isn’t dying; it’s just going dormant. Think of it as a deep sleep where its metabolism slows way down. The two biggest threats during this time are cell damage from freezing and the roots drying out.
First, the freeze. Every stem and root is full of water. When the temperature drops below freezing, that water can form sharp ice crystals that puncture and kill the plant’s cells. A healthy plant actually prepares for this by producing compounds that work like a natural antifreeze, but our job is to help it get ready. The second big threat is something I call ‘winter drought.’ The ground can be frozen solid, locking up all the moisture. But on a sunny and windy winter day, the exposed stems are still losing water to the air. Since the roots can’t slurp any water up from the frozen ground, the plant slowly dries out. Mulching is our best weapon here. It doesn’t really keep the ground warm; it acts like a blanket, keeping the soil temperature stable and preventing the repeated freeze-thaw cycles that can literally push a plant’s roots out of the soil.
First, Let’s Play Detective: What’s Your Clematis Type?
Everything else we’re going to talk about hinges on this one step. If you don’t know the exact variety of your clematis, you can figure out its group just by watching when it flowers. Honestly, this is the most reliable trick in the book. Keep a simple note on your phone or in a journal about when it starts blooming, and you’ll have your answer.
Here’s a quick rundown of the three main types you’ll encounter:
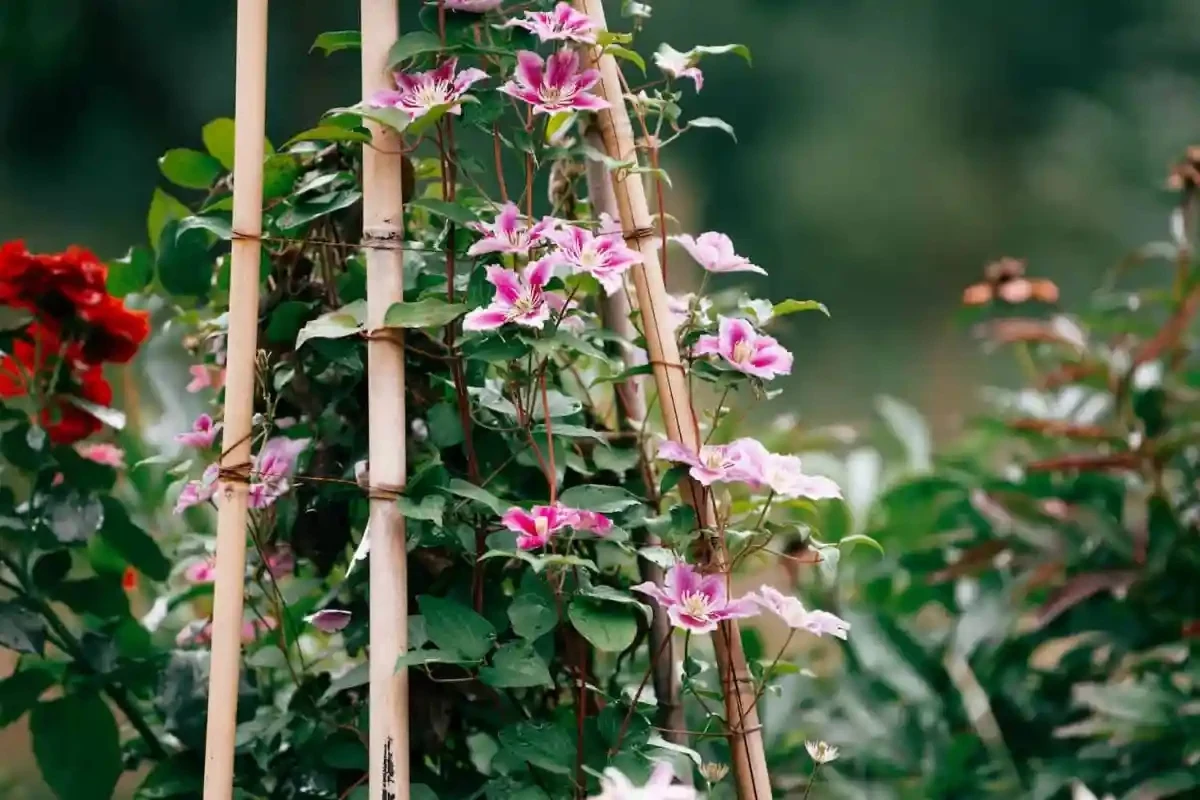
- Group 1: The Spring Showstoppers. These are the first to put on a show in spring, usually flowering on the woody stems that grew last year. Pruning these in the fall is a big no-no, as you’d be cutting off all of next year’s flowers. You’ll know it’s a Group 1 if it’s covered in a massive burst of blooms before your roses have even fully leafed out. These include many of the alpine and mountain types.
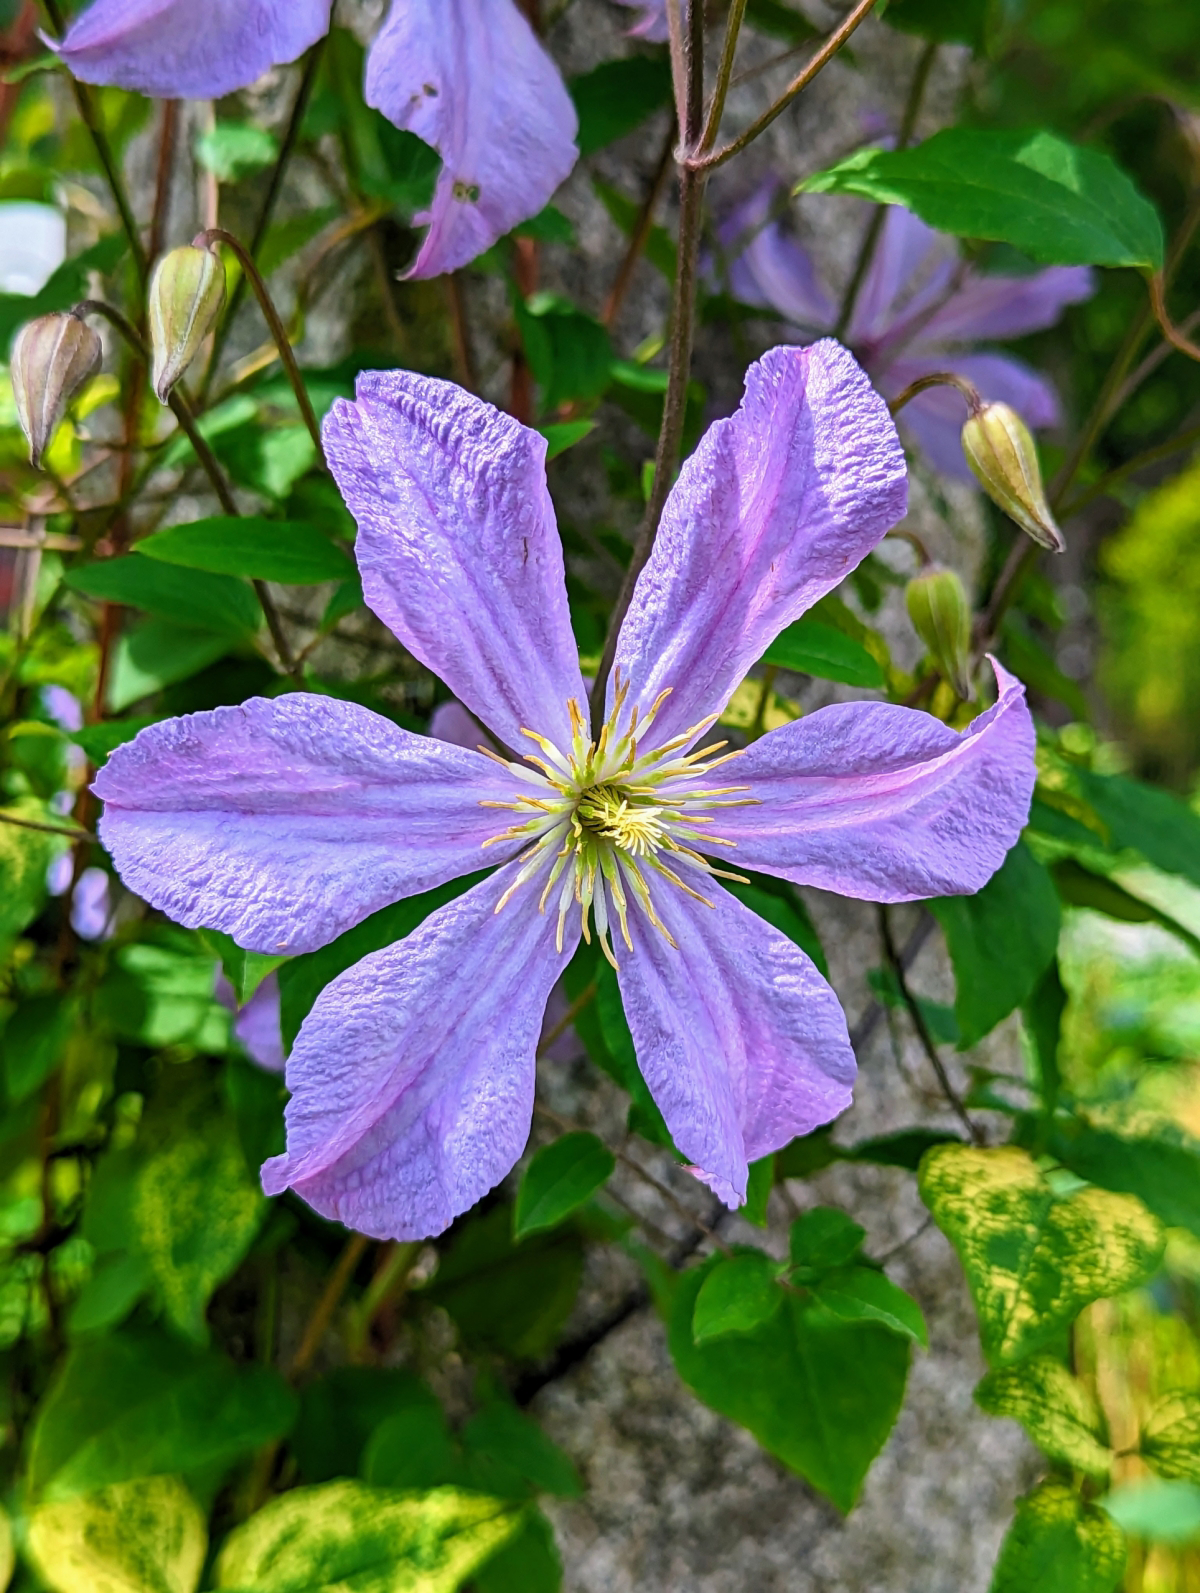
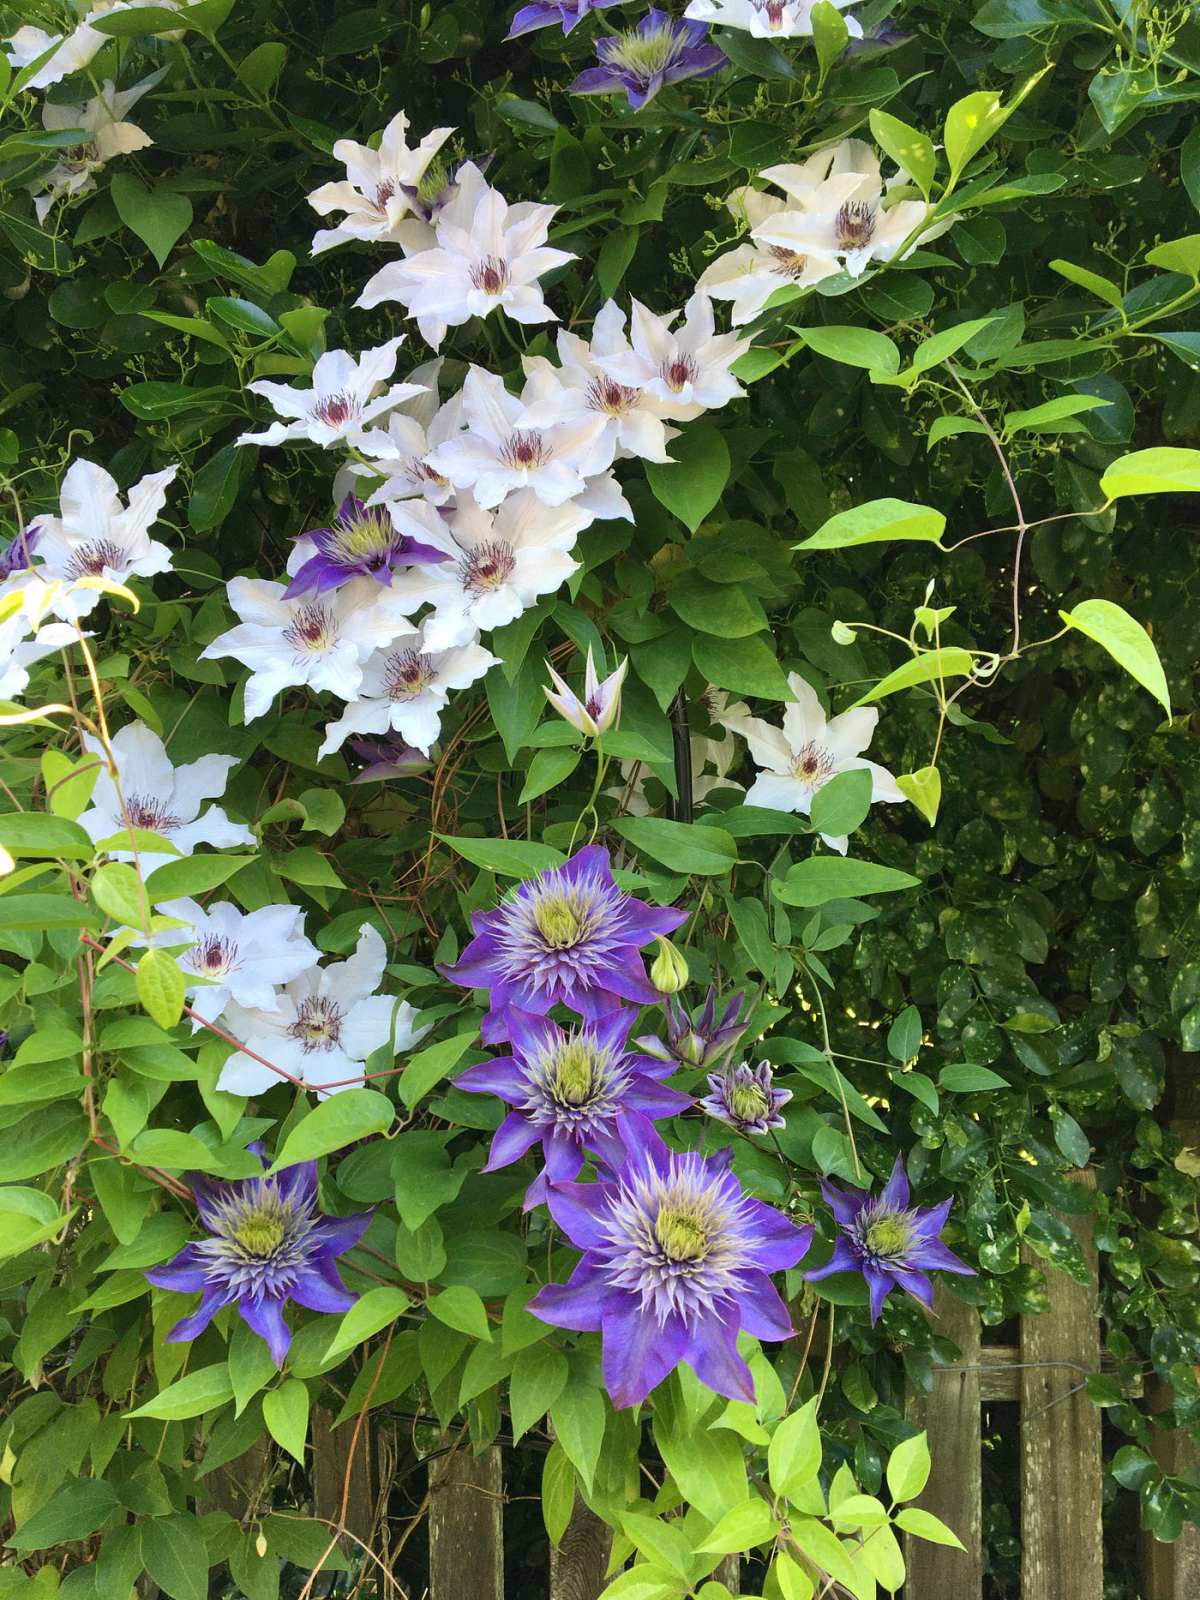
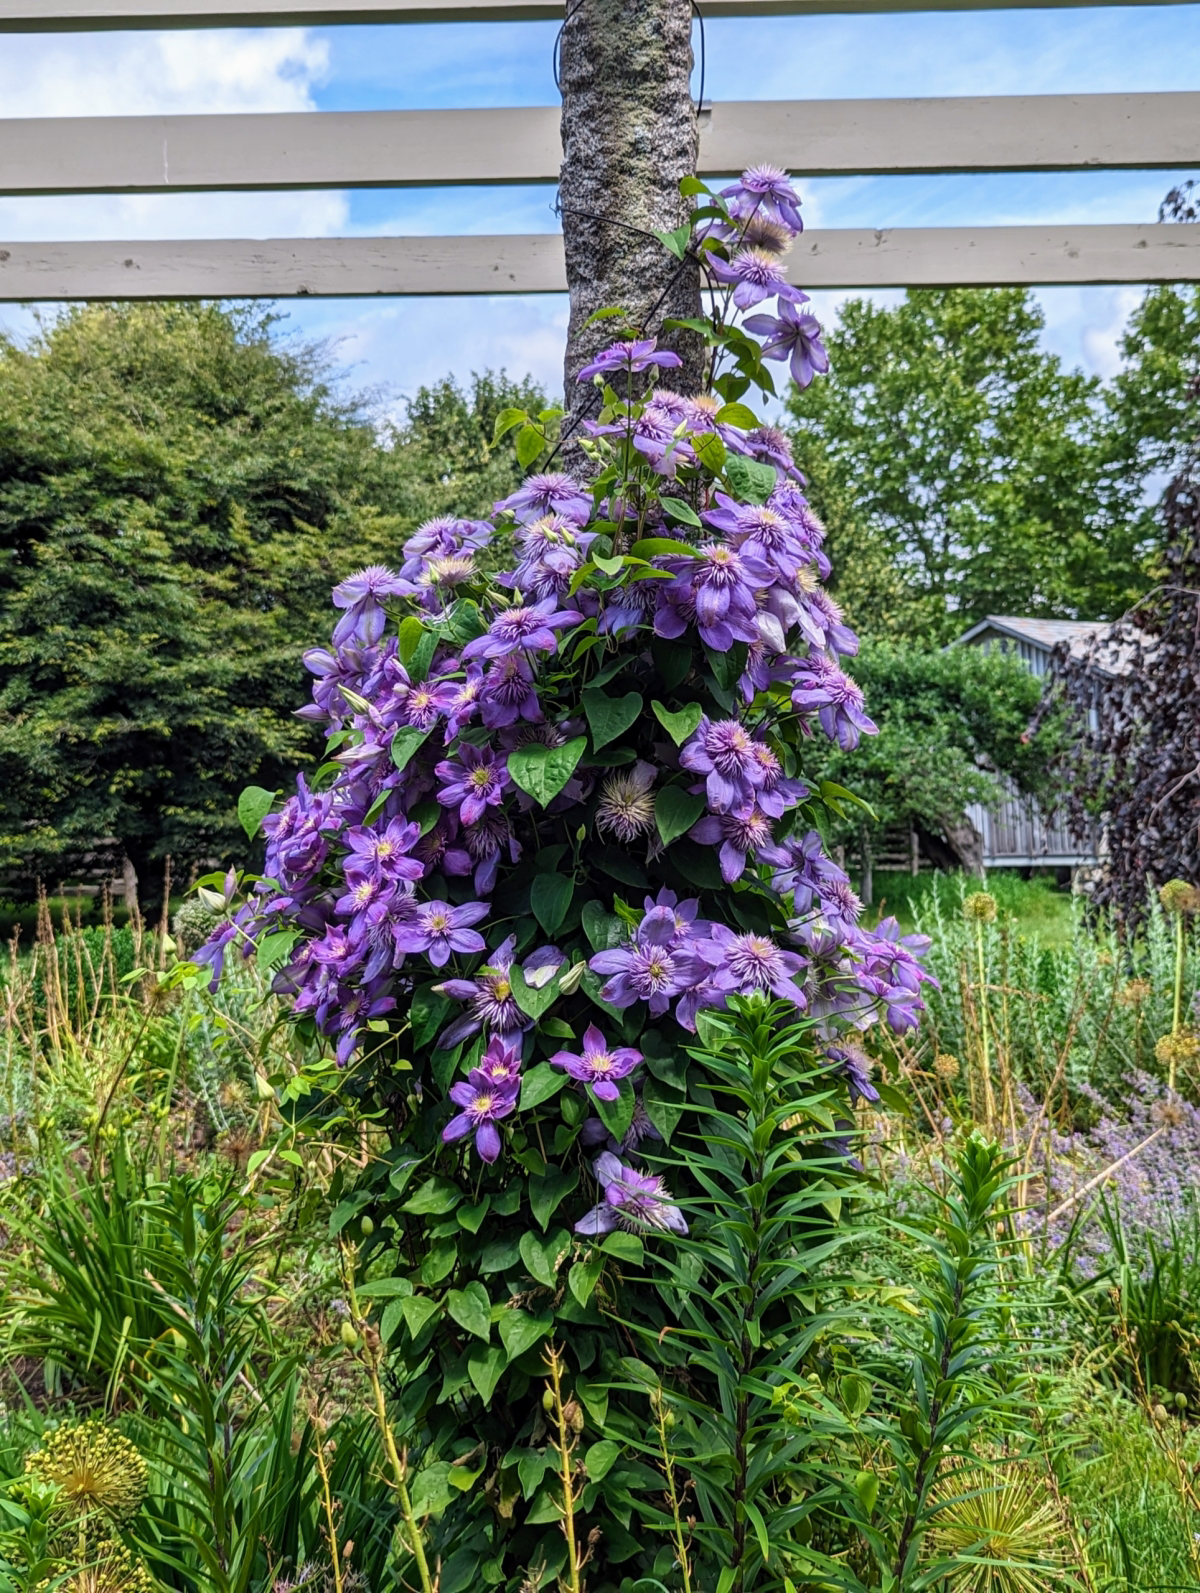
- Group 2: The Big, Flashy Rebloomers. This is the group that confuses people the most. They flower on BOTH last year’s stems (a big flush of huge flowers in early summer) and on new growth (a smaller round of flowers in late summer). These are your classic ‘dinner plate’ clematis. If you get a huge show in early summer and then a few more blooms in August, you’ve got a Group 2.
- Group 3: The Late-Summer Powerhouses. These are the easiest to manage, hands down. They produce all their flowers on the new shoots that grow from the ground up each spring. They don’t start blooming until mid-summer and often go right until the first frost. If your vine is a late bloomer, it’s a Group 3. This includes many of the most popular and vigorous varieties that can cover a whole trellis in one season.
Heads up! What if you just moved in and have no idea when it bloomed? If you can find a plant tag, you’re in luck. A quick search for the variety name on a university extension site or the Royal Horticultural Society’s plant database online will almost always tell you its pruning group.
The Right Way to Prune Each Group
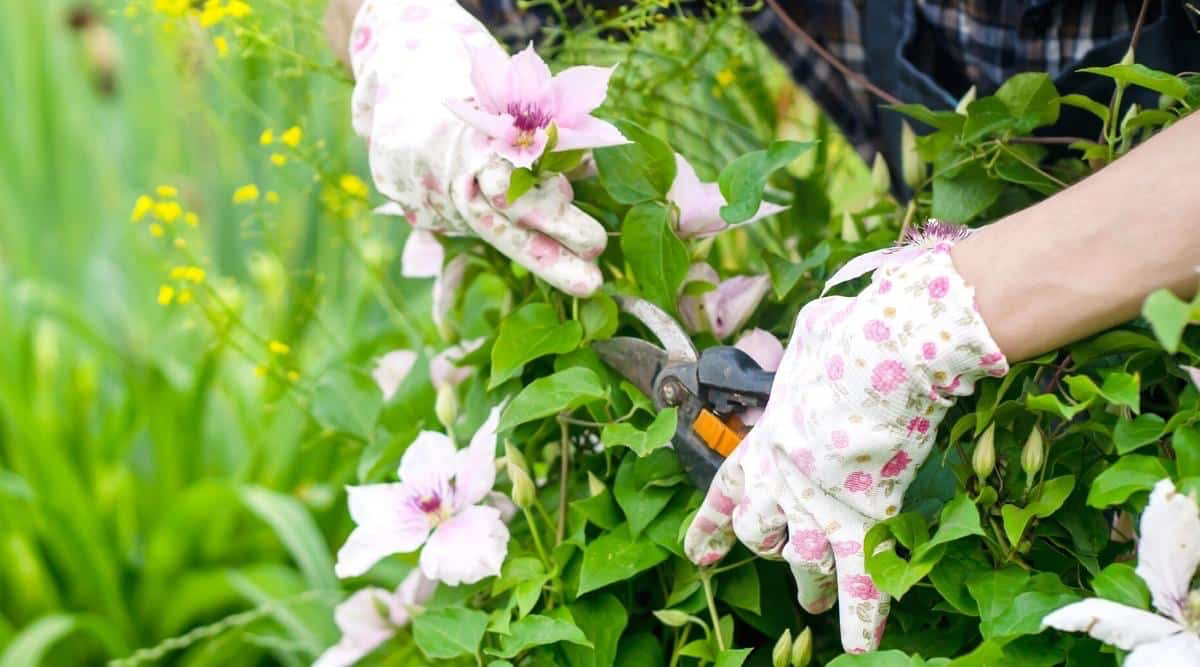
Okay, once you’ve identified your group, the pruning part becomes simple. But first, a quick tip on tools. Make sure you use bypass pruners, the kind where the blades slide past each other like scissors. They make a clean, healthy cut. The other kind, anvil pruners, crush the stem and can cause damage that invites disease. A good pair of bypass pruners will set you back between $20 and $50, but a quality pair from a brand like Felco or Fiskars will last for years.
Winter Pruning for Group 1 (The Spring Showstoppers)
The rule here is almost laughably simple: don’t prune them. Seriously. Their flower buds for next spring are already set on those old stems. Your only job in the fall is to do a light cleanup. Just snip off any stems that are obviously dead, broken, or damaged. That’s it. Resist the temptation to ‘shape’ it. Any real pruning should happen right after it’s done flowering in late spring.
Winter Pruning for Group 2 (The Flashy Rebloomers)
This is where you need a bit more finesse. The goal is to save a framework of old wood for that first big flower show while also encouraging new growth for the second round of blooms. It sounds tricky, but it’s not. Here’s my step-by-step method:
- Start at the top of a main, healthy-looking stem.
- Trace the stem downwards with your eyes or fingers.
- Look for a pair of plump, healthy-looking buds. You’re looking for live growth nodes.
- Make your cut about a half-inch above a strong set of these buds.
You’ll end up removing the weak, spindly ends of the stems, leaving a framework that’s anywhere from 18 to 36 inches tall, depending on the plant. By the way, if you inherit a Group 2 that is just a hopeless, tangled woody mess, you can perform a ‘rejuvenation prune.’ Just treat it like a Group 3 for one year and cut the whole thing down to about 12 inches. You’ll lose the first wave of flowers for one season, but you’ll be rewarded with a healthy, manageable plant for years to come. This can be a patient job, so plan for 30-60 minutes the first time you tackle a tangled vine.
Winter Pruning for Group 3 (The Late-Summer Powerhouses)
This is the most satisfying prune of all. Since all the flowers grow on brand-new shoots from the base, you can—and should—get rid of all of last year’s top growth.
In late fall or even late winter (which I prefer), take your pruners and cut every single stem down to about 12 inches from the ground. Look for two sets of strong buds on the lower part of each stem and make your cut right above the top set. This hard prune encourages tons of vigorous new shoots, which means a healthier plant and way more flowers. Honestly, it’s a 10-minute job that pays huge dividends.
Your Winter Insurance Policy: Mulching
Regardless of the pruning group, every clematis benefits from a layer of mulch for the winter, especially if the plant is young or you live in a colder climate (Zone 6 or below).
Shredded leaves, well-rotted compost, or pine bark fines all work great. You can get bags of bark or compost for around $8-$10 at any garden center, or just use the leaves from your own yard for free. Wait until after the first couple of hard frosts have frozen the top inch of soil, then apply a loose, airy layer of mulch about 4 to 6 inches deep around the base of the plant, covering an area about 18 inches across.
Your Quick Win: Go check your clematis right now. Is the mulch piled up against the stems like a little volcano? Gently pull it back 2-3 inches to create a “donut hole” of bare ground right around the stems. You just saved your plant from potential stem rot in under 30 seconds!
A Few Extra Tips for Special Situations
Caring for Clematis in Pots
Plants in containers are way more vulnerable to cold since their roots are exposed on all sides. The best bet is to move the pot into an unheated garage or shed once the plant is dormant. If it’s too big to move, you can wrap the pot (not the plant itself!) in layers of bubble wrap or an old blanket, then cover that with burlap for a nicer look. This is a must for terra cotta pots, which can easily crack when they freeze.

Protecting Young Plants from Pests
A new clematis needs extra TLC for its first two winters. To protect it from both cold and hungry rabbits, you can build a simple cage. After pruning, create a cylinder of chicken wire (a small roll costs about $15 at Home Depot) about 18 inches tall around the base of the plant. Loosely fill the cylinder with straw or shredded leaves. This provides fantastic insulation and a physical barrier against nibbling critters.
Your Clematis Winterizing Toolkit
Getting ready is easy. You really only need a few things:
- Good Bypass Pruners: Expect to spend $20-$50 for a pair that will last.
- Organic Mulch: Can be free (shredded leaves) or about $8-$10 for a bag of pine fines or compost.
- Chicken Wire (Optional, for young plants): Around $15 for a small roll that you can use for years.
Final Checks Before You Go
Just a couple of last-minute reminders. Don’t fertilize in the fall! It encourages weak growth that will just get zapped by the cold. And remember to gently pull the mulch away from the plant’s crown in the spring as soon as you see new green shoots emerging. Leaving it on too long can trap moisture and cause problems.
And that’s really all there is to it. Winter care for clematis is just about working with the plant, not against it. By figuring out its type, making the right cuts, and tucking it in with a good layer of mulch, you’re setting the stage for a spectacular show. Come spring, when you see those first shoots popping up, you’ll know your effort was more than worth it.
Galerie d’inspiration

What’s the best mulch for a clematis?
Not all mulches are created equal, especially for a plant whose roots need to breathe. Avoid heavy, dense materials like fresh wood chips or thick layers of wet leaves, which can trap too much moisture and promote root rot. Instead, opt for a light, airy mulch that insulates without suffocating. A 2-3 inch layer of shredded bark, leaf mold, or even compost is perfect. This protective blanket stabilizes soil temperature, preventing the damaging freeze-thaw cycles the main article mentions, while still allowing air and moisture to reach the soil below.
Bypass Pruners: Think of these as garden scissors. Two sharp blades sweep past each other, making a clean cut that doesn’t crush the plant’s delicate vascular system. This is crucial for clematis stems, allowing them to heal quickly and reducing the risk of disease entry. The Felco F-2 is a classic for a reason.
Anvil Pruners: These have one blade that closes onto a flat edge, much like a knife on a chopping block. While powerful for thick, dead wood, they tend to crush tender, living stems. For your clematis, leave the anvil pruners in the shed.


