Your Ultimate Guide to Winter-Proofing Russian Sage (Even in Pots!)
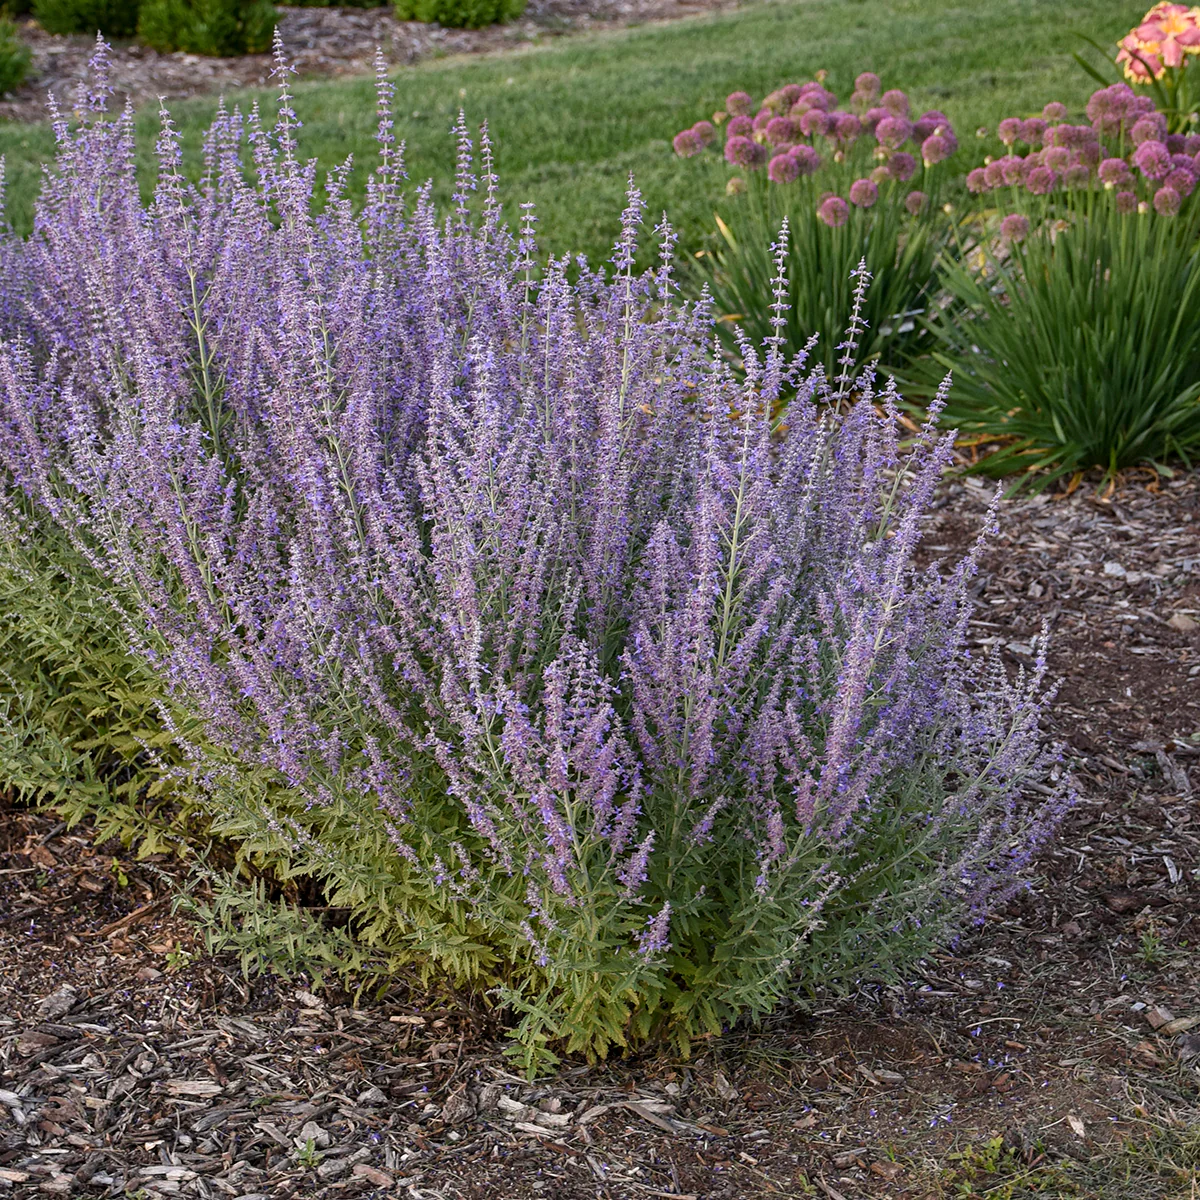
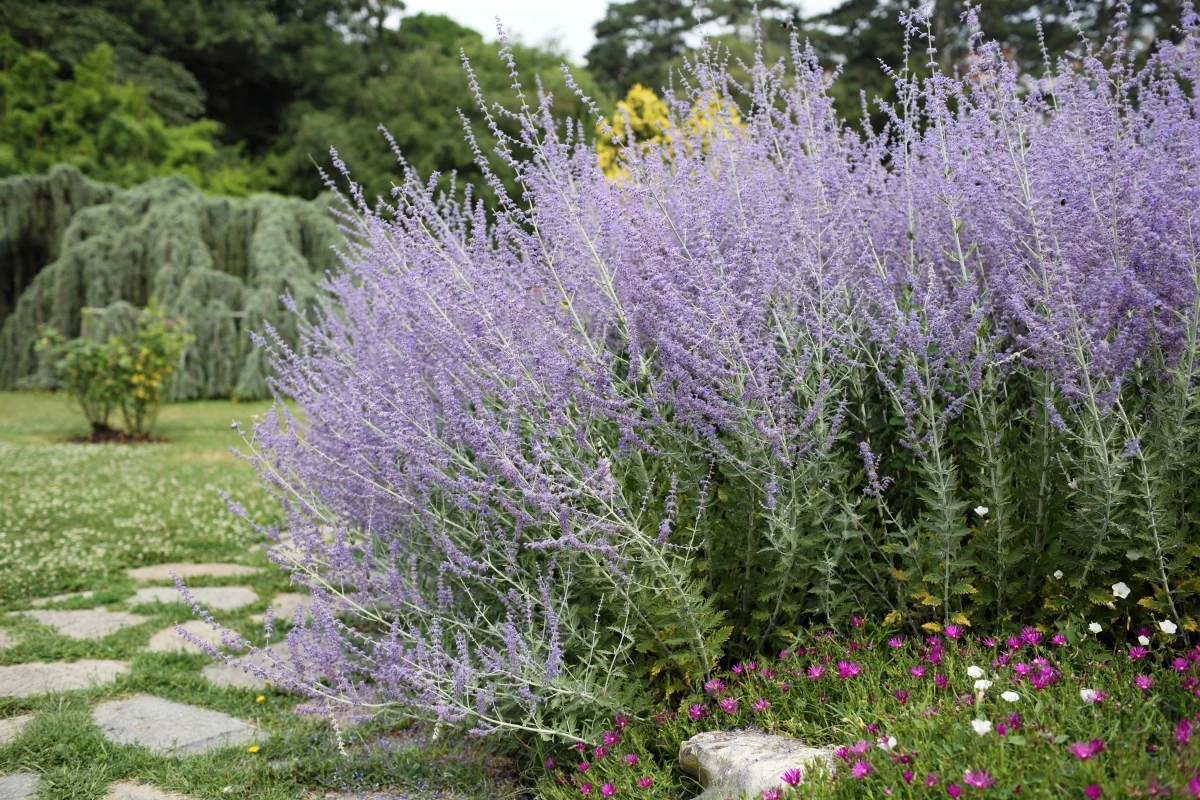
If there’s one plant that seems to be in everyone’s garden these days, it’s Russian sage. And for good reason! Its silvery stems and clouds of lavender-blue flowers are absolutely stunning, plus it’s famous for being tough as nails and not needing much water. It brings a cool, airy vibe to the landscape that’s hard to beat.
In this article
But because it’s so hardy, a lot of folks assume they can just forget about it once autumn rolls around. I’ve seen this lead to some serious spring disappointment. Sure, the plant might survive, but it won’t thrive. Giving your Russian sage a little help before winter isn’t about babying it; it’s about working with its natural strengths to make sure it comes back looking incredible.
So, let’s get your plants ready for their long winter nap.
First, Let’s Get Your Gear Ready
Before you even head outside, it helps to know what you’ll need. This is a pretty straightforward project, and you probably have most of this stuff already.
- Sharp Bypass Pruners: Don’t use the anvil type that crushes stems. A clean cut is a healthy cut.
- Gardening Gloves: Those woody stems can be scratchy.
- Isopropyl Alcohol & a Rag: For cleaning your pruners. It’s a simple step that pros never skip to prevent spreading plant diseases.
- Mulch: We’ll get into the best types, but think shredded leaves (free!), pine straw (around $5-$8 a bale), or coarse bark chips (usually $4-$6 a bag at stores like Home Depot or Lowe’s).
- (Optional) Hardware Cloth: If you have pesky rabbits or voles, you’ll want this. A roll costs about $1 per square foot at any hardware store.
The Great Pruning Debate: Cut in Fall or Wait for Spring?
This is the first big question, and honestly, you’ll find passionate gardeners on both sides of the fence. Both methods have their perks, so it really comes down to your climate and your garden style.
The Case for Waiting Until Spring
Leaving the silvery stems standing all winter definitely has its charm. They look fantastic covered in frost or snow, adding some much-needed structure to an otherwise empty garden bed. On a practical level, those stems are great at trapping blowing leaves and snow, which creates a free, natural blanket of insulation over the plant’s base. If you live in a really cold area (think USDA Zones 4-5) or you’re a beginner who wants to play it safe, leaving the stems on is a foolproof choice.
My Two Cents: Why I Usually Prune in the Fall
Now, from my experience managing lots of gardens, I almost always prune in the fall. It leaves the garden looking neat and tidy, which is a big plus. More importantly, it helps the plant. Trimming the stems back prevents them from whipping around in harsh winds and damaging the tender crown at the base. It also opens up the base of the plant to better air circulation, which is HUGE for preventing fungal diseases, especially in wetter climates. A clean base is also way less inviting to little critters like voles looking for a cozy winter home.

Okay, So How Do You Prune It Right?
If you decide to prune, timing and technique are everything. I once had a new team member cut a whole hedge of Russian sage down to one inch, thinking they were being helpful. A late cold snap came through and we lost half of them. Lesson learned.
Wait until after a few hard frosts (when temps dip below 28°F for a bit). This is nature’s signal that the plant is officially dormant and has pulled all its energy down into its roots. Then, using your clean bypass pruners, cut the stems back, but do not cut them to the ground. Leave about 8 to 12 inches of stem. This height is the sweet spot—it protects the delicate growth buds at the base, catches a little insulating snow, and still looks tidy.
Mulching: The Insulating Blanket Your Plant Craves
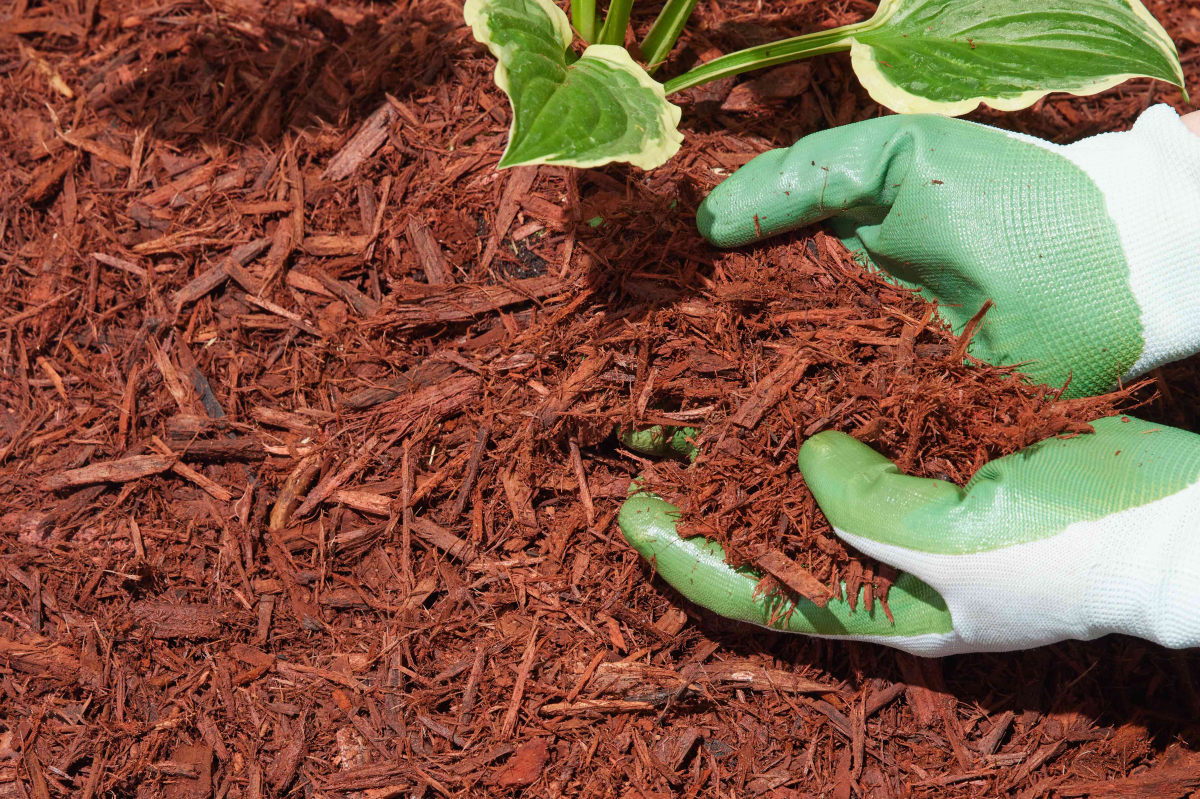
After pruning, mulching is the single most important thing you can do. But here’s a common misconception: you’re not trying to keep the ground warm. The real goal is to keep the ground consistently frozen. Mulch acts like a cooler, shielding the soil from the winter sun and preventing those damaging freeze-thaw cycles that can tear up plant roots.
Good to know: Don’t jump the gun on mulching. Wait until the ground has actually frozen. Not sure if it’s frozen? Just try to stick a small garden trowel in the dirt. If it only goes in an inch or so with a ‘clink,’ you’re good to go. Mulching too early can trap warmth and confuse the plant.
For the mulch itself, you want something light and airy. Shredded leaves are my favorite because they’re free and effective (just run them over with a lawnmower first). Pine needles and straw are also fantastic because they don’t compact. Whatever you do, avoid piling it up against the plant’s stems. This is critical! Pull the mulch back to create a 2-to-3-inch gap around the base. Think of it like you’re giving the plant a donut, not burying it in a volcano. This gap prevents moisture from getting trapped against the crown, which is the #1 cause of rot.

Climate is Everything: Adjusting Your Strategy
Winter care is not one-size-fits-all. The right move in snowy Minnesota would be a disaster in rainy Seattle. It’s a great idea to check your USDA Plant Hardiness Zone so you know exactly what you’re dealing with.
- For Cold, Snowy Winters (Zones 4-5): Here, snow is your best friend. You might leave the stems on to catch it. Apply a thicker, 4- to 6-inch layer of light mulch like shredded leaves to protect the roots before the snow flies.
- For the Tricky ‘In-Between’ Winters (Zone 6): This zone can be a grab-bag of conditions. You might get snow, or you might get freezing rain and dry winds. I’d suggest erring on the side of caution. Definitely prune in the fall to prevent wind damage and apply a solid 3-4 inch layer of mulch.
- For Mild, Wet Winters (Zones 7-9): Your main enemy is rot. Good drainage is non-negotiable—if your soil is heavy, amend it with grit or plant on a slight slope. Always prune in the fall here for air circulation, and use a coarse mulch like bark chips or even gravel that won’t hold water.
- For Cold, Dry Winters (High Plains, etc.): The danger here is the plant literally freeze-drying from wind. The most important step is to give it a deep, thorough watering in late fall before the ground freezes solid. Mulch is also vital for holding that moisture in.

Heads Up! What About Russian Sage in Pots?
Oh yeah, this is a big one. Plants in containers are way more vulnerable because their roots are exposed to cold from all sides. You can’t just leave them out in the open in a cold climate.
The easiest solution is to move the pot into an unheated, sheltered spot like a garage or shed for the winter. It doesn’t need light, just protection from the harshest temps. If you can’t move it, try clustering it with other pots against a wall of your house. For extra protection, you can wrap the pot (not the plant!) in a layer of burlap or bubble wrap to insulate the roots. Just give it a little water once a month to keep the soil from going bone-dry.
Two Things to NEVER Do in the Fall
This is simple. First, don’t overwater. Unless you live in a super dry region, your normal fall rain is plenty. Soggy soil plus cold weather equals rot.
Second, and this is a golden rule: do not fertilize Russian sage in the fall. Fertilizer signals ‘grow!’, which is the exact opposite of what the plant should be doing. That fresh, tender growth will just get zapped by the first freeze, wasting a ton of the plant’s energy. Save the fertilizer for early summer.
Your Quick Winterizing Checklist
Feeling overwhelmed? Don’t be. Here’s the whole process in a nutshell:
- Decide: Prune in fall for tidiness or leave stems for winter interest?
- Prep: Clean your bypass pruners with alcohol.
- Prune (If you’re pruning): After a few hard frosts, cut stems back to about 8-12 inches.
- Mulch: After the ground freezes, apply a 3-4 inch layer of airy mulch.
- The Donut: Pull the mulch back from the plant’s crown, leaving a 2-3 inch gap.
- For Pots: Move them to a sheltered garage or wrap the container.
And that’s it! When spring comes, don’t panic if your plant looks like a bunch of dead sticks. Gently scratch a lower stem with your fingernail. If you see green, it’s alive! Just be patient, and once you see new growth emerging from the base, you can prune off any remaining dead wood. A little bit of effort now pays off with a glorious, healthy plant all summer long.