Your Mums Don’t Have to Die This Winter: A Real-World Guide
I’ve been working with plants for a long, long time, and every single autumn, I see the exact same story play out. People head to the garden center and buy those gorgeous, vibrant mums. They look amazing on the porch for a few months, and then one hard frost turns them into a pile of brown mush. Come spring? Nothing. So, they just assume mums are a one-and-done deal, like an annual flower.
In this article
But here’s the secret: many of them aren’t! The ones we call hardy mums or garden mums are tough-as-nails perennials. With just a little bit of the right care, they can come back year after year, often bigger and more beautiful than before. It’s not about luck; it’s about knowing how to tuck them in for their long winter nap.
I’ve learned these tricks through years of trial and error (and yes, I’ve definitely lost my share of plants along the way). This guide is all that hard-won experience rolled into one place, so you can get it right the first time.

First, Let’s Figure Out What Kind of Mum You Have
Okay, before you do anything else, we need to have a little chat about the two main types of mums. This is super important because it sets your expectations and saves a ton of frustration.
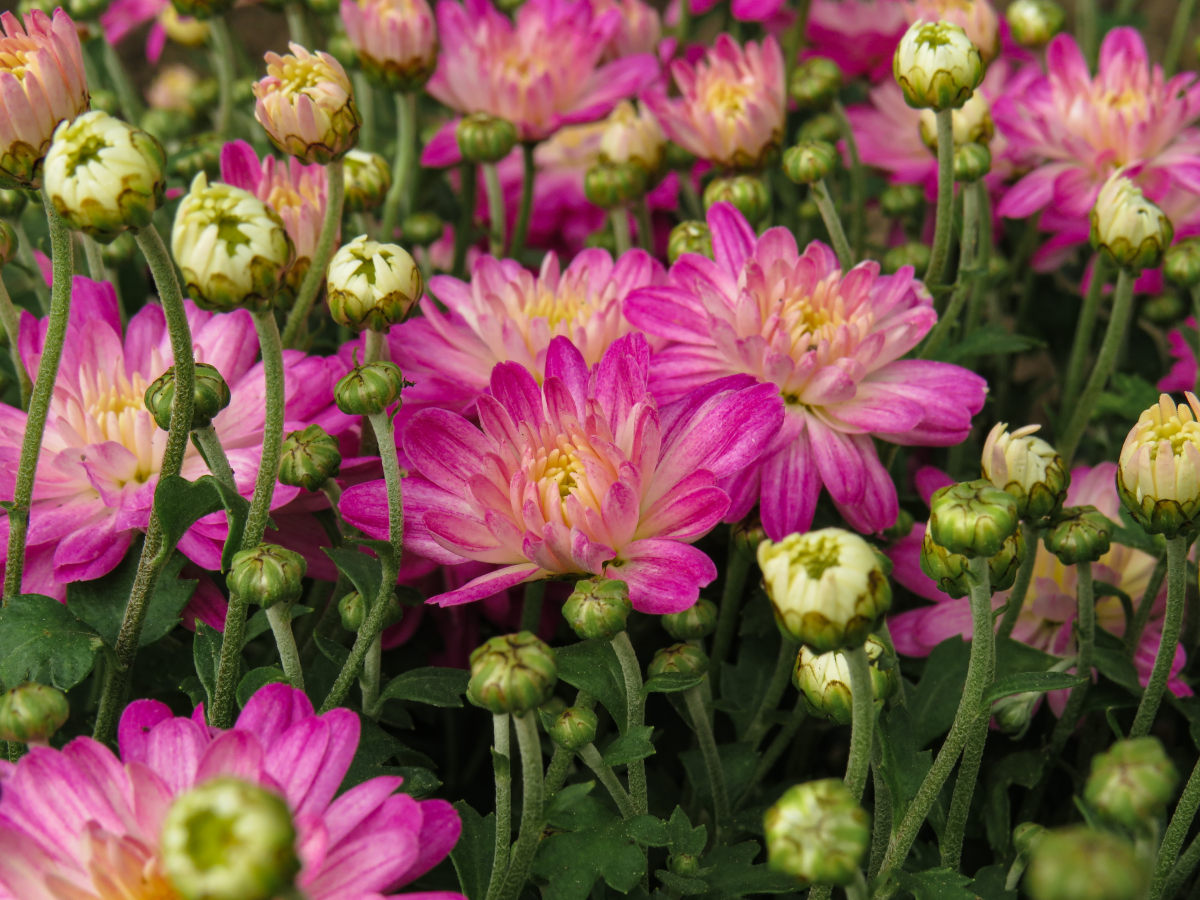
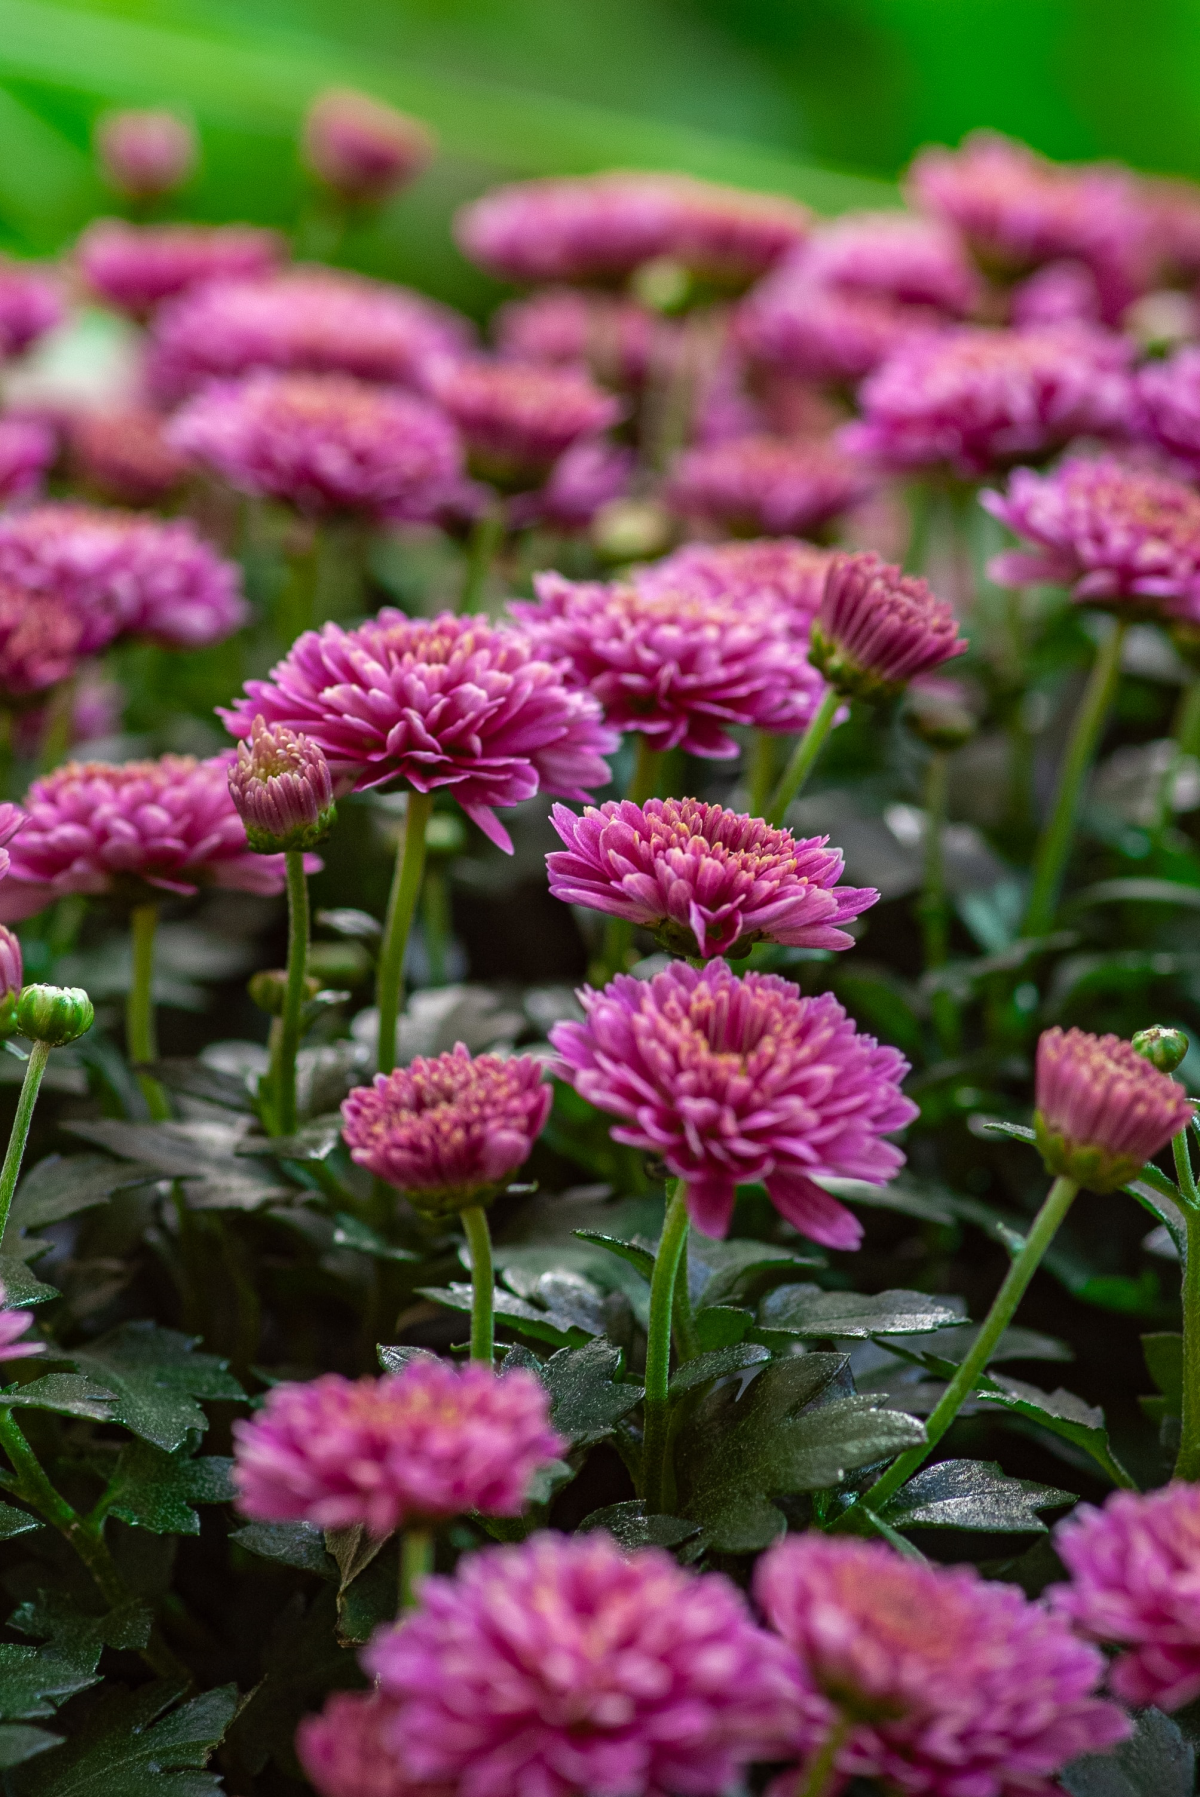
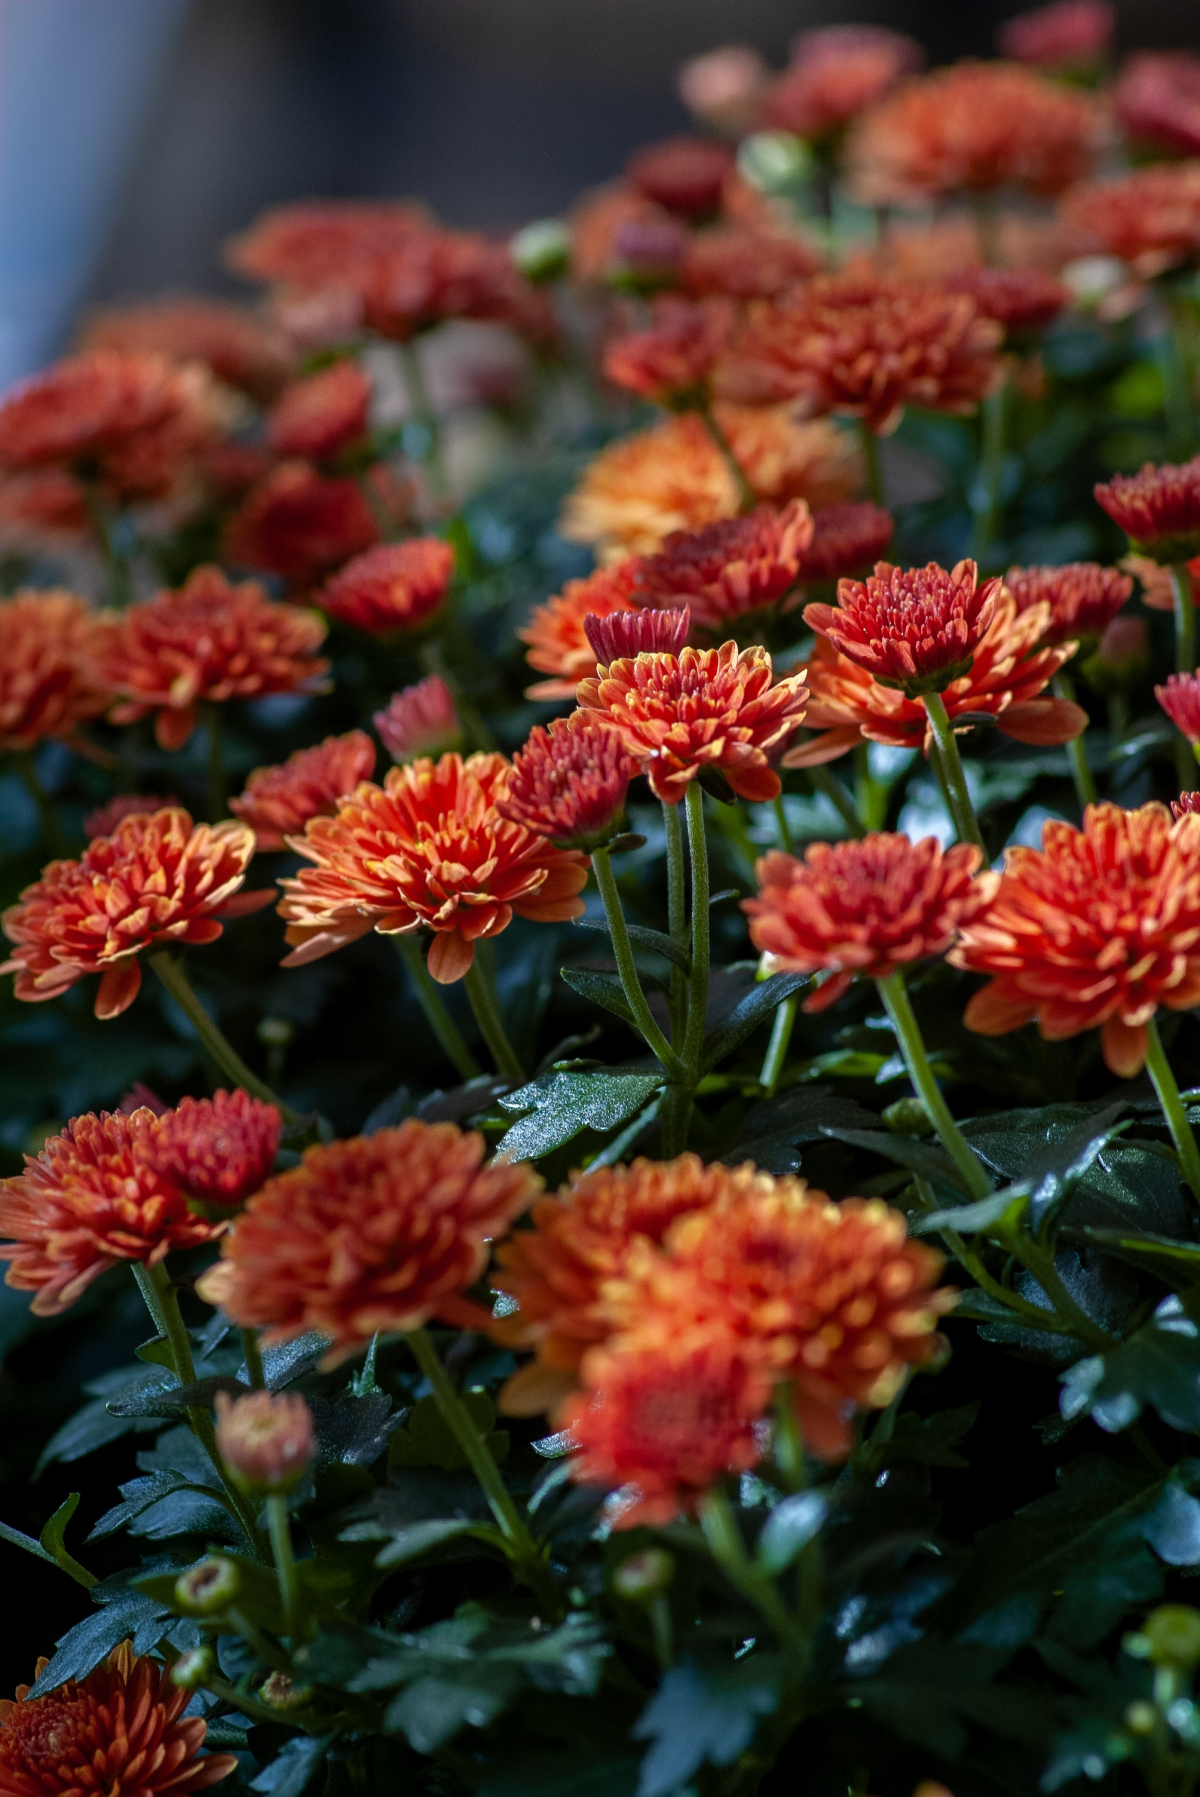
On one hand, you have the ‘hardy’ or ‘garden’ mums. These are the ones you usually find at a proper garden center, sometimes even in the spring or summer. They’re bred for survival, with strong root systems ready to handle the cold. These are the plants we’re focused on saving. A typical hardy mum in a decent-sized pot will probably cost you between $15 and $30.
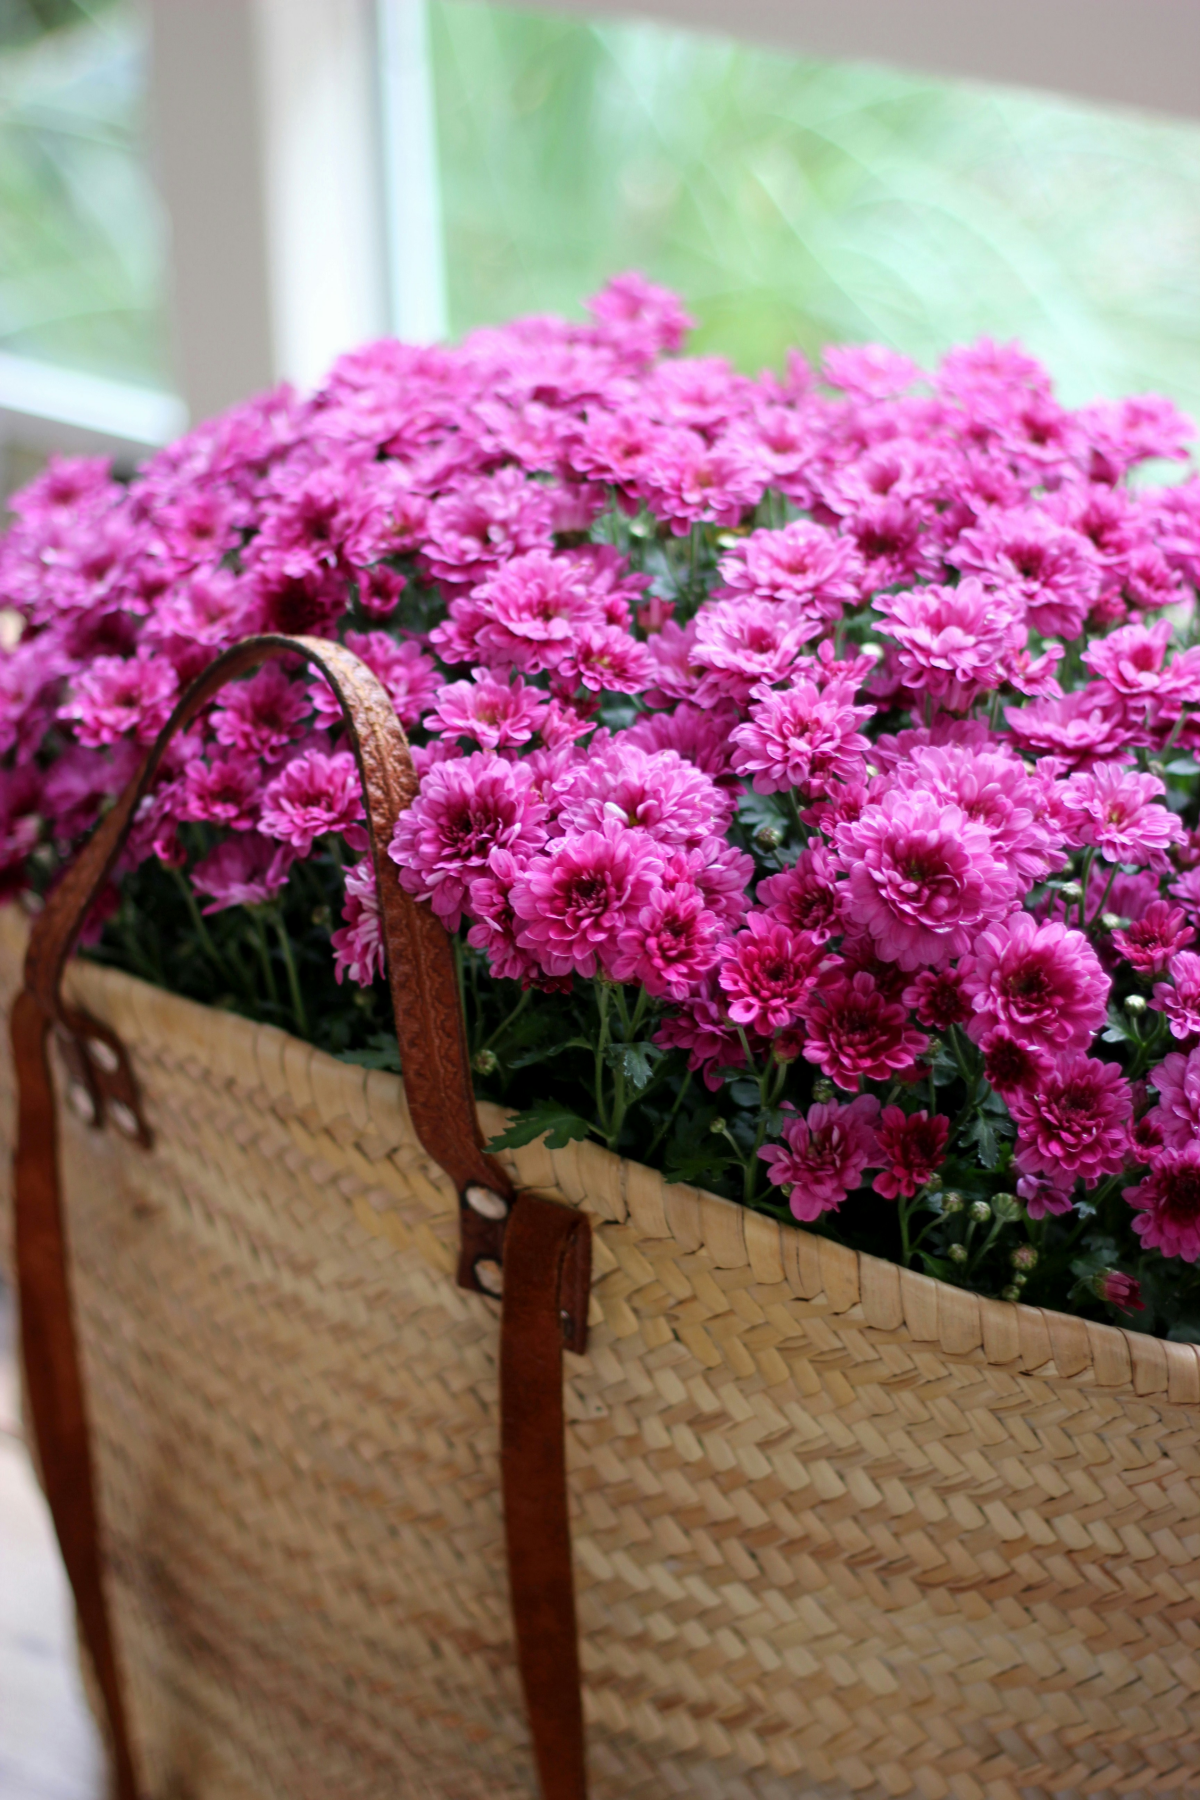
On the other hand, you have ‘florist’ mums. These are the perfectly round, impossibly vibrant globes of flowers you see stacked up at the grocery store entrance in October. They were bred for one thing: to produce massive, show-stopping flowers right now. Their root systems are often an afterthought, making them very unlikely to survive a winter outdoors. Think of them as a long-lasting bouquet rather than a permanent garden plant.
Oh, and by the way, if you just bought a mum from a nursery, don’t worry that it was just fertilized. The pros there know what they’re doing. They’ve likely already given it its last meal for the season, so you can just focus on watering it well and following the rest of these steps.
The 3 Biggest Mistakes That Kill Mums Every Winter
Before we get into the to-do list, let’s talk about the don’t-do list. Honestly, if you just avoid these three things, you’re already 80% of the way there.
- Cutting them back in the fall. This is the most common mistake I see. It feels so tidy to chop everything down, but those dead stems are your mum’s natural winter coat. They protect the plant’s sensitive center and catch insulating snow.
- Mulching way too early. Heaping mulch on while the ground is still warm is like sending out a formal invitation to mice and voles to come build a cozy winter home and feast on your plant’s roots all season long. It also traps moisture and can cause the plant to rot.
- Poor drainage. Mums are tough, but they absolutely HATE having their feet wet in the winter. If they sit in cold, soggy soil, their roots will rot, and that’s a one-way ticket to a dead plant.
Your Fall Game Plan: Getting Ready for the Freeze
Proper winter prep starts long before the first snowflake flies. What you do in late summer and early fall makes all the difference.
First, stop all fertilizing by late summer. Here in my Zone 6 garden, my cutoff is the first week of August. If you’re in a colder climate, aim for mid-July. Fertilizer encourages tender new growth, which will get zapped by the first frost, wasting the plant’s precious energy. We want the plant to focus on its roots, not new leaves.
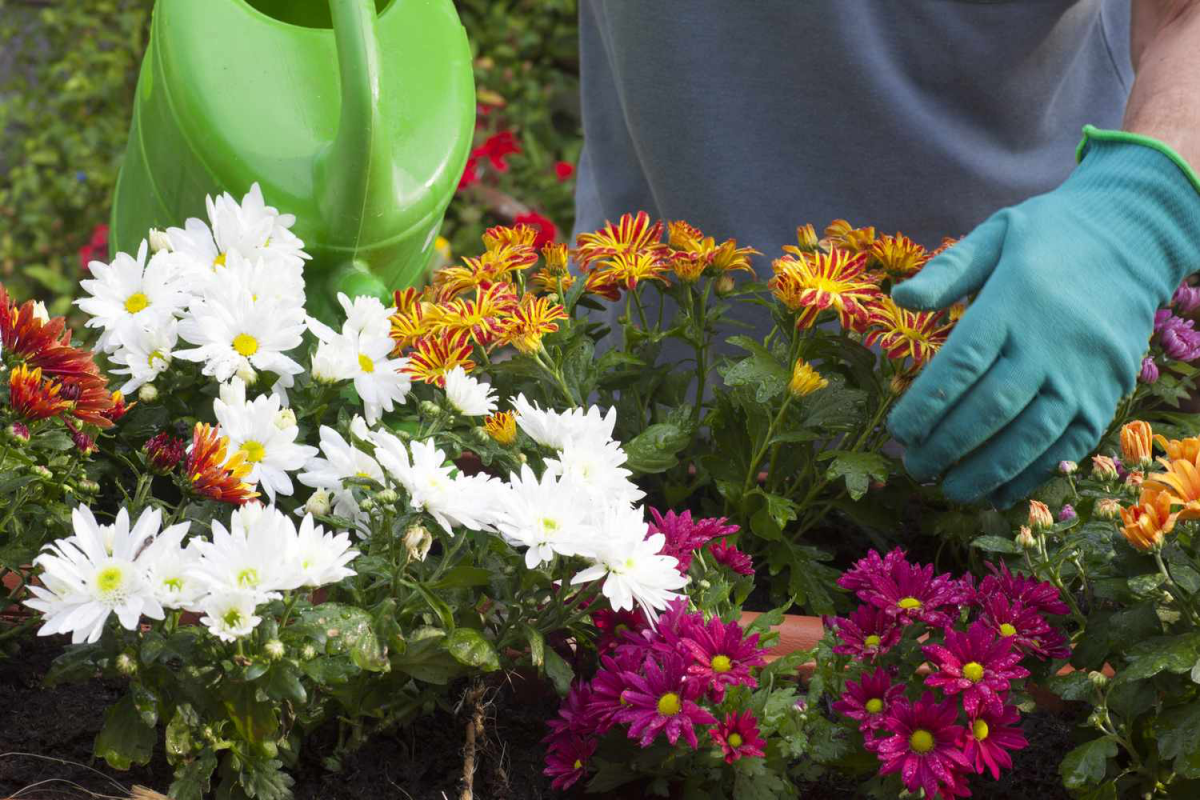
Next, keep watering consistently until the ground freezes solid. A plant that goes into winter dehydrated is way more vulnerable to cold damage. Aim for soil that feels like a wrung-out sponge—moist, but not waterlogged. This regular watering is crucial until a hard frost hits, which is usually when temps dip to 28°F (-2°C) or below for a few hours.
And as I mentioned, DO NOT PRUNE. Leave all those spent, brown stems and leaves right where they are. It’s ugly, I know, but it’s the plant’s first and best line of defense. A quick win you can do, though, is to go out and gently pinch off any tiny new flower buds that try to form late in the season. It takes two minutes and tells the plant to stop wasting energy on flowers and send it all down to the roots for storage.
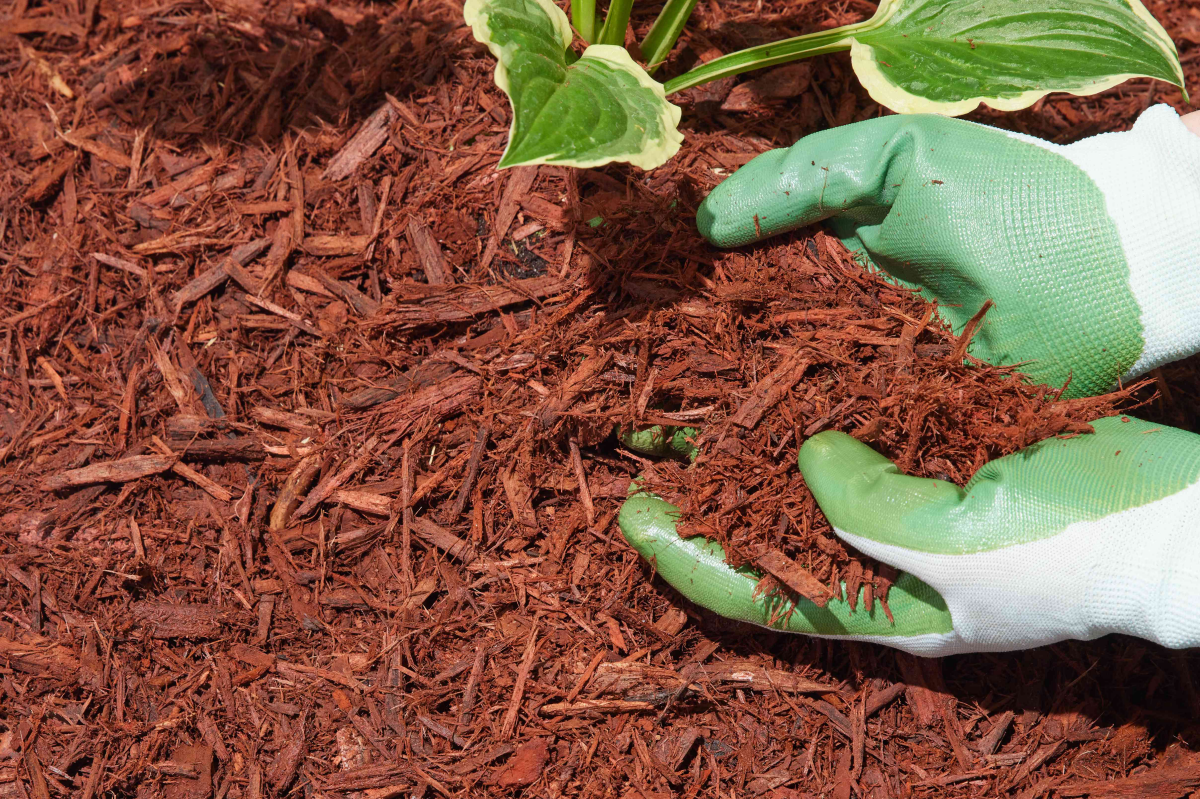
The Winter Blanket: How to Mulch the Right Way
Mulching is your final, active step. The goal here isn’t to keep the plant warm—it’s to keep the frozen ground frozen. This prevents the damaging freeze-thaw cycles that can heave a plant right out of the soil.
The golden rule is to wait until the ground has frozen HARD. How do you know for sure? Grab a garden trowel and try to stick it in the soil near your plant. If it just clinks and won’t go in, you’re good to go. The ground is frozen! This is usually in late November or even early December in many places.
So, what should you use for mulch? You want something light and airy that won’t compact into a soggy, suffocating mat.
- Excellent Choices: Shredded leaves (oak leaves are the best!), straw (not hay, which is full of weed seeds!), or pine needles are all fantastic. A bale of straw from a local feed or craft store will only set you back about $8-$12 and covers a huge area. Evergreen boughs from your old Christmas tree are also perfect. And of course, leaves are free!
- What to Avoid: Steer clear of heavy, dense materials like bark nuggets or fresh compost. They can hold too much moisture right against the plant, leading to rot.
Once the ground is a solid block of ice, loosely pile 4 to 6 inches of your chosen mulch all around the base of the plant. If you’re in a really cold climate (like zones 3-5), go heavier, maybe 8 to 10 inches. Don’t pack it down—let it be fluffy.
What About Mums in Pots? A Special Guide
A plant in a container is in a much tougher spot. Its roots are exposed to cold air from all sides. A good rule of thumb is that a plant in a pot is only hardy to two zones warmer than its in-ground rating. So, a Zone 5 mum is only really safe down to Zone 7 when it’s in a pot.
The Easy Method: An Unheated Shelter
The best bet is to move the pot into an unheated garage, shed, or cold cellar. The goal is a spot that stays cold but generally above 20°F (-6°C). Check on it about once a month and give it just a tiny splash of water—maybe a cup—if the soil is bone dry. I learned this the hard way after forgetting a pot one winter; by spring, the roots were completely dried out and the plant was a goner.

For the Balcony Gardener
No garage? No problem. If your mum is on an exposed balcony, you can still help it. First, find the warmest spot, usually against the wall of your building. Group it together with any other pots you have to create a little microclimate. Then, wrap the pot (not the plant itself) in a few layers of burlap or bubble wrap to insulate the roots. For an extra boost, place the pot on top of a piece of scrap wood or foam to get it off the freezing concrete.
Waking Them Up in the Spring
When the weather starts to warm up, don’t just rip all the mulch off at once. A surprise late frost can still nip any new growth. I start pulling the mulch back gradually when I see my daffodils start to poke through, giving the plant a week or two to reacclimate.
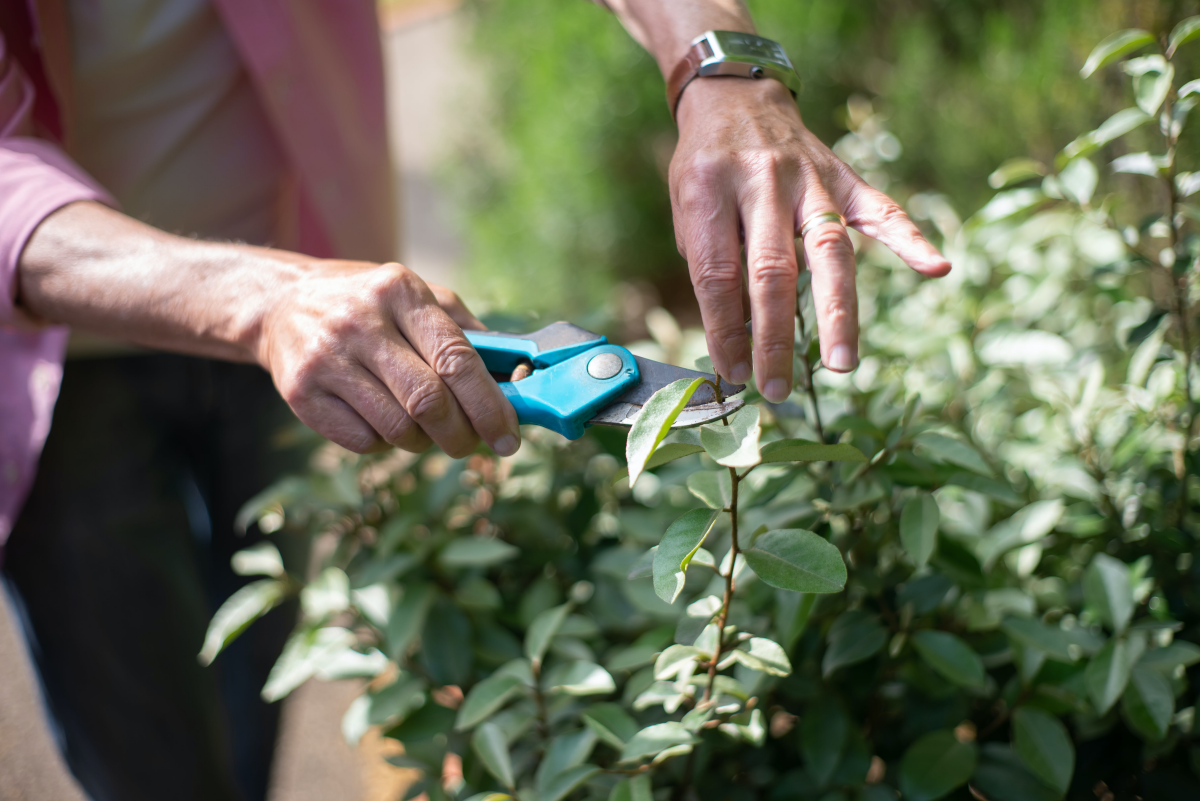
Once the threat of a hard frost has truly passed, it’s finally time to prune. Grab a clean, sharp pair of pruners and cut all of last year’s dead stems down to about 2-3 inches from the ground. You’ll probably see tiny green shoots starting to emerge from the base. This cleanup lets sunlight and air get to the new growth.

When you see a few inches of healthy new growth, you can give it its first meal of the season with a balanced, all-purpose fertilizer. And if your mum clump is looking huge and crowded, now is the perfect time to divide it, giving you more plants for free!
If a mum doesn’t return, don’t beat yourself up. It happens to all of us. Just review the steps—was the drainage poor? Did I prune it by mistake? By working with your plant’s natural cycle, you give it the best possible shot. And when you see those green shoots emerge next spring, you’ll feel that amazing satisfaction that comes from helping something not just survive, but thrive.
Galerie d’inspiration
Did you know? The number one killer of potted perennials in winter isn’t the cold itself, but the repeated freezing and thawing of the soil, which can tear delicate roots apart.
That’s why mulching your mums is non-negotiable, but only after the first hard frost. Applying it too early can trap moisture and encourage rot. Once the ground is properly chilled, generously apply a 3-4 inch layer of a light, airy mulch like shredded leaves or pine straw around the base of the plant. This acts like a winter blanket, keeping the soil temperature stable until spring.

Wondering if your container choice matters for winter survival? Absolutely.
Classic Terracotta: It’s a timeless look, but traditional terracotta is porous. It absorbs water, which then freezes, expands, and often leads to cracks or complete shattering by spring. A cracked pot means exposed, frozen roots.
Frost-Proof Resin or Fiberglass: These modern materials are your best bet. They are non-porous, lightweight, and won’t crack under icy conditions. Brands like Crescent Garden or Bloem offer stylish options that mimic the look of stone or ceramic without the winter fragility. It’s a small investment to protect the plant you’ve worked so hard to save.
Once you’ve mastered keeping your mums alive, elevate your garden design by pairing them with perennial partners. This creates a cohesive look that provides interest beyond a single splash of fall color. For a classic combination:
- Sedum ‘Autumn Joy’: Its fleshy leaves and broad, dusty-pink flower heads that deepen to bronze offer a wonderful textural contrast.
- Fall Asters: The delicate, star-like purple and blue flowers of varieties like ‘Purple Dome’ create a beautiful cool-toned echo to the warm hues of many mums.
- Ornamental Grasses: The feathery plumes of Fountain Grass (Pennisetum) add movement and a soft, vertical element that lasts well into winter.


