Don’t Let Your Pipes Burst: The Pro’s Guide to Winterizing Your Sprinkler System
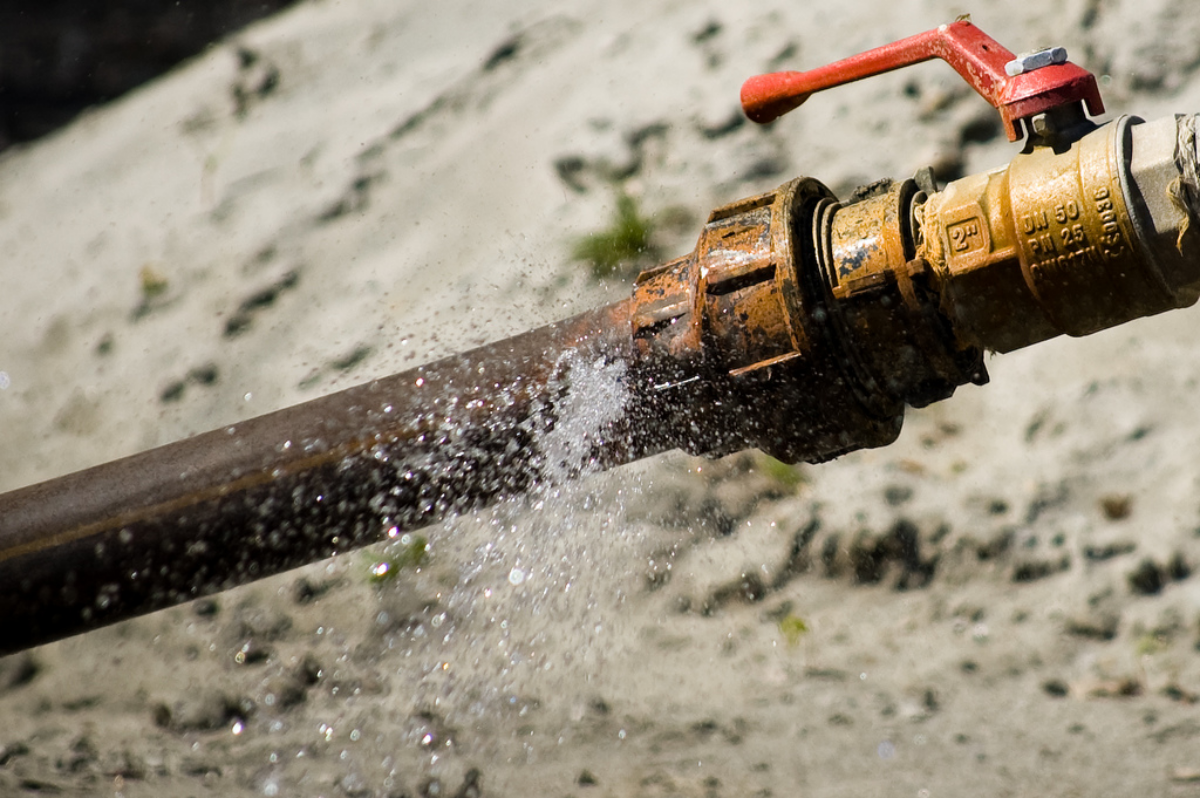
Let me tell you a story that every homeowner with a sprinkler system needs to hear. It’s about a beautiful, prize-winning rose garden and a late-winter cold snap. Water started bubbling up right through the mulch, turning the whole garden bed into a swamp. A single PVC pipe had frozen and split wide open.
In this article
That seemingly small crack ended up costing the owner hundreds of dollars in emergency labor and, even worse, it wrecked a landscape they’d spent years perfecting. All of that headache could have been avoided with about an hour of work the previous fall. It’s a tough lesson to learn, but it drives home a critical point: winterizing your sprinkler system isn’t just a chore. It’s cheap insurance against expensive damage and massive frustration.
Over the years, we’ve winterized thousands of systems, and the most reliable, no-nonsense method is the compressed air blow-out. It’s the only way to be absolutely certain you’ve gotten every last drop of water out of the lines. This guide will walk you through that exact professional process, covering the right tools, the correct settings, and the safety steps that keep both you and your system protected.
Why Frozen Water Wrecks Your Pipes
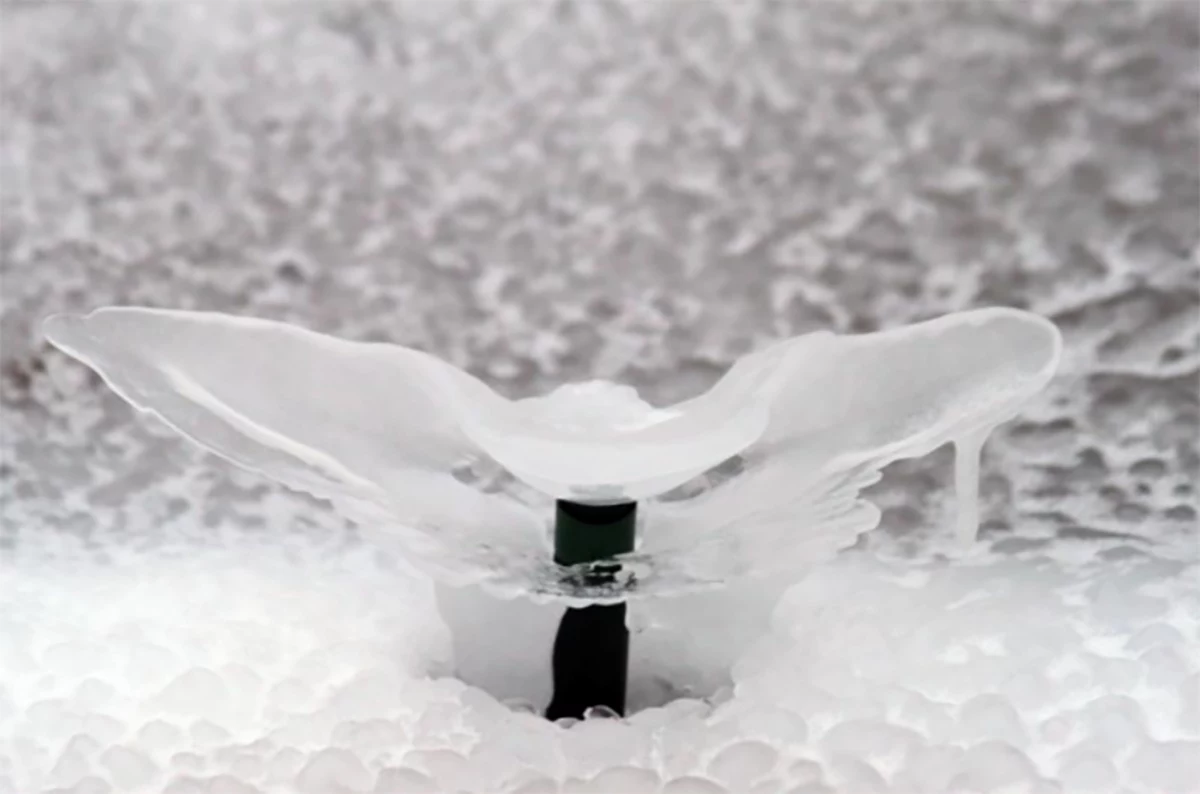
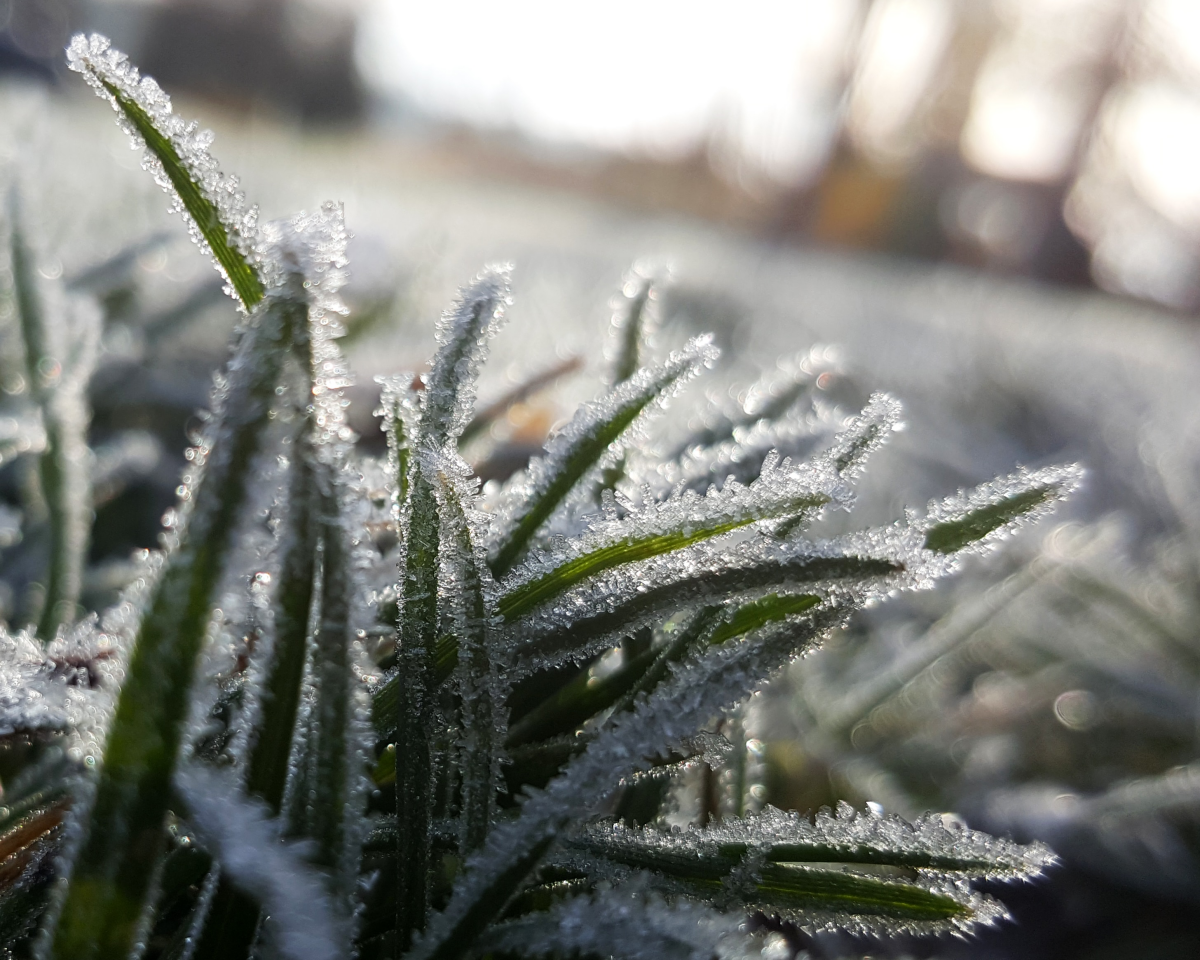
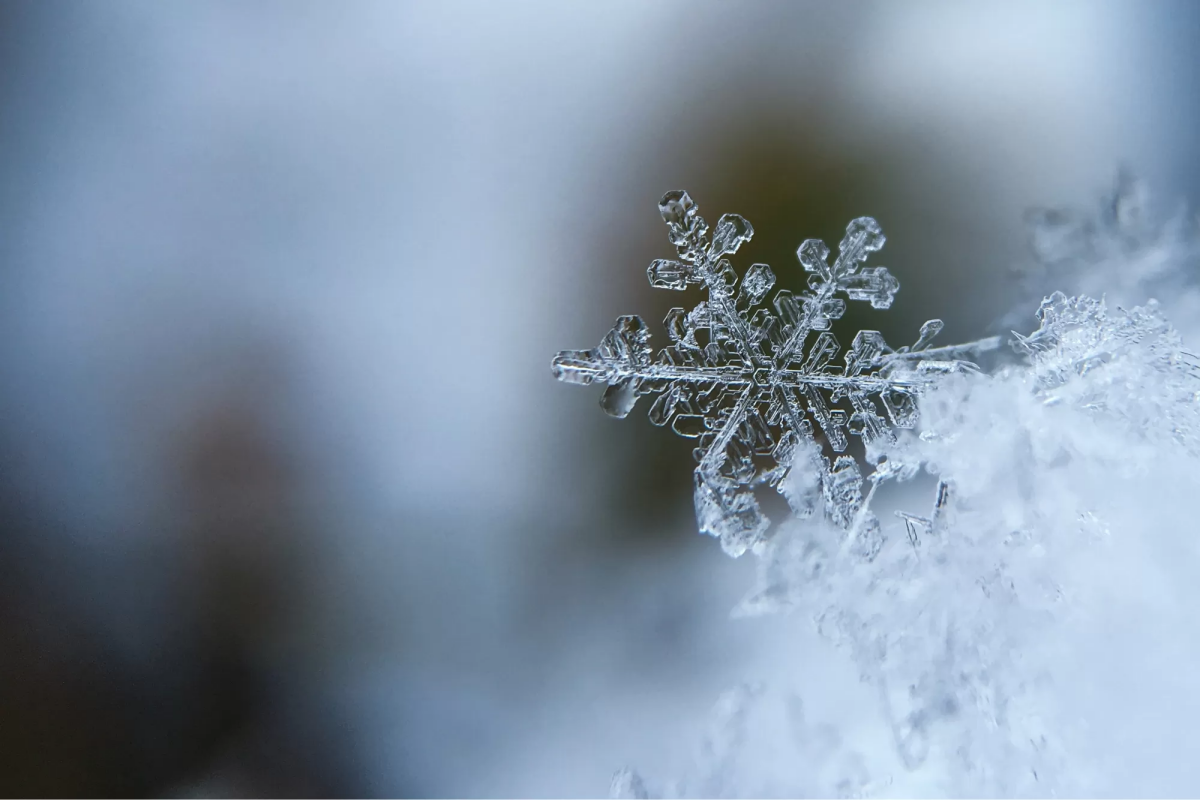
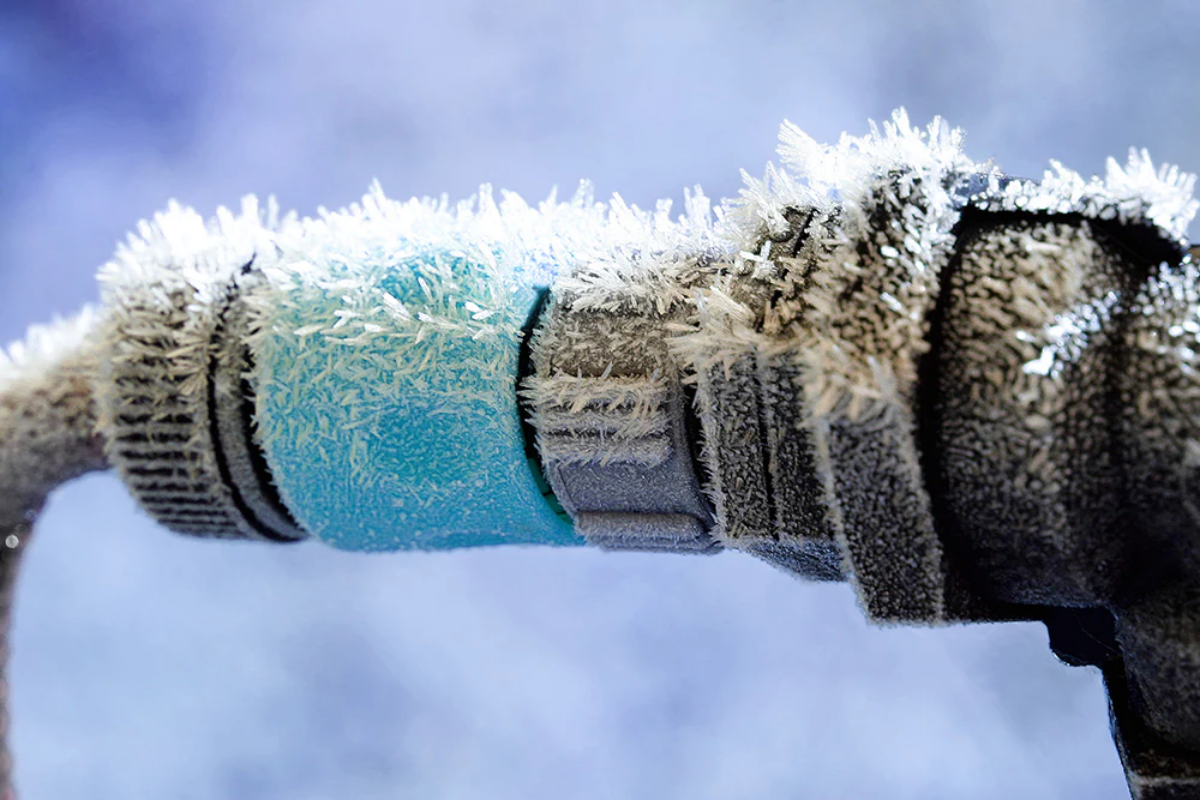
To really get why this is so important, you just need to remember a little high school science. When water freezes, it expands. It’s a simple fact of physics with some pretty powerful consequences for your yard. As water turns to ice, its molecules form a crystal structure that takes up about 9% more space.
Nine percent might not sound like a lot, but inside a sealed pipe, that expansion creates an incredible amount of force. Your standard PVC sprinkler pipe was built to handle water pressure, sure, but it was never meant to resist the slow, crushing power of expanding ice. The pressure can easily top 2,000 pounds per square inch (PSI), which will happily split a pipe, crack a valve, or destroy a sprinkler head from the inside out.
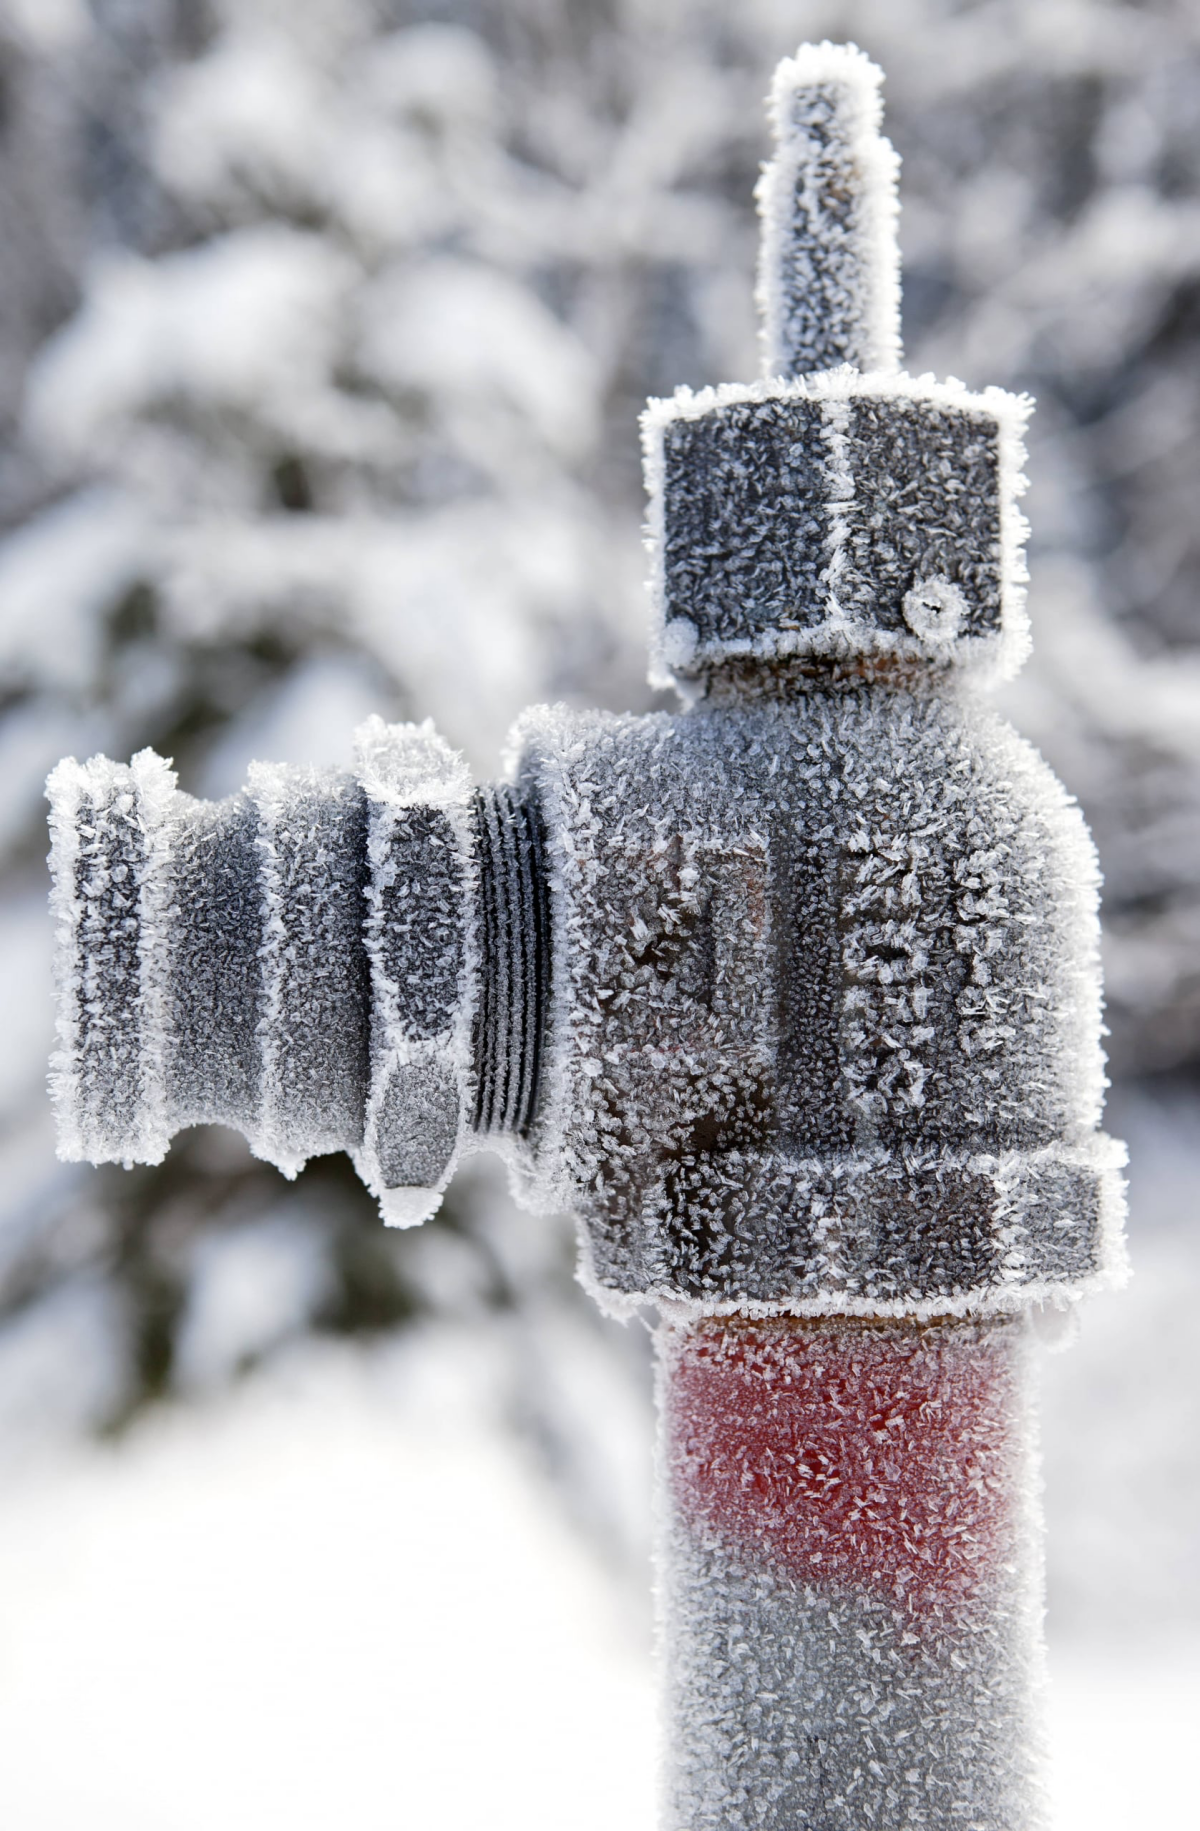
The most vulnerable—and expensive—parts are your backflow prevention device, the plastic valve manifolds, and the sprinkler heads themselves. Seriously, a new backflow preventer can run you over $500 installed, so protecting it is a huge priority. Understanding this isn’t just trivia; it’s the reason we have to be so thorough.
Before You Start: Get to Know Your System
Before you even think about hooking up an air compressor, you need to do a little recon. A few minutes of inspection now will save you a world of pain later. This is the very first thing the pros do on any service call—walk the property and build a mental map.
1. Find Your Main Shut-Off Valve
Your irrigation system has its own main water shut-off, totally separate from the one for your house. It’s usually tucked away in a basement, a crawl space, or in an underground box near your water meter. It’ll likely be a ball valve (with a straight T-handle) or a gate valve (with a round, wheel-like handle). Knowing where this is is non-negotiable.
Quick win: Stop reading and go find this valve right now. Take a picture of it on your phone. Seriously. Future you will be incredibly grateful you know exactly where it is in an emergency.
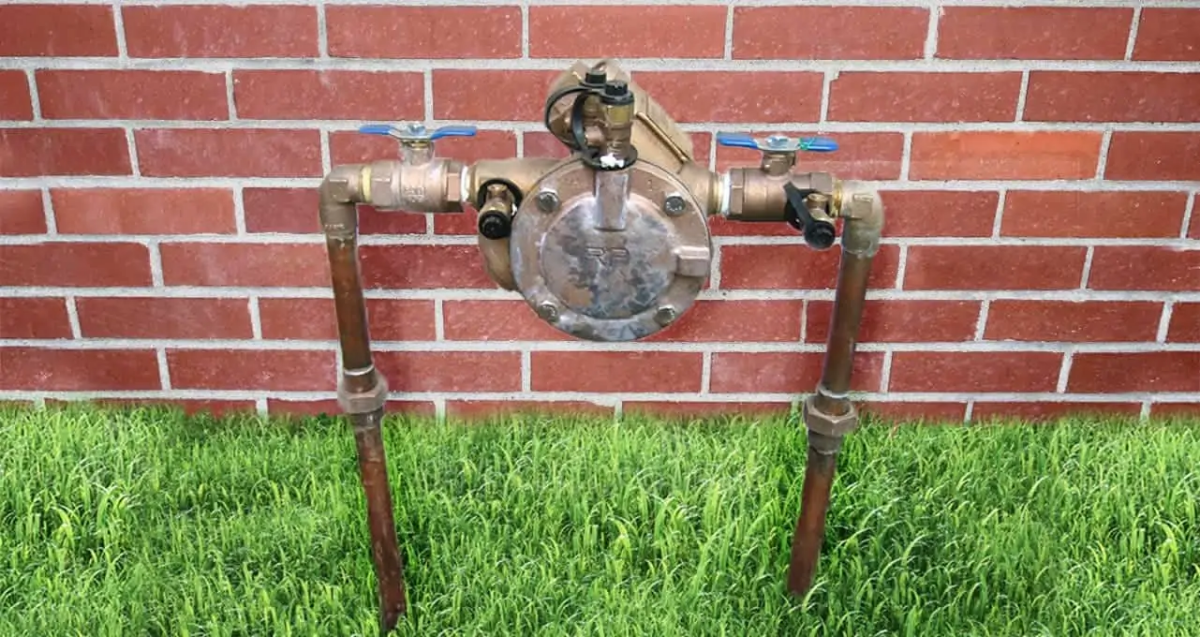
2. Identify Your Backflow Prevention Device
This is probably the most critical component. It’s a one-way gate that stops dirty irrigation water from flowing back into your home’s clean drinking water. It’s required by code almost everywhere and is typically located outside, right after the pipe exits your house. The two most common types are:
- Pressure Vacuum Breaker (PVB): This is the one you see most often on homes. It’s a brass assembly that stands upright, with a plastic cap on top and two small test ports (they look like little brass screws).
- Reduced Pressure Zone (RPZ) Assembly: This one is a bit more complex and heavy-duty. It’s a larger brass device with four test ports and a relief valve on the bottom that sometimes drips.
Take a look and figure out which one you have. It matters because the draining procedure is slightly different for each.
The Right Tools (and the Biggest Mistake to Avoid)
Using the right equipment is not the place to cut corners. Trying to make do with the wrong gear is how you damage your system or, worse, get hurt.
The Air Compressor: Why CFM Matters More Than PSI
Here it is, the single most common mistake people make. They grab that small pancake-style compressor from the garage, thinking it’s good enough. It’s not.
For blowing out sprinklers, the key metric isn’t PSI (pressure), it’s CFM (cubic feet per minute), which is a measure of air volume. Think of it this way: PSI is the speed of the air, but CFM is the size of the gust. You don’t need a hurricane-force wind (high PSI) to blow leaves off a driveway; you need a big, wide push from a leaf blower (high CFM). It’s the same idea here. You need enough air volume to push the entire column of water out of the pipes.
A small, low-CFM compressor will just bubble some air through the water, leaving most of it behind. As a rule of thumb, you need a compressor that can deliver at least 8-10 CFM. These are usually the bigger, gas-powered, or 240-volt models on wheels that you rent.
Heads up! Renting a gas-powered compressor big enough for this job usually costs about $50-$80 for a 4-hour rental from a place like Home Depot or a local tool rental shop. It’s a worthwhile investment.
Pressure Is a Big Deal
Warning: Never, ever blow out your system with high pressure. Too much force can literally blow fittings apart underground. We stick to a maximum of 50 PSI for systems with rigid PVC pipes and drop it to 40 PSI for systems with the more flexible black poly pipe. You MUST use a compressor with a working, adjustable regulator and a pressure gauge you can trust.
Your Shopping List:
- Blow-Out Adapter: You need this little brass fitting to connect the air hose to your system. The most common one you’ll need is a 3/4″ male hose thread to a 1/4″ industrial quick-connect plug. You can grab one for about $10 at any hardware or irrigation supply store.
- Safety Glasses: This is not optional. When you blast air through the lines, dirt, tiny pebbles, and water can shoot out of the sprinkler heads at high speed. Protect your eyes.
- Hearing Protection: A big gas compressor is loud. Do your ears a favor and wear some earplugs or muffs.
The Professional Blow-Out Method: Step-by-Step
Alright, you’ve done your homework and you’ve got the right tools. It’s go time. Plan for at least an hour for a typical 6-8 zone system. Rushing is your enemy.
Step 1: Shut Off the Water
Go to your irrigation system’s main shut-off valve and close it completely. For a ball valve, the handle should be perpendicular to the pipe. For a gate valve, turn it clockwise until it’s snug (but don’t crank on it).
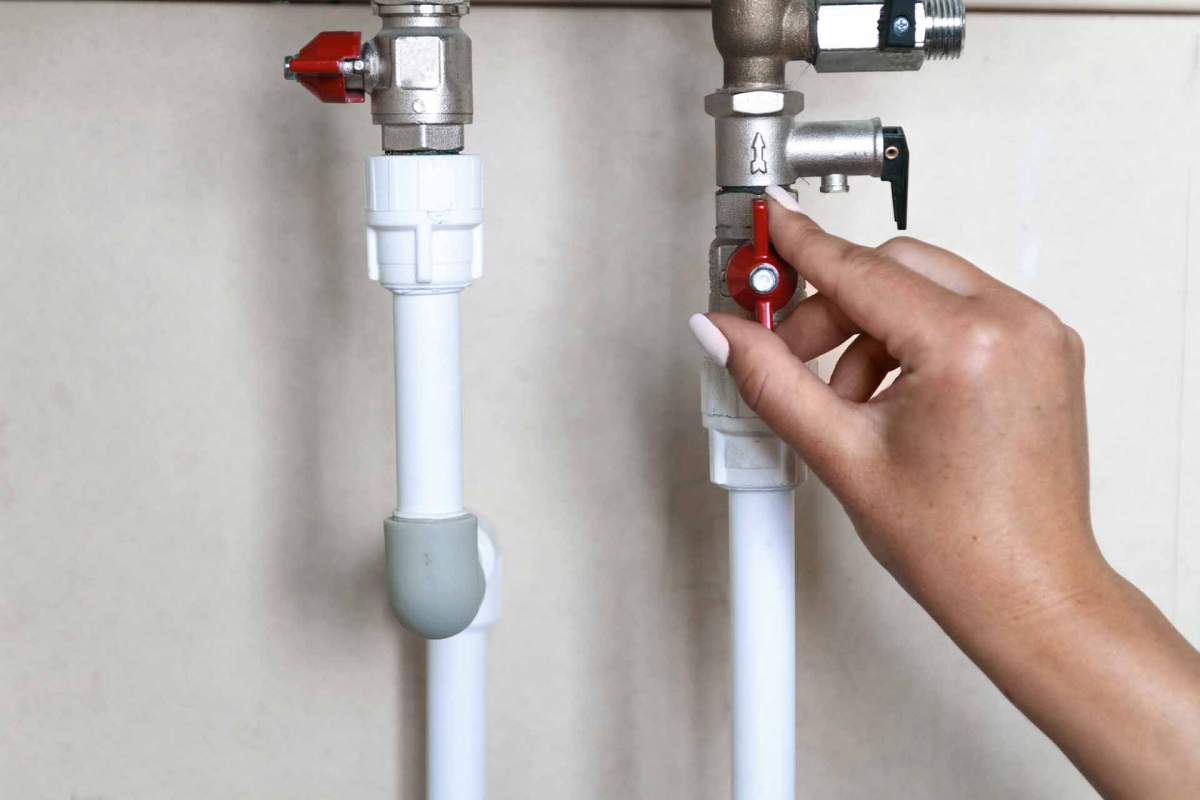
Step 2: Prep the Backflow Device
Outside at your backflow preventer, slowly close both ball valves on it. Then, use a small flathead screwdriver to turn the screws on the little test cocks a quarter-turn to open them. A little water will drain out, which is good—it relieves the pressure.
Step 3: Connect the Air Compressor
Attach your blow-out adapter to a connection point on your system, which is usually one of the test cocks on the backflow device. Here’s a pro-tip for the super-common PVB type: connect your air hose to the test port located between the two main shut-off handles. Keep the compressor off and the regulator set to zero, then connect the air hose. To get the air flowing, you’ll typically need to leave one of the main ball valves closed and open the other one.
Step 4: Set Up Your Controller
Head to your sprinkler timer (usually in the garage or basement). You need to activate each zone manually, one at a time. Don’t just run a normal cycle. Find the setting to run a single station for a few minutes. This focuses all the air power on one zone at a time.
Step 5: The Blow-Out Process
This is where the magic happens. It’s a methodical process.
- Turn on your compressor and let the tank fill. Set the regulator to your target pressure (e.g., 40-50 PSI).
- Go to your controller and manually start the first zone. It’s always best to start with the zone that’s highest up or farthest away.
- Walk back to the compressor and slowly open the valve on the air hose to let air into the system. You’ll hear it start to flow.
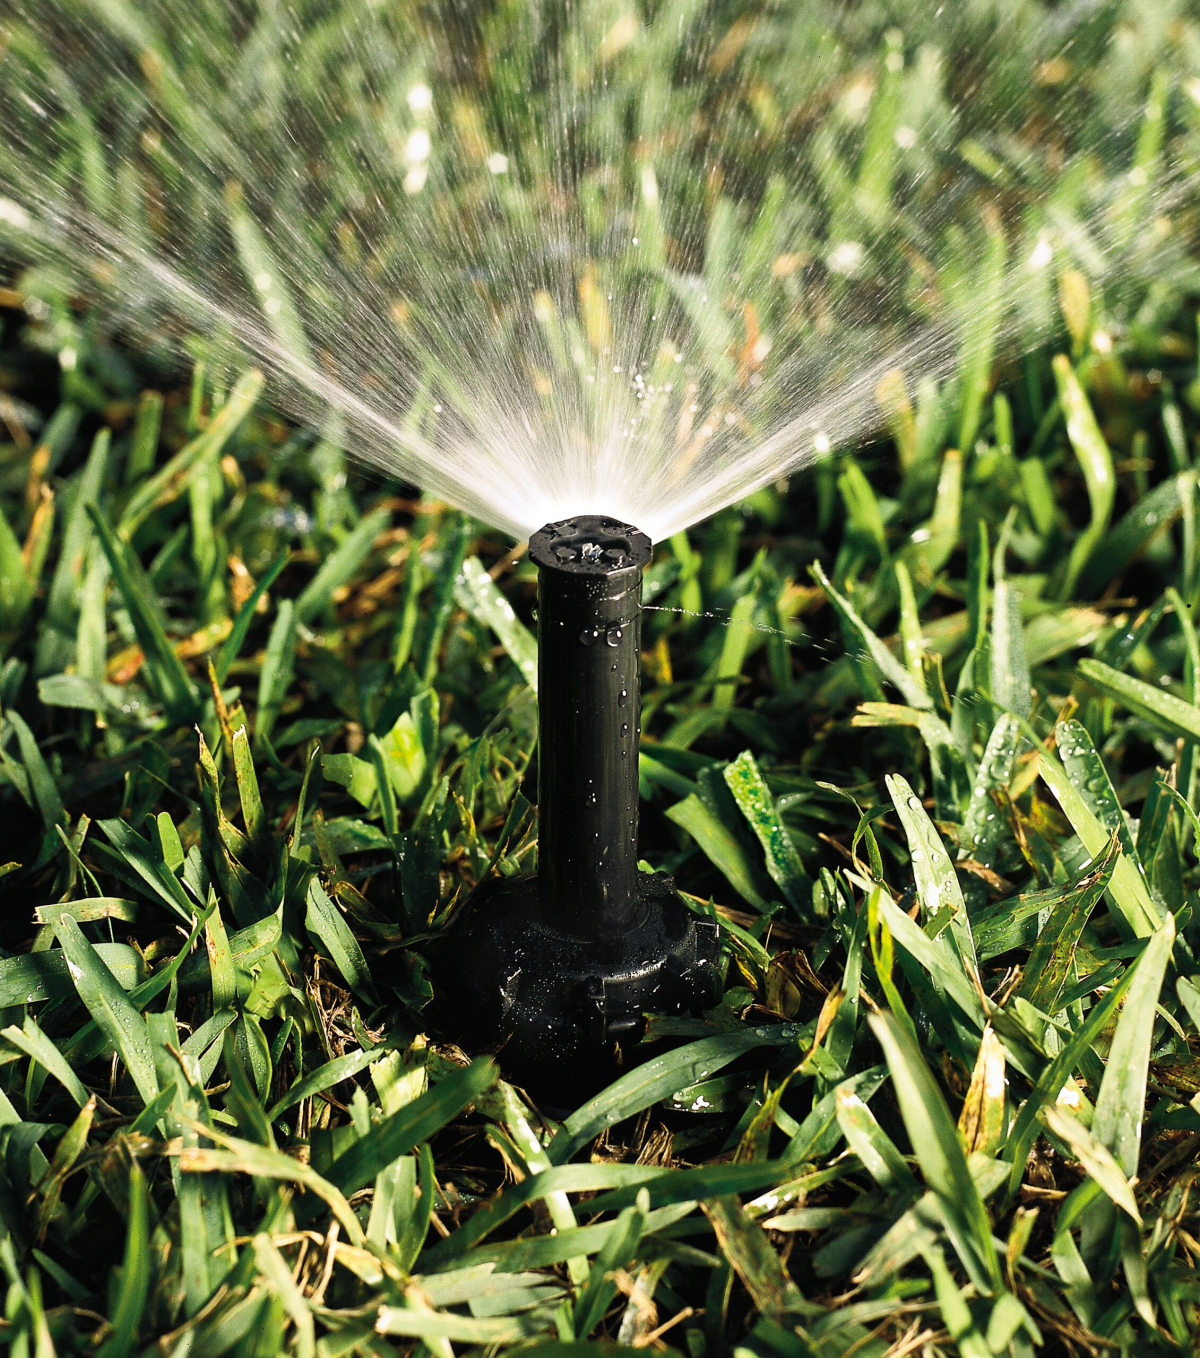
- Now for the fun part. Walk out to the zone that’s running. First, you’ll see a big rush of water. Then it will turn into gurgling and mist. Finally, you’ll just hear air hissing from the heads. That’s the sound of success.
- Let each zone run for about two minutes after the heavy water stops. A common mistake is stopping too soon. To be extra safe, it’s better to run each zone for two minutes, twice, than for one long four-minute stretch. This prevents the pipes from getting hot due to air friction.
- Once a zone is clear, turn it off at the controller and immediately start the next one. Repeat this for every single zone.
- After the last zone is done, turn it off. Then go shut down the compressor, close the air hose valve, and disconnect everything.
Step 6: Final Drain and Prep for Winter
Even after the blow-out, water can get trapped in the backflow device itself. To prevent this, set the two ball valves on the device to a 45-degree angle (half-open). This ensures no water is trapped on either side of the ball. Leave the little test cocks open, too. For extra protection in really cold climates, you can buy an insulated pouch to wrap around the device.

Step 7: Shut Down the Controller
Finally, go back to your irrigation controller and switch it to the “Off” or “Rain” mode. This stops it from trying to run all winter, saving a little electricity and wear and tear. No need to unplug it—the internal memory will save your settings for spring.
DIY or Call a Pro? The Real Breakdown
Honestly, you can totally do this yourself, but it’s not for everyone. Here’s how to decide.
Doing it yourself means you’re on the hook for renting the gear. You’re looking at around $60-$90 for the compressor rental and adapter purchase. It’ll take you probably an hour or two, depending on your system size. The biggest risk, of course, is if you do it wrong—using too much pressure or not getting all the water out can lead to a repair bill that’s way more than what you saved.
Hiring a professional irrigation company, on the other hand, typically costs between $75 and $200, based on your location and the number of zones. It takes zero of your time, and there’s virtually no risk to you—they are experienced and insured. If something goes wrong, it’s on them to fix it.
So, you should definitely consider calling a pro if:
- The cost of renting the right compressor is almost as much as the pro’s fee.
- Your system is huge (10+ zones) or has complex parts like a booster pump.
- You’re just not comfortable handling a big, loud piece of equipment. There’s no shame in that!
- Your main shut-off valve is old, stiff, or seems to be leaking. That’s a job for a plumber first.
A great way to vet a pro? When you call for a quote, ask them what pressure they use. If they say anything over 60 PSI, or if they sound like they’re in a hurry, be wary. A true professional protects your pipes by using lower pressure, even if it takes them a few extra minutes per zone.
At the end of the day, properly winterizing your system is the final act of kindness you can do for your yard before the snow flies. It protects your investment and gives you peace of mind, knowing that when spring finally arrives, you’ll be ready for green grass, not a muddy mess.

Galerie d’inspiration
The biggest mistake DIYers make when blowing out their lines?
It’s not a lack of effort, but too much force. Many assume higher pressure is better, cranking up their air compressor to 100 PSI or more. This is a fast track to cracked fittings and damaged sprinkler heads. The goal is high air *volume* (measured in CFM), not high pressure. For rigid PVC pipes, never exceed 50 PSI. For more flexible polyethylene (poly) pipes, stay under 40 PSI. You want to push the water out with a strong, steady flow of air, not blast it out with explosive force.
An unprotected backflow prevention device can crack when temperatures drop to just 28°F (-2°C) for a few hours.
This component is the heart of your system’s safety, preventing irrigation water from contaminating your home’s drinking water. It’s also the most expensive single part to replace, often costing over $500. Its intricate brass valves and moving parts are extremely susceptible to ice expansion. Insulating the device with a purpose-built cover, like a Pro-Rake or Armor-Cover, is good, but ensuring it’s completely drained via the blow-out method is the only surefire protection.
Air Compressor Choice: A small tire inflator won’t do the job; it lacks the necessary air volume (CFM). You need a tank-style compressor. For most residential systems, a 3-to-6-gallon pancake model, like those from Craftsman or DeWalt, provides the perfect balance of power and portability.
Connector Fittings: The key is a
- Prevents accidental activation during a mid-winter warm spell.
- Protects the delicate internal circuitry from potential power surges.
- Ensures the system is fully dormant until you’re ready in the spring.
The final, crucial step after the lines are clear? Don’t forget the controller. Switch the main dial to the ‘Off’ or ‘Standby’ position. For total peace of mind, unplug its transformer from the wall outlet.

Wondering if you can skip the blow-out? It depends entirely on your system’s design. Some systems are installed with manual drain valves at the lowest points of each zone. If your pipes were laid with a continuous downward slope towards these drains, gravity will do most of the work. However, any dips or level sections in the pipe will still trap water. The compressed air method is the only one universally recommended by pros because it actively forces water out of every nook and cranny, regardless of pipe slope.
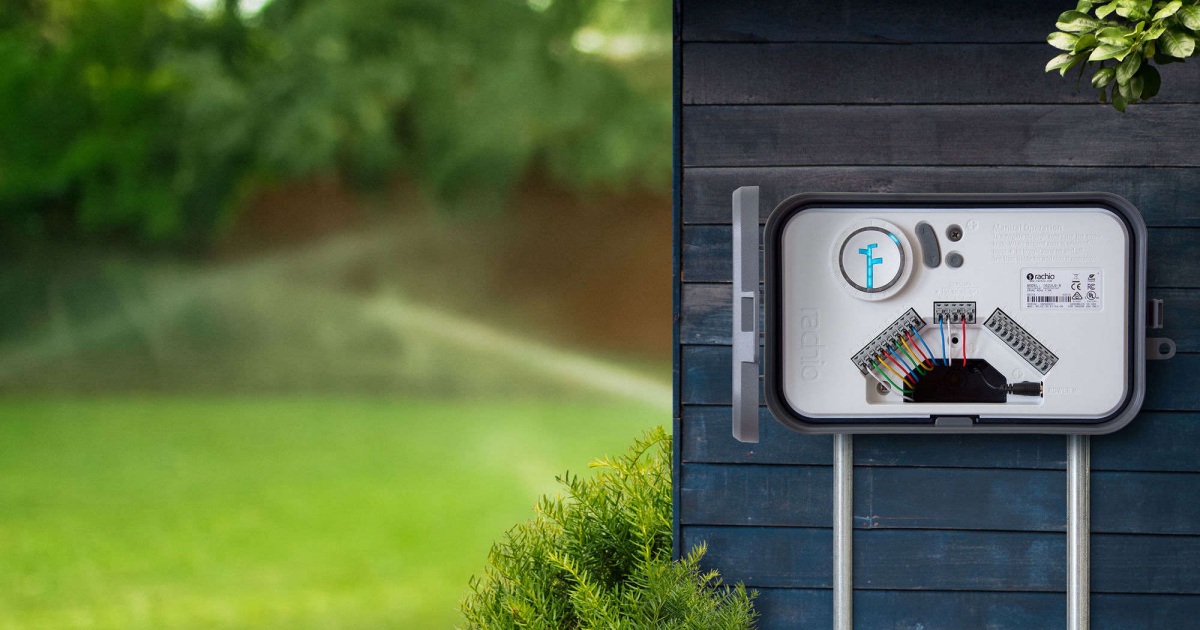
Did you know? Modern smart sprinkler controllers can be a homeowner’s best friend for winter prep.
While they can’t blow out the lines for you, models like the Rachio 3 or Orbit B-hyve use local weather data to automatically implement a ‘seasonal shift’ or ‘weather skip.’ More importantly, they will send a push notification to your phone when the first freeze is forecast, serving as the perfect reminder that it’s time to take action.
Hiring a Pro: Typically costs between $80 and $150. You get peace of mind, professional equipment, and a guarantee against damage.
Going DIY: The main cost is a suitable air compressor, which can be $100 or more. It pays for itself in two seasons, but the risk of improper technique is on you.
The choice comes down to budget versus confidence. The cost of a single burst pipe repair, however, will always exceed either option.


