Your Hibiscus Winter Survival Guide (For Both Kinds!)
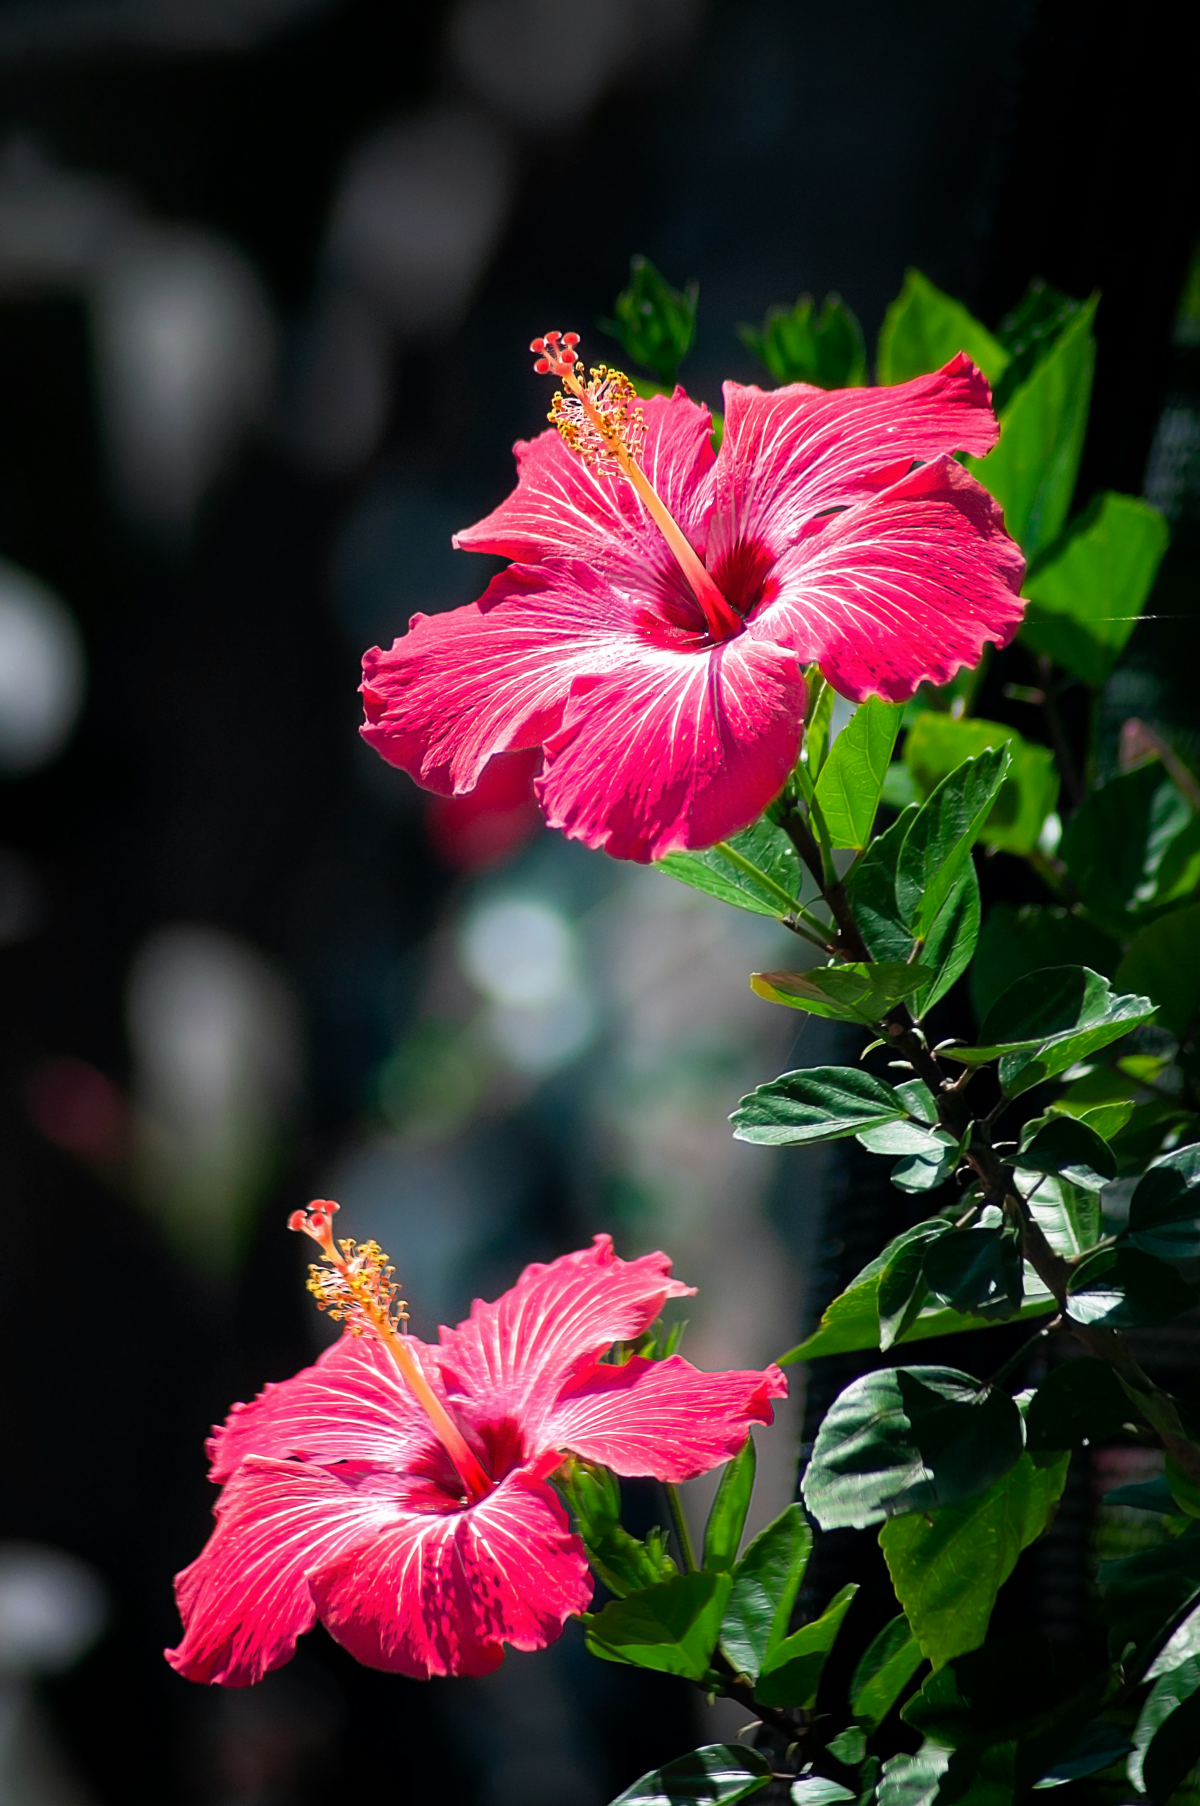
There’s nothing quite like a hibiscus in full bloom, right? Those massive, vibrant flowers feel like a tropical vacation right in your own backyard. But as a gardener, I’ve also felt the sting of seeing a gorgeous hibiscus turn to black mush after one surprise frost. It’s a gut-punch, and a lesson many of us learn the hard way.
In this article
Getting your hibiscus ready for winter isn’t just about plant survival; it’s about making sure it comes back next year stronger and more spectacular than ever. This isn’t super complicated, but you have to get one thing right from the very start, or all your work will be for nothing.
First Things First: Hardy or Tropical?
Before you do anything else, you absolutely must know which type of hibiscus you’re growing. I can’t stress this enough. Treating a tropical variety like a hardy one is the number one reason these plants die over the winter. They are completely different beasts with totally different needs.
So, how can you tell them apart? Let’s break it down.
Your hardy hibiscus, sometimes called a Rose Mallow, is a true perennial for much of North America, often surviving down to USDA Zone 5. (A quick online search for the “USDA Plant Hardiness Zone Map” will show you exactly which zone you’re in.) These are the ones with the gigantic, “dinner-plate” flowers. Their leaves are the biggest clue—they’re often heart-shaped and have a dull, matte finish. The most important thing to know is that they die completely back to the ground after a hard frost, just like a hosta. Their life is stored safely in the roots.
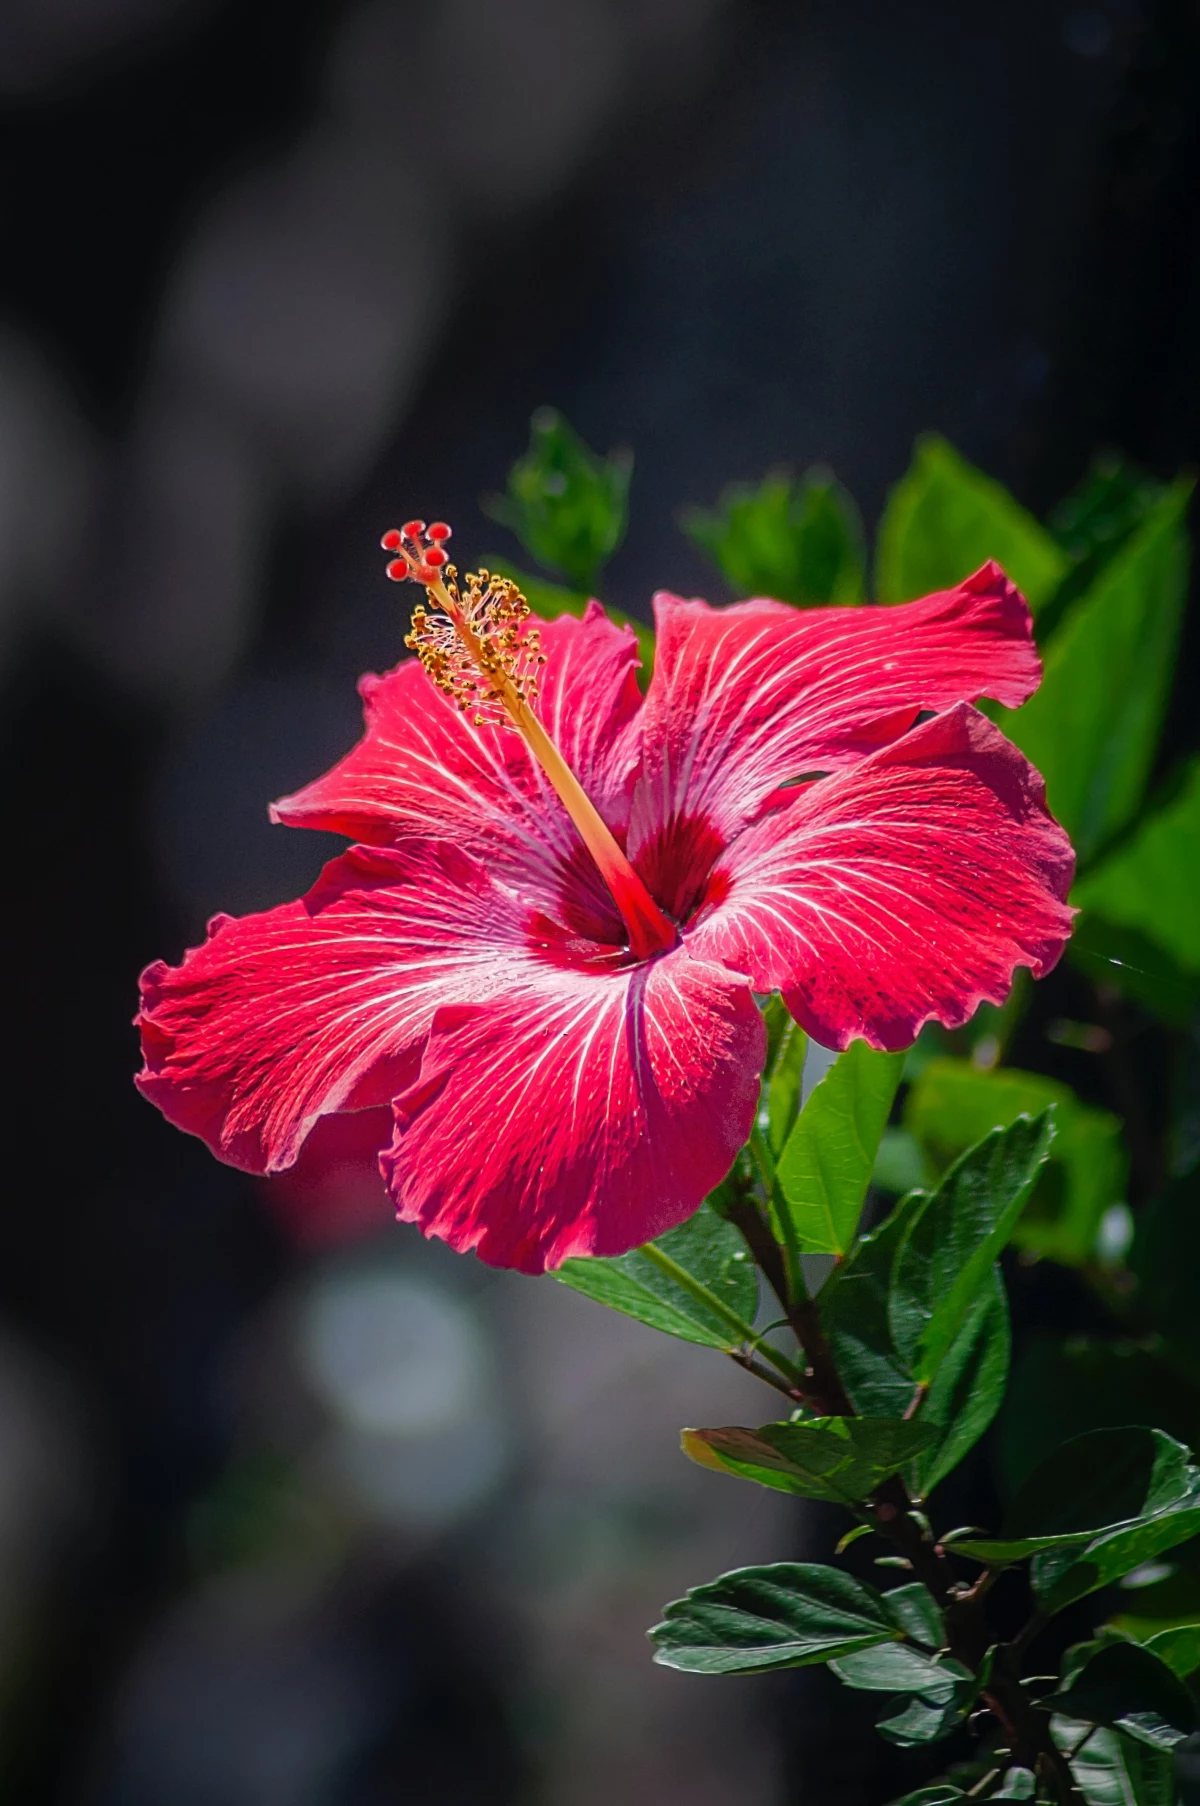
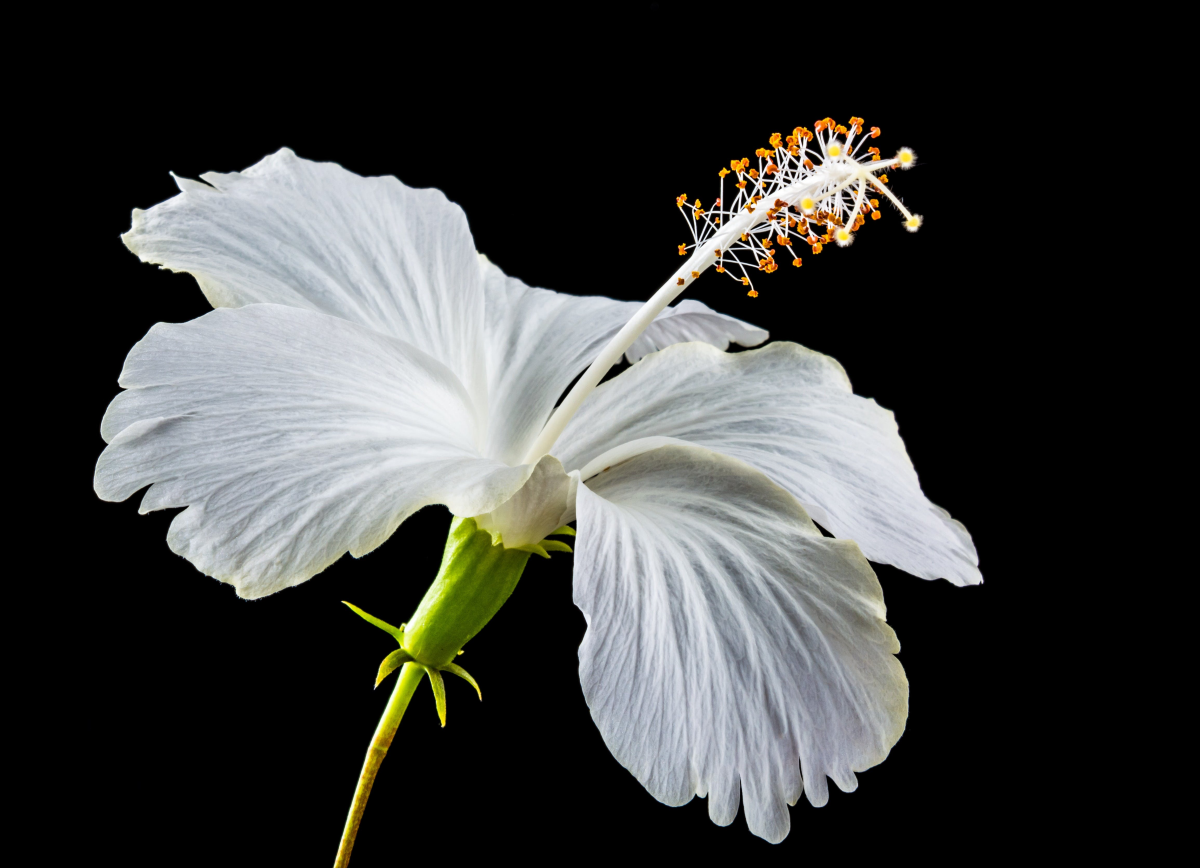
Then you have the tropical hibiscus. This is the plant you see in pots on sunny patios, with deep green, very glossy leaves that stay on the plant all year in warm climates. The flowers are stunning but usually a bit smaller, around 4 to 6 inches. This plant is a woody shrub and has almost zero frost tolerance. A light frost will wreck its leaves, and a hard freeze will kill the whole thing—roots and all.
Honestly, the glossy leaves are the easiest way to spot a tropical hibiscus if you’ve lost the plant tag.
Keeping Your Hardy Hibiscus Safe Outdoors
Good news! Caring for a hardy hibiscus for the winter is pretty simple. Your main job is just to protect its roots.
First, be patient. Don’t you dare prune that plant while it’s still green! Wait for a good, hard frost to kill off all the top growth. You’ll know it’s ready when the stems and leaves look brown and dead. This is a crucial signal that the plant has pulled all its energy down into its root system for the long winter nap.
Once it’s fully dormant, grab some clean, sharp loppers. For this, your whole winter toolkit is simple: loppers and some mulch. Cut all the dead stems down, leaving about 4 to 6 inches sticking out of the ground. Leaving these little stubs is a great old-school trick. It marks the plant’s location so you don’t accidentally damage the crown in the spring, and the hollow stems can even provide a tiny bit of extra insulation.
Now for the most important part: mulch. Think of it as a winter blanket for your plant’s roots. You need a nice, thick layer—at least 4 to 6 inches deep—piled over the crown and spreading out about a foot. Chopped leaves, straw, or shredded hardwood bark are perfect. A big bag of mulch will only run you about $5-$10 at a garden center and it’s the best insurance you can buy for your plant. Just be sure to gently pull the mulch back in the spring after the last frost so the new shoots can find the sun.
Bringing Your Tropical Hibiscus Indoors: The Full Game Plan
Alright, this is a bit more of a project. You’re basically creating an artificial summer to get this tropical beauty through the cold months. Timing is everything.
Watch the forecast. When nighttime temperatures start consistently dipping below 50°F (10°C), it’s go-time. Don’t wait for a frost warning! Those chilly nights are enough to stress the plant and make it drop its precious flower buds.
Heads up! What if you waited a little too long and a light frost nipped the leaves? Don’t panic. If the leaves look wilted but the main stems are still firm and green, there’s a good chance it will recover. Bring it inside immediately, trim off the obviously damaged parts, and give it a chance.
Step 1: The Bug Inspection and Cleanup
Before that plant crosses your threshold, you need to debug it. Trust me on this. I once saw a single hibiscus bring in a spider mite infestation that took months to eradicate. In a shaded spot outside, give the plant a good shower with your garden hose, spraying the tops and bottoms of all the leaves to knock off any freeloaders. Then, I highly recommend a proactive spray with insecticidal soap or neem oil. A bottle of neem oil concentrate is about $15 and will last forever; it’s a must-have for any houseplant owner. Mix it according to the directions and drench the plant. Let it dry completely before moving on.

Step 2: Pruning for the Move
A giant, sprawling plant is tough to fit through a door. Now is the time to give it a haircut, reducing its overall size by about one-third. This makes it more manageable and reduces the stress on the roots. When you make a cut, look for a small bump on the stem where a leaf is or was—that’s a leaf node. Cut about a quarter-inch above a node, as this is where new growth will emerge.
And by the way, don’t throw those cuttings away! This is a perfect chance to make more plants for free. Just stick a few of the healthy 4- to 6-inch cuttings in a jar of water on a bright windowsill. Change the water weekly, and there’s a good chance they’ll grow roots over the winter.
Step 3: The Indoor Setup
Your tropical hibiscus is a sun worshipper. The best possible spot is in front of a big, bright, south-facing window. If you don’t have that, you’ll need to supplement with a grow light. You can find a simple clip-on, full-spectrum LED grow light online for $20 to $40, and it makes a world of difference. Also, these plants are heavy. A simple plant dolly, which you can get for around $25 at a hardware store, will save your back.
Indoor Care: Are You Keeping It Active or Dormant?
Once inside, you have two choices. Your choice depends on how much light and effort you have to give.
The Active Houseplant Method: If you have a great sunny spot or a grow light, you can try to keep it green and thriving all winter. You might even get a few flowers! Water it when the top inch of soil feels dry, but much less than in summer. The biggest challenge is humidity. Indoor heating creates desert-like air. Grouping it with other plants or placing it on a tray of pebbles and water can help. A small humidifier is even better.
The Forced Dormancy Method: This is the low-effort, survival-only option. It’s perfect if you only have a cool, dim space like a basement or garage that stays above 40°F (4°C). For this method, you barely water it—maybe once a month. The plant will look AWFUL. It will drop most of its leaves and look like a sad stick. This is normal! The trick to see if it’s still alive is to gently scratch a tiny spot on a main stem with your fingernail. If you see green underneath the bark, it’s alive and just sleeping soundly.

Troubleshooting Winter Problems
Even with great care, you might hit a snag. Here’s a quick-scan guide for common issues:
- Problem: A ton of yellow leaves are dropping right after I brought it inside.
This is just transplant shock from the change in light and humidity. It’s totally normal. As long as the stems are fine and you aren’t overwatering, just be patient. - Problem: I see tiny spiderwebs and the leaves look dusty or stippled.
You’ve got spider mites. Isolate the plant immediately, give it a good shower, and treat it with neem oil every 5-7 days for a few weeks to break their life cycle. - Problem: The plant is wilting, but the soil is wet.
Oh no. This is the classic sign of root rot from overwatering. Stop watering! The roots are drowning and can’t absorb water. Let the soil dry out completely and hope for the best. This one is tough to come back from.

Waking It Up in the Spring
When all danger of frost is gone and nights are reliably staying above 50°F (10°C), it’s time to move back outside. But you can’t just throw it into the bright sun. You have to “harden it off.” This is a non-negotiable step.
Start by putting the plant in a fully shaded spot for just an hour or two. Over the next 10-14 days, gradually give it more time outside and slowly introduce it to more direct sun. This lets the weak indoor leaves adapt to intense UV light without getting scorched. Once it’s fully acclimated, you can resume your normal summer watering and fertilizing. Soon enough, you’ll see those gorgeous blooms, and all your winter effort will have paid off.
Galerie d’inspiration


A common mistake to avoid: Resist the temptation to perform a hard prune on your tropical hibiscus just before bringing it indoors. While it seems logical to make it smaller, this can shock the plant at a time when it’s already stressed by the change in environment. A better approach is to simply inspect for pests, remove any yellowing leaves, and do a light trim to manage its shape. Save the major haircut for the spring, when the plant is ready to push out vigorous new growth outdoors.
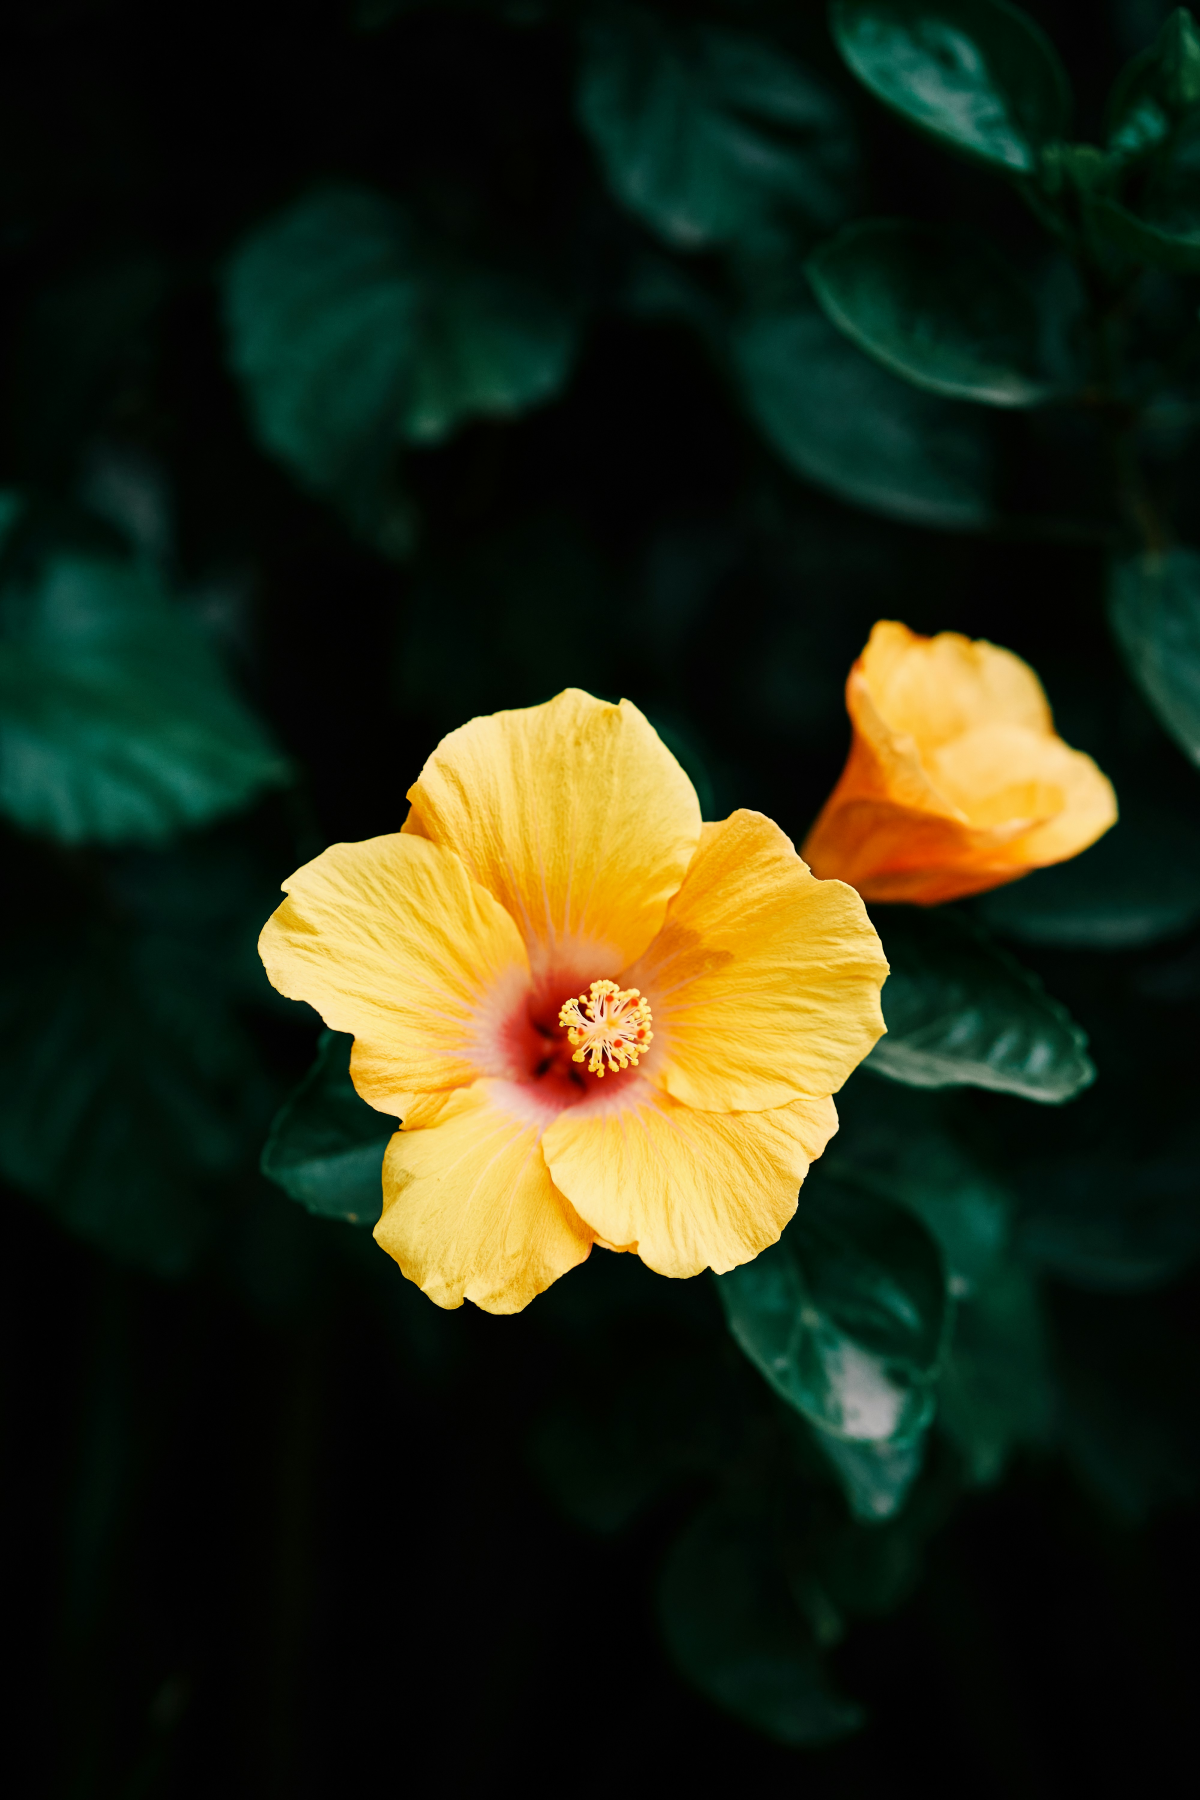
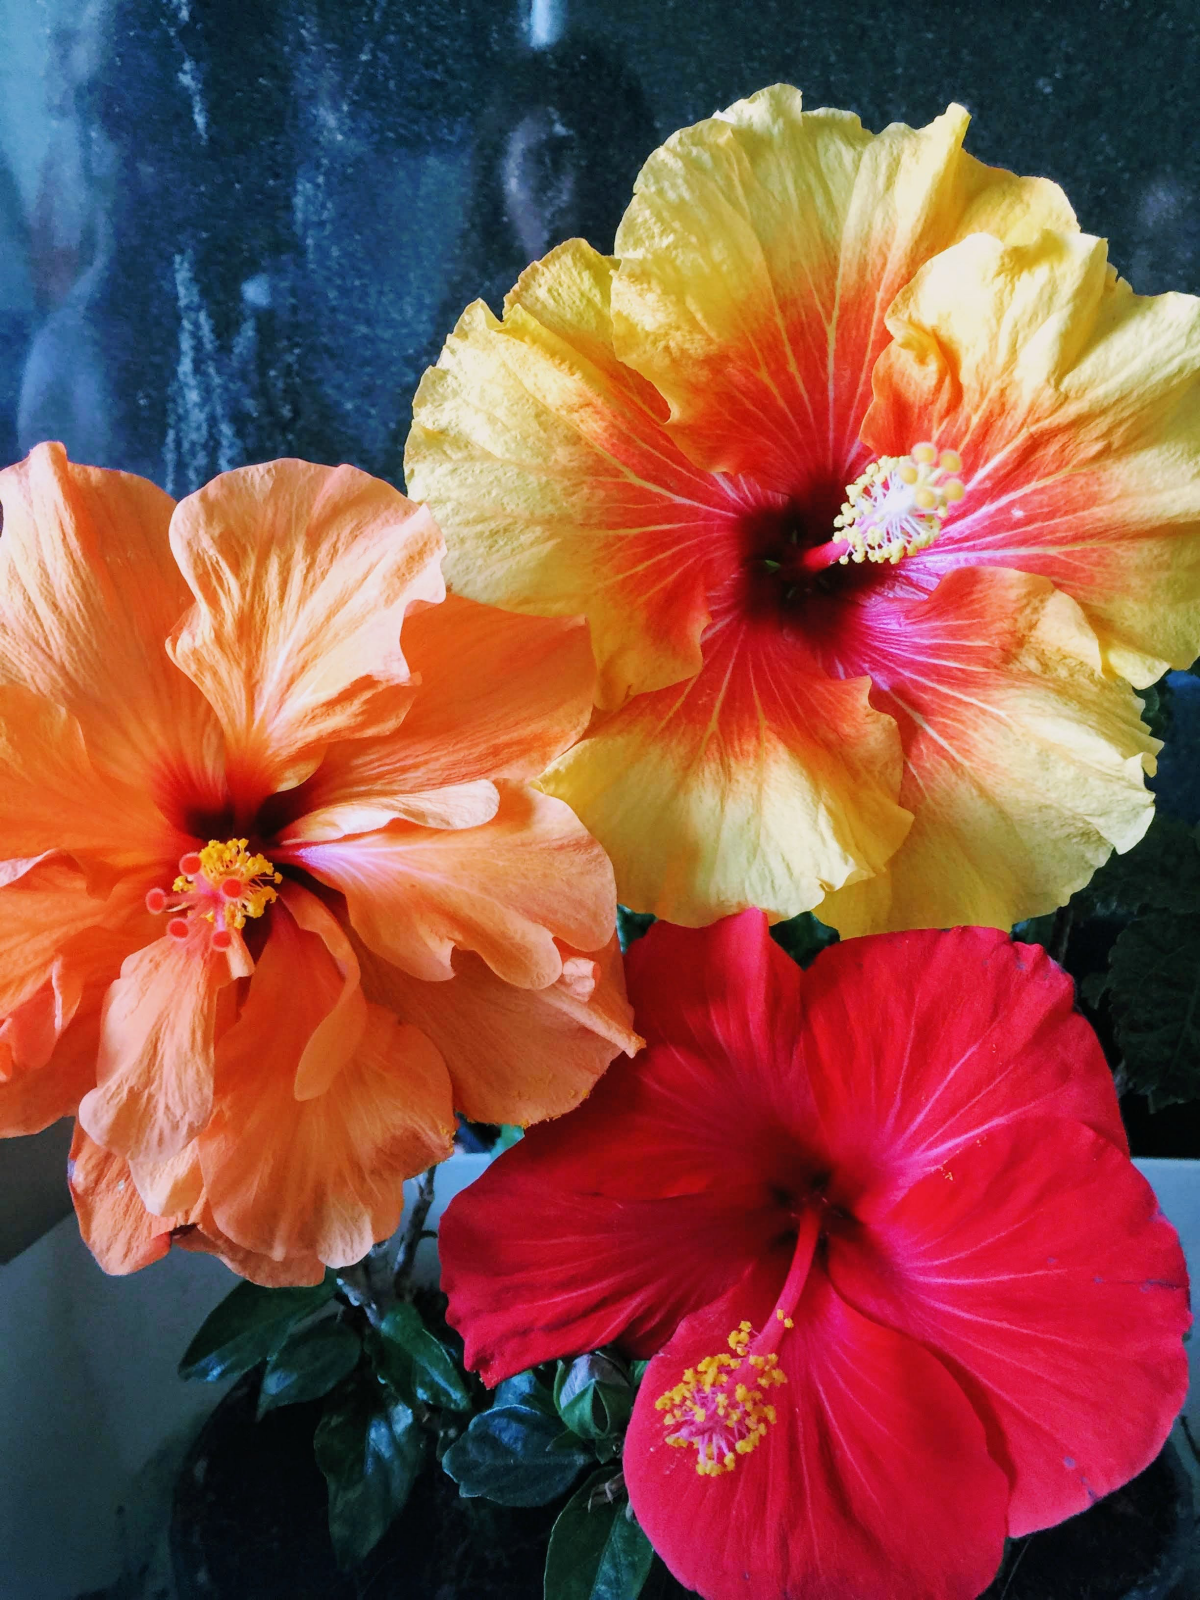
In many cultures, the hibiscus flower symbolizes fleeting, delicate beauty—a reminder to seize the moment.
That’s exactly the feeling you get when your carefully overwintered hibiscus produces its first glorious bloom in late spring. All the effort of moving pots, checking for water, and finding the right light culminates in that one perfect, vibrant flower, a brilliant reward for your winter stewardship.
Worried your home isn’t sunny enough for an overwintering tropical hibiscus?
Don’t let a north-facing window dash your hopes. A simple, affordable clamp lamp fitted with a full-spectrum LED grow bulb can be a lifesaver. Look for brands like Sansi or GE Grow Light, which offer bulbs that fit standard fixtures. Position it above the plant and run it on a timer for 6-8 hours a day. This small investment prevents the sad, leggy growth that happens in low light and can even encourage a few surprise winter blooms.
Choosing the right winter fertilizer for your indoor hibiscus requires a delicate balance. You want to provide nutrients without encouraging weak, leggy growth in lower light.
- Supports steady, low-level nutrition without the risk of burning roots.
- Reduces the chance of fungus gnats, which are attracted to damp, overly rich soil.
The secret? A light touch with slow-release granules. A small sprinkle of a product like Osmocote Plus when you first bring the plant inside is often enough to sustain it through winter. It’s a ‘set it and forget it’ method perfect for the plant’s semi-dormant state.
Slow-Release Granules: These are mixed into the top layer of soil and release nutrients gradually every time you water. It’s a low-effort way to provide a consistent, gentle food source. Ideal for busy gardeners.
Diluted Liquid Feed: Using a houseplant fertilizer like a liquid Miracle-Gro at quarter-strength gives you more control, but you risk over-fertilizing if you’re not careful. This can be too much for a plant that has slowed its growth for the winter.
For overwintering, slow-release is generally the safer, simpler bet.


