Your Orchid Isn’t Hard to Care For, It’s Just… Different
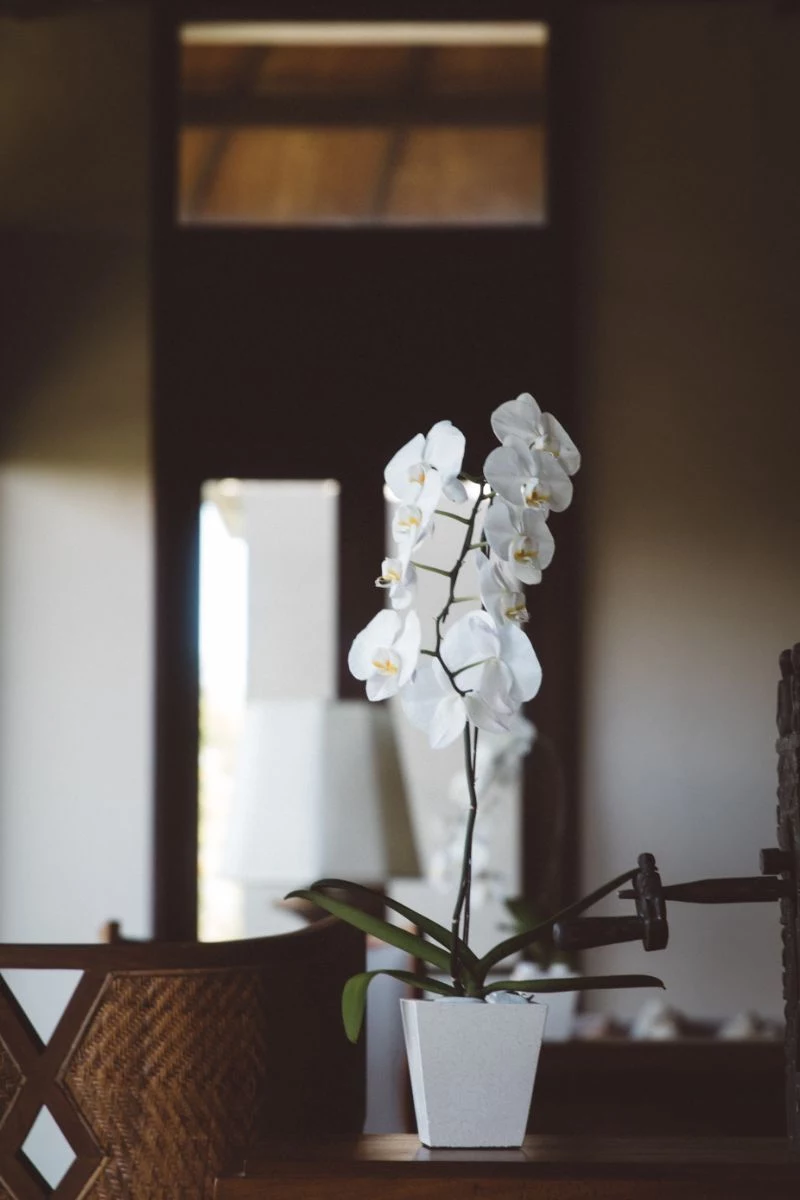
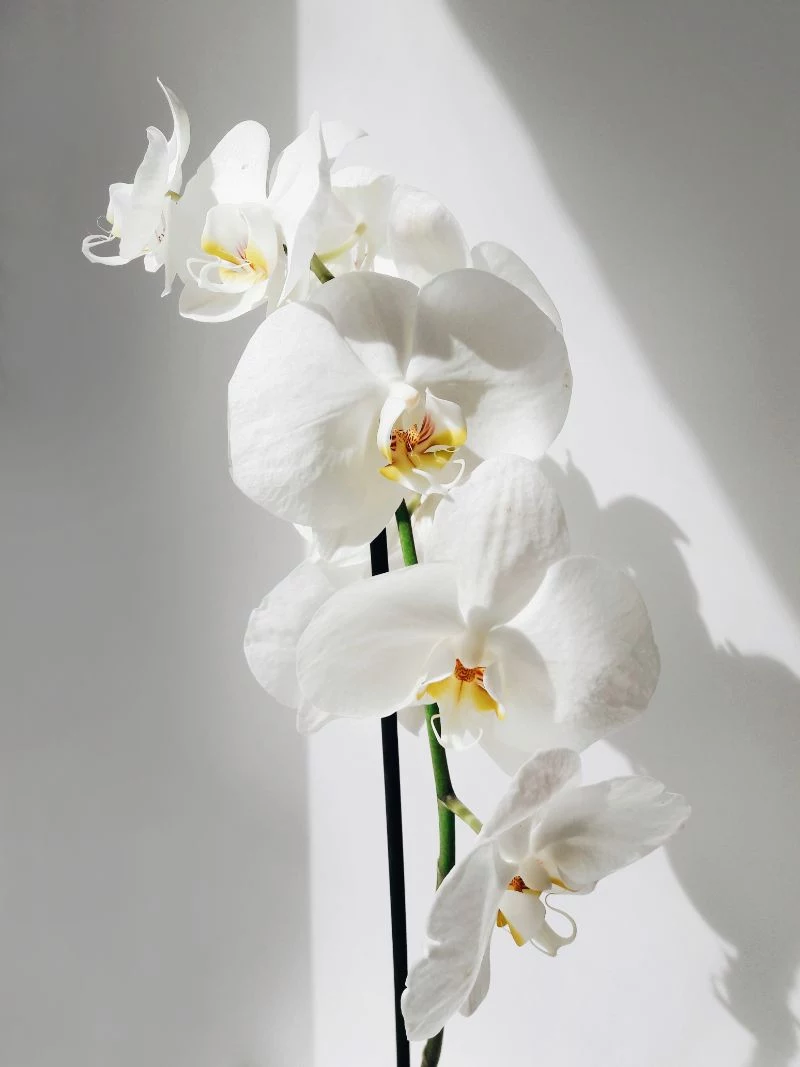
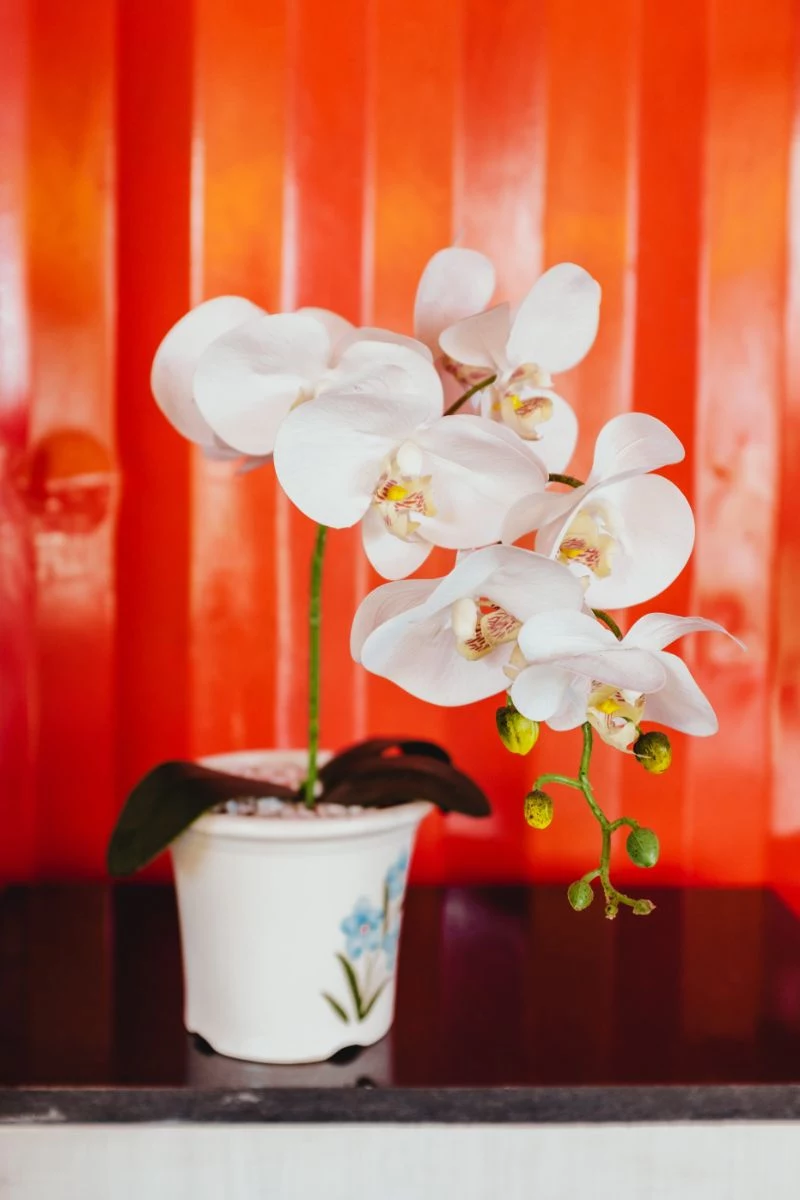
My first orchid was a gift. It was one of those gorgeous white ones you see at the grocery store, a Phalaenopsis. I was told it was a piece of cake to care for. So, I put it on my desk, watered it just like my other houseplants, and in less than three months, it was a sad pot of mushy, dead roots. Sound familiar?
In this article
That failure was super frustrating, but honestly, it kicked off a curiosity that’s stuck with me for over two decades. I didn’t just want to know how to keep an orchid alive; I needed to understand why they live the way they do. What I eventually figured out is that orchids aren’t difficult. They’re just completely different from any other plant in your house.
So many people struggle with orchids because they’re trying to treat them like a typical plant growing in soil. The single most important thing to get your head around is that most orchids you’ll buy, especially that Phalaenopsis (or “moth orchid”), are epiphytes. And that one little fact changes everything. Forget what you know about dirt, and let’s dive into how these things actually live out in the wild. This is the key to unlocking your orchid-growing success.
Why Your Orchid Isn’t a Normal Houseplant
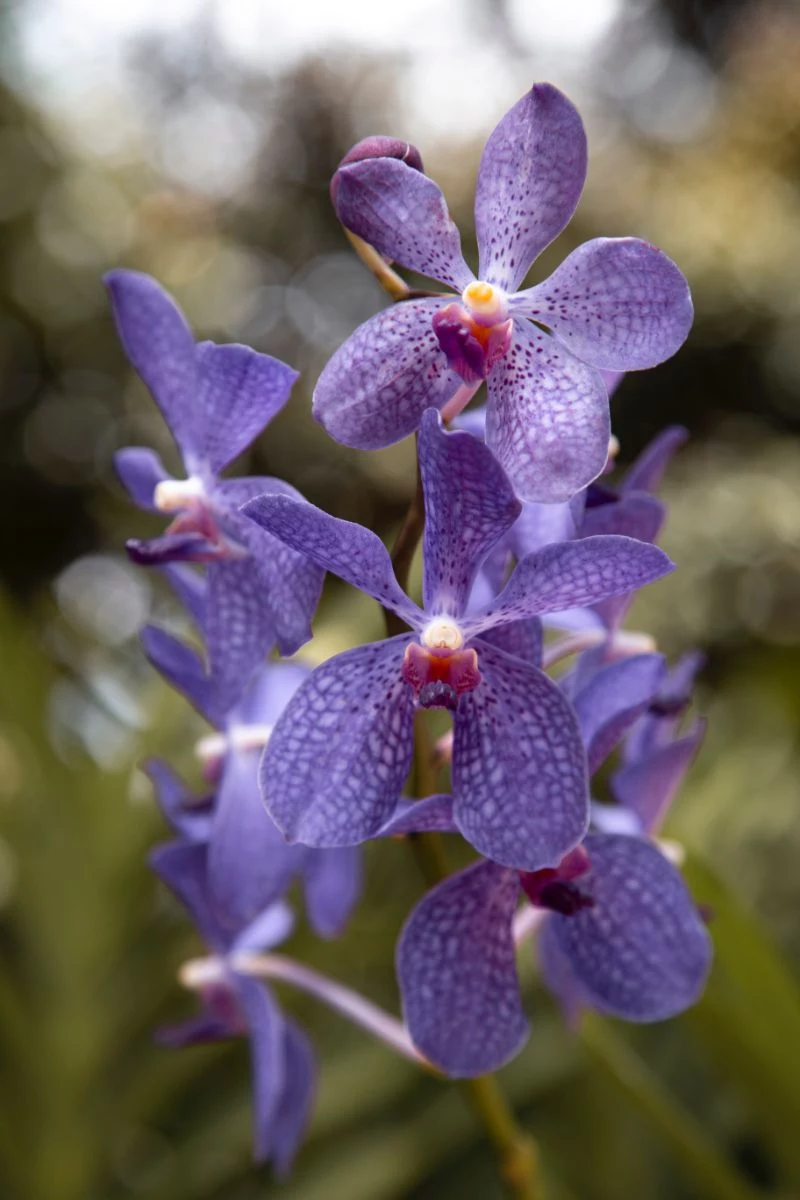
An epiphyte is basically a plant that grows on another plant—like a tree branch—just for support. It’s not a parasite; it doesn’t steal any nutrients from its host tree at all. Instead, it uses these wild-looking roots to anchor itself high up in the jungle canopy, where it gets just the right amount of filtered light and amazing air circulation. This unique lifestyle dictates every single one of its needs.
Those Roots Tell the Whole Story
Go ahead, take a close look at your orchid’s roots. They’re thick, fleshy, and usually a silvery-green color. These are not soil roots. They’re covered in this spongy layer of dead cells called velamen. The best way to think of it is like a super-effective paper towel wrapped around the actual, much thinner root inside. When it’s dry, the velamen is white or silvery. But when you water it, it turns green as it becomes transparent, letting you see the chlorophyll in the root right underneath.
This spongy layer is a genius adaptation. It rapidly soaks up water from rain and humidity while also protecting the delicate inner root from getting sunburnt. But here’s the most crucial part: these roots HAVE to breathe. If you stick them in dense, wet potting soil, the velamen gets waterlogged, can’t get any air, and the root suffocates and rots. This is, without a doubt, the number one reason orchids die in our homes.
A Weird Way to Breathe
By the way, orchids also have a clever trick for conserving water. Most plants open the pores on their leaves during the day to take in carbon dioxide, but they lose a lot of water in the process. Orchids are smarter. They keep their pores shut tight during the hot day and open them at night when it’s cooler to collect CO2. When the sun comes up, they close up shop and use that stored-up gas and sunlight to make energy. (Yeah, they basically breathe at night, which is pretty cool). This is a brilliant survival skill for an environment where rain can be unpredictable.

Okay, So How Do I Actually Keep It Alive?
Knowing your orchid is an air plant is half the battle. Your goal is simply to mimic its natural treetop home as best you can. We can do this by nailing three key things: light, water, and the stuff it’s potted in.
Getting the Light Just Right
In the jungle, a moth orchid is growing under the shade of bigger trees. It gets dappled, not direct, sunlight. That classic advice, “bright, indirect light,” can be a bit vague, right? Here’s a more practical way to think about it: place your orchid where it gets several hours of light that’s bright enough to comfortably read a book by.
An east-facing window is often the sweet spot, giving it gentle morning sun. A south or west-facing window can be too harsh, but you can easily soften that light with a sheer curtain. You never want the sun’s rays beating directly on the leaves for long, as that will cause a nasty sunburn, which looks like a bleached or even blackened patch.
Your plant will tell you if it’s happy. Here’s a little challenge: go look at your orchid’s leaves right now. What color are they?
• Lush, dark green leaves usually mean not enough light. The plant is overproducing chlorophyll to compensate. It’ll probably survive, but it won’t have the energy to bloom.
• A nice, firm, olive green is the goal. This is the happy color that says it’s getting plenty of energy for both leaves and flowers.
• Yellowish or reddish-tinged leaves are a sign of stress. It’s getting too much light and is at risk of burning. Move it back a bit!
The Secret to Watering an Orchid
This is it. This is the skill that separates a thriving orchid from a pot of mush. Since those roots need air, you must let the potting mix almost completely dry out between waterings. For most homes, this works out to about once every 7 to 10 days. But please, do not water on a schedule! You have to check the plant first. Here are three foolproof methods:
1. The Root Check: This is why those clear plastic pots are so great. Look at the roots you can see. If they’re bright green, they’re still hydrated. If they’ve faded to a silvery-white or gray, it’s time for a drink.
2. The Weight Test: Pick up the pot right after you’ve watered it. Feel how heavy it is. Then, lift it every couple of days. You’ll quickly get a feel for a heavy, wet pot versus a surprisingly lightweight, dry one.
3. The Skewer Method: Grab a plain wooden barbecue skewer or a chopstick. Gently push it into the center of the pot, trying to avoid any big roots. Leave it in for a minute. If it comes out dark and damp, wait a few more days. If it comes out clean and dry, it’s watering time.
When you do water, use the soaking method. And a quick heads up: I strongly advise against using ice cubes. The extreme cold can shock and damage the roots of a tropical plant. Instead, put the whole clear pot inside a larger bowl. Fill the outer bowl with lukewarm water. Let the orchid soak for a good 15 to 20 minutes so the bark has time to get fully saturated. Then, and this is critical, lift the pot out and let it drain completely. It absolutely cannot sit in a saucer of standing water.
Oh yeah, about the water itself. Rainwater or distilled water is the gold standard. But can you use tap water? Probably! If your tap water is fairly soft, you’re likely fine. If you have very hard water (you’d know from white mineral crust on your faucets), spending a couple of dollars on a gallon of distilled water is a great way to prevent mineral buildup on the roots.
The Right Pot and Potting Mix
You can’t plant an orchid in potting soil. It needs a special, chunky, airy mix. The most common stuff you’ll see is:
• Fir Bark: This is the standard for moth orchids. It provides great airflow and holds just enough moisture. A bag will run you about $8 to $15 and last for several repottings.
• Sphagnum Moss: Holds way more water than bark. It can be a lifesaver in a very dry climate, but for most people, it makes overwatering dangerously easy. I often see orchids sold packed in 100% moss, which is a ticking time bomb for a beginner.
• Perlite and Charcoal: These are often added to mixes to boost drainage and keep the mix from getting funky.
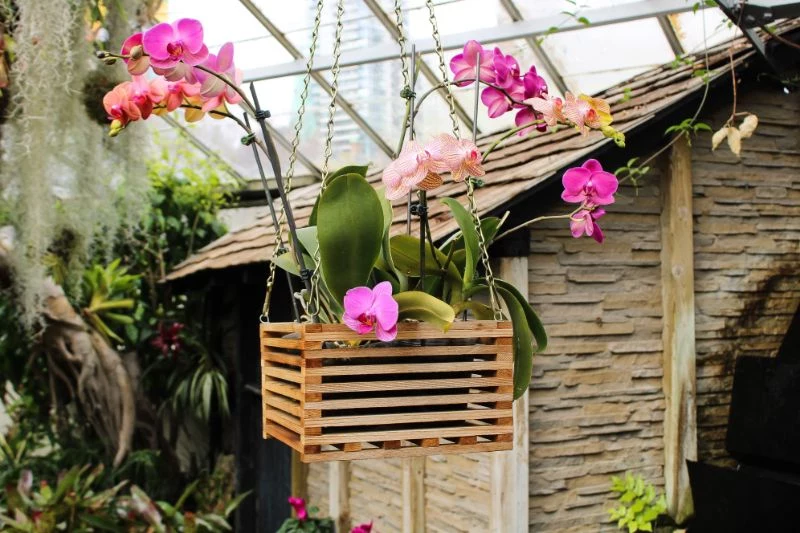
For a beginner, I always recommend a mix that is mostly medium-grade fir bark. It gives you a great safety margin against overwatering. As for the pot, those clear plastic pots with lots of slots aren’t just for garden centers; they’re an amazing tool for you. They let you see exactly what’s going on with the roots and moisture levels. The pretty ceramic pot is just for looks—a cachepot to slip the real pot into.
How to Feed Your Orchid (Without Burning It)
In nature, orchids get a constant, super-weak trickle of nutrients from things washing down the trees. We need to copy that with fertilizer. Orchids are very light feeders, and their roots can get scorched by too much fertilizer. A bottle of balanced liquid fertilizer is a good investment, usually around $10, and it will last you forever.
The best rule to follow is “weakly, weekly.” This just means using a balanced liquid fertilizer (look for numbers like 20-20-20 on the label) but diluting it to 1/4 of the strength recommended on the package. Use this weak solution every time you water. Then, once a month, flush the pot with plain water only. This washes out any mineral salts that might have built up.
A critical tip I’ve learned: NEVER fertilize a dry plant. The roots will suck up the concentrated salts and burn. Always apply your fertilizer as part of the soaking routine, never to a dry pot.
After the Flowers Fall: What to Do Next
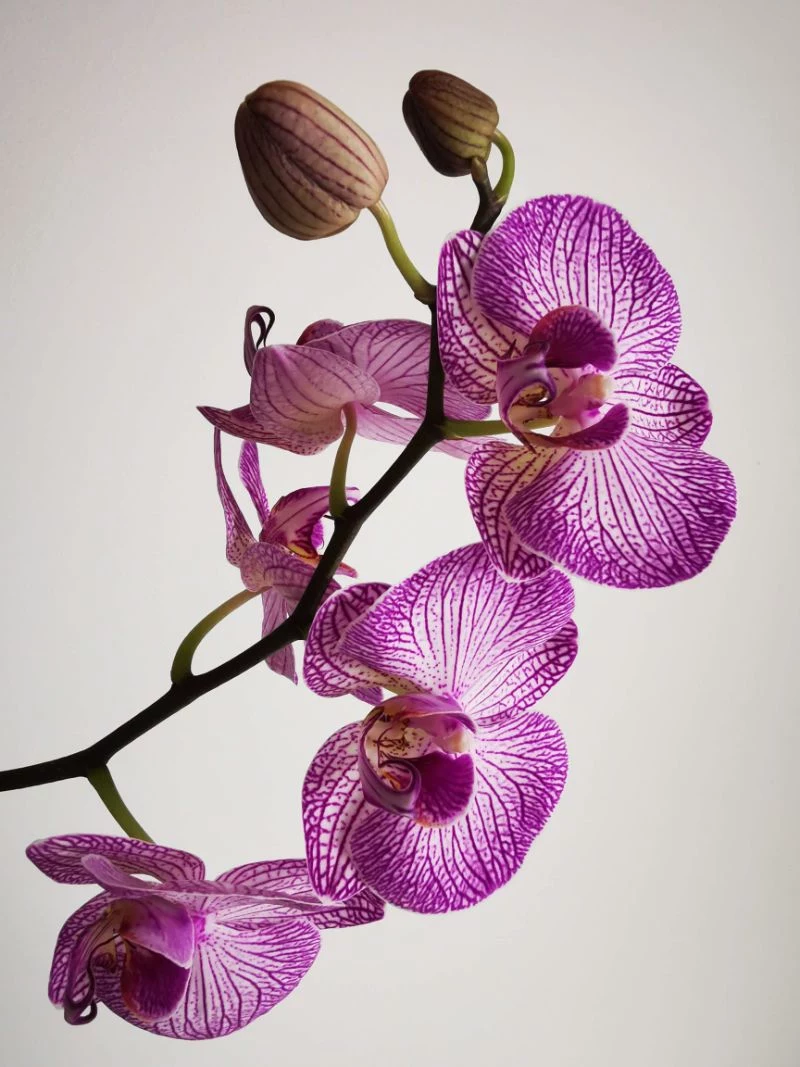
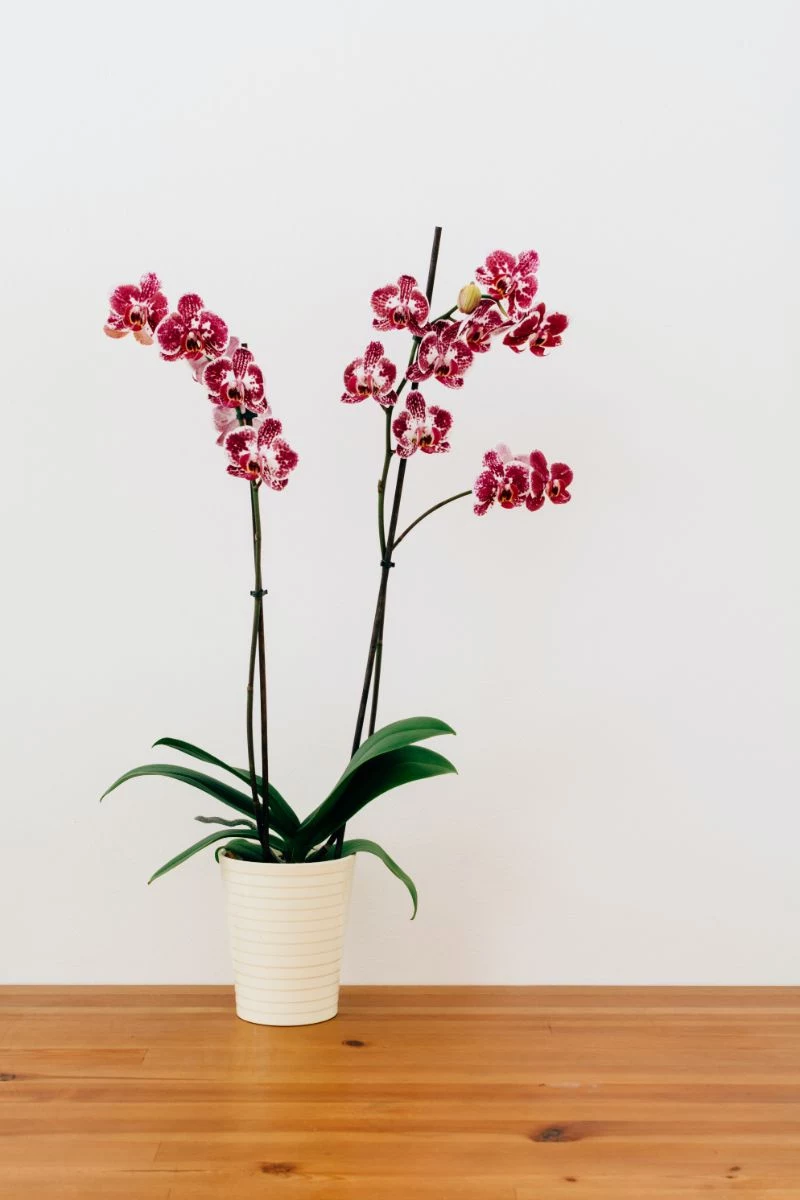
A happy Phalaenopsis will usually bloom once a year, and the show can last for two or three months! The bloom is often triggered by a drop in nighttime temperatures of about 10-15°F for a few weeks in the fall, which often happens naturally if the plant is near a window.
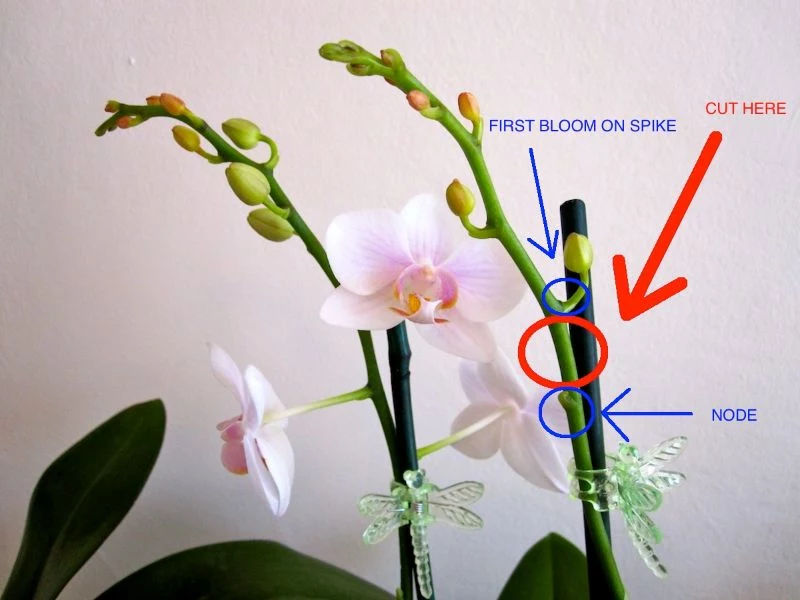
When the last flower finally drops, you’ve got two main choices for the flower spike. Here’s the breakdown to help you decide:
• Option 1: Go for a Quick Rebloom. If the spike is still green and healthy, you can try to get a second, smaller show. Find a little triangular bump (a node) on the spike, count two or three nodes up from the leaves, and cut about an inch above that node. A new branch with a few more flowers might grow. The pro is a faster rebloom, but the con is that the flowers will be smaller and fewer, and it takes a bit more energy from the plant.
• Option 2: Play the Long Game. If the spike is turning yellow or brown, the plant is done with it. Cut it all the way down at the base. This is the method I almost always recommend. It lets the plant focus all its energy on growing strong new leaves and roots. The con is you have to wait for the next annual bloom cycle, but the pro is that the next show will be much bigger and more spectacular because the plant is fully rested.
A serious safety warning: Always, always, ALWAYS sterilize your cutting tools. Orchid viruses are incurable and spread like wildfire on contaminated tools. Before you make any cut, wipe your pruning shears or razor blade with rubbing alcohol (a $2 bottle from the pharmacy is perfect) or pass the blade through a flame for a few seconds. I learned this the hard way years ago and lost several plants. It’s a mistake you only make once.
Repotting: A Necessary Refresh Every Couple of Years
Repotting isn’t about getting a bigger pot; it’s about replacing the old, broken-down bark. Over time, that bark decomposes, gets compacted, and holds too much water, which will lead to root rot. Plan to repot every one to two years, usually after it’s finished blooming. This is probably the most intimidating task for a new owner, but it’s not so bad! Plan to set aside a good 30 minutes so you don’t have to rush.
Before you start, get your supplies ready. It makes the process much smoother. You’ll need: • A bag of fresh Orchid Bark Mix ($8-$15) • A new clear plastic orchid pot, usually the same size or just one inch bigger ($2-$5) • A bottle of Isopropyl Alcohol ($2) • Some newspaper to contain the mess (Free!)
Here’s how to do it safely:
1. First, soak the plant for 20 minutes to make the roots more flexible and less likely to snap.
2. Gently squeeze the pot and ease the plant out. You may have to carefully cut the pot away if roots have grown through the slots.
3. Now for the messy part. Delicately pick away all the old potting mix from the roots. Be patient.
4. Inspect the roots. Healthy roots are firm and white or green. Dead roots are gross—mushy, stringy, papery, and usually brown or black. Using your sterile cutters, trim off every single dead root. Be ruthless! This is the most important step.
5. Put a little new bark in the bottom of the clean pot, hold the plant in place, and gently fill in around the roots. Tap the pot on the table to help the bark settle. Don’t pack it down tight!
6. And this is key: Do not water it for a week. This lets any little cuts on the roots callus over and heal, which prevents infection when you do eventually water.
Help! My Orchid Is Doing Something Weird
Even with great care, stuff happens. Here’s how to diagnose the common issues.
• Wrinkled, Leathery Leaves: This means the plant is dehydrated. Ironically, this is usually caused by overwatering. The roots have rotted away, so the plant can’t drink. You have to unpot it immediately and do root surgery. Now, be prepared. When you unpot it, you might find a scary mess of brown, mushy roots. Be brave and cut them ALL off. It’s okay if you’re left with only 3-4 healthy, firm roots. That’s the ‘after’ you’re aiming for, and the plant can absolutely recover from there!
• One Yellowing Lower Leaf: If it’s just the single, bottom-most leaf slowly turning yellow, don’t panic. This is usually normal. The plant is just shedding an old leaf to make way for new growth.
• Pests: The most common culprits are mealybugs (little white cottony specks) and scale (small, hard brown bumps). For a small infestation, dip a cotton swab in rubbing alcohol and just touch each pest to dissolve it. Easy peasy.
• It Won’t Rebloom: If your plant is healthy but just won’t make a new flower spike, the cause is almost always not enough light or a lack of that cool nighttime temperature drop in the fall. Try moving it to a brighter spot and see what happens next year.
Caring for an orchid is so rewarding because it teaches you to observe and respond, not just go through the motions. They’re tougher than they look and can survive a lot of neglect, but they really can’t survive being killed with kindness (and too much water). Once you start thinking of them as the treetop air plants they are, you’ll be enjoying their incredible flowers for years to come.


