Don’t Let Winter Wreck Your Hydrangeas: A Pro’s Guide to Protecting Your Blooms
You know that first moment in fall when you smell woodsmoke on the air? For me, that’s the signal. It’s a quiet reminder that the gardening season is winding down, and it’s time to tuck everything in for the winter. Of all the plants I work with, hydrangeas are the ones that cause the most nail-biting. Everyone loves those big, showy blooms, and the thought of a harsh winter leaving them with nothing but green leaves next summer is genuinely stressful.
In this article
And you know what? That concern is totally valid. But here’s the good news: with the right game plan, you can give your hydrangeas a fantastic chance of not just surviving, but thriving. These methods aren’t magic; they’re just practical steps I’ve picked up over years of working in gardens, learning from mentors, and honestly, making a few of my own mistakes along the way. Success isn’t about one big, heroic effort. It’s about doing a few small things correctly at the right time.
Quick win before we start: If you only have five minutes today, go outside and rake up all the fallen, dead hydrangea leaves from around the base of your plants. Bag them up and toss them. This simple cleanup removes a huge source of fungal disease for next year. Done? Awesome. Now let’s get into the real strategy.
First Things First: Know Your Hydrangea Type
Okay, stop right here. Before you even think about touching those pruners or grabbing a bag of mulch, you have to know what kind of hydrangea you have. This is, without a doubt, the most important step.
Your first mission: Seriously, go figure out what you’re working with. Take a picture from the summer to a local nursery if you have to. Don’t guess. Everything that follows depends entirely on this. Why? Because different hydrangeas form their flower buds in completely different ways, and treating them wrong means no flowers. I see it every single spring.
Here’s the breakdown, plain and simple.
Group 1: Blooms on Old Wood (The Divas)
These are the plants that form next year’s flower buds in the late summer and fall. Those buds sit on the old, woody stems all winter long, just waiting. Your job is to protect these stems like a bodyguard. If the buds freeze or snap off, goodbye blooms.
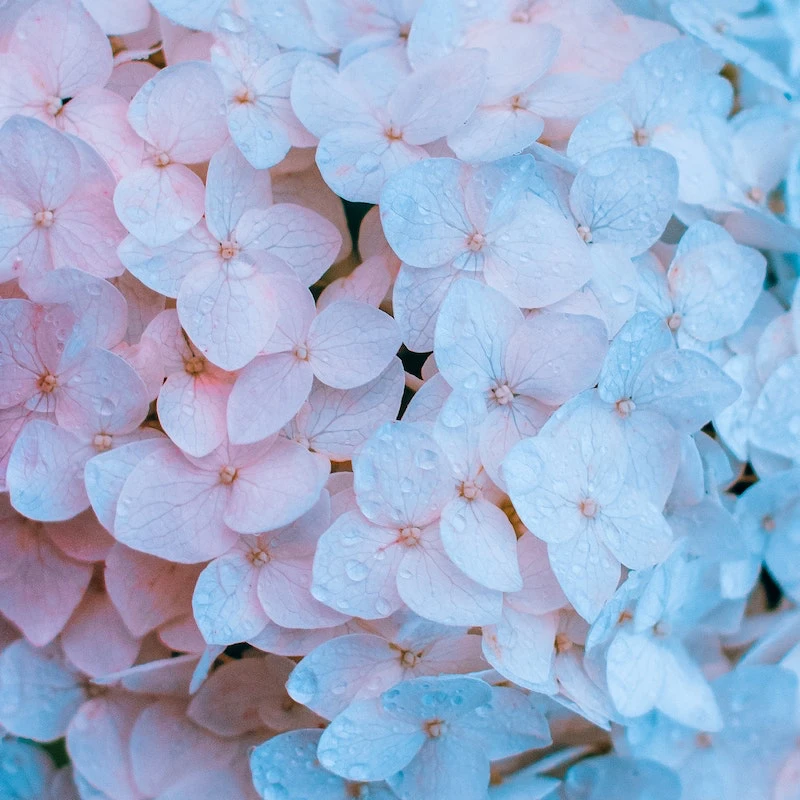
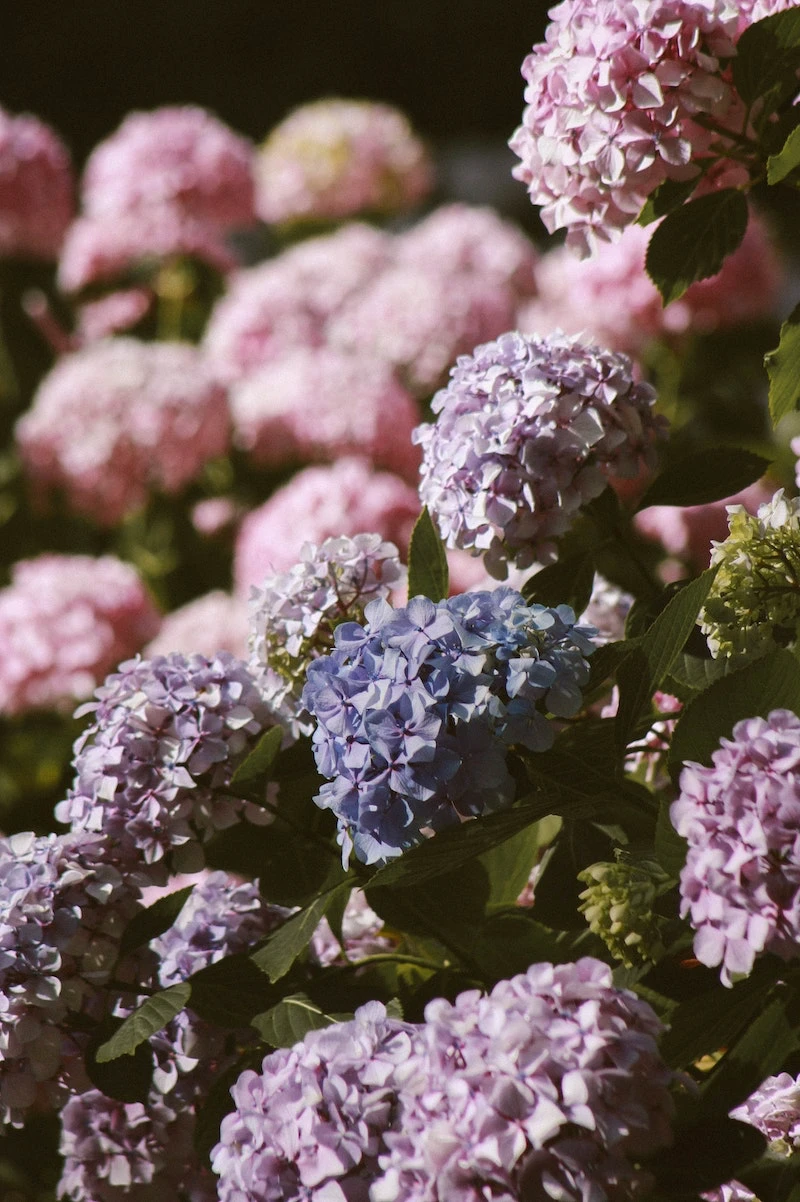
- Bigleaf Hydrangeas: These are the classic mopheads and lacecaps with the iconic pink or blue flowers. They’re gorgeous but are the most sensitive to the cold. The plant itself might survive in Zone 6, but the flower buds often only handle Zone 7 weather. That little gap is where the heartbreak happens.
- Oakleaf Hydrangeas: A much tougher customer, these natives have cool, oak-shaped leaves and bark that peels in a really attractive way. They also bloom on old wood but usually don’t need intense protection unless you live somewhere seriously cold (think Zone 5 or below).
- Climbing Hydrangeas: These woody vines also set buds on old wood. They’re pretty tough once they get established, but a little extra care in their first few years is a smart move.
Group 2: Blooms on New Wood (The Tough Guys)
These are the easy-going hydrangeas. They produce fresh green growth in the spring, and the flowers form on that brand-new wood. A tough winter can kill the stems right down to the ground, and they honestly couldn’t care less. They’ll just grow back and bloom the same year.
- Panicle Hydrangeas: Think of those big, cone-shaped flowers that are often the last to put on a show in the summer. These are workhorses and are super reliable in cold climates, often down to Zone 3.
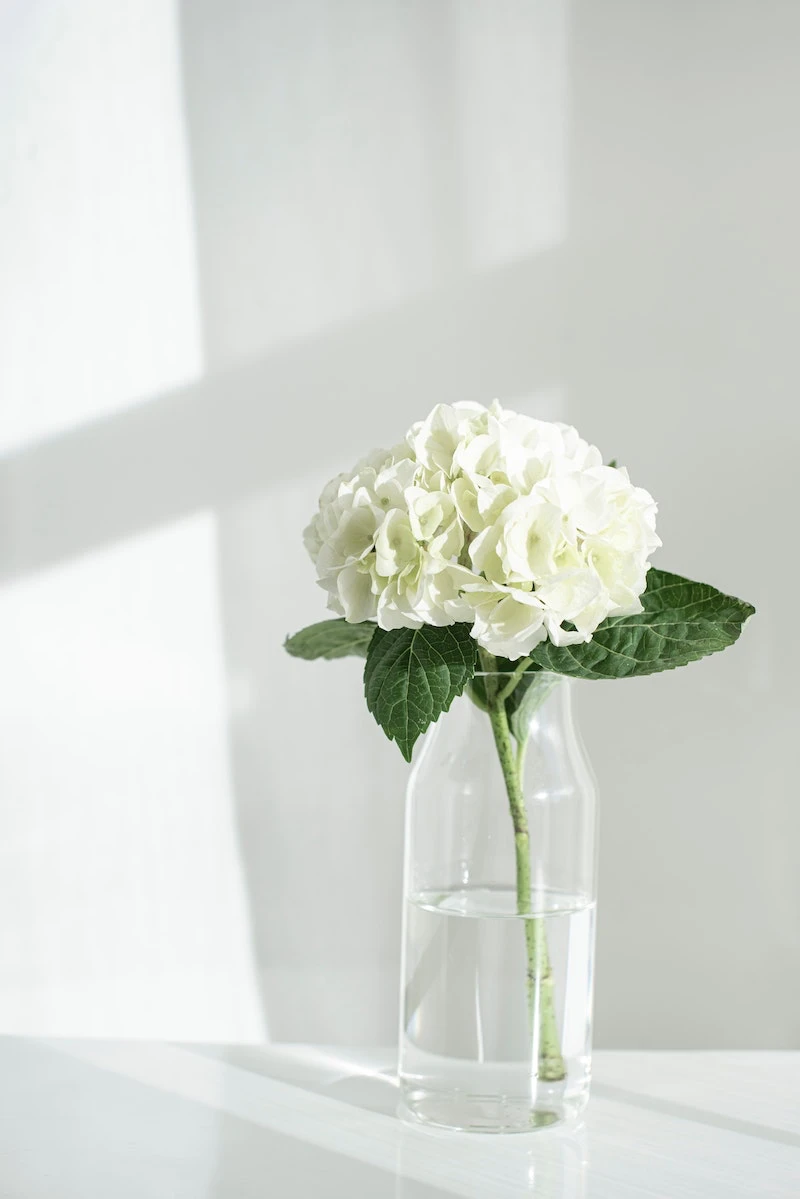
- Smooth Hydrangeas: These are the ones with those enormous, globe-shaped white flowers. They are incredibly cold-hardy, also down to Zone 3.
The Special Case: Reblooming Hydrangeas
Oh yeah, and then there are the rebloomers. These are wildly popular, and they’re a bit of a hybrid. They have the clever ability to bloom on both old and new wood. So, what does that mean for you? It means you should protect the old stems just like you would for a Bigleaf hydrangea. This will give you that amazing first wave of flowers early in the season. But, if a brutal winter does get those buds, you have a backup plan! The plant will still produce flowers later in the summer on its new growth. It’s the best of both worlds, but protection still gives you the best possible show.
The Groundwork: What Every Hydrangea Needs in the Fall
No matter what type you’re growing, these two steps in mid-to-late fall will set you up for success. I like to get this done after a couple of light frosts but before the ground is frozen solid. A quick heads-up: A “hard freeze” is generally when the temperature drops below 28°F (-2°C) and stays there for a few hours. That’s your final call for this prep work.
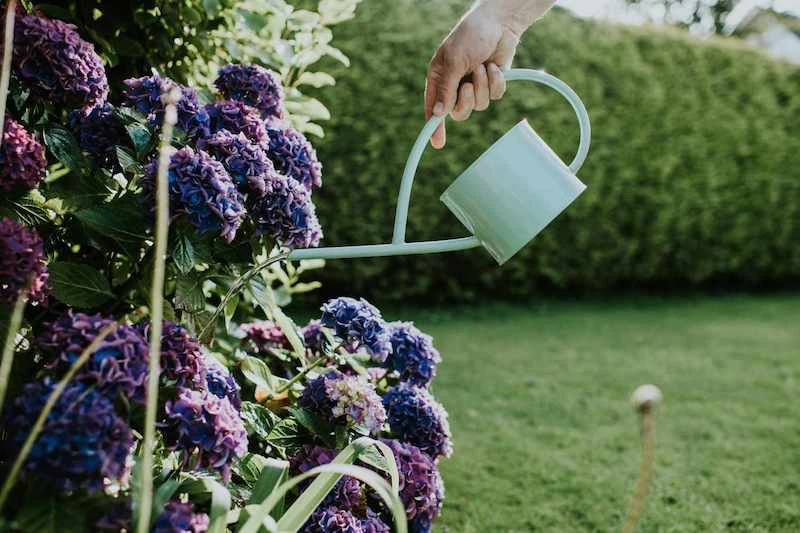
Give Them a Final, Deep Drink
Winter wind is incredibly drying. It sucks the moisture right out of the stems, and if the ground is frozen solid, the roots can’t pull up any more water to compensate. This dehydration is a huge cause of winter damage.
So, a week or two before that hard freeze is expected, I give every hydrangea a long, slow soak. Just place the hose at the base of the plant on a slow trickle for about 30-45 minutes. You want that water to get down deep, at least a foot. It’s like sending them to bed with a full glass of water.
Clean Up Their Space
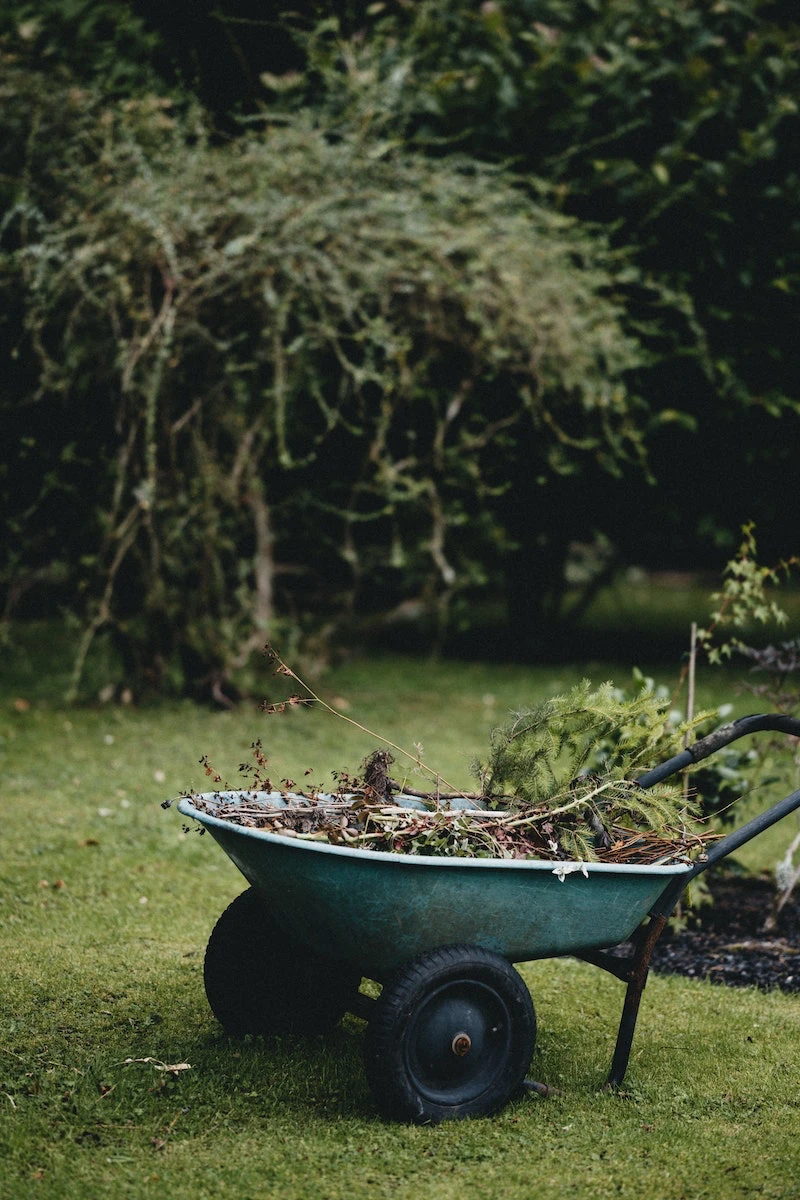
Good garden hygiene is non-negotiable. Fungal spores from diseases like leaf spot love to spend the winter in the dead leaves and junk at the base of your plants. Leaving that mess is like rolling out a welcome mat for trouble next spring.
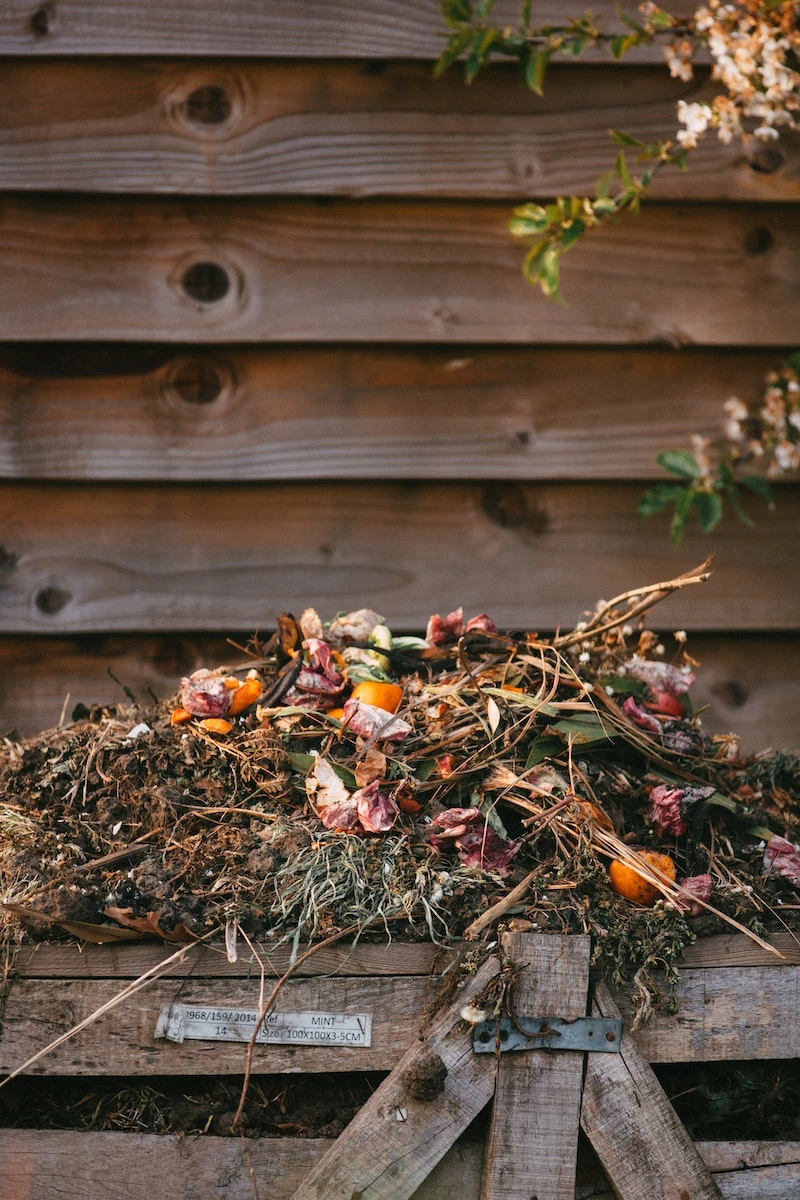
Once the leaves have yellowed and fallen, rake them all up carefully. Get underneath the plant and be thorough. And please, don’t just throw those diseased leaves in your compost pile. You’ll just be spreading the problem around later. Put them in your yard waste or trash.
To Prune or Not to Prune? That is the Question
This is where knowing your hydrangea type really pays off. Getting this wrong is just so disappointing.
For Bigleaf Types: Step Away From the Pruners
Let me be crystal clear: Do. Not. Prune. Your. Bigleaf. Hydrangeas. In. The. Fall. You will be cutting off every single flower for next year. The only exception is if a stem is obviously dead (it will be dry, grey, and brittle) or broken. That’s it.
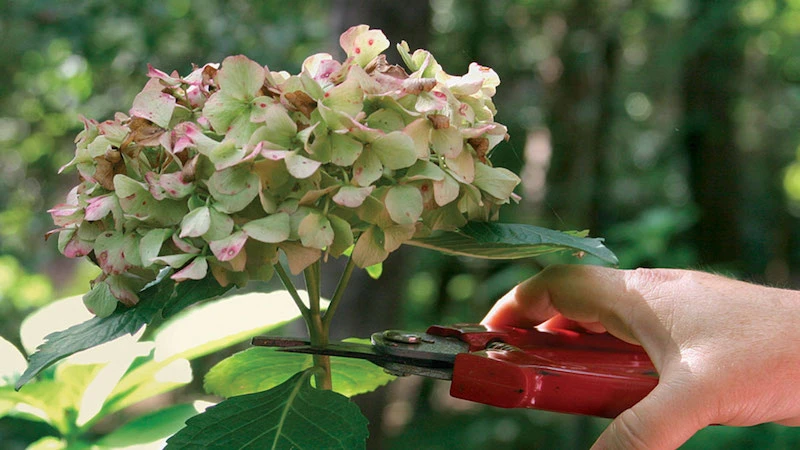
Some people like to deadhead the old blooms. You can, but I often leave them on. They offer a tiny bit of insulation for the buds just below them and look kind of pretty catching snow. If you can’t stand the look, snip the flower head off right below the bloom, being super careful not to nick the fat pair of buds on the stem below. Those are your future flowers!
For Panicle and Smooth Types: You’ve Got Freedom
Since these bloom on new wood, you can relax. You can prune them in the fall after they’re dormant, in late winter, or in early spring. My personal preference is to wait until late winter (around March in my area). The old stems add some structure to the winter garden and help catch insulating snow. But if you prefer a tidier look, fall pruning is totally fine. Just wait until the plant is fully asleep, then trim the stems back by about a third to encourage a sturdy frame.
Pro tip: For those big white smooth hydrangeas, some gardeners cut them back very hard, to about 6-12 inches from the ground. This gives you fewer, but absolutely massive, flower heads. If you leave them taller, you’ll get more flowers, but they’ll be a bit smaller. Your choice!
For Oakleaf and Climbing Types: A Light Hand
Like the Bigleafs, these bloom on old wood, so avoid any major fall pruning. For Oakleaf hydrangeas, I only ever remove dead or broken branches. Why would you want to cut off that gorgeous peeling bark, anyway? For climbing hydrangeas, a light trim to keep them off windows or out of gutters is fine. Save any major structural pruning for right after they finish flowering in the summer.
Insulating for Winter: The Cozy Blanket Method
After the cleanup and watering, it’s time to insulate. The goal isn’t to keep the ground warm, but to keep its temperature stable. It’s the constant freezing and thawing that tears up roots and does the most damage.
Feed the Soil, Not the Plant
First rule: Never use a standard chemical fertilizer in the fall. It spurs a flush of weak growth that the first frost will immediately destroy, which is a huge waste of the plant’s energy. Instead, spread a one-to-two-inch layer of good compost or well-rotted manure around the plant’s root zone, keeping it a few inches away from the main stems. This isn’t a quick hit of fertilizer; it’s a slow-release meal that will improve the soil and be ready for the plant when it wakes up in the spring.
Pile on the Mulch
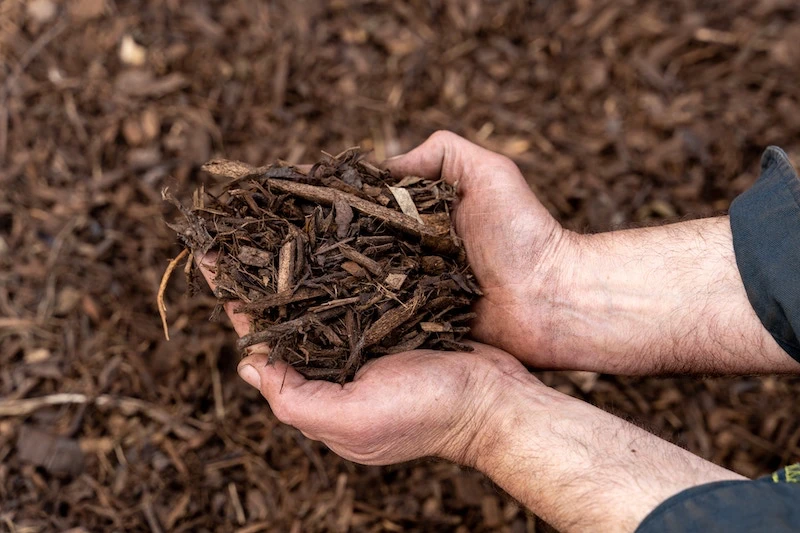
After the compost, add a thick layer of mulch. A 4-to-6-inch layer of shredded leaves, pine straw, or bark mulch works wonders. I get a big bag of shredded bark mulch for about $4 at the hardware store, and it’s perfect. Spread it in a wide circle, going at least a foot past the outermost branches.
Heads up! The most common mistake I see is what I call “volcano mulching”—piling it right up against the plant’s stems. This is a terrible idea. It traps moisture, invites rot, and gives rodents a cozy place to hide while they chew on your plant’s bark all winter. Always leave a 3-4 inch gap of clear air around the main stems.
Heavy-Duty Protection for Tender Hydrangeas
If you’re in Zone 6 or colder and growing Bigleaf hydrangeas, mulch alone isn’t enough. You need to protect those precious stems. Here is the simple, effective burlap cage method I swear by.
Timing is everything. Wait until the plant has dropped its leaves and you’ve had a few hard frosts (usually late November for many). If you do it too early, you’ll trap heat and moisture, which leads to a moldy disaster. (Trust me, I learned that the hard way with a plastic tarp years ago—never again! Burlap is essential because it breathes.)
Here’s your shopping list and game plan: – Stakes: You’ll need 3 or 4 sturdy stakes (wood or bamboo work great) that are a few inches taller than your plant. These usually cost $2 to $4 each. – Burlap: A roll of burlap fabric is your best friend. You can find a 3ft x 24ft roll for about $15 to $25 at most garden centers. – Filler: The best part? This is free. Just use the dry, shredded leaves from your yard!
Once you have your materials, plan on it taking about 30-45 minutes per plant. First, drive the stakes into the ground in a circle about 6 inches out from the plant’s branches. Next, wrap the burlap around the outside of the stakes to create a cylinder, securing it with a staple gun or zip ties. Now, gently fill the cage with your shredded leaves or dry straw. Oak leaves are the best because they don’t mat down, but maple leaves work too. Pine needles are another fantastic option that doesn’t compact. Fill it all the way to the top. Finally, lay a spare piece of burlap or a few evergreen boughs over the top to keep snow from crushing it. That’s it! Your hydrangea is now snug for the winter.
What About Hydrangeas in Pots?
A plant in a container is way more vulnerable. The roots are exposed to cold from every direction, and they will freeze solid and die if left out in a cold climate.
You have two good options: 1. Move it into a sheltered spot. The ideal place is an unheated garage or shed that stays cold (so the plant stays dormant) but doesn’t drop much below freezing. Water it lightly maybe once a month to keep the soil from turning to dust. 2. Bury the pot. If you don’t have a garage, you can literally dig a hole in an empty garden bed and sink the entire pot into the ground. The earth acts as a natural insulator for the roots. Then just mulch over the top like a regular in-ground plant.
For those of you on a balcony, leaving the pot outside, even wrapped, is extremely risky. The pot can still freeze solid from all sides. Your best bet is to find a friend with a garage you can borrow for the winter.
The Spring Unveiling
Don’t get too excited and unwrap your plants at the first sign of a warm day. A late frost can still zap those tender new buds. I watch the 10-day forecast. When nighttime temps are reliably staying above freezing, I’ll start uncovering. I do it in stages—first removing the leaves from the cage, then taking down the burlap a few days later to let the plant reacclimate.
You might see some stems that look dead. Be patient. Don’t prune yet! Wait until the plant really starts to leaf out. You’ll be able to see clearly which buds are swelling with life. Then, and only then, can you prune any truly dead wood back to the nearest set of live buds. A quick scratch with your fingernail can tell you a lot—if it’s green underneath, it’s alive; if it’s brown and dry, it’s a goner.
In the end, gardening is a partnership with nature. Sometimes, you can do everything perfectly and a wild winter will still have its way. Don’t get discouraged. The work you do in the fall is a powerful investment in the beauty you’ll get to enjoy all next summer. It’s a cycle, and with these tips, you’re giving your hydrangeas the absolute best chance to shine.


