Tuck Your Garden In for Winter: The Ultimate Fall Checklist
I’ve been gardening for a long, long time. And if there’s one thing I’ve learned, it’s that the work you do in the fall is what separates a good garden from a great one next spring. A lot of people see autumn as the end of the line. The flowers are fading, the leaves are dropping… it feels like the energy is just gone. But I see it totally differently. Preparing the garden for winter isn’t about shutting down; it’s about setting the stage for a killer comeback.
In this article
- First, a Little Science: What’s Actually Happening Out There?
- Step 1: The Great Garden Cleanup
- Step 2: To Cut or Not to Cut? A Pruning Guide
- Step 3: Feed Your Soil for a Spring Feast
- Step 4: The Final Blanket (Winter Mulch)
- Step 5: Extra Protection for Vulnerable Plants
- Step 6: Don’t Forget Your Gear!
- A Quick Note for Balcony & Container Gardeners
- A Final Thought
- Inspirational Gallery
Think of it like tucking your garden into bed for a long, restorative sleep. You’re not just tidying up. You’re protecting your investment, improving your soil for next year, and stopping pests and diseases in their tracks. I had to learn this the hard way, of course. Early on, I rushed my fall cleanup, left some sad-looking tomato vines in the compost, and figured the packed-down soil in my beds would be fine. The next spring was a total disaster. I spent what felt like an eternity fighting blight and trying to coax life into weak, stunted plants. A few focused hours in the fall really can save you weeks of headaches in the spring.

So, this guide is everything I do, every single year. We’re going way beyond just raking leaves. We’ll get into the simple science of what’s happening and the exact steps that will make sure your garden doesn’t just survive winter but comes back stronger than ever. For my main veggie patch, which is about 10×20 feet, this whole process takes a solid afternoon—maybe 5 or 6 hours if I’m really taking my time.
First, a Little Science: What’s Actually Happening Out There?
Before you grab a single tool, it helps to know what you’re up against. Winter in the garden is a mix of biology and physics, and understanding the basics makes all the difference.
Plants Need to Sleep (It’s Called Dormancy)
Perennial plants are pretty smart. As the days get shorter and colder, they get the signal to stop wasting energy on leaves and flowers. Instead, they pull all those valuable sugars down into their roots for safekeeping. This is called dormancy, and our job is to help them get there smoothly. If you prune or fertilize with high-nitrogen food too late in the season, you can trick a plant into producing new, tender growth that will get zapped by the first frost. Everything we do is about respecting this natural cycle.

The Sneaky Power of Frost Heave
Soil contains water, and when that water freezes, it expands. This can literally push soil upwards in a process called frost heave. It’s the same force that can pop fence posts right out of the ground. This can be brutal for your plants, lifting shallow-rooted perennials right up and exposing their roots to freezing air. One of our biggest goals is to insulate the soil to minimize this.
By the Way, Snow Is Your Friend
I know, it sounds weird. But a nice, thick blanket of snow is one of the best insulators nature provides. It protects the ground from harsh winds and wild temperature swings. The real problems start when it’s bitter cold with no snow cover. That’s when all our prep work, especially mulching, really pays off.
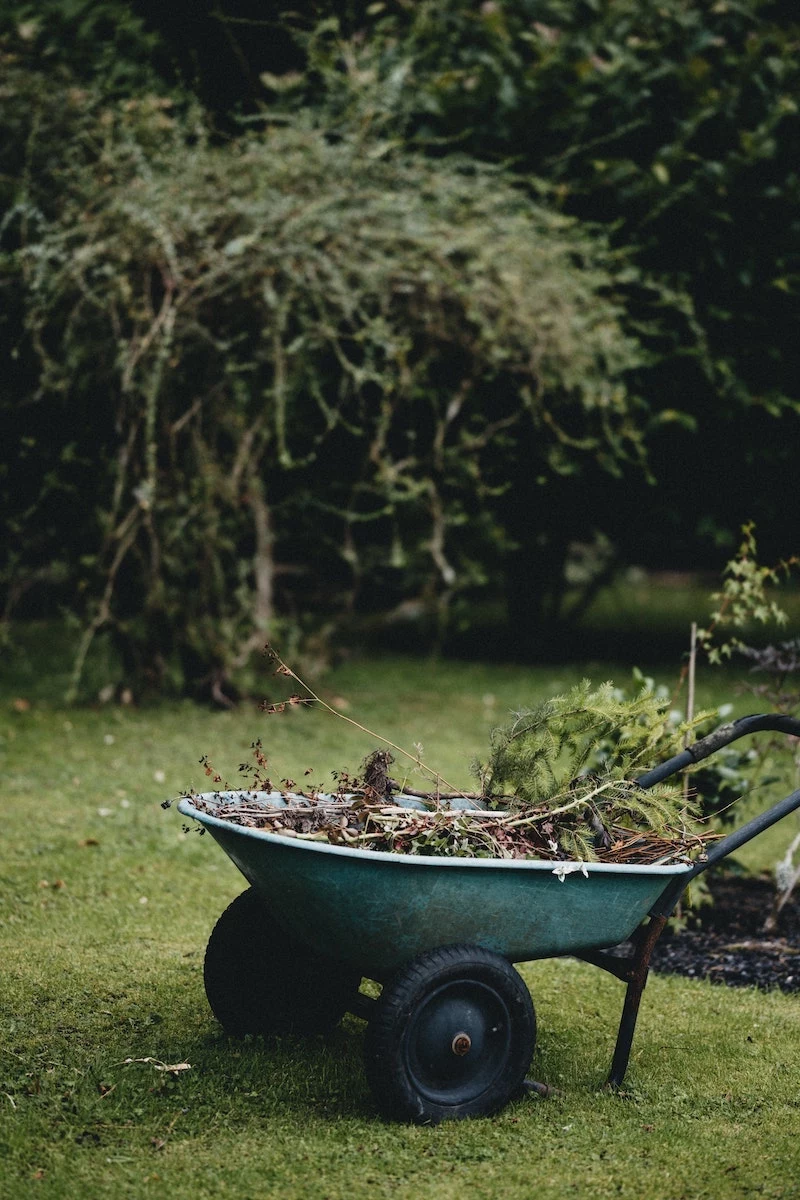
Step 1: The Great Garden Cleanup
A clean garden is a healthy garden. Pests and disease spores absolutely love to spend the winter hiding out in dead plant debris. So, let’s get cleaning.
What Has to Go
Start by pulling out all your annuals—the plants that complete their life cycle in one year. This means your tomatoes, squash, zinnias, and marigolds. If they were healthy, you can toss them in the compost pile. Pro tip: chop them up or run them over with a lawnmower first to speed up decomposition.
Heads up! This is critical. Any plant that showed any sign of disease needs to be removed from your property completely. Do not compost it. I once made the mistake of composting blighted tomato vines, and the next year I innocently spread that compost everywhere. Every single tomato plant I grew got sick. It was a nightmare. Bag up diseased material and put it in the trash, or burn it if your local rules allow.
Watch out for things like:
- Powdery Mildew: That white, dusty coating you see on squash or phlox leaves.
- Blight: Dark, ugly spots on tomato and potato leaves.
- Black Spot: Those distinct circular black spots on rose leaves.
Finally, rake up fallen leaves and weeds. A clean surface gives slugs and other pests nowhere to hide.
What You Can Leave Standing
Now, I’m not saying to create a sterile, barren wasteland. Leaving some plants standing provides visual interest and, more importantly, offers food and shelter for birds and beneficial insects.
I always leave things like:
- Ornamental Grasses: They look incredible with a dusting of snow and provide great cover. Just cut them back in very late winter or early spring.
- Coneflowers and Black-Eyed Susans: The seed heads are a buffet for goldfinches and other little birds.
- Sturdy Sedums: Their flower heads hold their shape all winter and look fantastic.
Step 2: To Cut or Not to Cut? A Pruning Guide
Knowing what to prune in the fall (and what not to) is a big deal. The wrong cut at the wrong time can do more harm than good.
Your Perennials
For most of your soft-stemmed perennials like hostas, daylilies, and peonies, you can cut them back after a few hard frosts have turned the foliage brown and mushy. Cut the stems down to about two to four inches from the ground. This just keeps things tidy and removes another potential pest hideout.
Your Shrubs and Trees (IMPORTANT)
Okay, lean in for this one: Do not do major pruning on most of your woody shrubs and trees in the fall. Pruning encourages new growth. If you go hacking away at a rose bush or a fruit tree in October, it might try to push out new shoots that will get instantly killed by the cold. This wastes the plant’s energy and creates wounds that can invite disease.
The only cutting you should do on woody plants now is to remove the three D’s: anything Dead, Damaged, or Diseased. A broken branch can get snagged by snow and tear the bark, so making a clean cut now is a good move. Save the real structural pruning for late winter when the plant is fully dormant.
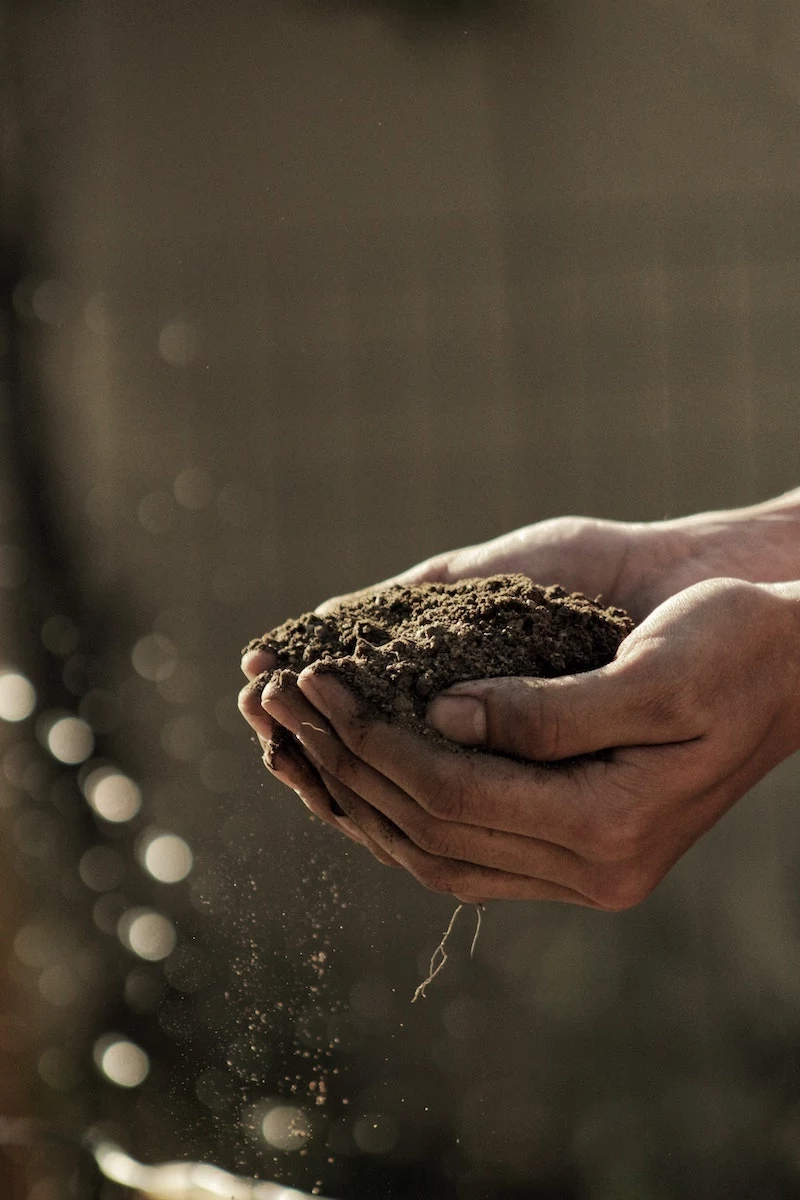
Step 3: Feed Your Soil for a Spring Feast
Fall is, without a doubt, the best time to improve your garden soil. Anything you add now has all winter to break down and integrate, creating the perfect foundation for spring growth.
Want to Be a Pro? Get a Soil Test.
Honestly, if you’re serious about gardening, a soil test is the best money you’ll ever spend. It takes all the guesswork out of what your soil actually needs. Here’s how simple it is:
- Grab a clean bucket and a trowel.
- Dig down about 6 inches in 5 or 6 different spots around your garden bed and toss the soil into the bucket.
- Mix it all together, let it air dry on some newspaper, and then mail about a cup of it to your local cooperative extension service. Just search online for “[your state] + cooperative extension” to find yours.
It usually costs between $20 and $50, and they’ll send you back a detailed report on your soil’s pH and nutrient levels. It’s a total game-changer.
My Go-To Soil Goodies
Even without a test, you can’t go wrong adding general organic matter. These are my top choices:
- Compost: This is black gold. It improves soil structure, adds nutrients, and feeds the microbes that make soil come alive. Spread a one-to-two-inch layer right on top of your beds. You can grab a bag for about $5-$10 at any garden center. No need to dig it in; the worms and weather will do it for you.
- Shredded Leaves: Don’t you dare put those leaves on the curb! They are a free, fantastic soil amendment. Just run them over with your lawnmower to shred them so they don’t form a soggy mat.
- Well-Rotted Manure: Another great option for nitrogen and organic matter. Just make sure it’s well-rotted (dark, crumbly, and earthy-smelling), not fresh, which can burn plants.
Step 4: The Final Blanket (Winter Mulch)
After you’ve cleaned and amended, the final step is a protective layer of winter mulch. And let’s be clear: winter mulch is for insulation, not for conserving moisture like summer mulch.

When and How to Apply It
Timing is everything here. You want to wait until after the ground has frozen hard. A good rule of thumb is to wait until you’ve had at least three consecutive nights with temperatures in the mid-20s F (around -4 C). If you try to stick a trowel in the ground and it won’t go in easily, you’re ready. Apply it too early, and you can trap warmth, which might confuse your plants and, worse, create a cozy winter resort for voles and mice right next to their favorite food source—your plant roots!
Apply a loose, airy layer about three to four inches deep. Don’t pack it down. And be sure to pull the mulch back an inch or two from the crowns of your plants to prevent rot.
Good Mulch Materials
- Shredded Leaves: My favorite. It’s free and turns into beautiful soil food by spring.
- Straw: Light, airy, and a fantastic insulator. It’s perfect for veggie gardens. Just make sure you’re buying straw, not hay (which is full of weed seeds). You can usually find a bale at a local farm supply or even some garden centers for about $8-$15.
- Pine Boughs: The branches from an old Christmas tree are perfect. They don’t compact and allow great air circulation.
Step 5: Extra Protection for Vulnerable Plants
Some of our plants are just a little more delicate and need some extra help, especially in colder climates.
- For your tender roses: After the first hard frost, pile about a foot of soil or compost around the base of the plant. This is called “hilling,” and it insulates the most vulnerable part of the rose.
- For tall, skinny evergreens (like Arborvitae): These can get splayed open by heavy snow. Loosely wrap them with burlap, spiraling from the bottom up. A roll of burlap will run you about $20 but can save a mature shrub.
- For your young trees: Young, thin bark can get damaged by something called “sunscald.” To prevent this, wrap the trunk with a commercial tree wrap or a plastic tree guard (about $10 at a hardware store). This also protects them from rabbits who love to chew on bark in the winter.
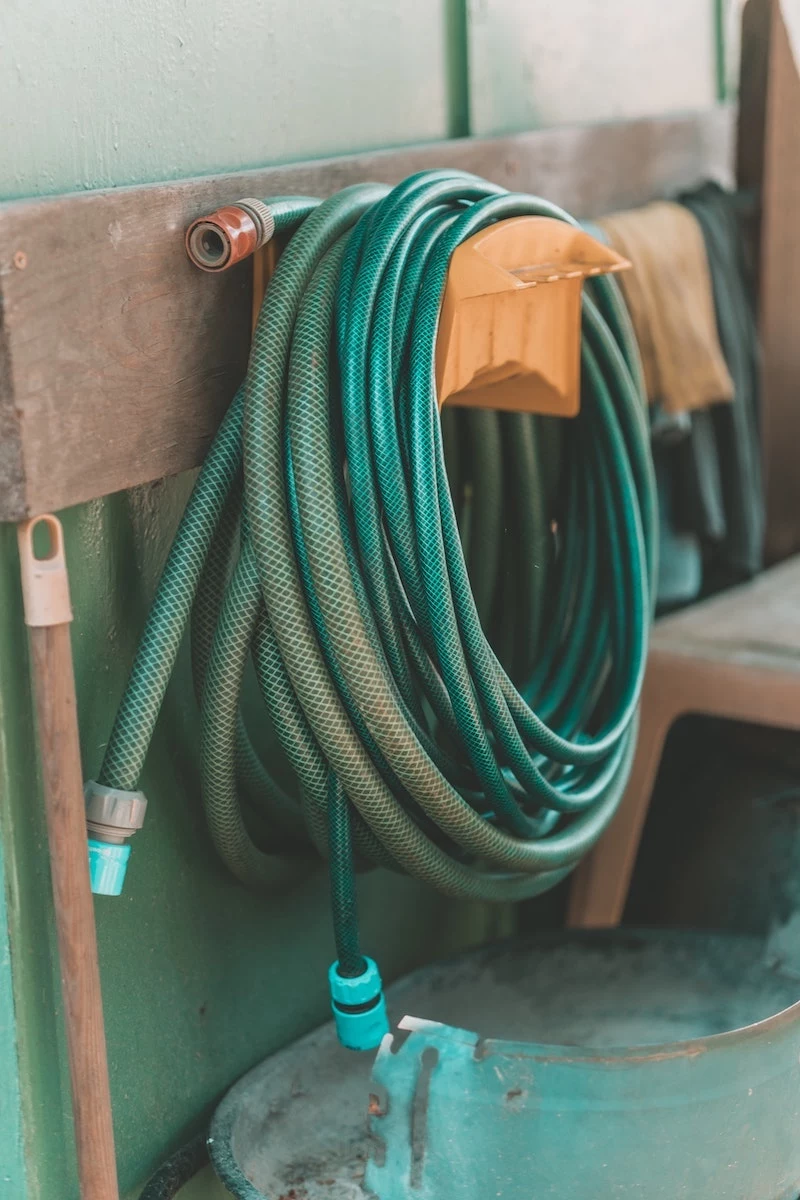
Step 6: Don’t Forget Your Gear!
Your work isn’t done until the tools and hoses are put away properly. A frozen hose or a ruined faucet is an expensive, totally preventable problem.
Your 5-Minute Win Today: Go outside right now and disconnect all your garden hoses. Drain them completely and store them in the garage or shed. Done. You just saved yourself from a potentially burst pipe and a $300 plumbing bill. I learned that one the hard way.
While you’re at it, shut off the water to your exterior faucets from the valve inside your house, then open the outside spigots to let them drain. If you have an in-ground irrigation system, you really should have it professionally blown out with an air compressor.
Finally, give your tools some love. Scrape the mud off, give your shovels and hoes a quick sharpening, and wipe the metal parts with a bit of oil to prevent rust. A 10-inch mill file from the hardware store costs about $10 and works wonders. Just clamp your shovel, and run the file along the edge at a 20-degree angle, always pushing away from your body. It’s easier than you think!
A Quick Note for Balcony & Container Gardeners
You’re not off the hook! For your potted plants, the roots are much more exposed to cold. If possible, move pots into an unheated garage or shed. If they’re too big to move, push them together against a sheltered wall of your house and wrap the pots (not the plants) in burlap or bubble wrap for extra insulation. And cut back on watering—they’ll need much less when they’re dormant.
A Final Thought
Putting the garden to bed is a quiet, satisfying job. It might feel like a lot of work now, but when that first warm day of spring hits, you’ll be so glad you did it. You’ll be greeted by clean beds, rich soil, and rested plants ready to explode with life. You’ve already done the heavy lifting. Now you can grab a cup of tea and a stack of seed catalogs and dream about the beautiful season ahead.
Inspirational Gallery
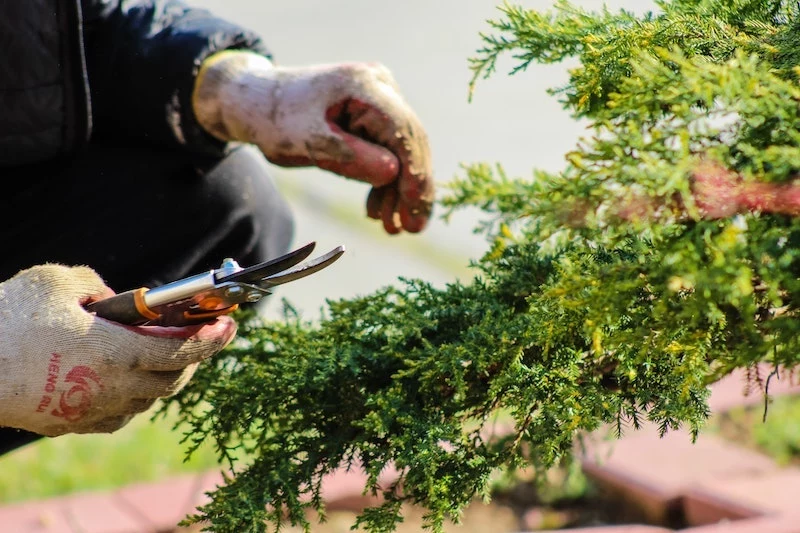
The Last Pruning: To Cut or Not to Cut? A common impulse is to cut everything back to the ground for a tidy look, but resist! Leave the sturdy seed heads of plants like Coneflower (Echinacea) and Black-Eyed Susans (Rudbeckia). They provide crucial food for birds like goldfinches and add beautiful structural interest when dusted with frost or snow.
- Give your tools a final, thorough cleaning to prevent rust and disease spread.
- Sharpen the blades of your pruners and loppers (a sharp tool from Felco or Fiskars makes for cleaner cuts and healthier plants next spring).
- Wipe down metal parts with a lightly oiled rag before storing them for the winter.
The secret? This simple 15-minute ritual saves you from buying new tools and ensures you’re ready to go on the first warm day of spring.
Wondering how to protect your precious rose bushes?
For modern, hardy roses, the key is protecting the graft union (the swollen part at the base). After the first hard frost, mound a generous 10-12 inches of compost or mulched soil around the base of the plant. This acts like a cozy insulated blanket, shielding the most vulnerable part from harsh temperature swings. Avoid using rose cones without this mounding, as they can create a ‘greenhouse effect’ on sunny winter days, causing damaging freeze-thaw cycles.
Nearly 70% of North America’s native bee species are ground-nesters.
This means your fall cleanup has a direct impact on next year’s pollinators. Instead of clearing every last patch of bare earth, consider leaving a small, undisturbed, sunny spot. A pile of hollow stems from sunflowers or bee balm left in a corner also provides essential overwintering habitat for tunnel-nesting bees.
Mulch Showdown: Shredded Leaves vs. Straw
Shredded Leaves: A fantastic free resource! They break down over winter, enriching the soil with nutrients. The key is to shred them with a lawnmower first to prevent them from forming a soggy, impenetrable mat.
Straw: Excellent for vegetable beds. It’s lightweight, allows water to penetrate, and suppresses weeds effectively. Just ensure you buy straw, not hay, as hay is full of weed seeds.
For pure soil improvement, leaves win. For clean, effective cover, straw is a great choice.
The scent of the fall garden is unique—a mix of damp earth, decaying leaves, and the last spicy notes of marigolds. Take a moment to appreciate this transition. The satisfaction of pulling the final weed, spreading a protective layer of mulch, and knowing your garden is safe for the winter is a reward in itself. It’s a quiet, hopeful act of partnership with nature.
- Protects tender roots from freezing.
- Enriches soil with organic matter as it decomposes.
- Reduces soil erosion from winter rains and wind.
- Suppresses the first flush of spring weeds.
The secret to these benefits? A simple 2-4 inch layer of your own homemade leaf mold. Just rake leaves into a pile, moisten them, and let them break down. It’s the gardener’s ‘black gold’.
Don’t forget the water! It’s a common mistake to stop watering evergreens like arborvitae and boxwood in the fall. If autumn is dry, give them a deep, slow soaking before the ground freezes solid. Winter winds can desiccate their needles, and a well-hydrated plant is far more resilient to ‘winter burn’—that unsightly browning of foliage.
A Quick Win for Your Soil: Planting a Cover Crop
Instead of leaving vegetable beds bare, consider sowing a ‘green manure’ like winter rye or hairy vetch. Here’s why it’s a game-changer:
- Their roots prevent soil compaction from heavy rain and snow.
- They capture any leftover nitrogen, preventing it from leaching away.
- In spring, you simply till them into the soil, where they release valuable nutrients right where your plants need them.


