Your Garden’s Most Important Job: A No-Nonsense Guide to Spring Soil Prep
I’m going to be honest with you. After years of tending to everything from tiny balcony pots to sprawling community gardens, I can say with 100% certainty that your entire gardening season hinges on what you do right now. Before you even think about buying a single seed packet. It’s all decided in these early spring days, when the ground is just starting to wake up.
In this article
- First Things First: Is Your Soil Even Ready?
- The Spring Cleanup and Assessment
- Stop Guessing: Why You Need a Soil Test
- Feeling Overwhelmed? Just Do This One Thing.
- How to Build Amazing Soil: Your Guide to Amendments
- To Till or Not to Till? (Hint: Probably Not)
- The Final Touches for a Perfect Start
- Inspirational Gallery with Photos
Trust me, I’ve learned this the hard way. Rushing this first step is a surefire recipe for a summer of weak plants and constant headaches. A truly amazing garden doesn’t just pop up by magic. It all starts with the foundation, and that foundation is your soil.
Think about it: all winter, your garden beds have been rained on, frozen, and compacted. This squishes out the air and washes away the good stuff, leaving you with dense, tired dirt. Just poking some seeds in there is like trying to build a house on a pile of dust. The work we do now is about bringing that soil back to life. We’re not just fertilizing; we’re rebuilding an entire ecosystem for your future plants to thrive in. This isn’t just a chore—it’s the best investment you’ll make all year.
First Things First: Is Your Soil Even Ready?
The number one rookie mistake I see is getting out there with a shovel on the first sunny day. I get it, the enthusiasm is real! But digging in soil that’s still too wet is a disaster. You end up squeezing out all the precious air pockets, destroying the soil’s structure and creating concrete-like clumps. This is called compaction, and it’s a season-long nightmare for drainage and root growth.
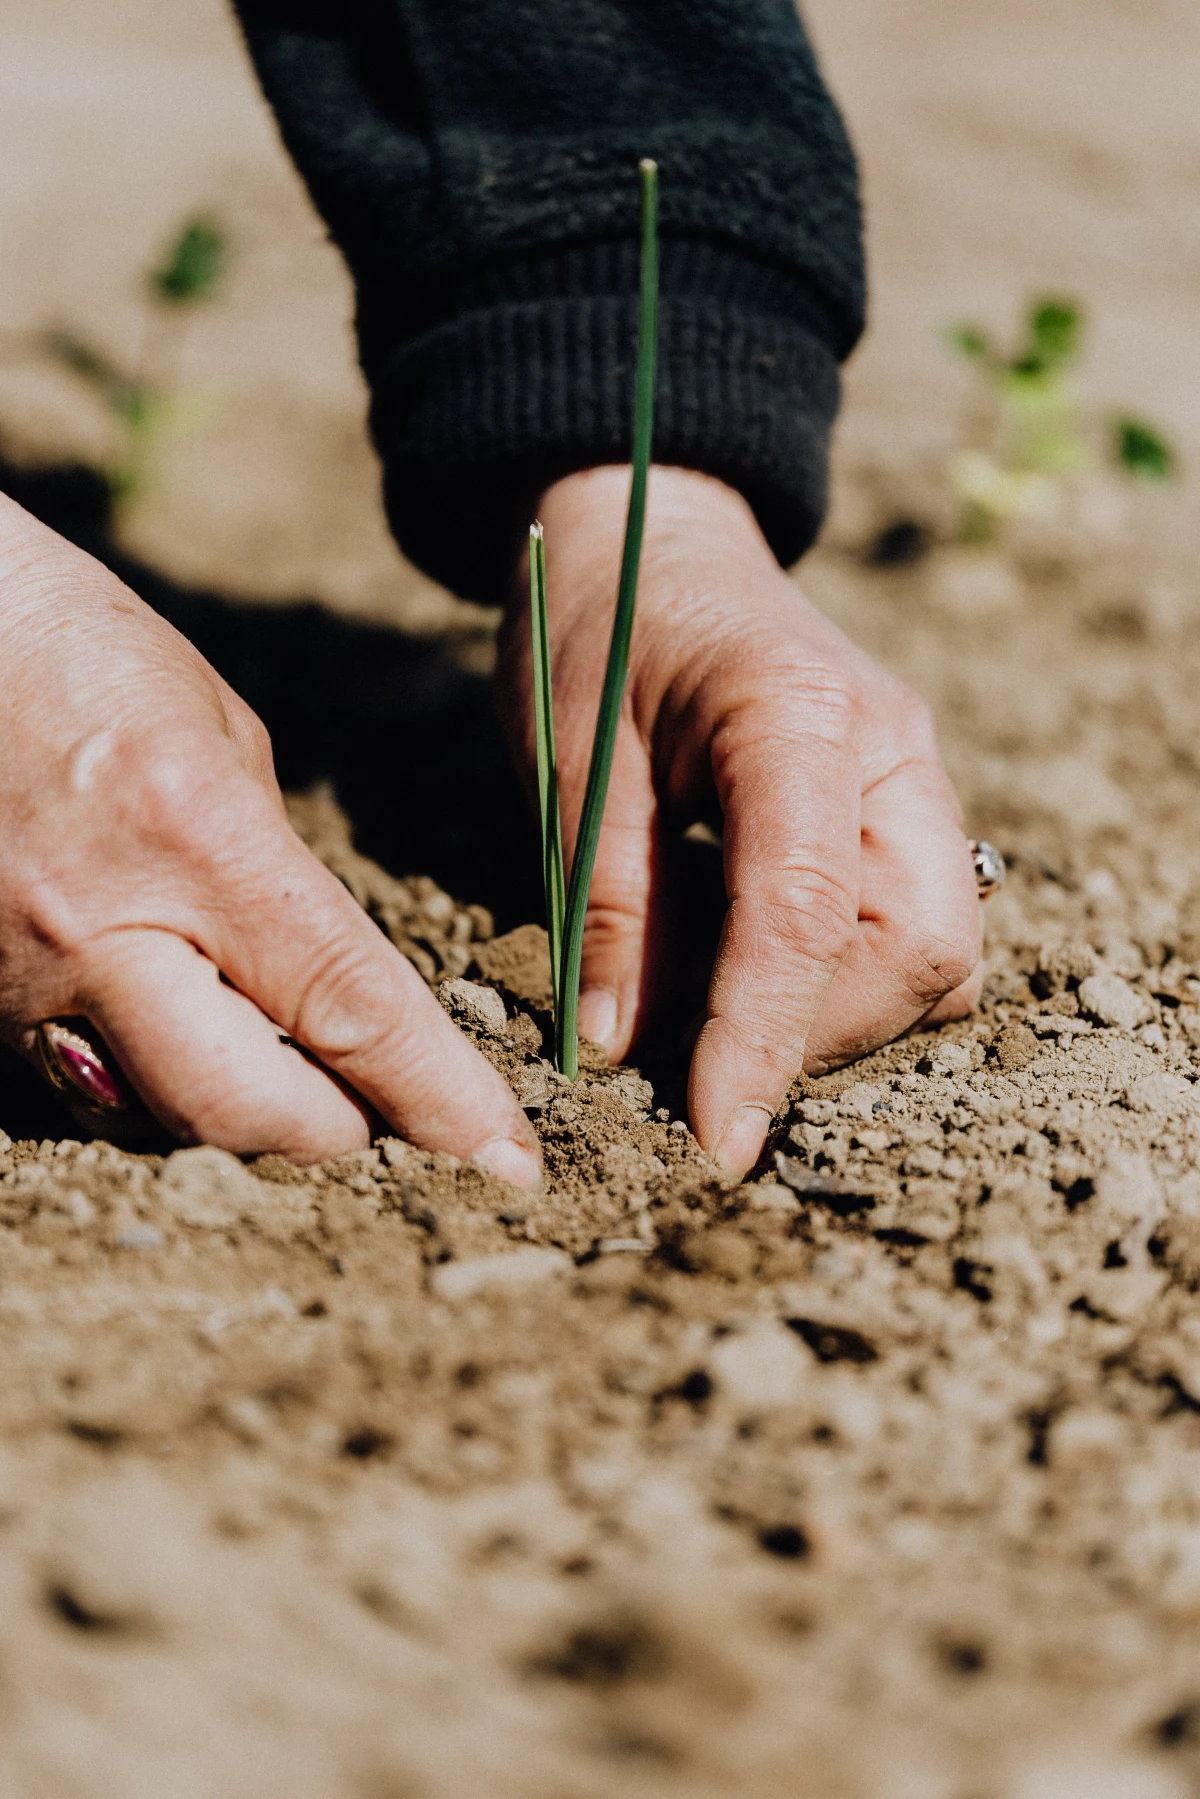
So, how do you know it’s go-time? Easy. Use what I call the “squeeze test.”
Grab a handful of soil from a few inches down and clench your fist. Now open your hand:
- If water drips out and the soil stays in a slick, muddy ball, it’s WAY too wet. Back away from the shovel and give it another week of dry weather. Seriously.
- If the ball crumbles apart with a gentle poke, you’re golden. The ideal texture is like a moist, crumbly brownie—not sticky mud and not dry dust.
This little trick is pure gold and has saved me from countless mistakes. Patience now will save you so much frustration later.
The Spring Cleanup and Assessment
Once your soil passes the squeeze test, it’s time to clean house. This is more than just yanking a few weeds. Grab a sturdy garden fork and a wheelbarrow and walk your beds. Pull out any old plant stalks, matted leaves, or dead annuals left over from fall. This is a huge step for preventing disease, as nasty fungal spores and pests love to hide out in that old debris over winter.
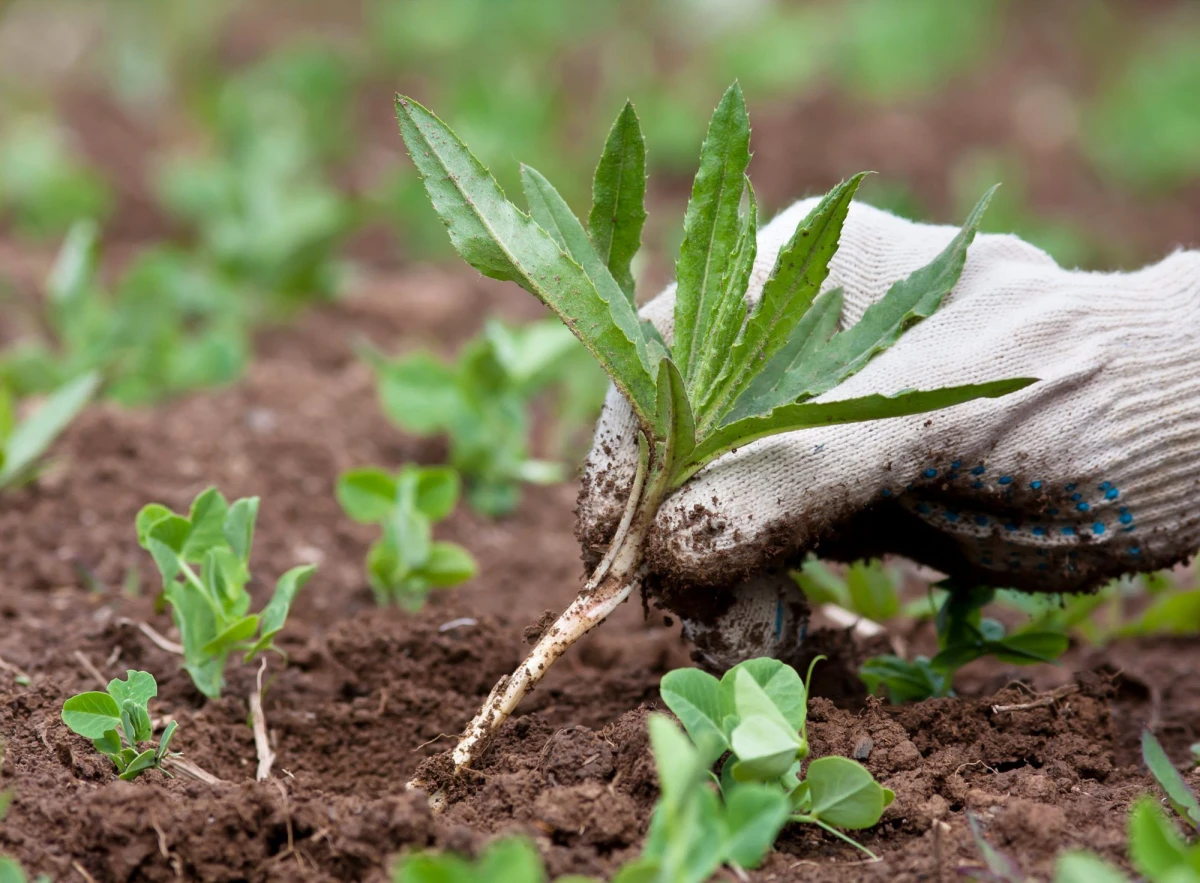
While you’re at it, keep an eye out for sneaky winter weeds like chickweed or henbit. They form dense mats and are much easier to pull now before they take over. A good scuffle hoe, which you can pick up for about $20-$30, is perfect for slicing these off just below the surface. For deeper-rooted invaders like dandelions, you’ll need a digging fork to get the whole root out. Leave a piece behind, and it’ll be back with a vengeance.

Stop Guessing: Why You Need a Soil Test
Before you dump a single bag of anything on your garden, you need to know what you’re working with. Guessing which amendments to add is like throwing money into the wind. I recommend getting a proper soil test every few years, especially if you’re starting a new bed.
Heads up: you can buy those little DIY kits at big-box stores, but to be frank, they’re not very accurate. The best bang for your buck is sending a sample to your local university cooperative extension service. It typically costs between $15 and $25 and gives you a treasure map for your garden’s needs.
Quick Tip: How to Take a Proper Soil Sample
It’s super easy. Grab a clean bucket and a trowel. Wander around your garden bed and dig 5 or 6 small holes, about 6 to 8 inches deep. From each hole, take a vertical slice of soil and toss it in the bucket. Mix it all together, spread it on some newspaper to air dry for a day, and then put about a cup of the mixed, dry soil into a zip-top bag. Just Google “[your state] + cooperative extension soil test” to find your local office and their specific instructions for mailing it in.
The report you get back will tell you everything:
- Soil pH: Most veggies like it between 6.0 and 7.0. If your pH is off, nutrients get “locked up,” and your plants can’t access them, even if they’re in the soil.
- Key Nutrients (N-P-K): It’ll show your levels of Nitrogen (for green leaves), Phosphorus (for roots and flowers), and Potassium (for overall plant health).
- Organic Matter: This is the holy grail. You’re shooting for at least 5%. Organic matter is the sponge that holds water and feeds the microbes that feed your plants.
The best part? The report will give you exact recommendations, like, “Add 5 lbs of lime per 100 sq ft.” That kind of precision is a complete game-changer.
Feeling Overwhelmed? Just Do This One Thing.
If all of this already sounds like too much, take a deep breath. If you only do one single thing to prep your soil, make it this: add compost. Just spread a 1- to 2-inch layer of good-quality compost over the top of your beds. Don’t dig, don’t test, just do that. It’s the 80/20 rule of soil prep and will make a world of difference all by itself.
How to Build Amazing Soil: Your Guide to Amendments
Okay, with your soil test results (or even without), it’s time to add the good stuff. This is how we get that dark, crumbly, sweet-smelling soil that gardeners dream about.
Compost: The Undisputed Champion
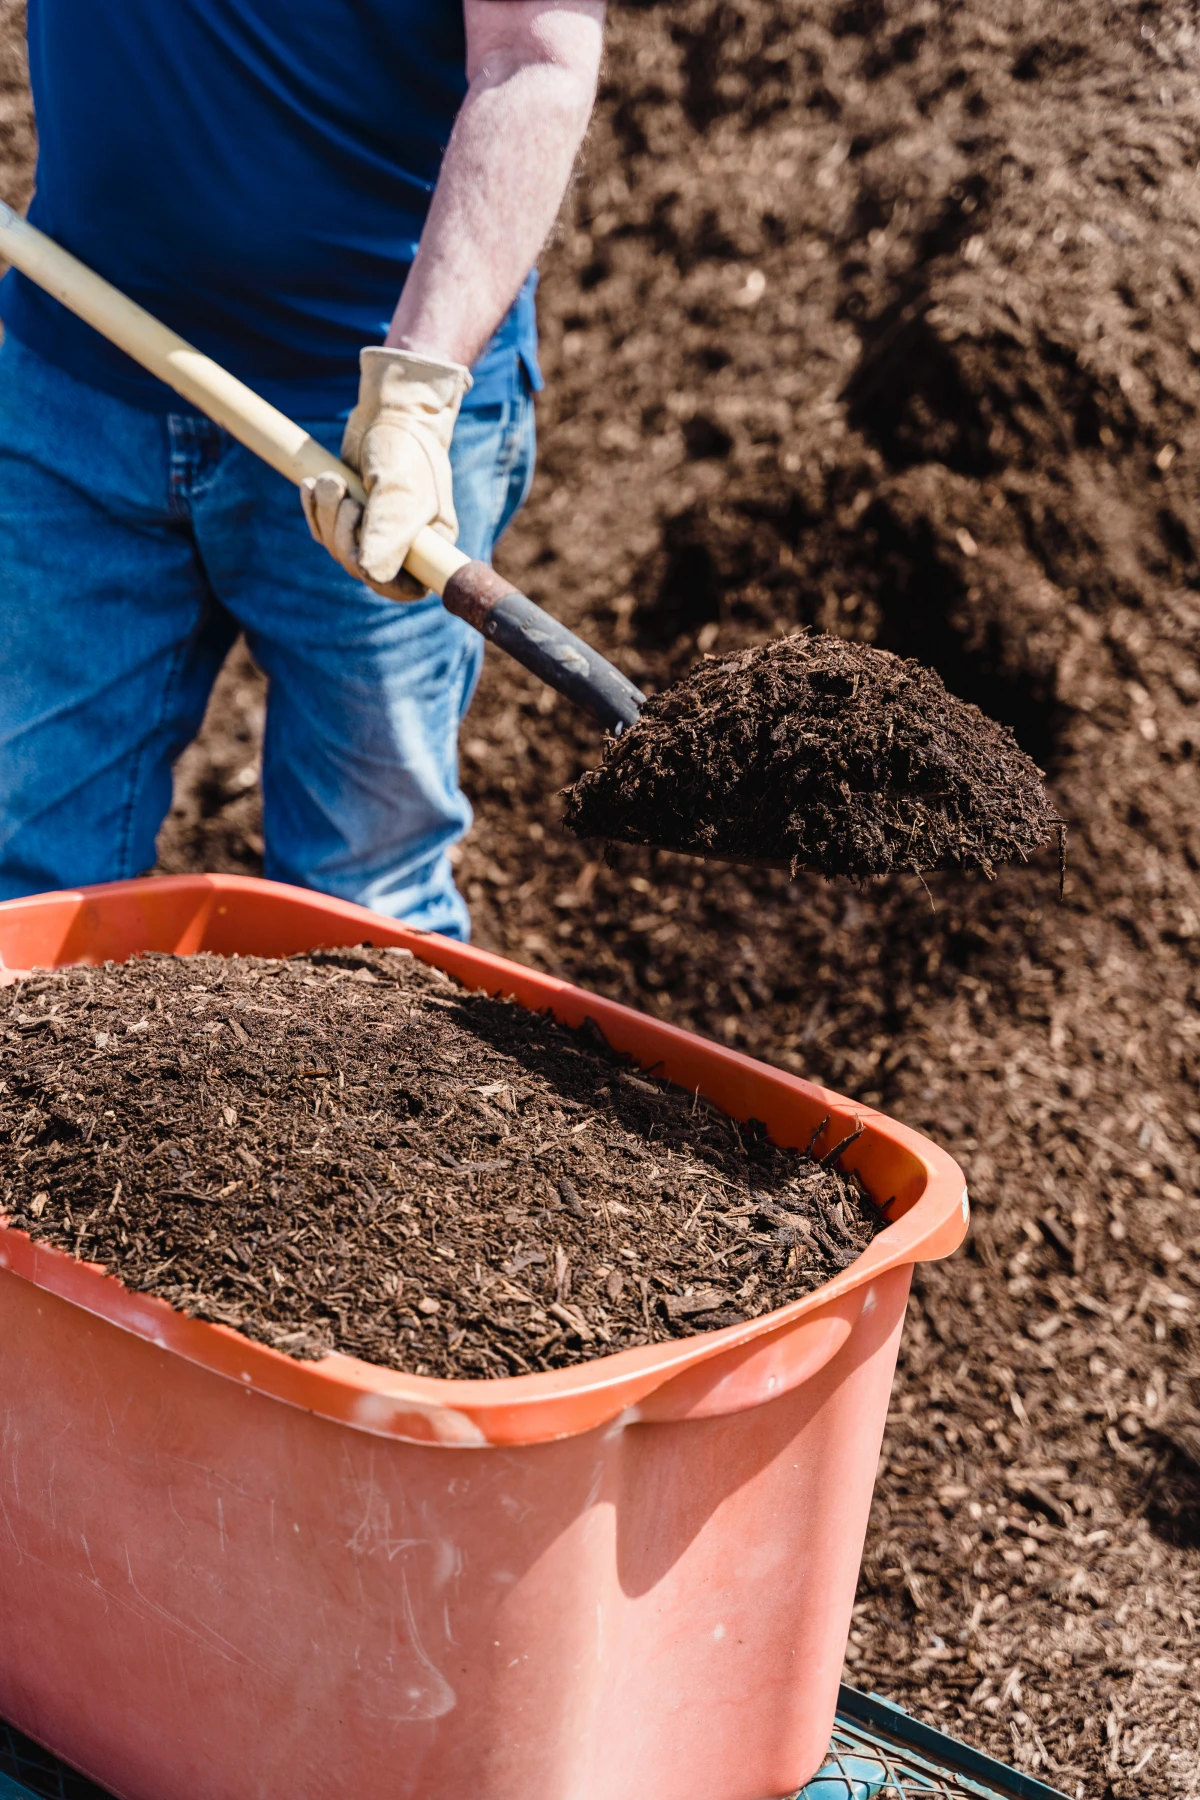
I can’t say it enough: compost is the best thing you can add to your garden. It fixes both heavy clay and sandy soil, provides a slow-release buffet of nutrients, and adds a ton of beneficial life. You really can’t add too much.
Aim for a layer of 1 to 2 inches over the whole bed. Good compost should be dark, crumbly, and smell like a forest floor. If it’s stinky or you can see old banana peels, it’s not finished decomposing yet.
To save money: A bag of compost might run you $7 at the store, but if you have a larger garden, buying in bulk is way cheaper. A cubic yard of compost from a landscape supplier might cost around $40-$60 and can cover a huge area. Not sure how much you need? To cover a 10×10 foot bed (that’s 100 sq ft) with a 2-inch layer, you’ll need about 0.6 cubic yards. Now you know exactly what to ask for!
The Scoop on Manure
Manure is a fantastic nutrient source, but you have to be smart about it.
CRITICAL SAFETY WARNING: Never, ever use fresh or “hot” manure from animals like chickens or horses directly on your garden. It’s packed with so much nitrogen and ammonia that it will literally burn your plants’ roots to a crisp. Always use manure that has been composted or aged for at least six months to a year. How can you tell it’s ready? Well-aged manure, just like good compost, will have a fine, crumbly texture and a mild, earthy smell. If it’s still clumpy, wet, and smells like a barn… let it sit longer.
Here’s a quick rundown of the most common types:
- Chicken Manure: This is the hot stuff, very high in nitrogen. A little goes a long way. It’s amazing for heavy-feeding plants like corn and tomatoes, but use it sparingly.
- Cow/Steer Manure: A great all-purpose choice. It’s more balanced and less likely to burn plants, making it perfect for beginners.
- Rabbit Manure: The one exception! Rabbit droppings are considered a “cold” manure and can actually be added directly to the garden in small amounts.
- Horse Manure: A good soil conditioner, but it often comes with a ton of weed seeds. Make absolutely sure it’s been thoroughly composted to kill them off.
A 1-inch layer of composted manure, worked into the top few inches of soil, is plenty.
To Till or Not to Till? (Hint: Probably Not)
For decades, the spring ritual was to fire up the rototiller and pulverize the soil. We know better now. Heavy tilling actually destroys soil structure, kills earthworms, and dredges up millions of dormant weed seeds, creating more work for you.
In my own gardens, I haven’t touched a rototiller in years. Here’s what the pros use instead:
- The Broadfork: This is my go-to tool. It’s a beast with long tines that you use your body weight to push into the ground. You then rock it back to lift and aerate the soil without flipping it over. It preserves the soil’s natural layers and is amazing for soil health. A good one is an investment, probably around $150-$200, but it will save your back and your soil for years to come.
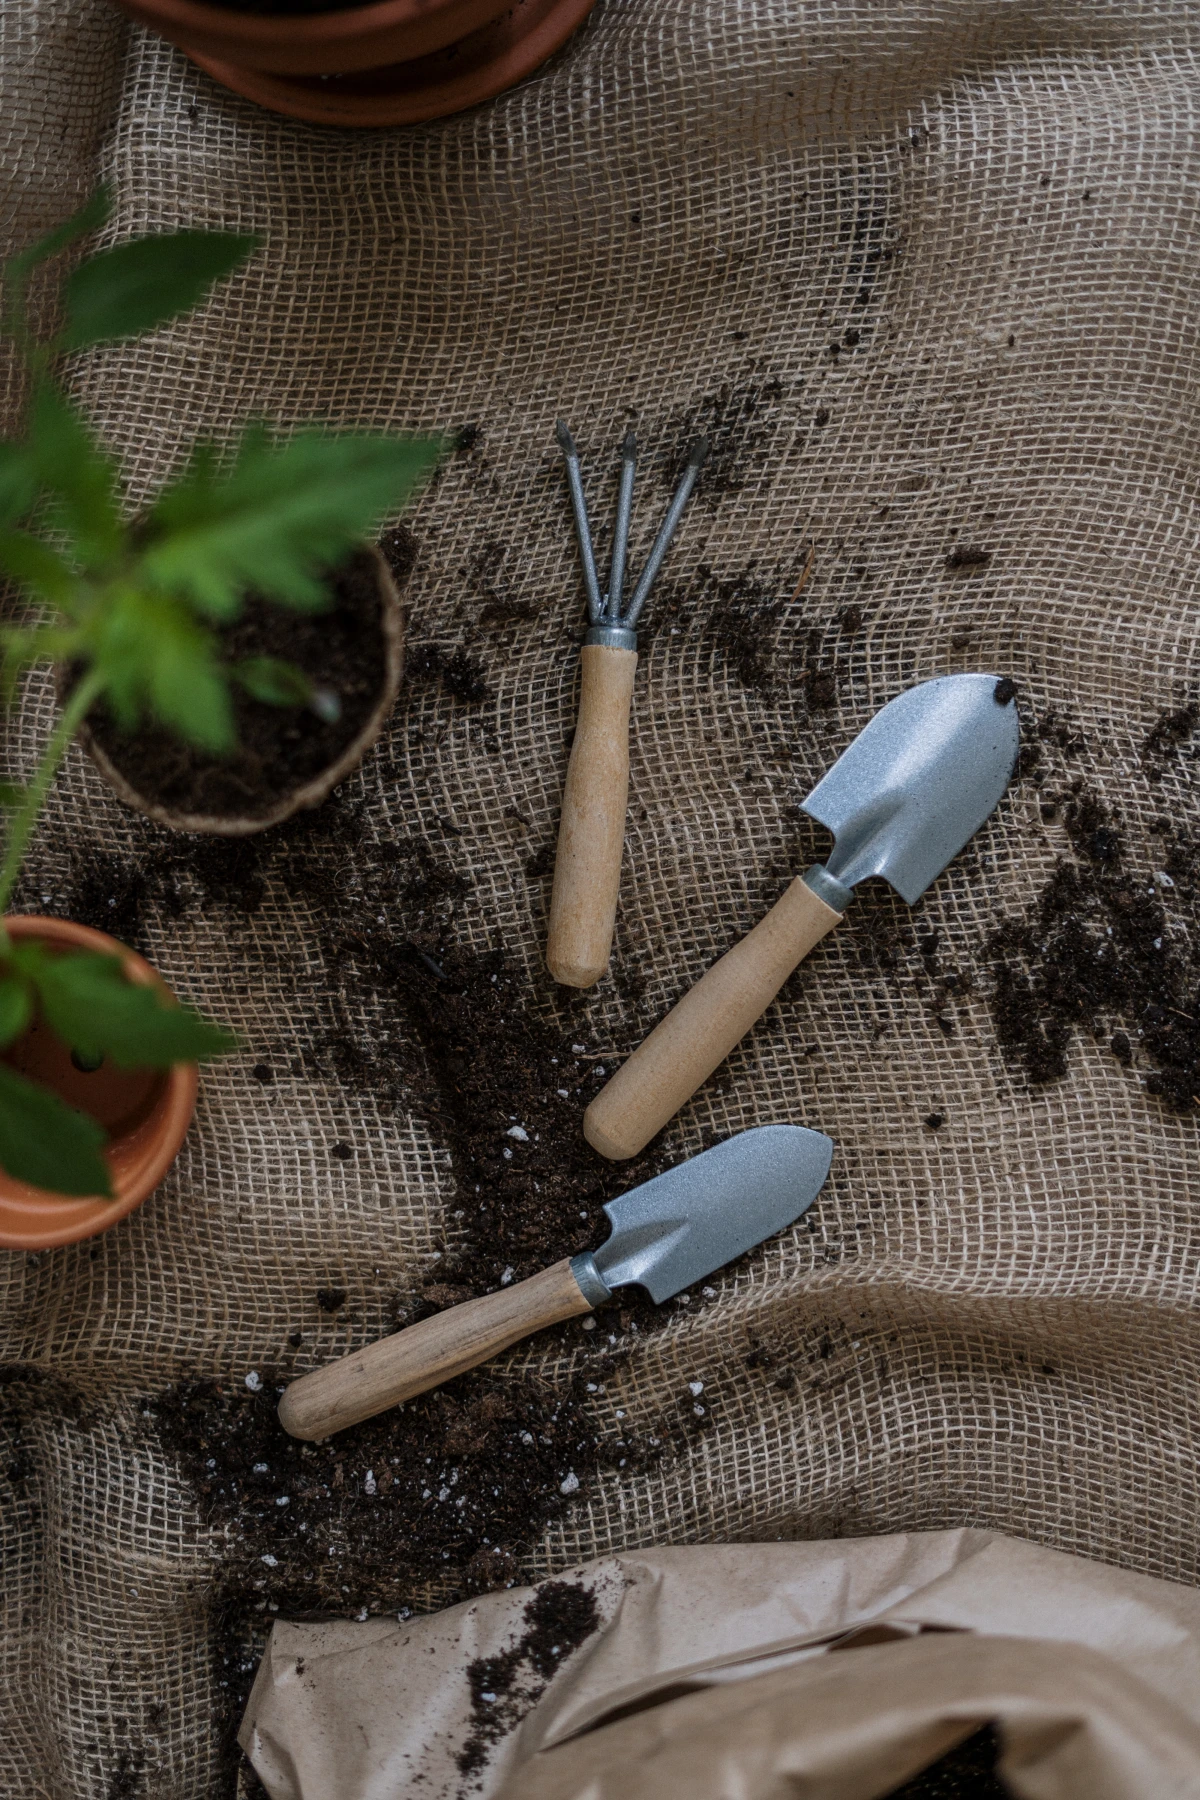
- The Digging Fork: For smaller beds, a simple digging fork (about $30-$40) is all you need. Just push it in and rock it back and forth to gently loosen the soil and mix in your compost.
- The No-Dig Method: The easiest method of all! Simply layer your compost on top of the bed every spring and let the worms and microbes do the digging for you. To start a new no-dig bed right on top of a lawn, lay down a layer of plain cardboard (remove any plastic tape!) to smother the grass, then pile on at least 4 to 6 inches of compost. Plant right into it. It’s a game-changer for reducing weeds.
The Final Touches for a Perfect Start
After you’ve loosened the soil and added your amendments, use a hard rake to smooth the surface. This creates a nice, level bed and ensures your seeds make good contact with the soil, which they need to germinate.
Here’s a pro move: if you have time, wait a week or two before planting. This lets the first wave of weed seeds you just disturbed sprout. You can then quickly run a hoe over them for a perfectly clean start for your crops.
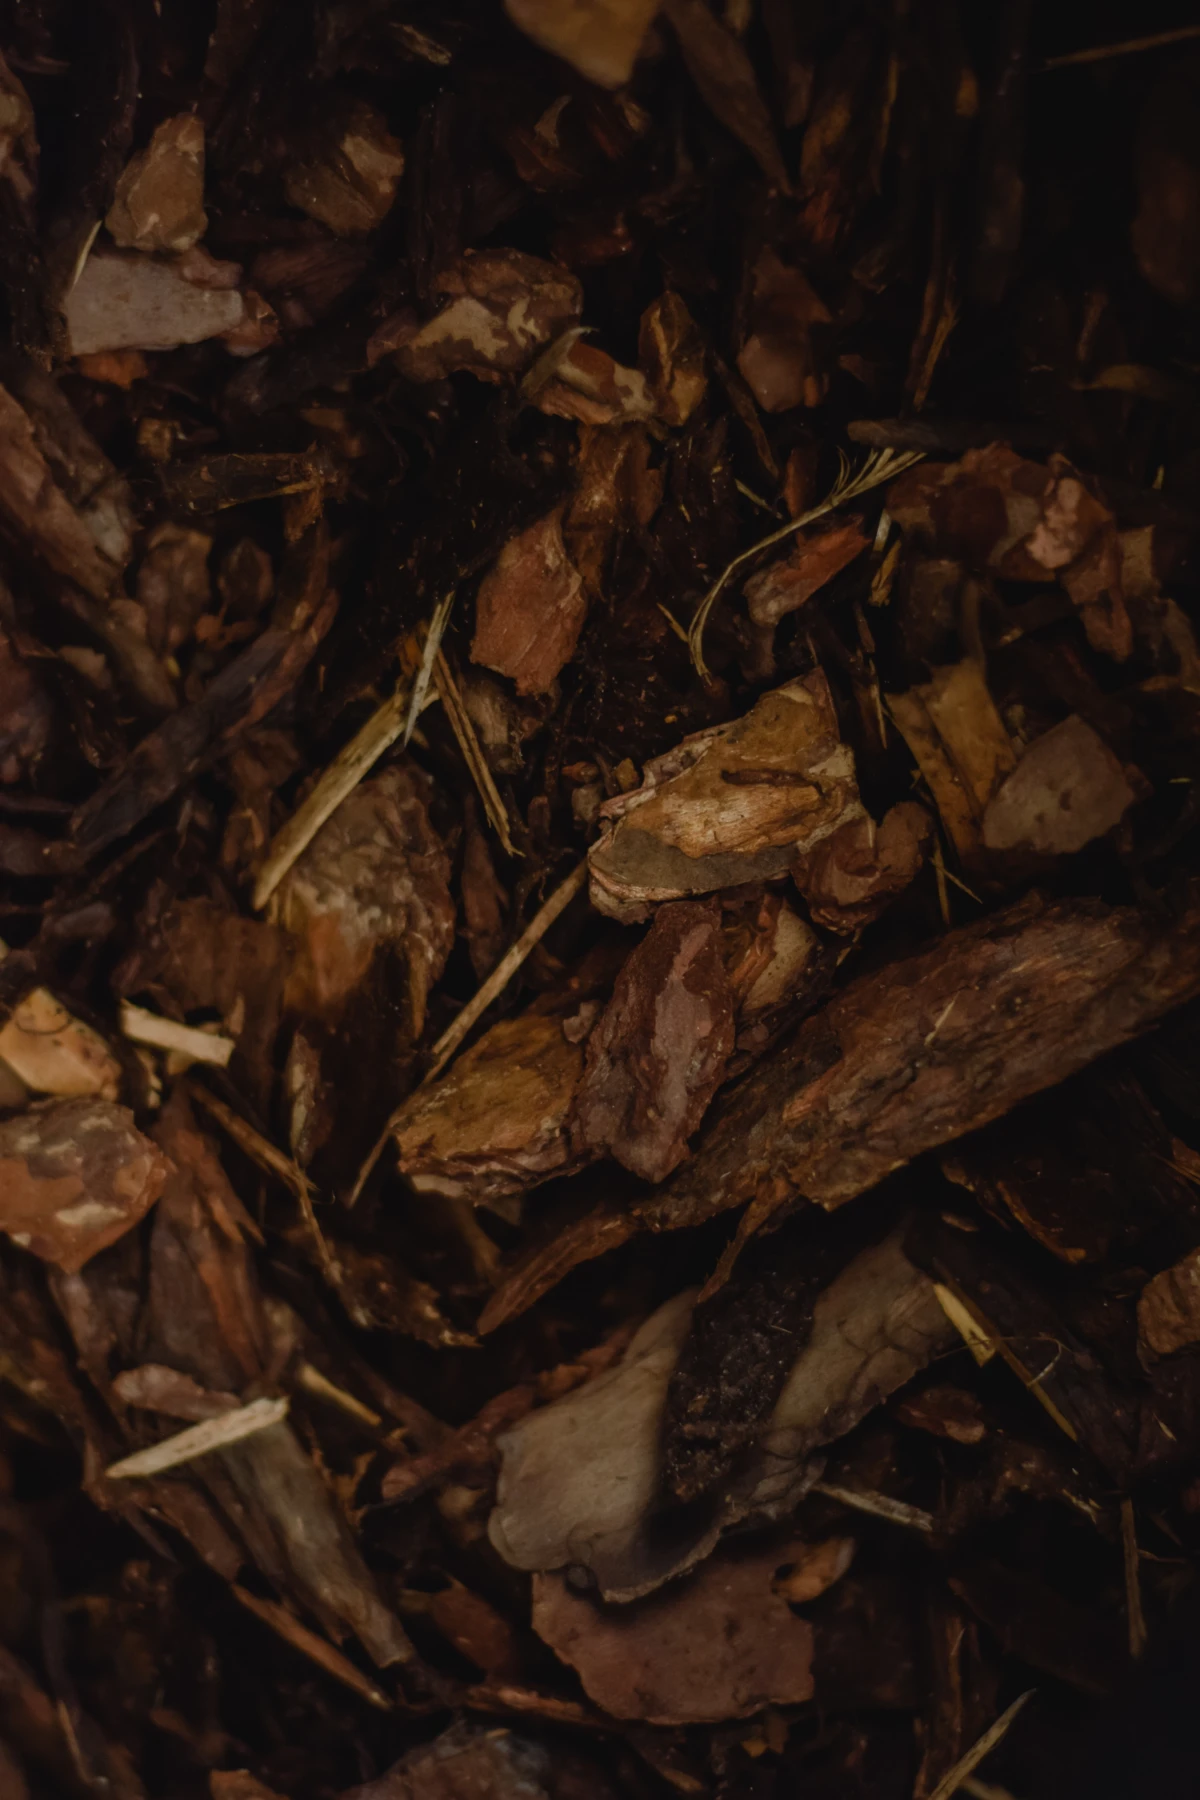
Finally, once you do plant, add a light layer of mulch like straw or shredded leaves. This keeps moisture in, the soil temperature even, and suppresses weeds from day one. Just remember to keep wood-based mulches on top of the soil, not mixed in, or they’ll temporarily steal nitrogen from your plants as they decompose.
This might seem like a lot of work, and it is. But it’s the most satisfying work you’ll do. By giving your soil this attention now, you’re setting yourself up for a season of success and building a healthy, living garden that will only get better year after year.
Inspirational Gallery with Photos
- For heavy clay soil: Your primary goal is improving drainage. Amend it by mixing in organic matter like rich compost or well-rotted manure, which forces the fine clay particles apart. Coarse sand or perlite can also help create air pockets.
- For overly sandy soil: The challenge here is retaining water and nutrients. Generously add materials that act like a sponge, such as peat moss, coco coir, and of course, plenty of compost to give roots something to hold onto.
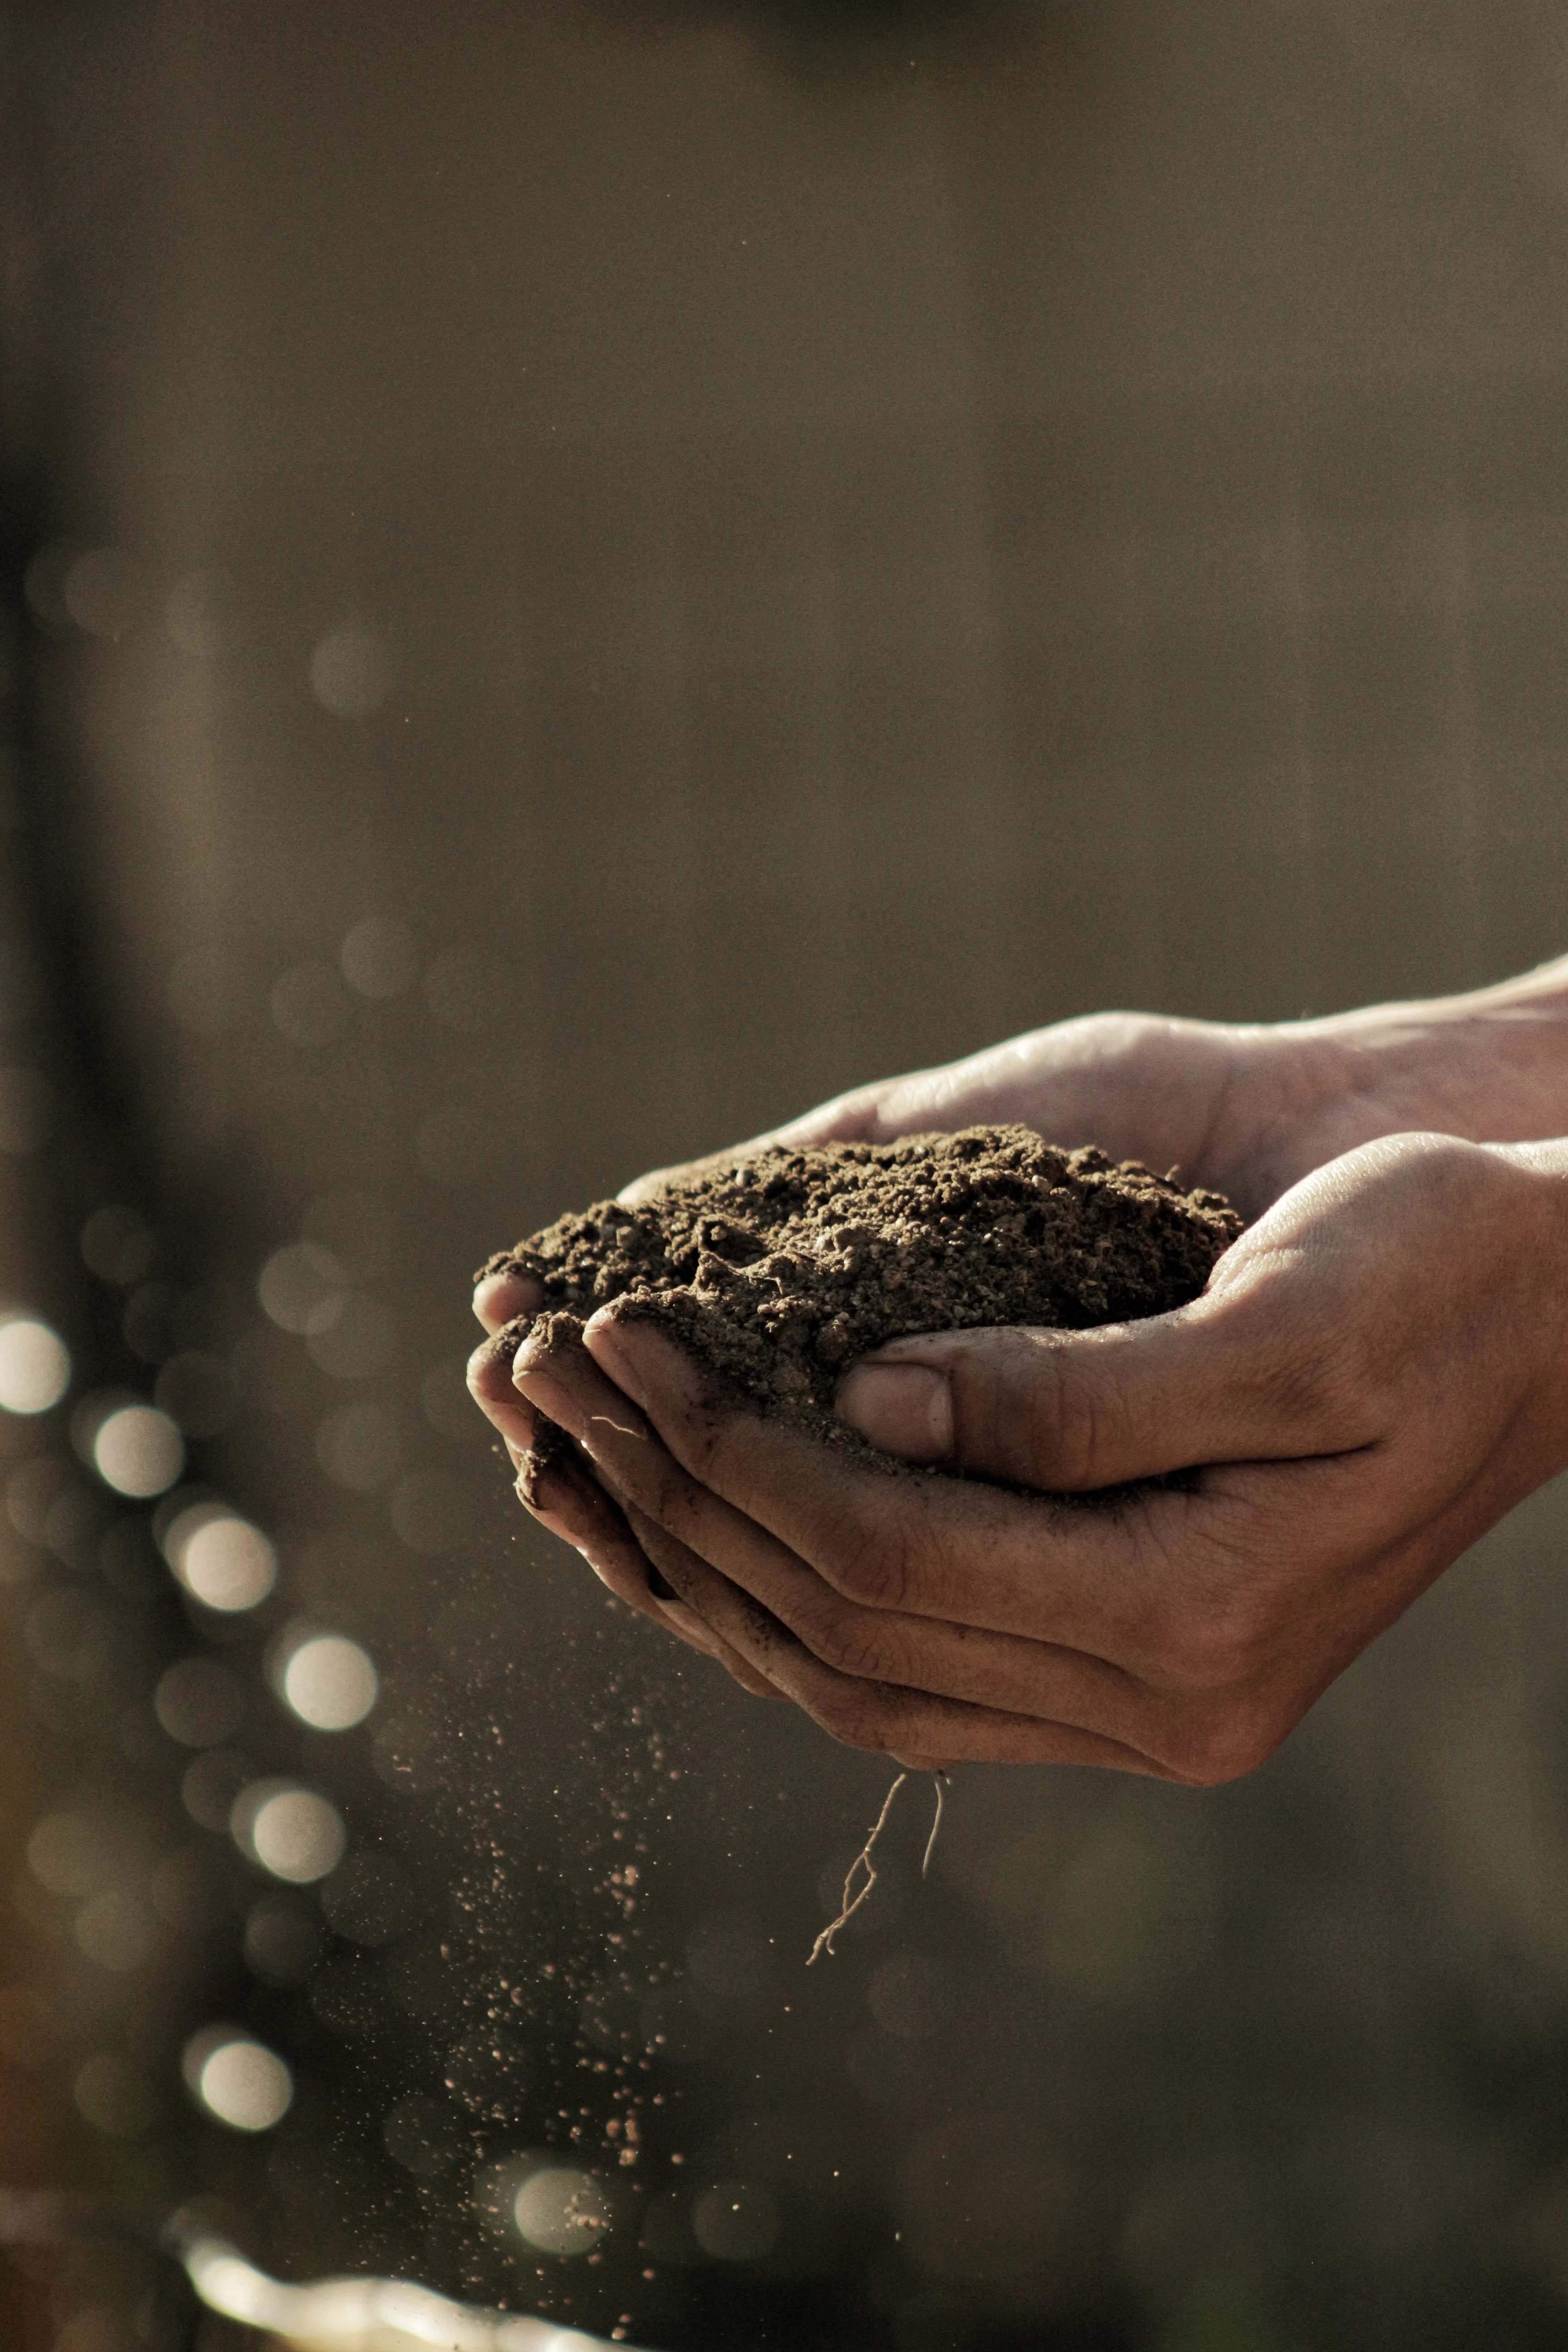
A single teaspoon of healthy topsoil can contain up to one billion bacteria and several yards of fungal filaments.
This isn’t just inert dirt; it’s a living ecosystem. When you add quality compost, you’re not just feeding future plants—you’re feeding this essential underground workforce. These microbes are what break down organic matter and make nutrients available to your plant’s roots. A sterile soil is a weak soil.
The Tiller’s Trap: Resist the temptation to pulverize your soil into a fine powder with a rototiller. While it looks perfect initially, over-tilling destroys the soil’s natural structure (its ‘crumb’), leading to severe compaction after the first heavy rain. It also damages earthworm populations and burns up organic matter too quickly. For established beds, a broadfork offers deep aeration without this destruction.
My soil test shows low pH. What do I do now?
An acidic soil makes it difficult for many common vegetables to absorb key nutrients. If a simple kit like the Luster Leaf Rapitest shows a pH below 6.0, you’ll need to ‘sweeten’ the soil by raising its pH. The traditional method is adding garden lime or dolomitic lime, which also provides calcium and magnesium. For a faster-acting organic option, lightly broadcast some hardwood ash from your fireplace, but use it sparingly as it is highly alkaline.
- Dramatically reduces weed germination.
- Protects the delicate web of fungal life.
- Improves water retention and prevents soil compaction.
The secret? It’s the ‘no-dig’ gardening method. Instead of turning your soil over, you simply layer organic materials on top each season: a base of cardboard to smother weeds, followed by compost, shredded leaves, and a final topping of mulch.
Consider earthworms your most valuable partners. They are nature’s plows, tunneling through the ground to create essential channels for air and water. Their castings (vermicompost) are a powerhouse amendment, rich in easily absorbed nutrients. Seeing a healthy population of worms as you prepare your beds is one of the best signs of healthy, living soil.
Bagged Compost: Brands like Coast of Maine or Black Kow offer consistent, weed-free, and easy-to-handle options. This is perfect for amending container soil, top-dressing individual plants, or for smaller urban gardens where transport is an issue.
Bulk Compost: Sourced from a local landscape supplier, this is the most economical choice for creating new beds or enriching large garden areas. The tradeoff? You’ll likely need a truck and should always inspect the quality for unwanted debris before you buy.
Want to give your freshly prepped beds an immediate biological boost? Brew a simple compost tea. It’s easy: place a few shovelfuls of your best finished compost into a burlap sack and steep it in a 5-gallon bucket of non-chlorinated water for 24 hours. The resulting liquid is a microbial concentrate that can be used as a soil drench to kickstart root activity.
Think beyond flat gardening with an ancient technique.
Hugelkultur, German for ‘hill culture,’ involves building garden beds on a foundation of decaying wood. By burying logs and branches under your topsoil and compost, you create a long-term, slow-release source of nutrients. More importantly, the wood acts like a giant sponge, absorbing winter rains and releasing moisture all summer, drastically reducing the need for watering.
Your kitchen can be a great source of free soil amendments. Used coffee grounds provide a gentle boost of nitrogen, perfect for mixing into the top few inches of soil. Crushed eggshells are an excellent free source of calcium, which can help prevent blossom-end rot on tomatoes and peppers later in the season. Both are great additions to your compost pile, too.


