Tired of Dated Patios? Here’s How to Build an Outdoor Space That Actually Lasts
You know, in all my years building outdoor spaces, the one word I hear constantly is “timeless.” Everyone wants a garden or patio that won’t scream its age in five years. They’re chasing a feeling of permanence, something solid and well-built. It’s a fantastic goal, but here’s the thing: “timeless” isn’t a style you can just pick out of a catalog. It’s something you build from the ground up, literally.
In this article
These days, a lot of the best-looking and longest-lasting projects rely on two workhorse materials: composite decking and porcelain pavers. When you use them the right way, the results are stunning. But I’ve also seen people spend a fortune on these premium materials only to have the project fail because they skipped the fundamentals. A gorgeous surface can’t hide a wobbly, weak foundation.
So, this isn’t about trendy designs. This is about the core methods the pros use to make sure a project is still standing strong decades from now. We’ll get into the nitty-gritty of the materials, the absolutely critical foundation work, and the small details that make all the difference.
First Things First: Know Your Materials
Before you even think about buying a single board or paver, you have to understand what you’re working with. Composites and porcelain aren’t just fancy versions of wood and concrete; they are engineered materials with their own unique rules. Getting this right is step one.
The Real Deal on Composite Decking
Composite decking is basically a mashup of wood fibers and plastic, all fused together. The whole point is to give you that wood look without all the sanding, staining, and sealing. But honestly, the quality can vary wildly.
A key thing to look for is whether the boards are “capped” or “uncapped.” The earliest versions of composite were uncapped, meaning the wood-plastic mix went all the way through. The issue was that the wood fibers on the surface could still soak up moisture and stains, leading to mold and fading. It wasn’t the permanent solution everyone hoped for.
Today’s good-quality boards are all “capped.” They have that same composite core, but it’s wrapped in a tough, protective shell of pure polymer, like PVC. This cap is the board’s shield against everything—stains, scratches, and the sun. When I’m choosing a product, the quality of that cap is what I look at most closely. A thicker, more durable cap means a longer-lasting deck, period.
Heads up! A lesson on expansion and contraction…
Here’s something I teach every new person on my crew: plastic moves. When it gets hot, composite decking expands. When it gets cold, it shrinks. If you don’t plan for this thermal movement, your beautiful new deck will literally tear itself apart.
I once had to fix a deck where the installer laid the boards tight against each other on a cool spring day. That summer, the boards expanded so much they buckled and popped right off the joists. It was a $5,000 mistake that could have been prevented with a $2 pack of spacers. Every manufacturer provides gapping requirements—follow them religiously! A common rule is to leave a 3/16-inch gap at the ends of boards if you’re installing them in moderate weather. This little bit of breathing room is non-negotiable.
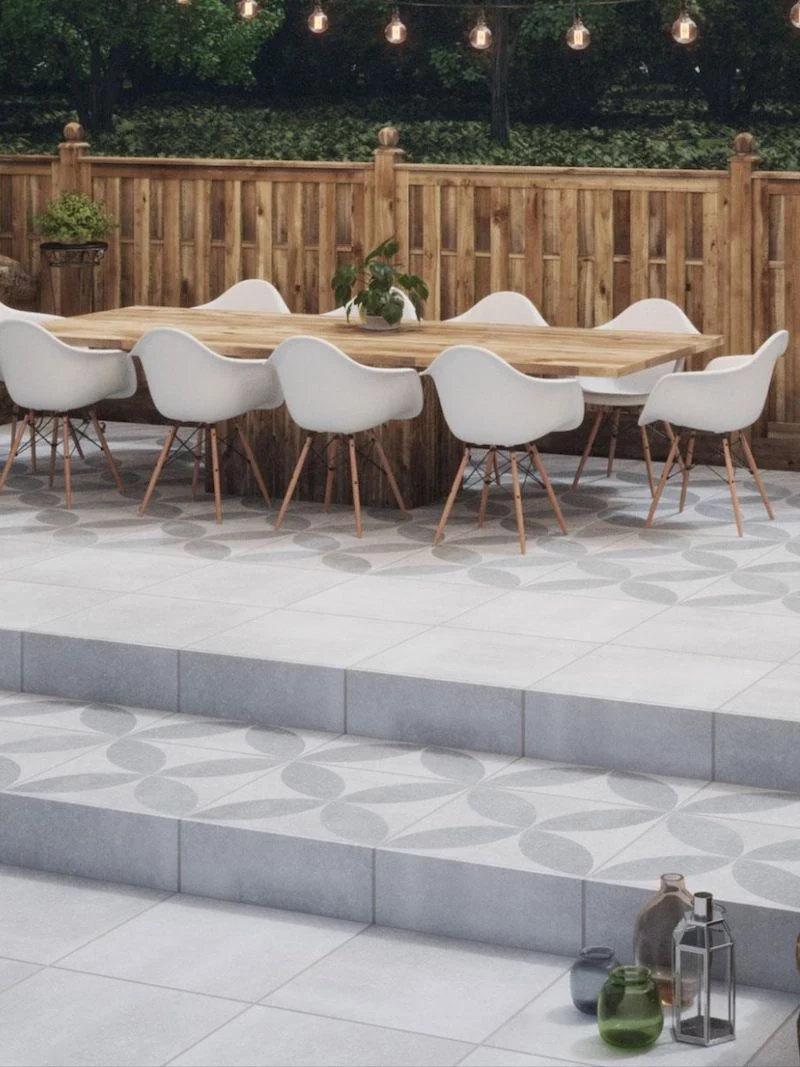
Why Porcelain Pavers Are So Tough
Now, let’s be clear: the porcelain pavers we use for patios are not the same as the tile in your bathroom. Outdoor pavers are much thicker, usually around 20mm (that’s about 3/4 of an inch), and are engineered to handle serious weight and nasty weather. They’re made from a super-refined clay that’s fired at incredibly high temperatures—we’re talking over 2,200°F.
The secret is water absorption (or lack thereof).
The most important feature of a porcelain paver is its incredibly low water absorption rate, which is less than 0.5%. This is a huge deal, especially if you live somewhere with cold winters. When water gets into concrete or natural stone, it freezes, expands, and causes the material to crack and flake apart over time. It’s called spalling. Because porcelain absorbs virtually no water, there’s nothing inside to freeze and expand. This is why I can recommend it with confidence for projects in freeze-thaw climates. It just doesn’t break down.
Also, pay attention to the surface texture. Outdoor pavers need to have good slip resistance. You’ll see this measured as a DCOF rating; you want a value of 0.42 or higher for any surface that might get wet. Most outdoor-rated porcelain has a slightly textured finish to meet this standard. Cheaper, smoother tiles might look sleek, but they can become an ice rink in the rain.
Ballpark Budgets & Realistic Timelines
Okay, let’s talk money and time, because that’s what everyone really wants to know. These are just ballpark figures to help you plan, and prices can vary a lot by region and quality.
- Pressure-Treated Wood Decking: This is your budget option. Expect to pay around $5 to $10 per square foot for the materials alone. It’s affordable upfront, but remember to factor in the cost of stain and sealer every couple of years.
- Composite Decking: This is a big step up in price and longevity. Materials will run you $15 to $30+ per square foot. The higher-end brands with more realistic wood grain and better caps are at the top of that range.
- Porcelain Pavers: The pavers themselves typically cost between $8 and $20 per square foot. Remember to add the cost of the base materials (gravel, fabric, etc.), which might add another $3-5 per square foot.
- Framing: A standard pressure-treated wood frame is the norm. But if you want a truly bomb-proof deck, you can look at steel framing. It can easily double your framing cost, but it will outlive all of us—it won’t rot, warp, or get eaten by termites.
As for time? Don’t underestimate it. For a reasonably handy DIYer, a simple 12×12 foot deck is not a single weekend project. Plan for a full weekend just for digging and pouring footings. The framing could easily take another 2-3 full days. Then you still have to install the decking and railings. Be realistic and give yourself at least two or three solid weekends to do it right.
The Foundation: Where a Project Truly Succeeds or Fails
A beautiful surface is totally worthless without a rock-solid base. The work that nobody sees is, without a doubt, the most important part of the job. For decks, it’s the frame. For patios, it’s the excavated base. Cutting corners here is the number one mistake I see.
Building a Deck Frame That Lasts a Lifetime
The composite boards you put on top might have a 25-year warranty, but the wood frame underneath needs to last just as long. If the frame rots, the whole deck is a goner.
1. Footings First: In any climate that sees freezing temperatures, your deck footings absolutely must be dug below the local frost line. In some northern areas, this can be 42 inches deep or more. If your footing is too shallow, moisture in the soil will freeze and push the footing upwards—a phenomenon called “frost heave” that will wreck a level deck. We always dig deep and pour concrete piers to anchor the deck to stable ground.
2. The Right Wood for the Frame: Your frame should be built with ground-contact rated, pressure-treated lumber. Check the tag on the wood pile at the store; you’re looking for a rating like UC4A or UC4B. It’s treated to resist rot and bugs.
3. A Pro-Level Trick: Joist Tape: One of the best practices we’ve adopted is using joist protection tape. It’s a sticky, waterproof butyl tape you apply to the tops of the joists before the decking goes on. Rainwater always gets through the deck gaps, and this tape creates a waterproof barrier, stopping moisture from sitting on the wood and causing rot. A roll costs about $20-$30 at any home improvement store and can easily add a decade to the life of your frame. It’s the best money you’ll spend.
4. The Ledger Board—Don’t Get This Wrong: If your deck attaches to your house, it does so with a ledger board. This is the single most common point of catastrophic deck failure. It must be attached with beefy structural screws or lag bolts (never just nails) and, more importantly, requires proper metal flashing to direct water away from your house. A poorly flashed ledger will funnel water straight into your home’s structure, causing unbelievable damage. It’s the first thing I check on an old deck.
Prepping a Bulletproof Base for Porcelain
A porcelain patio is only as flat as the base it sits on. The pavers have almost zero flex, so if the ground underneath shifts, they will crack or become a nasty trip hazard. The process is a lot of work, but it’s not complicated.
Here’s the simple, non-negotiable layering system:
- Excavation: First, you have to dig out all the grass and organic topsoil. For a simple walkway, 4-6 inches might do. For a patio on heavy clay soil, you need to go deeper, often 8-12 inches, to get down to stable subsoil.
- Geotextile Fabric: After digging, roll out a layer of non-woven geotextile fabric. This is a crucial step people often skip. It separates your gravel base from the soil, preventing them from mixing over time and weakening the foundation.
- The Aggregate Base: This is the patio’s backbone. Use a 3/4-inch angular crushed stone. The sharp edges lock together when compacted, creating a super-stable base that also drains water. You install this in 2- to 3-inch layers (or “lifts”), compacting each one with a plate compactor before adding the next. Quick tip: you can rent a plate compactor from a tool shop for about $75 a day. Don’t skip this—hand tamping is not enough!
- The Bedding Layer: On top of the compacted base goes a 1-inch layer of what you’ll use to get the pavers perfectly level. Traditionally, people used sand, but it can wash out and ants love it. I much prefer using 1/4-inch clean chip stone. It doesn’t hold water, it’s easy to level, and bugs leave it alone.
By the way, need to figure out how much gravel to order? Here’s the simple math: Length (ft) x Width (ft) x Depth (ft), then divide that number by 27. This gives you the cubic yards you need. I always add 10% extra just to be safe.
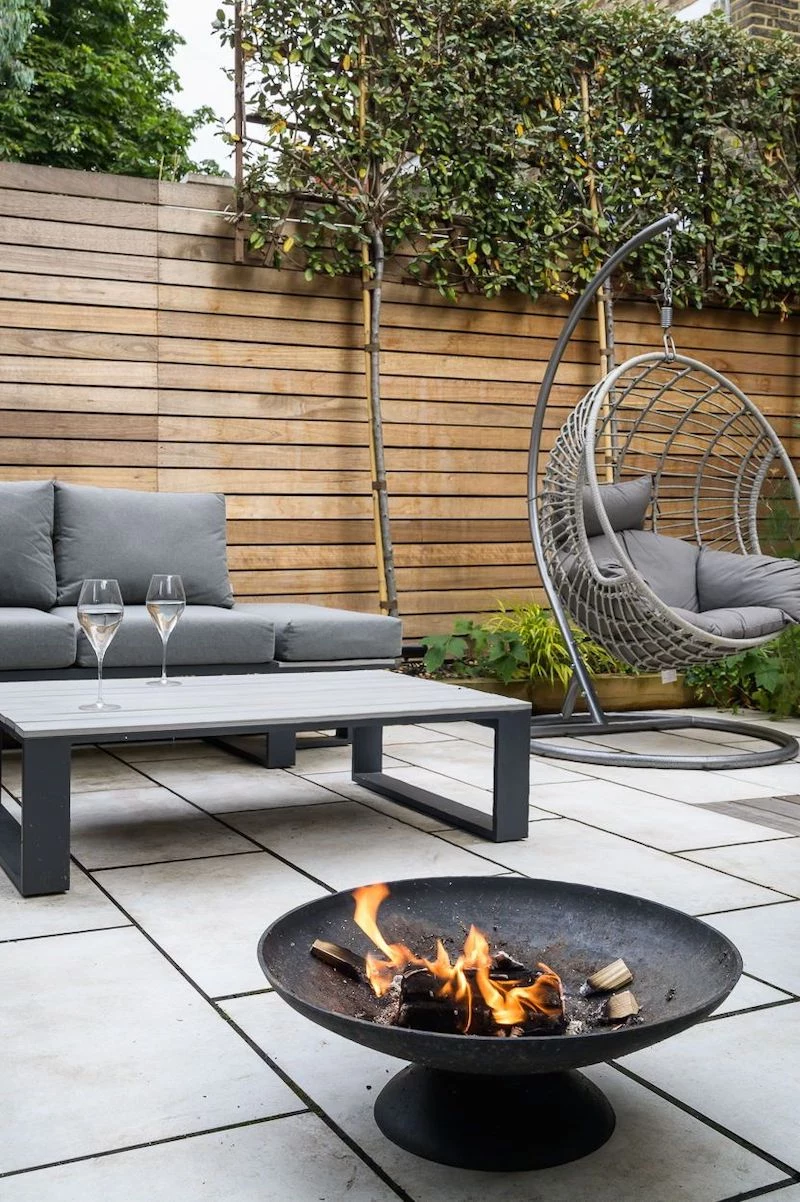
Putting It All Together: Design and Details
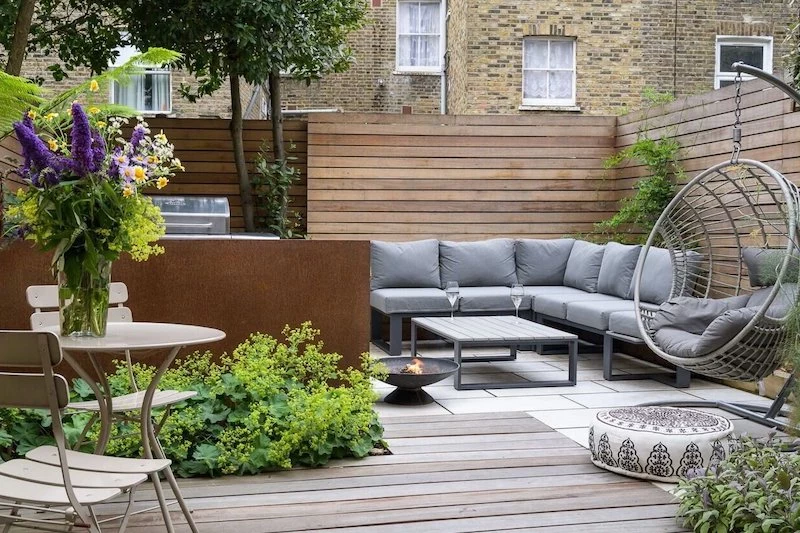
With a solid plan for your foundation, you can start thinking about the finished look. Using both decking and porcelain gives you incredible design freedom to create different “rooms” in your outdoor space.
A really professional touch is getting a perfectly flush transition between the deck and the patio. This takes careful planning from the start. You have to calculate the final height of both surfaces—the thickness of the paver, the bedding layer, the deck board—and build your foundations to match exactly. It’s a bit of math upfront that pays off big time in the final look.
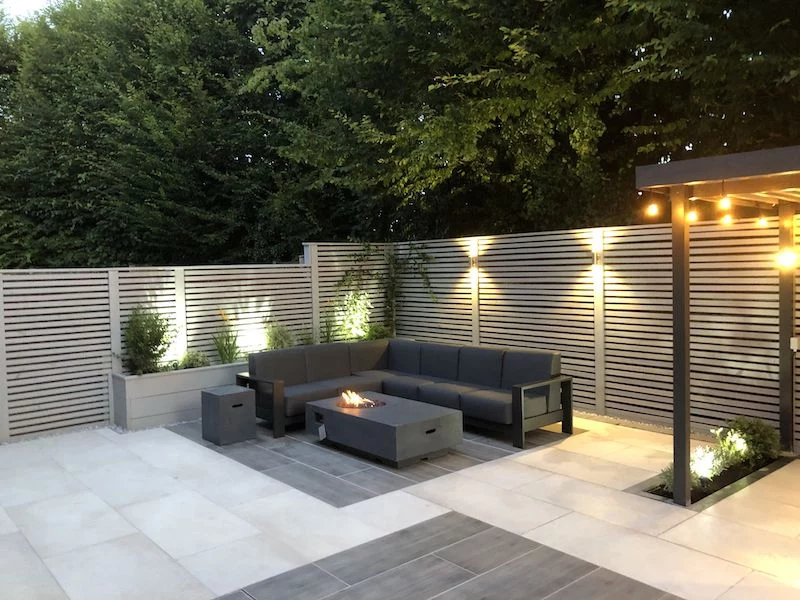
Think about using the two materials to define zones. For instance, a dark composite deck can create a warm, cozy lounge area, while a few steps down, a large, light-colored porcelain patio can house the outdoor kitchen and dining area. This is practical, too—porcelain is fantastic near a grill because it’s non-porous and won’t stain from grease splatters.
Safety, Permits, and Knowing Your Limits
Building something to last means taking responsibility. You have to be safe during the build, and the final product has to be safe for everyone who uses it.
During construction, always use your PPE. That means:
- Eye Protection: Sawdust and flying debris are a given.
- Gloves: Protects your hands from splinters and treated-wood chemicals.
- Hearing Protection: Saws and plate compactors are LOUD.
- A Good Dust Mask/Respirator: This is absolutely critical when cutting porcelain. It creates fine silica dust, which is incredibly dangerous to inhale. Always use a wet saw (the water eliminates the dust) or a saw hooked up to a proper dust extractor.
Most decks, especially if they are attached to a house or more than 30 inches off the ground, will require a building permit. The permit process ensures your plan is safe and up to code, covering everything from footing depth to railing height. A ground-level patio usually doesn’t need one, but a quick call to your local building department is always a smart move.
And finally, be honest with yourself. A simple, ground-level floating deck or a small paver patio on flat ground can be great DIY projects. But you should call a pro if the deck is attached to your house (that ledger board is too critical), if the project is on a steep slope, or if you’re not 100% confident in building a safe, code-compliant structure. Paying a professional isn’t just for their labor; it’s for their experience, insurance, and ability to solve the problems that inevitably pop up.
A “timeless” garden isn’t some secret. It’s just the result of smart planning, quality materials, and a deep respect for doing the job right. Whether you build it yourself or hire it out, understanding what makes a project last is the first step toward an outdoor space you’ll love for years to come.


