Your Lawn’s Secret Weapon: How to Mow Like a Pro
I’ve spent countless hours behind a mower, managing everything from cozy suburban backyards to huge commercial properties. And early on, I learned a really tough lesson. I had this one client’s lawn that I babied, but it just kept looking… sad. It was yellowed and tired, and I couldn’t figure out why. I was doing everything by the book, or so I thought.
In this article
It turns out my mower blades, which seemed ‘sharp enough’ to me, were actually tearing the grass to shreds. That one experience opened my eyes. Mowing isn’t just about making the grass shorter; it’s a genuine horticultural practice. Honestly, it’s the single most impactful thing you can do for your lawn’s health.
A proper cut is like a good workout for your grass. It signals the plant to get denser and stronger, producing new shoots from the base to create that thick, carpet-like lawn we all want. When you do it right, it’s your number one defense against weeds and disease. But when you do it wrong, you’re basically rolling out the welcome mat for problems. This guide is built on all those lessons learned, covering the little details that separate a quick trim from truly professional lawn care.
Why the Way You Cut Matters So Much
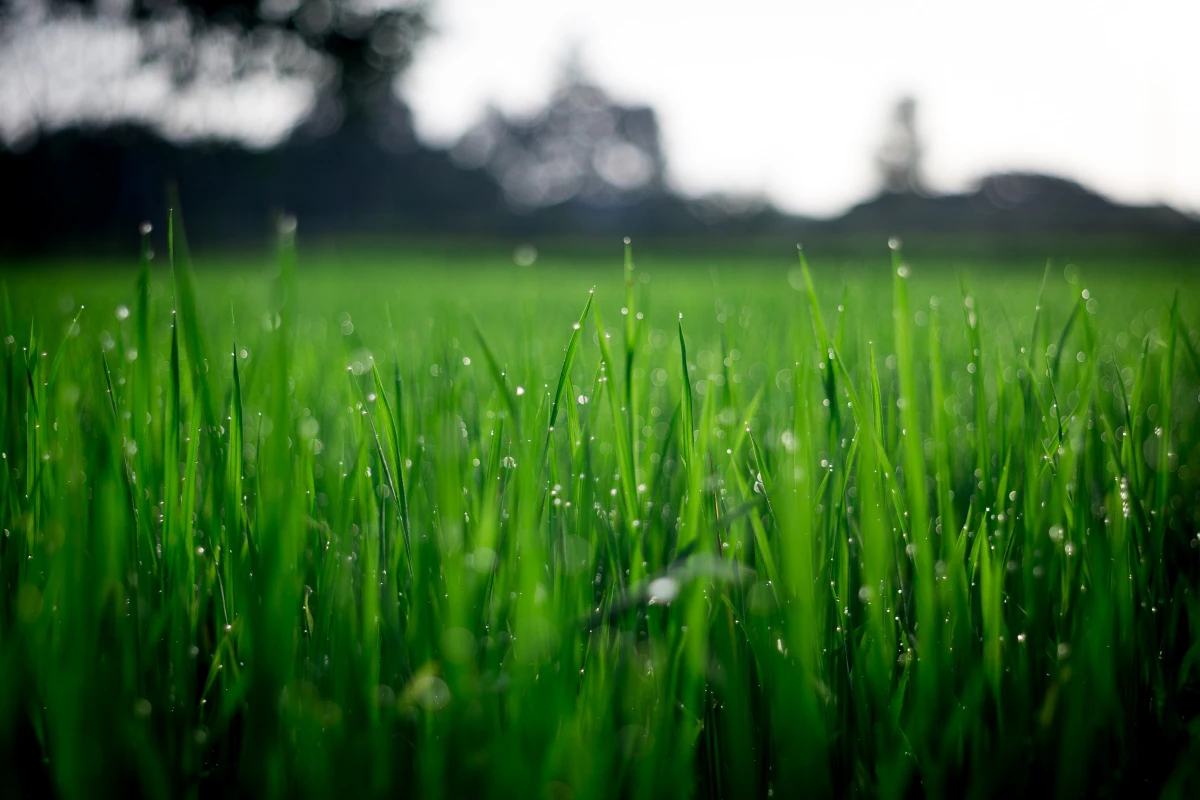
To really get this, you have to think about what a blade of grass is actually doing. It’s a tiny solar panel, trying to catch sunlight to make food. The heart of the plant is called the crown, and it sits right at the soil level. This is where all the new growth comes from. If you damage the crown, you can easily kill the whole plant.
The Famous “One-Third Rule”
You’ve probably heard people mention the ‘one-third rule,’ and it’s not just some casual tip. It’s based on how grass actually works. The rule is simple: never, ever remove more than one-third of the grass blade’s total height in a single mow. So, if you want your lawn to be 2 inches tall, you need to cut it when it hits 3 inches. Let it grow to 4 inches before cutting it back to 2, and you’ve just lopped off half its ability to photosynthesize.

Why is that so terrible? Because the plant basically panics. It diverts all its energy from growing deep, healthy roots to frantically pushing out new leaves just to survive. This leads to a weak, shallow root system that can’t handle drought, heat, or pests. Honestly, repeatedly breaking this rule is one of the fastest ways to destroy a lawn.
Cool Grass vs. Warm Grass: It’s Not All the Same
Your mowing strategy has to match your grass type. In general, lawn grasses fall into two big camps:
- Cool-Season Grasses: Think Kentucky Bluegrass, Fescue, and Ryegrass. These are common in places with chilly winters and warm summers. They do most of their growing in the spring and fall. These grasses like to be kept a bit taller, usually somewhere between 2.5 and 3.5 inches.
- Warm-Season Grasses: This is your Bermuda, Zoysia, and St. Augustine. You’ll find these in hotter southern and western climates where they grow like crazy in the summer and go dormant in winter. They prefer to be cut much shorter, often between 1 and 2.5 inches.
Knowing your type is a game-changer. If you don’t know, a quick search for an “online grass identification tool” can help, or you can snap a picture and show it to the folks at your local garden center. Cutting a Tall Fescue lawn down to 1.5 inches will stress it out badly, but letting Bermuda grass get 4 inches tall will make it look thin and weak.

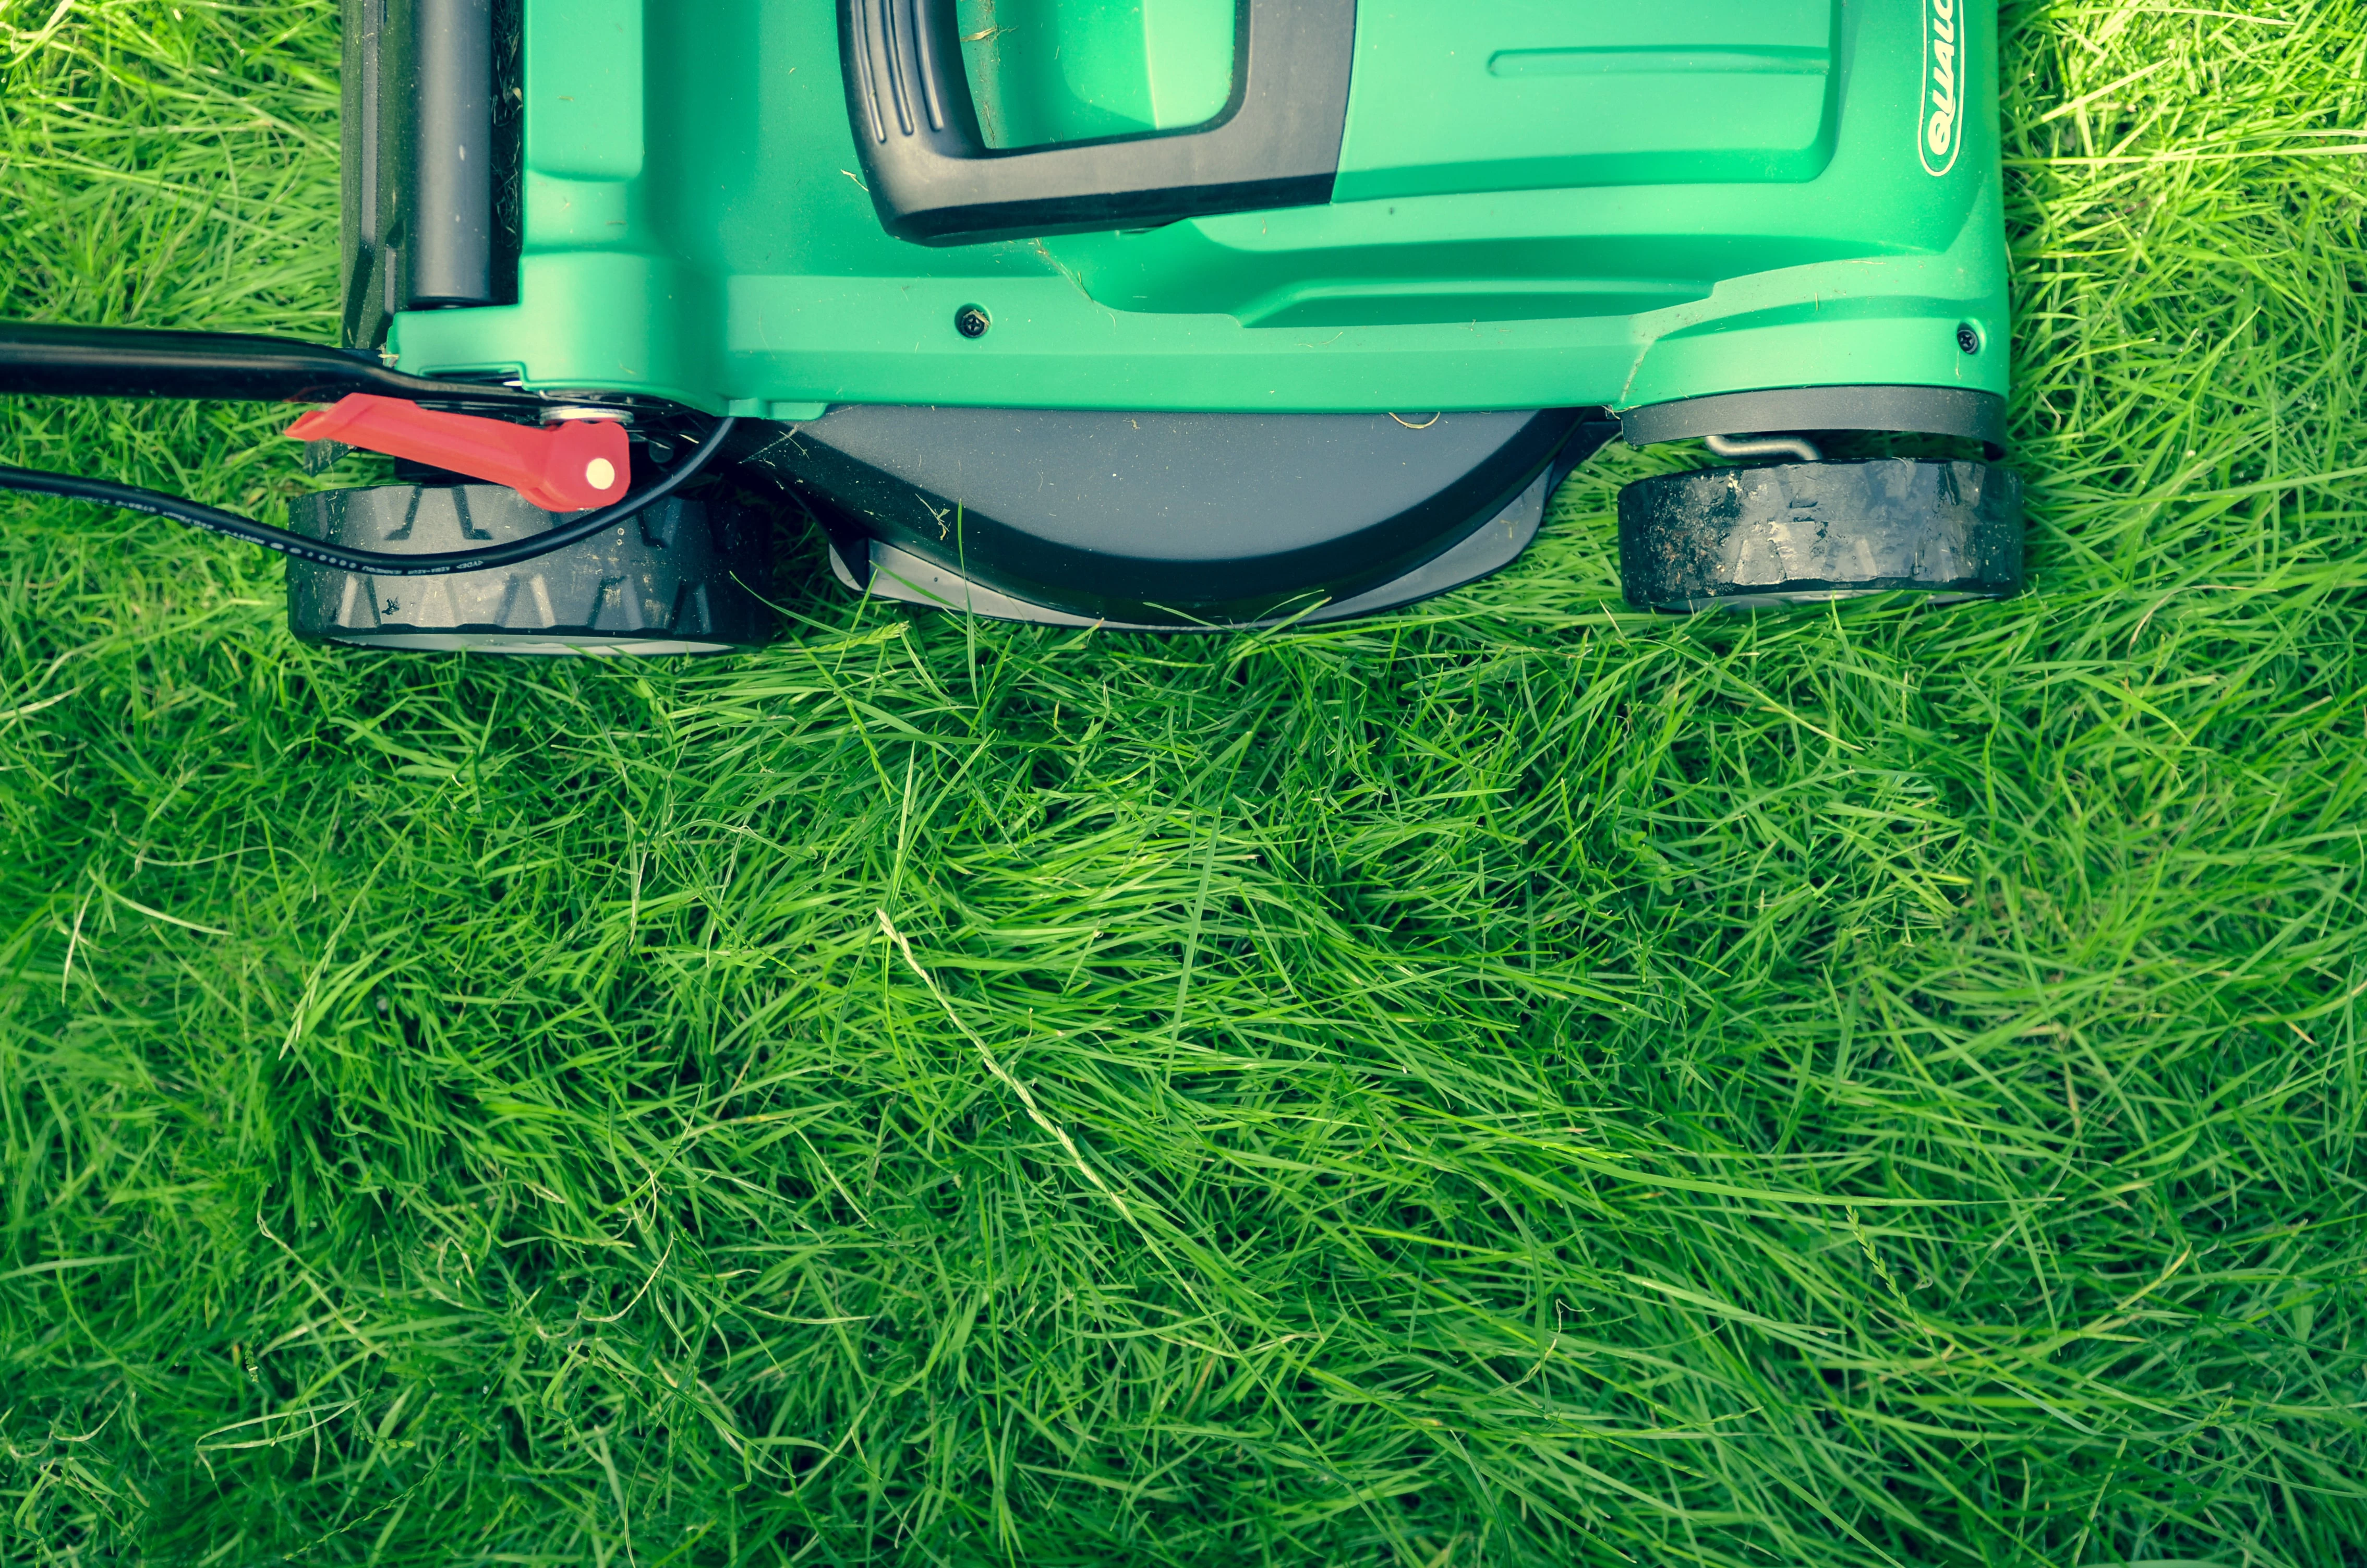
Your Mower: The Blade is Boss
Your mower is your most important tool, and its most critical component is the blade. A cheap, poorly maintained machine with a dull blade will never give you a good result, no matter how perfect your technique is.
The Importance of a Sharp, Balanced Blade
A sharp mower blade slices through grass cleanly. This clean cut helps the grass heal fast, lose less water, and resist disease. A dull blade, on the other hand, doesn’t cut—it rips and tears. This leaves shredded, brown tips that look awful and are slow to heal, basically creating open wounds for fungus to move in.
As a rule of thumb for homeowners, you should sharpen your blade at least twice a season: once in the spring before you start mowing, and again in the middle of summer. And if you hit a big rock or root, check it immediately. It’s probably got a nasty nick in it.
Here’s a quick tip for doing it yourself:
DIY Blade Sharpening in 3 Steps:
- SAFETY FIRST: Before you do anything else, disconnect the spark plug. Seriously. This prevents the engine from accidentally starting while your hands are under there.
- Remove the Blade: Use a wrench to loosen and remove the single bolt holding the blade in place. A small block of wood wedged against the blade can stop it from turning while you wrench.
- Sharpen It: Secure the blade in a vise. Using a standard metal file (about $10 at any hardware store), run it along the cutting edge, trying to match the original angle—usually around 45 degrees. You’re aiming for sharp like a butter knife, not a razor. A few smooth strokes should do it.
But sharpening is only half the battle. The blade also needs to be balanced. An unbalanced blade will vibrate like crazy, which can damage your mower’s engine over time and give you a terrible, wavy cut. The easiest way to check the balance costs nothing: just hang the blade’s center hole on a nail sticking out of your wall. If it hangs perfectly level, you’re golden. If one side dips down, you need to file a tiny bit more metal off the heavy side until it balances out.

Don’t Forget to Clean the Deck!
After every mow, take five minutes to clean the gunk from the underside of your mower deck. That caked-on wet grass does two bad things: it messes up the airflow the mower needs to lift the grass for an even cut, and it holds moisture against the metal, leading to rust. A plastic putty knife works great for scraping.
Time-saving hack: Before you mow, give the underside of the deck a quick spray with cooking oil or a graphite lubricant. The clippings won’t stick nearly as much, making cleanup a breeze.
The Mowing Process: A Step-by-Step Method
A great-looking lawn comes from a consistent process. It’s not just about walking back and forth.
Walk Before You Mow
Always, always walk your lawn before you start. I make this a non-negotiable habit. Look for dog toys, fallen branches, sprinkler heads, and especially rocks. I once saw a brand-new mower get its crankshaft bent by hitting a hidden metal survey pin. That was a costly, 100% preventable mistake that took a machine out of commission for a week.
The Best Time of Day
The sweet spot for mowing is mid-morning, usually between 9 and 11 AM. By then, the dew has evaporated, but the brutal afternoon sun hasn’t set in yet. Mowing wet grass is a bad idea—the clippings clump and clog the mower, and the wheels can slip (a big safety risk on slopes). Mowing in the midday heat puts a ton of stress on the freshly cut grass, causing it to lose water.
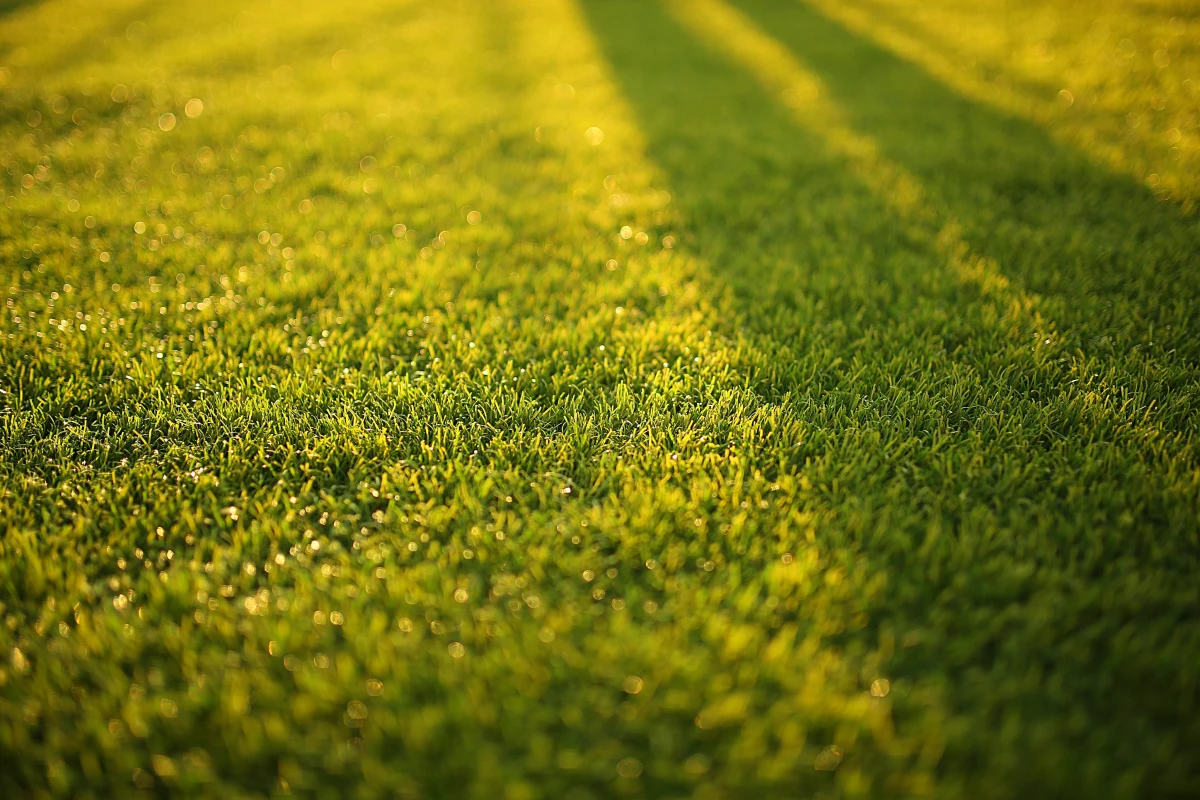
Mastering the Pattern
Change your mowing pattern every single time you mow. If you always follow the same path, the grass blades start to lean in one direction, and you can compact the soil in your wheel tracks. One week, mow in horizontal stripes. The next, go vertical. The week after that, try diagonal stripes. This encourages the grass to grow straight up and keeps the soil healthier.
By the way, those beautiful stripes you see on ballfields? That’s just light reflecting off the grass blades bent in different directions. A light stripe is where the grass is bent away from you, and a dark stripe is where it’s bent towards you.

What to Do With the Clippings: Mulch, Bag, or Discharge?
What you do with your grass clippings makes a big difference. There’s no single right answer; it really depends on the situation.
- When to Mulch: Mulching chops clippings into tiny pieces and drops them back onto the lawn to act as a natural fertilizer. It’s the best option for a routine mow on a healthy, well-maintained lawn. But here’s the catch: only mulch when you’re following the one-third rule. If the grass is too long, the heavy clippings will clump up and smother the lawn. A big no-no: never mulch if you think you have a lawn fungus, as you’ll just spread the disease everywhere.
- When to Bag: Bagging is your go-to for the first mow of spring to clean up winter debris. It’s also smart to bag if your lawn is full of weeds that have gone to seed—you don’t want to spread those seeds everywhere. Bagging gives the cleanest, most manicured look, but remember you’re removing nutrients that you’ll have to replace with fertilizer.
- When to Side-Discharge: This is the fastest method, simply throwing the clippings out the side. It’s perfect for large areas where looks aren’t the top priority or if you’re tackling a seriously overgrown section that’s too tall to mulch. Just aim the chute away from flower beds and your driveway to save on cleanup.
Quick Fixes for Common Lawn Headaches
Experience teaches you how to handle the tricky stuff. Here are a few common challenges and what they mean.
- If you see yellow, shredded grass tips… your blade is dull. It’s tearing, not cutting. Time to sharpen it!
- If you see uncut strips or a wavy pattern… your mower deck is probably clogged with wet grass, you’re moving too fast, or your blade is unbalanced and vibrating. Slow down, clean the deck, and check the balance.
- If you’re mowing a hill or slope… SAFETY WARNING! Always mow ACROSS a slope, not up and down it. This keeps your center of gravity stable and prevents tipping, which is a major risk with riding mowers. If a hill is too steep to walk on comfortably, it’s too steep to mow safely. Use a string trimmer instead.
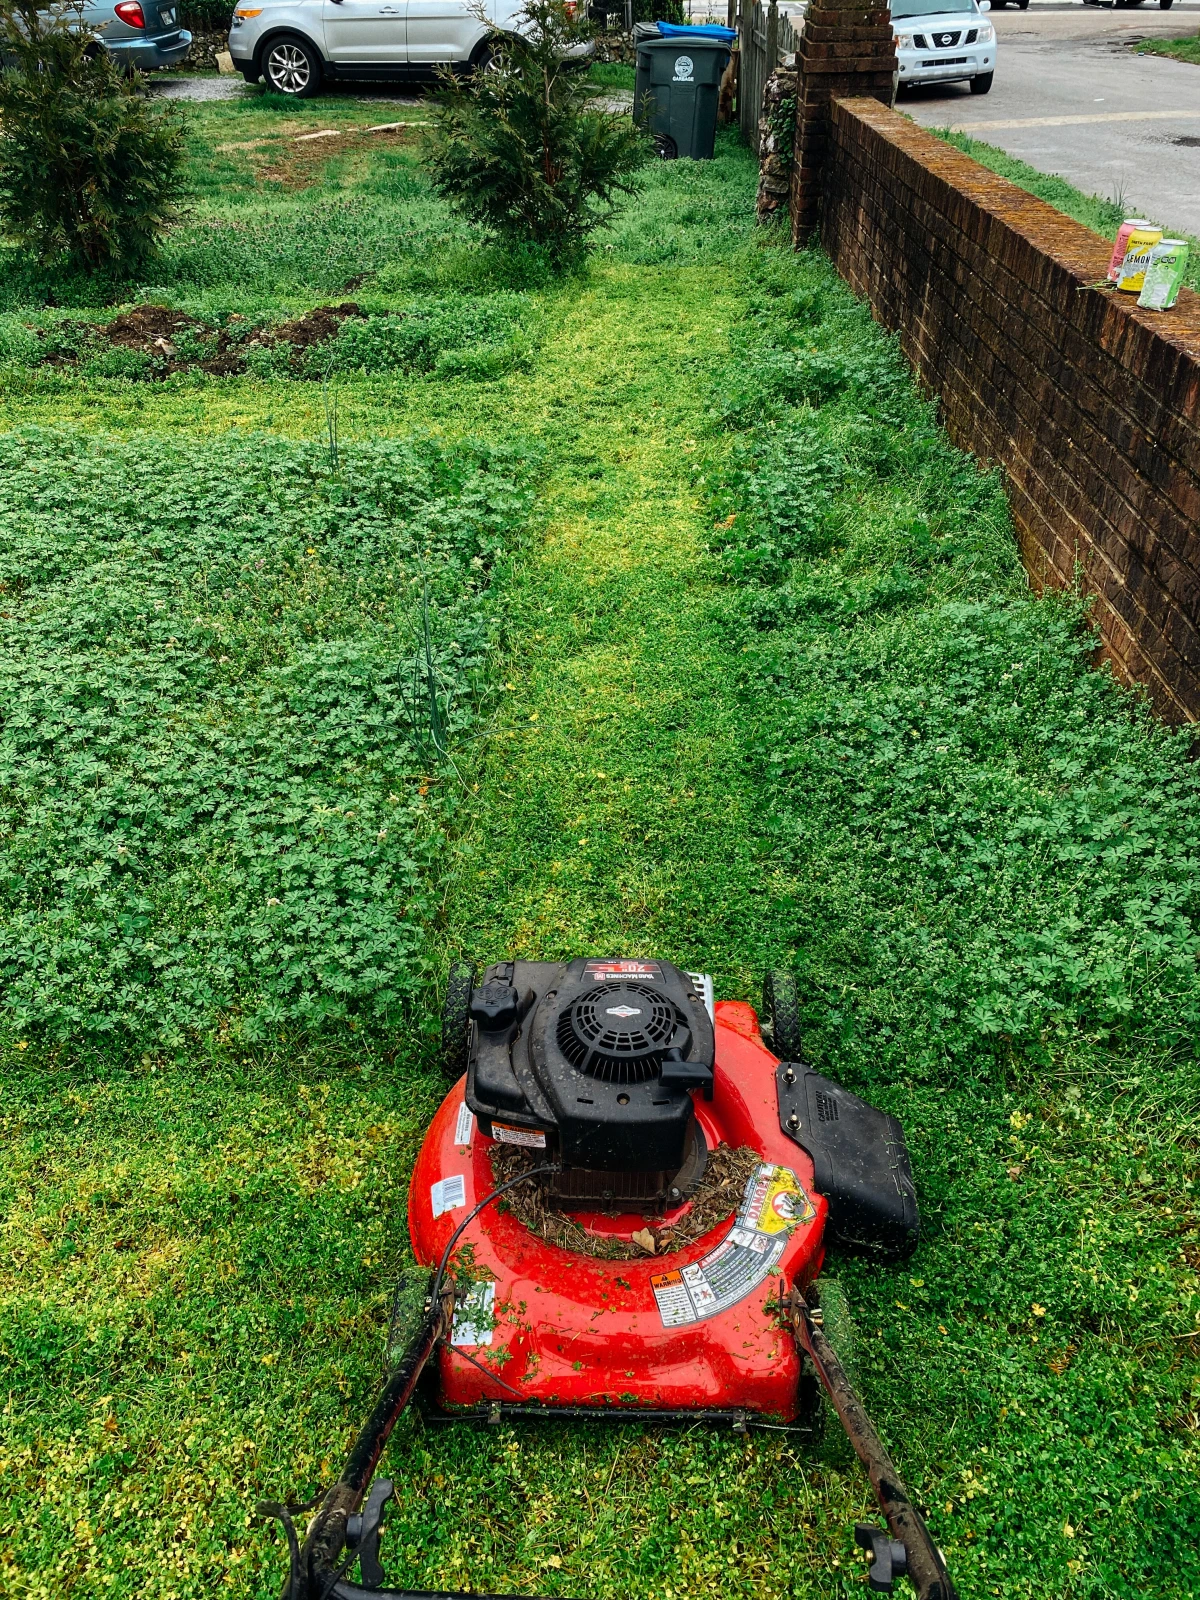
- If you have an overgrown lawn… don’t try to chop it all down at once! You’ll shock the grass. Set your mower to its highest setting and take off just the top. Wait a few days, then lower the deck and mow again. Repeat until you’re back to your desired height. Patience is key.

The Finishing Touches for That ‘Wow’ Factor
Mowing is 90% of the job, but these last steps are what create that crisp, professional look.
Want an instant upgrade? The fastest way to make your lawn look 100% better in 15 minutes is to edge it. Use a string trimmer or a dedicated edger to create a sharp, clean line between your grass and any hard surfaces like a driveway or sidewalk. It’s like putting a perfect frame on a painting—it makes everything look intentional and tidy.
When it comes to watering, think deep and infrequent. A light sprinkle every day encourages shallow roots. Instead, water once or twice a week, long enough to deliver about an inch of water. A great way to measure this? The tuna can trick. Just place an empty tuna can on your lawn when you turn on the sprinkler. When the can is full, you’re done. No more guesswork!

Finally, always blow or sweep the grass clippings off your driveway, sidewalks, and patio. It’s not just about looks; wet clippings are a slipping hazard and can stain concrete green over time.
And that’s really it. Mowing is a skill that blends a little science with a bit of technique. Once you understand what your lawn needs, you can turn a weekly chore into a craft. Take the time to do it right, and you’ll get results you can be proud of.


