Tired of Your Bumpy Lawn? Here’s How to Actually Fix It
I’ve spent a couple of decades working on every kind of lawn you can imagine, from perfect golf fairways to regular backyard plots. And let me tell you, the number one complaint I hear isn’t about weeds or dry patches. It’s about lumpy, uneven ground. People talk about getting a rough ride on the mower or constantly twisting an ankle. And they’re right to complain.
In this article
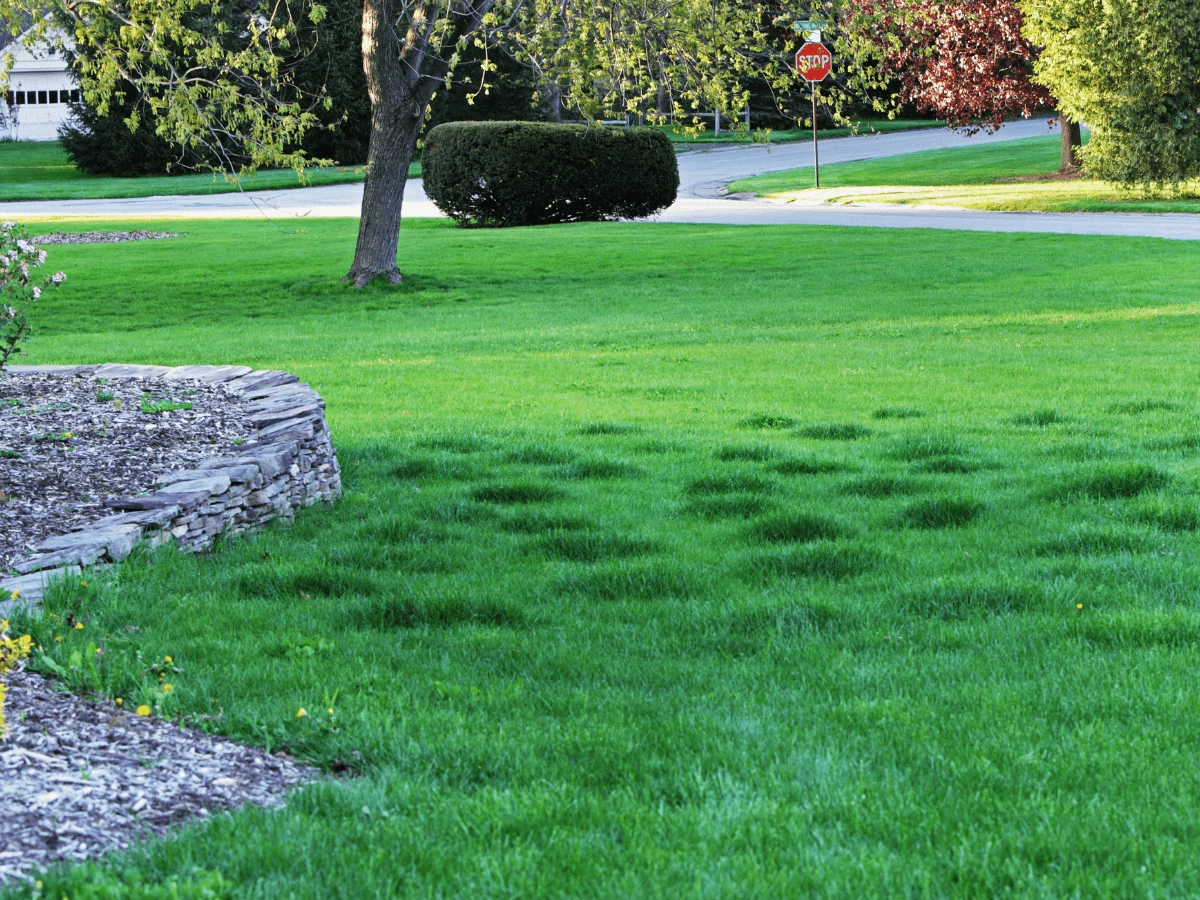
A bumpy lawn is more than just ugly; it’s a maintenance nightmare and, honestly, a safety hazard. When your mower hits a high spot, it scalps the grass right down to the dirt, rolling out the welcome mat for weeds. Then, in the low spots, water just sits there after it rains, drowning the roots and making a muddy mess. It makes mowing a chore and can even beat up your equipment over time. More importantly, I’ve seen enough hidden dips cause nasty falls to know it’s a real risk, especially for kids and older folks.
Fixing it is one of the most satisfying projects you can do. But here’s the deal: there’s no single magic bullet. The right fix depends entirely on how bad the problem is. A few shallow dips are a world away from a lawn that feels like you’re walking on rolling hills. Before you even think about grabbing a shovel, you’ve got to figure out what’s going on and choose the right battle plan. We’re going to walk through this just like I’d teach a new crew member, so you can get it done right the first time.
First, Why Is Your Lawn So Lumpy?
Your lawn didn’t get lumpy overnight. It’s almost always a symptom of an underlying issue that’s been brewing for a while. If you don’t fix the root cause, you’ll be leveling the same spots year after year. Let’s look at the usual suspects.
Soil Compaction & Settling
This is the big one. Over time, soil just naturally settles and compacts. The path you walk from the patio to the shed, or the spot where the kids play soccer? Those areas get squeezed down, pushing out air and water, causing the ground to sink. New construction is another major culprit. The soil used to backfill around a new foundation is rarely compacted properly, so it will settle unevenly over the next few years. You might also see dips over buried utility lines or where old tree roots have rotted away, leaving a void.
Water and Drainage Woes
Never underestimate the power of water. Poor drainage can wreak havoc. If your gutters are dumping a ton of water in one spot, that area will eventually erode and form a pit. I once worked on a property where a single downspout had carved out a depression six inches deep right next to the foundation—a serious problem that needed immediate regrading.
Oh yeah, and in colder climates, you have to deal with frost heave. Water in the soil freezes, expands, and pushes the ground up. When it thaws in the spring, it doesn’t always settle back down evenly. This freeze-thaw cycle can leave you with a real mess, especially in heavy clay soils.
Critters and Pests
Animals are often blamed, and while they aren’t usually the primary cause, they can definitely make things worse. Moles and voles create those raised tunnels and soft spots that collapse under your feet. Grubs munch on grass roots, weakening the turf and making it easy for the soil to shift around. Even earthworms, as good as they are for the soil, leave behind little mounds called castings that can make the surface feel bumpy.
Your First Move: A Real Assessment
Before you buy a single bag of topsoil, you need to assess your lawn like a pro. This is the step that saves you from wasting a ton of time and money. Don’t just eyeball it!
The String Line Test
This is a super simple but incredibly effective way to see what you’re dealing with. You just need two stakes and a long piece of string. Drive the stakes in on opposite sides of a low spot, then tie the string tightly between them so it’s level and just touching the ground at the stakes. Now, use a tape measure to check the distance from the string to the bottom of the dip. This measurement is your guide: if it’s less than two inches deep, you can topdress. Anything deeper needs a more hands-on approach.
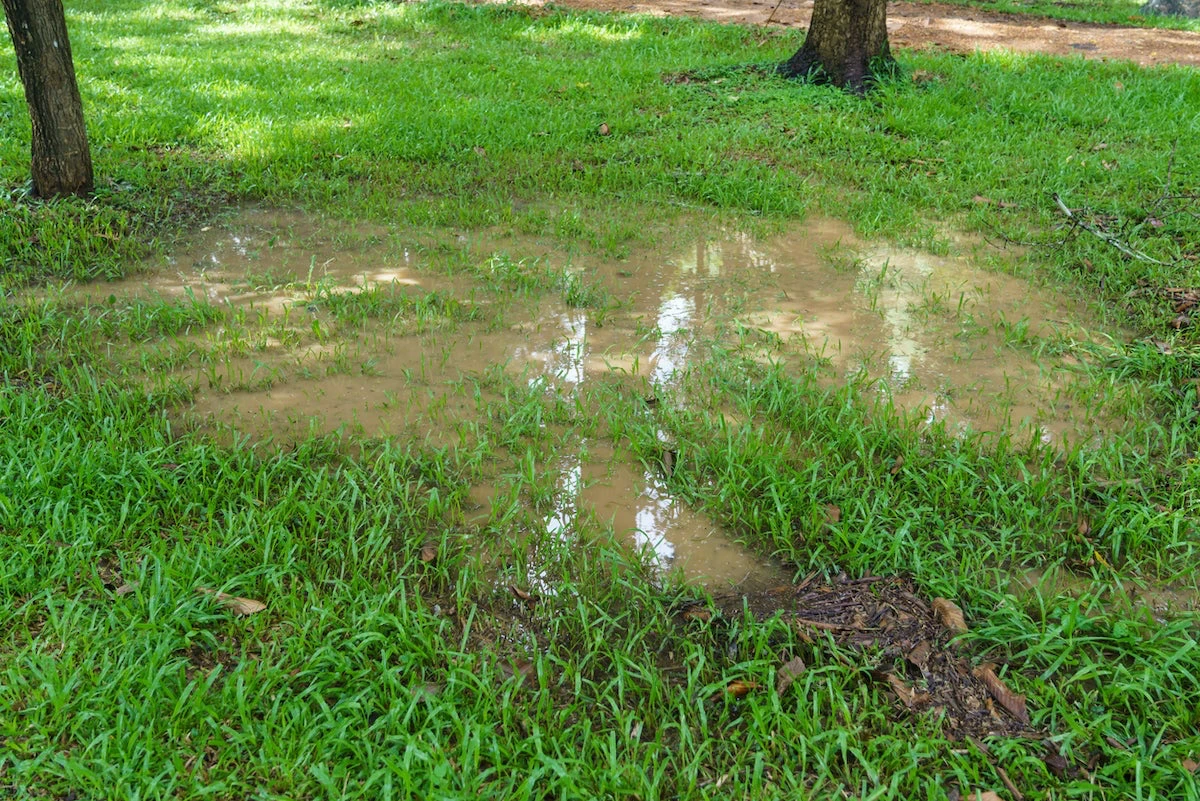
The Post-Rain Walk
Here’s a great pro-tip: the absolute best time to find low spots is right after a good rain. Grab a notepad (or just your phone) and walk your entire yard. See where water is pooling? Those are your target zones. A puddle that sticks around for hours tells you two things: it’s a low spot, and the soil there is probably compacted, too.
Quick Win: Don’t have time for the whole project today? Just do the rain walk. Grab a handful of small marking flags (you can get them for a few bucks at any hardware store) and stick one in the middle of every puddle. Boom. You’ve just created a complete map of your problem areas in about 10 minutes. Now you know exactly where to work when you’re ready.
Heads Up! A Crucial Safety Check
This is 100% non-negotiable. If you plan on doing any digging at all—even just lifting a small patch of sod—you have to check for buried utilities. In the US, just call 811. It’s a free service, and they’ll send someone out to mark the location of gas, water, and electrical lines. Trust me, you don’t want to be the person who goes through a sprinkler line or something worse. It turns a simple lawn fix into an expensive plumbing emergency.
Method 1: Topdressing for Minor Dips (Under 2 Inches)
Topdressing is just spreading a thin layer of a special soil mix over your existing grass. It’s perfect for shallow bumps and dips because it allows the existing grass to grow right up through it. The key is applying it at the right time and with the right mix.
Your Topdressing Shopping List
Before you start, make sure you have what you need. It makes the project go so much smoother. You’ll want:
- Coarse Builder’s Sand: And I mean coarse. NOT play sand, which is too fine and can turn into concrete.
- Screened Topsoil: Make sure it’s screened to get rid of rocks and clumps.
- Fine Compost: This adds the good stuff—nutrients to feed your lawn.
- A Wheelbarrow: For mixing and hauling.
- A Shovel and a Rake: A wide landscape rake is best.
The Perfect Leveling Mix
You can buy pre-made mixes, but I find making your own is cheaper and gives better results. You’re looking at about $4 to $7 per 40lb bag for these materials at a place like Home Depot or Lowe’s. The classic recipe is a 2:2:1 ratio: two parts sand, two parts topsoil, and one part compost. If you have heavy clay soil, tweak that to a 2:1:2 ratio—more sand and compost to help break up that dense clay. Mix it all thoroughly in a wheelbarrow until it’s evenly blended and just a little damp.
Good to know: How much will you need? As a rough guide, one 40-pound bag of topsoil will cover about 8 square feet at a half-inch depth. So, do a little measuring and some quick math before you head to the store.
How to Apply It
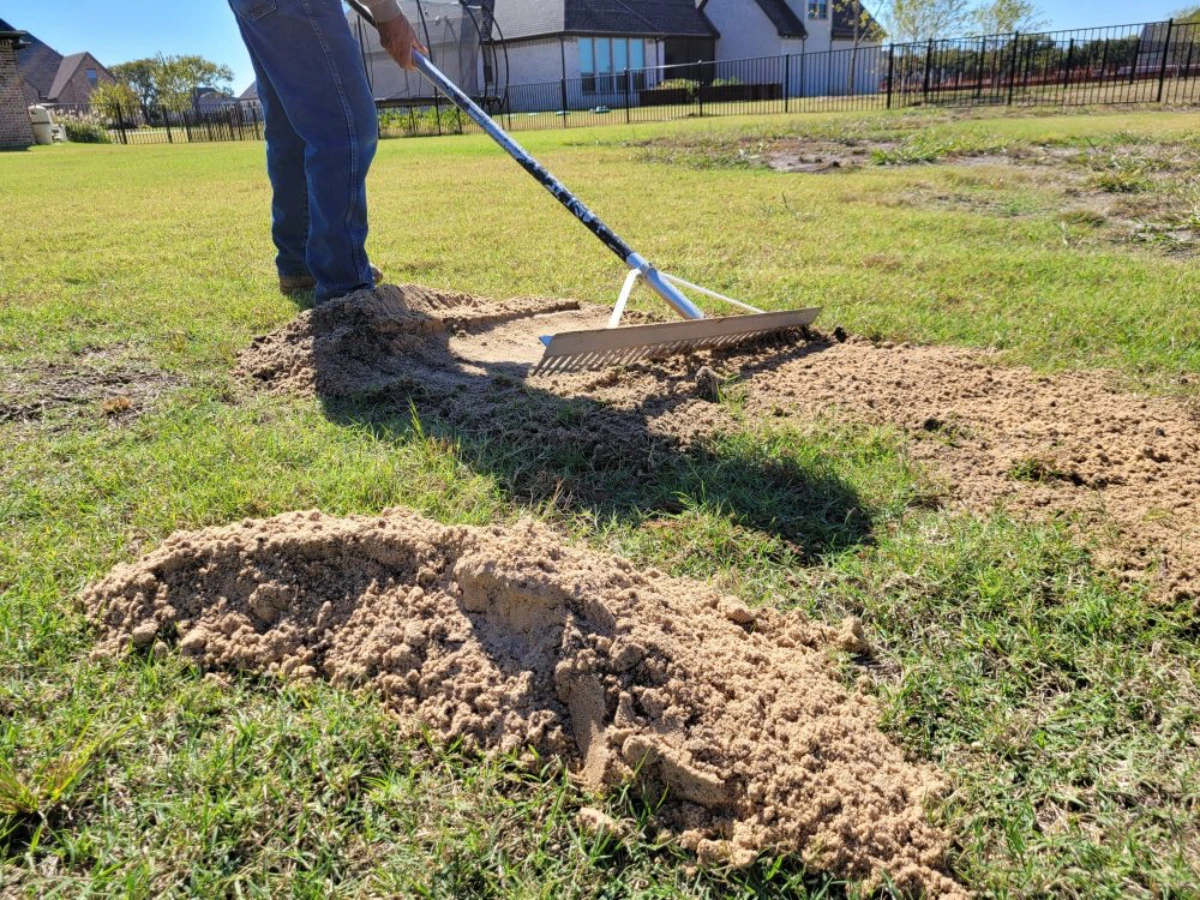
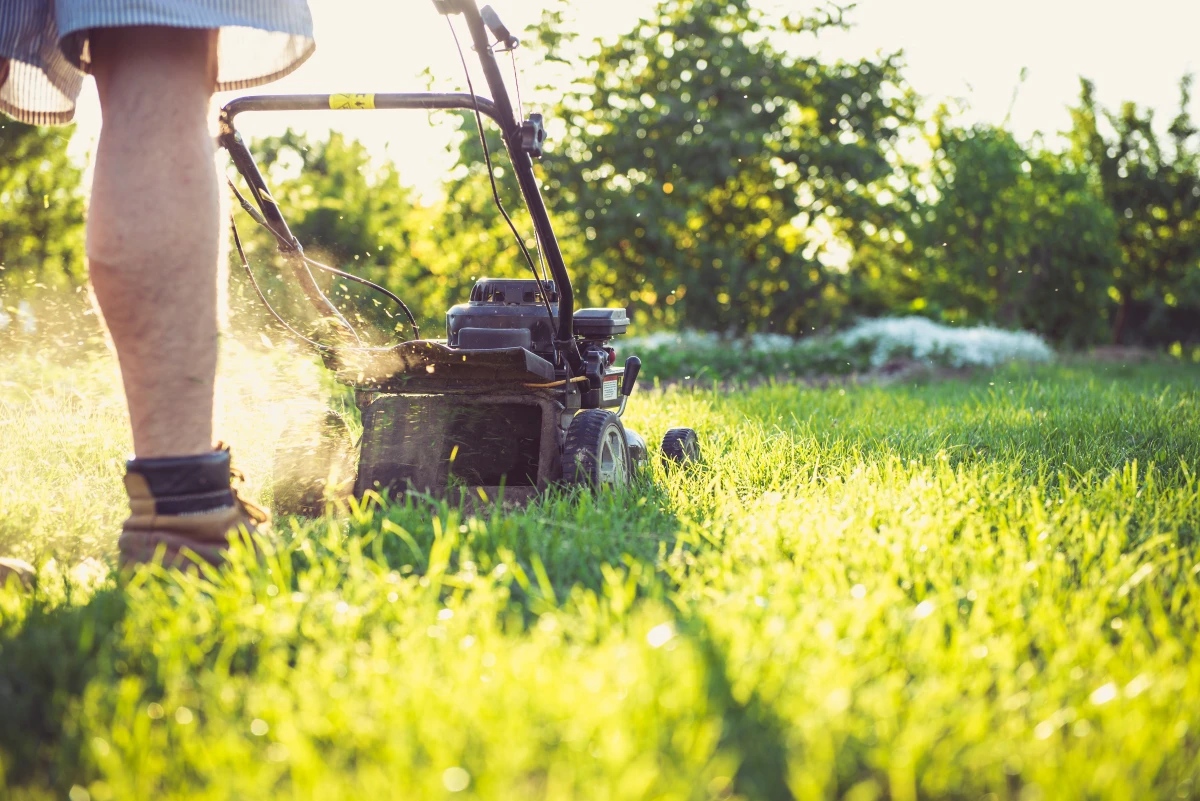
You want to do this during your lawn’s active growing season (spring/fall for cool-season grasses, late spring/early summer for warm-season grasses). Mow the lawn one setting lower than usual, then shovel the mix onto the low spots. Don’t just dump a huge pile; start with a layer about a half-inch thick.
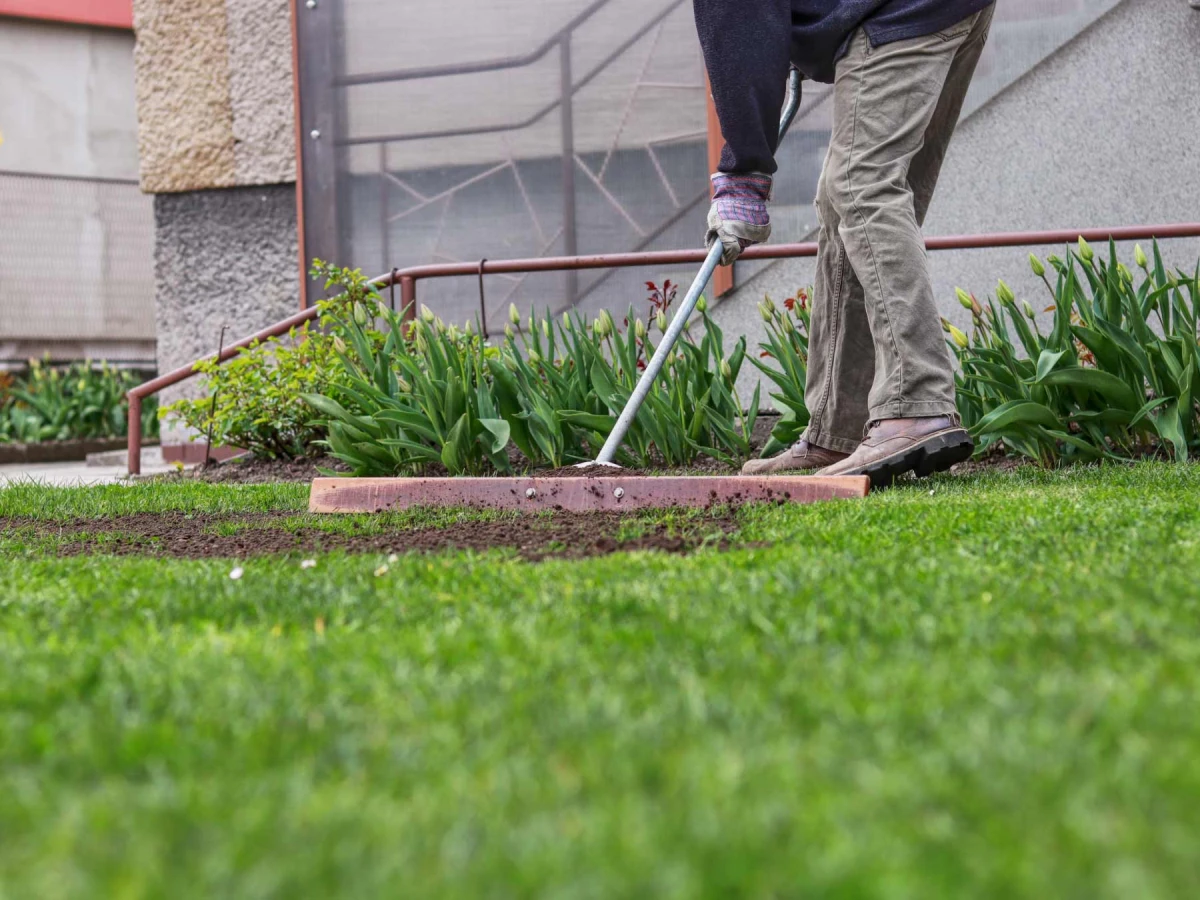
Now for the most important part: spreading it. The best tool for the job is a lawn lute, which is basically a giant, flat rake designed for this. You can find them online for about $40 to $70. But for smaller jobs, you can absolutely get by with a DIY version. Just flip a sturdy landscape rake over and use the flat back edge, or even just a straight 2×4 board, to push and pull the material until it’s smooth. The goal is to fill the dip without completely burying the grass. You should still see the tips of the grass blades poking through. Give it a light water, and for deeper 1-2 inch spots, repeat the process with another thin layer in a few weeks once the grass has grown through.
Method 2: The Sod Patch for Deeper Holes (2 to 6 Inches)
If you have deeper depressions, topdressing will just kill the grass. For these, you need to perform a little lawn surgery. It’s more work, sure, but it gives you an instant, green fix. Plan for a solid afternoon for this one.
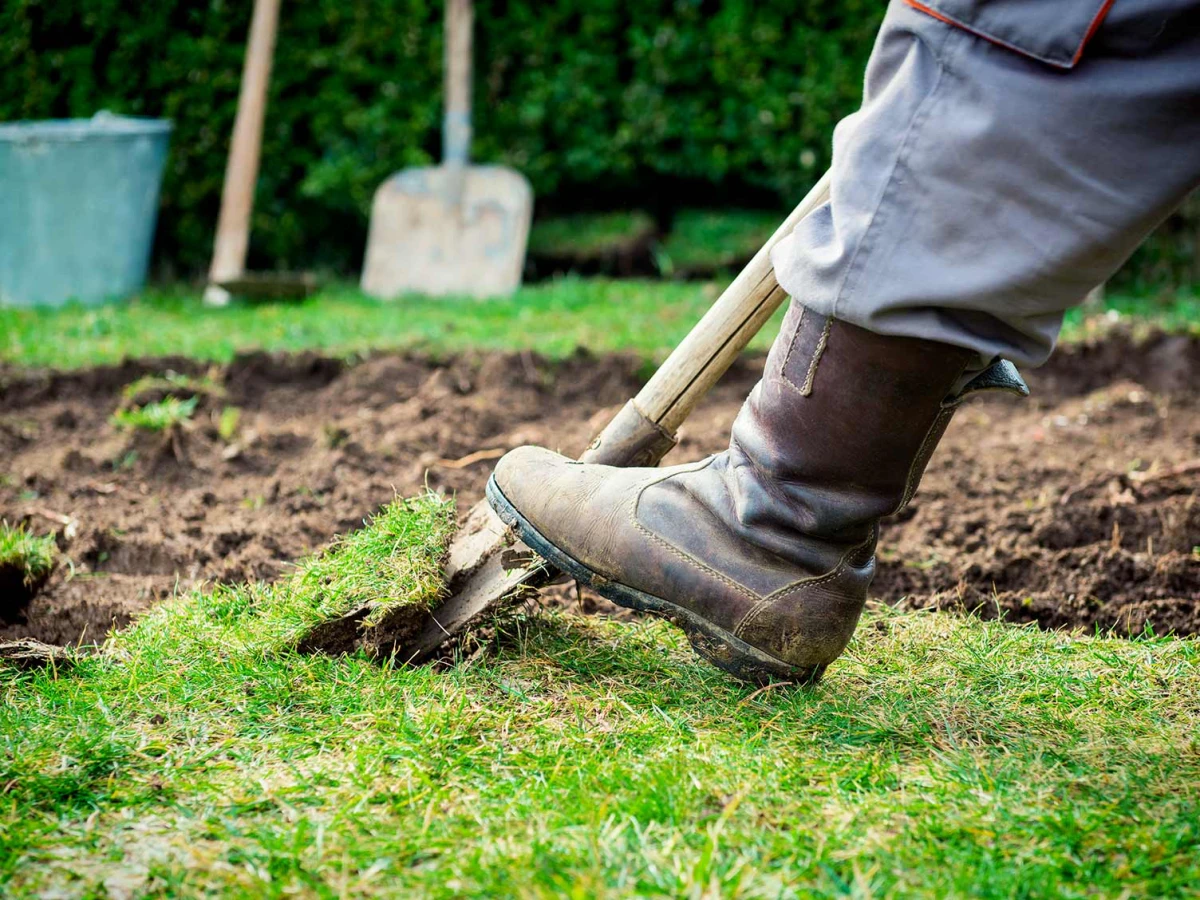
- Cut the Sod: Use a flat-edged spade to cut around the outside of the dip.
- Slice and Lift: Carefully slide the spade underneath the grass, keeping the blade flat to cut a 1.5 to 2-inch thick layer of turf. Gently roll or fold this piece of sod up and set it aside in the shade.
- Fill the Hole: Use your leveling mix to fill the depression. Add it in layers, tamping each one down with your feet to get rid of air pockets. If you skip this, it’ll just sink again. Fill it so it’s slightly higher than the surrounding ground.
- Replace the Sod: Carefully lay the sod patch back on top. It should now sit level with the rest of your lawn. Press it down firmly.
- Water, Water, Water: This is critical. Water the patch immediately and deeply to get rid of air gaps and get those roots happy in their new home.
Common Mistakes to Avoid
I’ve seen it all, so let me save you some trouble. Here are the most common ways people mess this up:
- Using the wrong sand. Seriously, do not use play sand. It’s too fine, it compacts, and it can ruin your soil structure. You need coarse, sharp builder’s sand.
- Applying one thick layer. If you dump two inches of soil on your grass, you’re not leveling, you’re smothering. It will kill the grass underneath. Patience is key—multiple thin layers are the way to go.
- Skipping the tamping. When you fill a deeper hole, you have to compact the new soil as you go. Otherwise, it will settle in a few months, and your dip will be right back where it started.
When Is It Time to Call a Pro?
Look, there comes a point where DIY is no longer the smart move. Be honest with yourself. It’s time to call in a professional landscaper if:
- Your lawn slopes toward your house. If water is pooling against your foundation, this is a major grading issue, not a simple leveling job. Fixing this protects your home from serious water damage.
- The entire yard is a mess. If your lawn is a sea of hills and valleys, you’re looking at a full regrading project that requires heavy equipment.
- You have deep, widespread holes. If you’re looking at filling more than a few deep spots, buying soil by the bag is going to be incredibly expensive and labor-intensive. A pro can get a truckload of soil delivered and spread efficiently.
To be frank, a major regrading project is a big investment, often starting in the $1,500 – $5,000+ range depending on the size of your yard and how complex the job is. But think of the time and frustration you’ll save. A pro team can do in a day or two what might take you months of back-breaking weekend work.
The Final Step: Aftercare
You’re not done just yet! Protecting your work is crucial. For the next two to three weeks, keep the newly leveled areas moist with light, regular watering. Hold off on mowing those spots for as long as you can. And most importantly, keep foot traffic off of them. The new soil and grass need time to settle in and establish strong roots without being compacted all over again.
Leveling a lawn is hard work, but the payoff is a safer, better-looking yard that’s a pleasure to use and maintain. So take your time, use the right materials, and lift with your legs, not your back. A wheelbarrow full of damp soil is heavier than you think! Do it right, and you’ll be enjoying that smooth, stable lawn for years to come.
Inspirational Gallery
The Pro’s Secret Weapon: Forget trying to use the back of a garden rake. For a truly professional finish on those minor dips, invest in a lawn leveling rake, also known as a lawn lute. Tools like the popular Landzie or Rocklin models use a wide, flat head to distribute topdressing material far more evenly than a standard rake ever could. It’s the difference between a good patch job and an invisible repair.
Did you know that just one inch of compost added to your soil can increase its water-holding capacity by up to 25%?
When you’re creating a topdressing mix to level your lawn, incorporating high-quality compost doesn’t just fill the dips. It actively improves your soil’s structure, helping it retain moisture during dry spells and drain better during heavy rain. This means the low spots you fix are less likely to become waterlogged again in the future.
What’s the ideal topdressing mix for leveling?
Forget using just one material. The best results come from a balanced blend. A go-to recipe for most lawn types is a simple 2:2:1 ratio. Combine two parts high-quality screened topsoil (like Scotts Premium Topsoil), two parts coarse sand (masonry or river sand, never play sand), and one part fine compost. This mix fills voids, improves drainage, and adds vital nutrients all at once.
- Prevents smothering the existing grass.
- Allows water and nutrients to reach the roots easily.
- Ensures the topdressing integrates seamlessly with the lawn.
The key is a simple rule of thumb: never apply more than a half-inch of topdressing material at one time. If a low spot is deeper, build it up in layers, allowing the grass to grow through each one before adding the next.
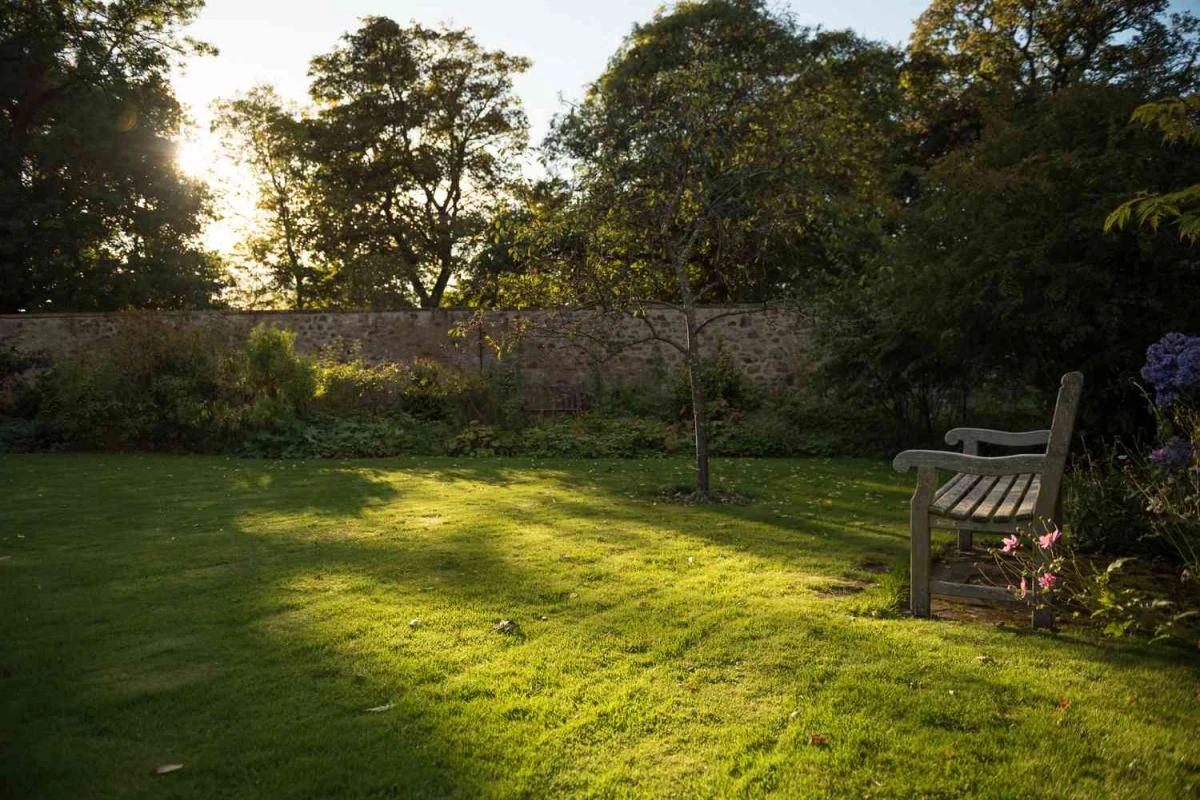
That perfectly smooth, carpet-like lawn isn’t just about aesthetics; it’s a feeling. It’s the simple pleasure of walking barefoot without watching your every step, the satisfaction of a mower gliding effortlessly, and the visual peace of an unbroken plane of green. Leveling your lawn is less a chore and more an investment in the daily enjoyment of your outdoor space.
Once you’ve leveled the low spots, you’ll need to encourage new growth. Here’s a quick guide:
- Topdressing only: If the existing grass is still visible, a light application of a quality fertilizer, like Milorganite, and consistent watering is often enough to help it spread back into the area.
- Deeper patches: For bare areas, lightly rake in a high-quality grass seed that matches your lawn type. Products like Pennington Smart Seed or Scotts EZ Seed include both seed and starter fertilizer for convenience.
Compacted soil can reduce water infiltration by over 75%, leading to pooling and unevenness.
This is why lawn experts often recommend core aeration a week or two *before* you plan to level. By pulling up plugs of soil, you break up compaction and create channels for your topdressing mix to settle into. This not only helps level the surface but also improves the long-term health of the entire lawn by allowing air, water, and nutrients to reach the root zone more effectively.
Sand vs. Topsoil: For very shallow dips (less than an inch) in clay-heavy lawns, pure sand can improve drainage. However, it adds no nutritional value.
Compost-Rich Topsoil: For most applications, a quality mix of screened topsoil and compost is superior. It fills the void while enriching the soil, promoting healthier grass that will anchor the new, level surface.
For the best of both worlds, a custom mix is always king.
Leveling a lawn doesn’t always require buying every tool. For one-off projects, smart rentals can save you a bundle.
- Rent: A powered core aerator or a heavy lawn roller. These are expensive, bulky, and you’ll likely only use them once or twice a year. Most home improvement stores have them available.
- Buy: A good quality wheelbarrow and a dedicated lawn leveling rake. These are multi-purpose tools you’ll use for years for all sorts of garden projects.


