The Real Secret to Mums That Bloom All Season (And Actually Come Back)
I’ve been working with mums for a long, long time, ever since my early days in a family market garden where their sharp, earthy smell basically defined autumn for me. Today, I use them everywhere, from big landscape designs to my own little nursery beds. And let me tell you, they are tough plants, but they’re not invincible. I’ve seen entire gorgeous plantings get wiped out by a wet winter or a poorly timed bit of fertilizer.
In this article
The secret to getting that long, brilliant display of color isn’t complicated. It’s just about understanding what the plant wants and when it wants it.
So many of us grab those perfect-looking potted mums from the store, enjoy them for a few weeks, and then toss them in the compost bin. And hey, there’s nothing wrong with that! They’re fantastic for a pop of seasonal decor. But honestly, the real satisfaction comes from getting a perennial garden mum to come back year after year, bigger and more spectacular each time. To do that, you need a solid game plan. Let’s get into it.
First Things First: Know What You’re Buying
Success with mums starts the second you’re at the nursery. And the biggest mistake I see beginners make is grabbing the wrong type of plant. There are basically two kinds you’ll find, and it’s critical to know the difference.
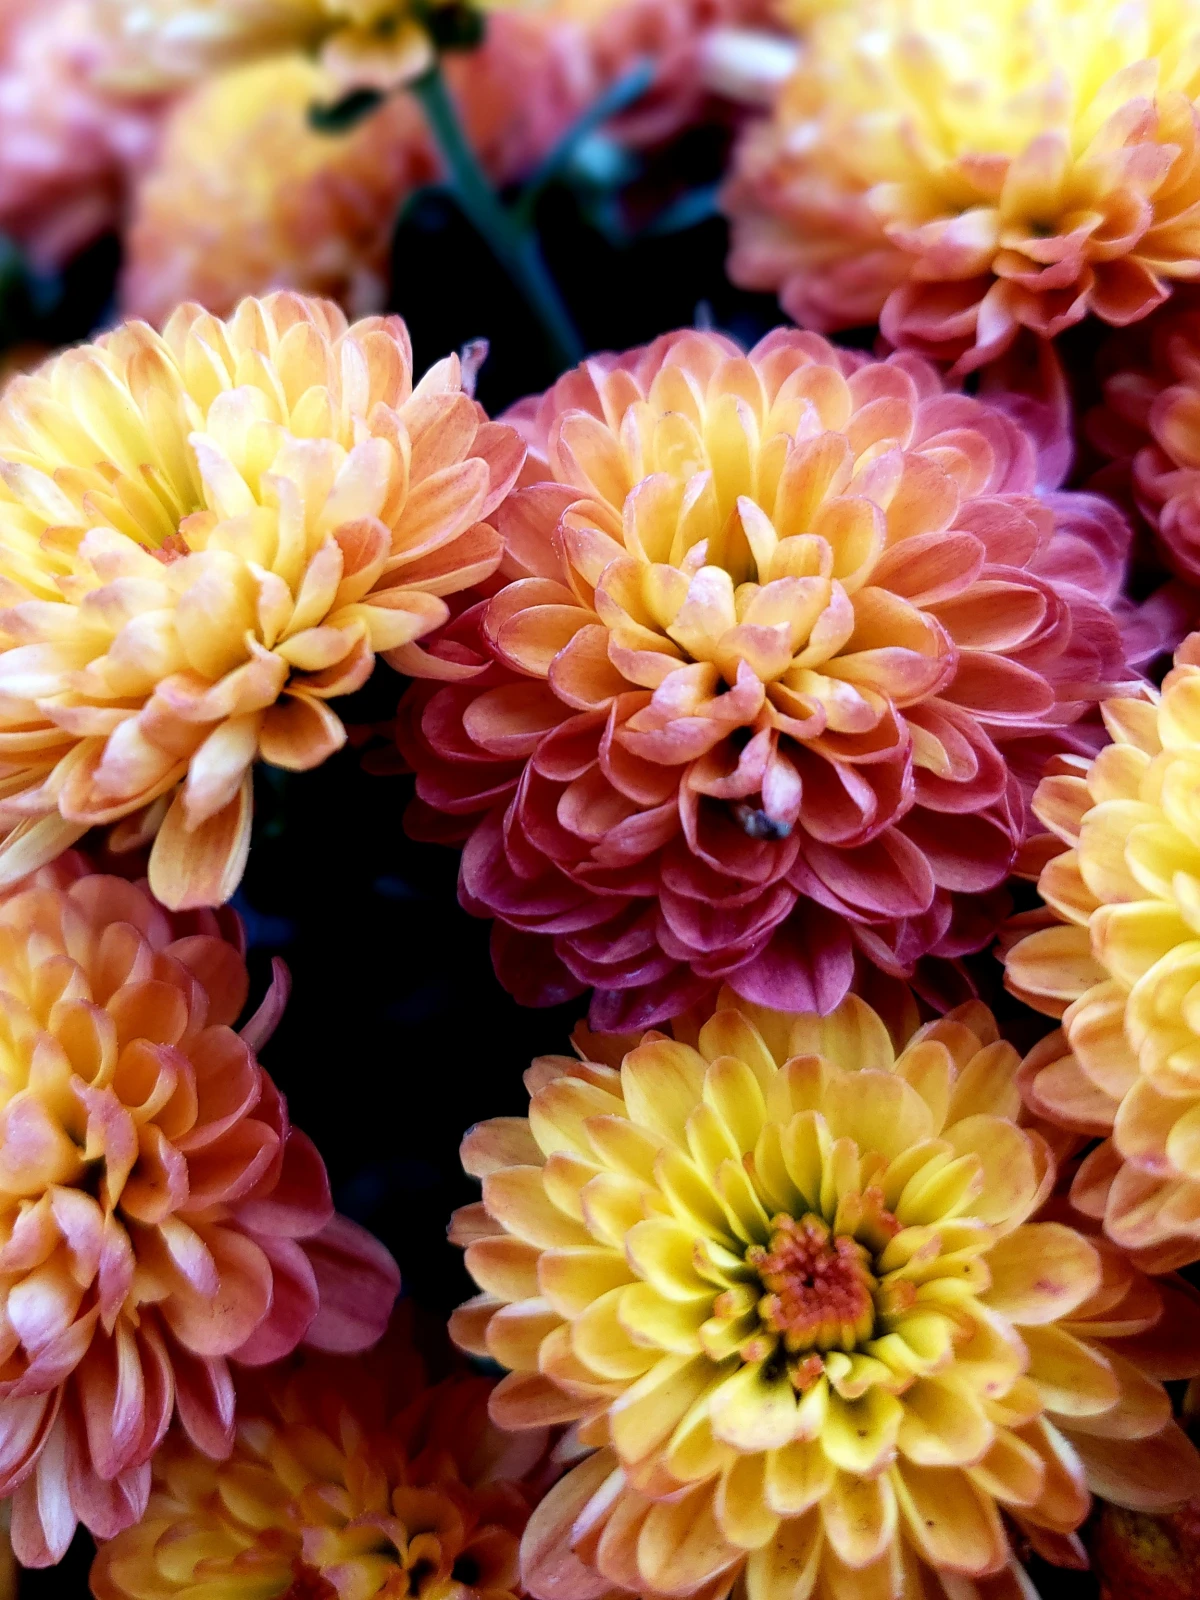
On one hand, you have Florist Mums. These are the supermodels of the mum world, bred for one single, spectacular show with massive, perfect flowers. They’re grown in greenhouses and pushed to put every ounce of energy into those blooms. The downside? Their root systems are often weak, and they’re not built to survive a real winter in the ground. Think of them as a gorgeous, long-lasting flower arrangement that just happens to be in a pot. For about $5 to $10, they give you a fantastic show for the season, but don’t expect them to say hello next spring.
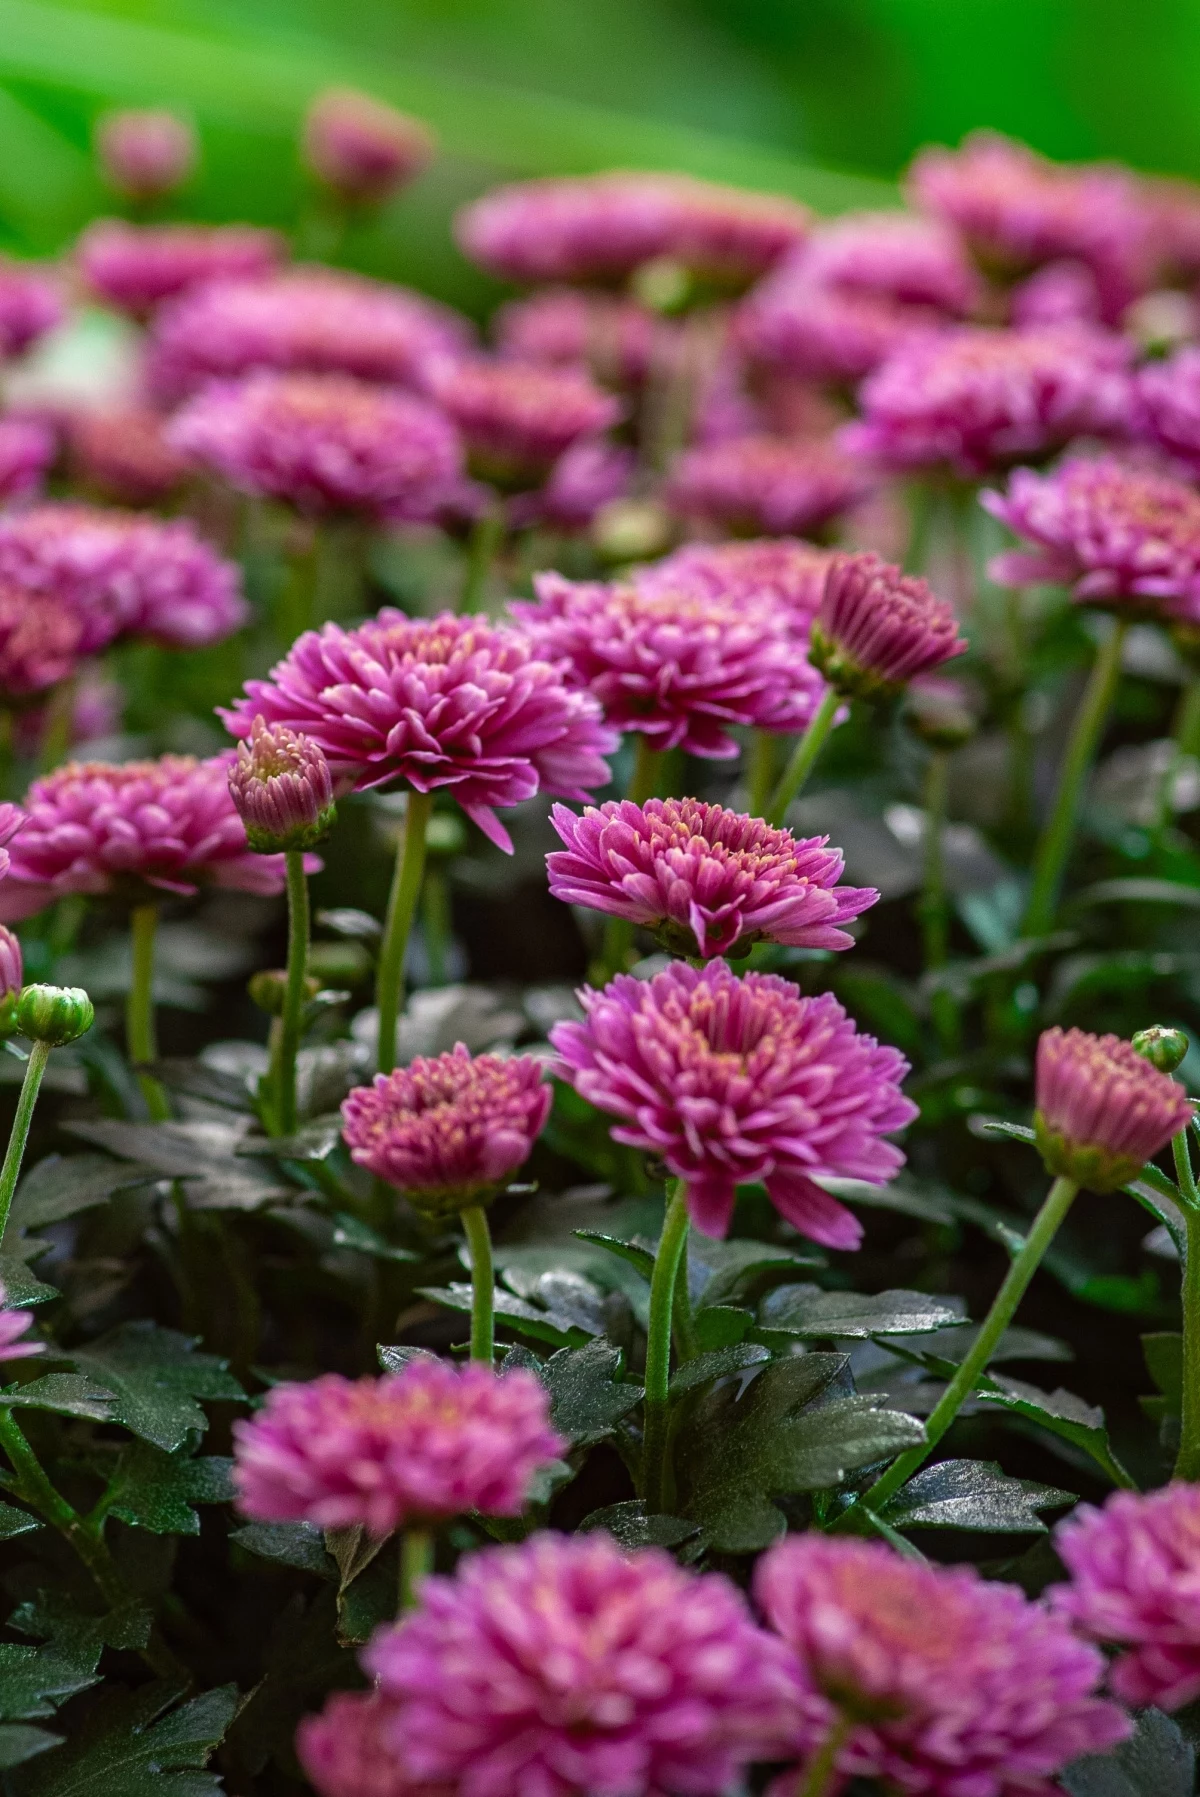
On the other hand, you have Garden Mums (or Hardy Mums). These are the true workhorses you want for your garden. They’re bred specifically for toughness and the ability to survive winter. Their flowers might be a bit smaller than a florist mum’s, but they produce an absolute ton of them. These are the ones that will come back. Expect to pay a little more, usually in the $10 to $20 range, but it’s an investment that pays off. When you’re shopping, look for labels that say “hardy” or “garden” mum. When in doubt, ask!
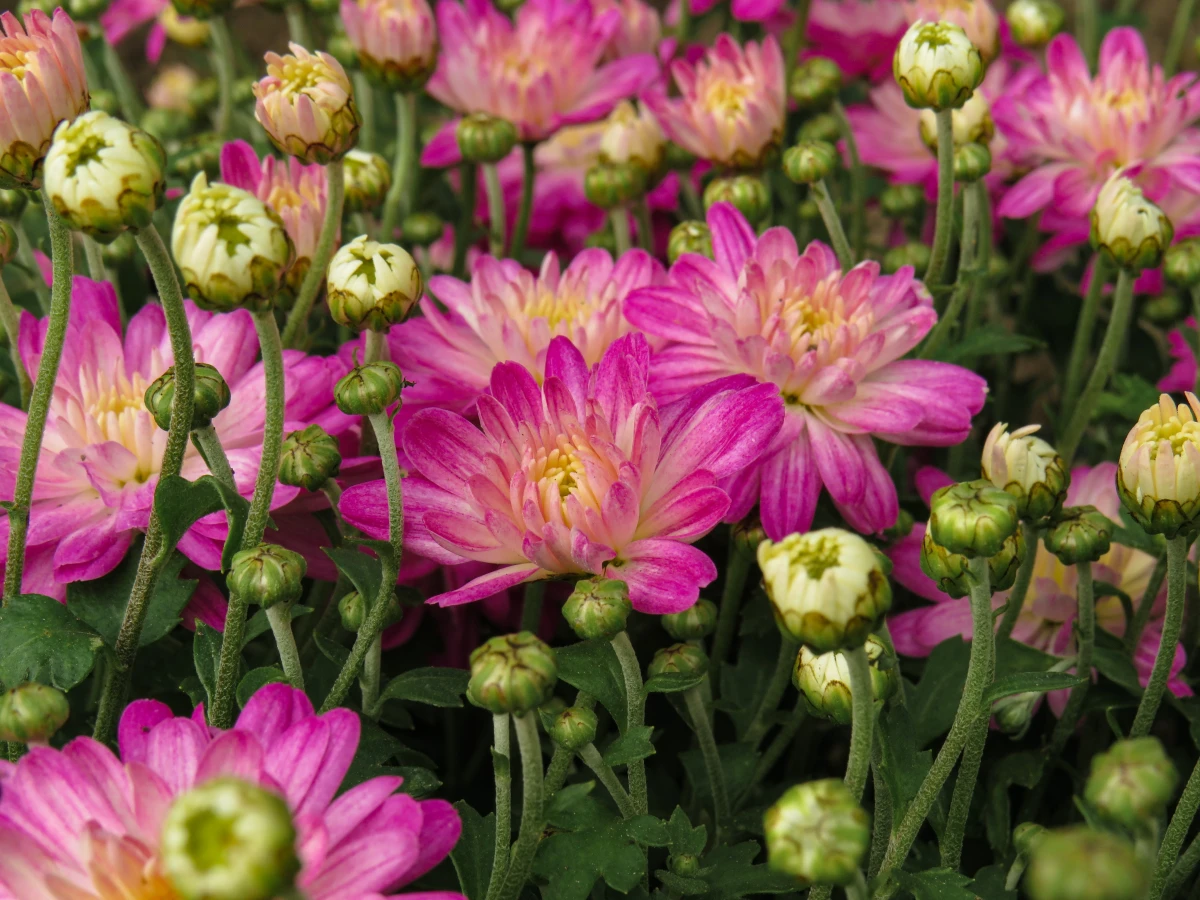
Quick Tip: When you’re picking one out, grab a plant that has more closed buds than open flowers. This just means you’ll get a much longer bloom time once you get it home.
Just Bought a Mum in the Fall? Here’s What to Do RIGHT NOW.
Okay, so it’s September or October, and you just brought home a beautiful, blooming mum. What now? Most guides talk about spring care, which isn’t very helpful at the moment. Here’s your fall game plan.
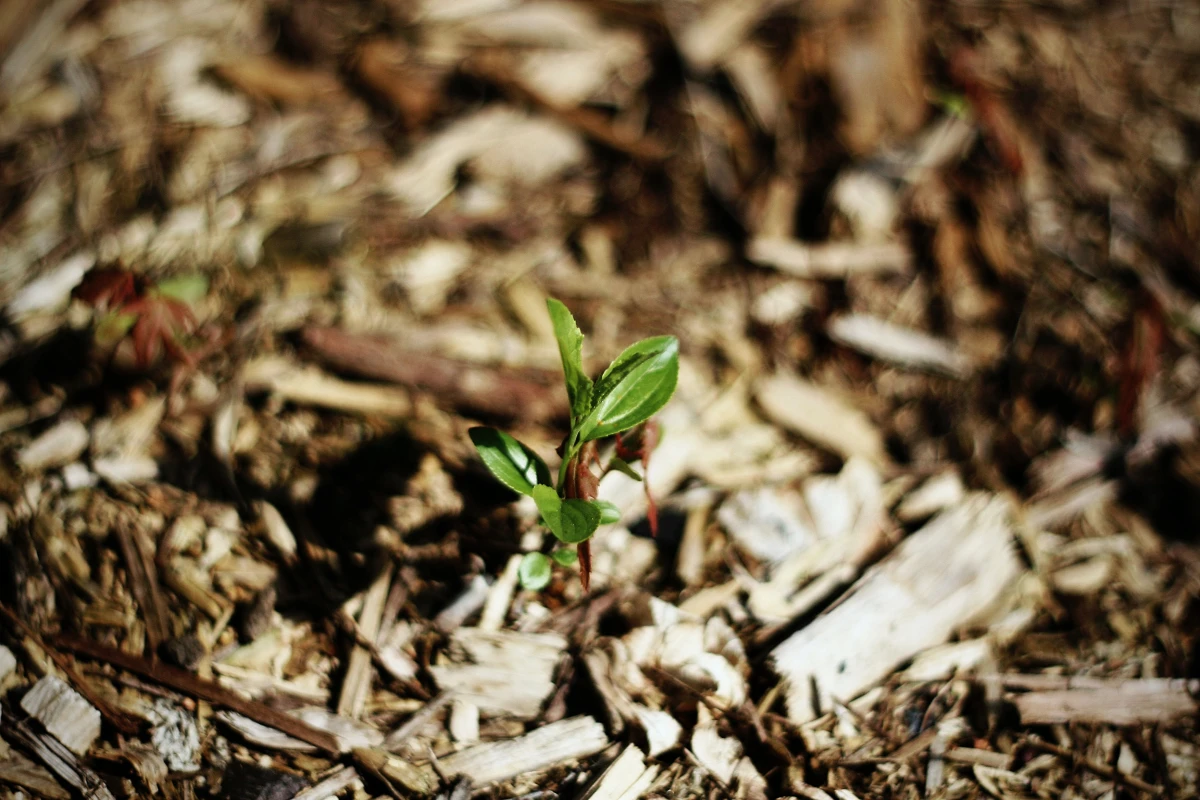
Your number one goal is to get it in the ground as soon as possible. The more time it has to establish some roots before the ground freezes, the better its chances of survival. Don’t worry about pinching or pruning it now; just let it do its thing and enjoy the flowers. Plant it in a spot that gets at least six hours of direct sun and has soil that drains well (we’ll get more into that in a second). After the first few hard frosts have killed the flowers and turned the foliage brown, you’ll want to protect it for the winter. I’ll cover exactly how to do that a little later on.

The Science of Blooming (But Simple)
To get mums to do what you want, you have to understand what triggers them to bloom. They are what’s called “photoperiodic,” which is a fancy way of saying they react to the length of the day. Specifically, they’re “short-day” plants, but a better way to think of it is that they are “long-night” plants.
Once a mum starts getting 10-12 hours of uninterrupted darkness each night, a little alarm clock goes off inside the plant that says, “Okay, time to stop making leaves and start making flowers!”
This is SO important. It explains why a mum planted near a porch light, streetlamp, or even a bright window just won’t bloom. The artificial light interrupts that critical dark period, and the plant never gets the signal. I learned this the hard way with a client’s garden where one patch of mums stayed stubbornly green while the rest were gorgeous. The culprit? A single walkway light.

Heads up! If you only do one thing after reading this, go check where you plan to plant your mums. Make absolutely sure no artificial lights will hit them at night. This one simple check can be the difference between a flowerless green bush and a stunning fall display.
Site Selection and Planting for the Long Haul
Where you plant your mum is everything. Get this right, and you’ve won half the battle. They need two things above all else: full sun and soil that doesn’t stay soggy.
Aim for at least six hours of direct sunlight a day. Eight is even better. This is non-negotiable for a plant that’s going to be covered in flowers. I personally love a spot with morning sun, as it helps dry the dew off the leaves early, which is your best defense against fungal diseases like powdery mildew.
The second requirement is excellent drainage. Mums absolutely hate having “wet feet.” If their roots sit in cold, wet soil over the winter, they’ll rot. This is, by far, the most common reason hardy mums don’t come back. If you have heavy clay soil like I do, you need to amend it. Dig a hole and fill it with water; if it takes hours to drain, your soil needs help.
Here’s a simple recipe I use for a new planting area. For a 3×3 foot patch, I’ll work in a 2-cubic-foot bag of good quality compost (about $10 at a garden center) and a few big shovelfuls of coarse builder’s sand or fine pine bark to really improve the structure. This makes the soil so much happier.
When you’re ready to plant, dig a hole twice as wide as the pot but only just as deep. Pop the plant out, gently rough up the roots if they’re circling, and place it in the hole. Backfill with your improved soil, press firmly, and give it a good, deep watering.
The Two Pro-Tricks: Pinching & Deadheading
Want that perfect, dense, dome-shaped mum that’s completely covered in flowers? The secret is pinching. This just means removing the growing tips of the stems during the spring and early summer. When you pinch off the top, the plant is forced to branch out from below the cut. More branches = way more flowers.
Here’s the schedule: Start when the new growth is about six inches tall in the spring. Just use your fingers or some small snips to remove the top inch or two of each stem. Repeat this every few weeks on the new shoots that form.
The most important rule is knowing when to STOP. You have to stop pinching in time for the plant to set its flower buds. A great rule of thumb is to stop about 100 days before your area’s average first frost date. For many northern climates, the Fourth of July is a classic cutoff. Pinching any later than that is a huge gamble; you might be snipping off all your future flowers.
Once the flowers start, your job switches to deadheading. This is just removing the spent, faded blooms. It keeps the plant looking tidy and, more importantly, it tricks the plant into producing more flowers instead of putting energy into making seeds. I just take a walk through the garden every few days with my coffee and a pair of snips and clean things up. It’s much easier than a big cleanup once a week.

Feeding, Mulching, and Winter Prep
In the spring, when the plant is focused on leafy growth, give it a balanced, all-purpose granular fertilizer—something like a 10-10-10 formula you can find at any hardware store for about $15-$20 a bag. But once you see buds forming in late summer, switch to a “bloom booster” formula that’s lower in nitrogen and higher in potassium for better flowers.
And this is critical: stop all fertilizing by late summer. Feeding a mum in the fall encourages weak, tender growth that will get zapped by the first frost, which can damage the whole plant.
After a few hard frosts have done their job, it’s time to tuck your mums in for the winter. I prefer to leave the dead stems standing; they act like a natural snow fence and protect the base of the plant. Then, after the ground has frozen solid, I apply a loose, 4- to 6-inch layer of mulch like shredded leaves or straw. The goal of winter mulch isn’t to keep the plant warm—it’s to keep the soil frozen, preventing the damaging freeze-thaw cycles that can heave a plant right out of the ground. In early spring, gently pull that mulch away to let the new growth emerge.
Galerie d’inspiration
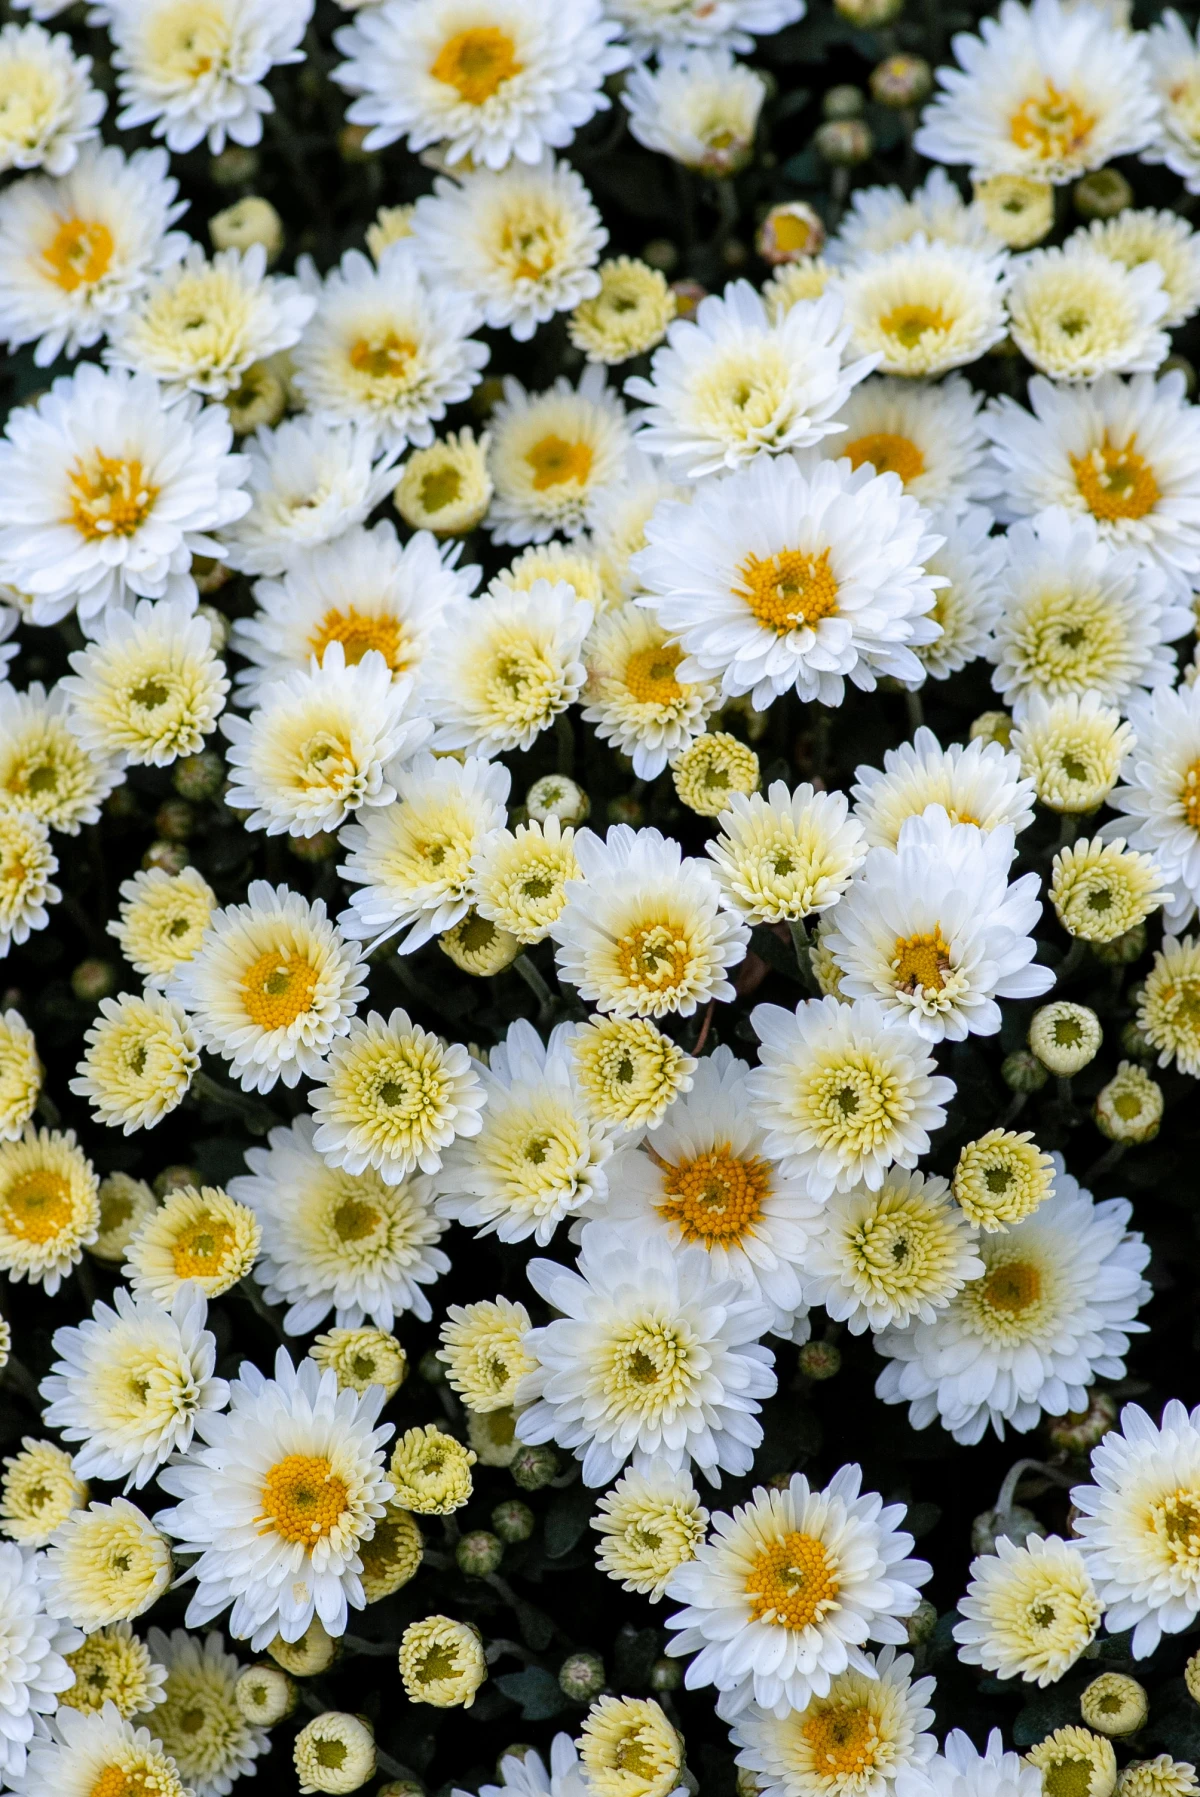
Did you know? The chrysanthemum’s history stretches back to 15th century BC China, where it was cultivated not just for beauty, but as a culinary and medicinal herb.
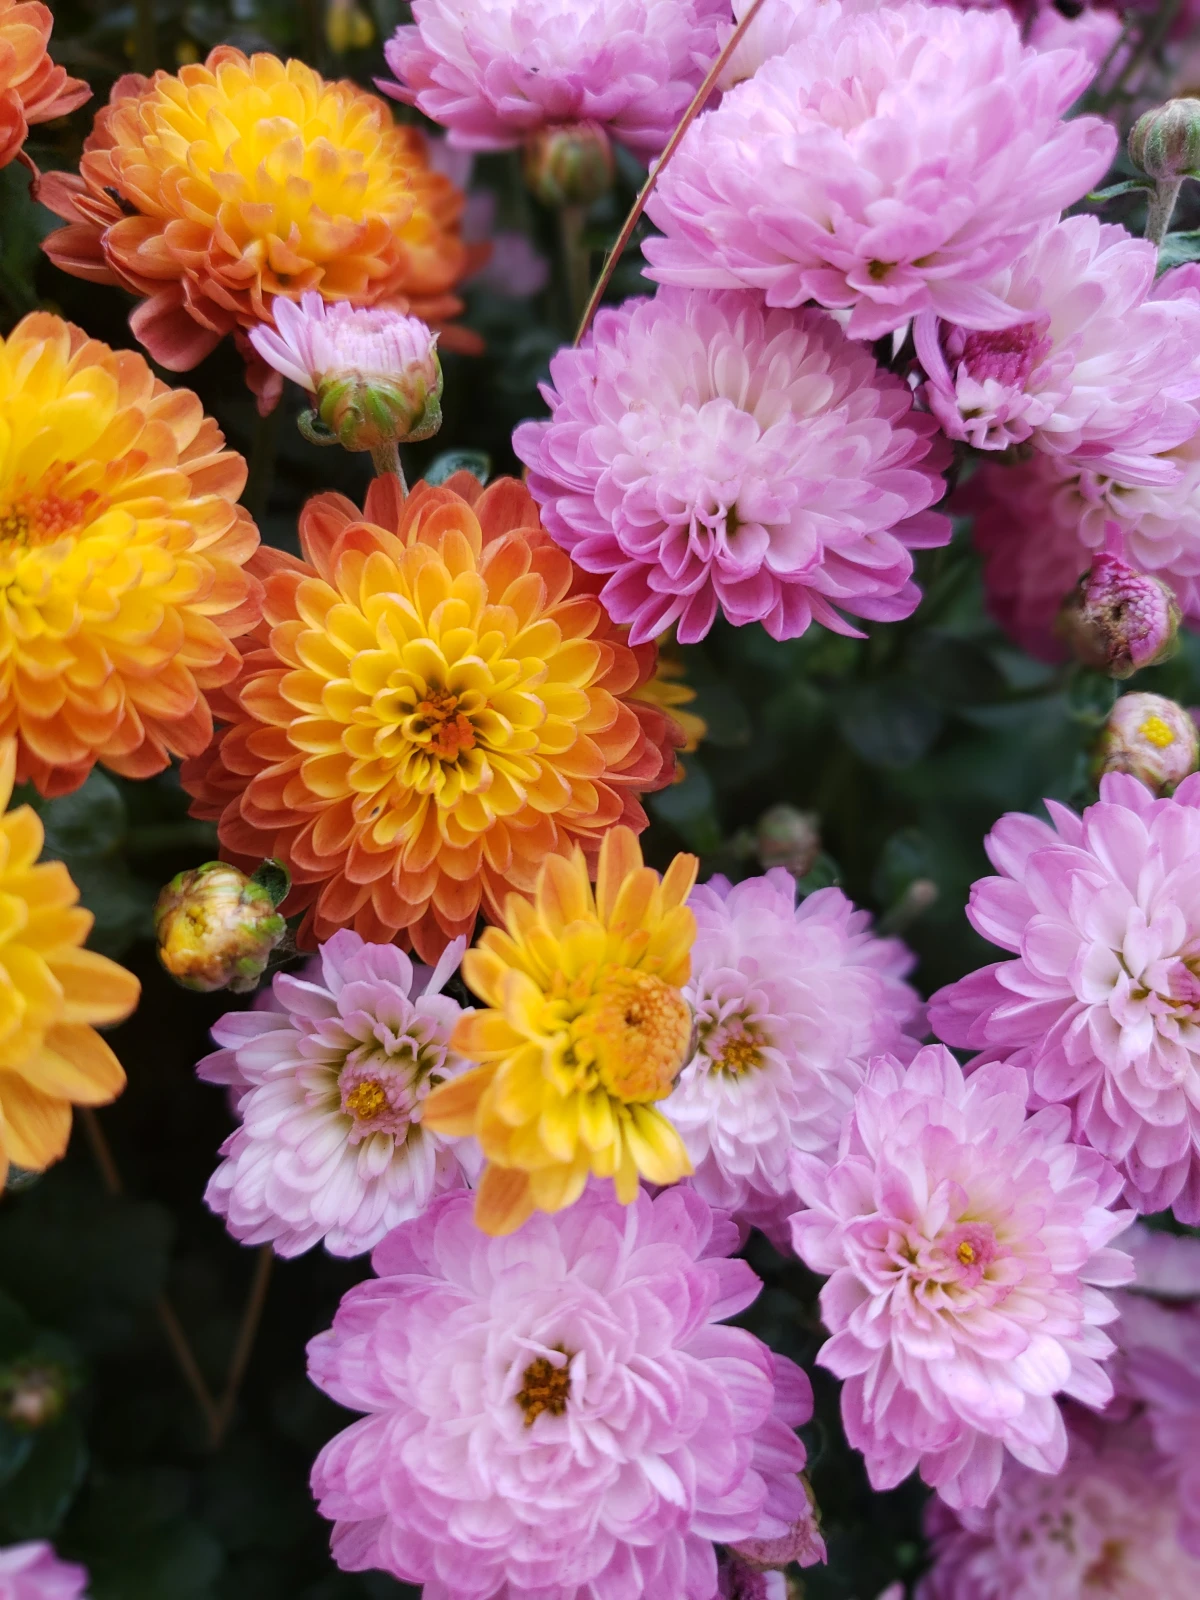
This ancient heritage is coded into their DNA. It explains their inherent toughness and the rich, earthy scent that defines autumn for so many. While we no longer boil them for headache remedies, that same resilience is what breeders at companies like Ball Horticultural Company harness to create modern hardy series like ‘Belgian Mums’ or the ‘Igloo’ family. These aren’t just decorative fluff; they are the descendants of a true survivalist plant, bred to withstand our chilly winters and return with vigor.


