When and How to Harvest Sunflowers: A Complete Grower’s Guide
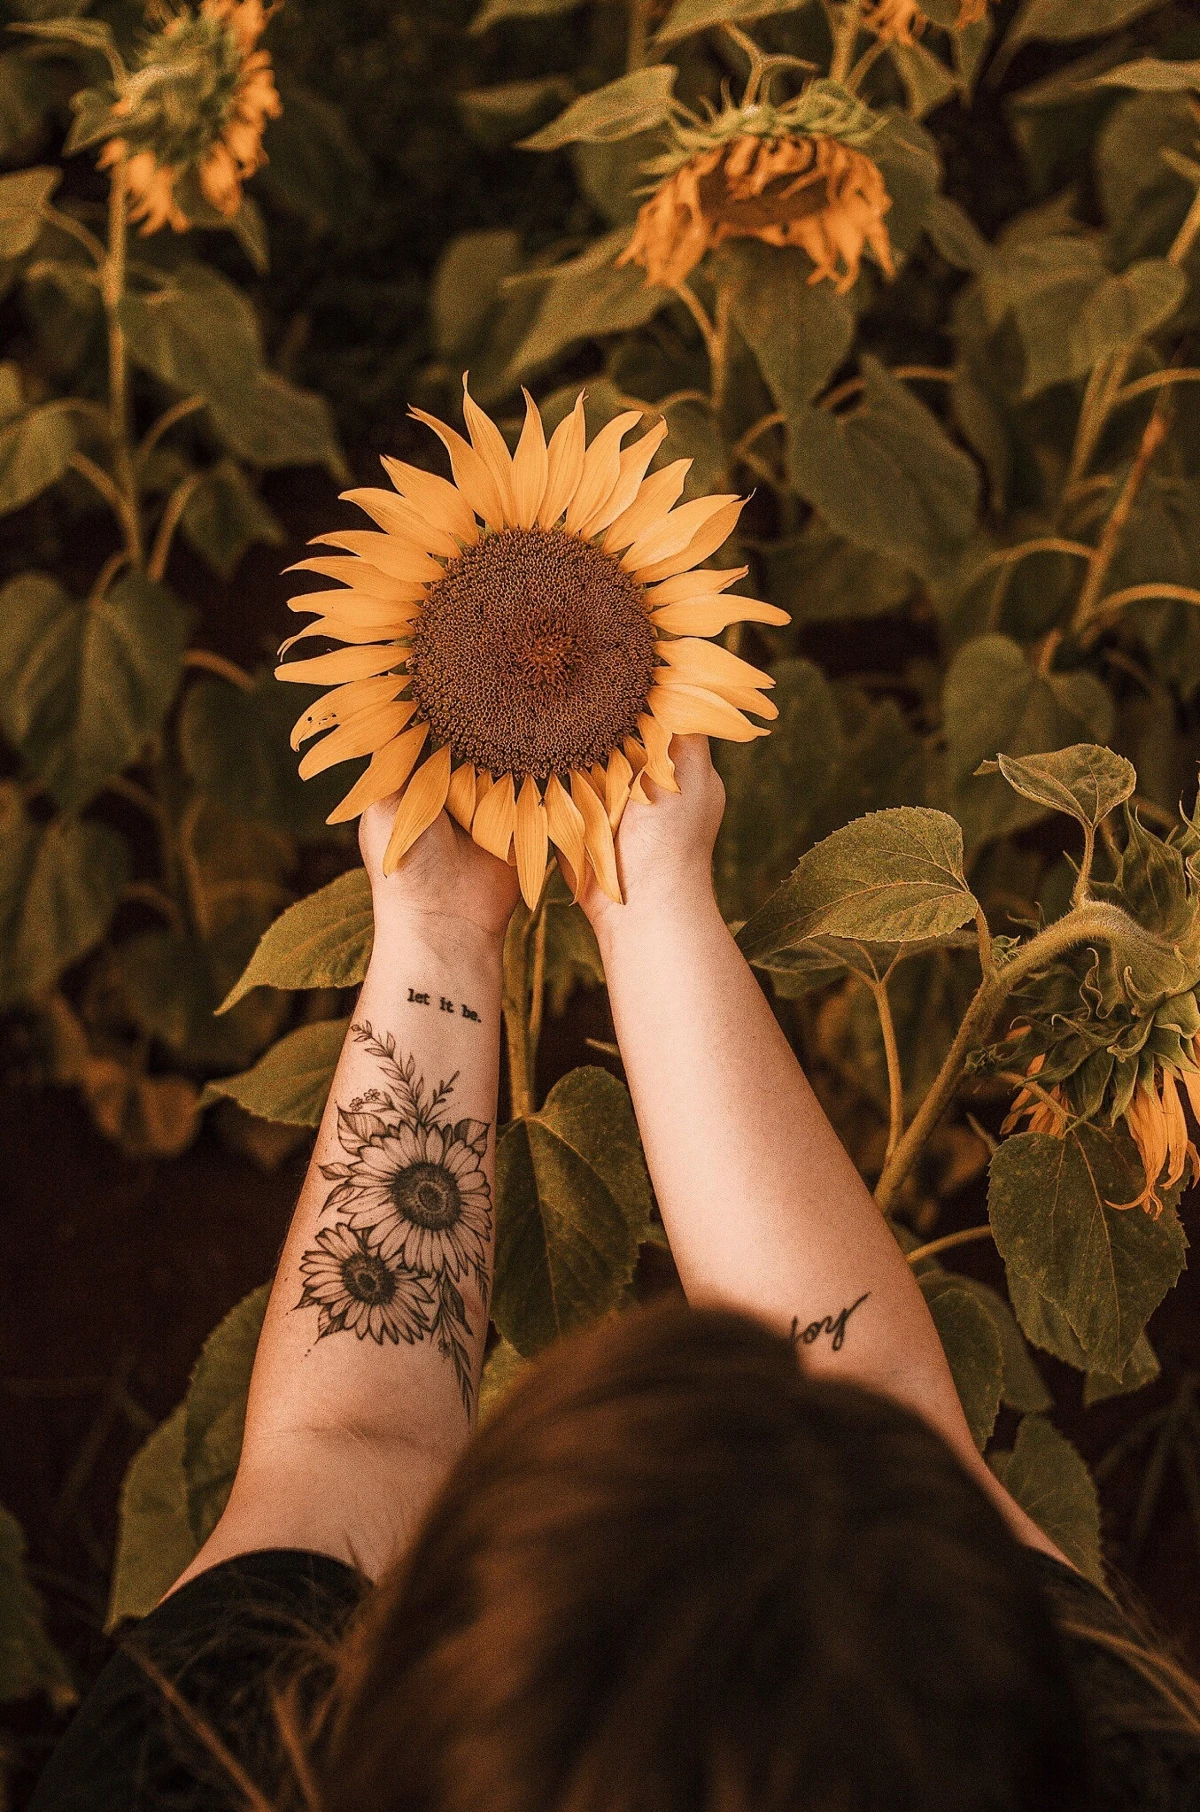
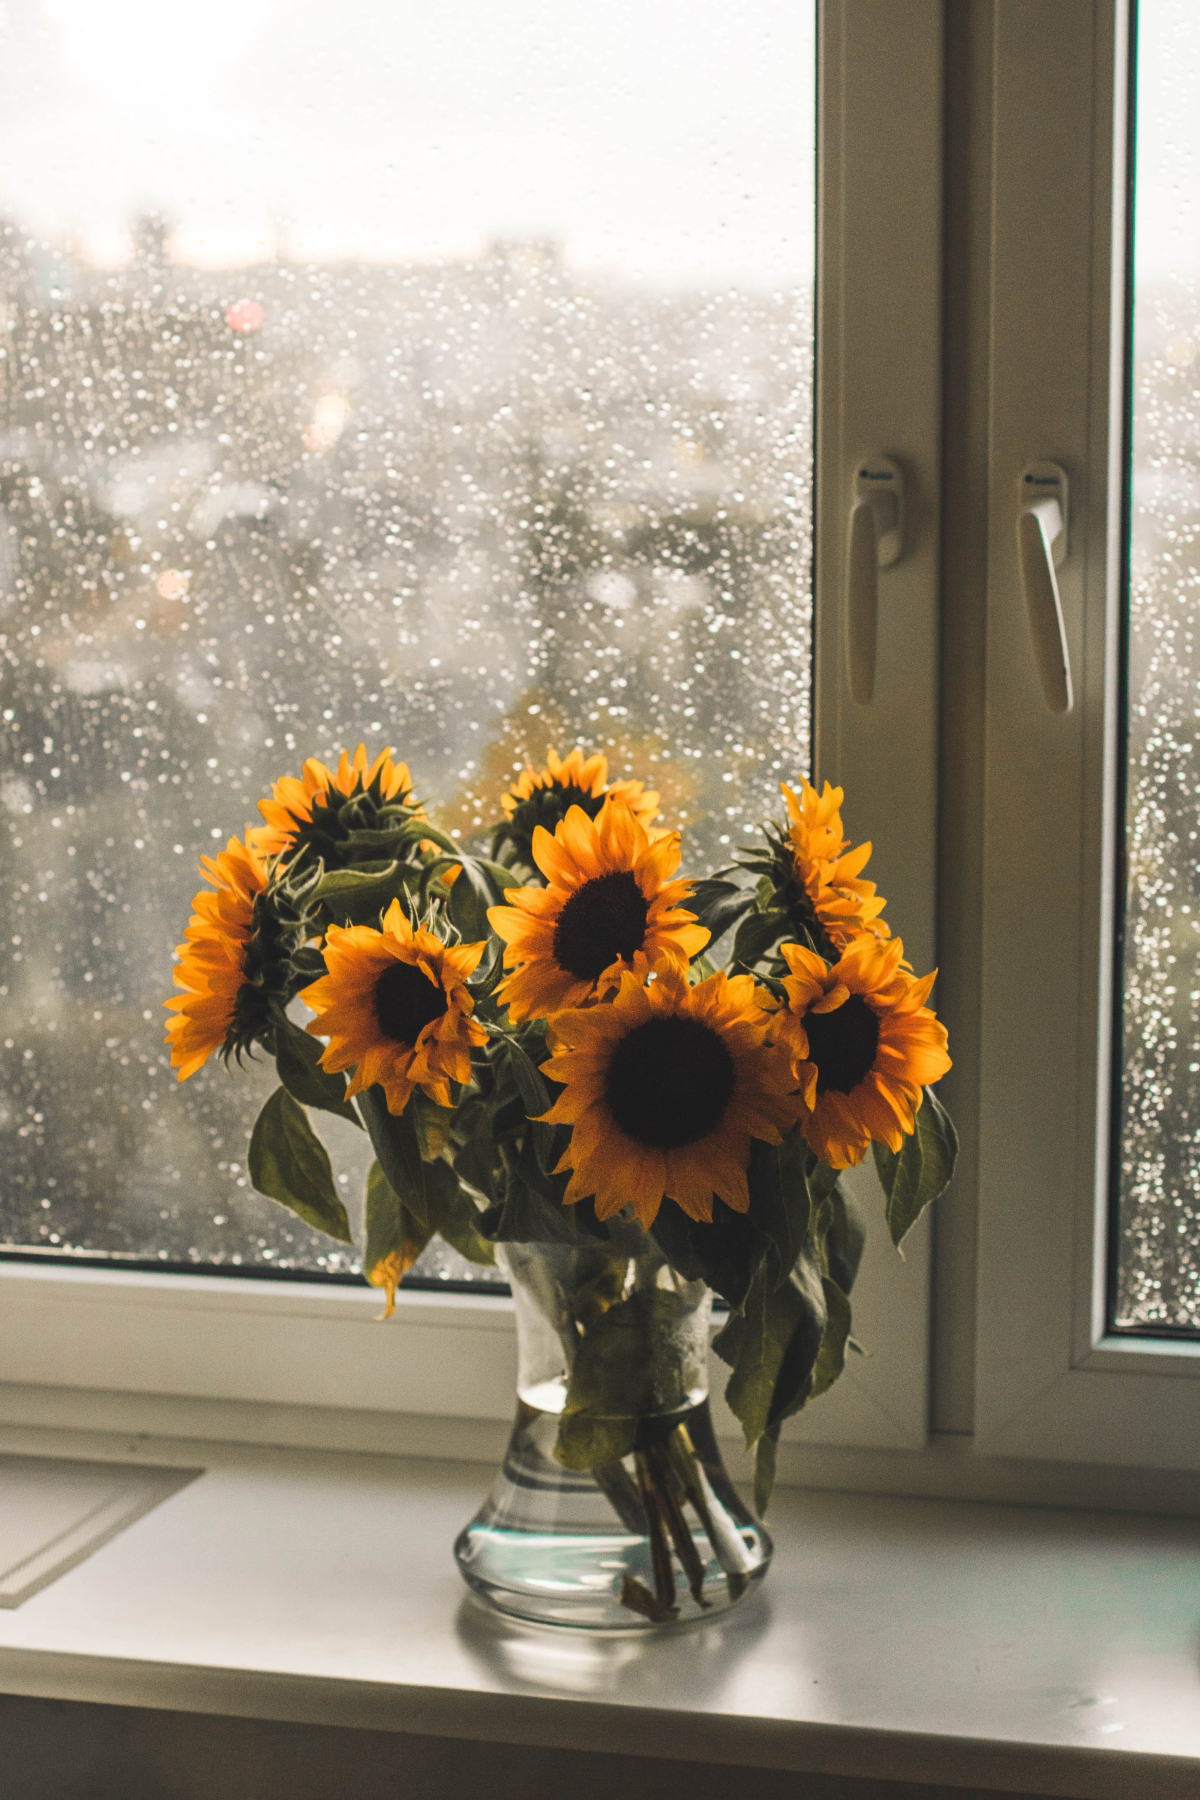
There’s a special moment in late summer when the sunflower heads, heavy with potential, start to bow. If you’ve grown them yourself, you know the feeling. It’s a mix of pride and a little bit of urgency. The plant has done all the hard work, and now the spotlight is on you.
In this article
- First Things First: Your Harvesting Toolkit
- Reading the Signs: Is It Ready for a Vase or for Snacking?
- Heads Up! Protect Your Seeds from Birds
- How to Make the Cut: Harvesting Techniques
- Drying and Curing: The Secret to Preservation
- Getting the Goods: Extracting and Cleaning Your Seeds
- The Final Reward: Roasting Your Homegrown Seeds
- Oh, and What About the Stalks?
- Galerie d’inspiration
But here’s the thing: harvesting a sunflower isn’t a one-size-fits-all deal. The biggest question you need to ask yourself is, “What’s my goal?” Are you hoping for a stunning, long-lasting bouquet to brighten up your kitchen? Or are you dreaming of a big bowl of crunchy, homegrown seeds for snacking? The timing and technique are totally different for each, and getting it right is what separates a fantastic harvest from a disappointing, moldy mess. Let’s walk through it all, from reading the signs to roasting the perfect seed.
First Things First: Your Harvesting Toolkit
Before you even step into the garden, it’s smart to get your gear ready. You don’t need a ton of fancy equipment, but having the right tools makes the job cleaner and easier. Here’s a quick checklist:
- Bypass Pruners: These are your best friend for cutting flower stems cleanly. The blades work like scissors and don’t crush the stem. You can find pro-grade pairs that are built to last a lifetime for around $50-$80, but honestly, a solid $20 pair from the local hardware store will work just fine for most home gardens.
- Loppers: For those giant, woody stalks on varieties meant for seeds, you’ll need more leverage. A good pair of loppers will slice through a thick stalk like butter.
- A Clean Bucket: If you’re cutting flowers for a vase, you’ll need a bucket of water right there with you in the garden. Any clean 5-gallon bucket will do.
- Mesh Bags or Netting: This is for protecting your seed heads from birds. You can buy specialty bags, but here’s a lesser-known trick: a cheap mesh laundry bag from the dollar store is the perfect size for covering a giant sunflower head! Cheesecloth or old nylon stockings also work in a pinch.
- Work Gloves: When it comes time to handle the dried seed heads, you’ll be glad you have these. The dried plant material can be surprisingly scratchy.
Reading the Signs: Is It Ready for a Vase or for Snacking?
A sunflower tells you exactly when it’s ready—you just have to know its language. This is probably the most common place where new growers trip up. The plant sends out very different signals depending on whether it’s prime for cutting or ready to give up its seeds.
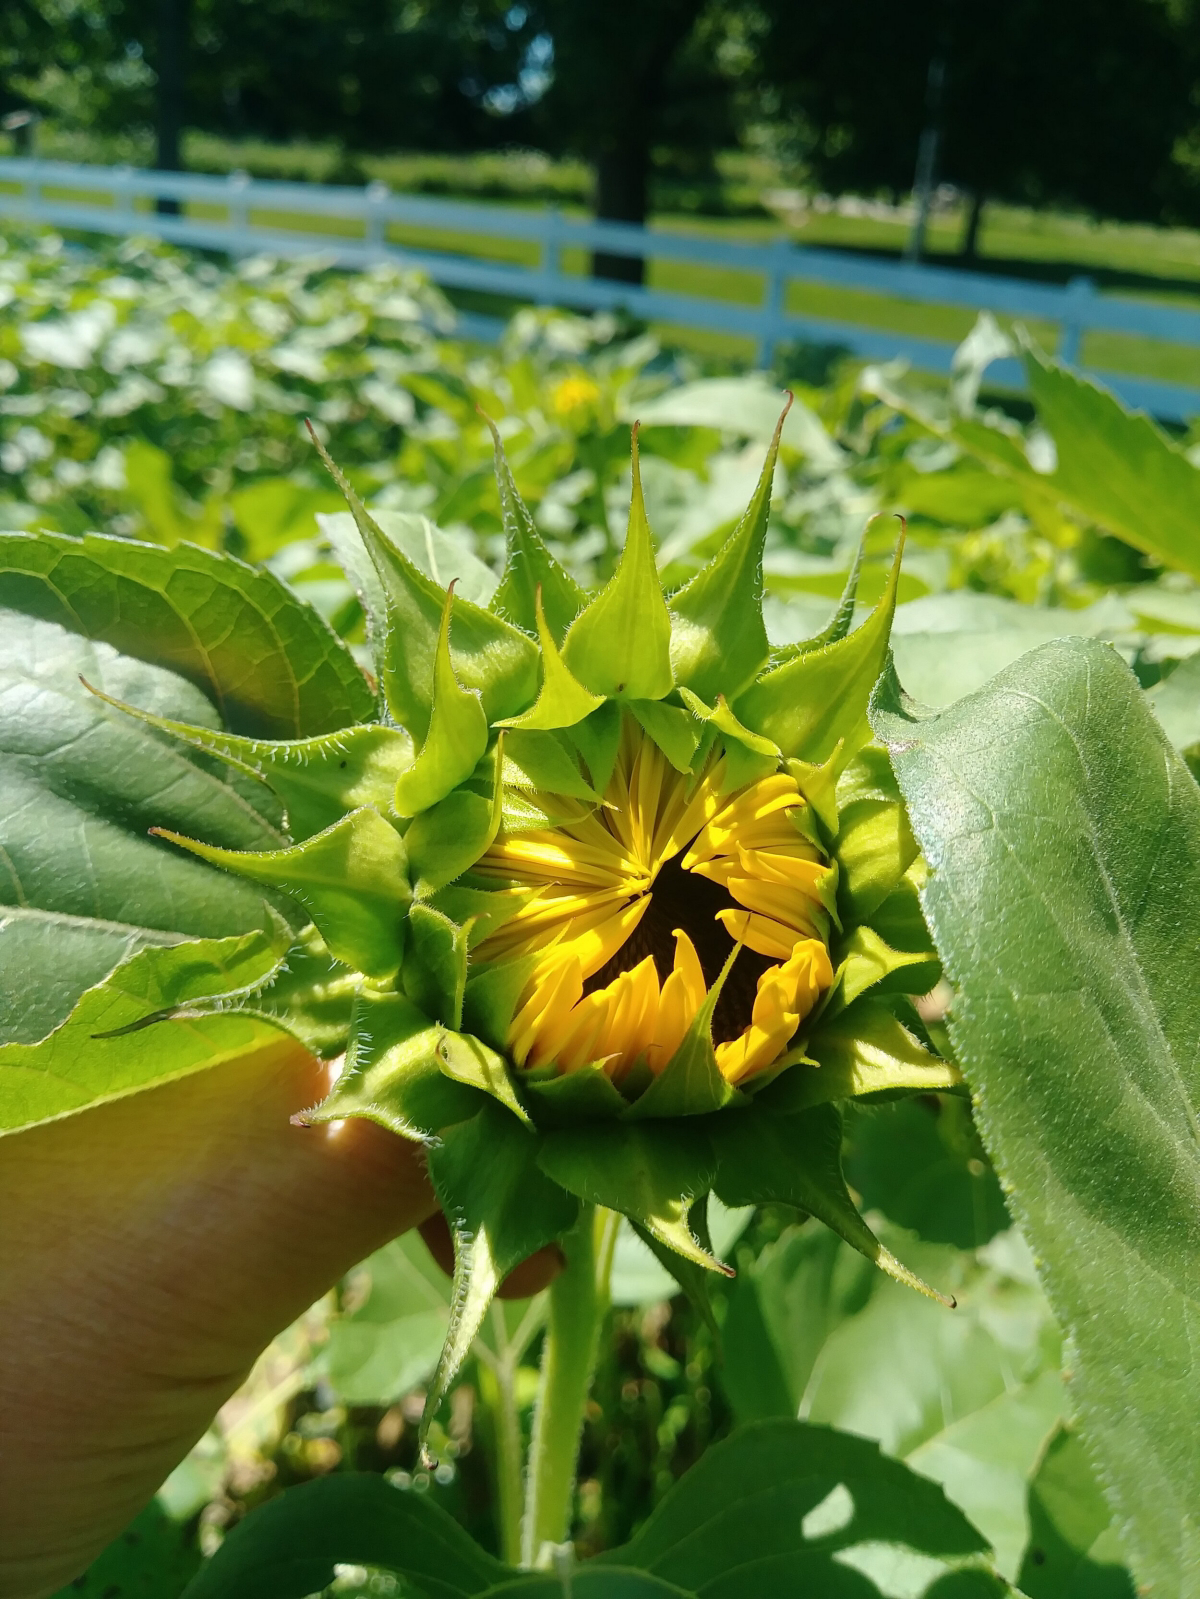
For Cut Flowers (The “Get ‘Em Early” Method)
If you want blooms that will last more than a day or two in a vase, you have to cut them before they look perfect on the plant. You’re aiming for what the pros call the “paint brush” stage.
- Petal Position: Look for flowers where the petals are just starting to lift off the central disc, pointing straight out. They shouldn’t be fully open or flattened back yet. They’ll finish opening beautifully in the vase.
- Vibrant Color: The petals should look fresh and flawless, with no browning, wilting, or nibbles from bugs.
- Firm Stem: Give the stem right below the flower a gentle squeeze. It should feel firm and strong.
For Seeds (The “Patience is a Virtue” Method)
Harvesting for seeds is a completely different game. Here, you’re waiting for the plant to signal it’s at the end of its life cycle. Cutting too early will leave you with a head full of hollow, useless seeds.
- The Head Droop: This is your first big clue. The flower head will get incredibly heavy and its neck will weaken, causing it to droop and face the ground. It will stop following the sun.
- Back of the Head: The back of the flower head is your most reliable indicator. It will turn from a healthy green to a pale, washed-out yellow, and finally to a dark, leathery brown. You want to harvest somewhere in that yellow-to-brown transition phase.
- Petals and Florets: The pretty yellow petals will be dry, shriveled, and probably falling off on their own. The tiny little flowers in the center will also be dried up. Go ahead and gently brush your hand over the face of the flower. If those little dried bits fall away easily to reveal hard, plump seeds, you’re good to go.
Heads Up! Protect Your Seeds from Birds
You aren’t the only one watching for these signs. Birds are absolute masters at knowing the perfect time to raid your sunflowers. Trust me on this. I learned this lesson the hard way one year. I saw my biggest, most promising head was almost ready, thought, “I’ll get it tomorrow,” and came out to find it stripped completely clean by a flock of gleeful goldfinches. I’ve covered them religiously ever since.
As soon as you see the head start to droop and yellow, cover it with your mesh bag or cheesecloth. Tie it securely around the stem. This keeps the birds out while still allowing air to circulate so the head can continue to dry without molding.
How to Make the Cut: Harvesting Techniques
Okay, the time is right. Let’s talk about the actual cutting process.
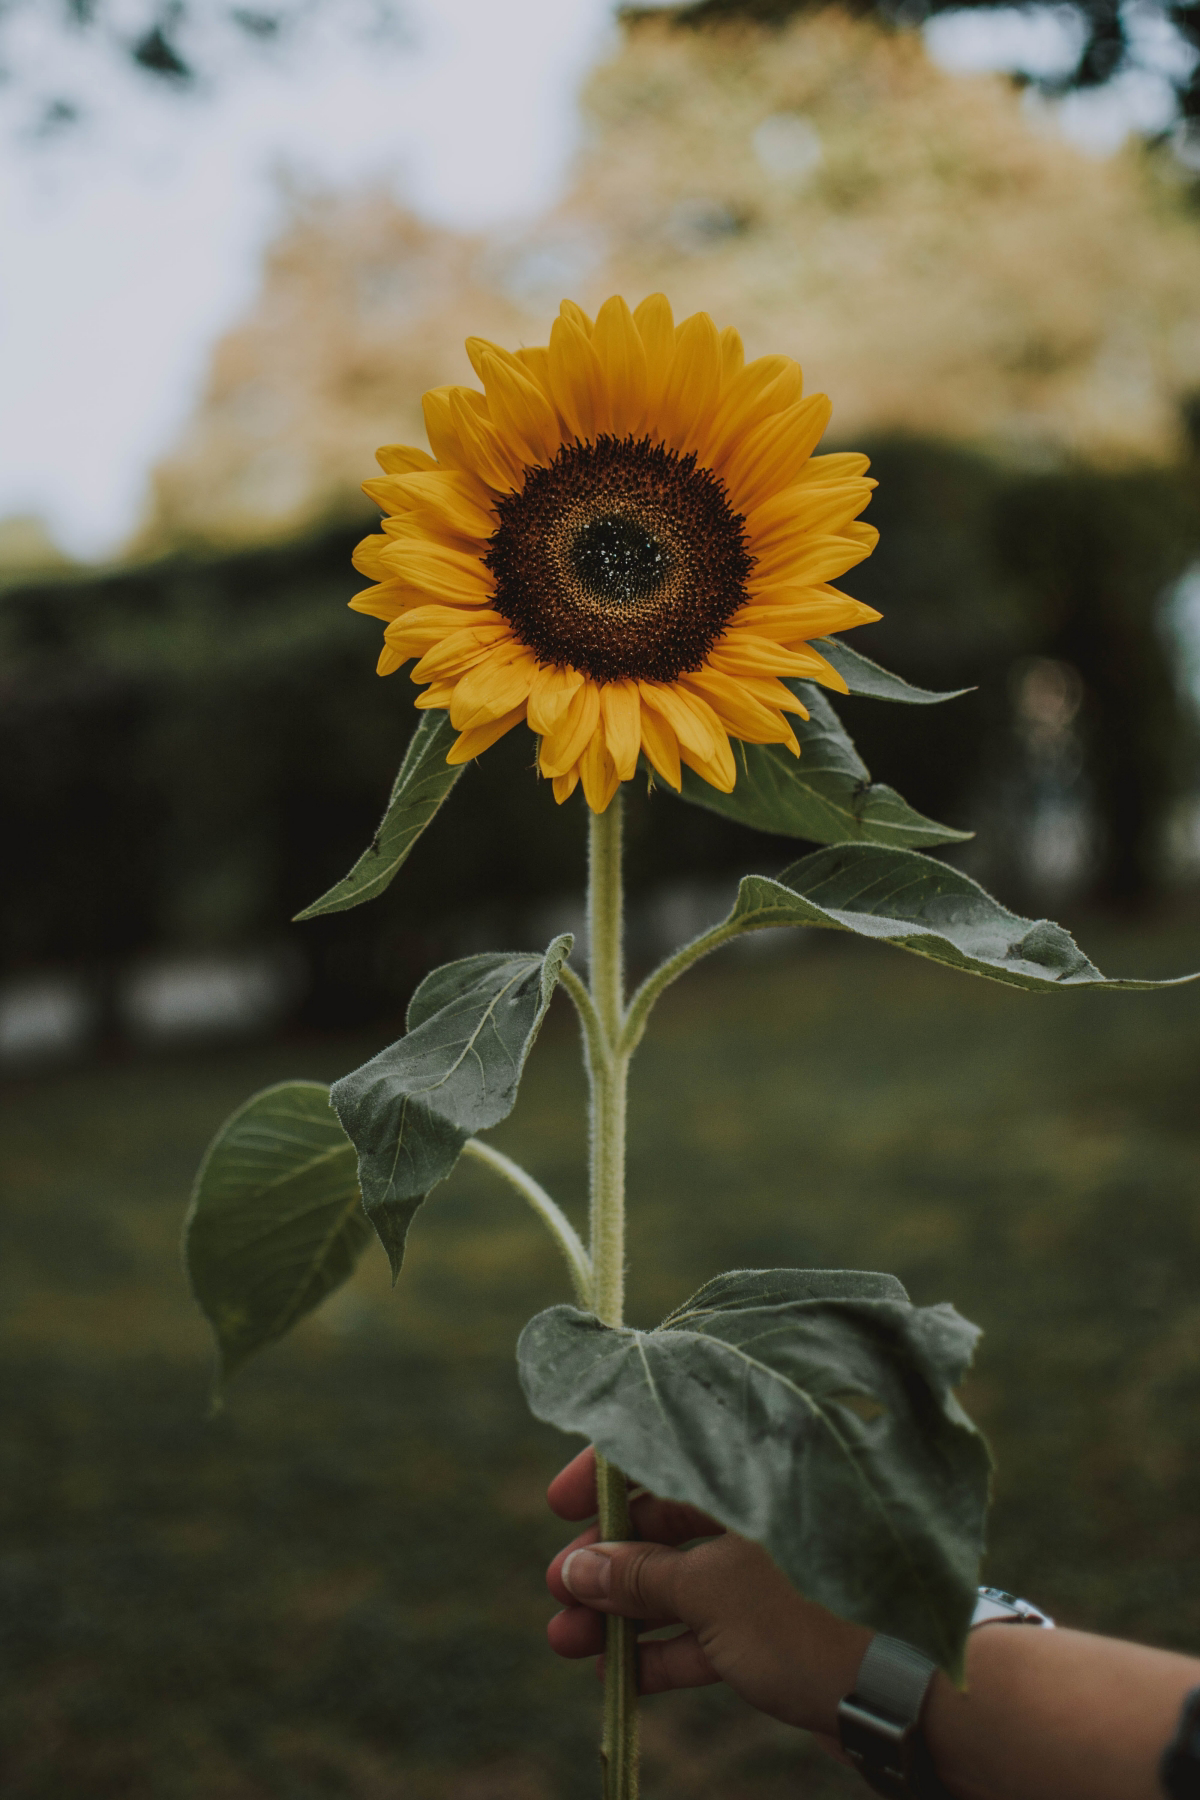
For those beautiful cut flowers, timing is key. Head out in the cool of the morning. The plant is most hydrated then, which means less shock and wilting. Cut the stem at a 45-degree angle to the length you want, and plunge it immediately into your bucket of water. Don’t wait! Even a minute of air exposure can block the stem from drinking up water later. Once inside, let them rest in a cool, dark place for a few hours before arranging them. This little step can add days to their vase life.
For the seed heads, your goal is just to get it to a safe, dry place. Use your loppers or pruners and cut the head off, leaving a good foot or two of stem attached. This gives you a great handle for carrying and hanging. Be firm but gentle—if the head is super dry, you can easily knock a bunch of seeds out onto the ground. I like to use a wheelbarrow to carry them, face up, to the garage.
Drying and Curing: The Secret to Preservation
Getting the sunflowers out of the garden is only half the battle. Proper drying is what prevents mold and ensures your seeds are storable. Your main enemy here is moisture.
For seed heads, hang them individually by their stems in a dry, well-ventilated spot like a garage, shed, or attic. Make sure there’s space between them for air to flow. They’ll need another 1 to 3 weeks to cure completely. You’ll know they’re ready when the back of the head is rock hard and dark brown, and the seeds feel loose. Pull one out and try to snap it with your fingers. A fully cured seed will snap cleanly; a seed with too much moisture will bend.
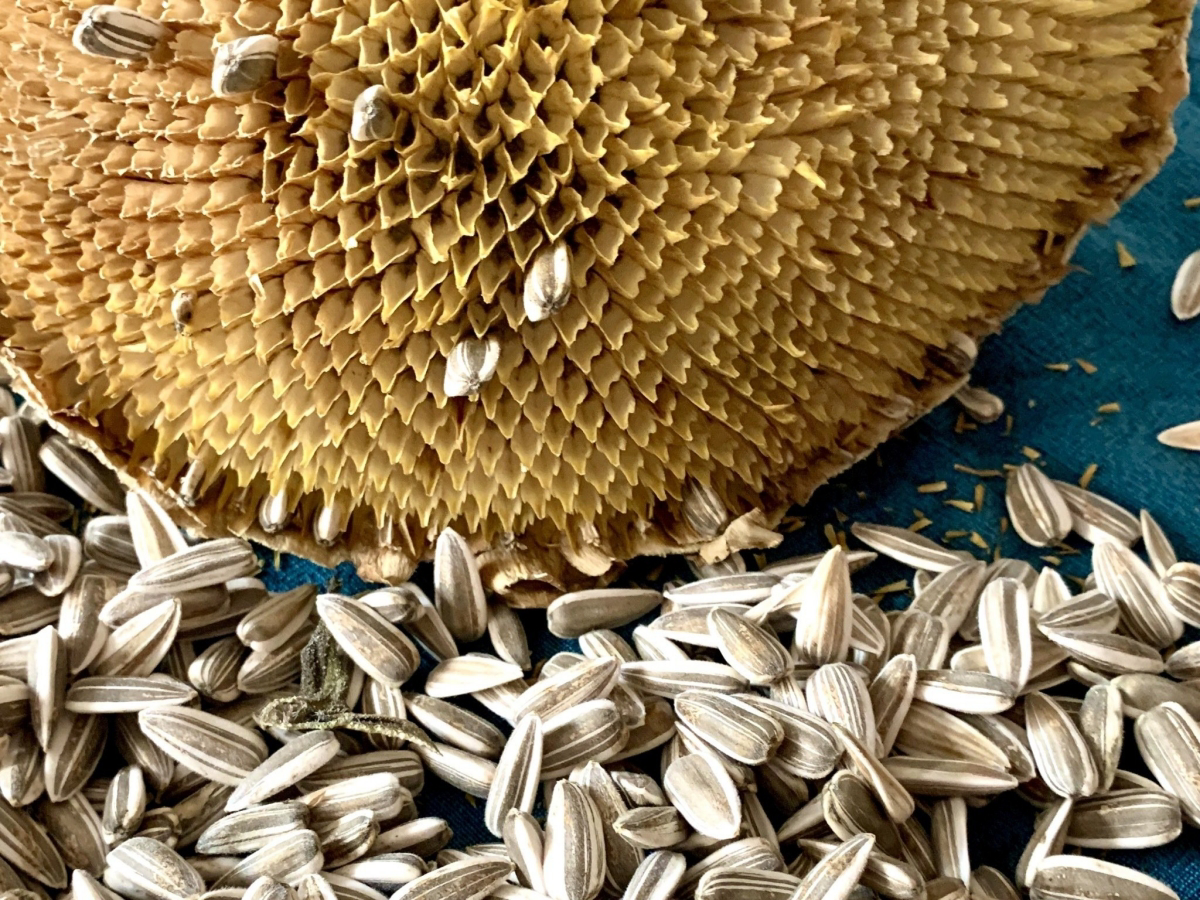
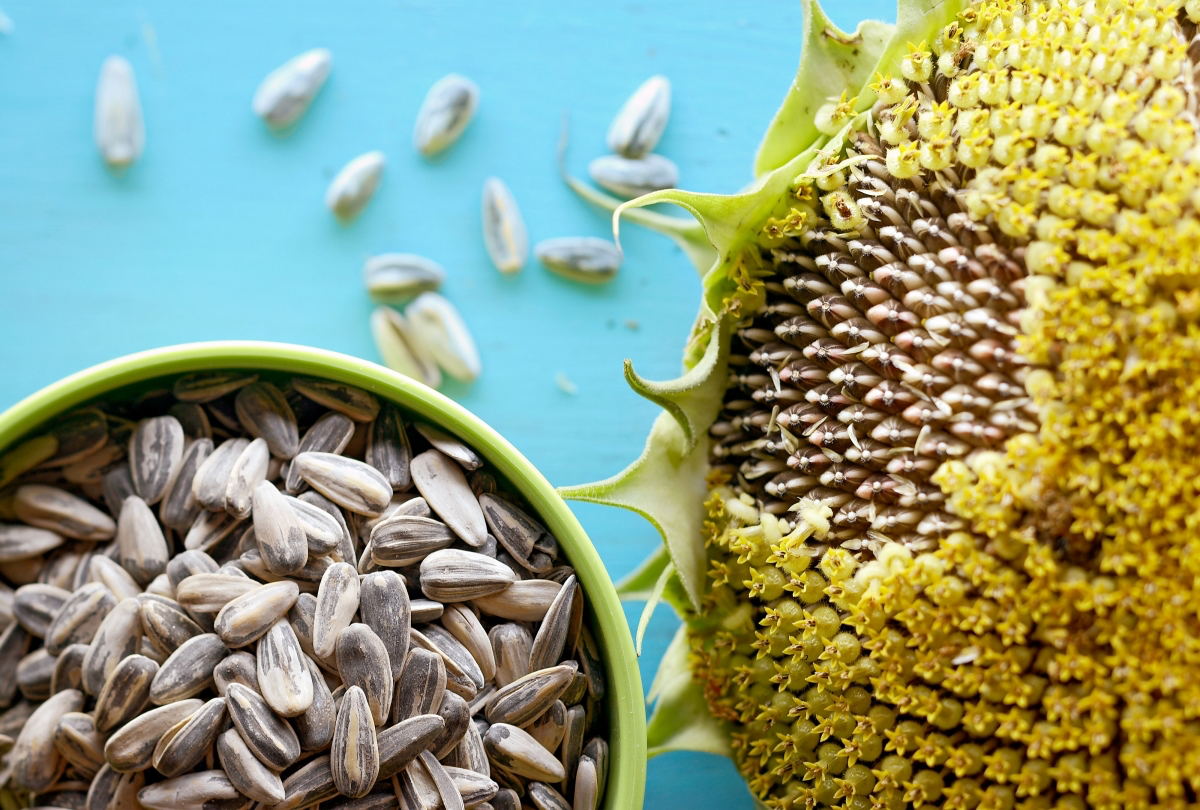
Getting the Goods: Extracting and Cleaning Your Seeds
This is the fun, messy part! I recommend doing this over a big tarp or an old sheet. The easiest way to get the seeds out is to take two dried heads and just rub their faces together over a large bucket. The friction pops the seeds right out. For smaller jobs, you can just use your thumbs.
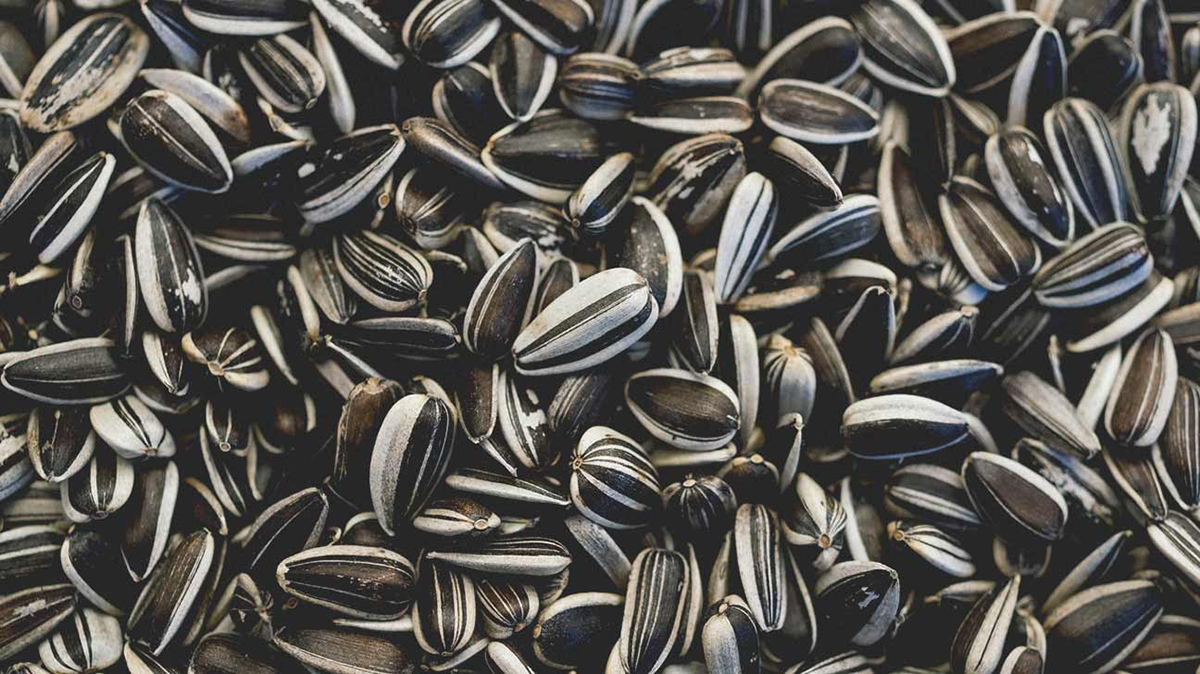
You’ll be left with a mix of seeds and chaff (plant debris). The old-school way to clean them is called winnowing. On a slightly breezy day, pour the seeds from one bucket to another from a few feet up. The heavy seeds fall straight down, while the wind carries the light chaff away. No wind? No problem. A box fan on low works just as well.
By the way, you might be wondering about the payoff. You can expect a surprisingly large amount! A single large, healthy head can easily yield one to two cups of seeds. If you’re hoping for a winter’s supply of snacks for a family, planting a row of 8-10 giant sunflowers is a great place to start.
Quick tip for shelling: To get the kernels out of the shells more easily, place a cup of seeds in a zip-top bag and gently roll over them with a rolling pin. This cracks the hulls without smashing the seed inside, making them way easier to peel.
The Final Reward: Roasting Your Homegrown Seeds
This is where all your patience pays off. For the best flavor, I highly recommend brining your seeds first. It seasons the kernel inside the shell, not just the outside.
Just dissolve about a 1/4 cup of salt in a couple of quarts of water, add your seeds, and let them soak overnight. The next day, drain them, pat them dry, and spread them in a single layer on a baking sheet. Roast them at 325°F (160°C) for 20-30 minutes, stirring occasionally until they’re lightly golden. Let them cool completely on the pan—they’ll get crispier as they cool.
And hey, feel free to get creative! Once they’re roasted and still warm, you can toss them with a little olive oil and your favorite spices. Smoked paprika and chili powder are incredible for a savory kick, or for a sweet treat, try a dusting of cinnamon sugar.
Oh, and What About the Stalks?
After you’ve harvested the heads, you’re left with some seriously thick, tough stalks in the garden. They can be a real pain in the compost pile if you throw them in whole. I usually take my loppers and chop them up into 6-inch pieces. It only takes a few extra minutes and helps them break down so much faster.
Galerie d’inspiration
Did you know that sunflower seeds can lose 50% of their viability in less than a year if stored improperly?
The secret to ensuring a successful planting next spring lies in how you store your harvested seeds. Once they are completely dry, the goal is to protect them from their three enemies: humidity, heat, and light. Place your seeds in a labeled paper envelope or a small, airtight glass jar. For an extra layer of protection against moisture, tuck in a food-safe silica gel packet. Store the container in a consistently cool and dark place—the back of a refrigerator is ideal, but a dry, unheated basement or closet works well too. This simple step preserves the genetic potential within each seed, guaranteeing they’re ready to sprout when the time comes.


