Stop Picking Basil Leaves! A Smarter Way to Get Bushy Plants & Amazing Flavor
I’ve spent countless seasons growing herbs, both for my own kitchen and for professional chefs who expect nothing but the best. And let me tell you, no herb has taught me more than basil. It’s an incredibly generous plant, but it has a few simple rules. Follow them, and you’ll be swimming in fragrant leaves all summer. Ignore them, and you’ll end up with a couple of sad sprigs on a tall, woody stick.
In this article
- The #1 Thing to Do Right Now
- The Secret to a Bushy Plant: From a Stick to a ‘Y’
- Your Step-by-Step Harvesting Guide
- SOS: How to Rescue a Sad, Leggy Basil Plant
- Setting Up for Success: Your Basil Shopping List
- Feeding for Flavor, Not Just for Looks
- Get to Know Your Basil (Not All Are the Same!)
- Quick Troubleshooting FAQ
- Making Your Harvest Last
- Inspirational Gallery
So many people think you’re supposed to just pluck individual leaves off the plant as you need them. To be frank, that’s probably the worst thing you can do. It slowly weakens the plant and tells it to stop trying. The real magic isn’t just in what you take, but how you take it. Your harvesting technique is what shapes the plant, keeps it healthy, and even makes the leaves taste better.
The #1 Thing to Do Right Now
Don’t have time to read everything? No problem. Here’s the one thing you can do in the next 10 seconds to make your basil plant happier and more productive: Find the tallest stem on your plant and look at the very top cluster of new, tiny leaves. Pinch it off. That’s it. You just told your plant to get bushy instead of stringy. Now, let’s talk about why that little pinch is so powerful.
The Secret to a Bushy Plant: From a Stick to a ‘Y’
Okay, let’s get into the simple science behind this. Plants have this thing called ‘apical dominance.’ It sounds fancy, but it just means the plant’s main energy goes into growing straight up toward the sun. The very top bud on the main stem sends out hormones that tell all the little side shoots, “Hold on, don’t grow yet! My job is to get tall!”
When you snip off that top bud, you cut off the hormone signal. The plant panics for a second and then says, “Okay, new plan!” It activates the two little side buds just below where you cut. Those two buds will wake up and grow into two brand new main stems.
Think of it this way: Before the cut, your plant is a single stick (an ‘I’). A week or two after you snip the top, it becomes a ‘Y’. Do that to the two new stems, and you turn that ‘Y’ into four stems. This is the entire game. You’re not just harvesting; you’re pruning in a way that creates an exponential explosion of leaves.
Your Step-by-Step Harvesting Guide
Once you understand that ‘I’ to ‘Y’ concept, harvesting becomes a simple, repeatable process that builds on itself.
The First Big Cut (Don’t Be Shy!)
This first cut is the most important one. You should do it when your basil plant is about six to eight inches tall and has a few sets of full-sized leaves. Find the main stem and look for a spot that’s about a quarter-inch above a pair of side leaves. Make a clean cut right there. It feels drastic, I know! But you’re setting the stage for a strong, bushy plant for the rest of the season.
The Continuous Harvest
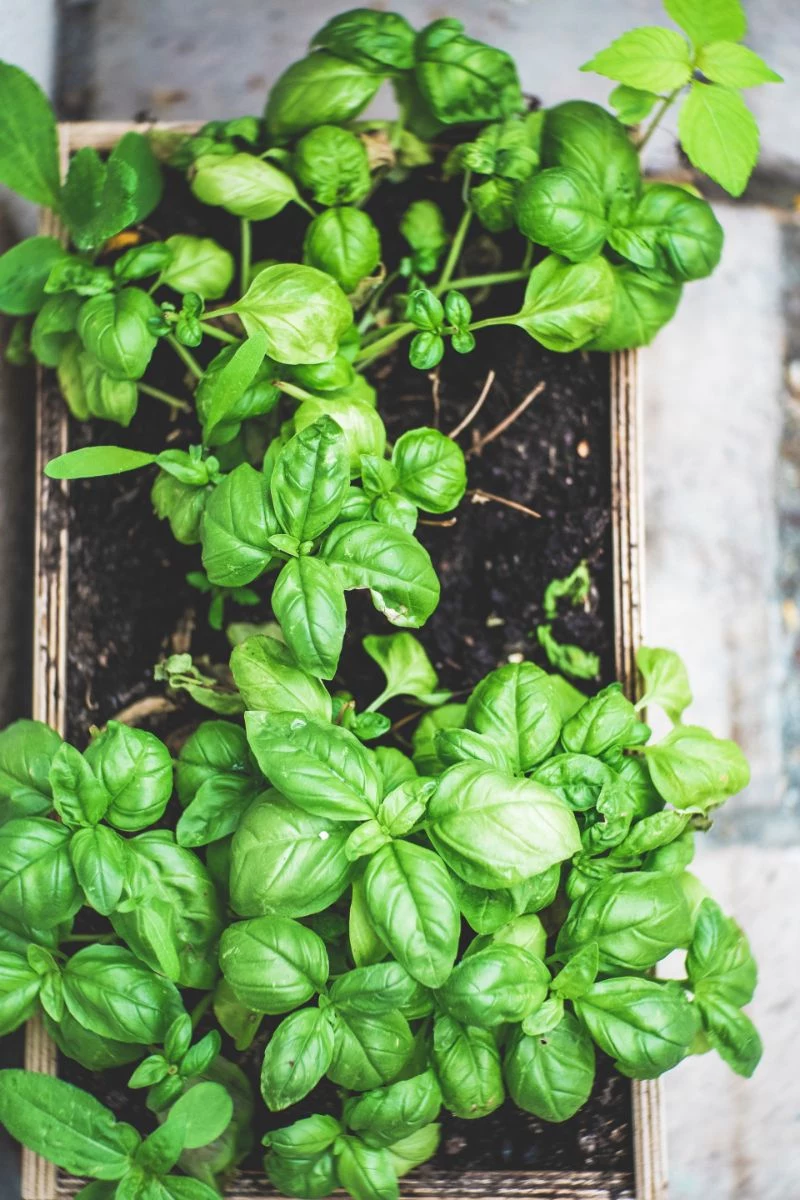
From now on, you’ll repeat that same process. Never just pluck single leaves unless you need one tiny leaf for a garnish. Instead, always harvest a section of a stem. Just follow a stem down to a node (the spot where a pair of leaves is growing out from the stem) and make your cut about a quarter-inch above that pair. You can take up to a third of the plant’s total size at a time without stressing it out. Do this every week or two, and you’ll keep the plant in a constant state of productive, bushy growth.
Tools and Timing
While you can pinch the stems with your fingers, I really recommend using a small, sharp pair of scissors or herb snips. A clean cut heals faster and prevents diseases from getting into a crushed stem. It’s a tiny thing that makes a big difference. I always try to harvest in the morning, right after the dew has dried. The plant is full of water and flavor then, before the afternoon sun starts to heat things up.
SOS: How to Rescue a Sad, Leggy Basil Plant
Okay, what if you’re reading this and your basil already looks like a tall, sad, flower-topped stick? We’ve all been there. Can it be saved? Maybe!
Here’s the rescue plan: First, snip off any flowers or flower buds immediately. That redirects the plant’s energy from making seeds back to making leaves. Next, give it a serious haircut. Look down the main woody stem. Even if it looks bare, you’ll likely see tiny, dormant leaf buds at the nodes. Cut the stem way back, to about four to six inches from the soil, making sure to cut just above a set of these leaves (even if they’re tiny). It will look brutal, but this is your best shot. Then, make sure it’s getting at least six hours of bright, direct sun and the soil is good. If you’re lucky, those dormant buds will get the signal and sprout into new, bushier growth.
Setting Up for Success: Your Basil Shopping List
You don’t need a farm to grow amazing basil. But you do need the right setup. Here’s a quick rundown of what you’ll need and what it might cost.
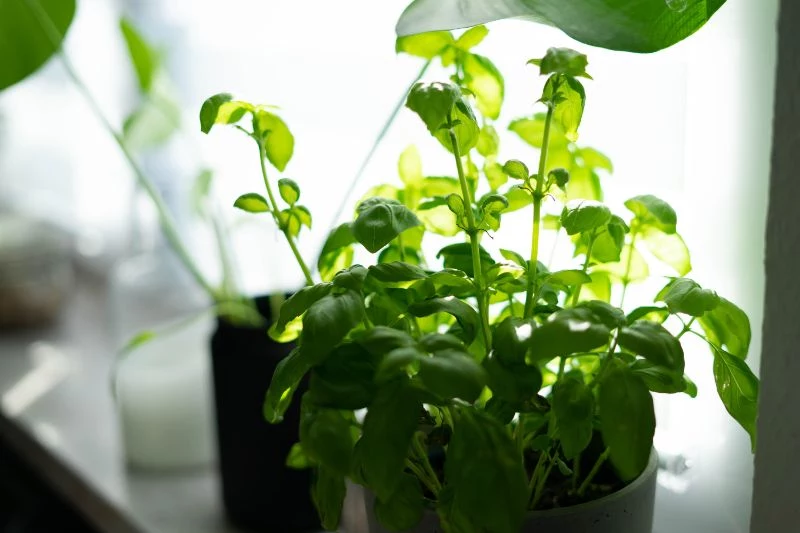
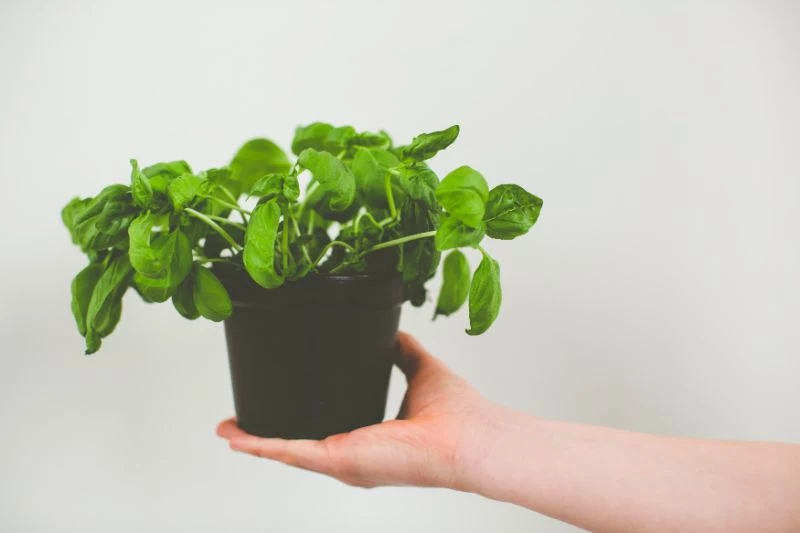
- A Bigger Pot: Basil hates being cramped. Get a pot that’s at least 8 inches across, though 10-12 inches is even better. It MUST have drainage holes. I can’t stress this enough. I’ve killed more plants in cute pots with no drainage than I care to admit. It’s a rite of passage, but one you can skip! (Cost: $10-$20 for a decent terracotta or plastic pot.)
- The Right Soil: Don’t just use dirt from your yard. Bagged potting mix is what you want. I like to mix two parts all-purpose potting mix with one part compost to give it a nice, slow-release nutrient boost. (Cost: $8-$12 for a good-sized bag.)
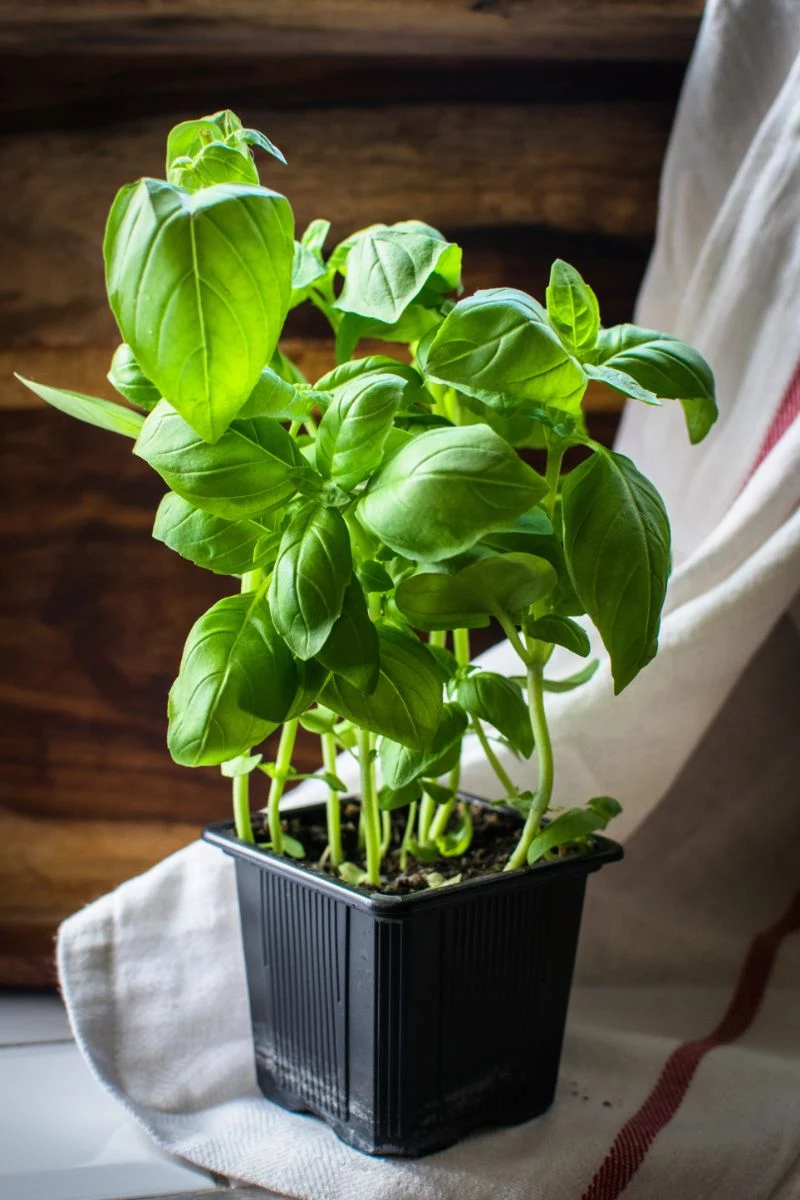
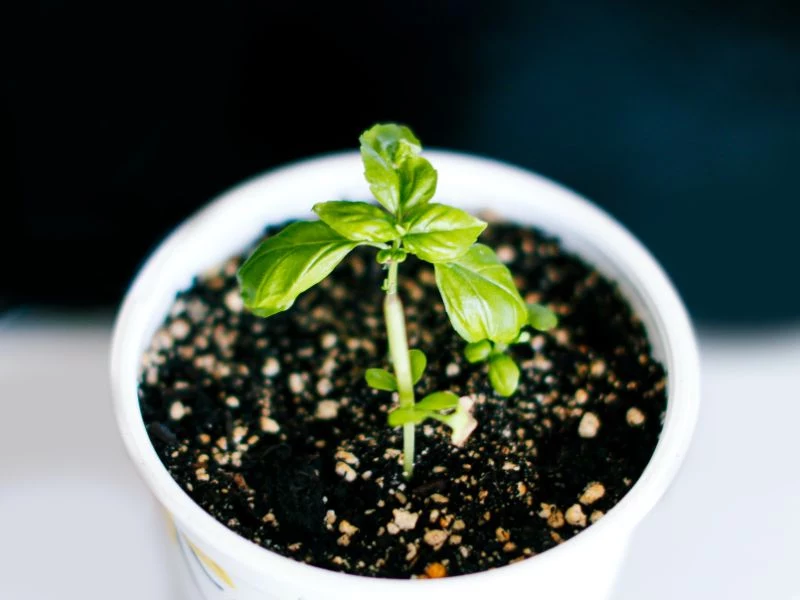
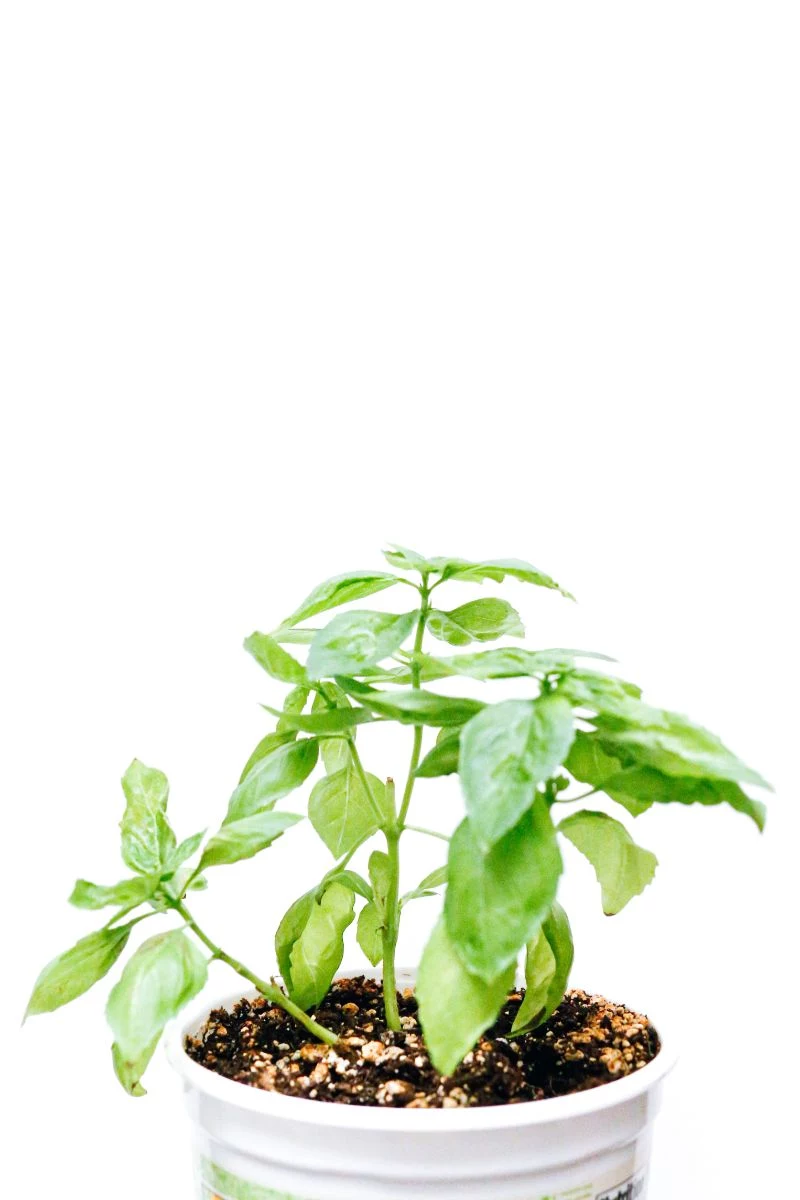
- A Starter Plant: You can start from seeds, which are super cheap, but buying a small plant from a nursery gives you a great head start. (Cost: $4-$6 per plant.)
A quick word on supermarket basil: Those little pots of basil you get at the grocery store are actually dozens of tiny seedlings crammed together and forced to grow quickly. They’re designed to be used once and then die. If you want to save one, you have to perform a little plant surgery as soon as you get it home. Gently tip the whole root ball out, carefully tease the seedlings apart, and repot a few of them (maybe 2-3) into your new, much larger pot. Keep the rest for your dinner!
Feeding for Flavor, Not Just for Looks
Fertilizer can be confusing, but for basil, the rule is simple: don’t overdo it with nitrogen. When you look at a fertilizer bag, you’ll see three numbers, like 5-10-5 (N-P-K). Nitrogen (N) promotes green, leafy growth. Too much of it, and you’ll get big, beautiful leaves that taste like… well, watery green paper. The excess nitrogen dilutes the essential oils that give basil its flavor.
Look for a balanced, all-purpose liquid fertilizer where the numbers are close, like 5-5-5 or 10-10-10. Dilute it to half-strength and feed your potted basil just once every 3-4 weeks during the summer. Less is definitely more.
Get to Know Your Basil (Not All Are the Same!)
Walking through a garden center can be overwhelming. Knowing what each type of basil is for can make all the difference. Here are the big ones:
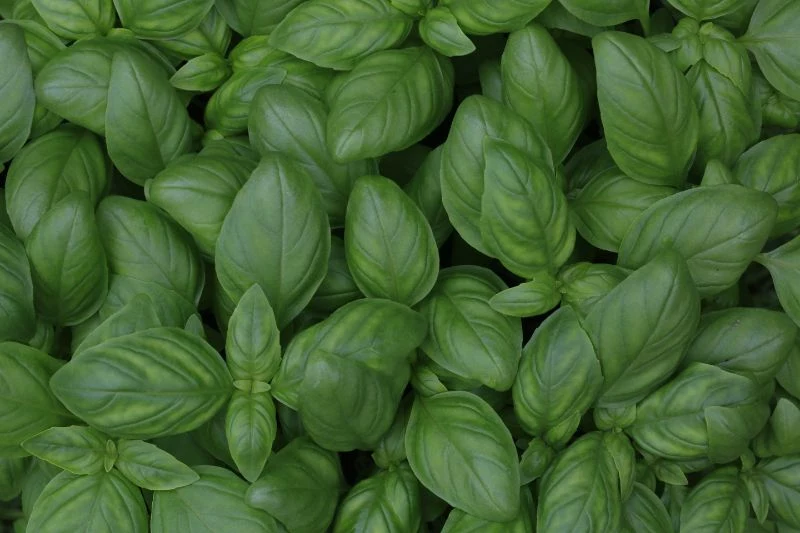
- Genovese Basil: This is your pesto king. It has big, tender, rounded leaves and that classic sweet, clove-like Italian basil smell. It’s perfect for anything Mediterranean, but its tender leaves can be a bit sensitive.
- Thai Basil: You can spot this one by its sturdy purple stems and spear-shaped leaves. The flavor is a total game-changer: a strong, spicy anise or licorice kick that’s amazing in pho, curries, and stir-fries because it holds up to heat.
- Lemon Basil: This one smells exactly like it sounds—a bright, zesty lemon punch! The leaves are often lighter green and smaller. It’s fantastic with fish or chicken, in dressings, or even muddled into a cocktail. The flavor is delicate, so add it at the end of cooking.
- Holy Basil (or Tulsi): This one often causes confusion. It’s not your cooking basil for pasta. It has a more peppery, clove-like, and almost musky flavor. It’s revered in many cultures and often used in Ayurvedic teas and for medicinal purposes. Good to know the difference so you don’t get a surprise in your pesto!
Quick Troubleshooting FAQ
Let’s rapid-fire some common problems.
- Why are my leaves turning yellow? Nine times out of ten, this is overwatering. Your pot either has no drainage, or you’re just being too kind. Let the soil dry out an inch deep before watering again.
- Why is it trying to make flowers? This is called ‘bolting.’ The plant is stressed by heat or age and wants to make seeds. It’s a sign its life cycle is ending. Pinching off the flowers will delay this and keep the leaves tasting good for longer.
- What are these tiny green bugs under the leaves? Probably aphids. A strong spray of water from the hose can knock them off. If they’re stubborn, a simple insecticidal soap (available at any garden store) will take care of them.
- What’s this fuzzy gray mold on the underside of the leaves? Uh oh. This is likely Downy Mildew, the most serious basil disease. It thrives in humidity. The best defense is good air circulation and watering only the soil. If you get it, it’s often best to just dispose of the plant (don’t compost it) and start over with a Downy Mildew Resistant (DMR) variety. Ask for them at your garden center or look for them in online seed catalogs.
Making Your Harvest Last
At some point, you’ll have more basil than you know what to do with. That’s a great problem to have!
My favorite way to preserve it is freezing. You can chop up the leaves, pack them into an ice cube tray, and cover them with a little olive oil. Pop out a cube whenever you need a burst of summer flavor. It’s way better than drying, which gives basil a completely different, minty flavor. Dried basil has its uses, but it’s no substitute for fresh.
Growing basil is a cycle. You care for the plant, and then you harvest from it. But with basil, the harvest is the care. Each snip is a conversation, guiding the plant to become its best, most productive self. It’s a partnership, and the reward is absolutely delicious.
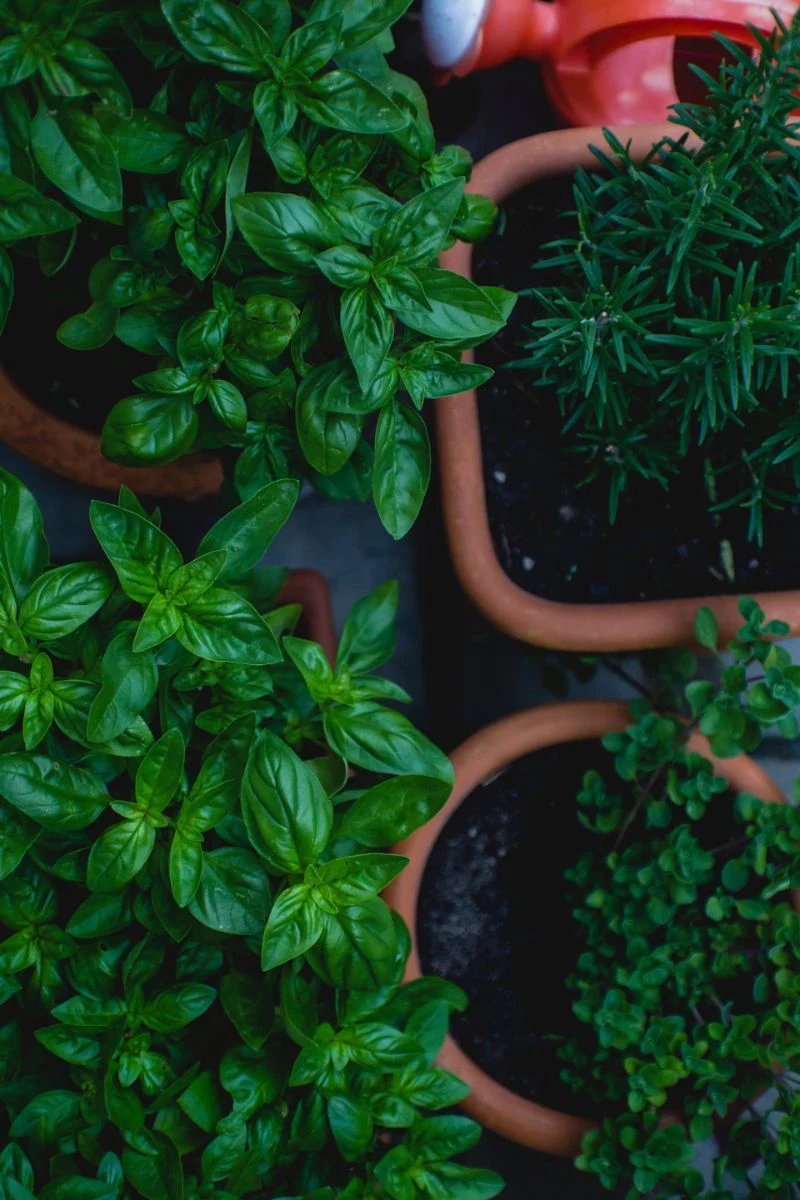
Inspirational Gallery
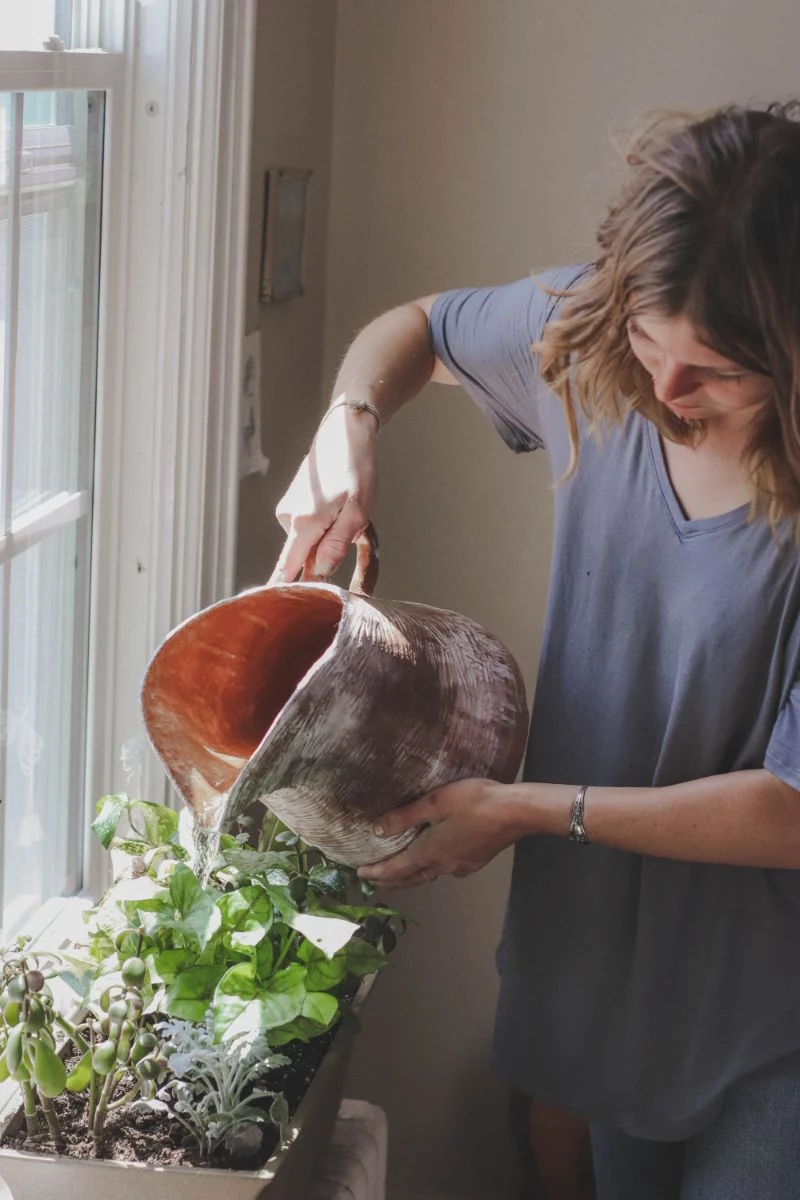
Did you know? A fresh basil leaf is composed of over 92% water.
This explains why basil wilts so dramatically when thirsty! This high water content is key to its tender texture, but it demands consistent moisture. The goal is soil that feels like a well-wrung sponge—never bone-dry, never waterlogged. On hot summer days, a basil plant in a small pot might even need water daily. Check by sticking your finger an inch into the soil; if it’s dry, it’s time to water.
Tired of the same old pesto? Your garden is ready for an upgrade.
While Genovese basil is the classic, exploring other varieties opens up a new world of flavors. For a spicy, anise-like kick perfect for pho or a Thai green curry, try ‘Siam Queen’ Thai Basil. For salads, fish, or infused water, Lemon Basil offers an incredible citrusy perfume. And for pure visual drama, the deep purple leaves of ‘Dark Opal’ basil add a mild, clove-like taste and stunning color to any dish.
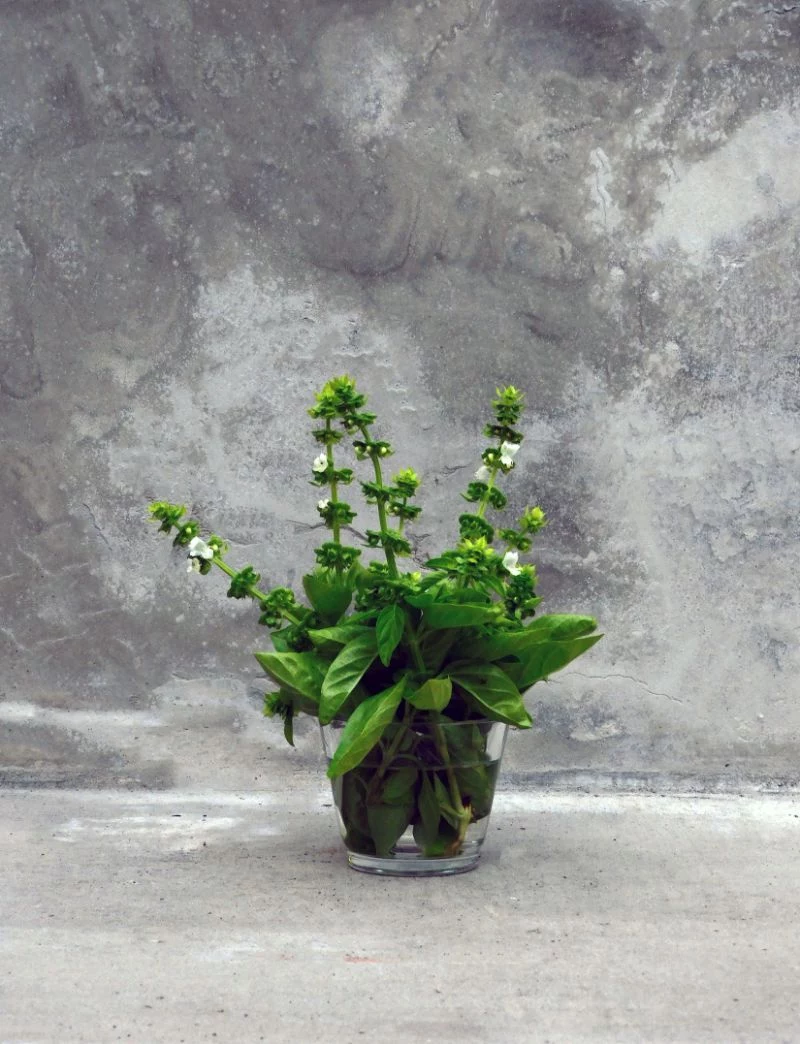
The dreaded bolt: The moment you see little flower stalks appearing at the top of your basil stems, the plant is shifting its energy from making flavorful leaves to producing seeds. This process, called bolting, will make the remaining leaves bitter. Pinch off these flower buds as soon as you spot them to trick the plant back into leaf-production mode.
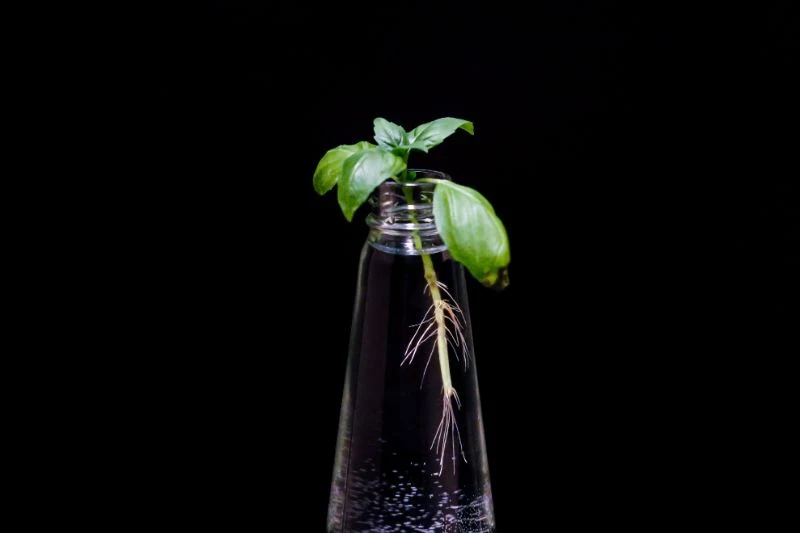
The prunings from your plant aren’t just for cooking; they’re your ticket to more basil! You can easily create new plants for free.
- Take a 4-inch cutting that has no flowers.
- Remove the leaves from the bottom half of the stem.
- Place it in a small glass of water on a sunny windowsill.
- Change the water every two days to keep it fresh.
In about two weeks, you’ll see tiny white roots emerge, ready to be planted in soil.
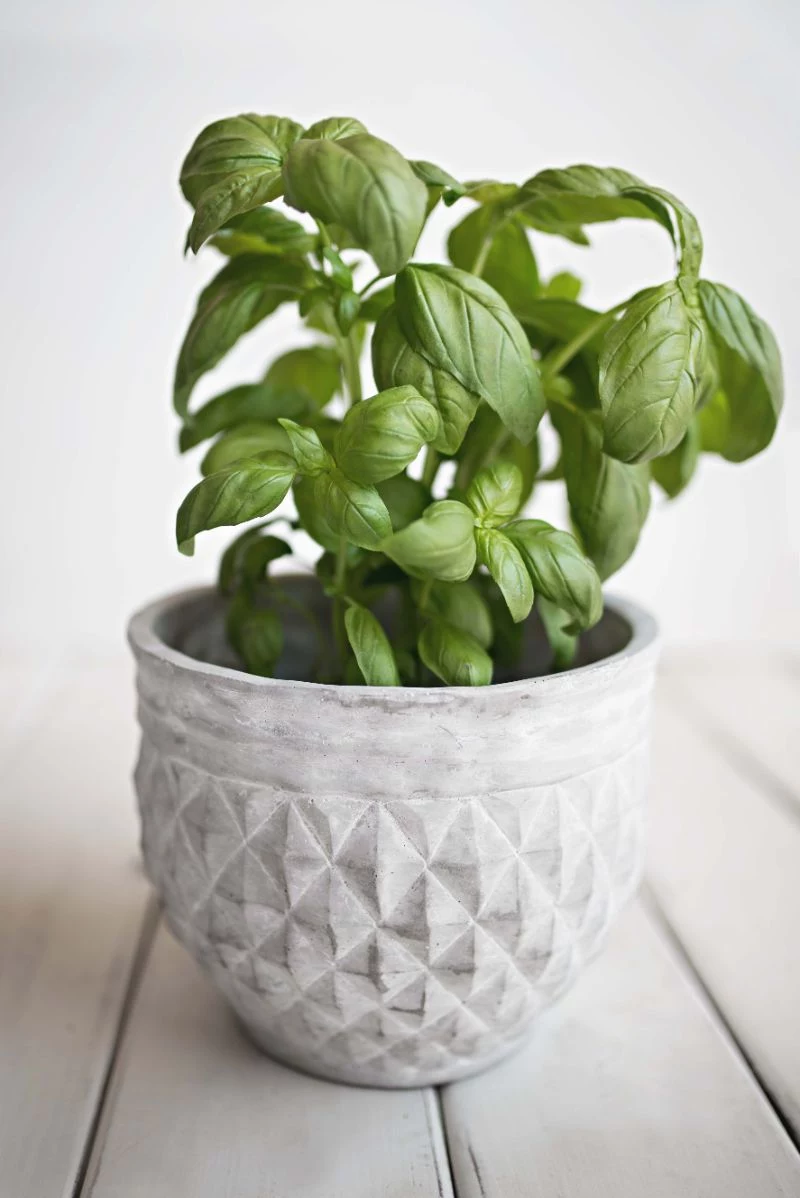
Terracotta Pot: Its porous clay allows soil to breathe and dry out more evenly, significantly reducing the risk of root rot—a common basil killer. It’s the perfect choice if you have a tendency to overwater.
Glazed Ceramic or Plastic Pot: These non-porous containers retain moisture much longer. This means less frequent watering, but requires a more careful hand to avoid drowning the roots. A great option for hot climates or for those who sometimes forget to water.
Don’t underestimate the power of good soil. Basil is a heavy feeder and will quickly deplete the nutrients in standard potting soil. For lush, vigorous growth, use a high-quality potting mix enriched with organic matter. Look for brands like Espoma or FoxFarm Ocean Forest that contain compost, worm castings, and other natural fertilizers. This foundation will fuel the constant new growth you’re encouraging with your pruning.


