Forget the Farm: Your Guide to Amazing Porch Strawberries
I’ve spent a long time with my hands in the dirt, growing strawberries everywhere from huge commercial fields to a few simple pots on my own back porch. And through it all, I’ve learned one solid truth: some of the most delicious, sun-warmed strawberries you’ll ever eat can come from a simple container.
In this article
- First Things First: Picking Your Player
- Your Beginner’s Shopping List (And What It’ll Cost)
- Let’s Talk Soil: The Foundation of Flavor
- Planting Your Strawberry: The One Step You Can’t Mess Up
- Keeping Your Plant Happy (And Getting Berries!)
- Pro Tips for an Even Better Harvest
- What to Do When Things Go Wrong
- Winter is Coming: Keeping Your Plant Alive
- Inspiration:
Seriously. Growing in pots isn’t a shortcut or a lesser way to garden. It’s a focused technique that gives you an incredible amount of control. You get to be the master of your berry’s universe.
Success here isn’t about some secret gardener’s handshake. It’s about understanding what the plant actually wants and giving it exactly that. So, this is more than a list of quick tips; it’s my personal playbook. I’ll walk you through the professional methods and the hard-won lessons that will help you grow buckets of healthy, delicious berries.
First Things First: Picking Your Player
Before you even think about pots or soil, you need to know what kind of strawberry you’re dealing with. And trust me, this is the most important decision you’ll make. The pros group them into three main types based on their fruiting habits.
So, what are your options?
- June-Bearers: These are the traditional field strawberries. They give you one massive harvest over a few weeks in early summer and then… that’s it for the year. Honestly, while the berries are fantastic, I don’t recommend them for pots. It’s a whole lot of waiting for a short burst of chaos.
- Everbearers: The name is a little bit of a fib. They don’t bear fruit constantly, but they do typically give you a couple of harvests—one in early summer and another in the fall. They’re a decent choice, but you’ll have long gaps with no berries.
- Day-Neutrals: Okay, THIS is the MVP for container gardening. These modern marvels don’t care about how long the days are. As long as the temperature is mild (think between 40 and 85°F), they will produce fruit continuously all season long. You get a steady supply for your morning cereal instead of a giant pile you have to deal with all at once.
My Take: Go with Day-Neutrals every single time for containers. The steady, reliable harvest is exactly what makes pot-growing so rewarding.
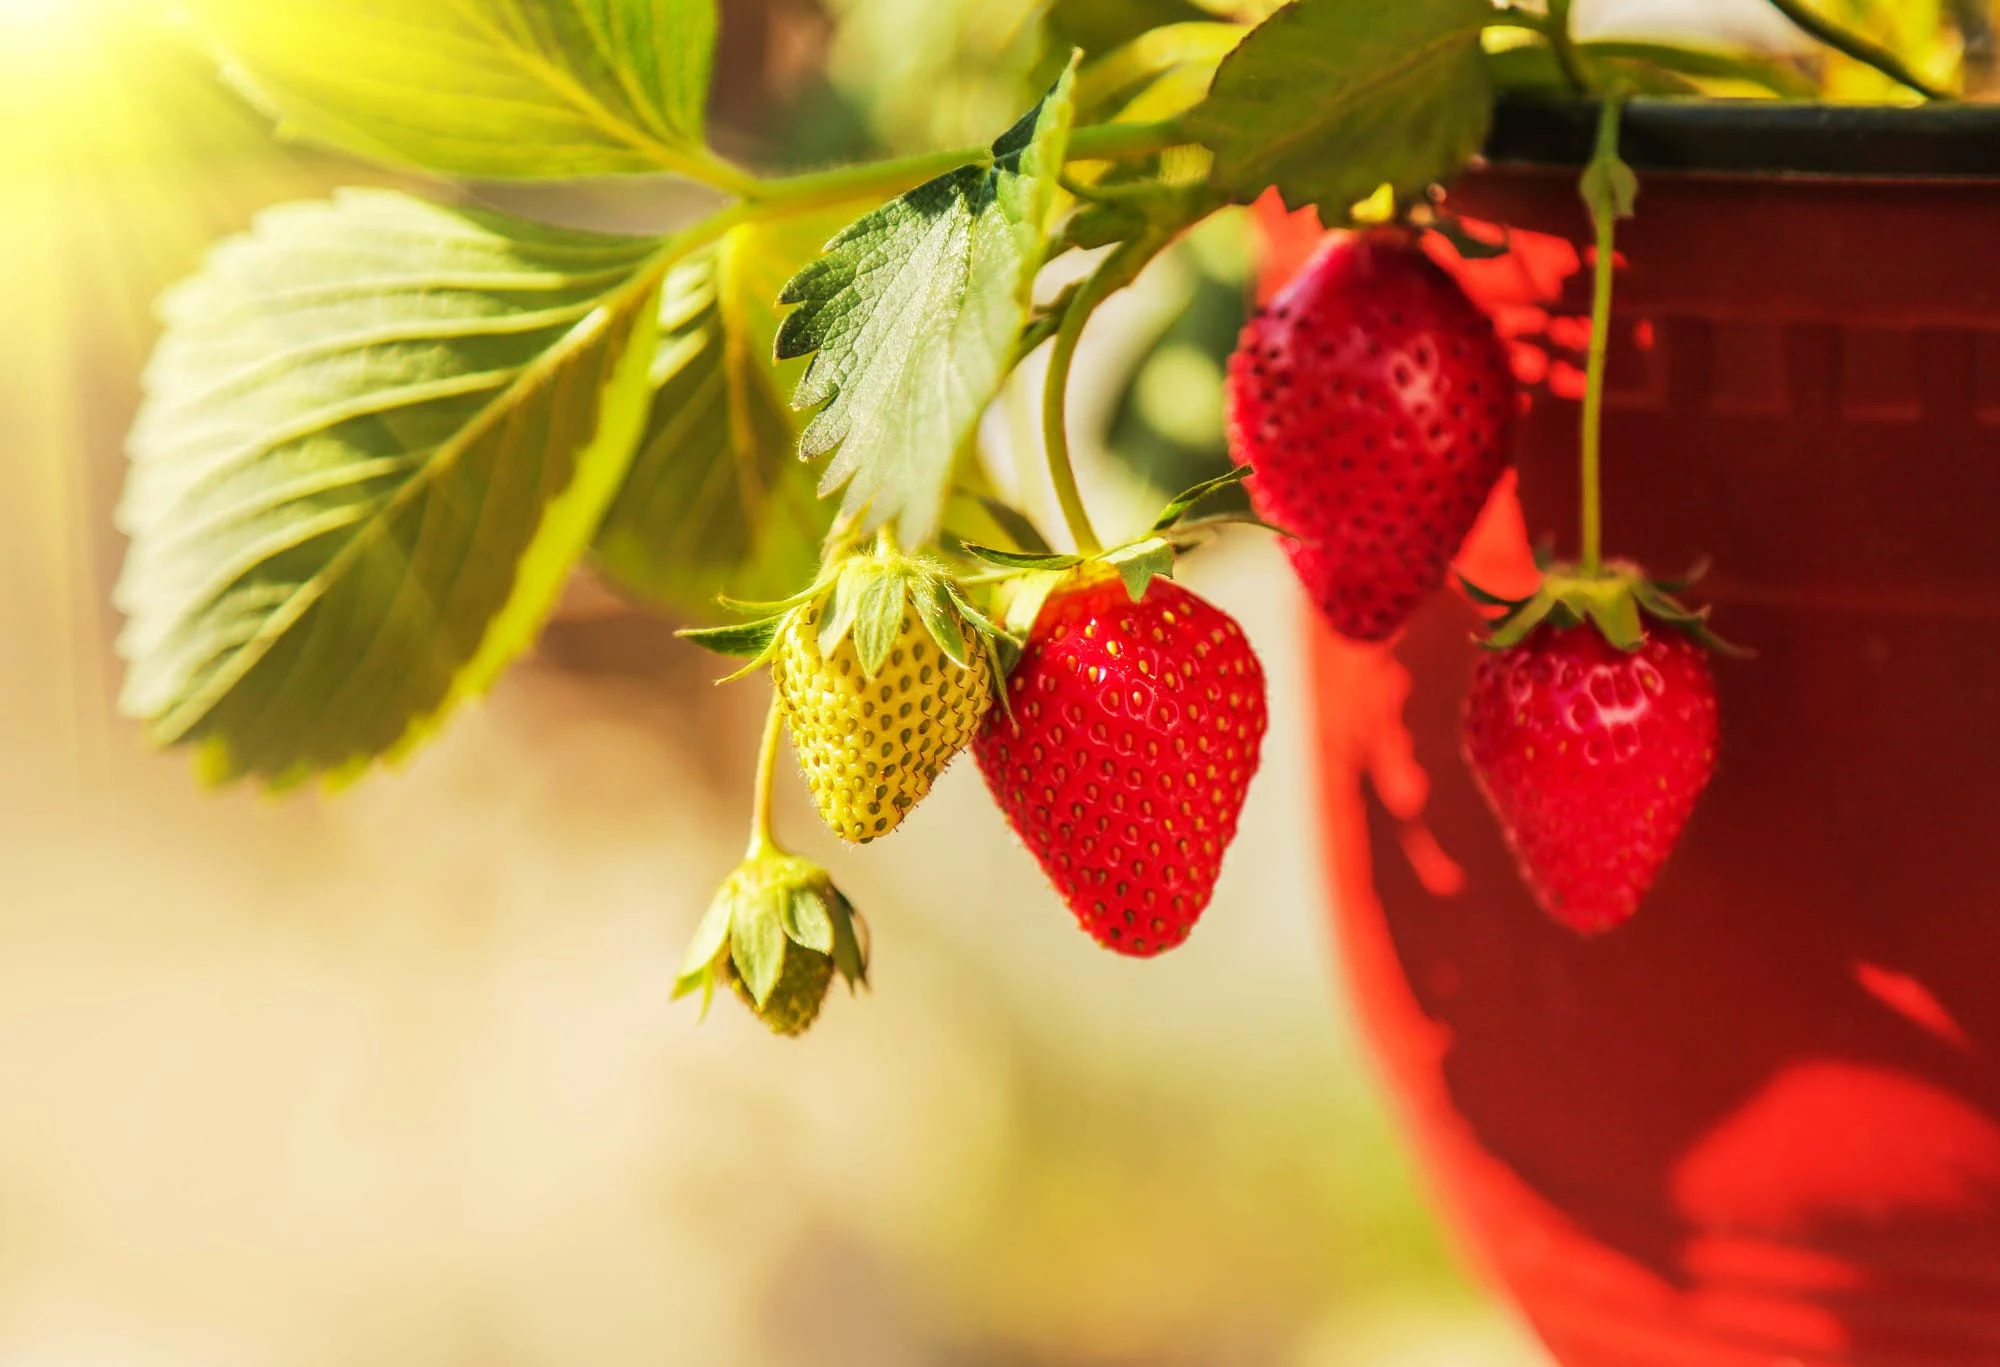
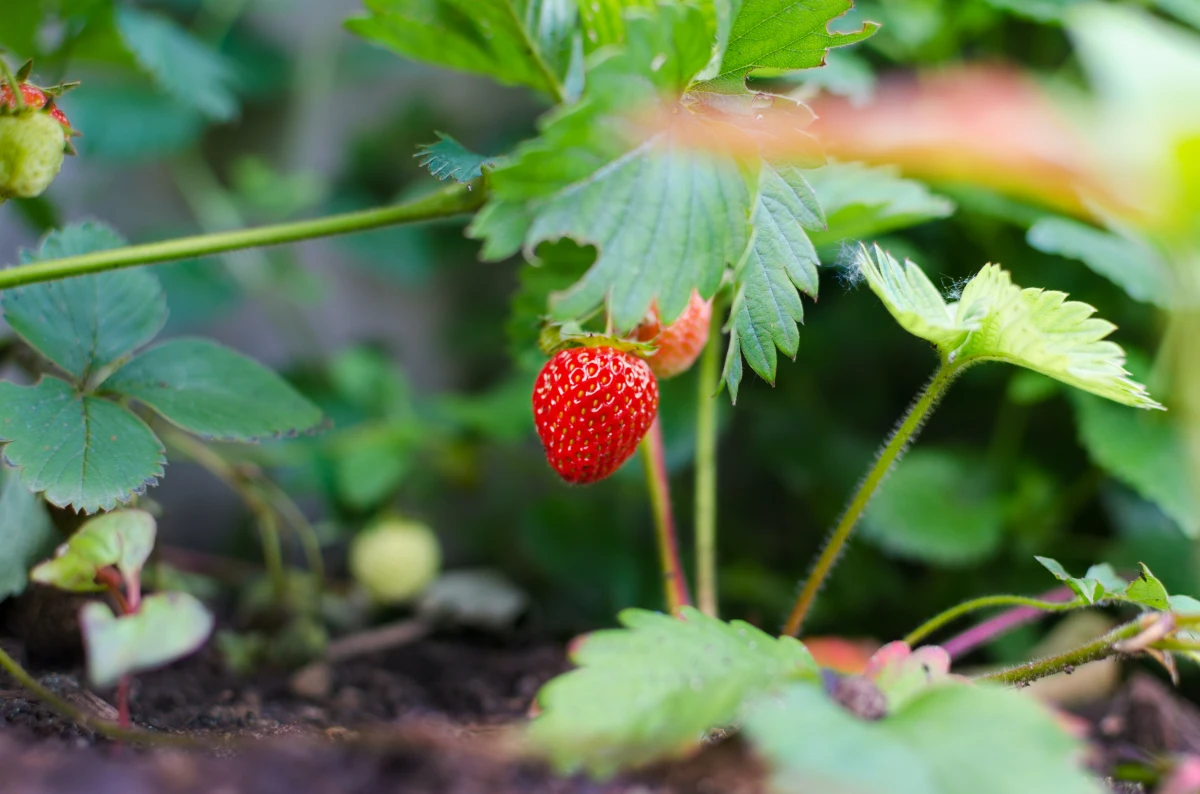
Also, a quick note on their roots. Strawberry plants have a very fine, shallow root system. This is great for pots, but it also means they’re super vulnerable to drying out or freezing solid. Keep that in mind, because it explains almost everything we’re about to do.
Your Beginner’s Shopping List (And What It’ll Cost)
Starting out doesn’t have to be complicated or expensive. You can get everything you need for a fantastic setup for around $35. Here’s a rundown of what to grab:
- One Day-Neutral Plant: You can buy these as small, ready-to-grow “plugs” at any garden center. Look for one with bright green leaves and no weird spots. A single plant will cost you about $4 to $6. For your first time, the extra couple of bucks for a healthy-looking plug is money well spent.
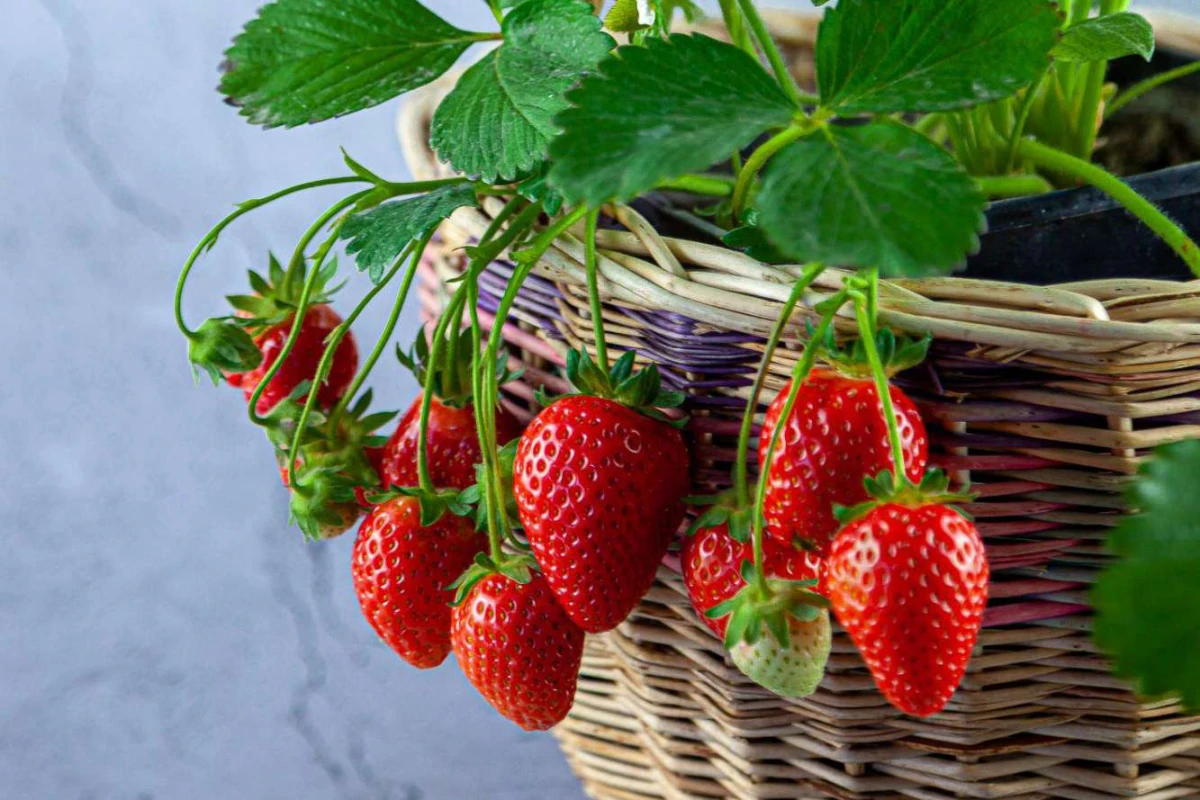
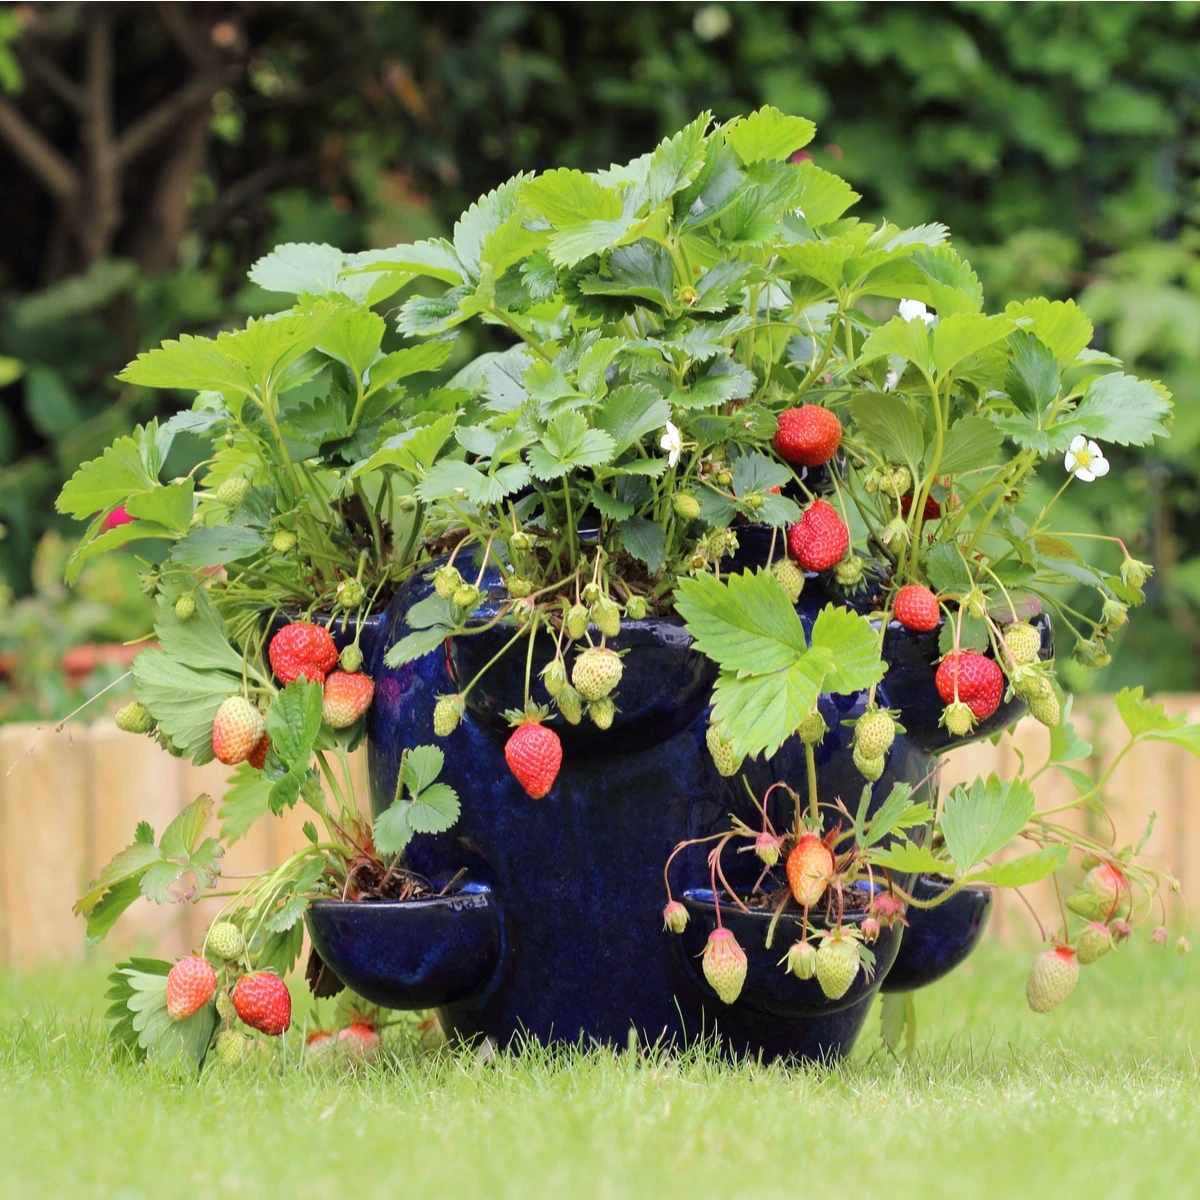
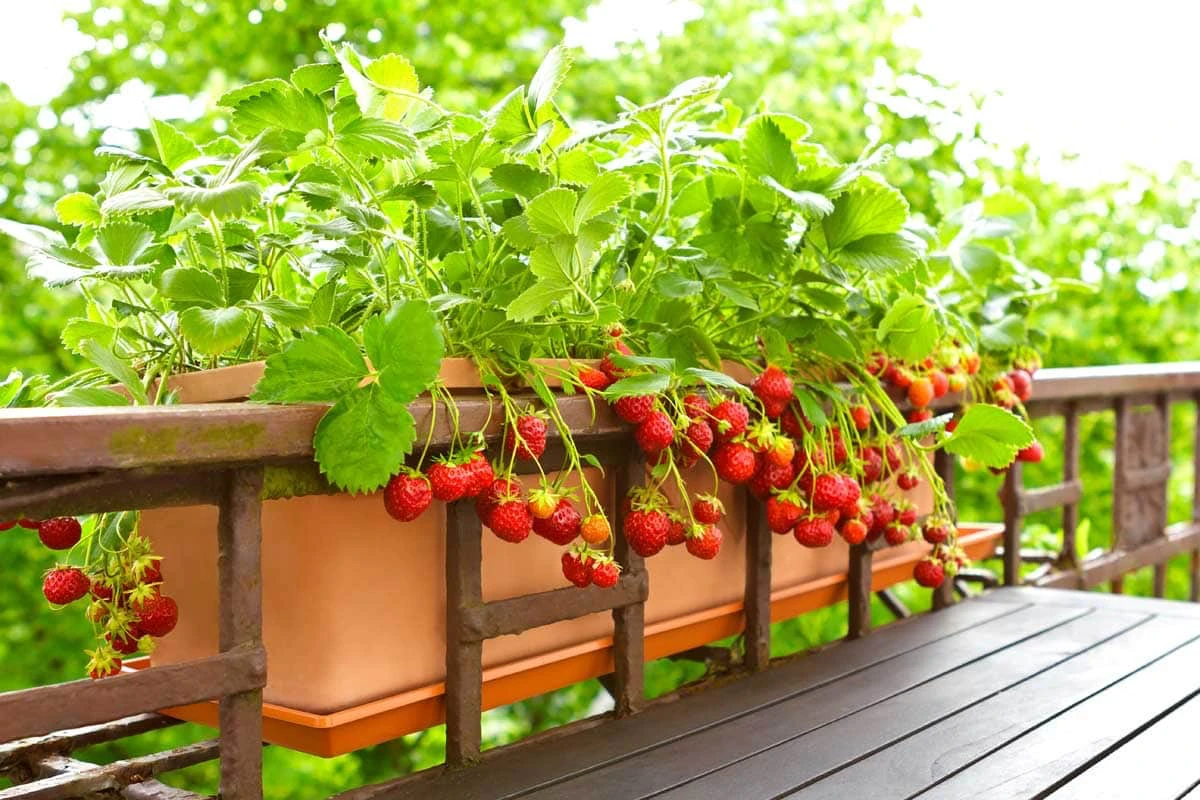
- A Good Container: My absolute favorite for strawberries are fabric grow bags. They make overwatering nearly impossible and keep the roots happy. A 5-gallon bag is perfect for two or three plants and will only run you about $5. Avoid those classic terracotta strawberry jars with the pockets on the sides—they look cute, but they’re a nightmare to water evenly.
- Quality Potting Mix: Never, ever use dirt from your garden. It’s too heavy and full of pests. Grab one bag of high-quality potting mix for about $15.
- Berry-Friendly Fertilizer: You’ll need to feed your plant. A bottle of liquid fertilizer formulated for tomatoes or berries will last you all season and costs about $10. Look for brands like Espoma or FoxFarm at your local hardware store.
Let’s Talk Soil: The Foundation of Flavor
While a bagged mix is perfectly fine, I’m a big fan of mixing my own. It gives you total control over the texture and nutrients. My go-to recipe is all about ratios, so you can make as much or as little as you need.
By the way, when I say “parts,” I mean you can use anything as your scoop—a yogurt cup, a coffee can, whatever. It’s the ratio that matters, not the size. So, two scoops of peat, two scoops of compost, one scoop of perlite…
My Go-To Strawberry Soil Recipe:
- 2 parts Peat Moss or Coco Coir (This is your base; it holds moisture)
- 2 parts High-Quality Compost (This is slow-release food for the plant)
- 1 part Perlite (Those little white rocks that add air pockets for the roots)
Just mix it all together in a bucket or wheelbarrow, and you’ve got a potting soil that’s better than almost anything you can buy.
Planting Your Strawberry: The One Step You Can’t Mess Up
Okay, lean in for this part. How you put the plant in the pot is critical. The most common mistake beginners make is planting it at the wrong depth.
The best time to get started is in the spring, a couple of weeks after your area’s last frost date. This gives your plant the whole season to get strong and start producing.
Here’s how to nail it:
- Prep the Pot: Fill your container with your awesome new soil mix, leaving an inch or two at the top. Water it well and let it settle.
- Check the Crown: Look at your plant. The “crown” is that little nubby part where the green stems meet the brown roots. This is the heart of the plant.
- Get the Depth Right: This is the crucial part. You want the soil to come right up to the MIDDLE of the crown. If you bury the crown, it will rot. If you plant it too high with roots showing, it will dry out and die. The roots should be fully buried, but the spot where the leaves emerge needs to be above the soil.
- Settle It In: Gently fill in the soil around the plant and water it again. Double-check that crown depth! The soil might have settled a bit.
Keeping Your Plant Happy (And Getting Berries!)
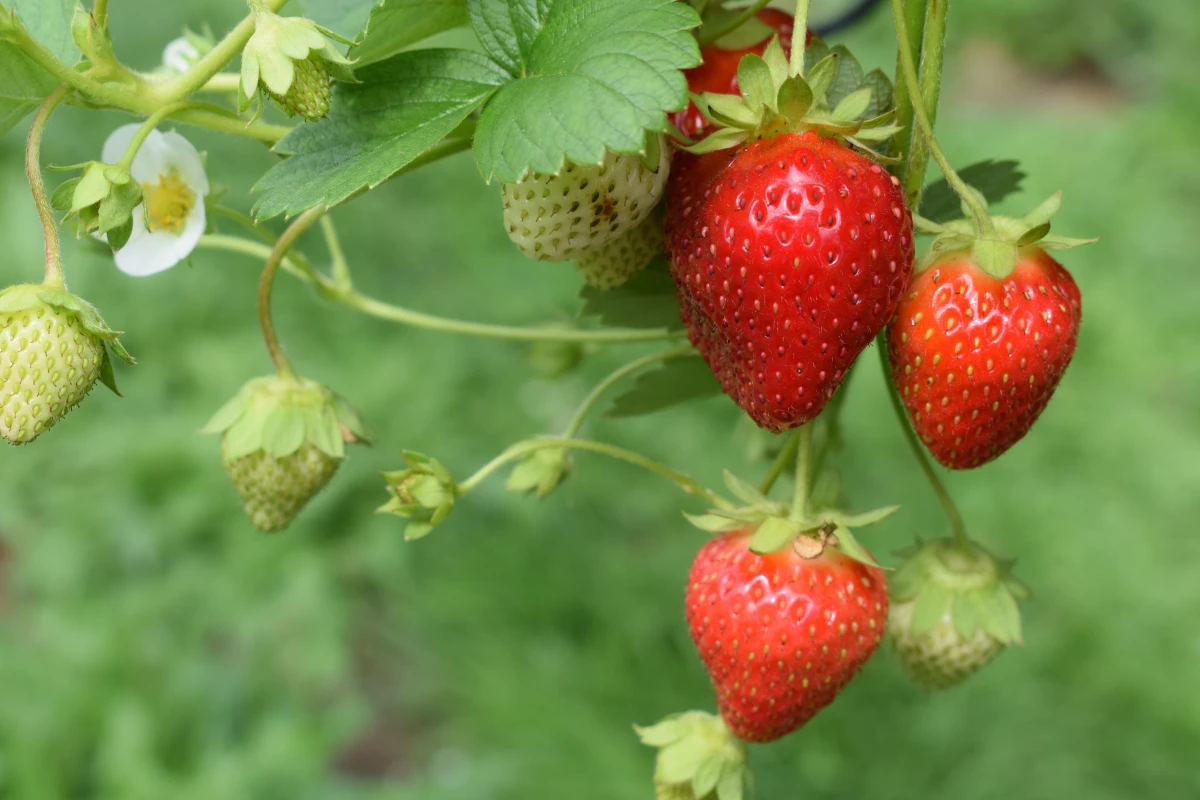
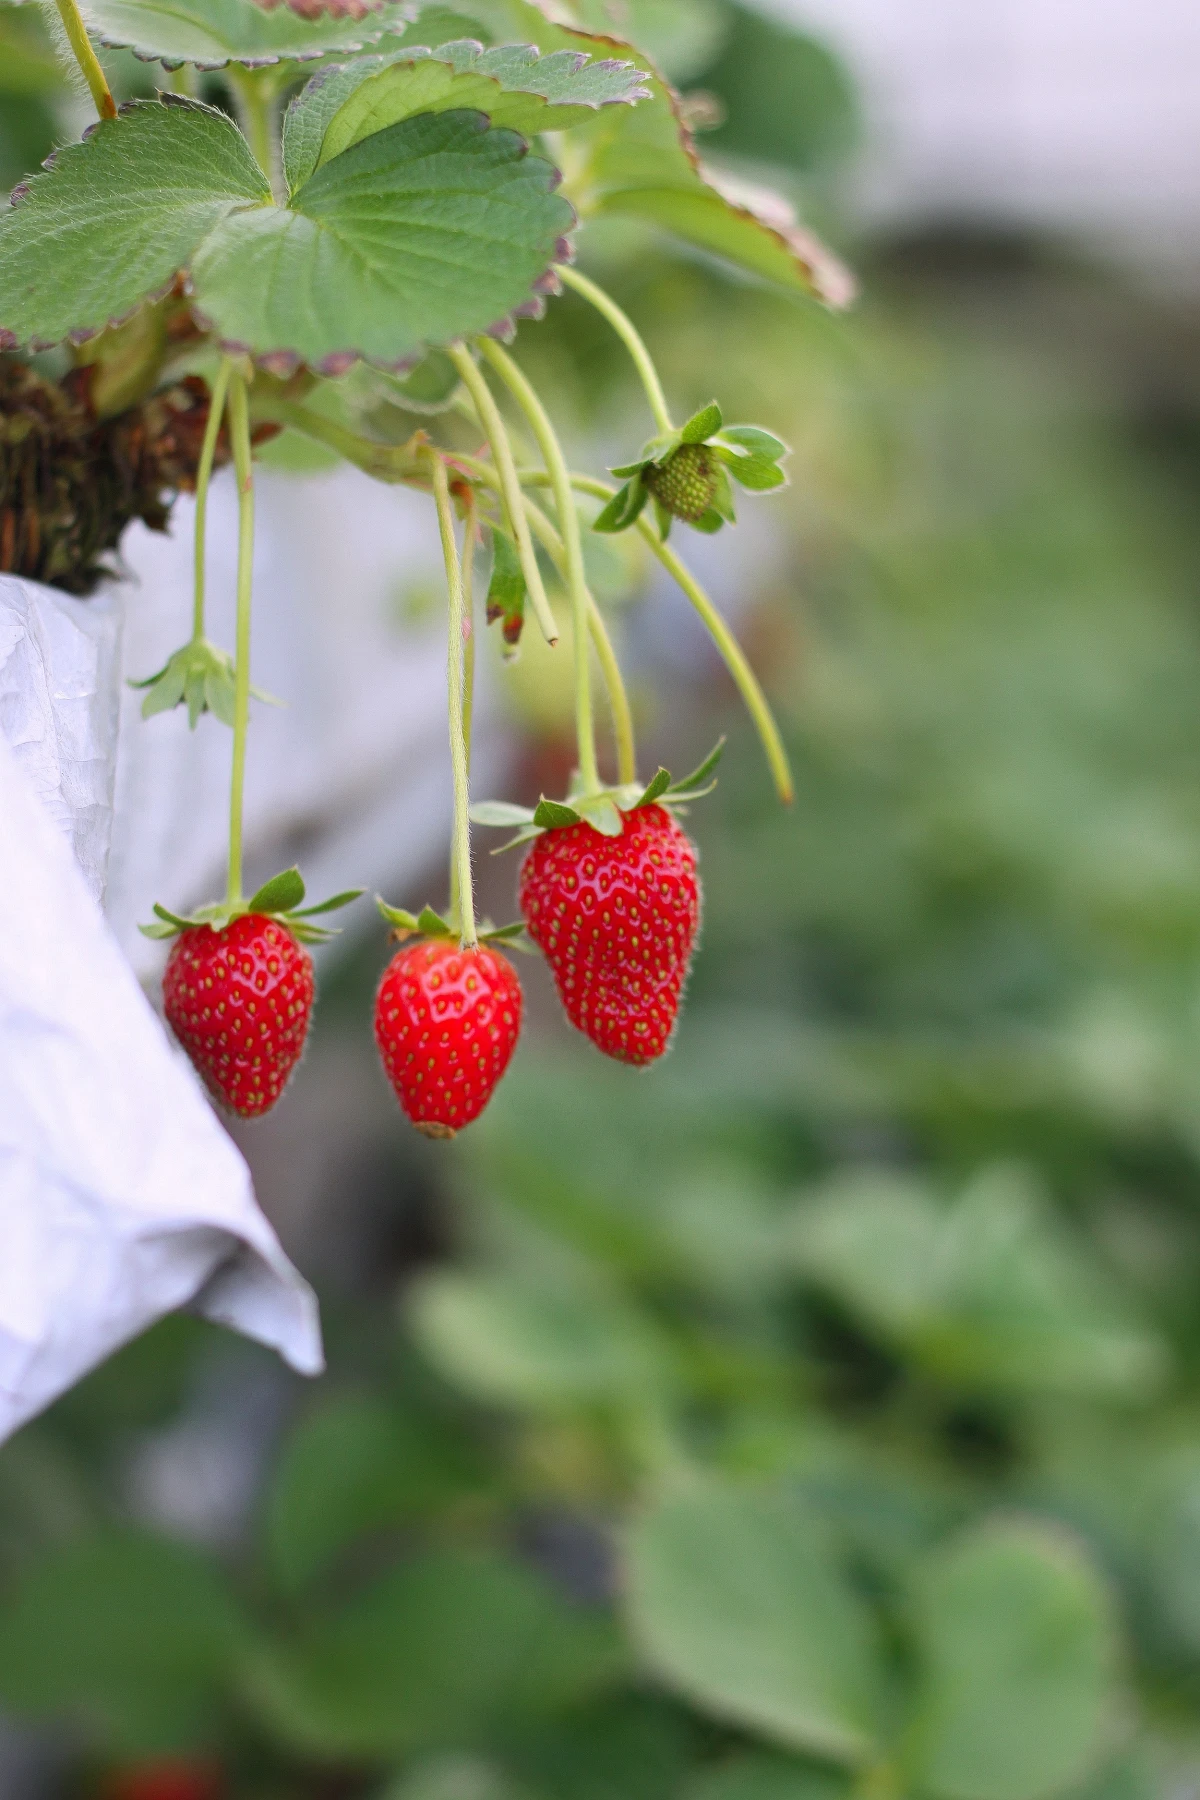
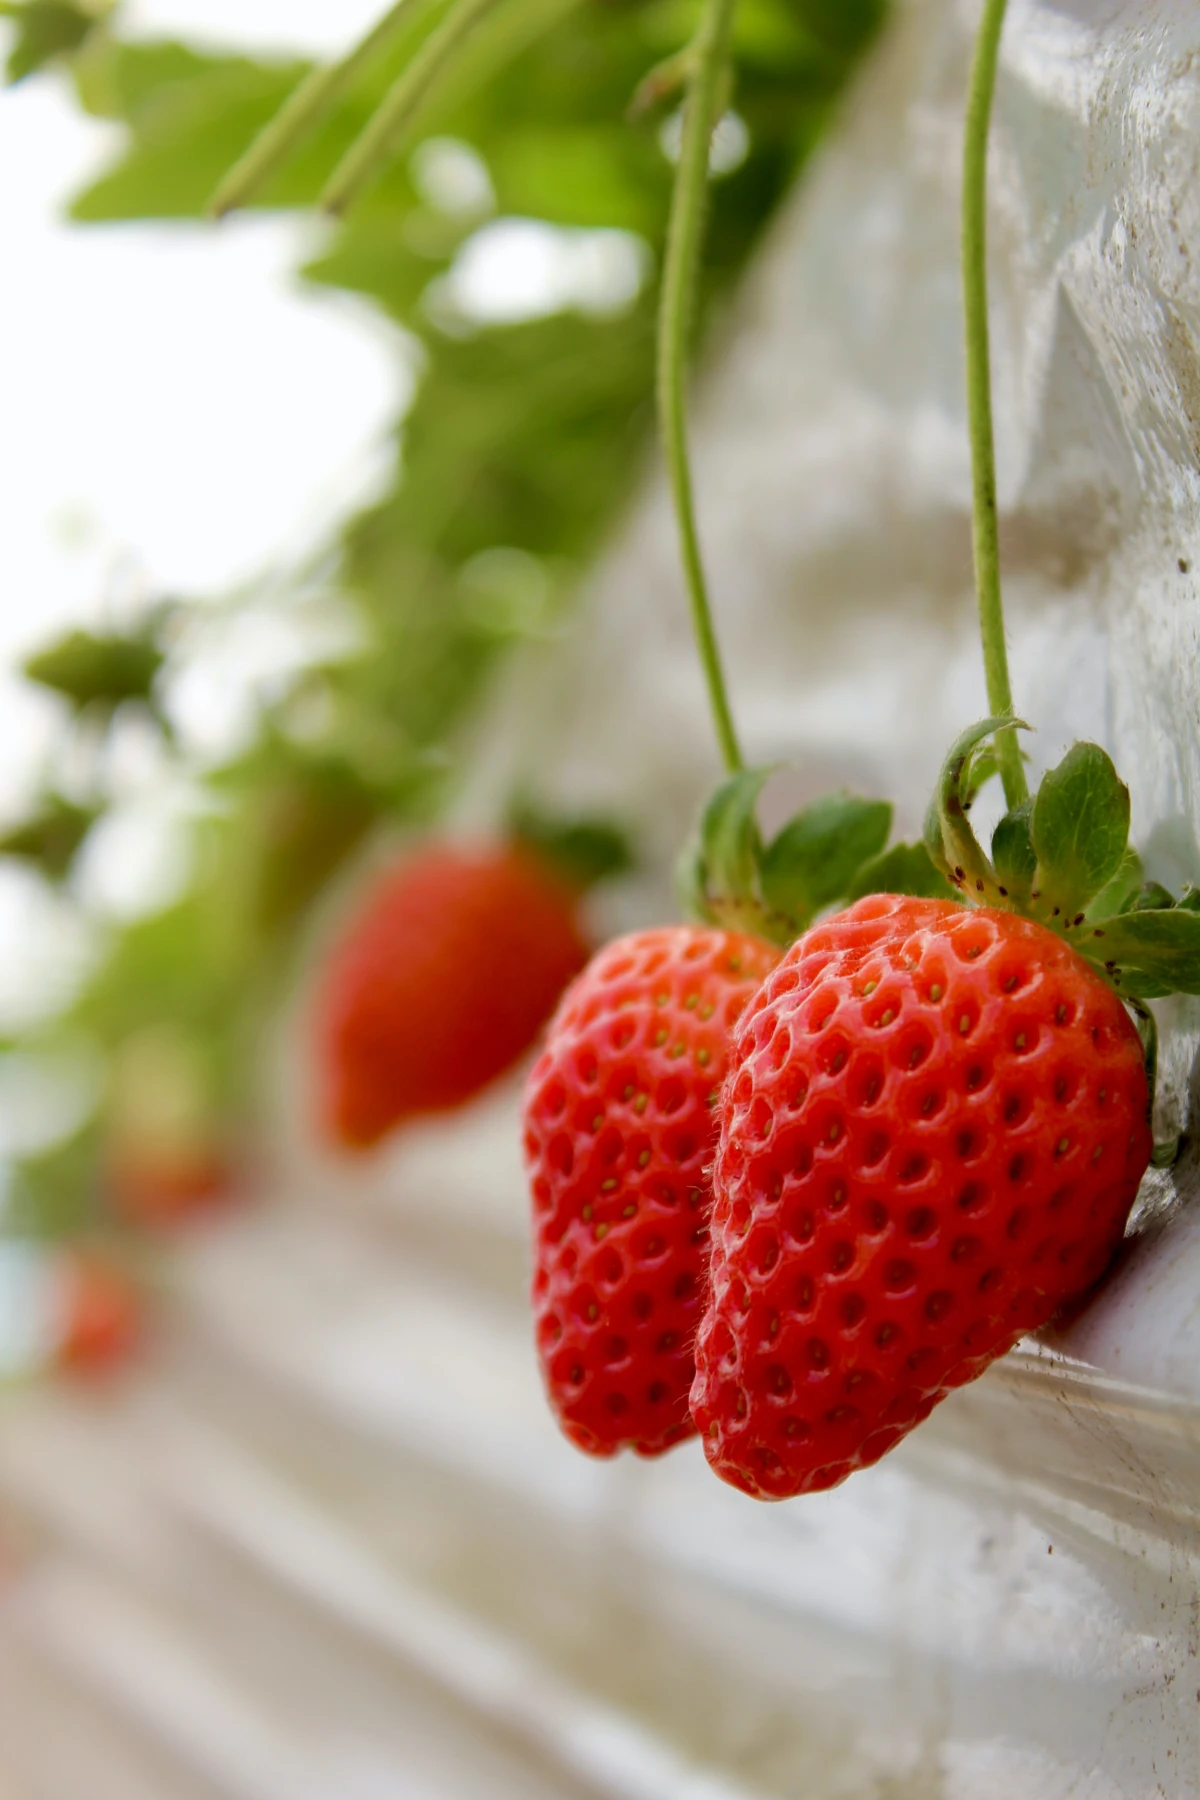
Container strawberries rely on you for everything, but the routine is pretty simple once you get the hang of it. You should start seeing your first flowers in a few weeks, and you could be eating your own berries in about 60 to 90 days!
Sun and Water
Strawberries need at least 8 hours of direct sun to make sweet fruit. Less sun means a leafy plant with sour, sad little berries. For watering, the “finger test” is your best friend. Stick your finger an inch into the soil. If it’s dry, water thoroughly until it runs out the bottom. If it’s damp, check again tomorrow. On hot summer days, you might be watering daily.
Heads up! Always try to water the soil, not the leaves. Wet leaves are an open invitation for fungus.
Feeding Your Plant
After about a month, your strawberry will have used up the food from the compost. It’s time to start feeding it. Use a balanced liquid fertilizer every two weeks. Once you see flowers, switch to that “bloom booster” or “Tomato & Vegetable” fertilizer you bought—it’s higher in potassium, which is what plants use to make fruit.
Pro Tips for an Even Better Harvest
Want to take things to the next level? A couple of small tricks make a huge difference.
First, and I know this sounds crazy, pinch off the very first set of flowers that appears. It feels wrong, I get it. But this tells the young plant to stop trying to make fruit and focus on building a massive, strong root system first. This little sacrifice pays off with a much bigger harvest for the rest of the season.
You’ll also see “runners”—long, leafless stems that shoot out from the main plant. These are the plant’s way of making babies. In a pot, they just drain energy. Snip them off with clean scissors as soon as you see them.
A Realistic Payoff
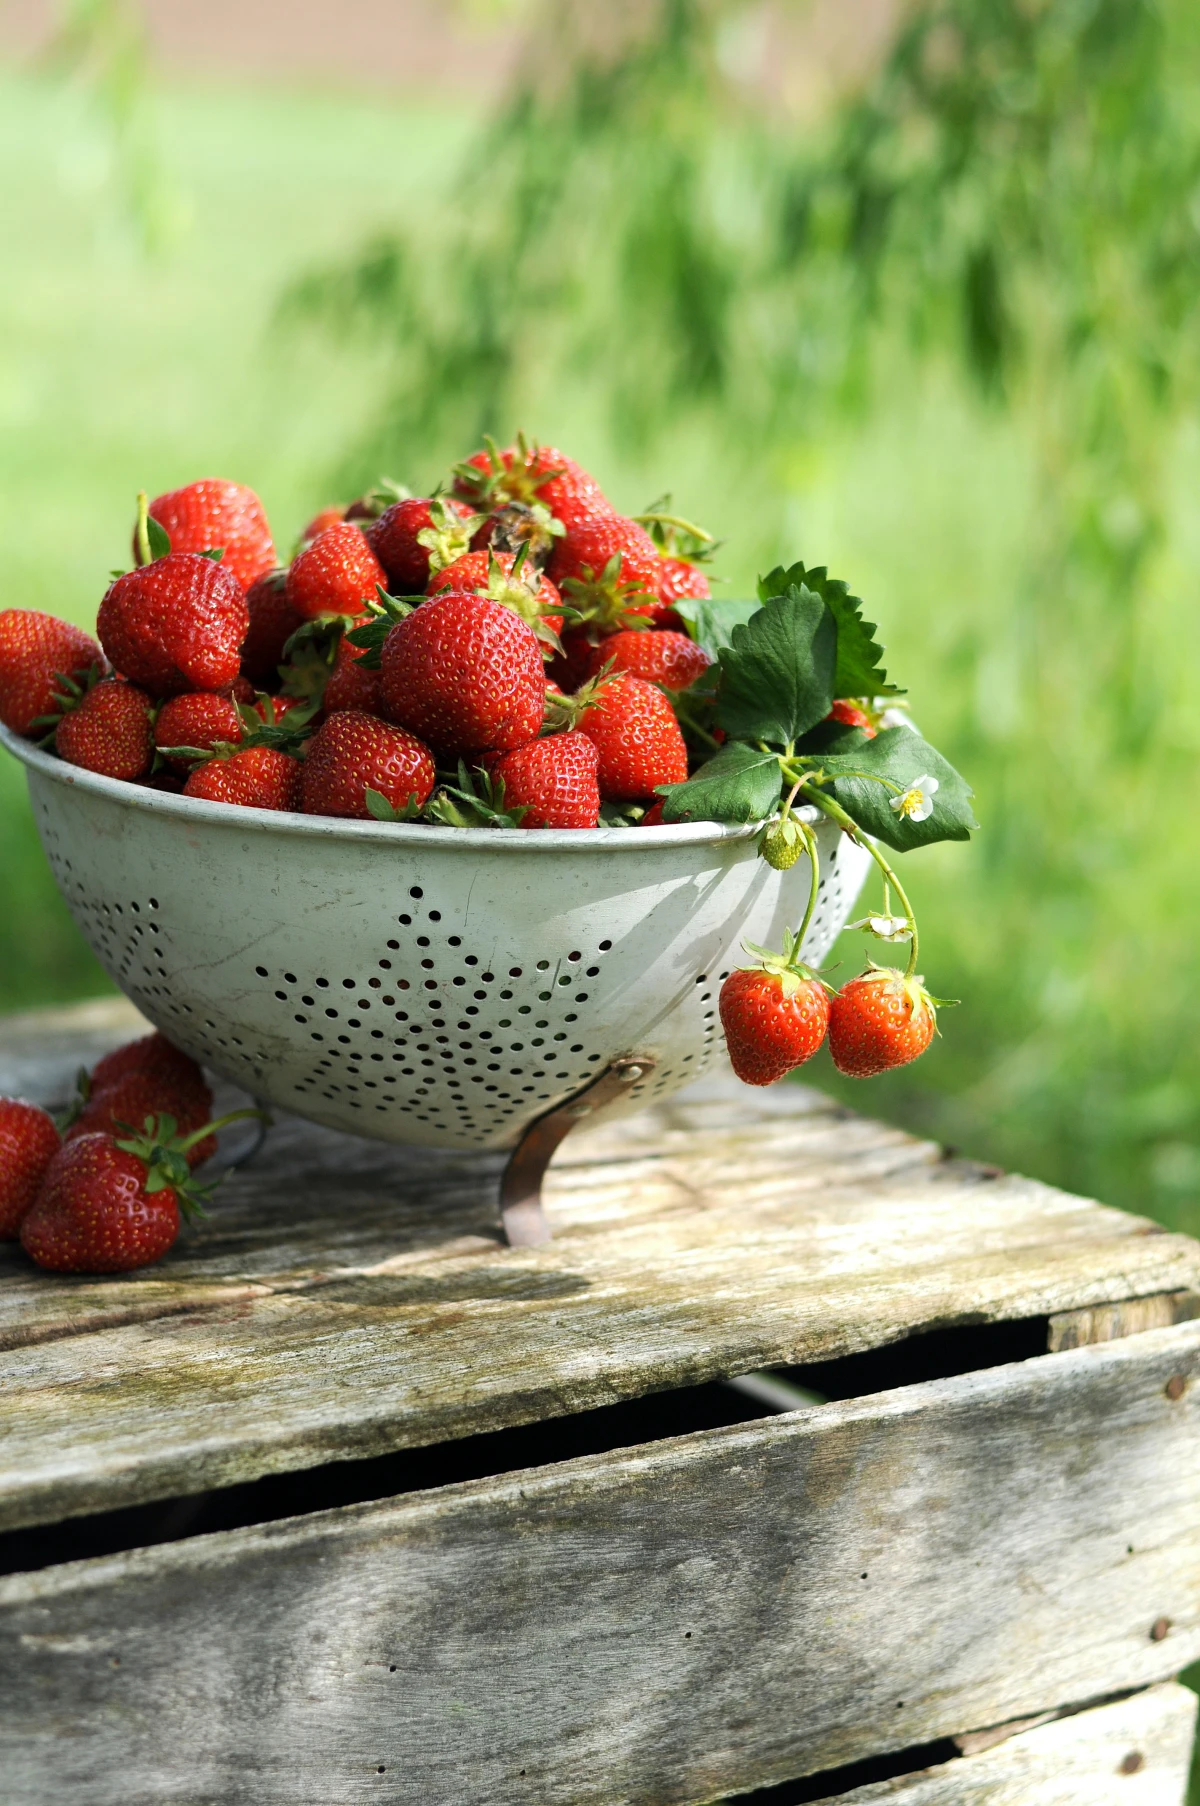
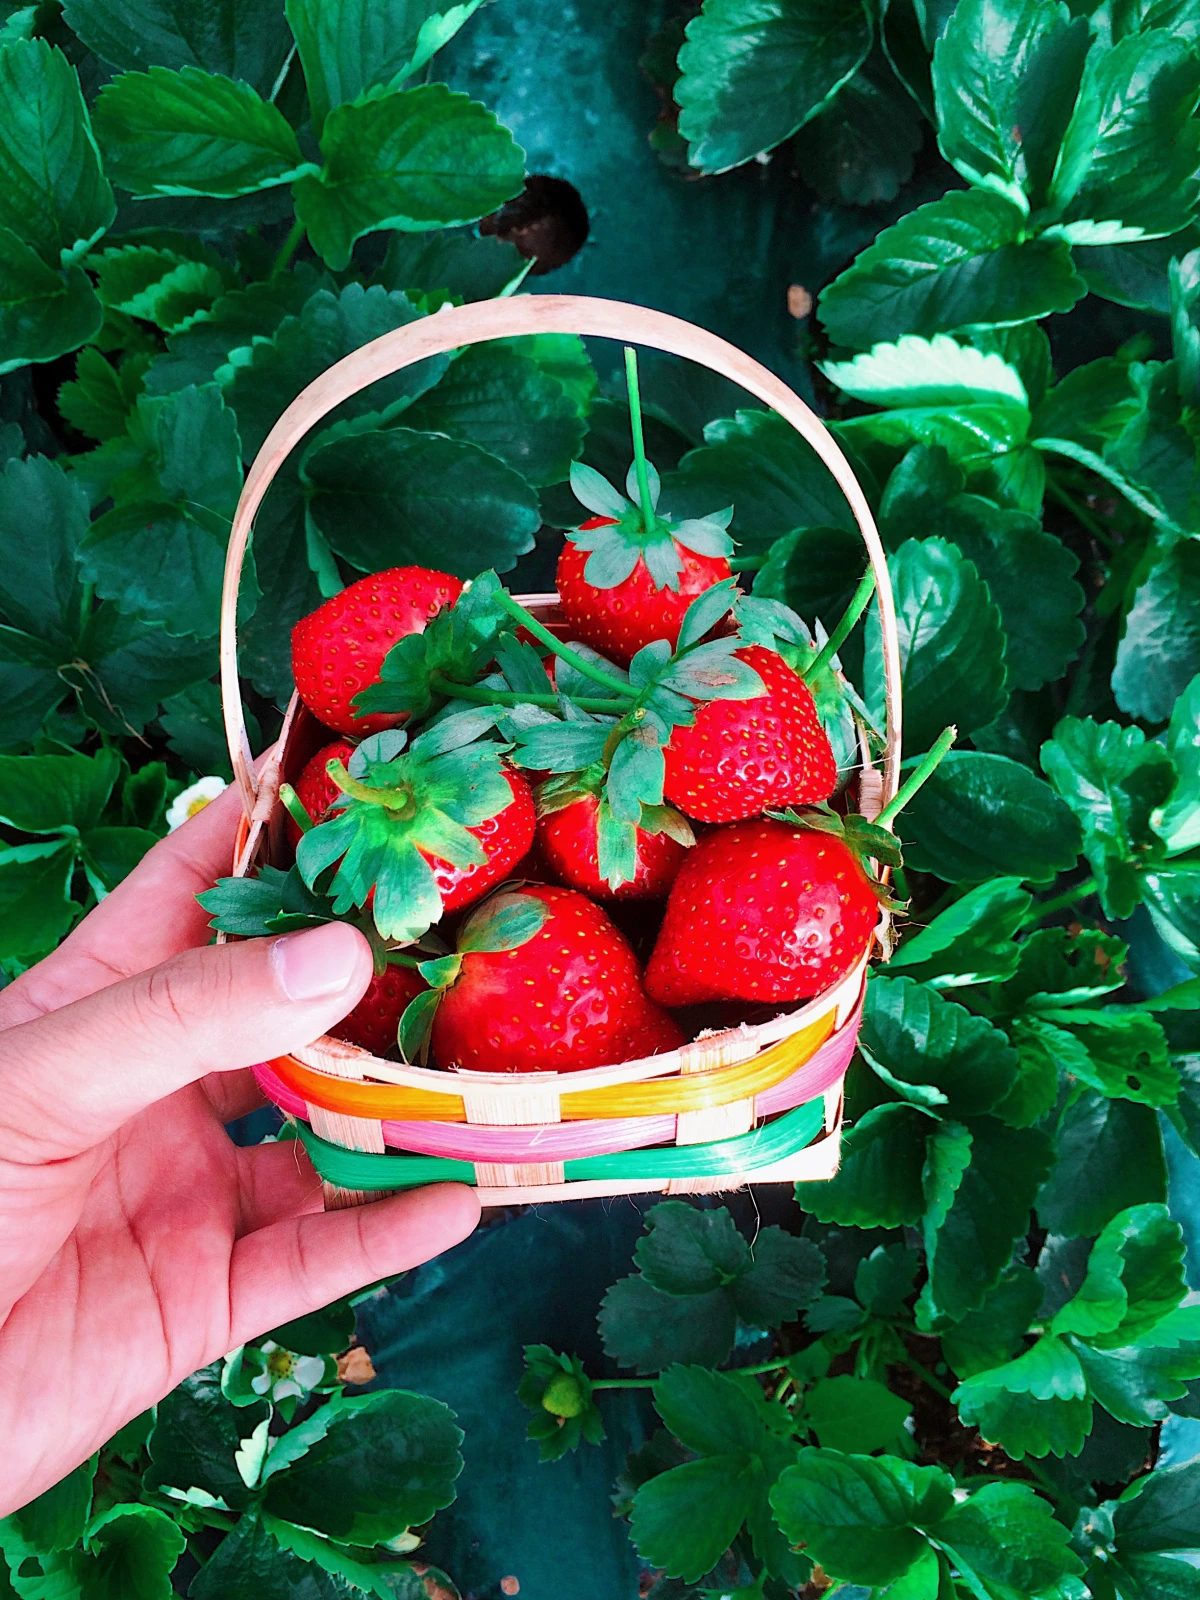
So what can you actually expect? A healthy day-neutral plant in a good-sized pot will give you a steady handful of berries every few days during the peak of the season. It’s not a giant farm harvest; it’s the perfect amount for snacking right off the vine, and honestly, that’s the best way to eat them.
What to Do When Things Go Wrong
Even the pros run into issues. Here are a couple of common ones and how to fix them without freaking out.
- Problem: The leaves are turning yellow.
Likely Cause & Fix: You’re probably overwatering. Yellow leaves are the plant’s way of saying its feet are too wet. Ease up and let the soil dry out a bit more between waterings. - Problem: There are tiny bugs (aphids) on the new leaves, sometimes with ants.
Likely Cause & Fix: Ants often “farm” aphids for their sugary residue. Most of the time, a sharp spray of water from a hose is enough to blast them off. No need for chemicals at first. - Problem: My beautiful berries have fuzzy gray spots.
Likely Cause & Fix: This is gray mold, and it loves damp conditions. This is why we water the soil, not the plant! Improve air circulation, make sure the pot gets plenty of sun, and pick off any affected berries immediately.
Winter is Coming: Keeping Your Plant Alive
Strawberry plants are perennials, meaning they can live for a few years. If you live in a place with mild winters (Zone 7 or warmer), you can probably just group your pots against a sheltered wall of your house for a little protection. But if you’re in a colder climate (Zone 6 or below), the pot will freeze solid and kill the roots. The best bet is to move the pot into an unheated garage or shed after the first few frosts have made it go dormant. Water it maybe once a month to keep the soil from turning to dust, and bring it back out in the spring. It’ll wake right up and start the process all over again.
Inspiration:
Scientists have identified over 350 volatile compounds contributing to a strawberry’s aroma, many of which develop only in the final hours of ripening on the vine.
This is why a sun-warmed berry picked from your own porch tastes worlds apart from a store-bought one. To honor that homegrown complexity, think beyond the cereal bowl. Try pairing your fresh-picked berries with a sprig of mint from a neighboring pot, a drizzle of high-quality aged balsamic glaze, or even a few torn leaves of fresh basil. These simple additions don’t mask the flavor; they amplify the incredible aromatic notes you’ve worked so hard to cultivate.
The secret to juicy, plump berries? Consistent moisture.
Choosing the right container can make or break your strawberry success. Here’s a quick rundown of two popular options:
Classic Terracotta: Its porous clay is excellent for air circulation to the roots, preventing rot. However, it also dries out very quickly, especially on a sunny porch. This means you’ll need to be vigilant with daily (or even twice-daily) watering in hot weather.
Modern Self-Watering Planters: Brands like Lechuza or Bloem offer containers with a built-in water reservoir. This provides a steady, consistent supply of moisture directly to the roots without waterlogging them. It’s a game-changer for busy gardeners or those in hot, dry climates, drastically reducing the risk of your plants drying out between waterings.


