How to Grow Incredible Roses in Pots (The Complete Beginner’s Guide)
For what feels like a lifetime, I’ve had my hands in the dirt, working with roses. I’ve planted them for clients in huge, sprawling gardens and, my personal favorite, tucked them into pots on tiny city balconies. So many people think roses are these fragile, high-maintenance divas that can only survive in the ground. I’m here to tell you that’s just not true.
In this article
- The Foundation: Choosing the Right Home for Your Rose
- The Lifeblood: Mixing the Perfect Soil
- Choosing Your Rose: The Fun Part!
- Planting Day: Setting Your Rose Up for Success
- The Rhythm of Care: Keeping Your Rose Happy
- Troubleshooting the Annoying Stuff
- Overwintering: The Final, Crucial Step
- Inspirational Gallery
Honestly, a container rose can be healthier and more spectacular than one in a garden bed. Why? Because you’re in complete control. You control the soil, the water, the food… everything. It’s like being the personal chef and trainer for your plant. Of course, that control comes with a bit of responsibility, since your rose is relying on you for 100% of its needs. But don’t let that scare you. It’s easier than you think.
This guide isn’t about weird secrets or magic shortcuts. It’s about the simple, reliable methods I’ve used for years. Let’s walk through everything, from picking the perfect pot to tucking your rose in for the winter.
The Foundation: Choosing the Right Home for Your Rose
Your first decision is easily one of the most important. The pot is your rose’s entire universe, so its size and material directly impact its health. You’ll see a lot of advice saying to get a pot at least 15 inches across, and that’s a decent starting point. But the why is what really matters.
A rose’s roots need two things: space to grow and air to breathe. A cramped pot means a root-bound plant, which is a plant that’s slowly strangling itself and can’t absorb water or nutrients. For most common floribunda or patio-style roses, I recommend a pot that holds at least 10 gallons of soil. For the tiny miniature roses, you can get away with 5 to 7 gallons. But if you’re dreaming of a larger shrub rose or a small climber, you’ve got to think bigger—like a 20 or 25-gallon container. Think half-whiskey barrel size. The plant you see above ground can only get as big as the root system you allow it to have below.
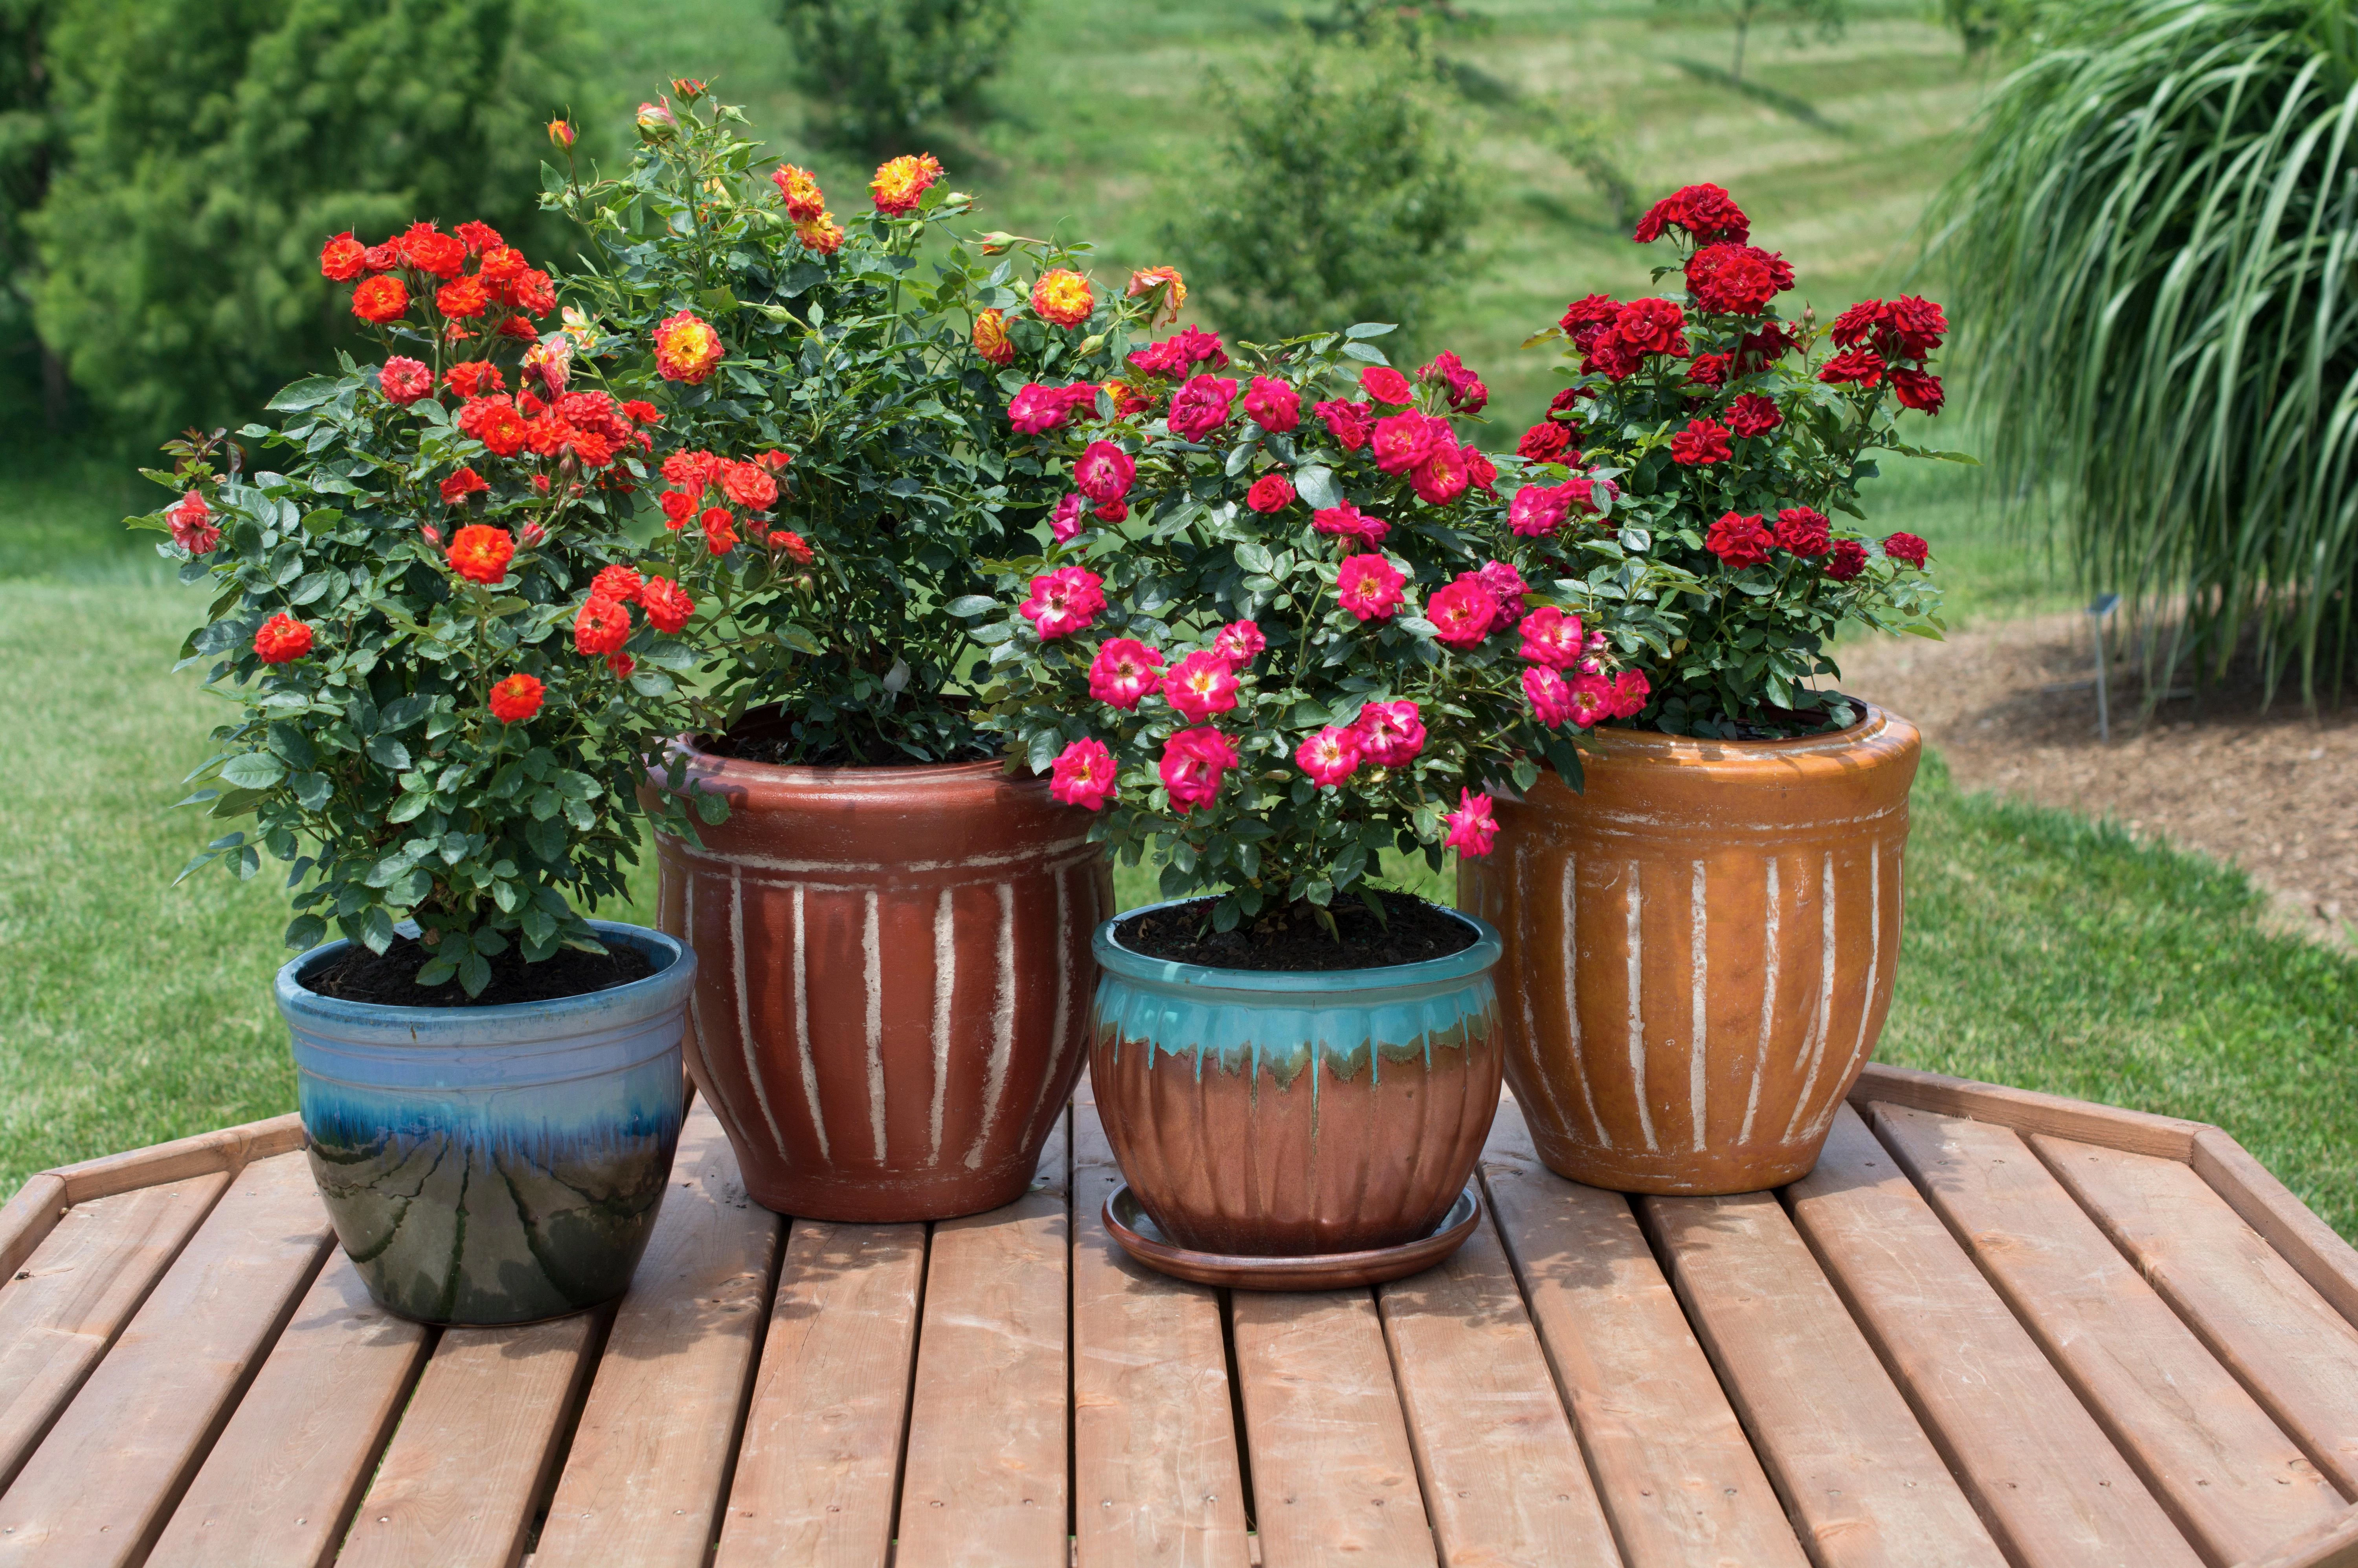
Let’s Talk Pot Materials (It Matters!)
The stuff your pot is made of has a huge effect on moisture and temperature. Here’s the breakdown on the most common options, no complex charts needed.
- Terracotta (Unglazed Clay): These look classic and beautiful for a reason. Clay is porous, so it breathes, which is fantastic for preventing root rot. The downside? That same porous nature means the soil dries out FAST, especially on a hot, windy day. They’re also heavy and can crack in a hard freeze. They’re pretty affordable, though, often in the $20 to $50 range for a good size.
- Glazed Ceramic: Think of these as the stylish, upgraded version of terracotta. The glaze on the inside keeps them from drying out so quickly, and they come in tons of gorgeous colors. They offer great stability because they’re heavy, but that weight, plus their cost, are the main drawbacks. A nice large one can be an investment, easily running from $50 to over $100. They can also crack in a deep freeze if the soil is waterlogged.
- Plastic or Resin: To be frank, this is what I recommend for most beginners. They’re lightweight, budget-friendly (usually $15 to $30 for a big one), and fantastic at holding moisture. The one major watch-out is heat. A dark-colored plastic pot in the full sun can cook your rose’s roots. Quick tip: Always choose a light color—like white, tan, or light gray—to reflect the heat.
- Wood: A wooden planter box, especially cedar, is a great choice. Wood is a natural insulator, protecting roots from both extreme heat and cold. It just looks right in a garden setting. The only issue is that untreated wood will eventually rot. To extend its life, you can line the inside with a sheet of heavy-duty plastic (just remember to poke drainage holes in the plastic!).
- Fabric Grow Bags: This is a more modern option, and honestly, they’re amazing for root health. When a root hits the fabric side, it gets “air-pruned,” causing the plant to send out a bunch more tiny feeder roots instead of circling the pot. The tradeoff is that they dry out faster than anything else. In summer, you’re looking at daily watering, maybe even twice a day. The good news? They are super cheap, often just $5 to $15 per bag.
Whatever you choose, it absolutely MUST have drainage holes. Not one tiny one, either. I’m talking about several generous holes so water can escape freely. If it doesn’t have them, you have to drill them yourself. No drainage is a guaranteed death sentence from root rot.
The Lifeblood: Mixing the Perfect Soil
Okay, rule number one: NEVER, ever use soil from your garden in a pot. It’s too heavy, it compacts into a brick, and it will suffocate your rose’s roots. You need a light, fluffy potting mix designed for containers.
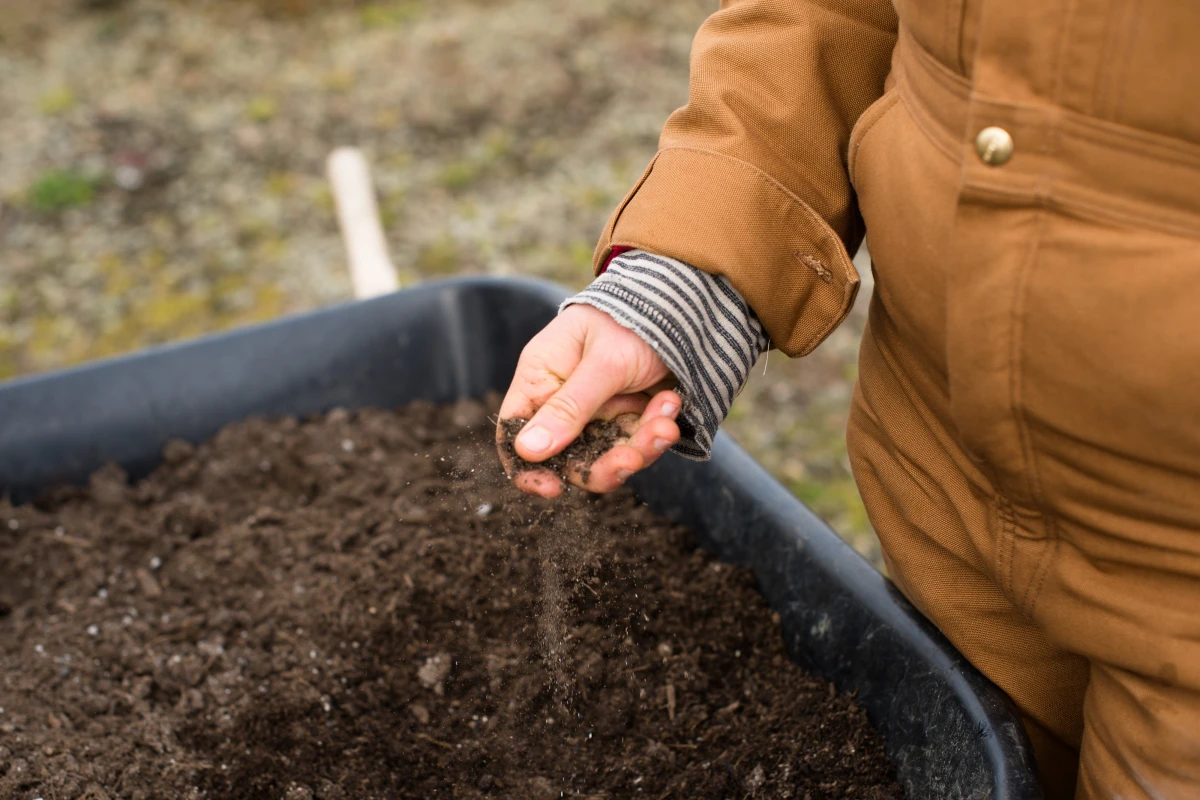
You can buy pre-made rose potting soil, but for the best results, I like to mix my own. It’s easy and you can get all the components at a place like Home Depot or your local garden center. Here’s my go-to recipe:
- 2 parts high-quality potting soil: This is your base. Look for one that says it’s for containers, usually based on peat moss or coco coir. A big bag will run you about $15-$20.
- 1 part compost or well-rotted manure: This is the food and life of the mix. It adds slow-release nutrients and beneficial microbes. A bag of good compost is usually around $10.
- 1 part perlite or pumice: This is for drainage and aeration. Perlite looks like little white Styrofoam balls and keeps the soil from getting dense. Pumice is a bit heavier but does the same job. A bag costs about $10-$15 and will last you for several projects.
Just dump all three onto a tarp or into a wheelbarrow and mix them up thoroughly. This blend gives your rose exactly what it needs: a structure that holds moisture but also lets the excess drain right out.
Choosing Your Rose: The Fun Part!
Not every rose is cut out for life in a pot. Trying to grow a massive climbing rose in a container is just setting yourself up for failure. You want to choose a variety that stays naturally compact.
When shopping, look for these categories:
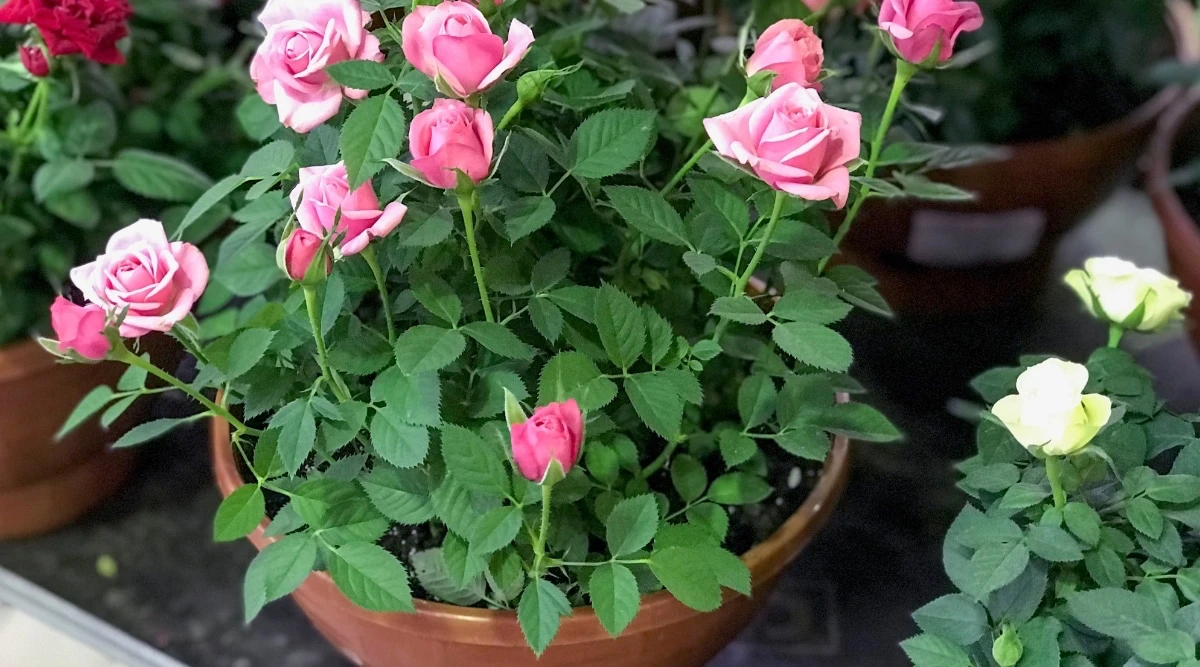
- Miniature & Miniflora Roses: These little guys are perfect for pots, often staying under 2 feet tall. They are super manageable for beginners.
- Patio & Polyantha Roses: These are known for being compact, bushy, and producing big clusters of smaller flowers. A great, disease-resistant choice.
- Floribunda Roses: These are a fantastic middle ground, offering beautiful blooms on a plant that generally stays about 3-4 feet tall.
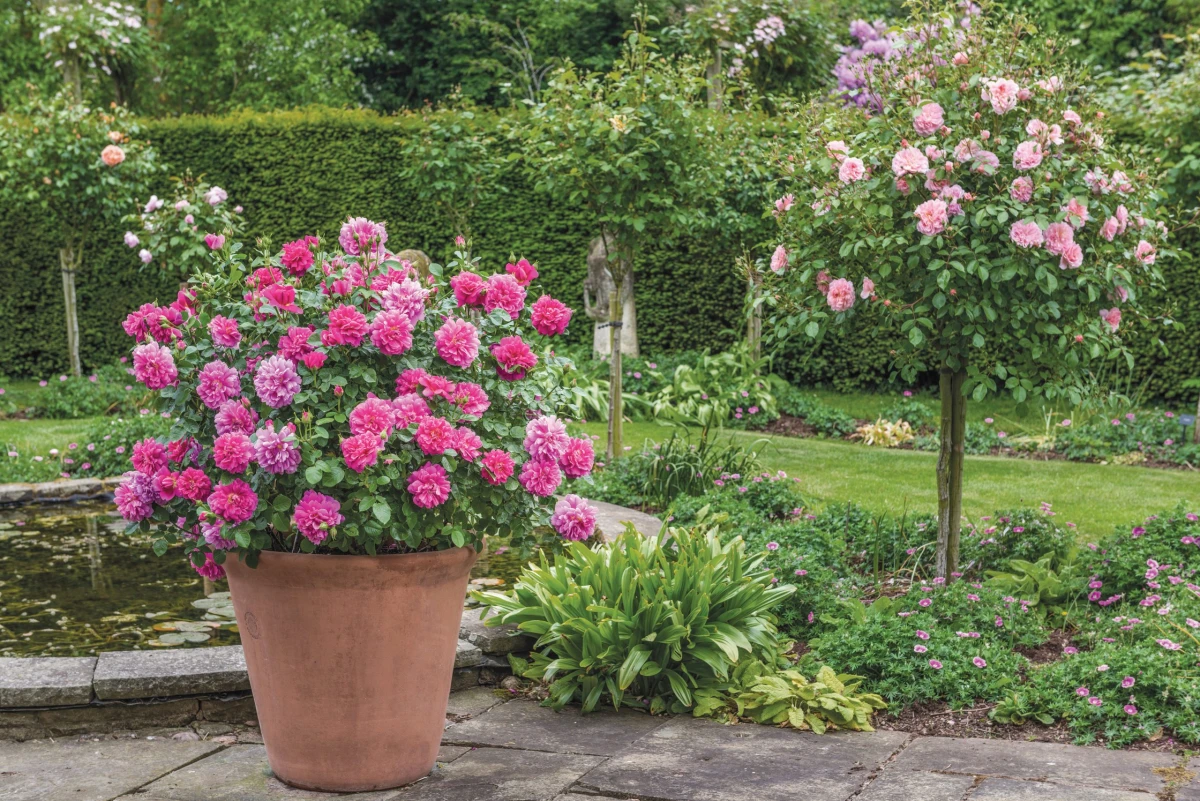
- Compact Shrub Roses: Some of the popular English-style shrub roses are bred to be smaller. Check the plant tag for words like “compact” or “good for containers.” Just be prepared to give them a really big pot (20+ gallons).
You’ll usually buy your rose one of two ways. A bare-root rose is a dormant plant that looks like a bundle of sticks—it’s often cheaper ($20-$30 online) and offers more variety. A potted rose is already growing in a nursery pot ($35-$60) and is great for beginners.
Heads up! When buying a potted rose, slide it out of its pot to check the roots. If you see a solid, tangled mass of white roots circling the bottom, it’s “root-bound.” Don’t be afraid to fix this! I take a clean knife and make four or five vertical cuts down the side of the root ball, about an inch deep. It feels brutal, but it breaks up that circling pattern and tells the roots it’s time to grow outward into their new home.
Planting Day: Setting Your Rose Up for Success
Alright, you’ve got your pot, soil, and rose. Let’s get planting. All in, this should take you about an hour or so—a perfect weekend project.
- Prep the Pot: I like to cover the drainage holes with a piece of window screen or a coffee filter. This stops soil from washing out but lets water through. By the way, that old advice to put a layer of gravel in the bottom of the pot? It’s a myth, and it actually hurts drainage by creating a soggy layer of water. Just fill the pot about two-thirds full with your awesome soil mix.
- Prep the Rose: If it’s a bare-root rose, soak the whole thing in a bucket of water for a few hours first. If it’s a potted rose, water it well an hour before you plant.
- Position the Rose: For a bare-root, make a mound of soil in the pot and drape the roots over it. For a potted rose, just place the whole root ball in. The goal is to get the “bud union” (the knobby part where the canes meet the roots) at the right height. In cold climates (Zone 6 and below), it should be an inch or two below the soil line for winter protection. In warmer climates (Zone 7+), it should be an inch or two above the soil to prevent rot. (If you don’t know your zone, a quick search for “USDA Plant Hardiness Zone Map” will help you find it.)
- Fill and Settle: Add soil around the roots, firming it gently. Leave about two inches of space at the top of the pot. This creates a little reservoir that makes watering way easier.
- The First Big Drink: This step is critical. Water the rose slowly and deeply until you see water pouring out of the drainage holes. This settles the soil and eliminates any hidden air pockets around the roots.
The Rhythm of Care: Keeping Your Rose Happy
Consistent, simple care is the key. Plan on spending about 5-10 minutes a day in the summer for watering, plus another 15 minutes every few weeks for feeding and tidying up.
Watering Wisely
The best tool for checking if your rose needs water is your finger. Stick it two inches into the soil. If it feels dry, it’s time to water. If it feels damp, check again tomorrow. In the dead of summer, this will likely be a daily job. When you do water, water deeply until it runs out the bottom. And try to water the soil, not the leaves, to help prevent disease.
Quick tip for yellowing leaves: This can be confusing. If the yellow leaves are also soft or limp and the soil feels wet, you’re overwatering. If the yellow leaves are crispy and the soil is bone-dry, you’re underwatering.

Feeding for Tons of Blooms
Every time you water, a few nutrients wash out of the pot. To keep the flower show going, you need to feed your rose. I mix a granular, slow-release fertilizer like Espoma Rose-tone right into my potting mix at planting time. Then, starting in spring, I feed every 2-4 weeks with a water-soluble fertilizer like Miracle-Gro for Roses. Just stop feeding about 6-8 weeks before your first frost to let the plant know it’s time to wind down for winter.
Pruning (It’s Not Scary!)
Pruning encourages fresh growth and more flowers. The main prune happens in late winter or early spring, right as the little leaf buds start to swell. Cut out any dead or crossing branches, then trim the whole plant back by about a third.
Throughout the summer, you’ll want to “deadhead.” This is just snipping off the spent flowers. This tricks the plant into putting its energy into making more blooms instead of seeds. Want to try it? Go find any plant with a fading flower and snip it off at the stem. You just deadheaded. See? You can do this.
Troubleshooting the Annoying Stuff
Even with great care, you might see a few pests or spots. The most common pest is the aphid. My first line of defense is always a sharp spray of water from the hose to just blast them off. For diseases like black spot (black dots with yellow halos), prevention is key. Good air circulation and watering the soil instead of the leaves go a long way.
Overwintering: The Final, Crucial Step
This is where many people fail. I learned this lesson the hard way years ago after a surprise early freeze killed a gorgeous potted rose I’d left on my patio. The ground insulates roots, but a pot is exposed on all sides. Never again.
- In Mild Climates (Zone 8+): You don’t have to do much. Just move the pot to a sheltered spot, like against the house, to protect it from cold wind.
- In Moderate Climates (Zone 6-7): You need to give it real protection. Once the rose is dormant (has lost its leaves), move it into an unheated garage or shed. The goal is to keep it cold, but not frozen solid. Check it once a month and give it just a tiny sip of water if the soil is bone dry.
- In Cold Climates (Zone 5 or colder): The unheated garage is your best bet. If you don’t have one, you can use a method where you dig a trench in the garden, tip the pot on its side, and bury the whole thing with soil and mulch for the winter. It’s work, but it’s very effective.
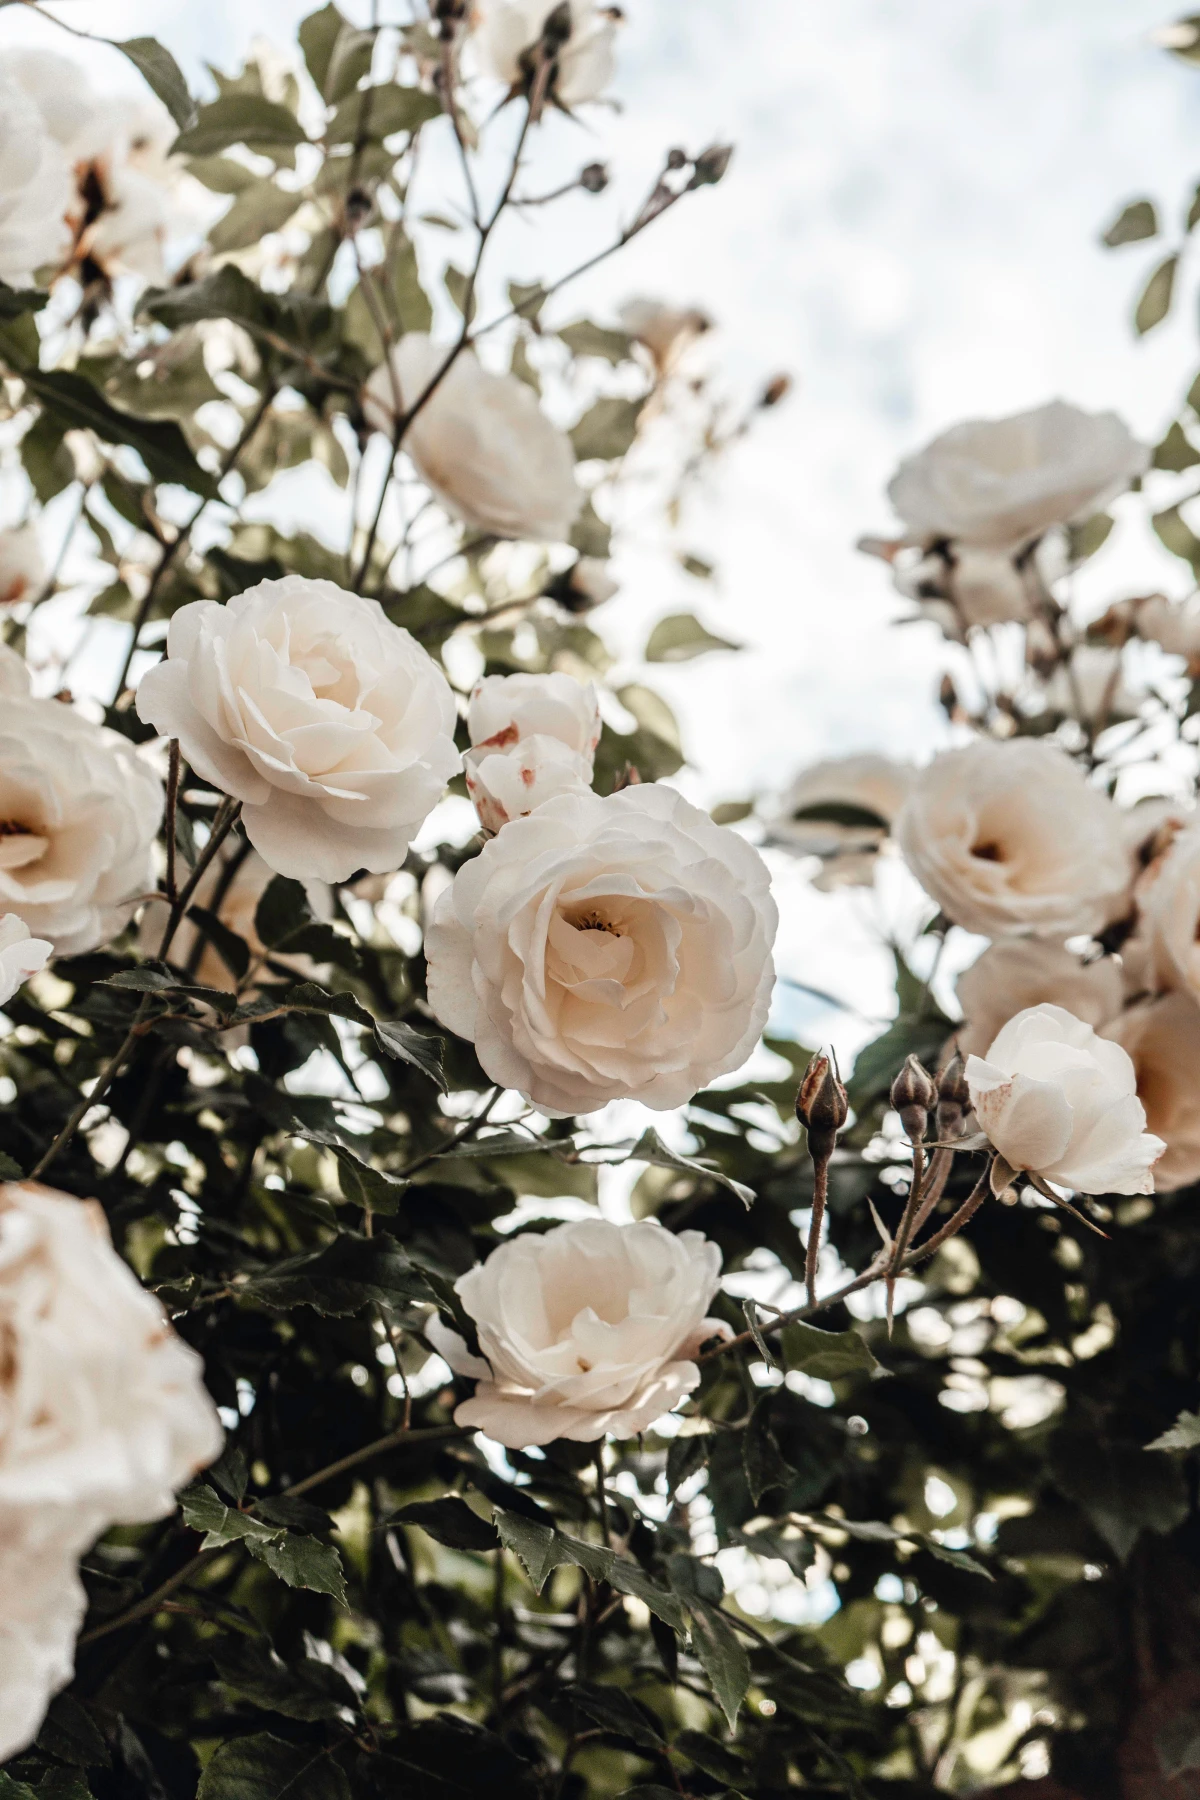
Growing a rose in a pot is an incredibly rewarding process. It connects you to the seasons in a way that’s both intimate and manageable. And when that first perfect bloom opens and fills your patio with its fragrance, you’ll know every bit of effort was worth it.
Inspirational Gallery
Not all roses are created equal for container life. For the best results and a truly magnificent display, look for specific types that thrive in the confines of a pot. ‘Patio’ or ‘Miniature’ roses are obvious choices, but don’t overlook compact Floribundas or Polyanthas like ‘The Fairy,’ which produces a cascade of small pink blooms. For fragrance and classic form in a manageable size, many David Austin English Roses, such as ‘Olivia Rose Austin’ or ‘Lichfield Angel’, are bred to be happy in large containers.
- Deters aphids and other common pests.
- Attracts beneficial pollinators like bees and hoverflies.
- Keeps the soil cool and moist, reducing water stress.
The secret? Companion planting right in your pot. A simple planting of chives or creeping thyme at the base of your rose not only looks beautiful but acts as a living mulch and a natural pest repellent.
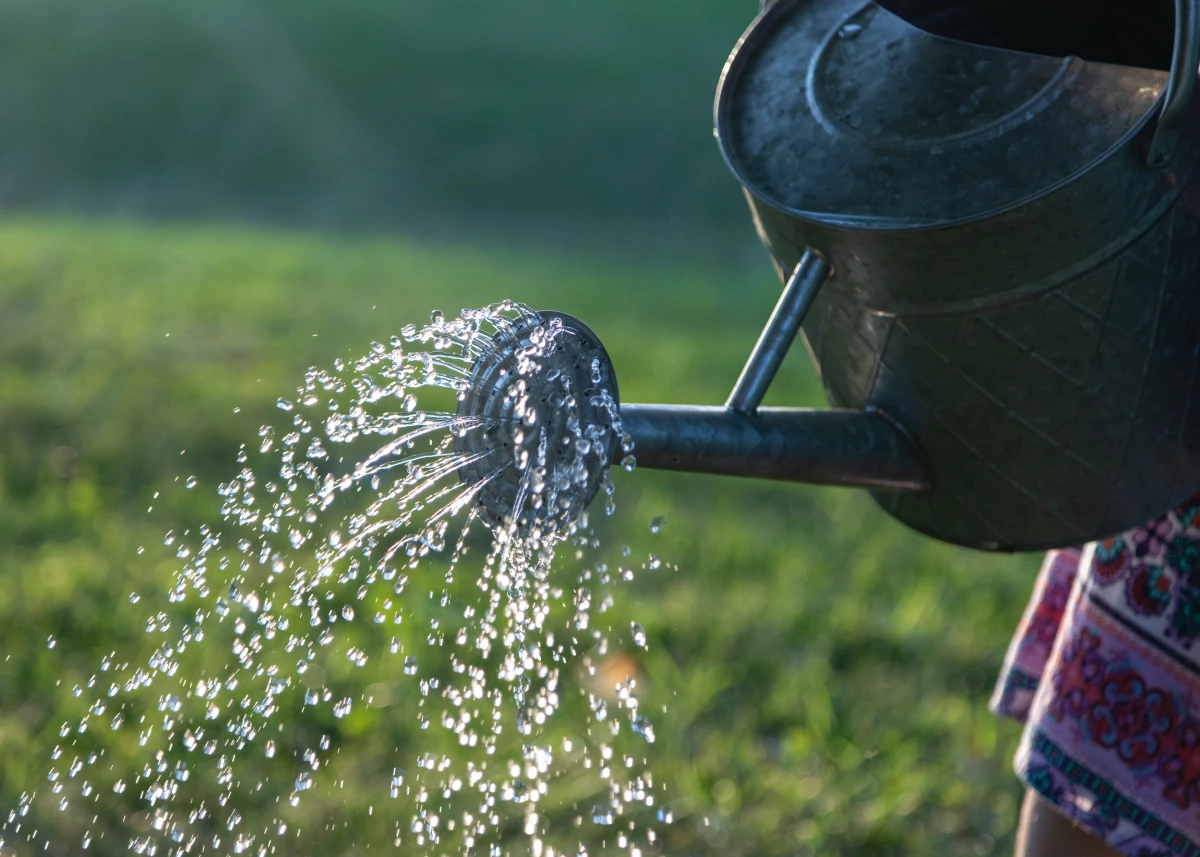
The American Rose Society confirms that one of the most common mistakes in container gardening is improper watering. Container soil can dry out in a matter of hours on a hot day.
This doesn’t mean you should drown your plant. The key is consistency. Instead of a rigid schedule, get into the habit of checking the soil every morning. Poke your finger about an inch deep. If it feels dry, it’s time to water thoroughly until you see it run out of the drainage holes. If it’s still moist, check again later in the day or the next morning.
Why are my rose leaves turning yellow?
Yellowing leaves (chlorosis) are your rose’s way of telling you something is wrong. The most common culprit in pots is a watering issue. Both too much and too little water can cause yellowing, so check the soil moisture first. If the watering is correct, the issue is likely a nutrient deficiency, typically nitrogen. A quick dose of a balanced liquid fertilizer, like Neptune’s Harvest Fish & Seaweed Fertilizer, can often correct the problem within a week or two.
Granular Slow-Release Fertilizer: These are mixed into the soil or sprinkled on top at the beginning of the season. Brands like Espoma Rose-tone break down slowly, providing a steady food source for several months. It’s the ‘set it and forget it’ option.
Liquid Fertilizer: This is a ‘quick feed’ for your rose, absorbed almost immediately. It’s perfect for giving your plant a boost during its main blooming cycles. You’ll need to apply it more frequently, usually every 2-4 weeks.
For potted roses, a combination of both often yields the most spectacular results.
The true magic of a container rose is revealed on a warm summer evening. As the sun sets, the heat radiating from the pot and patio floor gently warms the blooms from below, releasing their complex fragrances. A ‘Gertrude Jekyll’ will fill the air with a powerful old rose scent, while a ‘Lady of Shalott’ might offer hints of spiced apple and cloves. It’s a multi-sensory experience that a garden bed rose, farther from your nose, can rarely match.
Don’t be tempted by the old myth of putting a layer of gravel at the bottom of the pot for drainage. Cornell University studies have shown this actually hinders drainage by creating a perched water table, which can lead to root rot.
A beautiful pot is only as good as its drainage. Before you even think about soil, turn your chosen container over. Does it have one tiny hole? That’s not enough. Your rose’s roots hate sitting in waterlogged soil. If needed, use a drill with a masonry bit to enlarge the existing hole or add several more. Your rose will thank you for it with vigorous growth.
Looking for a lightweight, budget-friendly, and surprisingly effective alternative to heavy ceramic or terracotta pots? Consider fabric grow bags. Brands like Vivosun or Smart Pot offer excellent aeration, which encourages a healthier, more fibrous root system through a process called ‘air pruning.’ They are perfect for balconies with weight limits and can be easily folded and stored over winter.
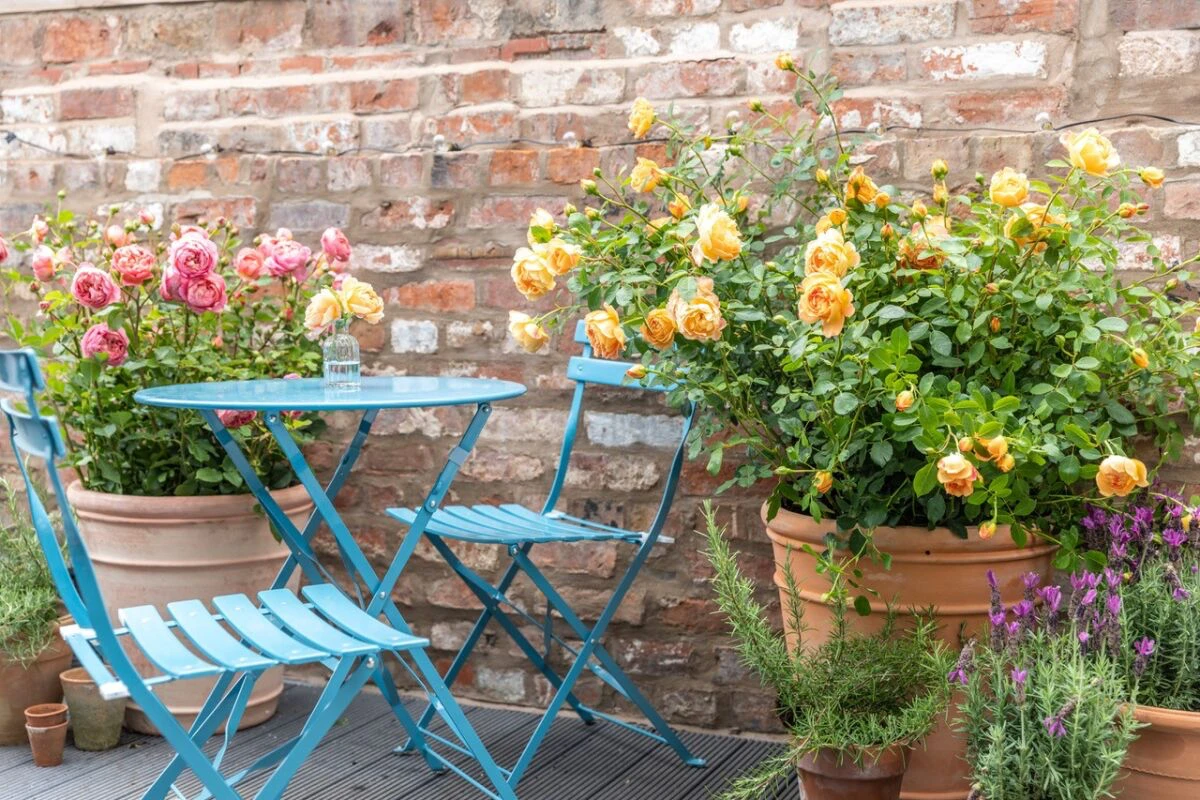
Once you’ve chosen your rose, elevate its beauty by pairing it with the right companions in the same pot. This isn’t just for looks; it creates a healthier mini-ecosystem.
- Sweet Alyssum: This low-growing annual will spill gracefully over the pot’s edge, attracting beneficial insects.
- Lavender or Nepeta (Catmint): Their silvery foliage and purple flowers contrast beautifully with rose leaves, and their scent can help deter pests.
- Parsley: Often used by organic gardeners as a ‘trap crop’ for aphids, luring them away from your precious rose buds.


